

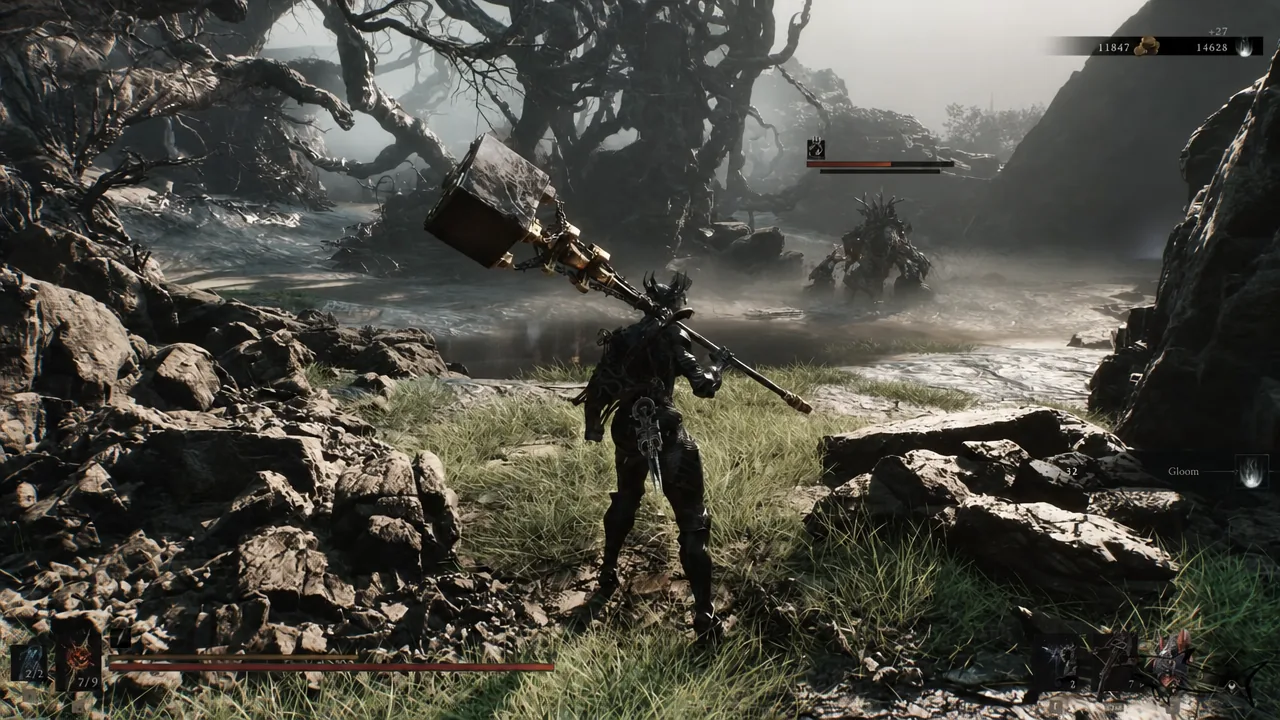
The Wretchcaller’s Stone is the Tarstone that turns the Obsidian Hammer into a Break-damage machine. It sits behind a single dungeon in the Mammon region, and it is not hidden in a puzzle chest or gated behind an NPC quest — a mini-boss holds it, and killing that mini-boss hands it over.
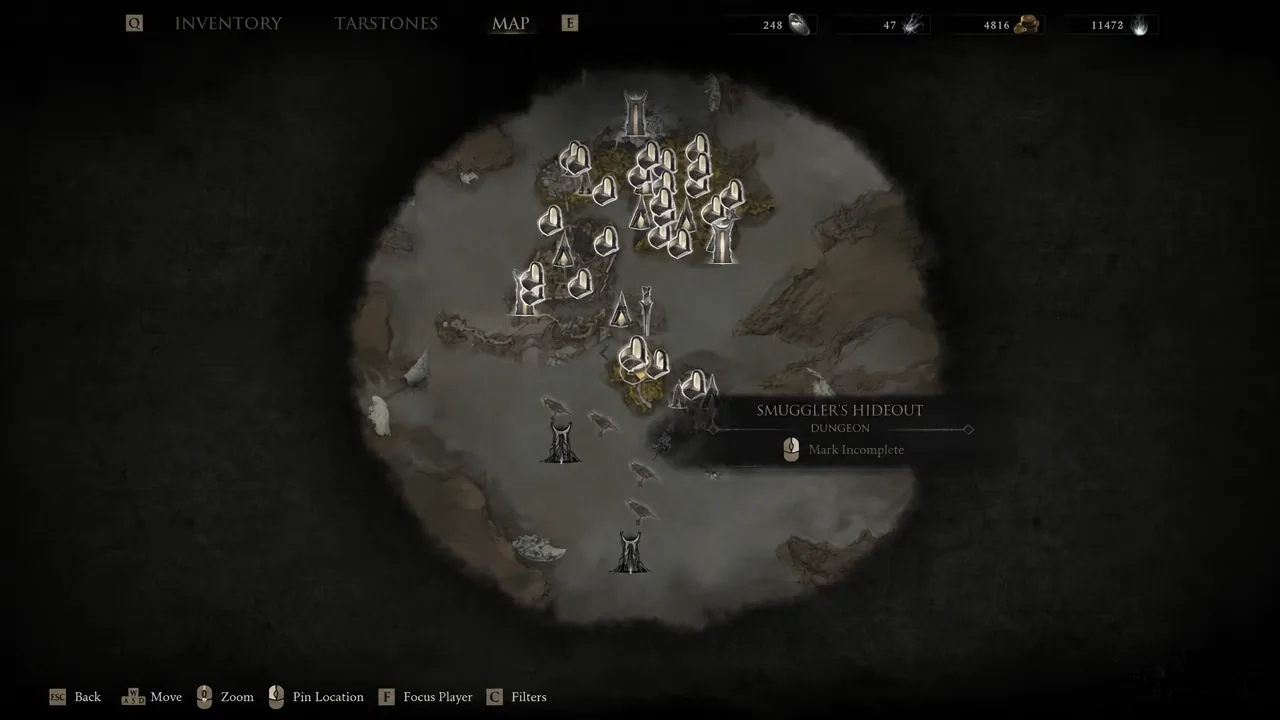
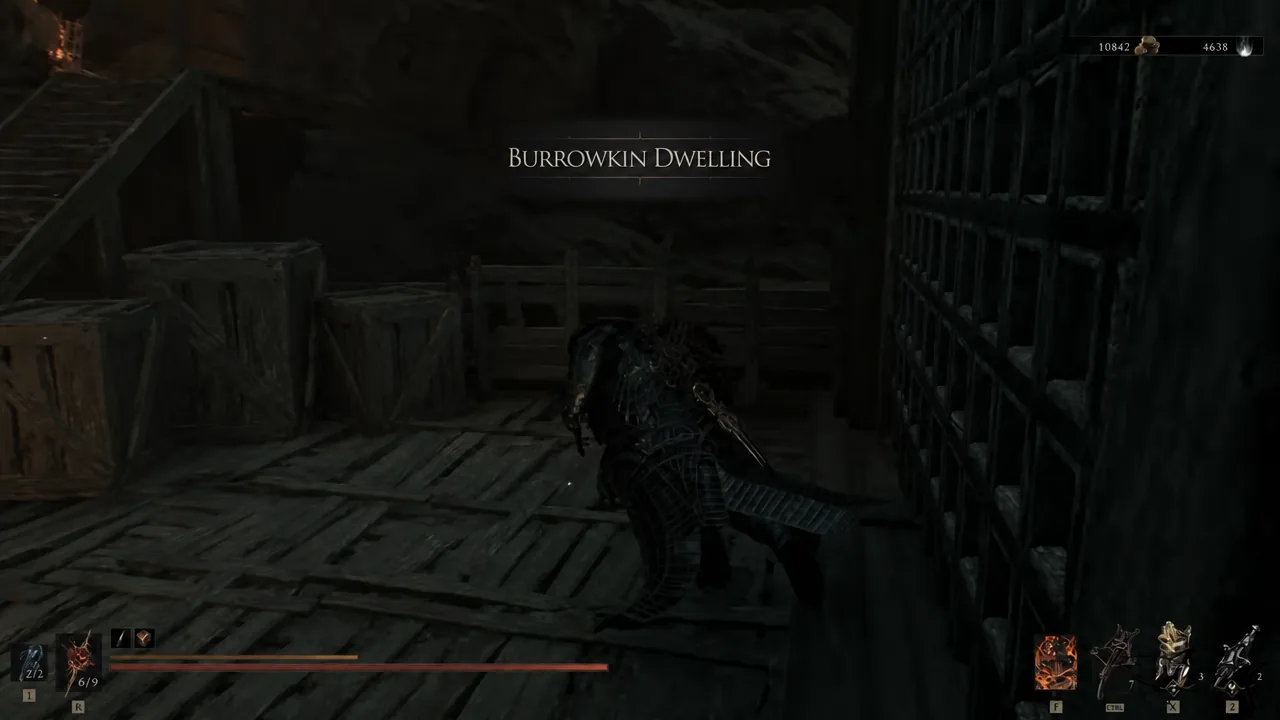
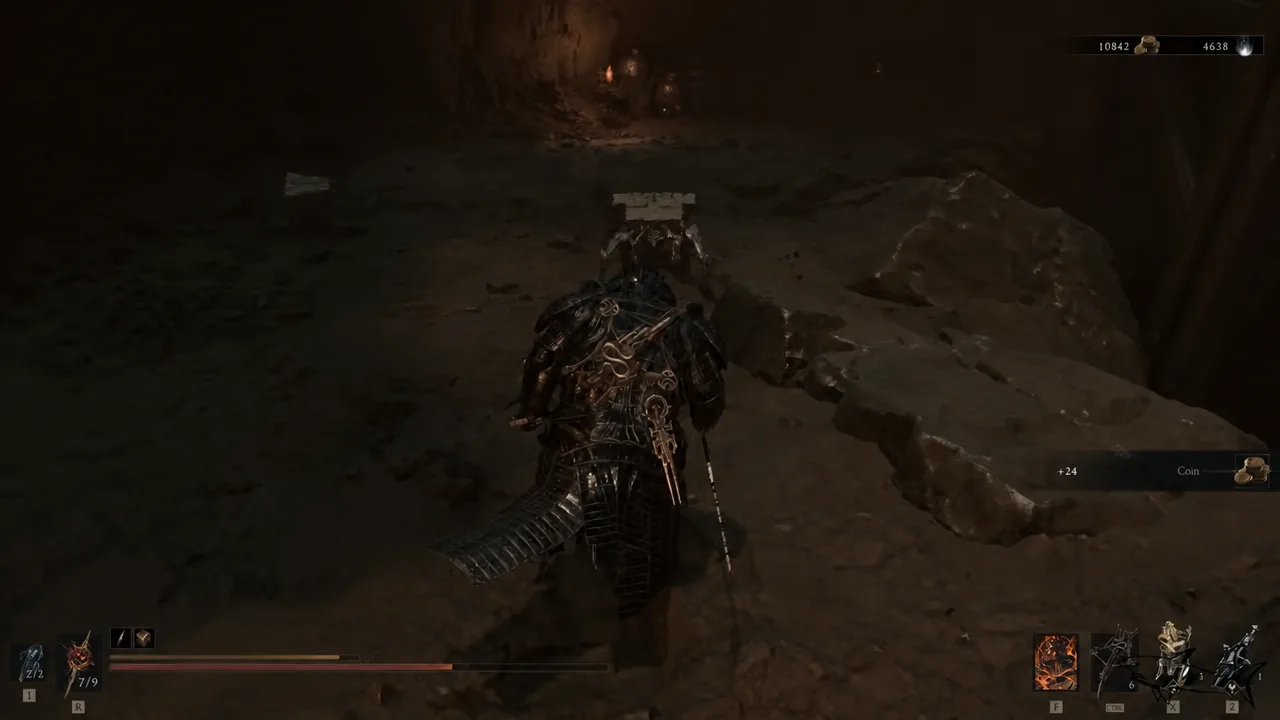
Quick answer: Cleanse the Gate of Mammon beacon near the Outskirts of Mammon, fight through the Burrowkin Dwelling dungeon, and defeat the Infested Miner at the bottom. The Wretchcaller’s Stone drops as the completion reward.
What the Trauma infusion does
The stone is an Infusion Tarstone that slots into a melee weapon slot. Activating it burns 30 Resolve and coats your weapon in Trauma, a status that deals Break damage over time. Break damage chips away at enemy poise rather than health, so the value shows up against armored and heavy enemies that resist normal chip damage.
Duration is the only thing that changes as you temper it. At the top rank the infusion stops expiring entirely, which removes the Resolve tax from your rotation.
| Rank | Effect |
|---|---|
| Base effect | Consumes 30 Resolve to infuse your Weapon with Trauma |
| Lv. 1 | Infusion lasts for 4 strikes |
| Lv. 2 | Infusion lasts for 8 strikes |
| Lv. 3 | Infusion is permanent |
Only the Obsidian Hammer can equip it
Infusion Tarstones are weapon-locked, and this one fits the Obsidian Hammer alone. If the hammer is not in your loadout, the stone will not appear as an equippable option, and there is no workaround. Grab it anyway if you are chasing the Stoned trophy, since acquisition counts toward the total whether or not you ever use it.
Wretchcaller’s Stone location: Gate of Mammon to Burrowkin Dwelling
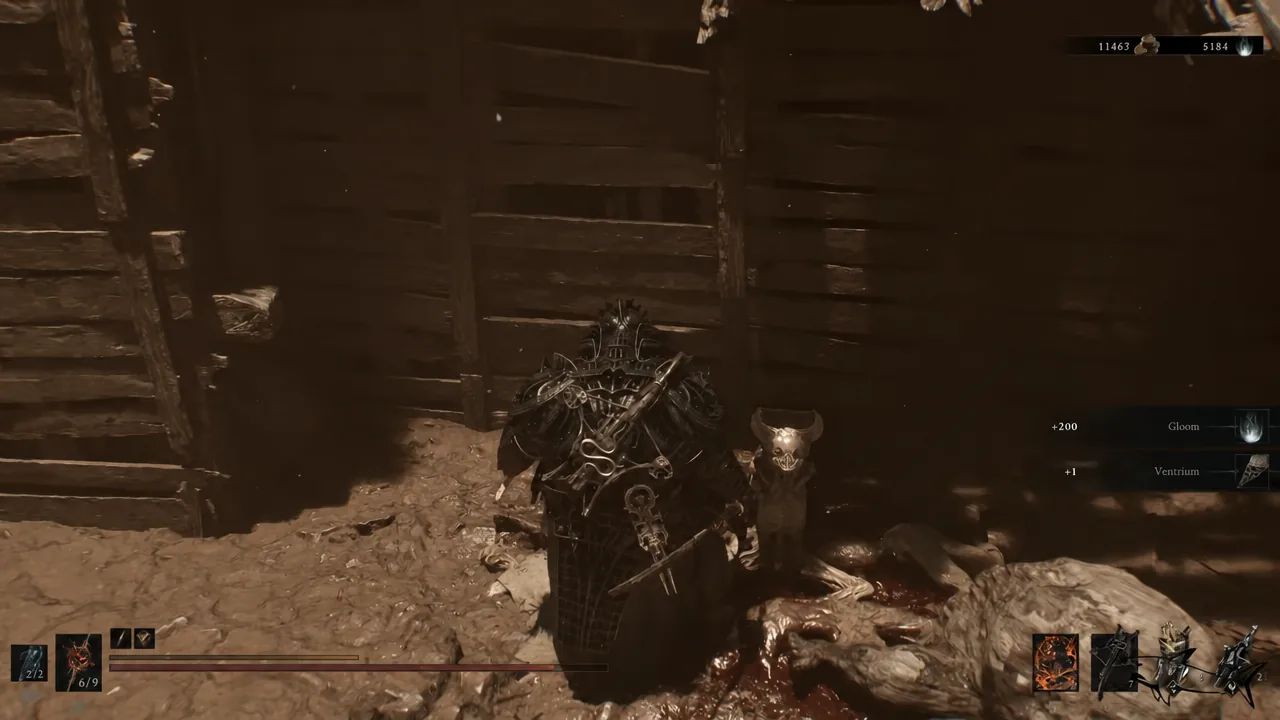
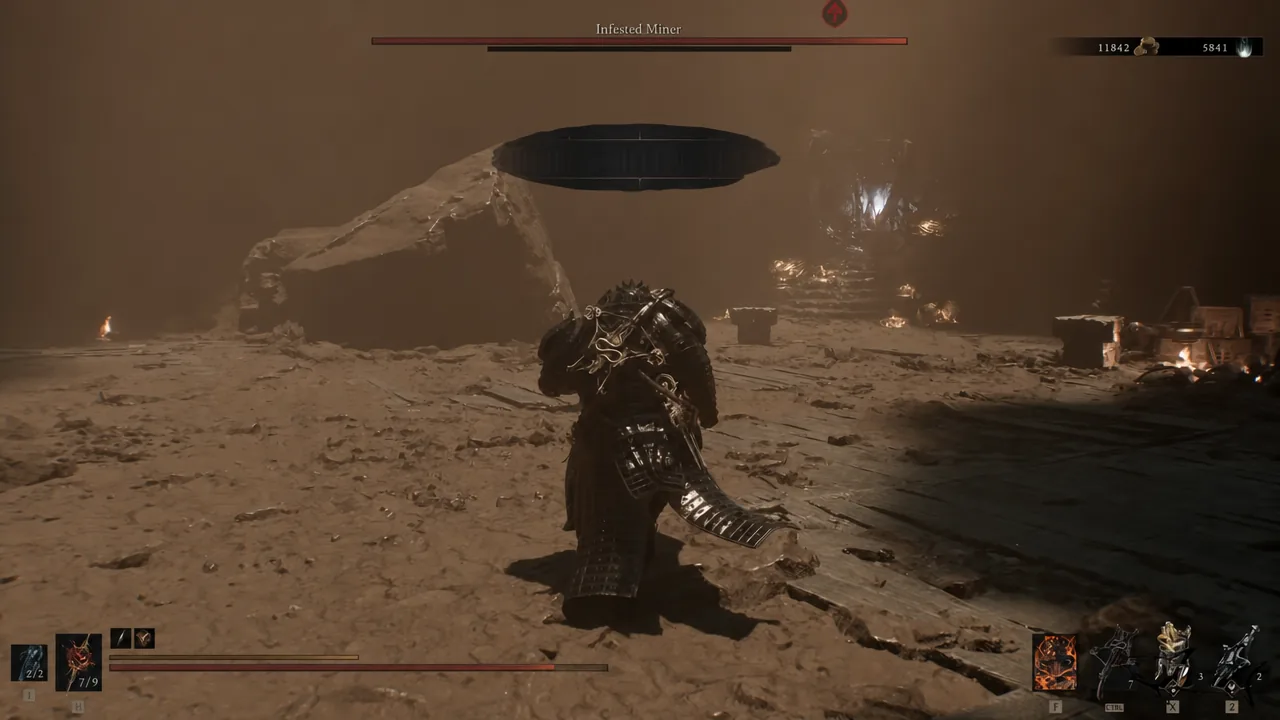
How to upgrade the Wretchcaller’s Stone at the Tarforge
Tempering happens at the Tarforge in Marrow Keep, but the upgrade options stay locked until you hand Franz the Etching Needle. That quest item is looted from a chest just before the Magdalena, the Lady of the Woods fight. Once you spot Ruk past the bridge, drop through the opening and turn right before the tunnel to reach a small alcove with a bone chest.
After Franz has the needle, keep the stone equipped and kill enemies. Each Tarstone earns its own experience from slain foes, and the first bar runs to 10,000 XP. When it fills, return to Franz and pay the Coin cost to push it up a level.
Note: an unequipped Tarstone gains nothing. If the XP bar is not moving, the stone is sitting in your inventory instead of slotted into the Obsidian Hammer.
The dungeon is short enough that the whole trip takes a few minutes once you know the route, and the payoff scales with how much you invest in it. At Level 1 you are spending 30 Resolve for four strikes of Trauma, which is a burst tool for a single dangerous enemy. At Level 3 the infusion never drops off, and the hammer simply becomes a Break-damage weapon by default.





