St. Tyna’s convent is the first real puzzle box in The Blood of Dawnwalker. A dozen undead nuns shuffle around the courtyard, they cannot be permanently killed, and Anca will not cross the open ground until you make it safe. Everything in the quest hangs on that one problem.
Quick answer: Grab the Monastery Keys from the shack beside the chapel, read the Campana Loquitur in the dormitory, then climb the bell tower and ring the church signal (three tolls). Every nun files into the chapel, and you can tell Anca the path to the library is clear.
Quest requirements, time cost, and rewards
Echoes of Silenced Bells lands in your journal the moment the prologue quest Smoke and Ashes wraps up, as Coen prepares to leave Laslea Glen. Anca asks you to meet her at the Crossroads Inn near St. Tyna’s Grove, southeast toward the swamplands. The inn has a damaged Shrine worth repairing, since you will fast travel back here for the follow-up quests.
| Detail | Value |
|---|---|
| Quest giver | Anca |
| Meeting point | Crossroads Inn, near St. Tyna’s Grove |
| Requirement | Complete Smoke and Ashes (Prologue) |
| Time of day | Day or night, though some routes favour one |
| Time cost | Roughly 6 to 8 Time Segments, depending on optional steps |
| Fail state | None, and the quest is not missable |
| Rewards | 150 XP and 1 Skill Point |
| Leads into | Most Precious Thing (optional), Between the Words, Where Old Devils Lie, Stronger Than Achilles |
The heavy costs are fixed. Walking through the fog burns 1 Time Segment, securing safe passage for Anca costs 3, returning to her costs 1, and the catacombs run costs another 1. Investigating the chapel adds 1 more on top. Checking the infirmary and the bell tower is free.
From the Crossroads Inn to the refectory balcony
Anca leads the way into the fog and talks through what the plague did to the area. Abandoned carts along the road belonged to fleeing pilgrims, and a little further on you find a campfire with a dead soldier of Brencis beside it. Examining him is optional and shows he was torn open, not killed by illness.
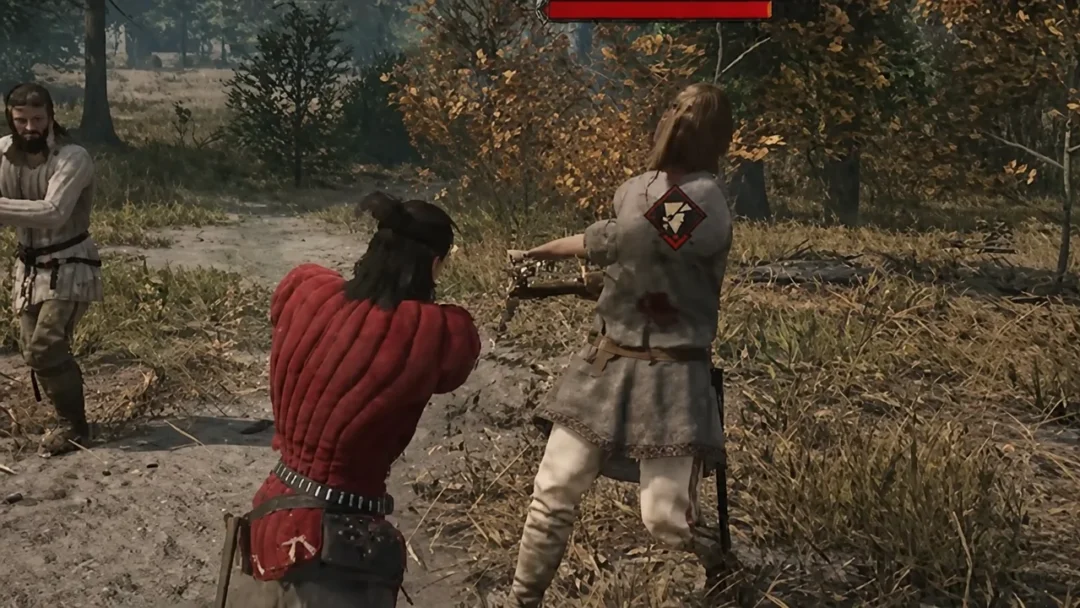
Opening the convent gates spends the first Time Segment. Inside, a nun is picking fruit from a dead tree, and she turns hostile the moment Anca calls out. Cut her down, examine her hands and face, and she starts moving again while the rest of the horde pushes in through the gate.
Anca pulls you into the refectory and bars the door. Before following her upstairs, search the side room on the ground floor for the monastery map, and loot the rest of the building for the supplies list and the Regenerative Salve recipe.
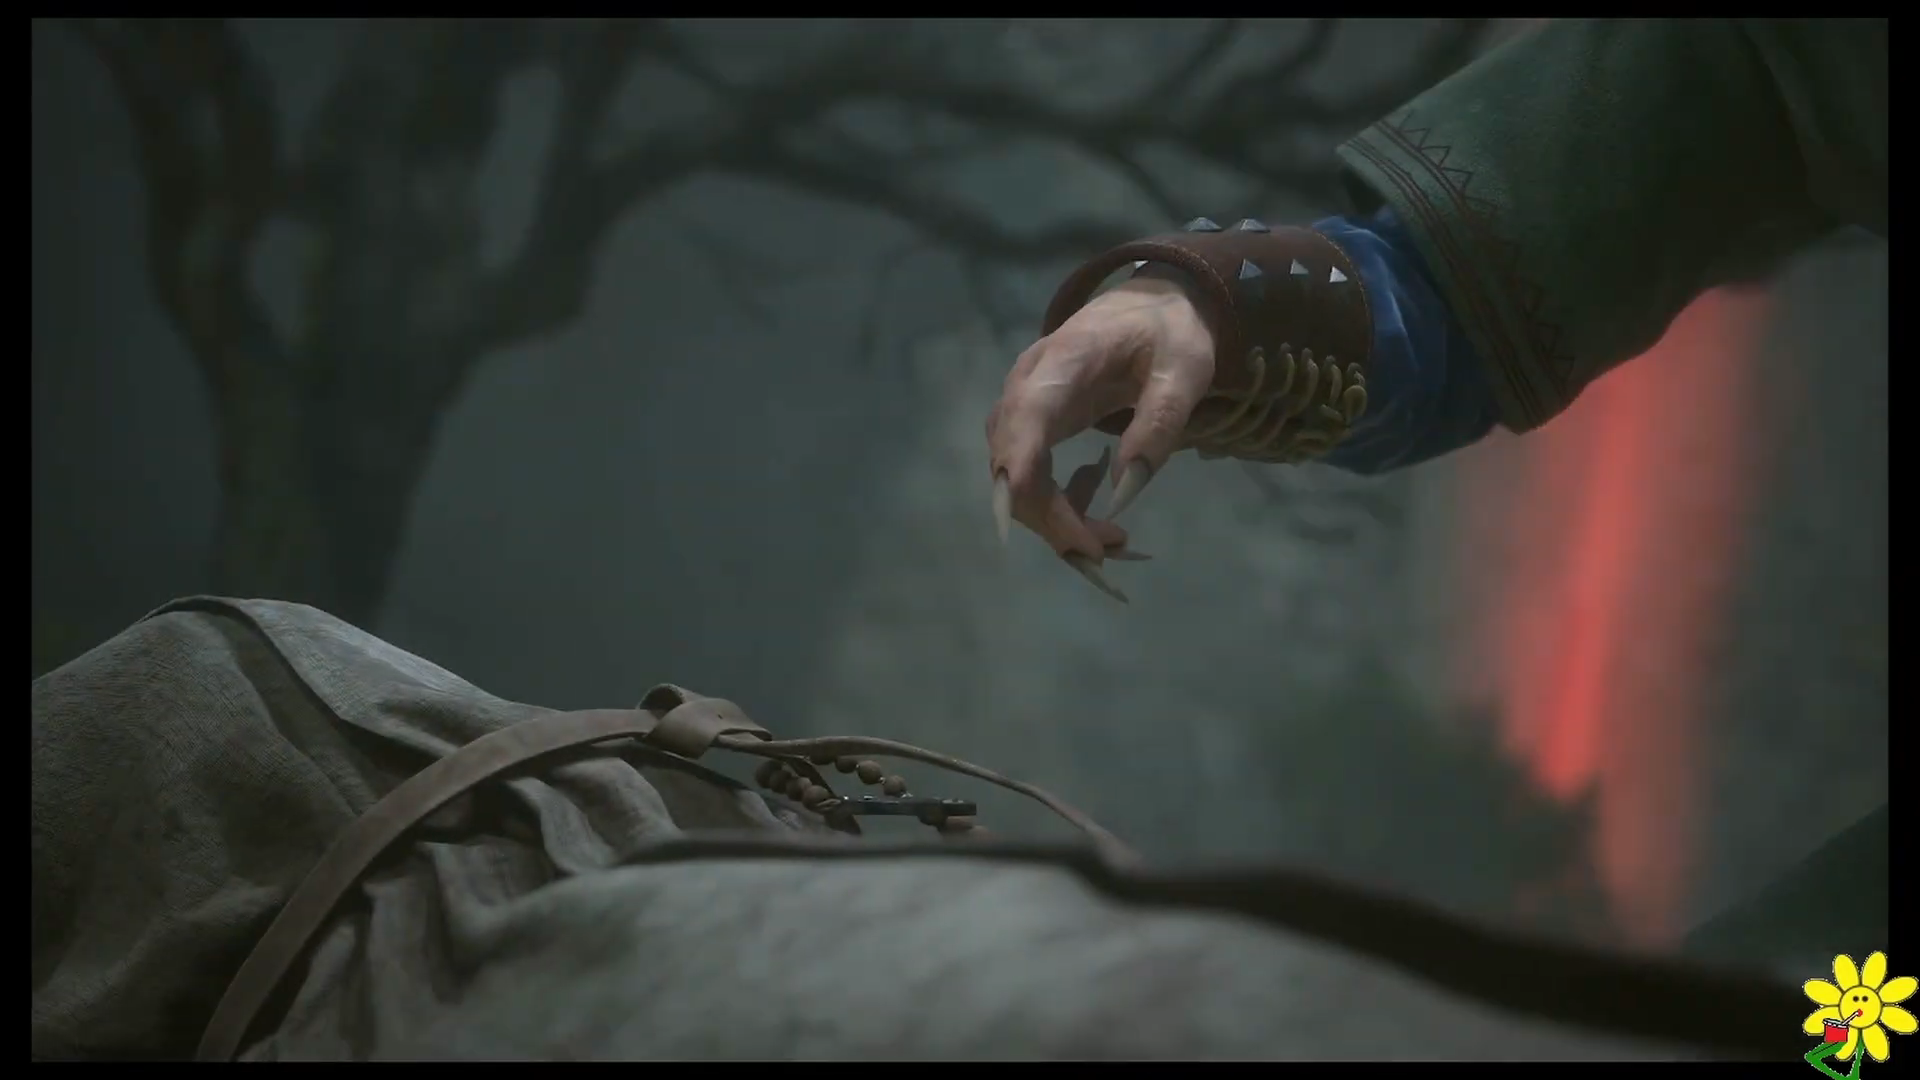
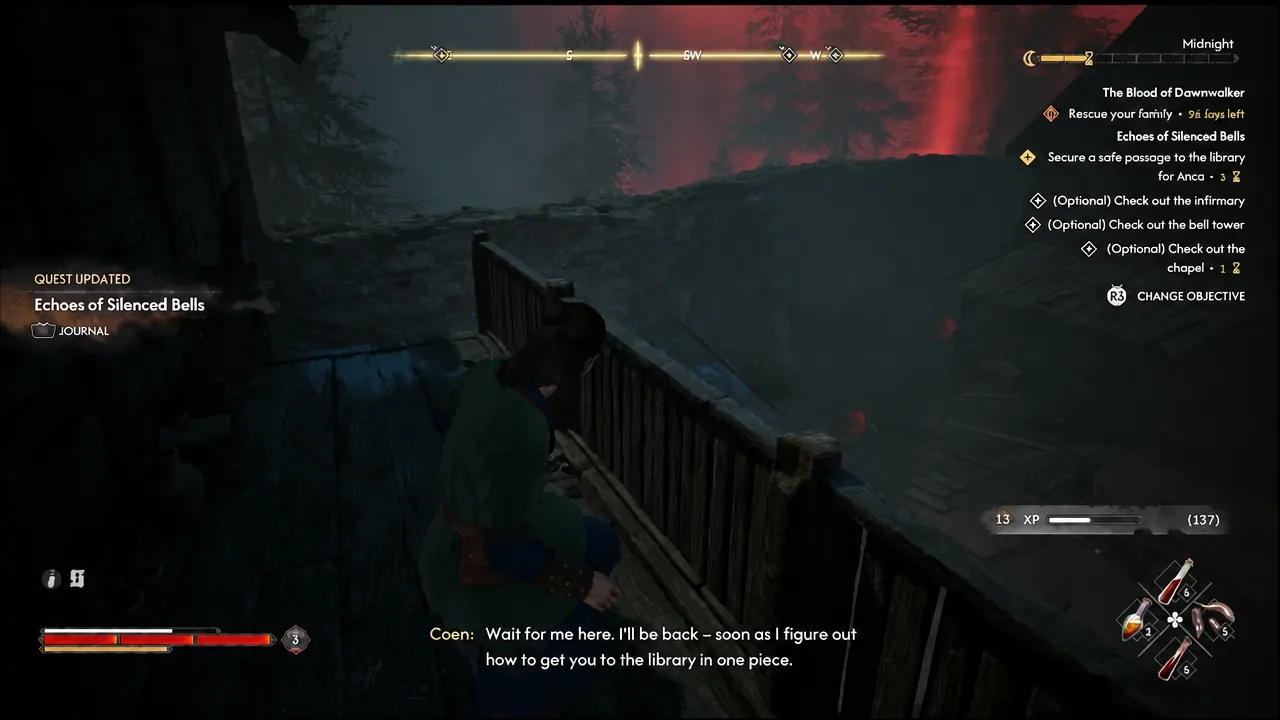
Upstairs is the prioress’s study, with a balcony that looks over the courtyard. Examine every point of interest from here, since each one adds an optional objective and marks the building on your map. The cross behind the desk works as a shrine if you want to spend perks before heading out. A path down to ground level sits to the south of the study.
Find the Monastery Keys before anything else
Almost every door in the convent is locked, and the keys unlock nearly all of them. The nuns have very limited vision, so you can walk the courtyard as long as you keep your distance. At night you can also use planeswalking to move across the rooftops instead.
Bell tower signals and what each toll does
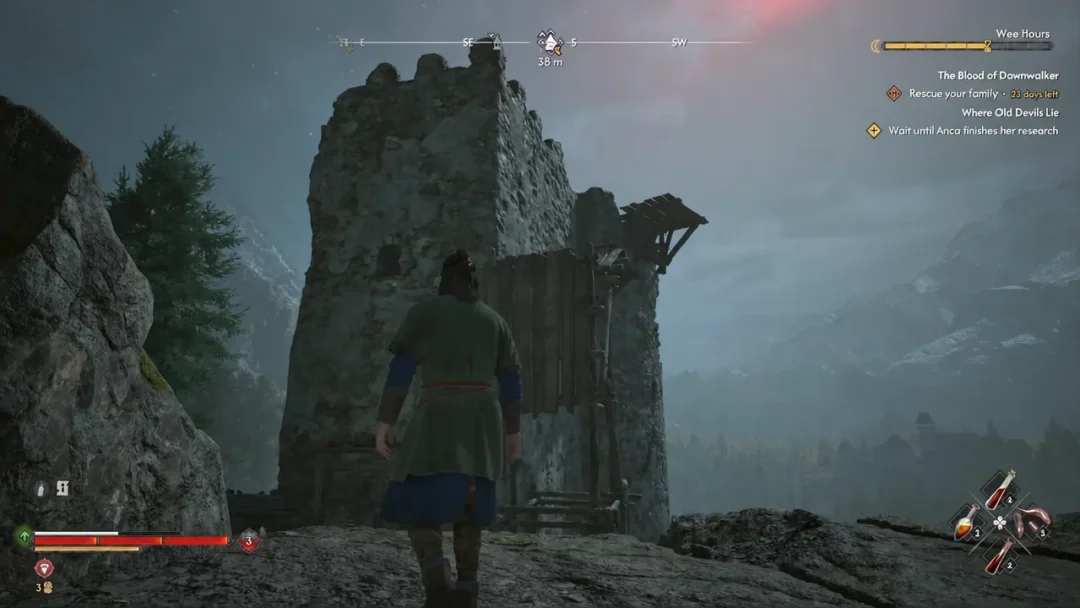
The bell tower is attached to the chapel. Ringing the bell before you have learned the signals does nothing, and a note on the tower wall points you to the dormitory at the western edge of the monastery. Inside, on the floor, is the Campana Loquitur, Vel Introductio Pro Novitiis, which lists the tolls the novices were trained to answer. The dead nuns still obey them.
| Signal | Tolls | Result |
|---|---|---|
| Church | 3 | The nuns leave the courtyard and file into the chapel for prayers, clearing Anca’s route |
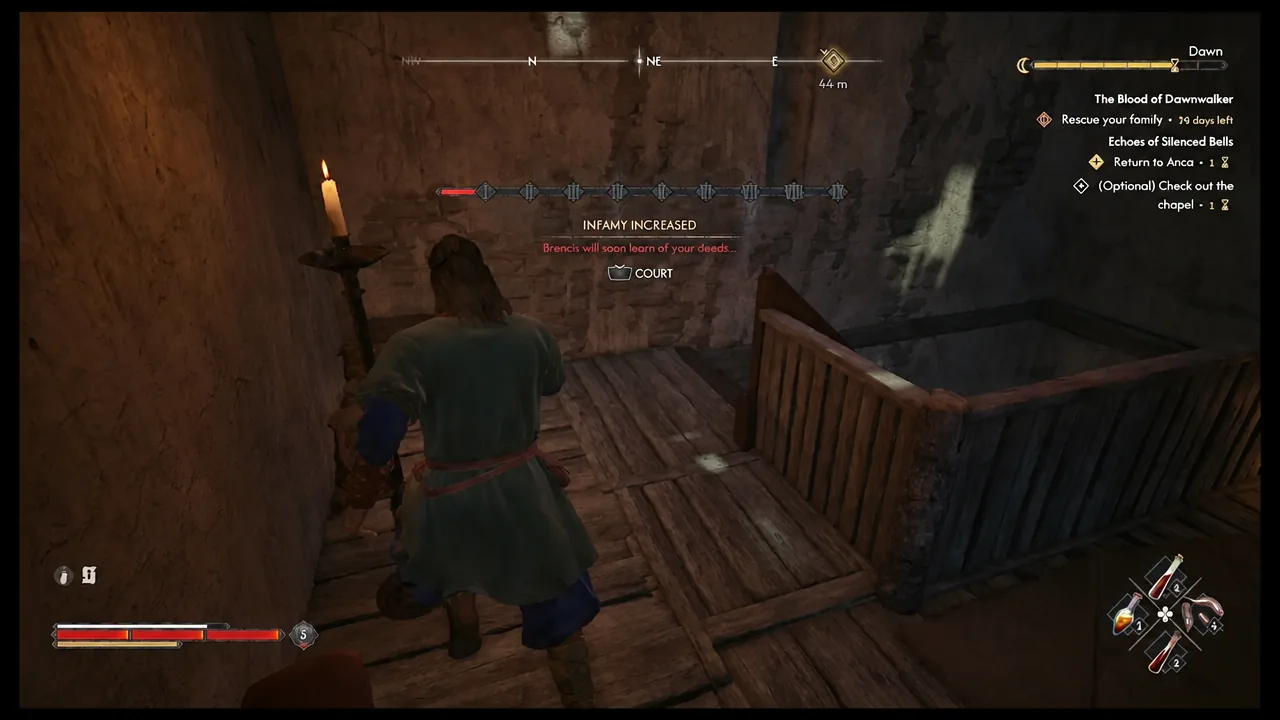
| Infirmary | 4 | The nuns break into the infirmary and tear Brencis’s soldiers apart, raising your infamy |
| Dormitory | 5 | The nuns gather on the west side of the courtyard without entering the building |
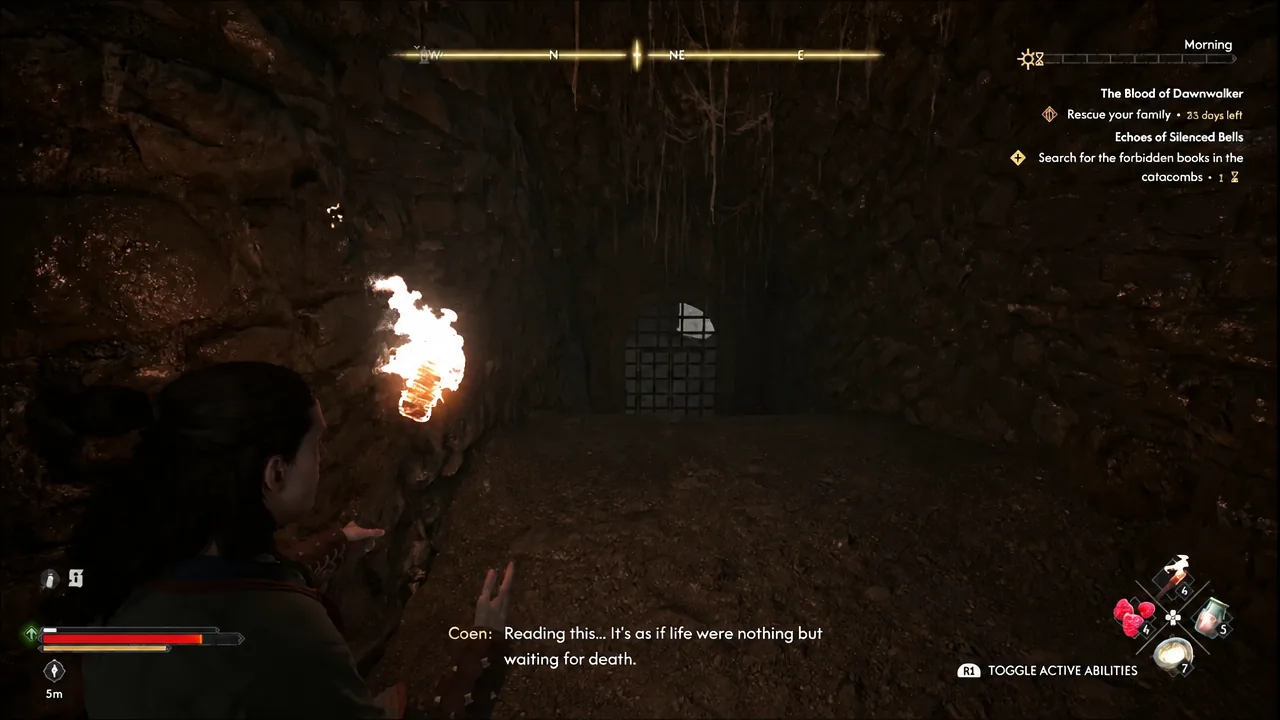
Once the book is read, you do not have to count anything. Coen offers a list of destinations at the rope and pulls it the right number of times on his own. The church signal is the cleanest choice, since it moves the horde furthest out of the way without touching the infirmary.
Note: the infirmary signal is a trap disguised as a shortcut. It kills the soldiers for you, but several nuns stay inside the infirmary and the library afterwards, so you have to ring a second signal to move them again before Anca can pass.
The infirmary deal and Most Precious Thing
Smoke rises from the infirmary chimney, and voices carry from inside. Every door there is locked and the Monastery Keys will not open them, but Focus Mode picks out a window at the back of the building. Talking through it starts a conversation with a squad of Brencis’s soldiers who refuse to go home without a relic for their lord.
The officer offers a trade. Bring him St. Tyna’s relic and the squad opens the door, giving Anca access to the upper corridor that connects the infirmary to the library. Accepting begins the short side quest Most Precious Thing.
You do not need the chapel at all if you already have the relic from the sacristy, though investigating it costs 1 Time Segment and gives you the trail. In daylight you can compel the soul of a recently dead nun there, hand her the prayerbook and rosary, and she confirms the relic is kept in the sacristy.
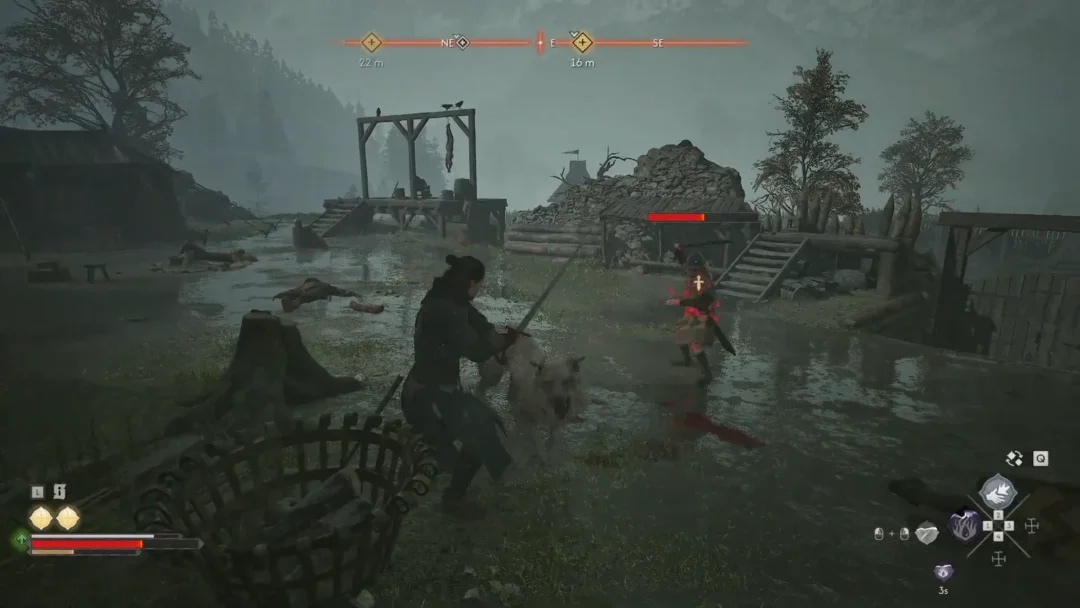
Once you hold the relic, three outcomes are open. Hand it over and the soldiers keep their word. Tell them you have changed your mind and three guards come out to take it, which is a straightforward fight that leaves you with the amulet. Or ignore them entirely and use the bells instead, in which case they ambush you on your way out of the convent at the end of the quest.
Which route to take
The bell route is faster to execute but leans on vampiric movement to climb the tower, so it works best at night. If it is early in the day, going after the relic avoids skipping Time Segments and leaves you holding a strong Witchcraft amulet. Whichever you choose, the objective is the same: return to Anca and tell her the way is open.
The library and the descent into the catacombs
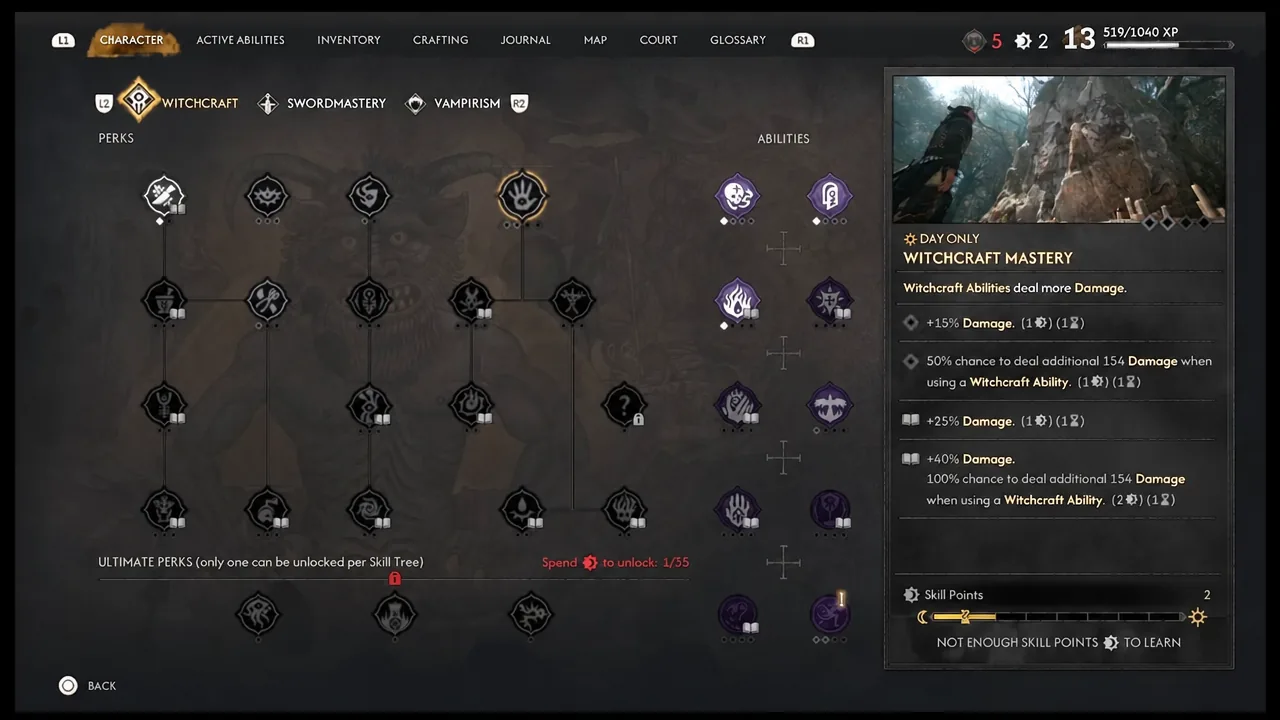
Following Anca into the library costs 1 more Time Segment, and it is the single richest looting stop in the early game. Every bookshelf is worth checking for skill manuals, including Dirty Trick, Witchcraft Mastery, Precision, Master Fencer, Mercurial Favor, Potent Blood, and Frugal Witchcraft.
Scattered pages point downward. Push the bookcase aside and take the stairs into the catacombs, where undead nuns attack in small groups. They do not respawn and the route is linear, so clear as you go and pick up the Potent Blood Manual and the Razor Claw Vial recipe on the way through.
How to beat Leonica, She Who Speaks with the Devil
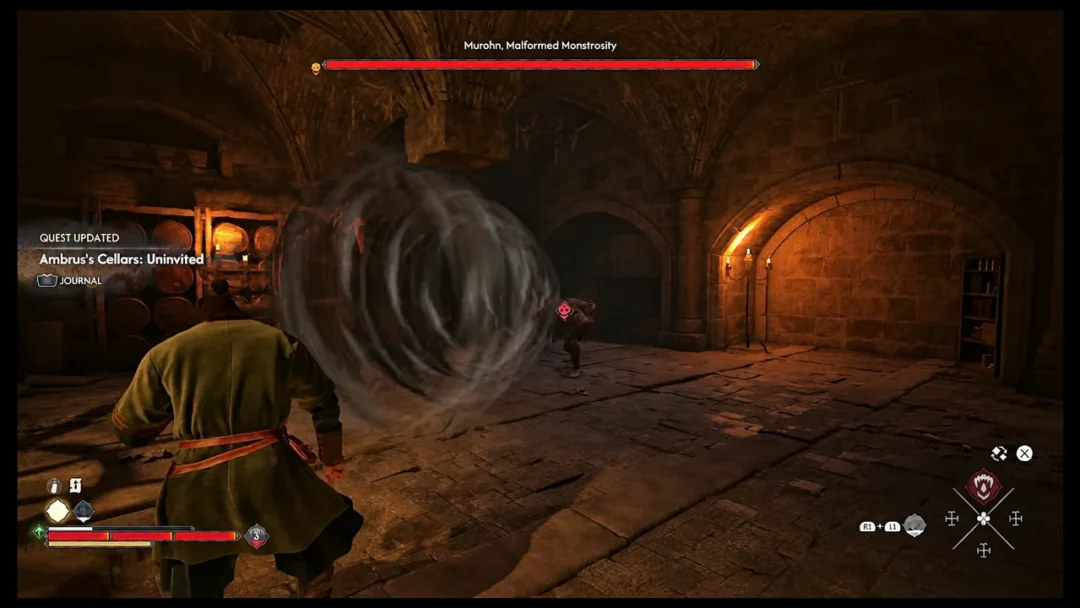
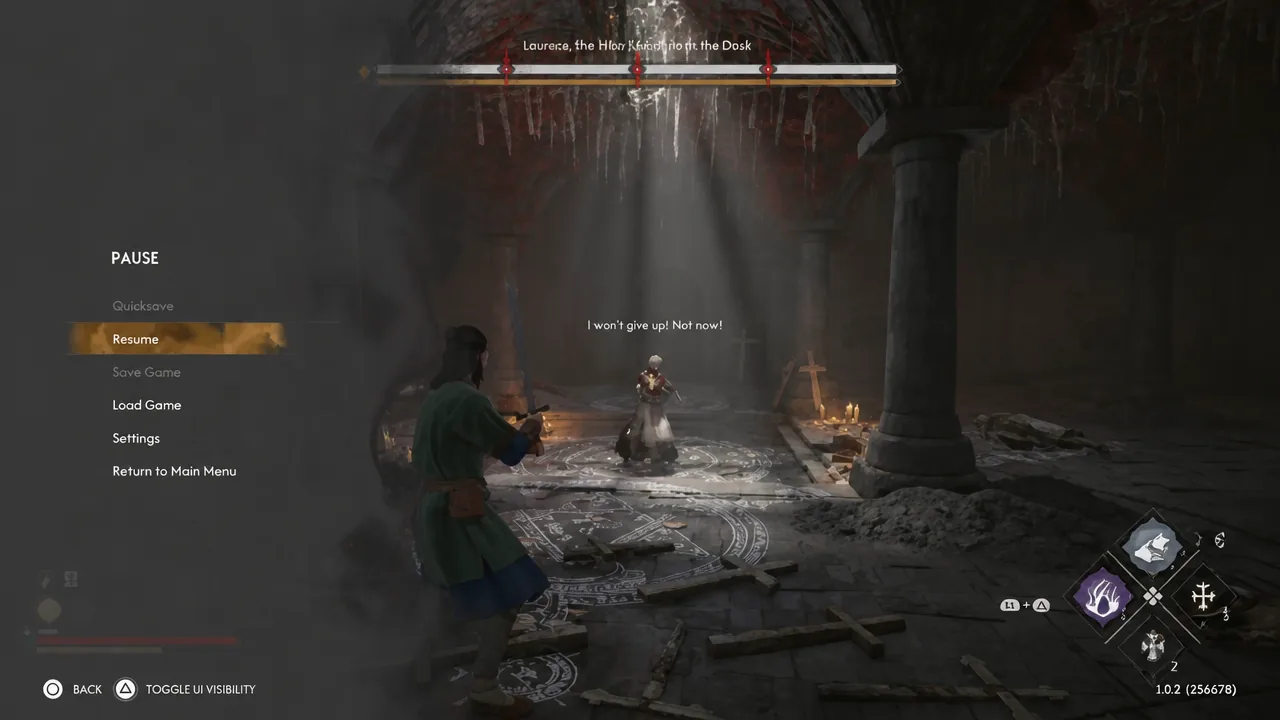
Leonica is the last surviving nun in the convent and Anca’s old friend, the one who reported her to the mother superior. She fights as a Witch archetype, casting Ravenous Flock and Thornvine Explosion in the space around her, so keep moving and do not stand still in her area effects.
Her health bar is split into three segments marked by red indicators. Each time you empty one, she vanishes and summons a wave of weaker undead in her place. Clear the adds quickly, find her again, and repeat until the bar is gone.
Defeating her drops the Catacombs Key, which opens the way out of the dungeon, along with Leonica’s Ring, the Unholy Vitality Manual, and the Herbal Remedies Manual. The ring is an epic item with passive activation charge restoration, reduced Witchcraft ability health cost, and increased Witchcraft ability damage, which pairs neatly with the Relic of St. Tyna if you kept it.
Leonica’s notes: give them to Anca or burn them
After the fight, Anca blames herself for what happened to her sisters and wants to finish the ritual Leonica was performing to lift the curse. Coen holds the forbidden notes, and the conversation gives you two options.
| Choice | Outcome |
|---|---|
| Throw them in the fire | The ritual never happens and Anca is left distraught |
| Hand the notes over (1 Time Segment) | Anca performs the ritual, it succeeds, and she thanks Coen for trusting her |
Neither option locks you out of romancing Anca later. Giving her the notes is the stronger result, since the ritual works and she takes them away to study.
You know the quest has closed when Echoes of Silenced Bells clears from the active list and pays out 150 XP and a Skill Point. Head back to the Crossroads Inn afterwards and the short follow-up, Between the Words, begins. Prepare a warm drink for Anca for 1 Time Segment, then look through the books and pass her the one she is interested in, moving the candle along the spine to bring out the hidden writing.
Finishing here also opens up A Monk and a Saint at St. Tyna’s Grove, and Anca returns with her own follow-up once she has had time with the notes. Clearing the convent early is worth it for the library manuals alone, whatever you decide to do with the relic.