

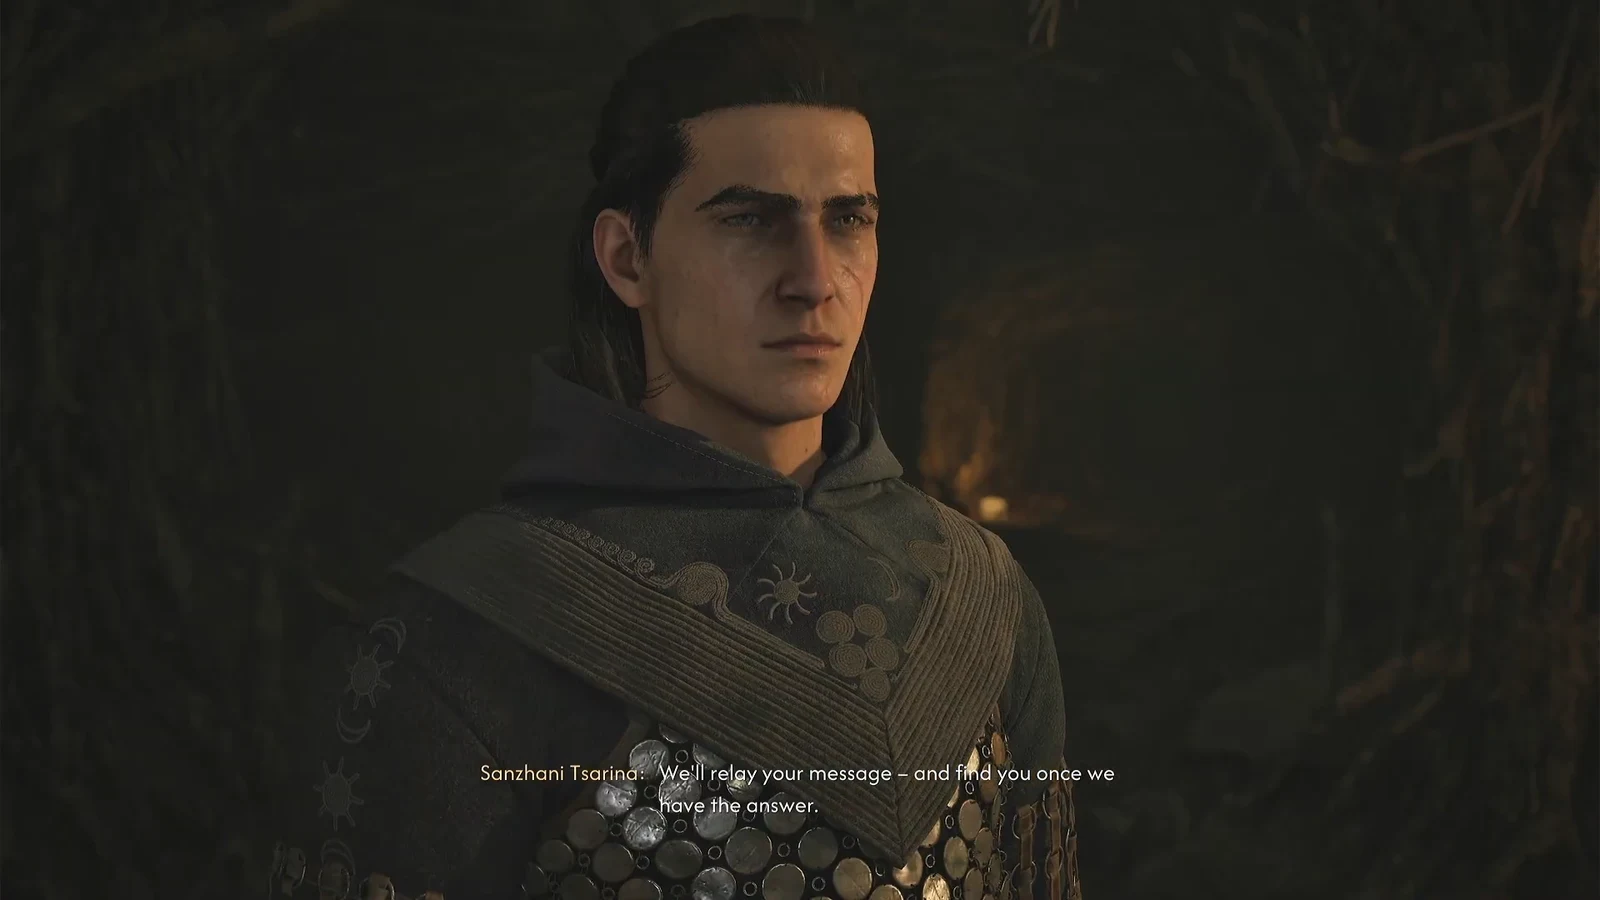
Letters to Lunka is the one side chain in The Blood of Dawnwalker that pays out in the game’s scarcest resource. The moth-like Sanzhani fairies who live under Vale Sangora will carry messages to Coen’s captive sister, and if you help every one of them, their Tsarina winds the clock back a day before Brencis’ coronation.
Quick answer: Finish the Good Home quest to meet the Sanzhani Tsarina at the Yawning Burrow, then complete the four remaining Sanzhani quests scattered across the map. Each completed quest lets you send one letter to Lunka. Wait one full day-night transition after every message, then read all five replies from the Quest Items tab in your inventory to close the quest.
How the Letters to Lunka system works
Nothing in the chain is available until Good Home is done. That quest leads you through a crawlspace into the Yawning Burrow, where you meet Heile and, after resolving her situation with her brother Tonis, the Sanzhani Tsarina herself. She offers the deal that drives everything else. Help her kind, and she will ferry a letter to Lunka in Greifberg Castle.
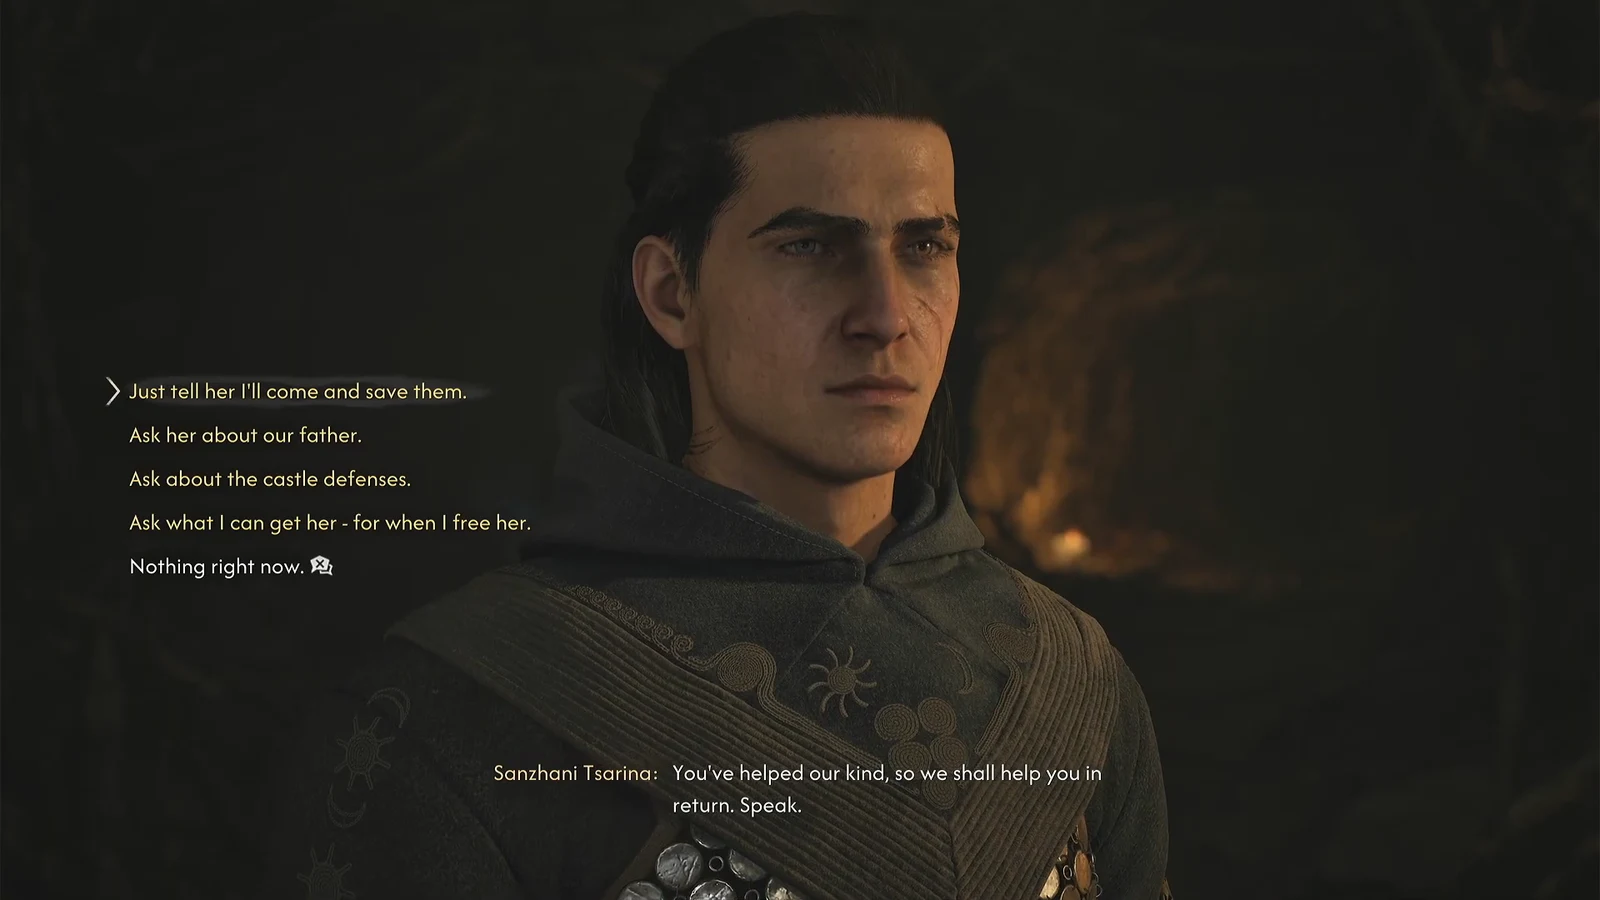
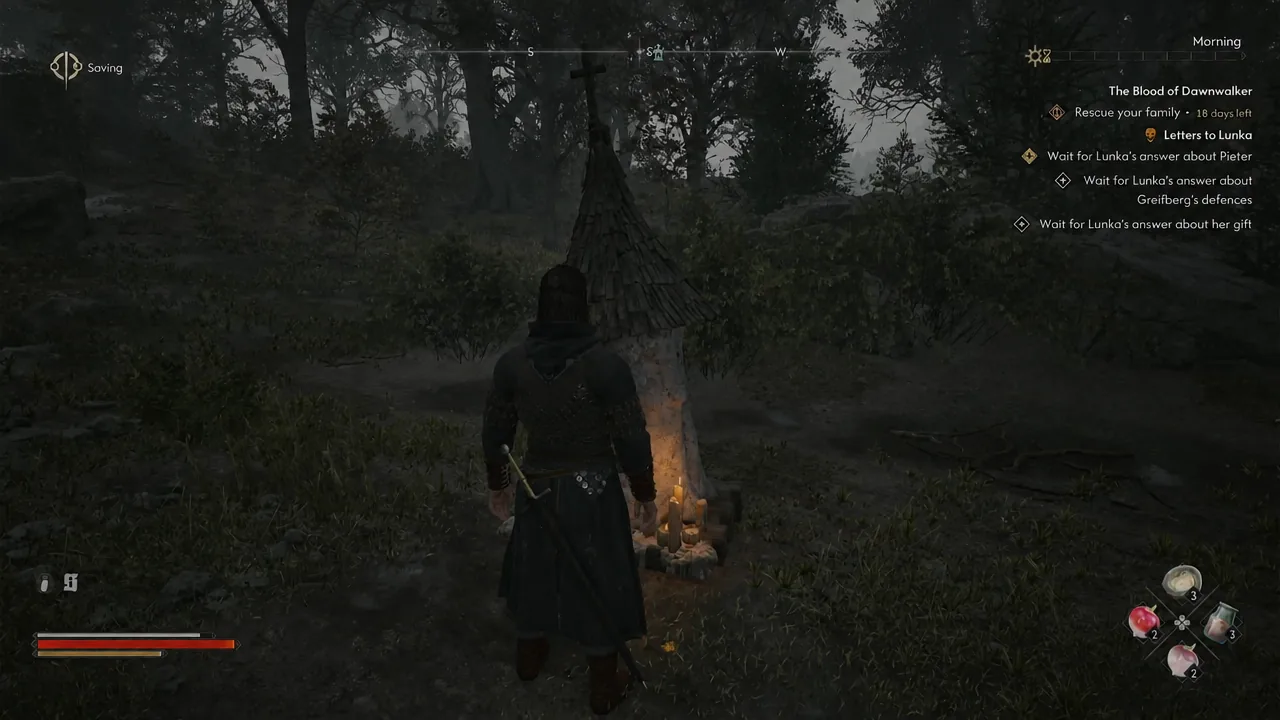
The rate is fixed at one letter per favour. Complete a Sanzhani’s task, return to the Tsarina, pick the subject you want to raise, and wait. There are five letters in total because there are five Sanzhani, and the replies land one day-night transition after each message is sent. You do not have to hand the quests in one at a time, though. You can clear several Sanzhani quests first and then send messages back to back on separate days.
Every Sanzhani quest burns time. Individual actions inside them typically cost around two time segments each, and the Good Home investigations in Oghasti cost one and two segments respectively. Offering to help Tonis with his work costs three, so hand him a drink instead if you are running tight.
All five Sanzhani locations in Vale Sangora
The five are spread across five different regions, so there is no efficient route that takes them all in one trip. Pick each one up while you are already working in that area. Some of the shrines used as landmarks may show as destroyed depending on your progress, but they still work as map references.
| Quest | Region | How to find it and what it asks |
|---|---|---|
| Good Home | Svartrau Outskirts | Head east from Sandy Gorge Shrine toward the ravine and interact with the ring of glowing mushrooms. Follow the moths to the Yawning Burrow, then resolve Heile and Tonis’ dispute. |
| Pearly and Precious | Briar Sloughs | Cross the river from Small Bridge Shrine, south of Stoneward Post, and inspect the wrecked cart at the abandoned camp. Use Focus Mode to follow the trail, then kill the bandits. |
| Tiny Dancer | Svartrau City | Central Altenmarkt. The Sanzhani is caged inside a house, not at street level. Enter through the second-floor balcony, grab the Cage Key indoors, and free her. |
| Come Hither | The Silts | East of Silty Mug Inn Shrine and north of Vedera Marsh Guardpost, by two large leafless trees. Talk to the fairy, drop into the cavern, and kill the Murohn below. |
| Burrow Sorrows | Rockfalls | North of Boarback Trail Shrine, in the woods. Speak to the Sanzhani, clear the kobolds occupying the burrow, and collect the charm. |
Two of these are the usual culprits when the chain stalls. Pearly and Precious needs Focus Mode to pick up the trail from the camp, and Burrow Sorrows requires sweeping the woodland rather than standing at the shrine waiting for a marker. Tiny Dancer catches people out too, since the fairy is above street level. At night you can Shadowstep up to the balcony; in daylight, take the sloping path and running-jump the gap.
The Briar Sloughs fairy is worth the detour on its own. Once the bandits are dead she becomes a vendor, buying Shiny Tooth items at 150 denarii each and selling skill manuals, a Silk Thread, and the Fear of the Wilds legendary amulet. Leave the area and she relocates permanently to the Yawning Burrow.
How to send a letter and collect the reply
The five replies from Lunka
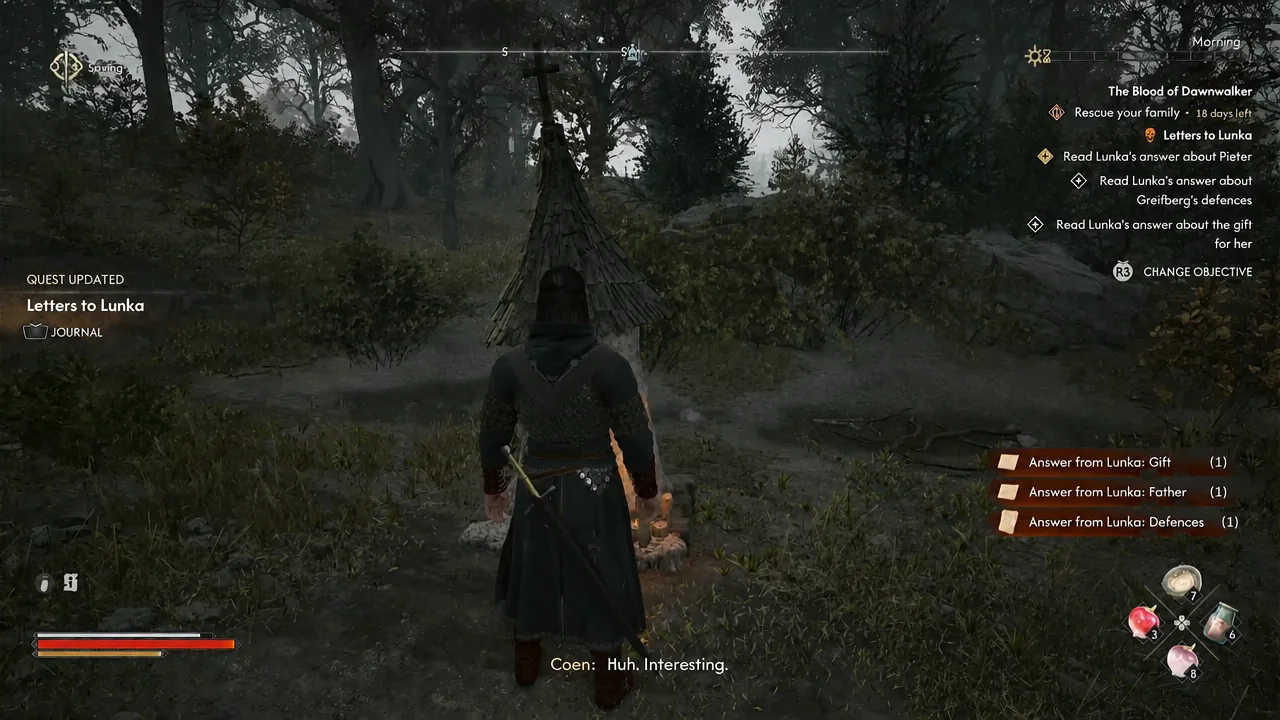
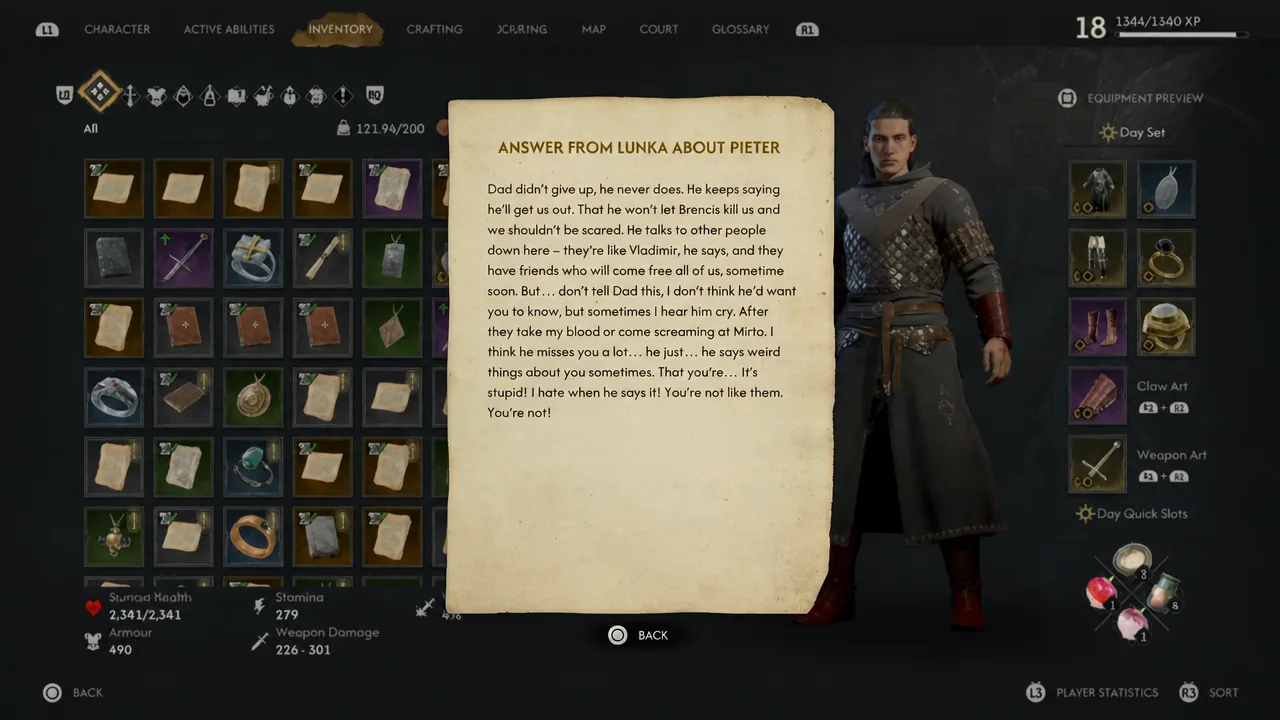
All five notes stack in the Quest Items tab under their own labels. Reading every one of them is what closes the quest, so check the tab before assuming a delivery failed.
| Inventory entry | What Coen asked |
|---|---|
| Answer from Lunka: Rescue | A reassurance that he is still alive and coming for the family. |
| Answer from Lunka: Father | How Pieter is holding up in captivity. |
| Answer from Lunka: Defences | Anything useful about Greifberg Castle’s defences. |
| Answer from Lunka: Brencis | What Brencis is doing in the castle and whether the family is part of his plans. |
| Answer from Lunka: Gift | A present she would actually want. |
Rewards: the extra day and The Tsarina’s Favorite Human
Helping all five Sanzhani unlocks The Tsarina’s Favorite Human achievement and, more importantly, buys back time. The Tsarina rewards Coen with one additional day before Brencis’ coronation — eight daytime segments and eight nighttime segments added to the countdown. Reading the letters themselves hands over a chunk of XP, which is often enough to push a level.
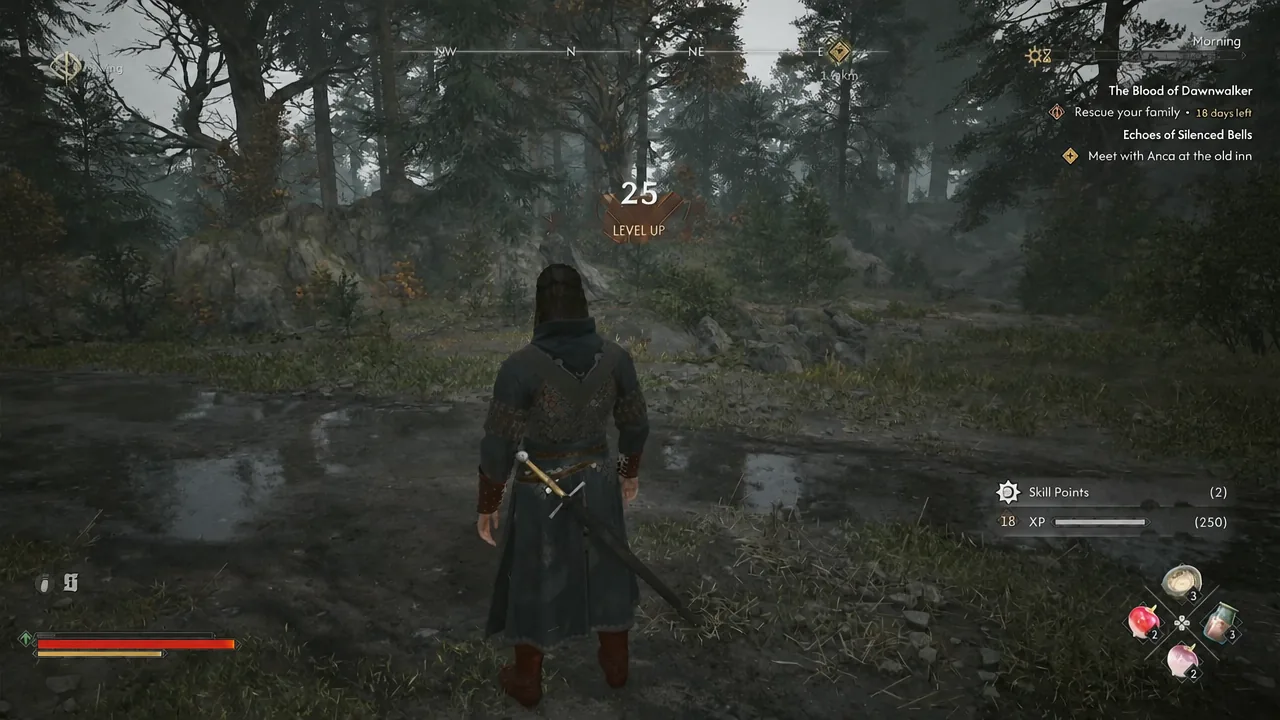
Because the extra day only lands after the full set is done, there is no partial credit here. Four out of five Sanzhani gets you nothing on the clock.
Why Letters to Lunka is not completing
There are only a few reasons the chain hangs. Run through them before crossing the map again.
- You sent a letter but have not passed a day-night transition. No amount of walking around will trigger the delivery on its own.
- The letters arrived but were never opened. They sit in the Quest Items tab, and unread notes leave the objectives active.
- A Sanzhani quest is finished but not handed in. You still need to talk to the Tsarina to unlock the next letter slot.
- One quest is genuinely outstanding. Check the Letters to Lunka journal entry rather than trusting memory — Pearly and Precious and Burrow Sorrows are the two most often left half-done.
The chain also has a second ending. You can decide to drop the correspondence entirely and put everything into freeing the family, which closes Letters to Lunka without the replies. That choice forfeits the extra day, so it is only worth taking if you have no intention of tracking the fairies down.
Treat the Sanzhani as opportunistic pickups rather than a dedicated expedition. Good Home and Tiny Dancer both sit around Svartrau, Come Hither is a short ride from the Silty Mug Inn, and the other two slot into Briar Sloughs and Rockfalls trips you will be making anyway. Folded into your existing route, the whole chain costs far less than the day it gives back.





