The Fish-shaped Scepter Head is a Red-tier craftwork item in Delta Force, and it only turns up on one map. It is not tied to a puzzle, a keycard, or a locked room. It sits out in the open on ordinary props, which makes it easy to walk straight past if you do not know what you are looking at.
Quick answer: The Fish-shaped Scepter Head spawns only on Layali Grove, on fish crates, boat decks, stone fountains, and hotel furniture. The quickest circuit runs Blue Wharf pier, the east pier opposite it, the lake dock to the north, Cargo Haven, then the Sparkling Empress Hotel.
What the Fish-Shaped Scepter Head is
It is a craftwork collectible, the category of high-value junk loot that exists purely to be sold or traded. You can pull up its details and current market price in the auction menu, which is the easiest way to check what a fresh one is worth before you decide whether it is worth the extraction risk.
The important detail is exclusivity. This piece is a Layali Grove item. Running Zero Dam, Brakkesh, Space City, Tide Prison, or AZ3 will not produce one, no matter how thoroughly you loot. If it is on your target list, Layali Grove is the only queue that matters.
All Fish-Shaped Scepter Head spawn locations in Layali Grove
Every spot below is a fixed prop that the item can appear on. None of them are guaranteed in a given raid, so treat the list as a route rather than a checklist.
| Area | Exact spot to check |
|---|---|
| Blue Wharf pier | Bow deck of the speedboat moored at the pier |
| Blue Wharf east pier | Crates on the pier directly across the water |
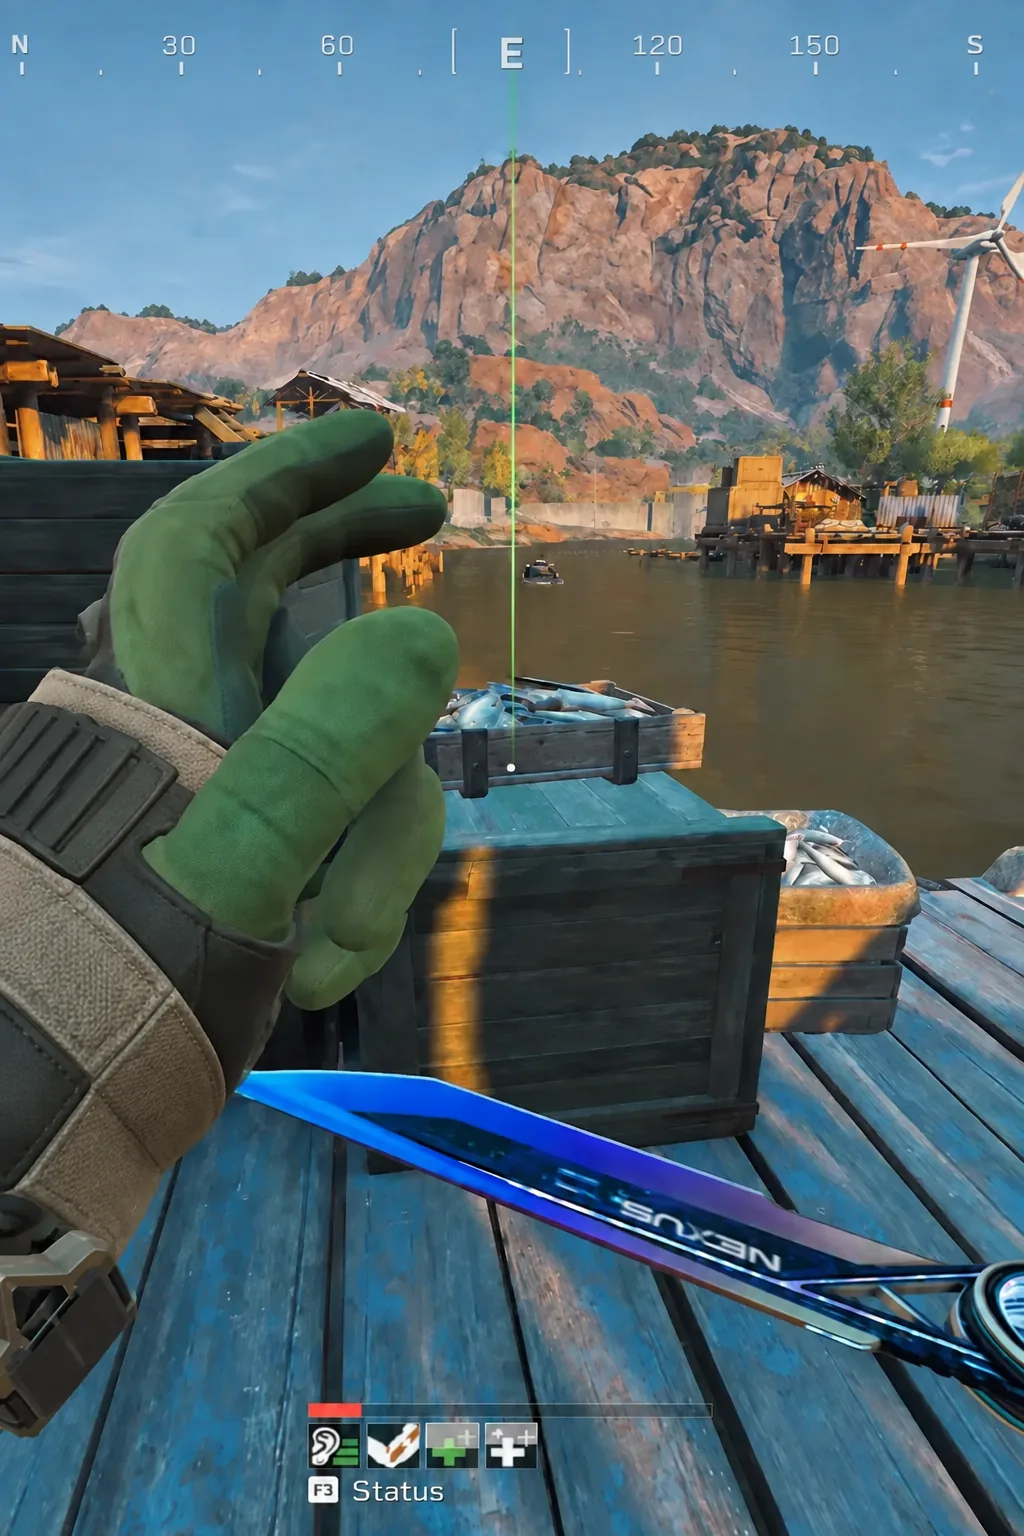
| Lake north of Blue Wharf | Wooden fish crates on the dock and the deck of the fishing boat |
| Cargo Haven | Fish crates on the tables and inside the docked wooden boats |
| Riverside walkway | Fish crates and wooden tables by the drying racks |
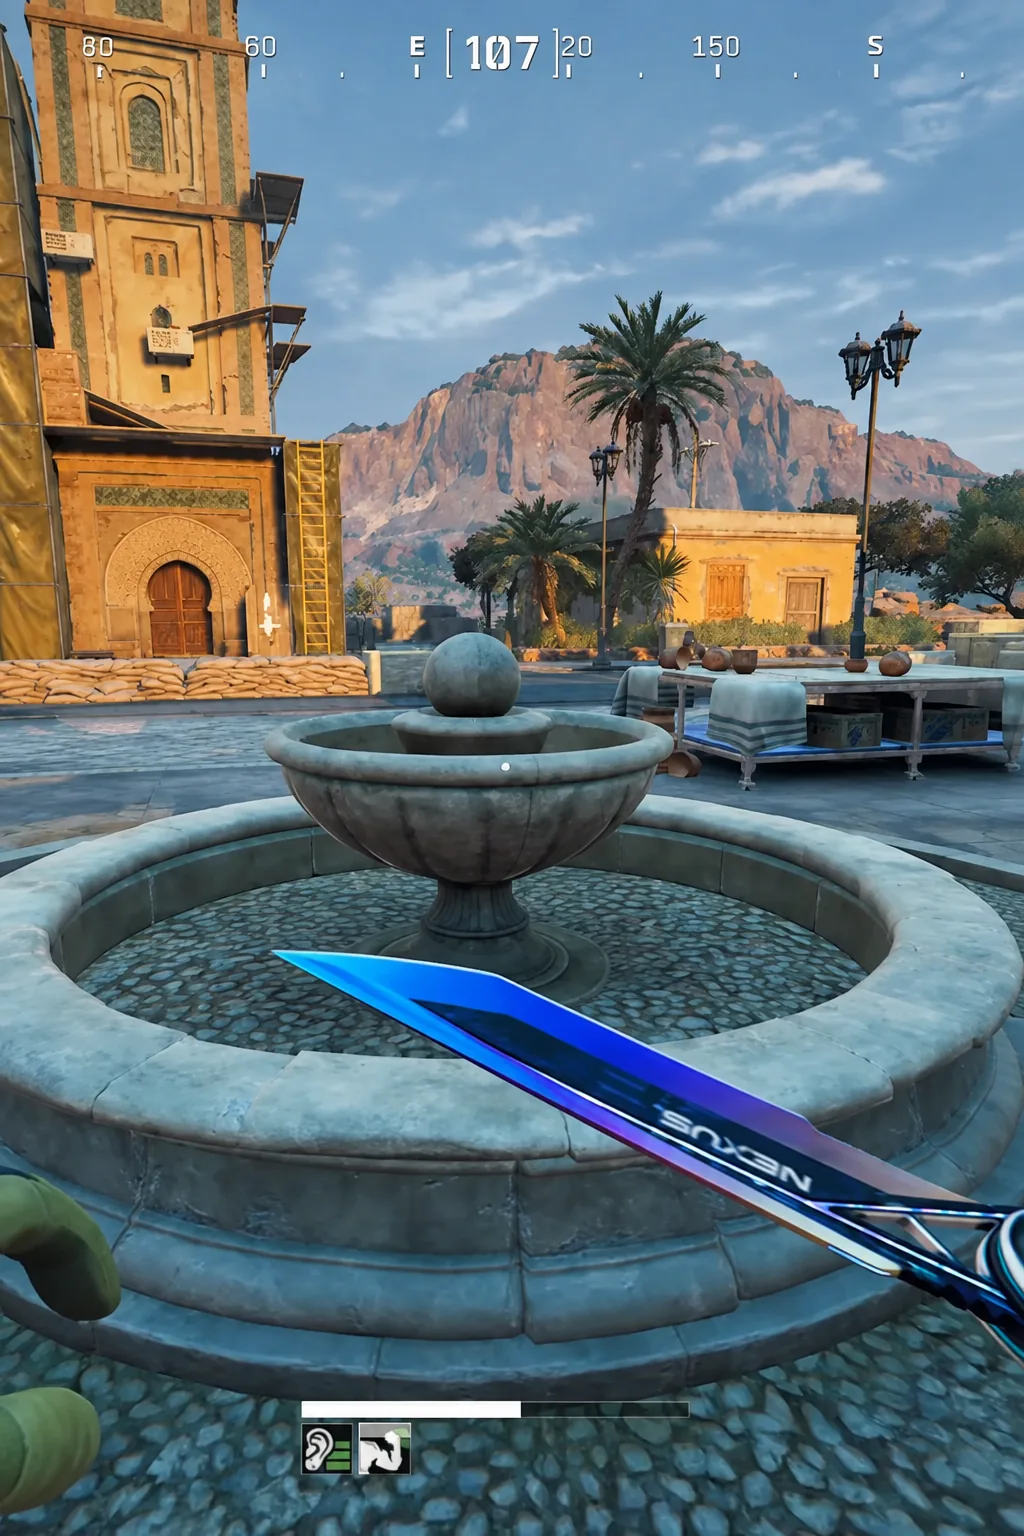
| Aminya Village | Stone basin of the courtyard fountain |
| Sparkling Empress Hotel, outside | Sun lounger by the pool and the multi-tier fountain |
| Sparkling Empress Hotel, inside | Ornate side table and wall fountain in the central atrium, plus the bath ledge by the lantern |
Blue Wharf and the lake to the north
Start at the pier in Blue Wharf. The speedboat tied up there has a flat bow deck you can jump onto, and the item sits on that deck rather than in a container. You have to be on the boat to see it clearly, so do not try to scan it from the dock.
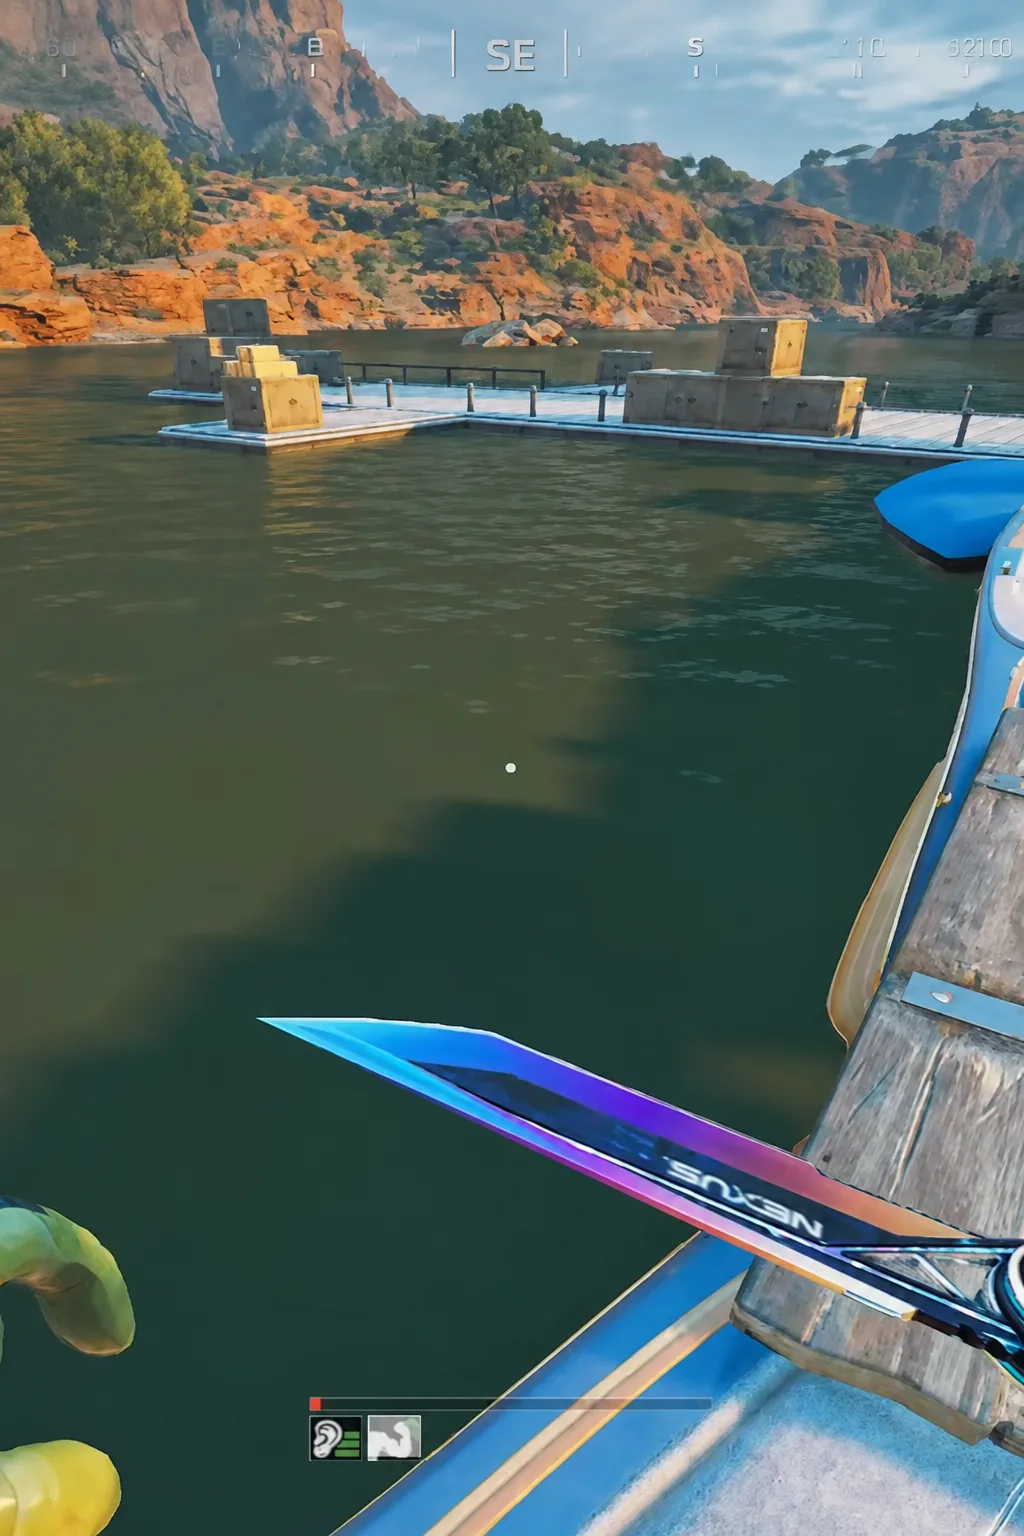
From there, cross to the pier on the eastern side of the water. The crates stacked along that walkway are the second spawn, and it is a short hop from the first one, which makes the pair worth doing together on every run.
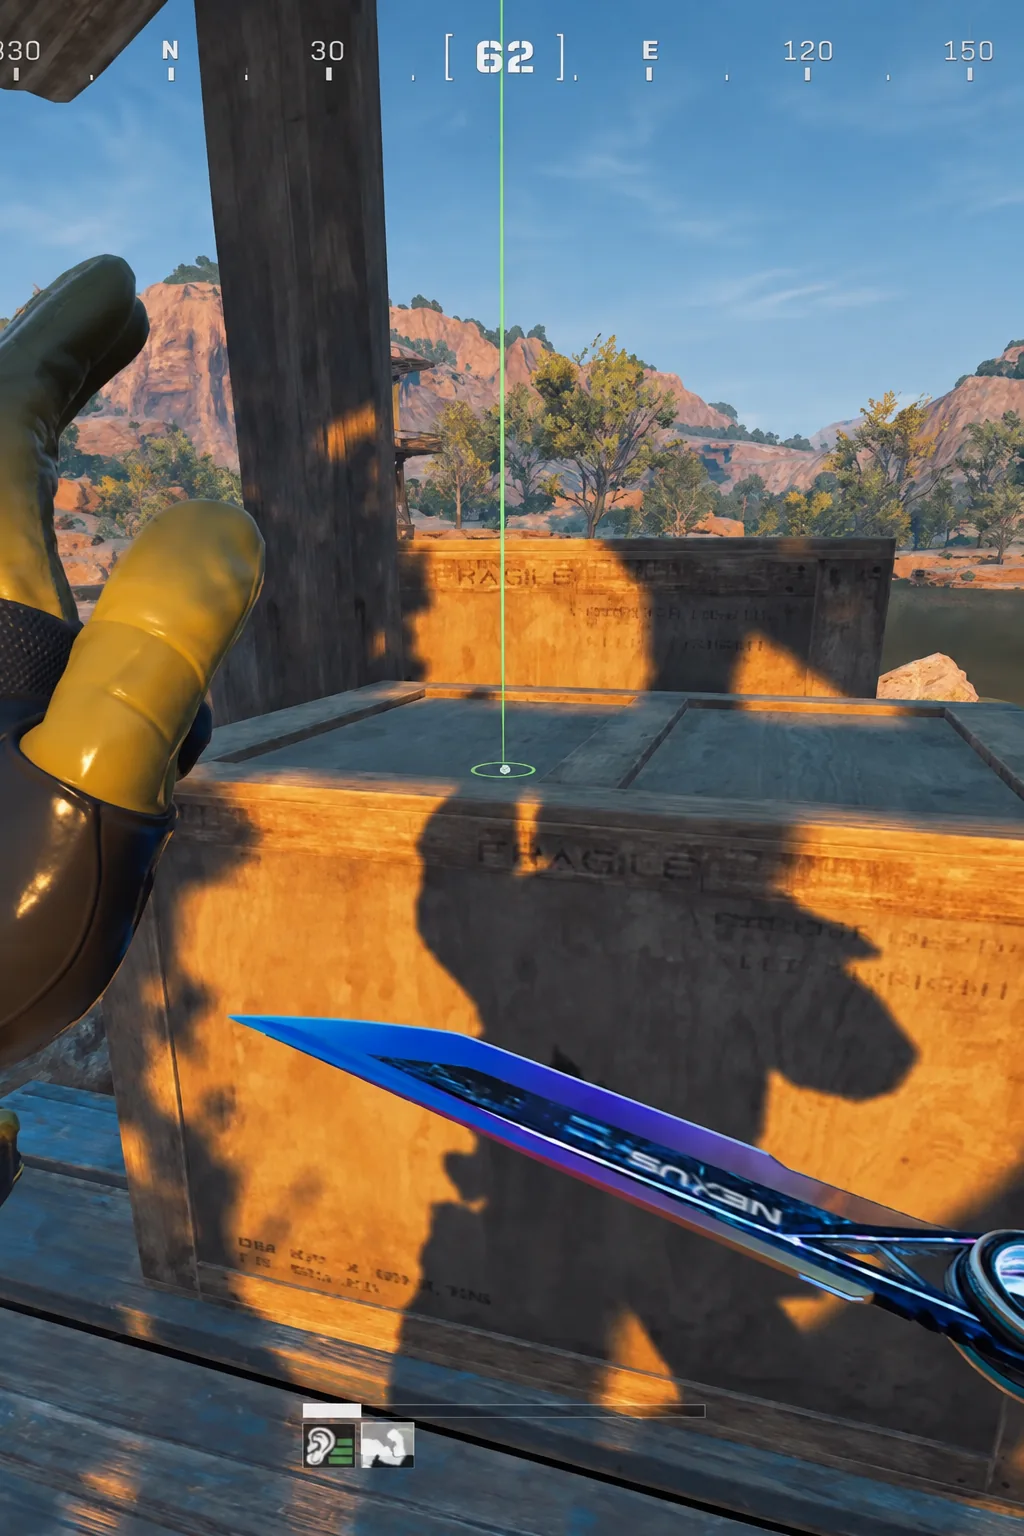
Head north from Blue Wharf to the lake. There are wooden fish crates on the dock and a fishing boat alongside it, and the item can appear on either the crates or the boat deck. Check both before you move on, since the two are close enough that skipping one saves almost no time.
Cargo Haven and the riverside drying racks
Cargo Haven has a wooden pier with fish crates set out on tables, and more crates tucked inside the boats moored against it. The boat interiors are the part people miss, because you have to step down into them to get an angle on the loot.
The riverside walkway with the fish drying racks works the same way. Wooden tables and crates line the path, and the scepter head can sit on any of them. It is a quick corridor to sweep if your route already takes you along the river.
Aminya Village courtyard fountain
Aminya Village has a single spot, and it is the stone fountain in the courtyard. Look into the basin itself rather than around the base. It is a fast detour if you are already moving through the village, and there is nothing else nearby you need to clear for this particular item.
Sparkling Empress Hotel spawn points
The hotel is the densest cluster on the map, with spawns both outside and in. Outdoors, check the sun loungers by the pool and the tiered fountain in the same area. Both are surfaces the item rests on, so approach close enough to trigger the pickup prompt.
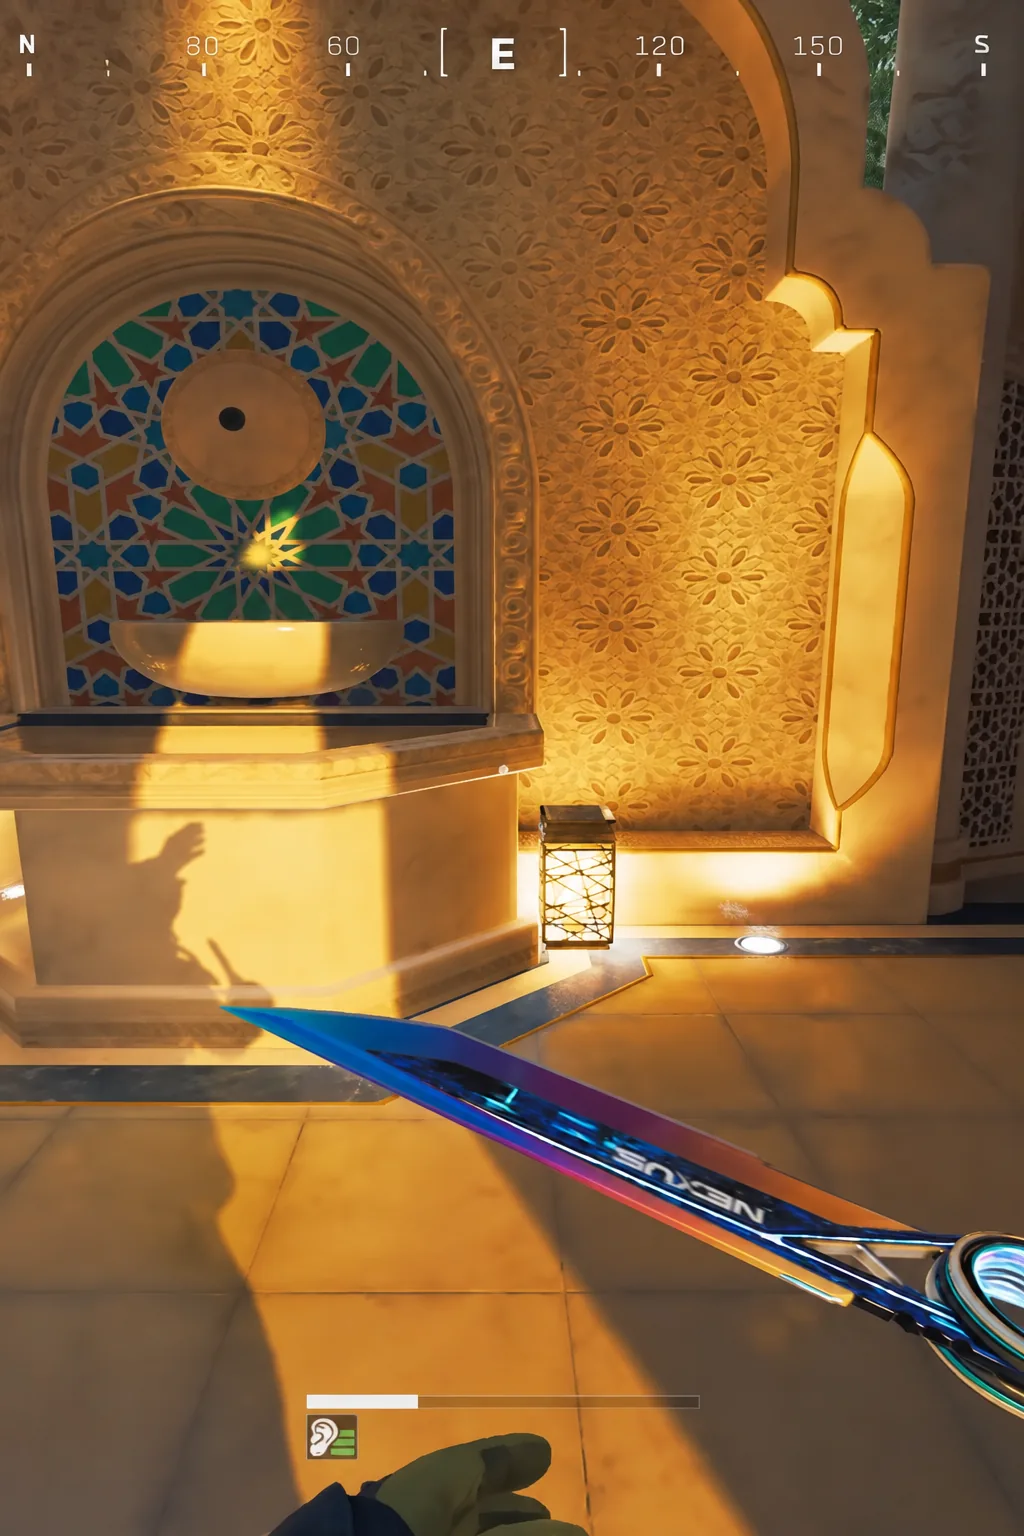
Inside, work the central atrium. The ornate side table and the wall fountain there are both spawn points, and so is the ledge in the bath area next to the lantern. Because the interior spots are stacked in one building, the hotel is the highest-value single stop on the route, and the most contested.
How to confirm you actually picked it up
The item lands in your inventory as a craftwork entry with Red rarity colouring, so it is obvious in the loot grid. If you want to double-check the value, open the auction menu and look it up by name. The listing shows the item details and the current price alongside it.
A Red-tier item is only yours once you leave the map. Nothing about the pickup is protected if you die on the way out, which is the usual reason a run ends with nothing.
Why the spawn is empty when you get there
Three things explain almost every empty check. You are on the wrong map, since nowhere outside Layali Grove produces this item. Someone reached the prop before you did, which is common at the hotel and at Blue Wharf. Or the item simply did not roll that raid, because these are potential spawn points, not fixed guarantees.
Note: several of these spots need you to physically stand on the prop, particularly the boat decks and the fountain basins. If you are scanning from a few metres away and seeing nothing, get closer before you write the spot off.
The practical way to farm this is to treat the water’s edge as the route. Blue Wharf, its east pier, and the lake dock sit close together and cover three chances in a couple of minutes. Cargo Haven and the riverside racks fill out the middle of the run. Save the hotel for last, when you already have something in the bag and can decide whether the extra Red is worth walking into the busiest building on the map.