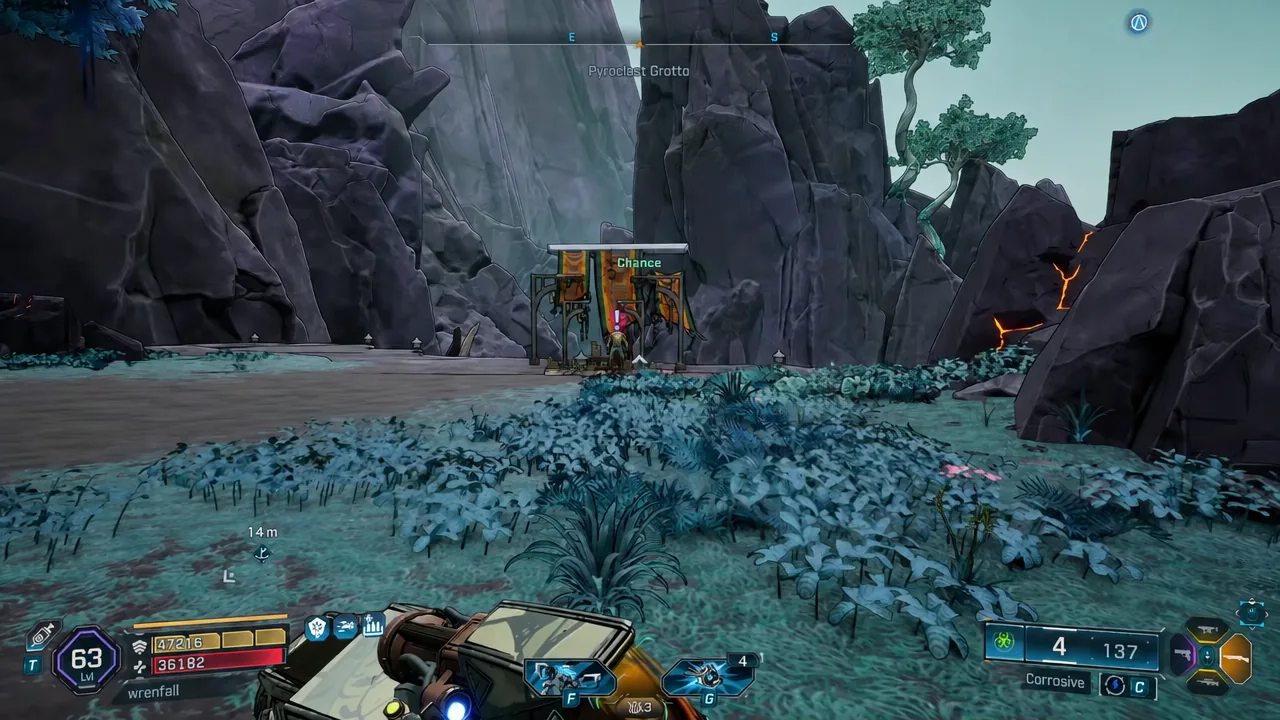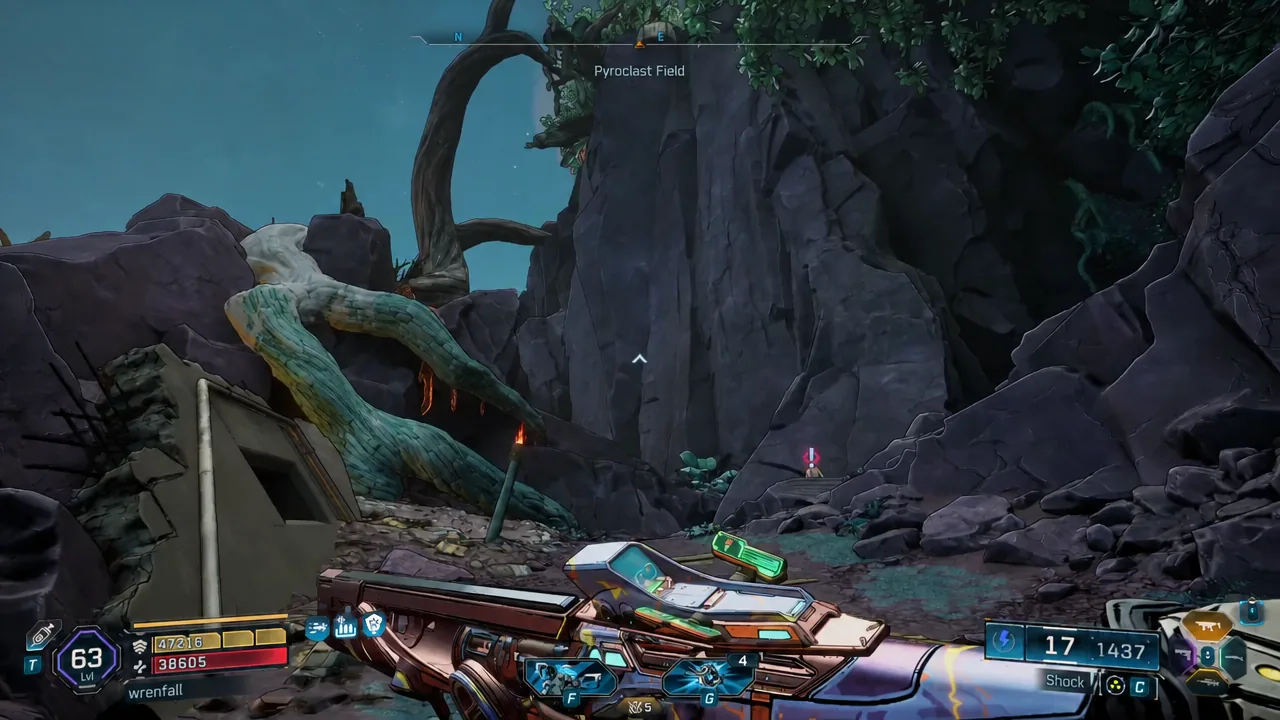
Rescue Rangers is a custom DLC side mission on the Providence Island map, and the “rescue” framing is a setup from the first line of dialogue. The survivors you go looking for are cannibals, the man who hires you is running the operation, and the cave itself tries to kill you on the way out. It runs about seven minutes if you know where the traps are.
Quick answer: Accept the mission from Hugh in Pyroclast Field, clear the cave known as The Devil’s Butthole, escape the lava flood, then fast travel back to Pyroclast Field and kill Hugh along with his summoned minions to finish the quest and receive the Looming Xiuhcoatl.
Rescue Rangers requirements and quest giver
The mission is gated behind ownership of extra content, and that gate applies to everyone in the session, not just the host. If a co-op partner is missing it, the mission will not advance for the group.
| Detail | Value |
|---|---|
| Mission type | DLC side mission |
| Map | Providence Island |
| Starting area | Pyroclast Field |
| Quest giver | Hugh (marked as a DLC side mission giver) |
| Requirement | All players must own FL4K and the Lost Resort |
| Main dungeon | The Devil’s Butthole cave |
| Rewards | Looming Xiuhcoatl, Unleashed Vault Hunter Style |
Full objective order for Rescue Rangers
The objective list runs in a fixed sequence with no branching choices, so you can use it as a checkpoint tracker if you get turned around in the cave.
| # | Objective |
|---|---|
| 1 | Find survivors |
| 2 | Enter cave |
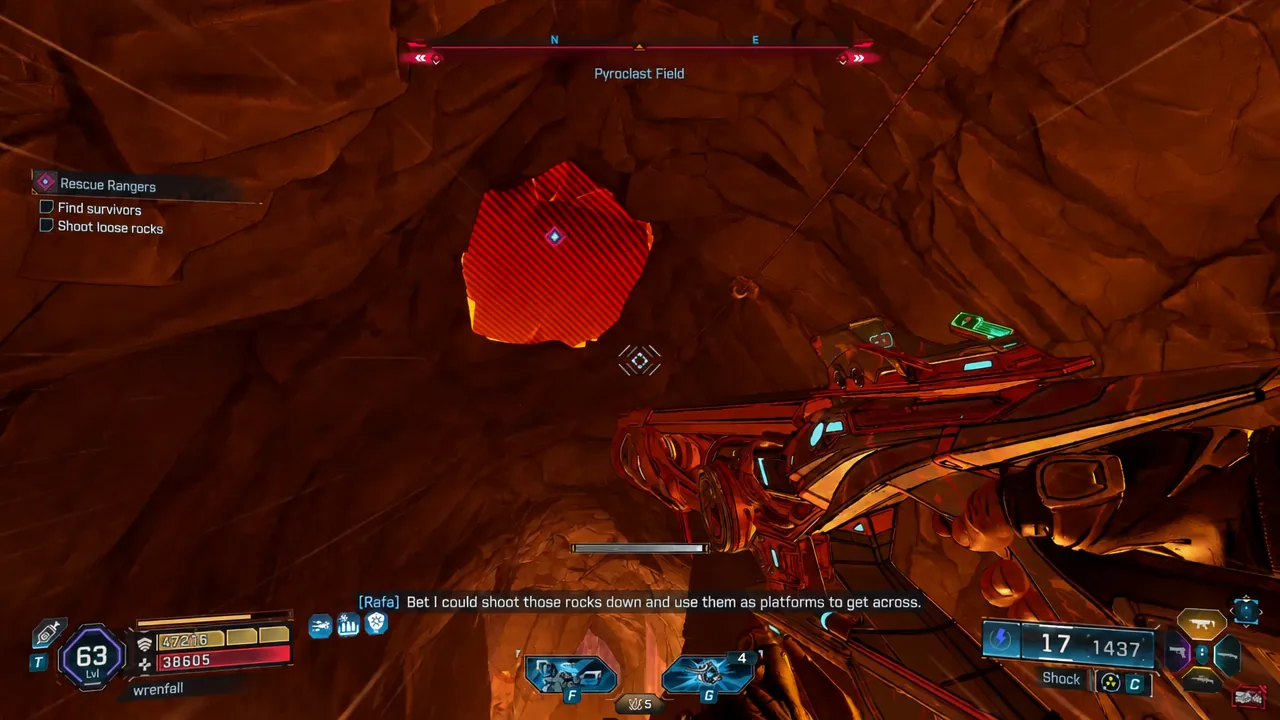
| 3 | Shoot loose rocks |
| 4 | Follow survivor |
| 5 | Kill “survivors” |
| 6 | Free prisoners |
| 7 | Escape lava pit |
| 8 | Confront Hugh |
| 9 | Kill Hugh’s minions |
| 10 | Kill Hugh |
Getting into the cave and crossing the lava
Both ambushes: Chip, Rip, Dip and the caged prisoners
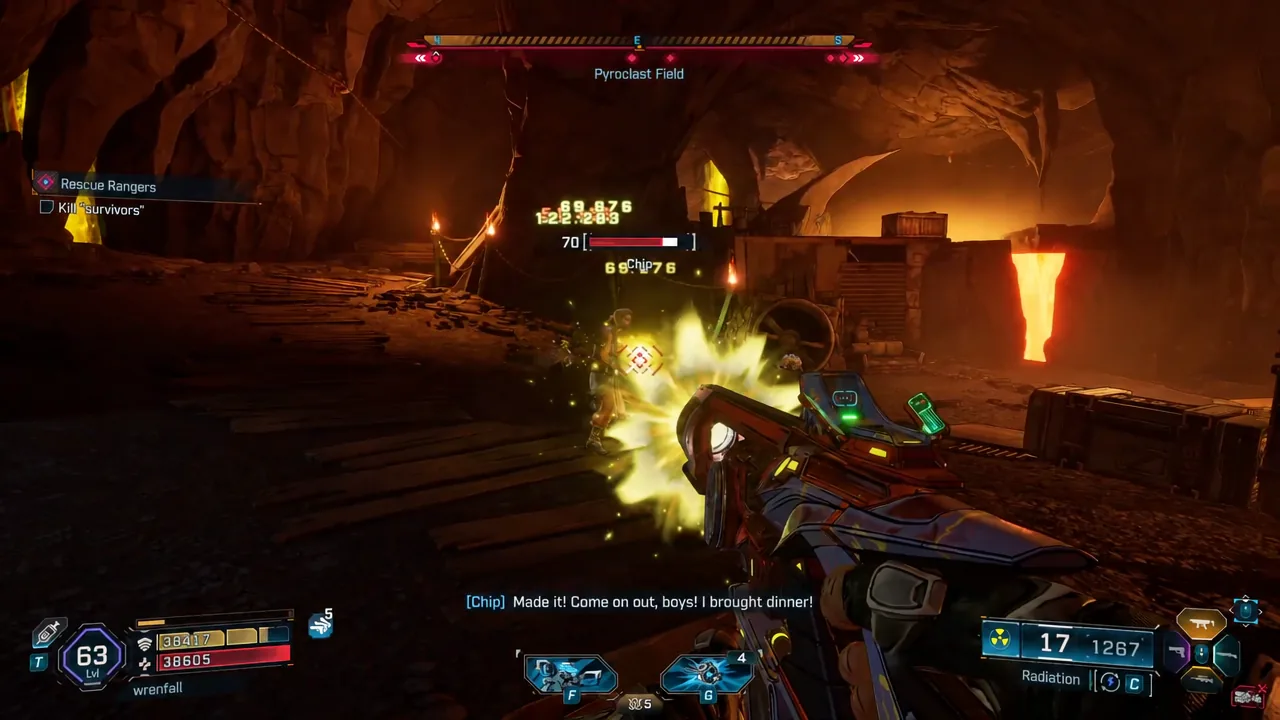
The mission traps you twice, and both are scripted. Chip turns on you the moment you follow him far enough in, and the objective flips to “Kill ‘survivors’” while Rip, Dip, and the rest of the cannibals join the fight. Keep moving here, since the arena is tight and ringed by lava.
After the fight, follow the cries for help to a set of cages suspended over lava. You free the prisoners by shooting the targets attached to the cages, and the counter tracks your progress up to 3/3. Freeing all three is what advances the mission, and it is also what springs the second trap.
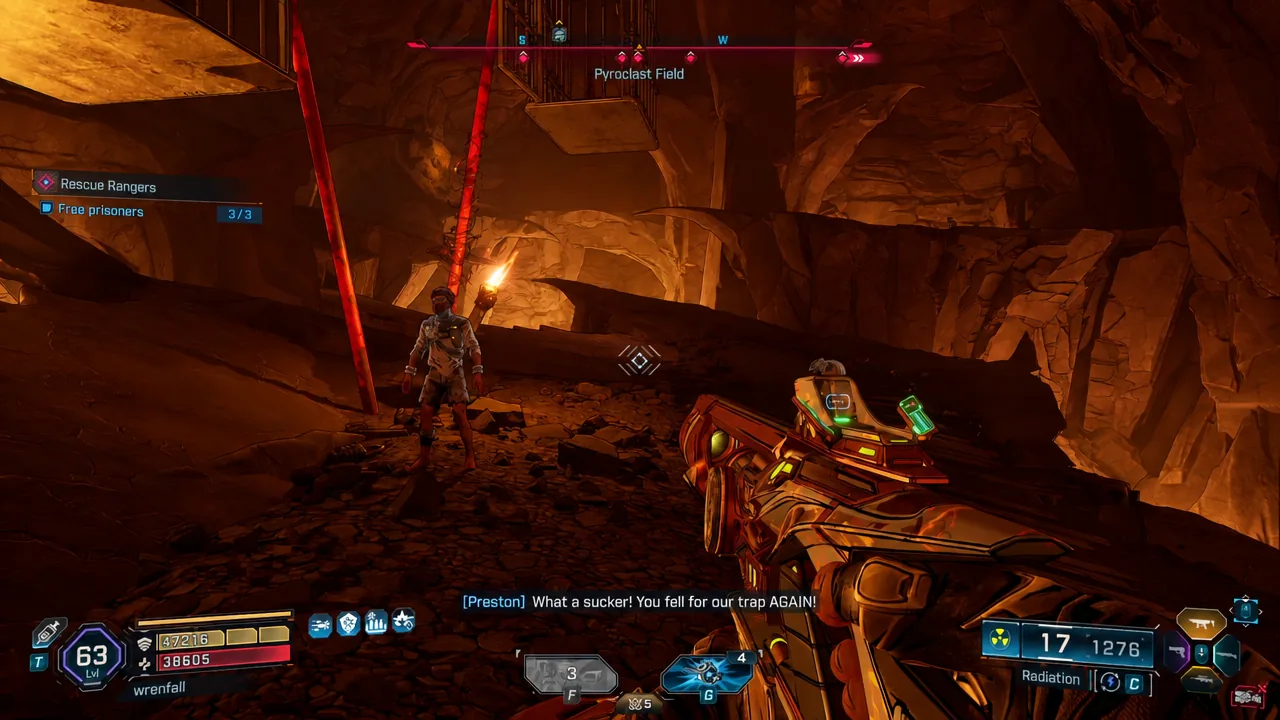
Escape lava pit: how to get out of the flooding cave
Jimothy triggers a volcanic eruption once the prisoners are loose, and lava starts filling the cavern from below. This section is a timed climb, not a fight, so stop shooting and start moving.
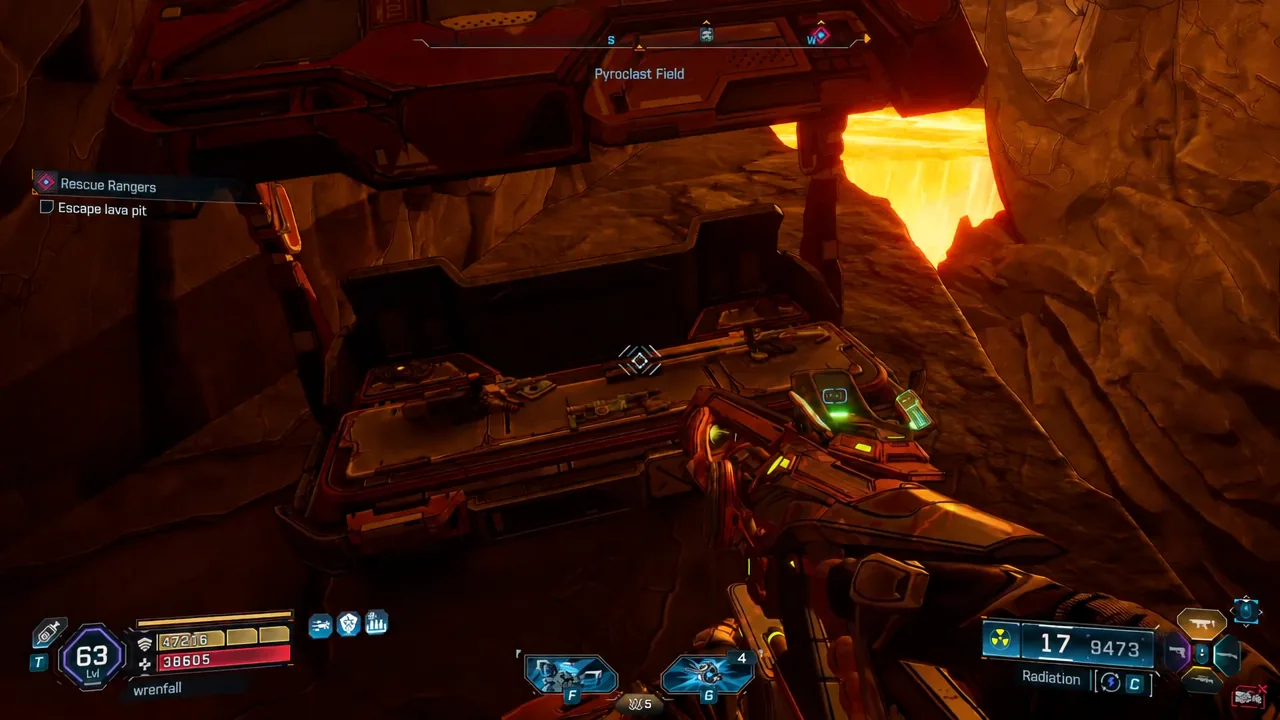
Confront Hugh and kill Hugh’s minions
Fast travel back to Pyroclast Field instead of walking. The waypoint sends you straight to Hugh, who drops the friendly act as soon as you get close and summons a wave of cannibals.
The minions have to die before Hugh becomes the target, so clear the wave first and then focus him down. Hugh’s death is the final objective, and there is no escape phase or second stage after it.
Note: leaving the area mid-fight is the most common reason the mission looks stuck, since the encounter only progresses with Hugh and his wave in play.
Rescue Rangers rewards and Looming Xiuhcoatl stats
Completing the mission hands over a legendary Jakobs weapon called the Looming Xiuhcoatl along with the Unleashed Vault Hunter Style. The gun’s defining trait is its critical hit behavior rather than raw rate of fire.
| Stat | Value (level 70) |
|---|---|
| DPS | 24,246 |
| Damage | 41,775 |
| Accuracy | 91% |
| Handling | 58% |
| Reload time | 2.3s |
| Fire rate | 2.31/s |
| Magazine size | 4 |
| Bonus | +107% Weapon Damage |
| Effect | Critical hits ricochet projectiles to nearby enemies |
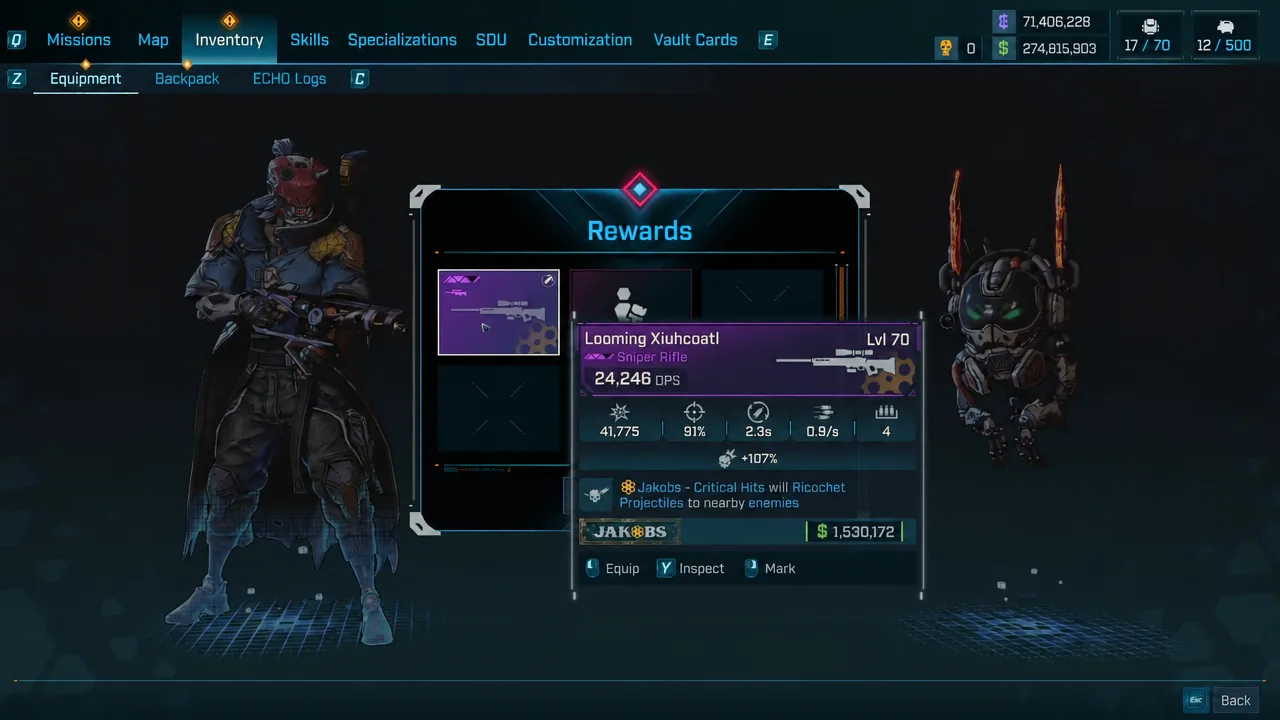
How to confirm the mission completed
Hugh’s death immediately closes out the objective list and the mission-complete banner appears on screen. Open your inventory and check the rewards panel for the Looming Xiuhcoatl to confirm the payout landed, then check your customization menu for the Unleashed style.
If the mission never appears on the map in the first place, the ownership check is the thing to verify. Everyone in the session needs FL4K and the Lost Resort, and a single player missing it blocks progress for the whole group rather than just that one character.
The whole mission is essentially two betrayals and one climb, and none of it is randomized. Once you know the loose rock is overhead and the cage targets trigger the eruption, the run is short enough to repeat purely for the loot at the cave exit.