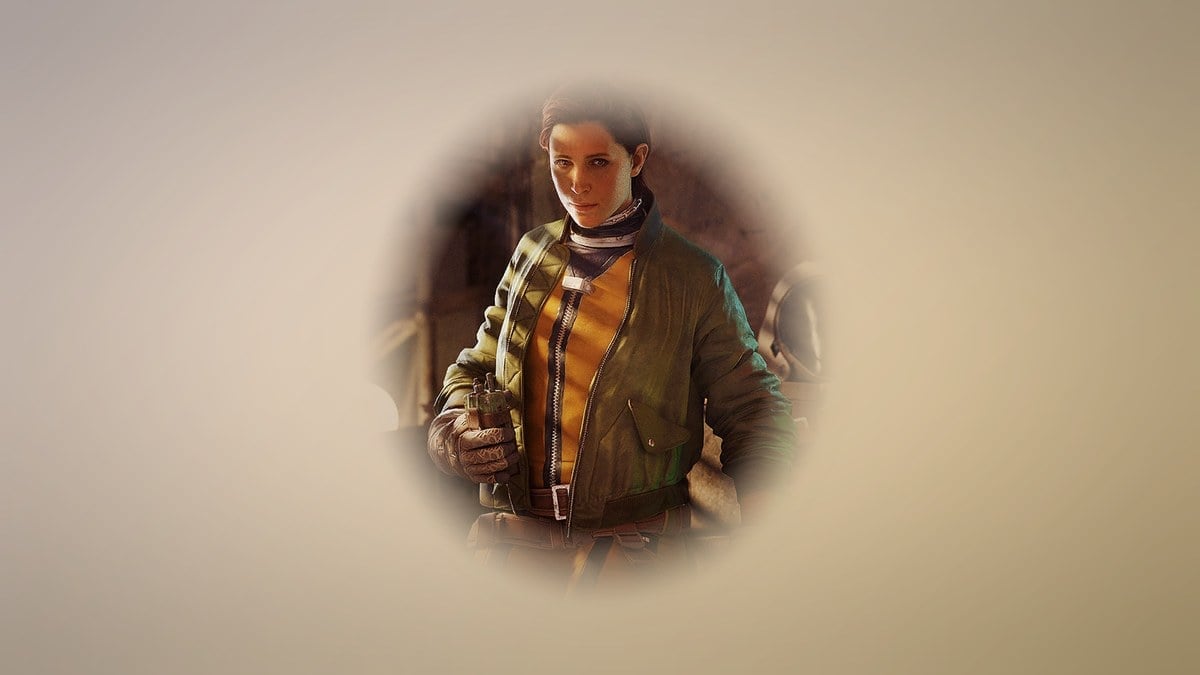
Celeste’s Teenage Rebellion is a Frozen Trail quest handed out by Celeste in Speranza, and every objective sits on Riven Tides. One of those stops is an old Raider Camp perched on the cliffs above the beach, where you inspect a radio transmitter. The camp is easy to walk past, so the trick is knowing exactly which patch of coast it sits on and which structure holds the antenna.
Quick answer: The old Raider Camp is on the cliff west of the Wharf, between Azzurro Beach to the north and Hotel Panorama Azzurro to the south. Walk up to its antenna pole and hold the inspect prompt.
What to pack for the Riven Tides run
You carry nothing into these objectives and extract nothing out, so a free loadout is the sensible choice and the safe pocket can stay empty. The three stops stretch from the center of the map to its eastern shoreline, which is a long walk with ARC machines and rival Raiders in between.
Progress sticks between raids, so you can clear one or two stops, surrender back to Speranza, and finish the rest later. Because there is no quest item to protect, surrendering after the field work is done drops you straight home without a fight to extraction.
Take a few Adrenaline Shots for the crossings. A single shot replenishes all stamina and increases its regeneration rate to 5 per second for 10 seconds. It weighs 0.2, and you can stack up to five.
Reach the old Raider Camp near the hotel
The camp sits on a cliff plateau on the western side of Riven Tides. Use Azzurro Beach as your northern marker, Hotel Panorama Azzurro and the Beach Bar to the south, and the industrial Wharf directly below to the east. A Supply Call Station icon marks the immediate area on your map, so line your approach up on that.
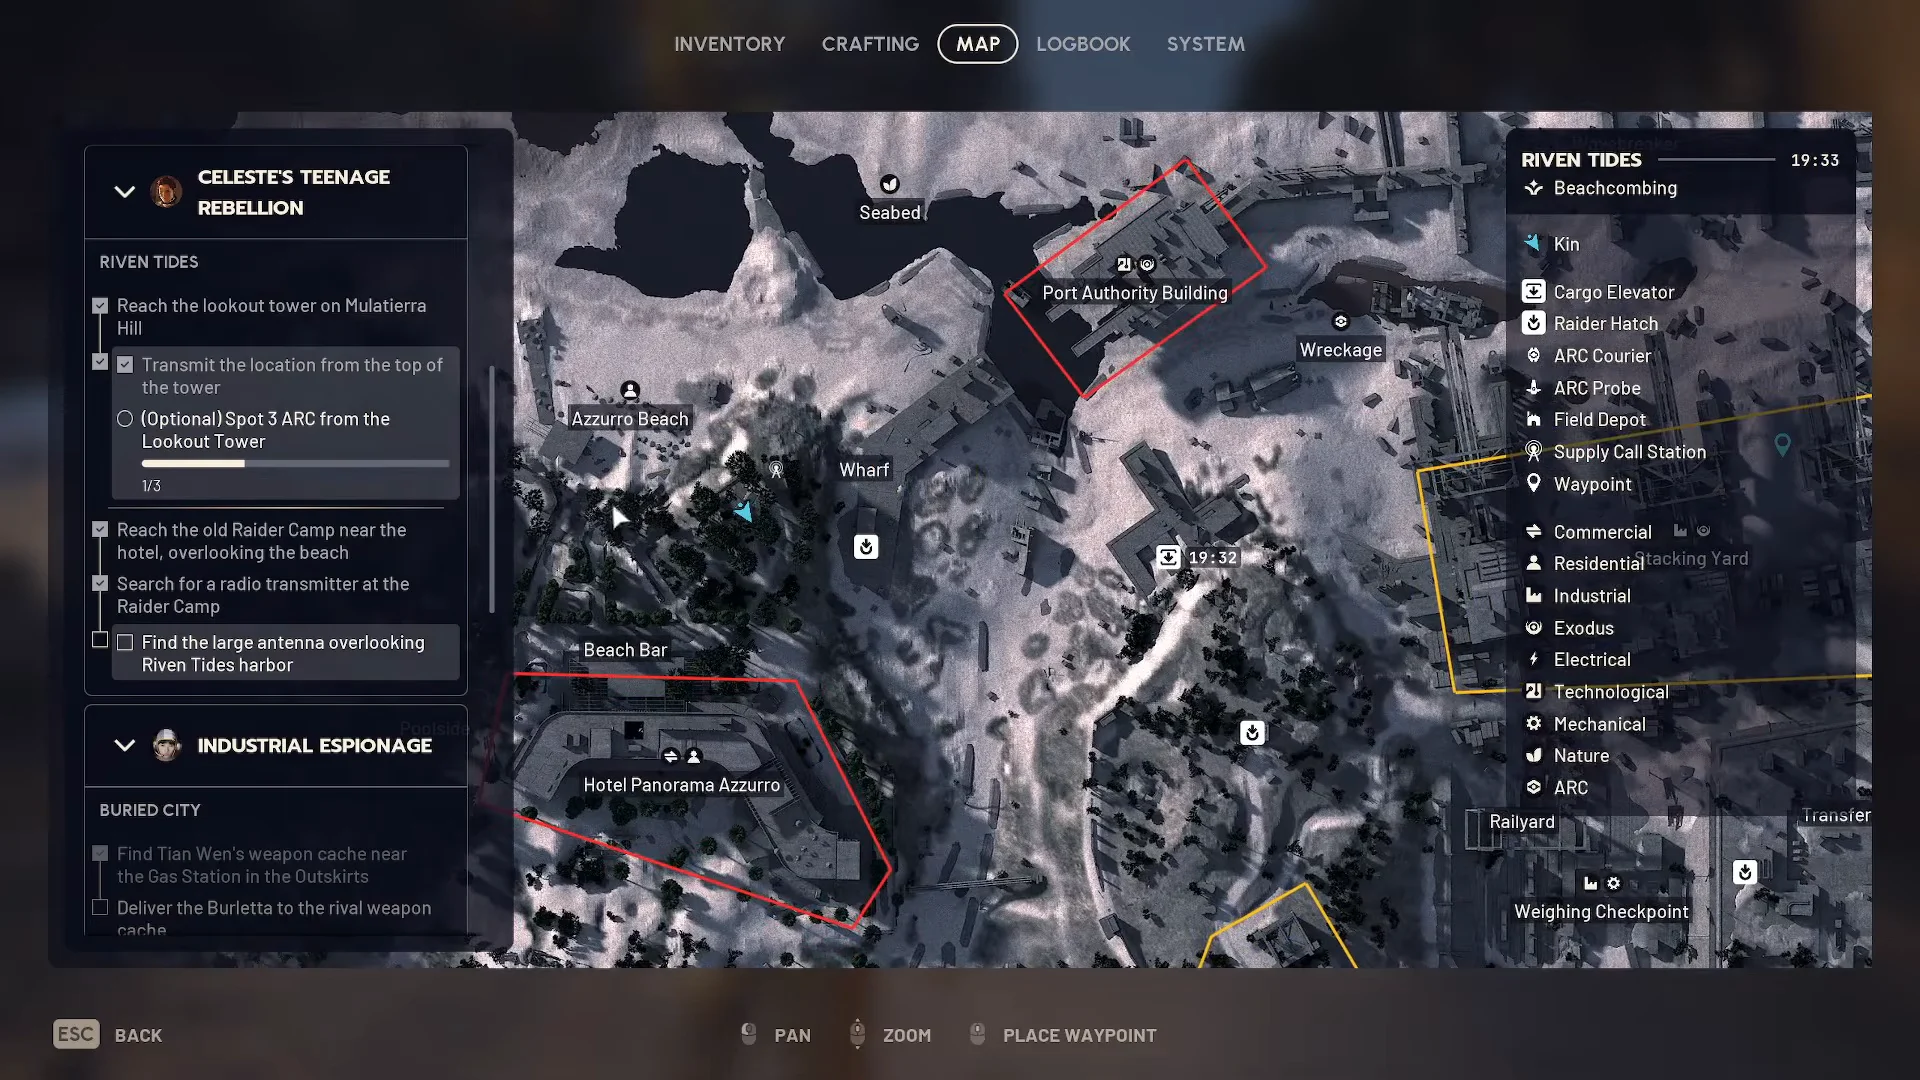
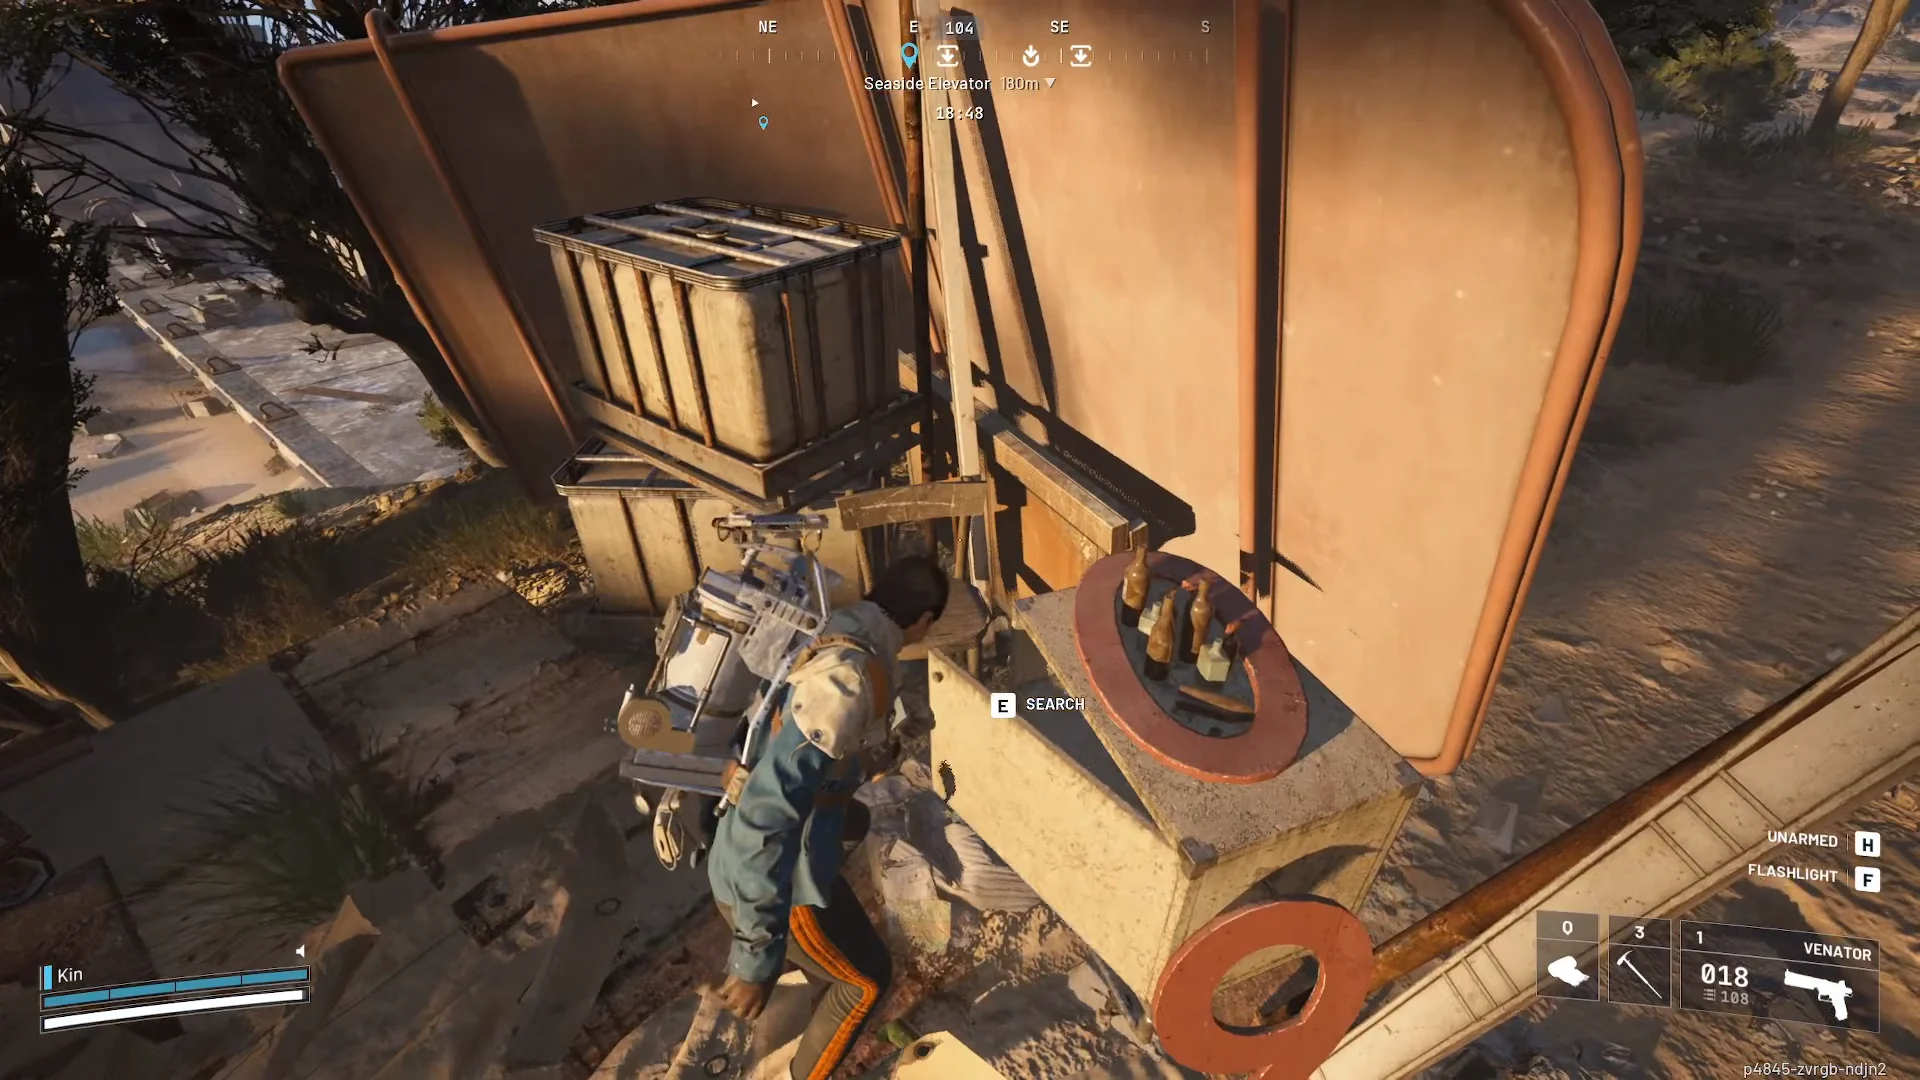
On the ground, look for a tall antenna pole with a small dish, a shade tarp, lawn chairs, and a corrugated metal shelter overlooking the sea. Coiled wires run along the ground beside the mast. Simply arriving clears the “Reach the old Raider Camp near the hotel, overlooking the beach” objective.
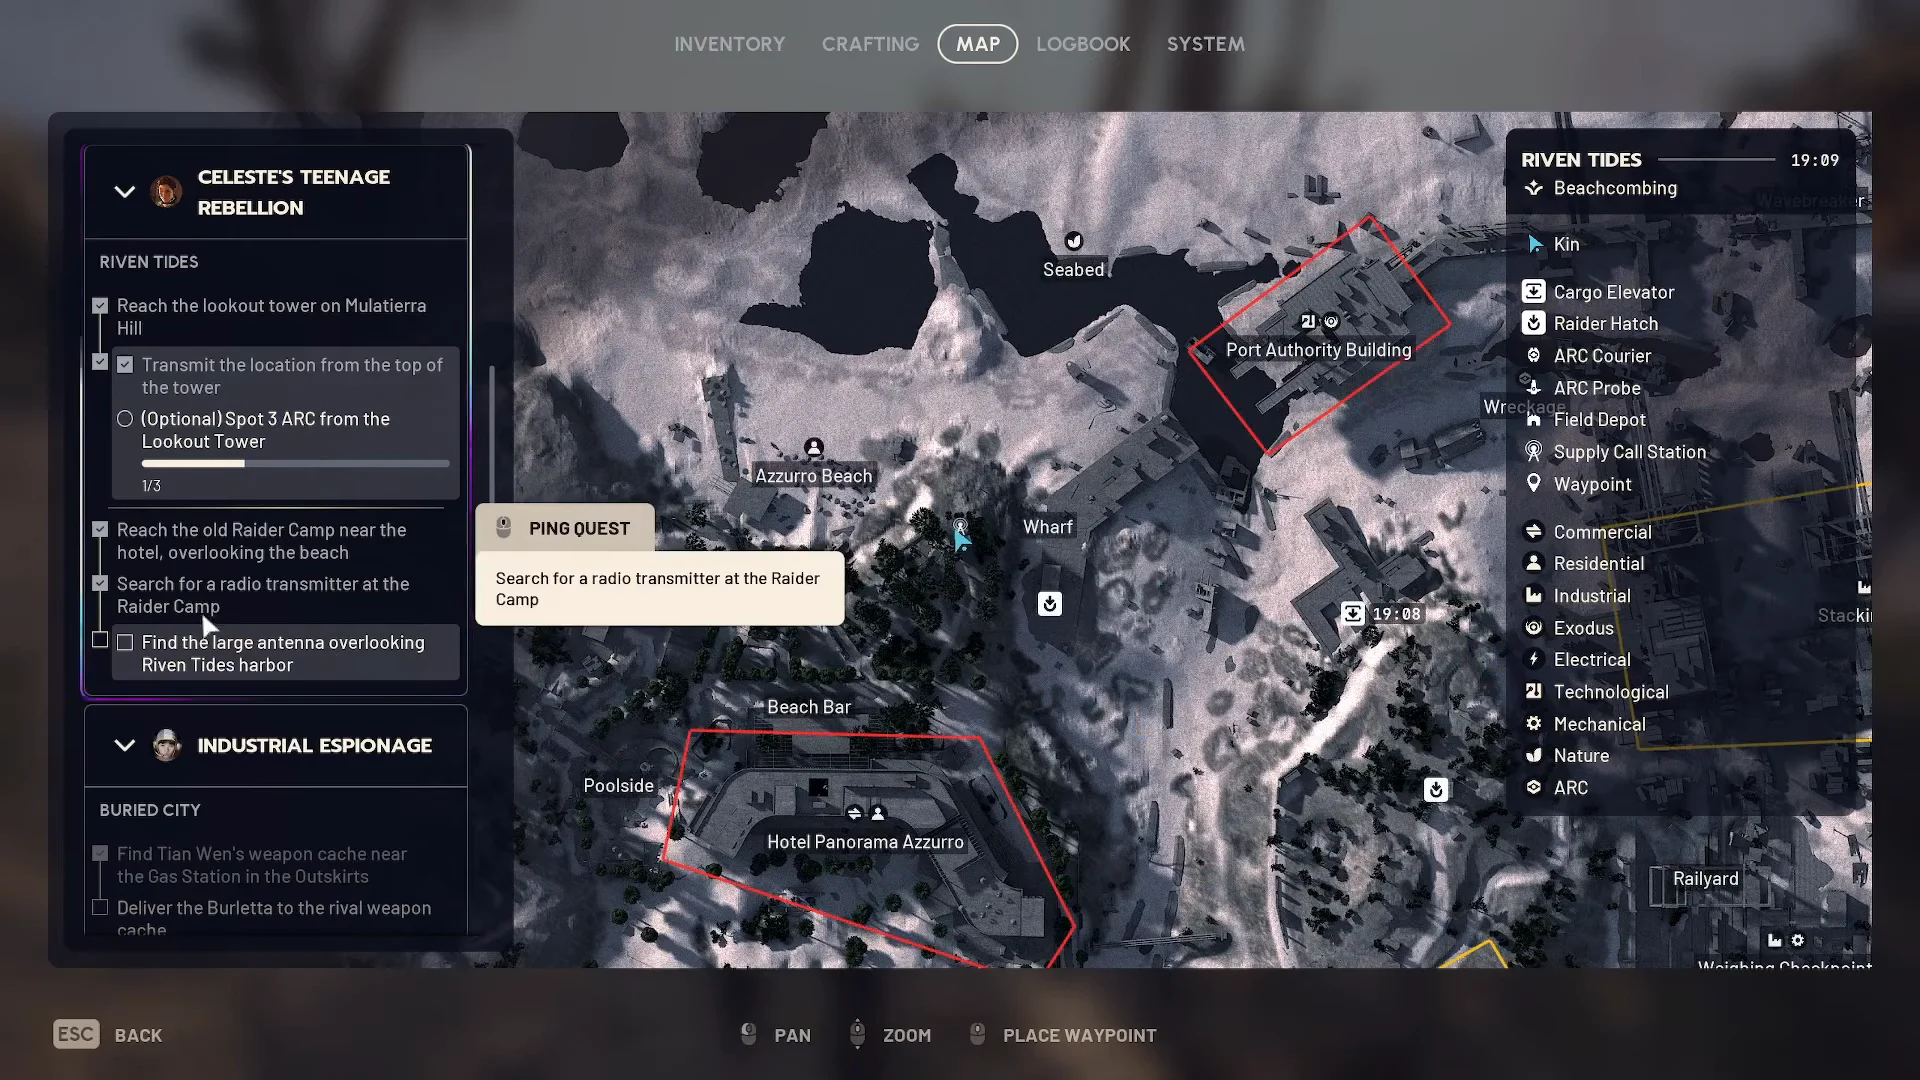
Walk up to the antenna pole and hold the Inspect Antenna prompt to search the radio transmitter. There is nothing to pick up or carry. The interaction alone clears the second camp objective and updates your tracker with the final location across the map.
If you want the extra supplies, step into the sheet-metal shelter and open the storage container there. It is optional for the quest, but a quick grab before you move on.
Transmit from the Mulatierra Hill lookout tower
If you are running the intended order, this is the first stop, in the middle of the map and north of Customs House, right beside a Raider’s Hatch. The tall concrete tower stands out from a distance.
Transmitting pulls nearby ARC toward the tower. Scan for large airborne units such as a Rocketeer or Vaporiser before you climb down, since they can pin you against the structure as you leave.
Weld and power the large harbor antenna
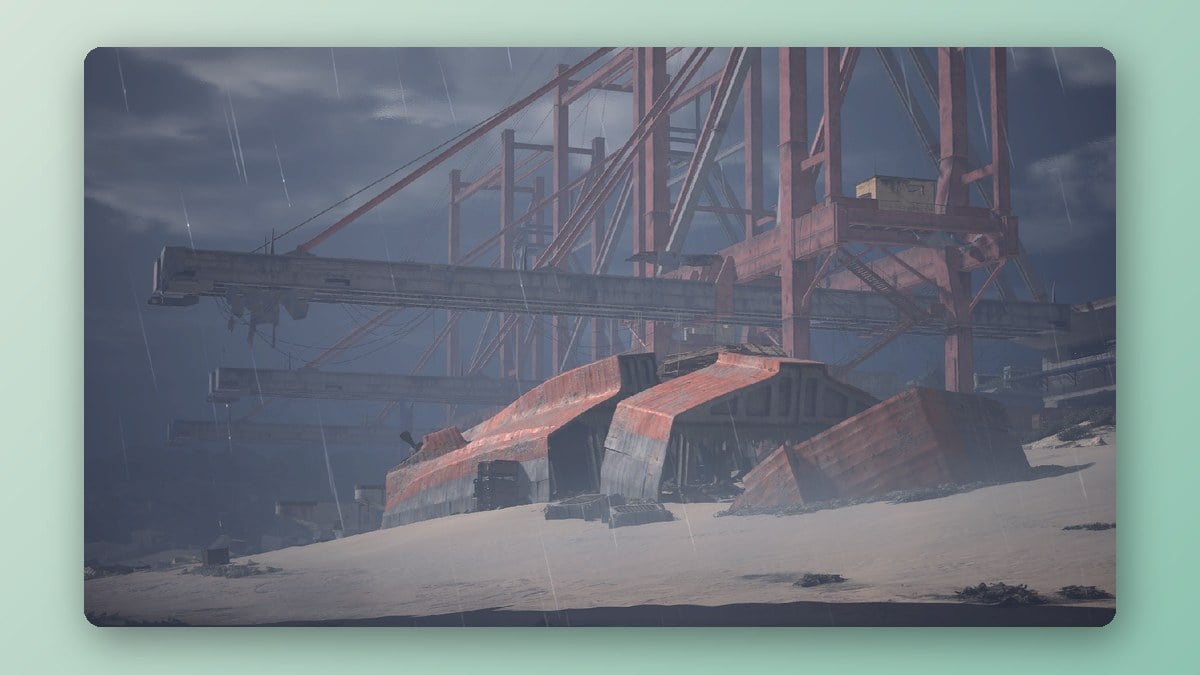
Leave the camp heading east along the northern cliffs. Pass the Harbor, continue east of Wavebreaker, and reach the northeastern hills at the map’s edge. Look for a tall red-and-white-banded antenna beside a small structure, which is visible from a long way off and stands well above the docks.
Find the trailer-mounted generator at the base of the tower. Hold the interact button to Weld the broken unit and restore it.
Interact a second time and choose Enable the power. The transmitter comes online and finishes the quest’s field objectives. The generator has to be welded before the power option appears.
You know the run worked when the tracker marks every objective complete the moment the transmitter powers on. From there, extract through a Raider Hatch or elevator, or surrender to drop back to Speranza right away.
Turn in to Celeste and claim the rewards
Back in Speranza, talk to Celeste to hand the quest in. She awards 5,000 XP along with both gear rewards at no crafting cost, which saves the materials you would otherwise spend building them. You cannot run both in one loadout, but either is useful for the tougher Frozen Trail objectives.
| Reward | Rarity | Weight | Sell value |
|---|---|---|---|
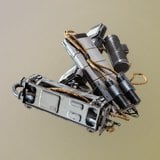 Heavy Shield | Epic | 9 | 5,500 |
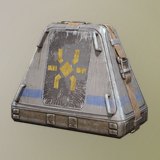 Looting Mk. 2 | Rare | 2 | 2,000 |
Heavy Shield absorbs much of the damage you take, with 80 charge and 52.5% damage reduction; your movement speed drops by 10%.
Looting Mk. 2 widens your scavenging capacity and adds trinket slots, with an Anti-Tick Field built in. It carries 22 backpack slots, a 60 max loadout weight, 2 weapon slots, 4 quick-use slots, 3 trinket slots, and 2 safe pocket slots, and it supports a Light Shield.
Once Celeste accepts the hand-in, the quest clears from your log and she has more work available afterward.