Providence Island hides a two-part side mission that most players walk straight past. It starts with a bored guard, ends with ten runaway Tediore guns stuffed into a portable toilet, and pays out the Unbroken dynamic Style along with the Corporate Reclamation achievement.
Quick answer: Accept “The Relieving of the Guard” from Private Hatch in Pyroclast Field, open the hatch to release 10 Tediore weapons across Providence Island, collect all 10, then return to Hatch to start “The Second Relieving of the Guard” and place the guns in the portable toilets. The Unbroken Style appears in your Rewards once the mission completes.
Requirements before the Tediore guns will spawn
Providence Island arrives with the FL4K and the Last Resort story pack, so you need that content installed and the island unlocked. In co-op, everyone in the session must own it — the mission will not progress otherwise.
The collectibles do not exist in the world until you trigger them. Private Hatch stands guard over a sealed hatch in Pyroclast Field, and his mission gives you two choices: guard the hatch, or neglect your duties. Opening it is what scatters the ten Runaway Guns across the map, each one marked as an escaped Tediore weapon.
All 10 escaped Tediore weapon locations on Providence Island
Order does not matter. Grab them in whatever route suits your fast travel points, and the counter ticks up regardless. Most sit on high ground, so expect a lot of climbing, grappling and gliding.
| # | Area | Where it sits |
|---|---|---|
| 1 | Pyroclast Field | Top of a tall structure |
| 2 | Pyroclast Field | On rocks in the bottom-right of the region |
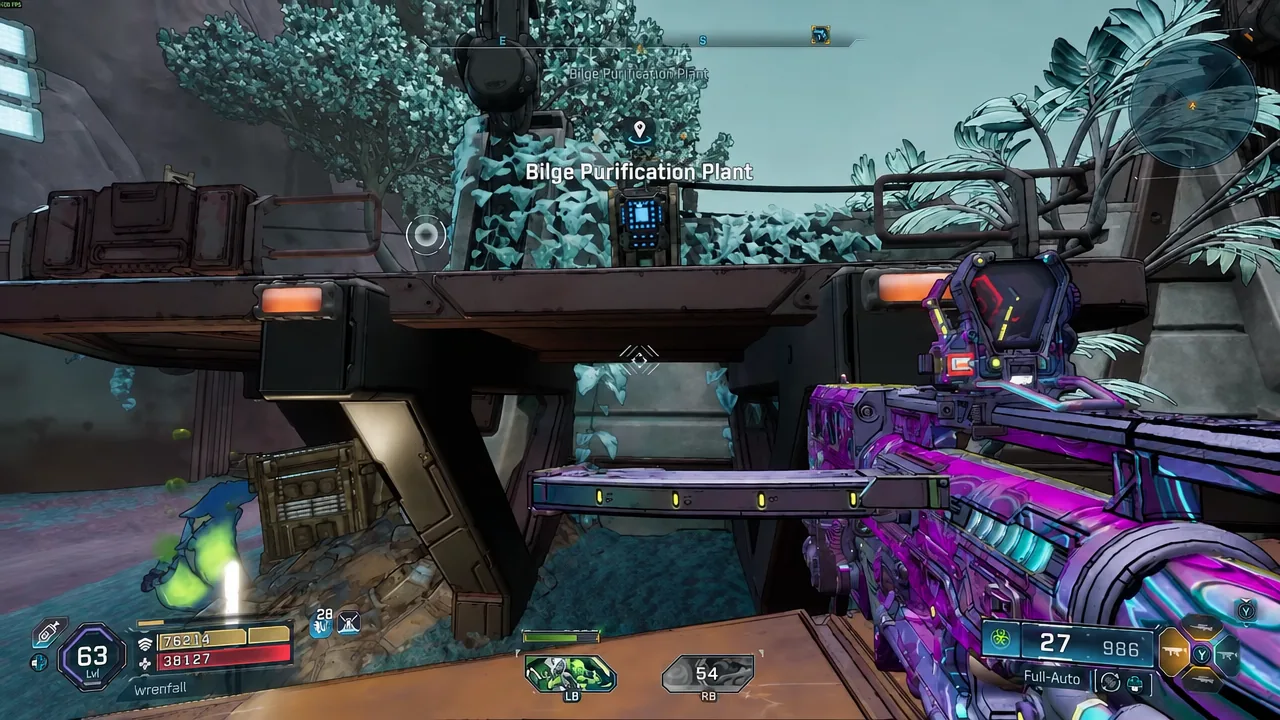
| 3 | Bilge Purification Plant | On top of the outer wall |
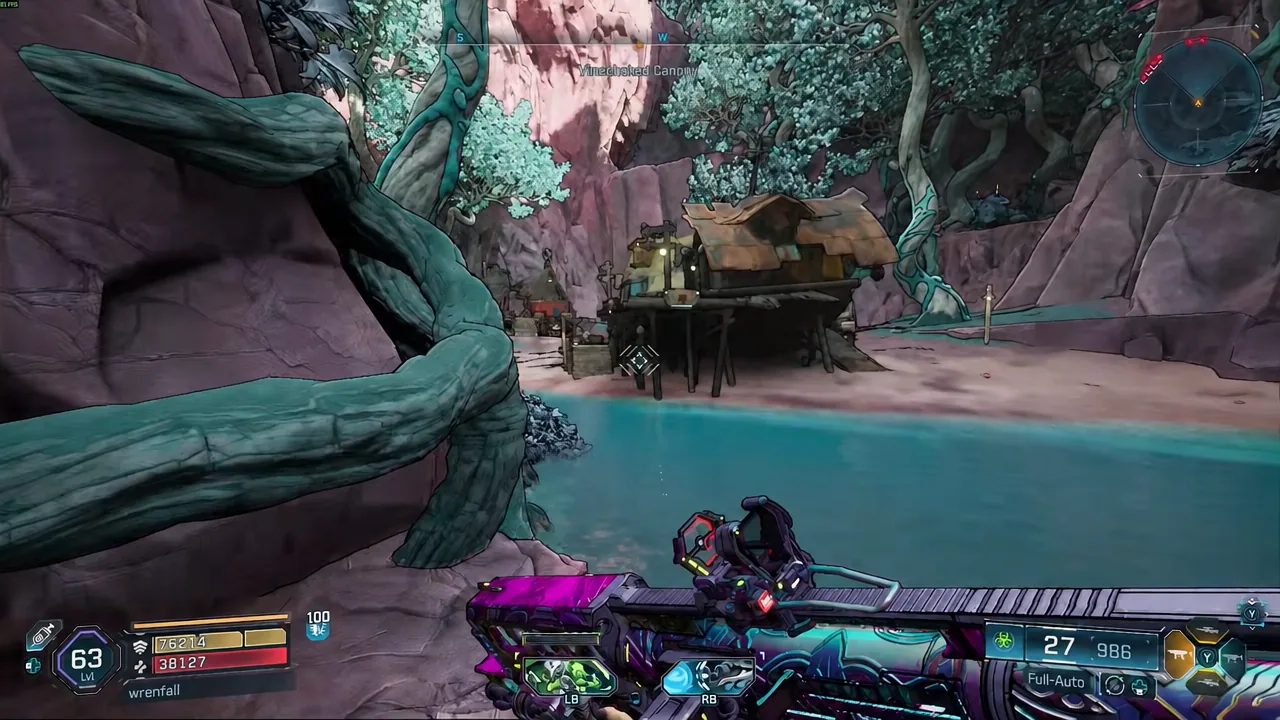
| 4 | Vinechoked Canopy | On a raised rock platform |
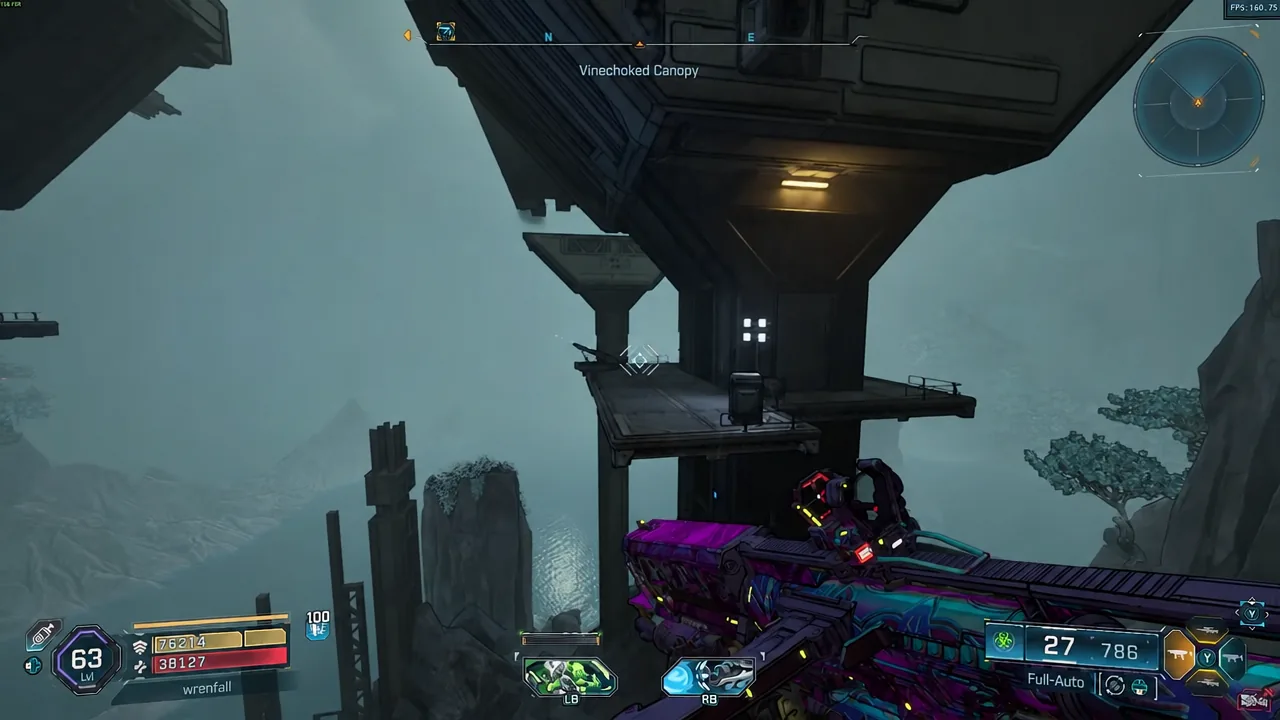
| 5 | Vinechoked Canopy | Inside a facility, above a chest |
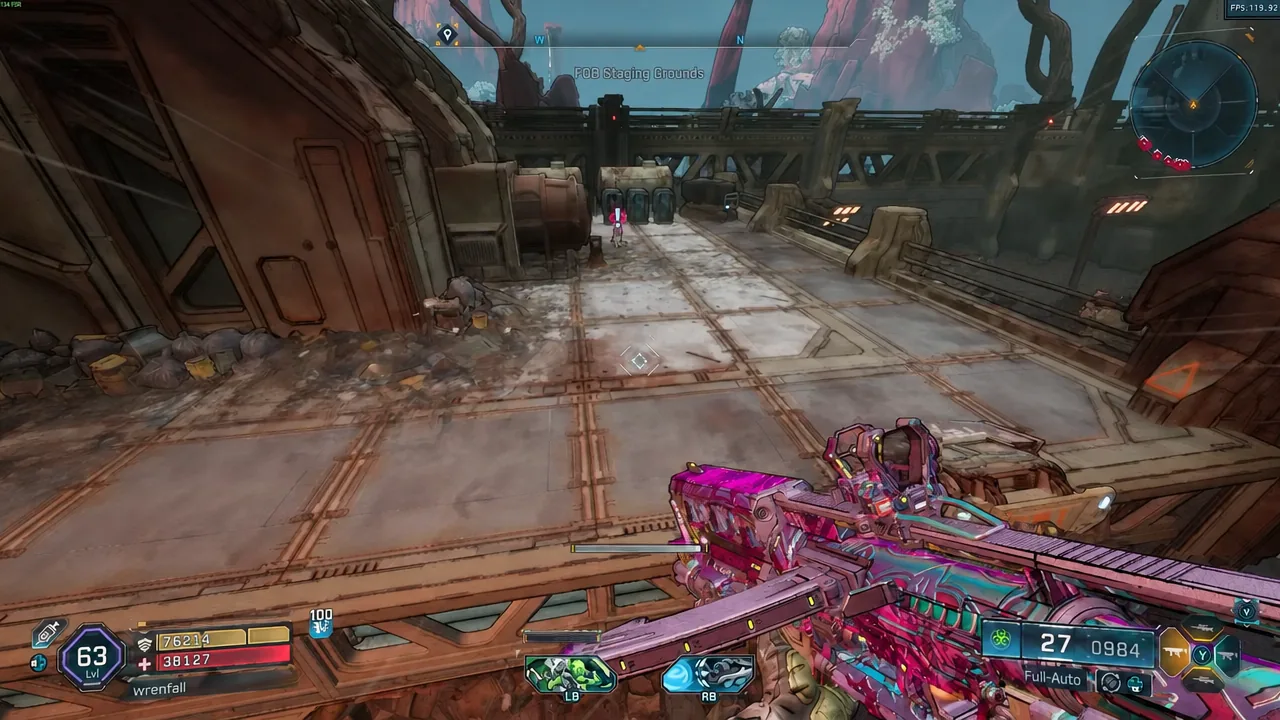
| 6 | Vine Pointe Lodge | Near the pool |
| 7 | Bagheera Range | On top of a rock |
| 8 | Chamber Pavilion | On a ledge |
| 9 | Axeola Island | On a ledge in the Occupied Sector |
| 10 | The Ol’ Abandoned Resort | Above a bar’s doorway |
Pyroclast Field and the Bilge Purification Plant
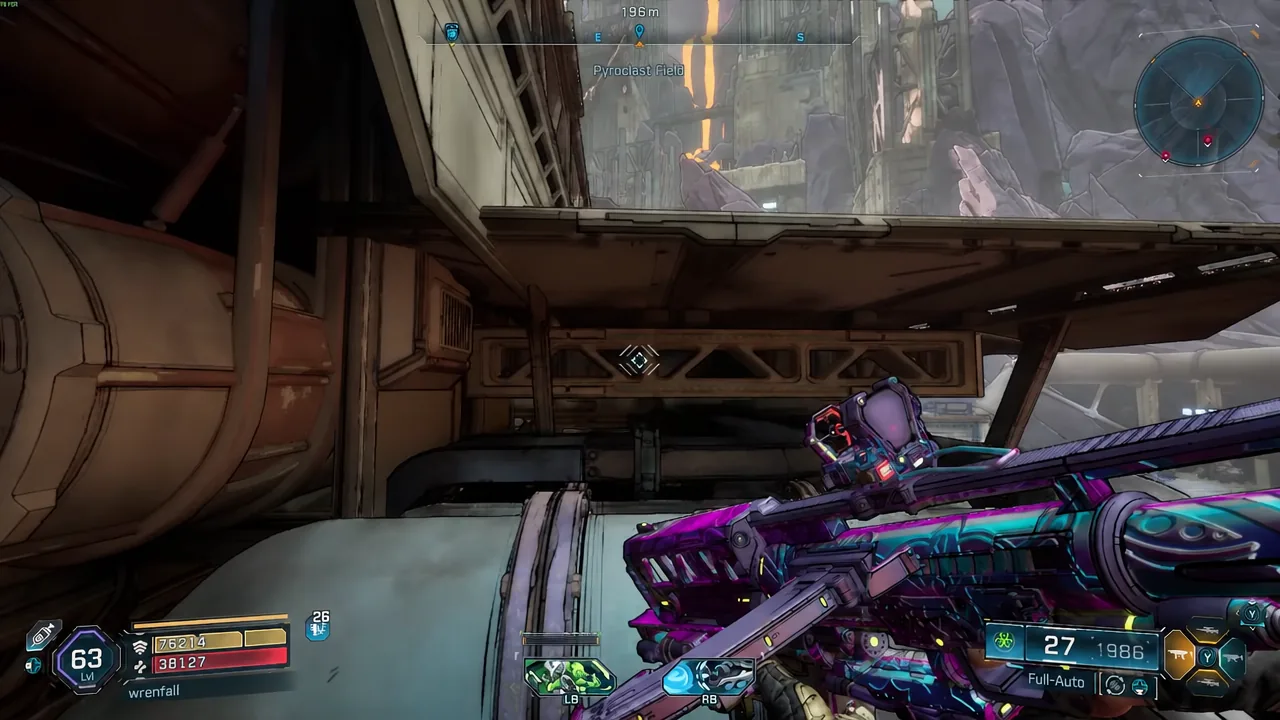
Both Pyroclast Field guns are close to where you started. Clear the enemies around the first structure and follow the marked path to the upper level, where the gun sits right at the edge. The second one is on a large boulder toward the bottom-right of the region — climb it rather than trying to shoot it down.
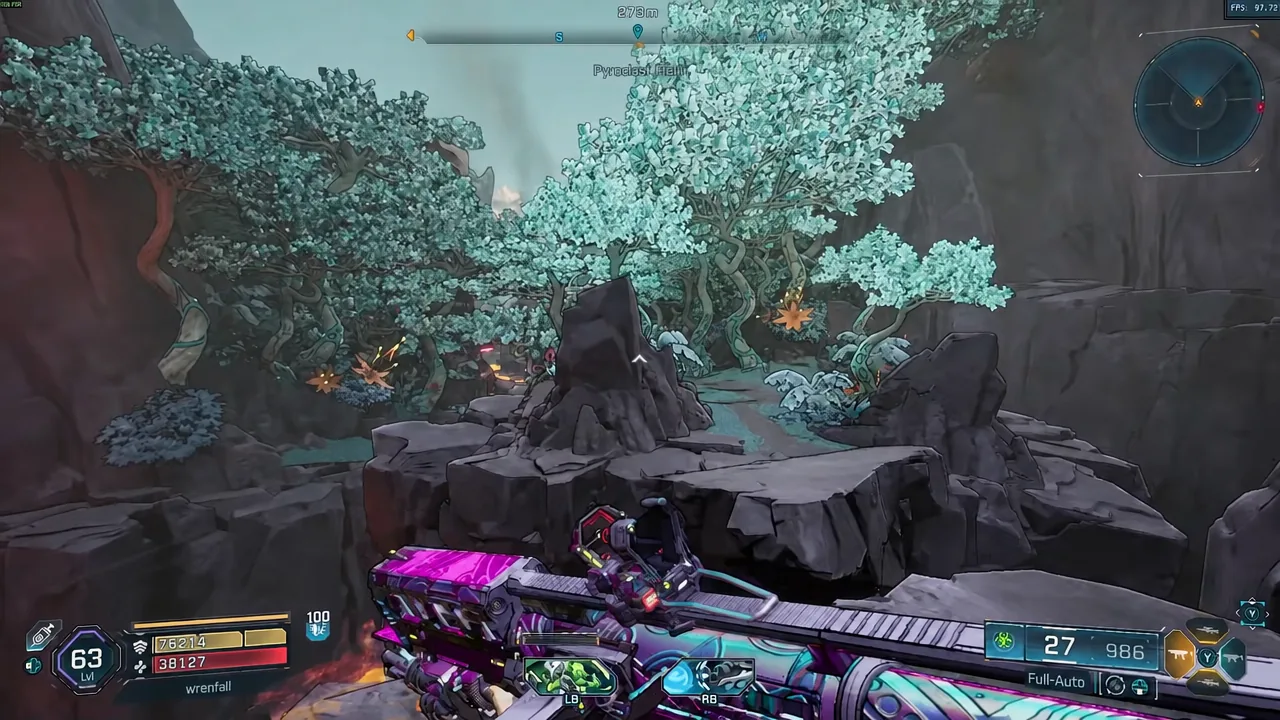
At the Bilge Purification Plant, the third gun is perched on the big outer wall. Get up onto the wall itself and walk close enough for the pickup prompt to appear.
Vinechoked Canopy and Vine Pointe Lodge
Vinechoked Canopy holds two of them. The outdoor one rests on a high rock platform, so line up a grapple point or a dash lift before you start jumping at it.
The second Canopy gun is indoors. Head inside the facility, ride the zipline to the top, then look down — the weapon floats above a chest partway along the drop. Glide into it on the way down instead of trying to reach it from the floor.
Vine Pointe Lodge is the easiest stop on the list. The gun sits near the pool, at ground level, with no climb required.
Bagheera Range, Chamber Pavilion and the island stops
Bagheera Range hides its gun on a rocky platform. Circle around the base until you spot a grapple point, use it to reach the top, and pick the weapon up there. Chamber Pavilion’s is simpler — it rests on a ledge you can reach directly.
The last two are further out. One is on a ledge inside the Axeola Island Occupied Sector, which means clearing or slipping past the enemies stationed there. The final gun sits above a bar’s doorway at The Ol’ Abandoned Resort, tucked high enough that it is easy to run underneath without noticing.
How to complete The Second Relieving of the Guard
The follow-up mission is not listed anywhere until the collection is finished. Once the tenth gun is in your hands, it appears at the exact spot where you picked up the first mission.
Claiming and equipping the Unbroken Style
The reward does not drop straight into your customization menu. Open your inventory and go to the Rewards section, then claim the payout attached to The Second Relieving of the Guard.
After that, head to Customization and open the Style tab, where Unbroken will be selectable. It is an animated Style, so the effect is visible the moment it is applied to your Vault Hunter. Completing the mission also awards the Corporate Reclamation achievement, which is a reliable way to confirm the whole chain registered.
Why the hidden mission is not appearing
There are only a few reasons the second mission stays missing. You have not finished “The Relieving of the Guard” yet, you are still short of the ten escaped guns, or a player in your session does not own the FL4K and the Last Resort content, which blocks progression for the group.
Note: the guns are not a substation-style puzzle and they do not unlock a hidden boss. The only payout is the Style and the achievement, so there is no reason to hunt for extra steps after the Warning Sign goes on the door.
If you are already sweeping Providence Island for Occupied Sectors and side missions, fold the gun hunt into that route. Most of the ten sit in areas you will pass through anyway, and the collection counter carries across sessions, so there is no need to finish it in one run.