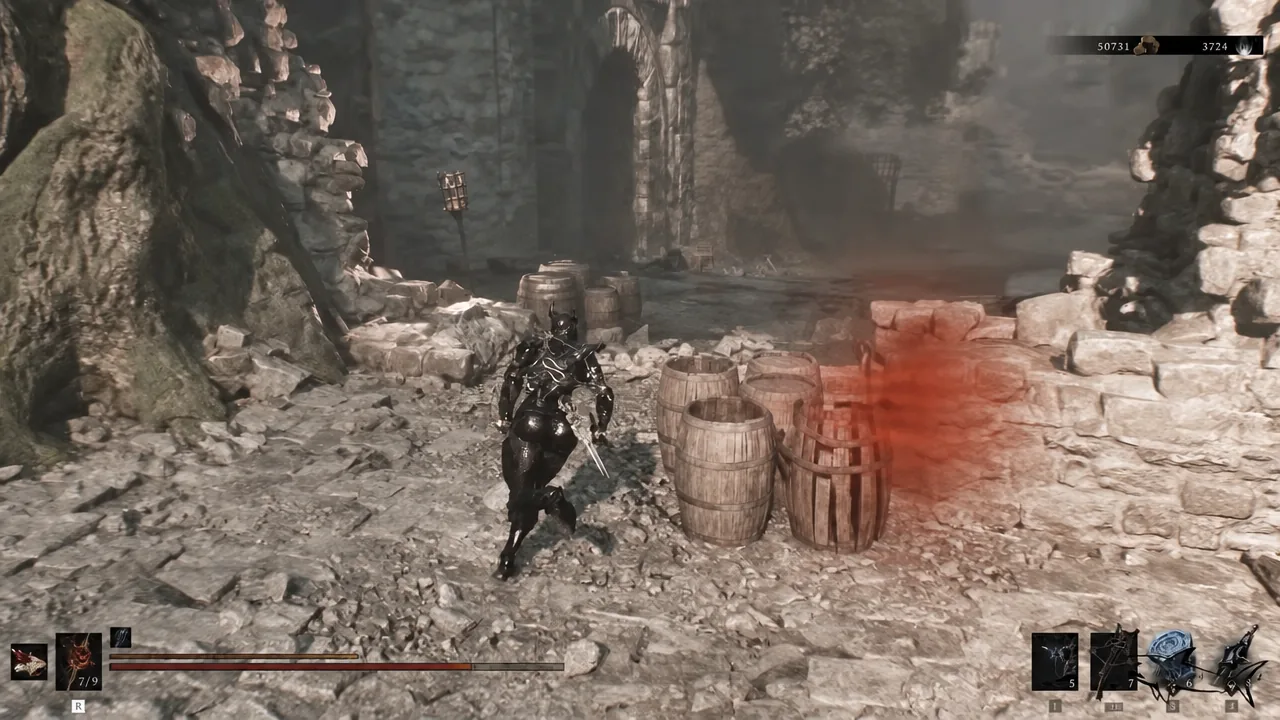
Parasitic Stash is one of the smaller optional dungeons in Mortal Shell 2, and it hides most of its value behind two fake walls rather than behind a boss. There is no combat gate, no key, and no puzzle chain. The only real obstacle is a wall plate tucked into a side room that opens the drop into the lower chamber.
Quick answer: Drop into the dark opening under the rope bridge at the northern end of The Silent Steps, northwest of The Silent Steps Beacon, ride the elevator down, clear the corridor, press the plate in the room on the left, then drop through the opened gate and hit the wall behind the chest and the wall between the two Ventrium pickups.
Parasitic Stash location in the Ruins of Mammon
The entrance sits in the snow at the northern end of The Silent Steps, directly underneath the rope bridge. From The Silent Steps Beacon, head northwest, follow the path onto the eastern platform, and drop to the lower level. The opening looks like a dark pool in the ground, and interacting with it puts you on an elevator that carries you down.
Like every dungeon in the game, it is not missable. Dungeons appear as map icons once you pass through the relevant fog gate, and you can still enter and finish all of them in free roam after the final boss, before starting New Game+. The game does not track completion for you, so if you want a record of which ones you have cleared, move the cursor over the icon on the map and press the stick to flip the marker yourself.
Getting there from the Outskirts of Mammon Beacon
If you have not unlocked the closer beacon yet, the cleanest approach starts one region back and picks up a Tarstone along the way.
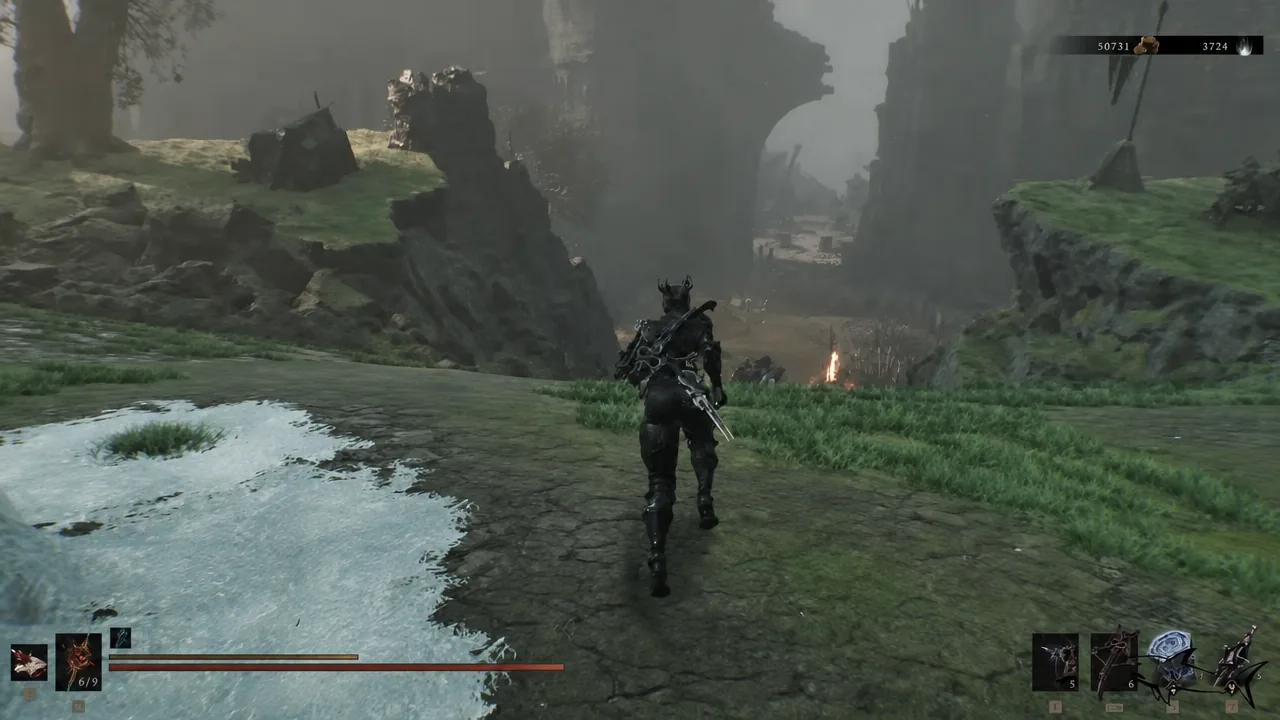
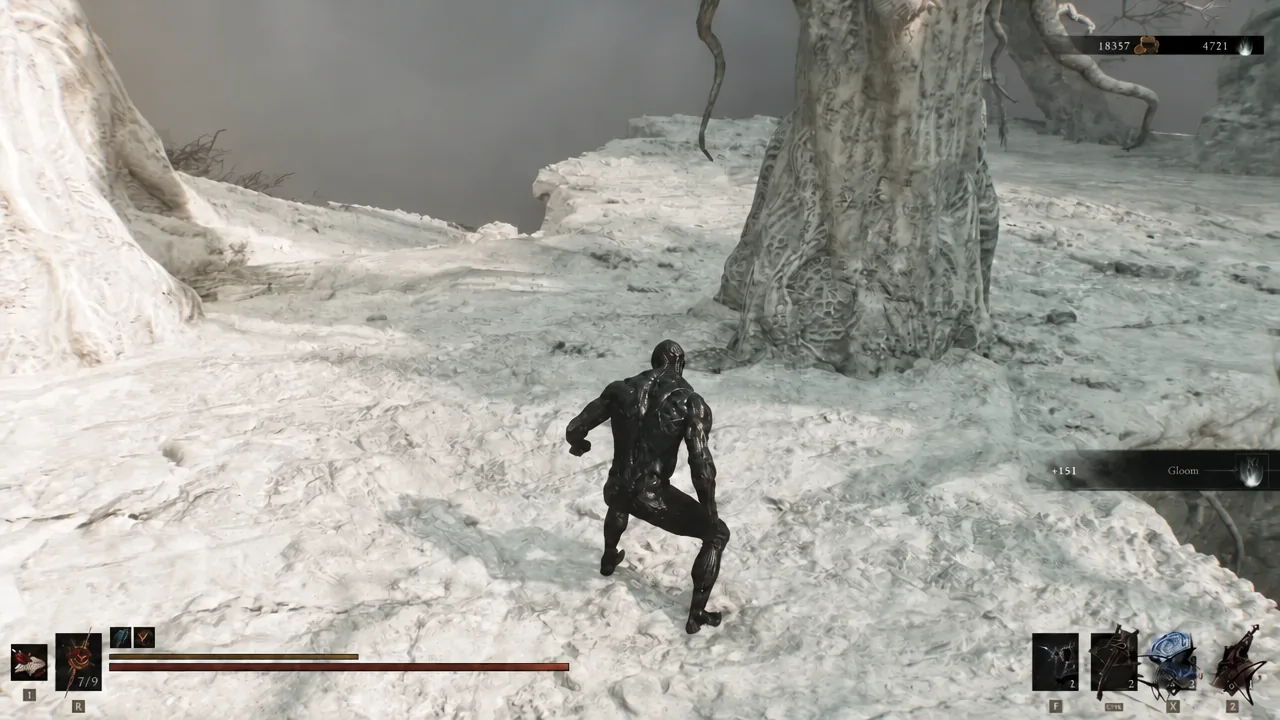
Colossus Stone on the approach
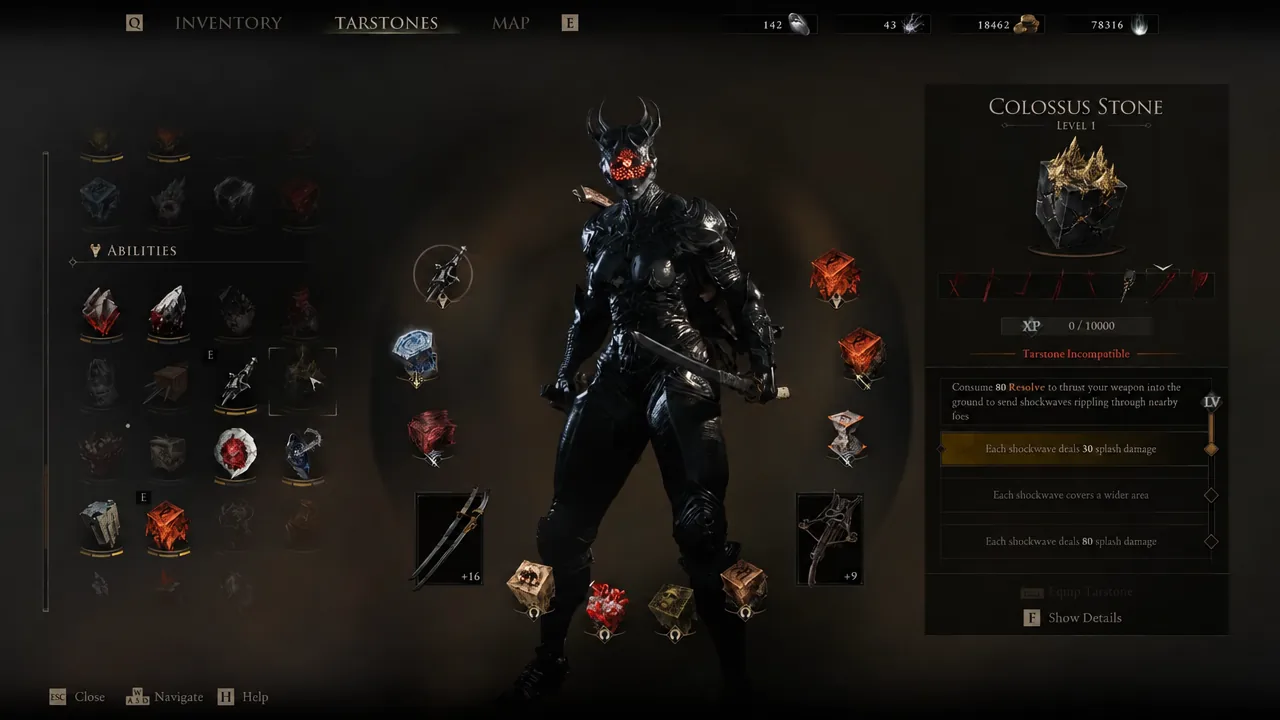
The chest on the snowy path is worth the detour even if you are only here for the dungeon. The Colossus Stone is a Level 1 Tarstone that spends 80 Resolve to drive your weapon into the ground and send shockwaves out through nearby enemies. Its description flags it as Tectonic Incompatible, so check your current loadout before committing to it.
| Detail | Value |
|---|---|
| Item | Colossus Stone (Level 1) |
| Cost | 80 Resolve |
| Effect | Ground slam that sends shockwaves through nearby foes |
| Note | Tectonic Incompatible; each clockwork shift yields a yellow flow |
| Where | Chest on the snowy path before the dungeon entrance |
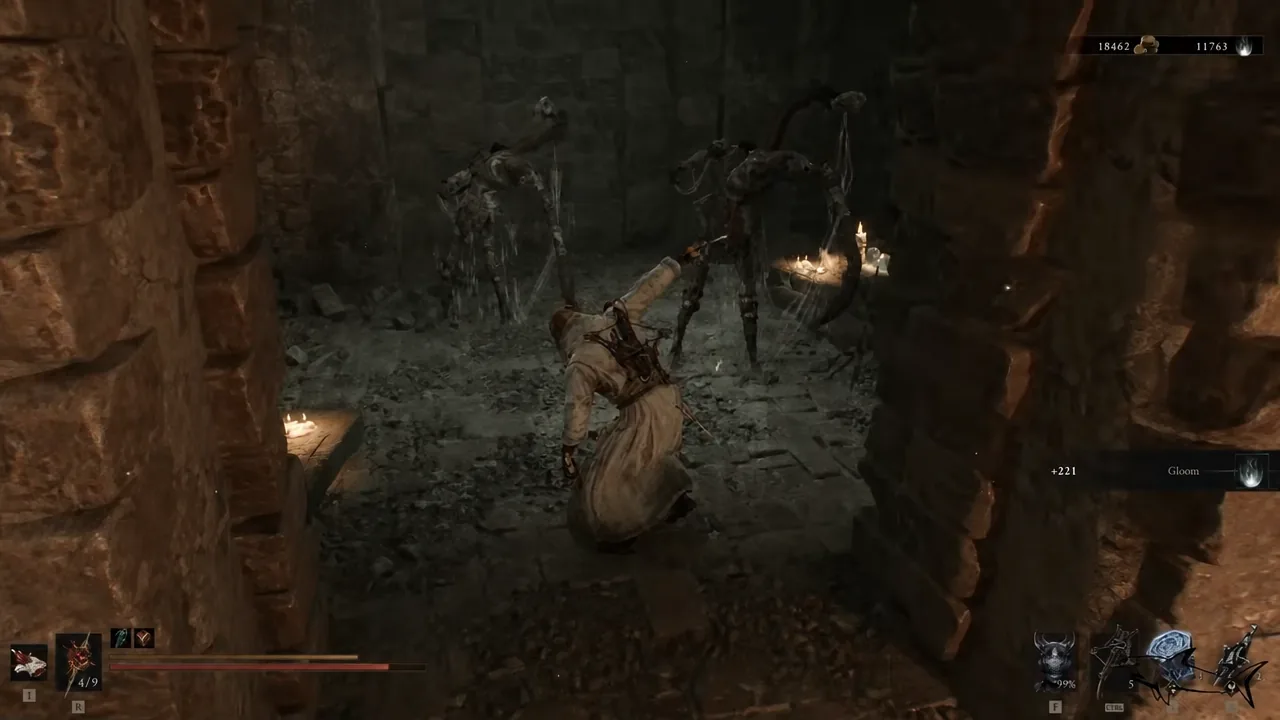
Clearing the upper corridor and finding the wall plate
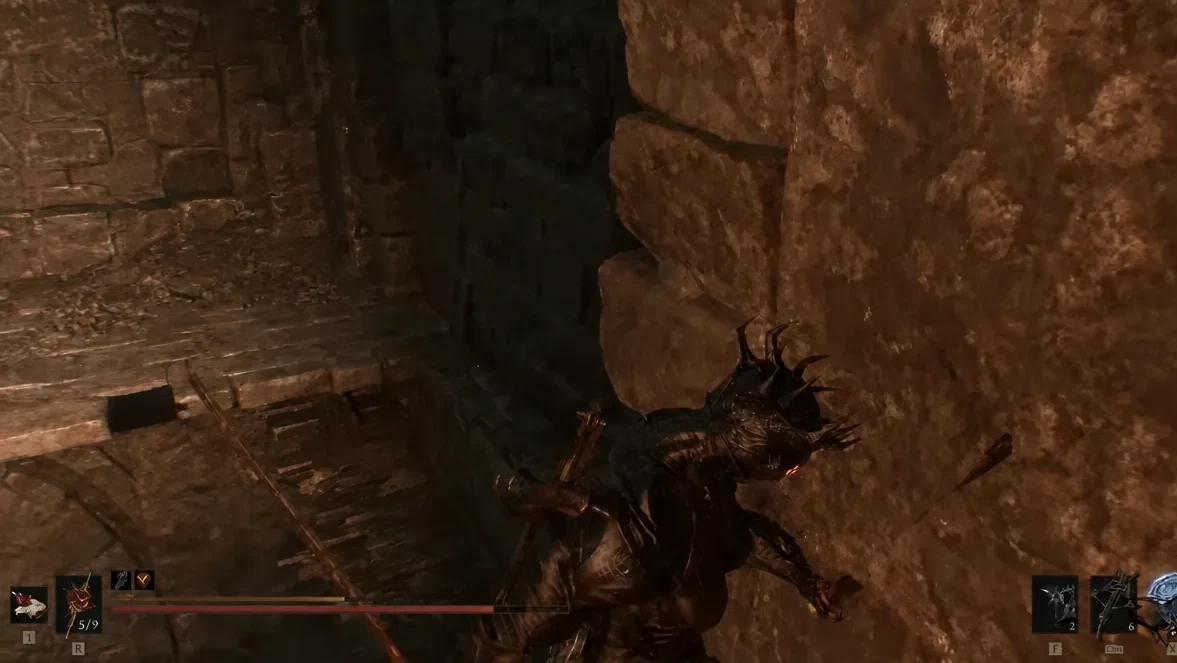
Lower chamber loot and both hidden walls
Full clear checklist for Parasitic Stash
The dungeon holds one chest, six enemies, three forge materials, two gates or hidden walls, and a single shortcut. Everything below accounts for the complete run.
| Item | Where to get it |
|---|---|
| Winterglass Gem | Chest in the lower chamber, guarded by the wraith |
| Dorsalite | Hidden room behind the wall directly behind the chest |
| Dorsalite | Hidden room behind the wall between the two Ventrium pedestals |
| Ventrium x2 | Corner pedestals in the lower chamber |
| Colossus Stone | Chest on the snowy approach, outside the dungeon |
Note: the chest below the gate appears open from the ledge above. That is not a sign someone beat you to it, and the real prize is the pair of breakable walls either side of it.
How to tell you have finished it
You know the run is complete when both fake walls have collapsed and the two Dorsalite are in your inventory alongside the Winterglass Gem and two Ventrium. Nothing else opens after that, and the updraft plus elevator is the only exit.
If the drop into the lower chamber will not open, you missed the wall plate in the side room on the left of the upper hallway rather than hitting a progression bug. And if a wall refuses to break, you are hitting solid geometry, since only the wall behind the chest and the one centred between the two Ventrium pedestals are destructible.
Parasitic Stash is a short stop, maybe five minutes if you skip the outside fights, but it is easy to walk out of with a single gem and nothing else. Break the walls before you take the lift up, and you can tick the marker off your map for good.