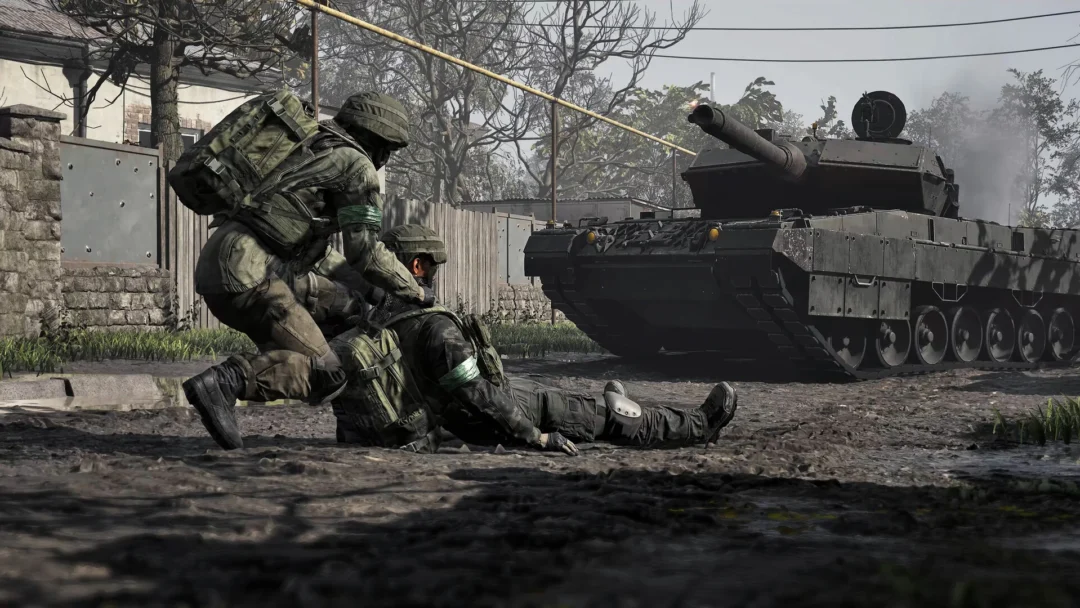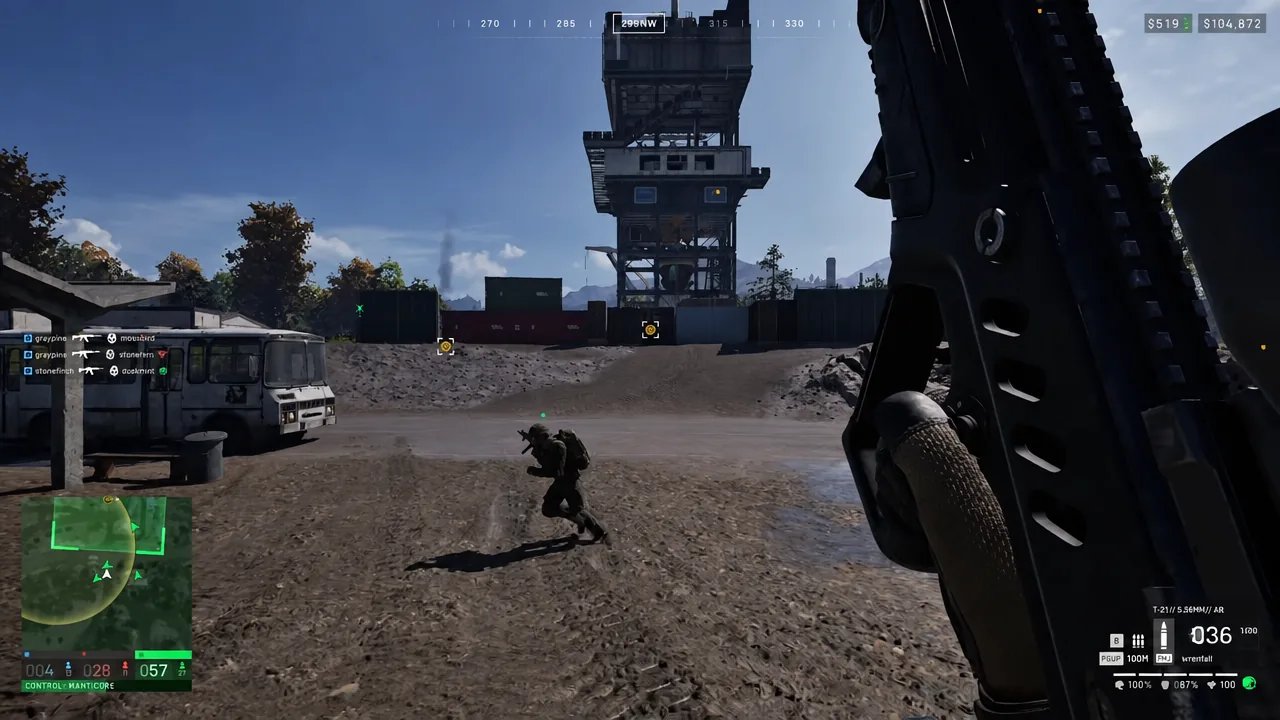
Every WARDOGS match comes down to a headcount. Three factions, 100 players, one randomized 2×2 km Control Zone drawn inside a 256 km² map, and points going to whichever side has the most bodies standing inside the outline. Kills never score on their own. That is why the Hot Zone — the smaller sub-zone that drifts around inside the Control Zone — decides so many matches: it doubles what each of your players is worth.
Quick answer: Inside the Hot Zone you count as two bodies toward your team’s score and earn double cash. Capture towers, enter the four-digit code at your faction terminal, and the Hot Zone drifts toward you.
How the Hot Zone doubles your score and your cash
The scoring engine reads the live player count from each faction inside the Control Zone and pays points to whoever is ahead, over and over, until someone reaches 100 points and wins. Standing in the Hot Zone changes your weight in that count from one to two. Four players in the Hot Zone push the scoreboard like eight, which is how a single organized squad flips a match that looked lost.
The second half of the mechanic is money. Presence inside the Hot Zone pays double cash, and so do the teamplay actions you perform there — reviving squadmates, ferrying friendlies in, working the objective. Cash carries over from match to match out of the $10,000 every account starts with, so a long stint in the Hot Zone funds the helicopter or the fortification you buy two matches later.
Dying inside the zone hurts twice. You remove a presence unit from your own count at the exact moment it counts double, and you stop earning. Trading kills on the edge of the circle is worth far less than simply staying alive inside it.
Where the Hot Zone sits and how it moves
The Hot Zone always sits inside the active Control Zone, never outside it. Holding the wider Control Zone does not mean you hold the Hot Zone, and the two frequently want you in different buildings. It shifts during the match rather than teleporting, so the other two factions get warning and the fight tends to follow it across the map.
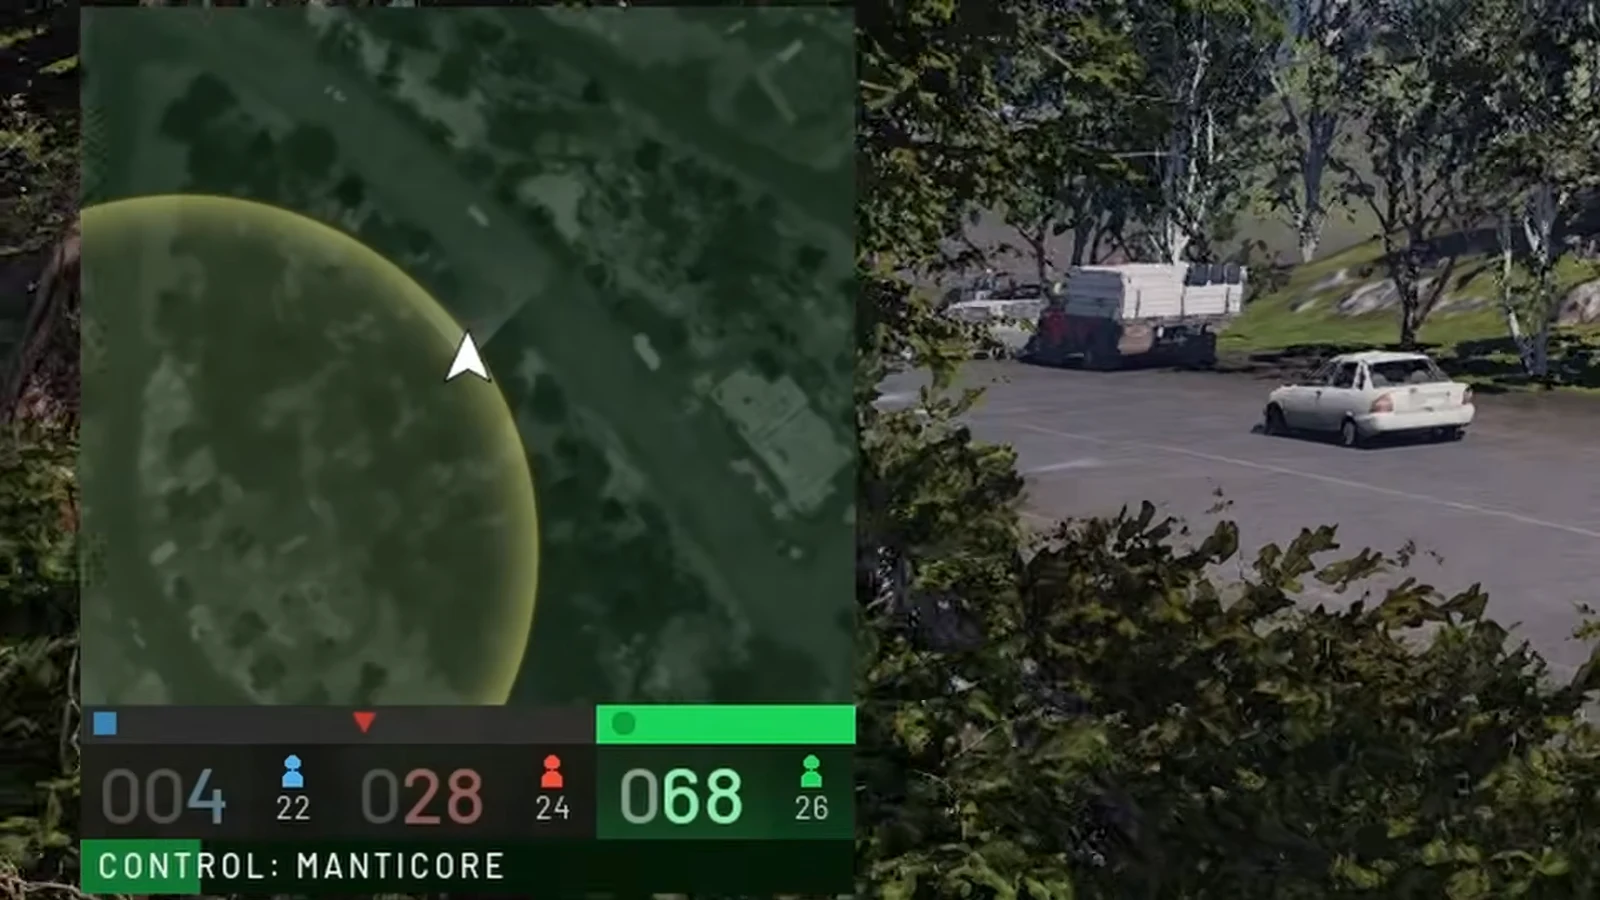
Your HUD carries the live distance to the active Hot Zone, and the minimap draws the circle for you. Treat that number as scoreboard gravity. When it starts growing, the double-value ground is sliding away from your position and your team’s point rate is about to drop.
Towers and the four-digit code that pulls the Hot Zone
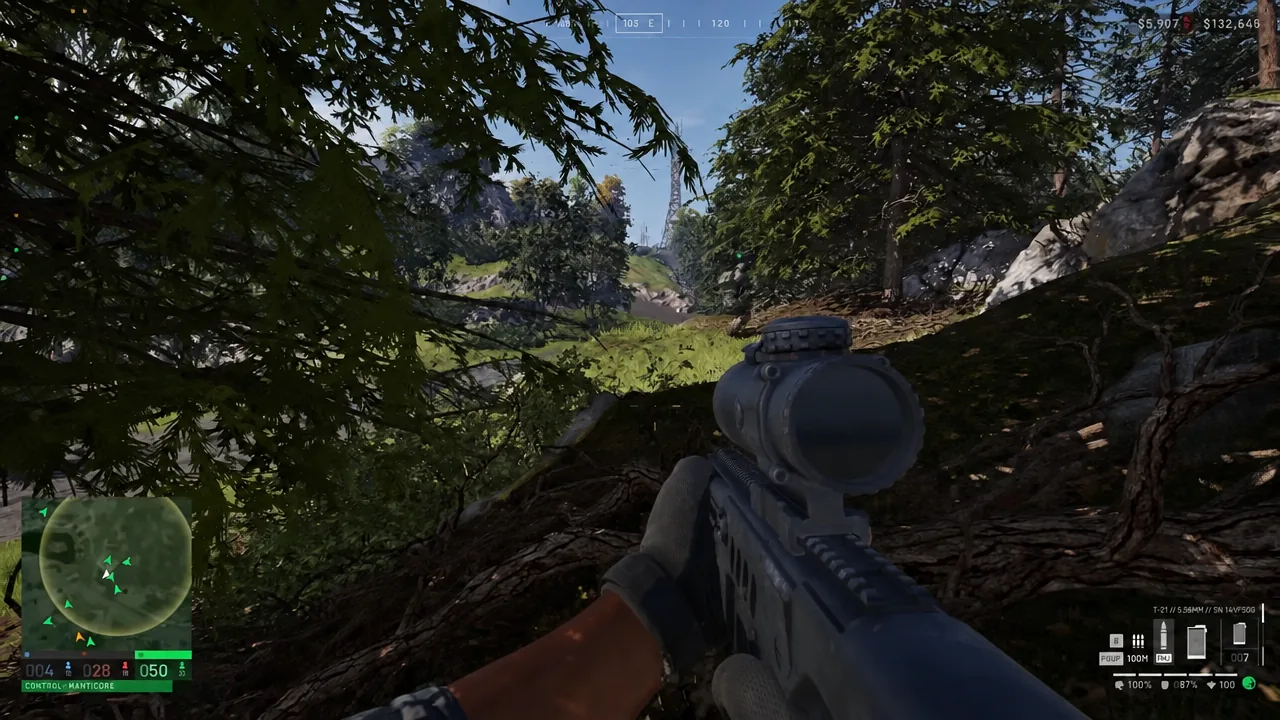
Towers are the one part of the match a team can deliberately steer. Each map carries fixed tower structures with a control panel, and each tower your faction captures reveals a single digit of a four-digit code. Get all four digits, enter the complete code at your faction’s terminal, and the Hot Zone starts drifting toward a tower you already hold — dropping the double-points, double-cash ground onto terrain you have had time to fortify.
Towers are retaken the same way they are captured. A tower you stopped garrisoning is a digit the enemy can take back, and the code is only as stable as your weakest held structure.
How to confirm the Hot Zone is working for your team
You do not have to guess. The HUD shows a control readout naming the faction currently winning the headcount — CONTROL: MANTICORE when the green team is ahead, and the equivalent for LONESTAR or VALKYRA — alongside the running point totals for all three sides. If your faction’s name is on that indicator while you are inside the circle, your body is being counted.
Cash is the second confirmation. Your bank balance sits in the top right corner with the profit or loss for the current life underneath it in red and green, and a Hot Zone stint makes that number climb noticeably faster than the same time spent in the outer Control Zone. The match ends the moment a faction hits 100 points, with a win screen naming the victor.
Holding the Hot Zone with a FOB and constant resupply
Presence only pays while you are alive, and the cheapest way to stay alive on doubled ground is to build on it before the circle arrives. A Forward Operating Base is the anchor: it unlocks larger structures, stores items and resources for anyone on your team to pull from, and projects the radius you have to be standing in to build at all. Drop one at a tower you hold and the code becomes a plan rather than a novelty.
| Resource | Price | Weight | Requirement to use |
|---|---|---|---|
| Build Supplies | $10 | 0.02 kg | Any hammer |
| Mechanical Supplies | $10 | 0.03 kg | Inside FOB radius |
| Fuel Supplies | $10 | 0.03 kg | Inside FOB radius |
Build Supplies feed every buildable and need a hammer in hand. Mechanical Supplies repair vehicles and Fuel Supplies refuel them, and both only work inside a FOB radius, which is why a base without a fuel stock strands the helicopter that built it. A FOB itself costs $7,500 and weighs 6.5 kg, so one person can carry it in.
Enemy mortar fire chews through fortifications, and repairs draw from the same Build Supplies stock. A FOB inside a contested Hot Zone needs a resupply loop running the whole match, not a single delivery at the start.
Airlifting supplies to the zone without losing the cargo
Running supplies by helicopter is the fastest way to keep a forward position alive, and it pays cash for every friendly you move toward the objective. Crates and pallets are what you actually haul. The Large Armored Crate holds 35 slots, resists bullets and explosions, and can be packed with whatever your squad is short of — ammunition, bandages, hammers, medical gear. The Mechanical Supply Pallet is the bulk option for keeping vehicles running.
| Item | Price | Unlock |
|---|---|---|
| Large Armored Crate | $800 | Pilot 15, $25,000 fee |
| Mechanical Supply Pallet | $400 | — |
| AH-6R [Rockets] | $12,500 | Pilot 20, $250,000 fee |
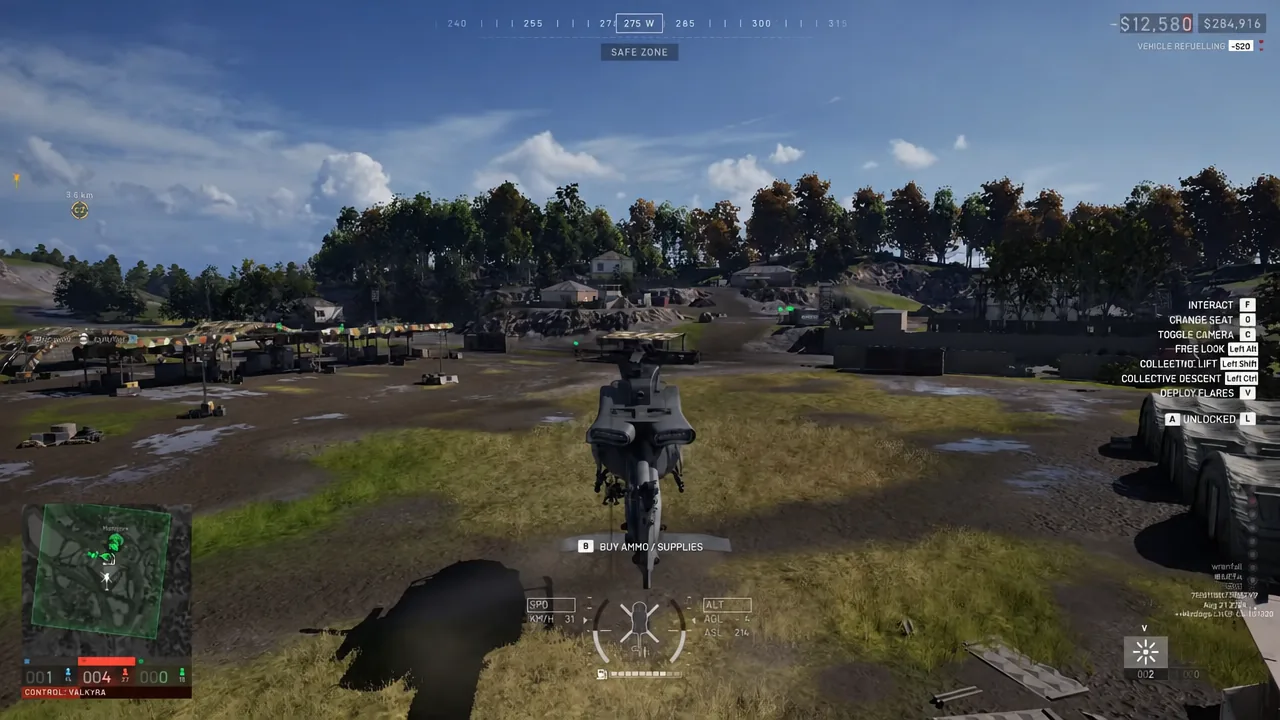
Combat helicopters come from the vehicle vendor at your faction’s safe zone and are never sitting in the world waiting to be found, so the AH-6R is a purchase you make before you fly, not a pickup. It is a two-seat combat airframe with a 350 km/h top speed, a 105-litre tank and a 4.4-litre-per-kilometre burn rate — and it pays the enemy $800 when they shoot it down.
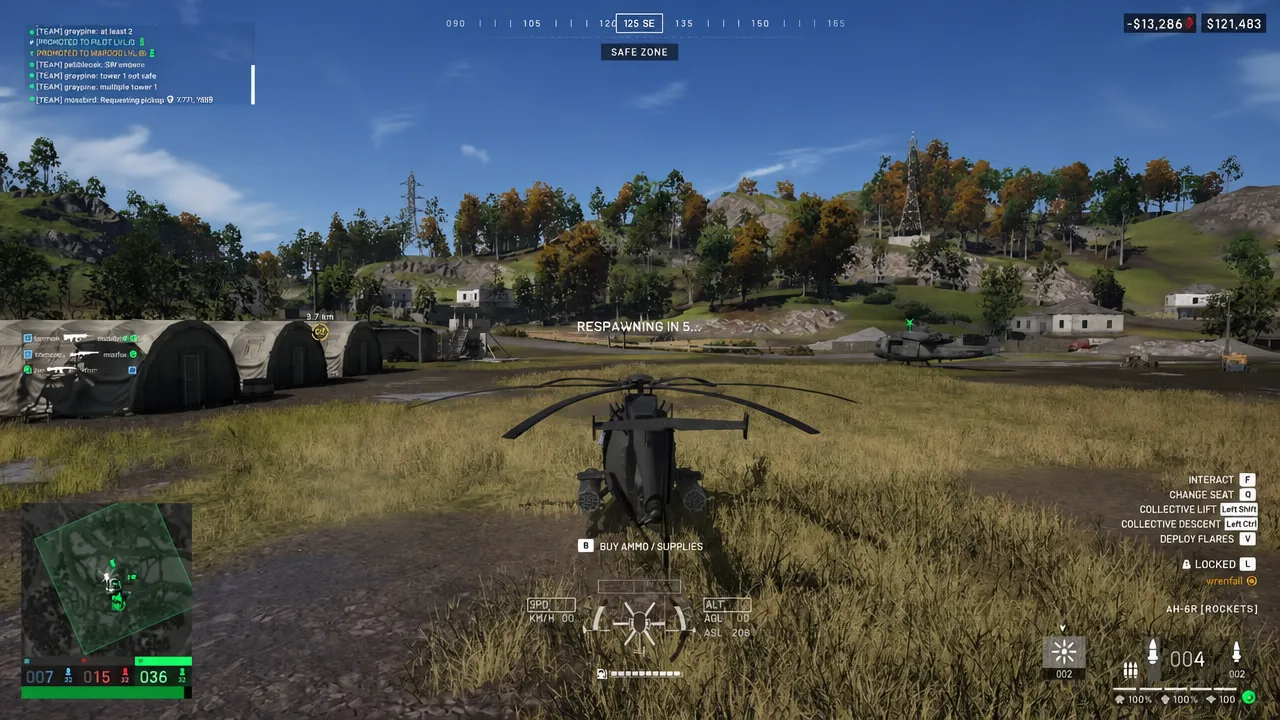
Height kills cargo. A Large Armored Crate breaks after roughly an 80 m free fall and a Mechanical Supply Pallet after roughly 90 m, so drop low over the FOB instead of releasing from cruising altitude.
Cutting the enemy headcount inside the zone
Since scoring is presence, the useful version of shooting people is the version that keeps them from coming back. Enemy spawn vehicles such as the M113 APC carry a radar dish on the roof; break it with gunfire and nobody can spawn on that vehicle until it is repaired. One dish removes a stream of enemy bodies from the doubled ground far more effectively than chasing kills through the treeline.
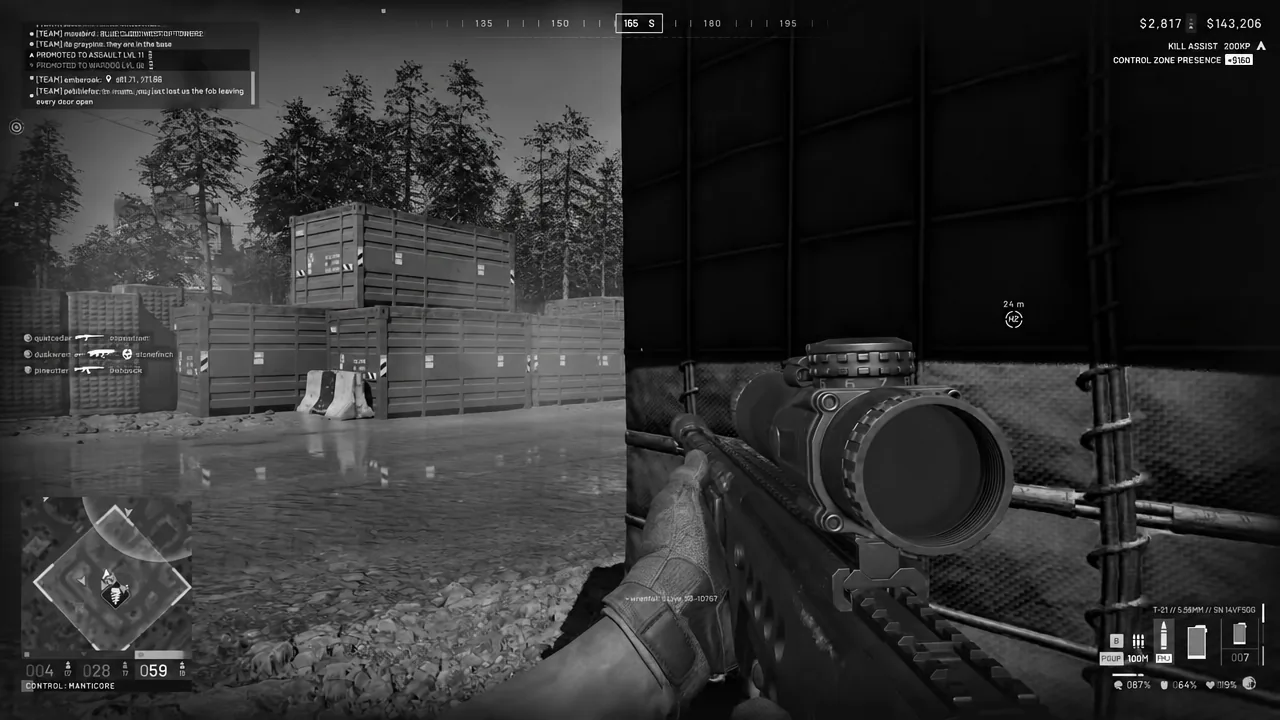
Long stints in the zone leave your inventory full of partial magazines and loose rounds. Pressing C combines every loose ammo stack at once, which is quicker than reorganising mid-firefight.
What to buy before a Hot Zone push
Loadouts come from the equipment vendor in the safe zone, and the Hot Zone rewards a kit you can afford to lose repeatedly rather than the most expensive one available. WARDOGS is out now in Steam Early Access, with no battle pass or microtransactions attached to any of it.
| Item | Price | Unlock |
|---|---|---|
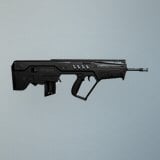 T-21 T-21 | $600 | — |
| Large Hammer | $2,400 | Support 8, $75,000 fee |
| Ghillie Body Suit | $3,000 | Recon 24, $80,000 fee |
The T-21 is the cheap workhorse for zone fighting. It runs 5.56x45mm in semi or full auto at 750 rounds per minute, zeroes out to 300 m, weighs 3.27 kg and accepts a spread of standard 30-round magazines including STANAG, so restocking mid-match is rarely a problem.
The Large Hammer is the builder’s pick, since it constructs every buildable in the game at a fast build speed as long as you are carrying Build Supplies. The Ghillie Body Suit is the opposite approach to holding ground — worn with the matching Ghillie Headwear it removes the death cam after you kill someone and hides you from infrared range finders, which keeps a static presence player from being trivially re-found.
The pattern that wins matches is not complicated. Take towers early, spend the digits on pulling the Hot Zone to ground you have already built on, then keep enough bodies alive inside it that the control indicator never flips. Everything else in the sandbox — the helicopters, the crates, the ghillie suit — exists to add a body to that count or take one away from someone else’s.