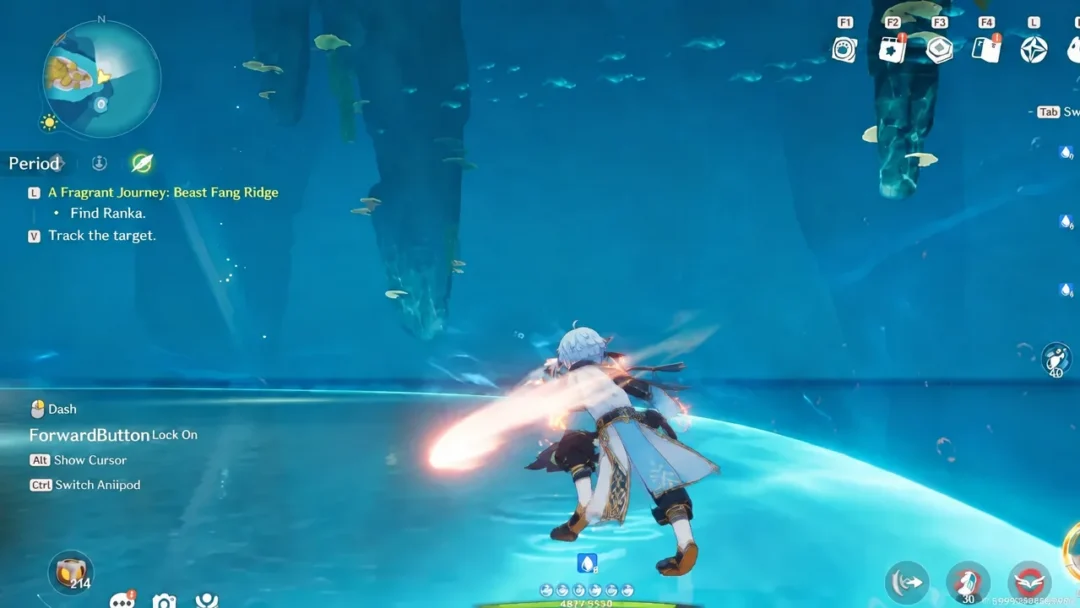
First Sight is a solo challenge dungeon in Aniimo built around a single mechanic: a launcher that fires a purple ball across the room, and a row of blue barriers called rams that you raise and lower to steer it. Land the ball in the right socket and a gate opens. Land it in the wrong one and nothing happens, so you reset the ball and try again. Five chests are tucked behind those gates, and one of them is invisible until you awaken the Sanctum’s own Animo.
Quick answer: Enter the Sanctum in Breezy Plains at -0551, 1612, then send the ball into the right, left, upper-right, and upper-left slots in that order, collect all 5/5 chests, and restore the Vein.
Where the First Sight Sanctum is in Breezy Plains
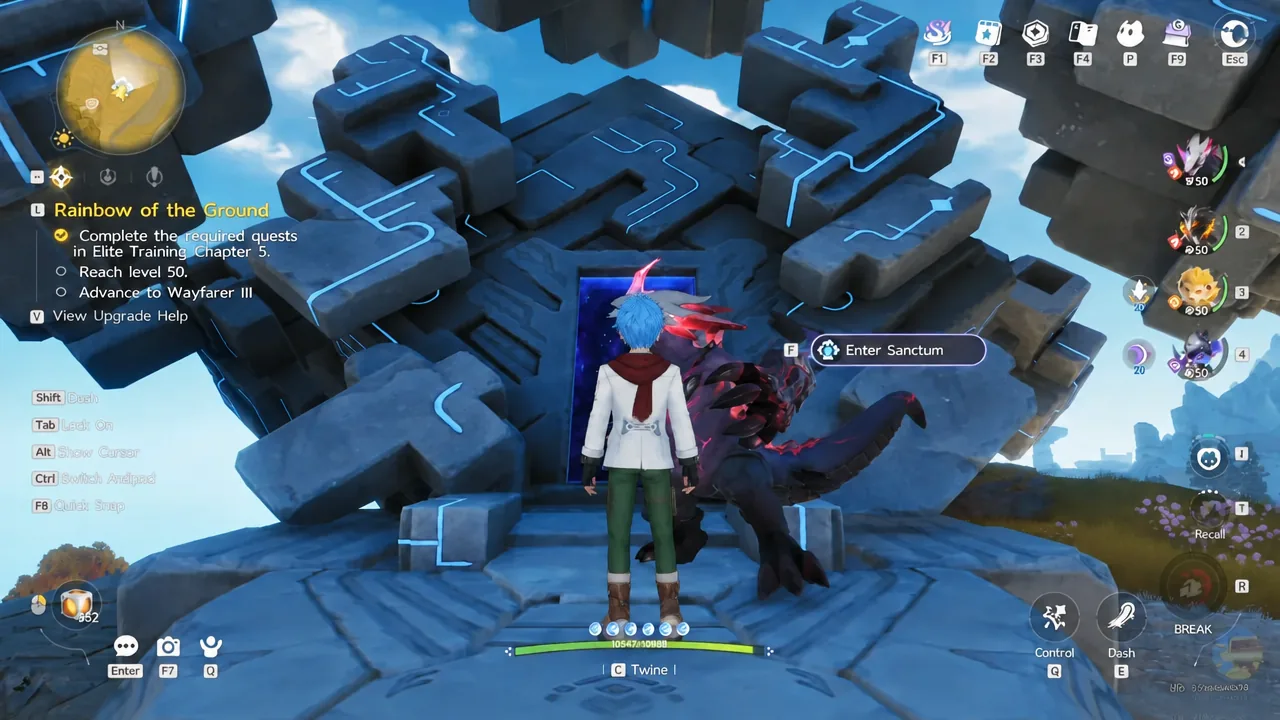
Open the world map, move to the Breezy Plains region, and look for the Sanctum marker at coordinates -0551, 1612. If you have already touched the entrance once, you can teleport straight to it from the map. Otherwise, travel there on foot and interact with the portal structure to activate it.
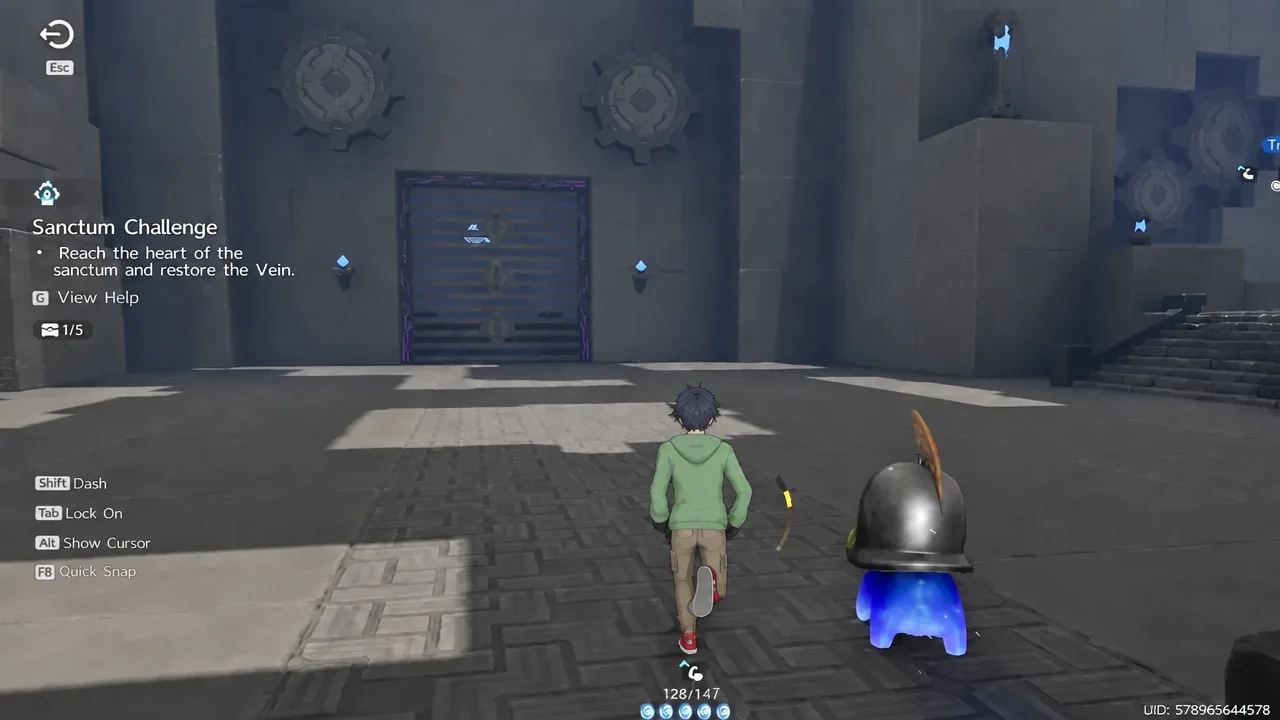
Activating the entrance brings up the challenge prompt for Sanctum: First Sight. Confirm it and you will load into a solo instance with the objective to reach the heart of the sanctum and restore the Vein, plus a chest counter that starts at Chests Obtained 0/5.
If you try to glide or fly across Breezy Plains and get the “No flying Animo equipped” message, set one on the Animo Management Exploration tab before the trip. Long overland sprints will also stop you with “Not enough stamina.”
How the ram and ball puzzle works
The main chamber has one launcher and a set of blue barriers standing in the ball’s flight path. Walk up to a barrier and use the Raise/Lower Ram prompt to flip its height. A raised ram deflects the ball; a lowered one lets it pass. That single toggle is the whole puzzle, repeated four times with different combinations.
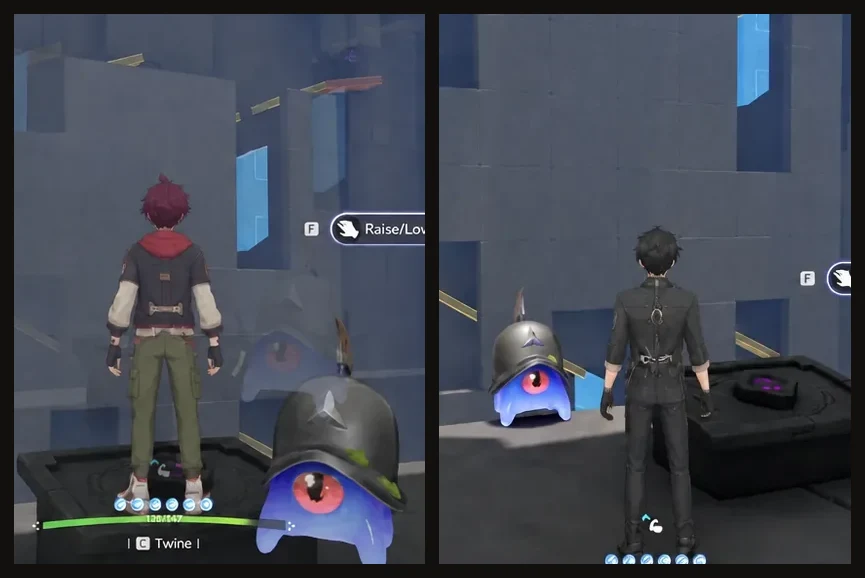
If the ball goes somewhere useless, do not chase it. Use the Refresh Ball interaction at the launcher to put a fresh ball back in place, adjust one ram, and fire again. Four sockets matter, and each one controls a different door.
| Target slot | What it opens |
|---|---|
| Right side | Main gate to the Animo statue |
| Left side | Left-hand side passage |
| Upper right | Middle-level chest gate |
| Upper left | Remaining upper chest alcoves |
The upper-right and upper-left routes are the fiddly ones, because the ball has to clear more than one barrier before it drops. Expect a few refreshes while you find the height combination that carries it high enough.
Chest 1: awaken the Animo and use Twine vision
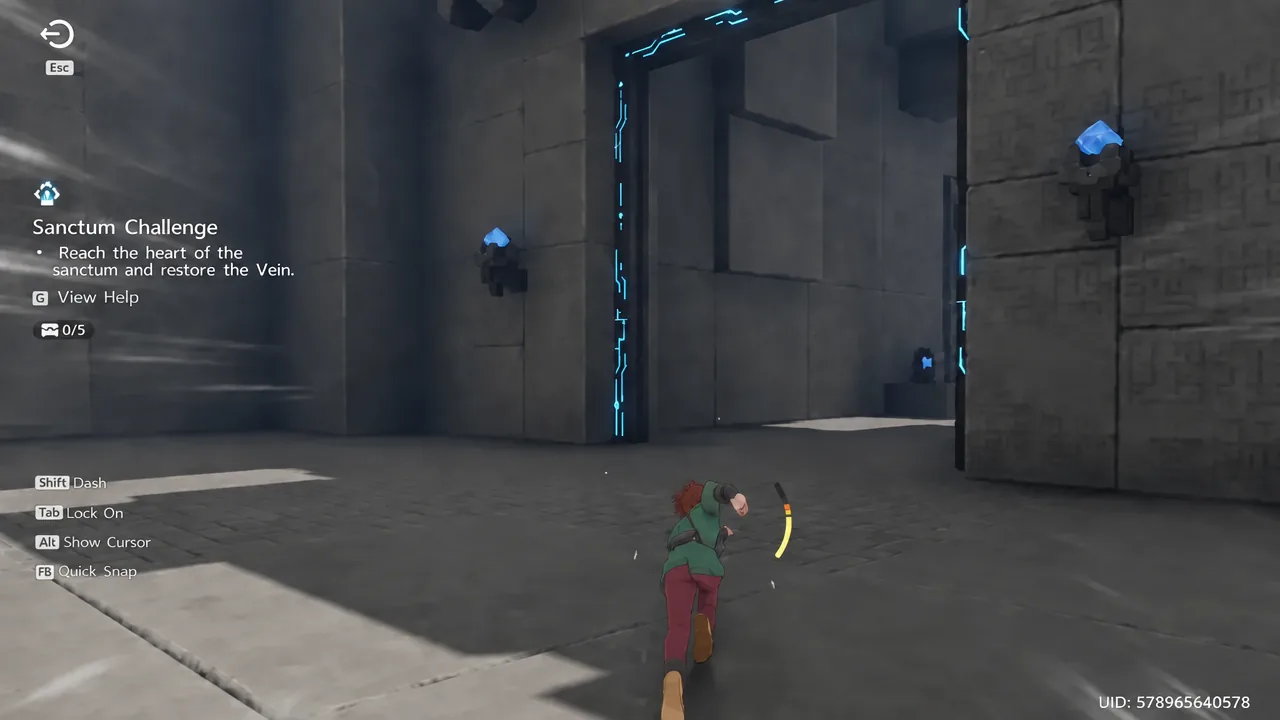
Chests 2-5: opening the upper alcoves
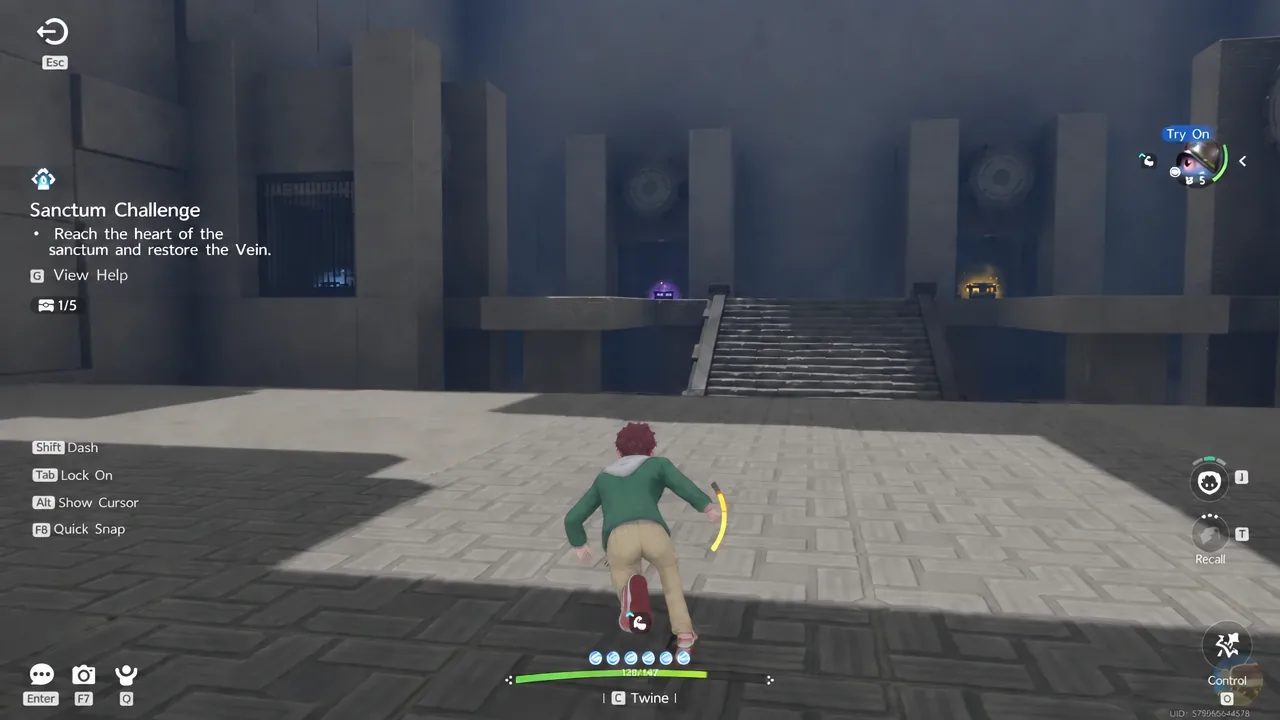
Chest collection and Sanctum completion are tracked separately. Restoring the Vein resolves the challenge whether or not the counter reads 5/5, so clear every chest first rather than planning a return trip.
Restore the Vein to clear the Sanctum
With the counter at 5/5, follow the objective marker into the final chamber and interact with the core at the heart of the room. The interaction plays a completion sequence, the Vein energy is restored, and the challenge resolves on its own.
You know it worked when the result screen appears and the objective clears, dropping you back outside the entrance in Breezy Plains. The entrance stays activated on the world map afterwards, so you can teleport back to that spot whenever you are passing through the region.