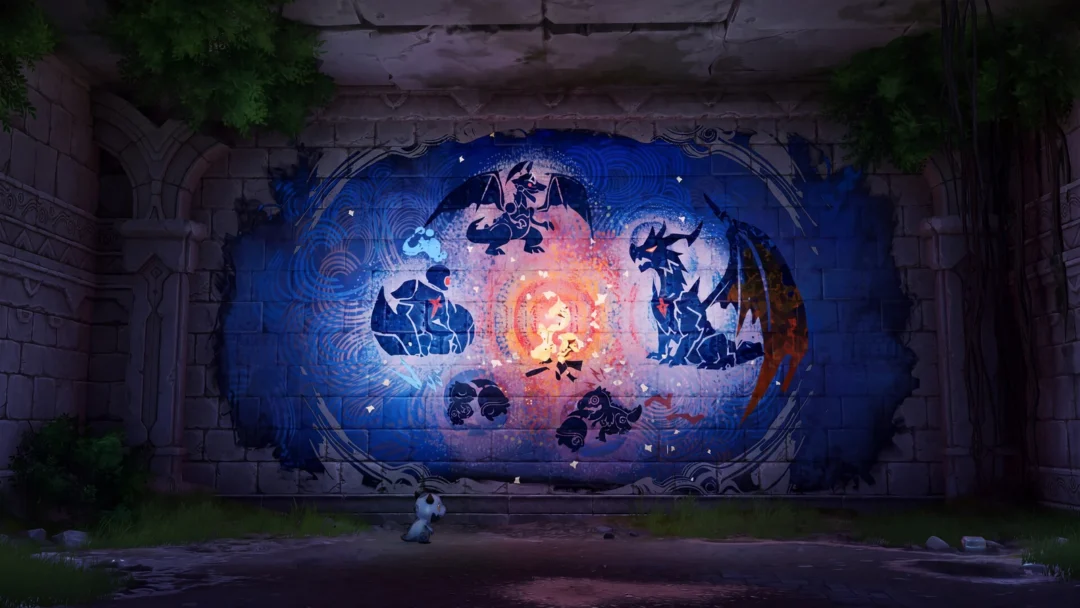
Chasing Clouds is a solo Sanctum in Nimbus Fields built around one idea: you fly the whole thing. The room hands you a trial Turbo at the door, the Cloudwalk ability does the vertical work, and the only real puzzle is moving two Ancient Batteries onto their charging plates to open the two large gates. Four optional chests are scattered along the way, and the counter on the entrance card is the only thing that tells you whether you missed one.
Quick answer: Awaken the statue, Twine with the trial Turbo, use Cloudwalk to carry both Ancient Batteries onto their charging plates, and collect all four chests before you Touch the Terminus.
Chasing Clouds entrance location and run details
The entrance sits in a cave below the cliffs in Nimbus Fields, behind a wall of dark vines. Summon a Fire Aniimo, burn the vines away, then follow the glowing passage down and glide to the interaction point at the base of the tall violet glyph-covered structure. Press Activate there. Approaching from west of the cave works but takes noticeably longer than dropping in from the ledge above.
| Check | Value |
|---|---|
| Map label | Nimbus Fields |
| Atlas coordinates | 1339, 1986 |
| Players | 1 · Solo |
| Fresh-run chest counter | 0/4 |
| First-clear reward | Lumin Amber: Breezy Plains ×1, 500 EXP |
| Trial Aniimo | Turbo, with Cloudwalk |
Older checklists call the same room Mistrider or Cloud Riding, and some label the area as Nimbus Field in the singular. They all point at this entrance.
First Spark also sits in Nimbus Fields and also shows four optional chests, so the counter will not tell the two apart. Read the name on the entrance card, which should say Sanctum: Chasing Clouds, before you commit.
Cloudwalk controls and the two abilities the room uses
You do not need to bring a mobility Aniimo. The statue near the opening gives you a sealed trial Turbo, and the ability it carries is labelled Cloudwalk. On the default PC layout, step into a cloud and press T to enter Flight Mode, Space to ascend, Ctrl to descend and X to exit. Rebound keys follow the on-screen prompt instead.
- Flying close to an Ancient Battery attaches it to you, so no manual pickup is required mid-air.
- Placing a battery on a plate is done in human form. Untwine, then use Control (
Q) to drag, drop or throw it. - Each half of the room has a Refresh Battery lever that resets its battery to the start position if it lands somewhere unreachable.
- Recall Skill only works in combat, so it is not an option for repositioning during the puzzle.
The room teaches both verbs in order. A Grab tutorial card fires between the entrance pad and the statue, before you have an Aniimo at all, and the Cloudwalk card appears a second after you Awaken. Deliberate small corrections beat holding the ascend key, especially in the flame corridor.
Chasing Clouds route: entrance pad to the Terminus
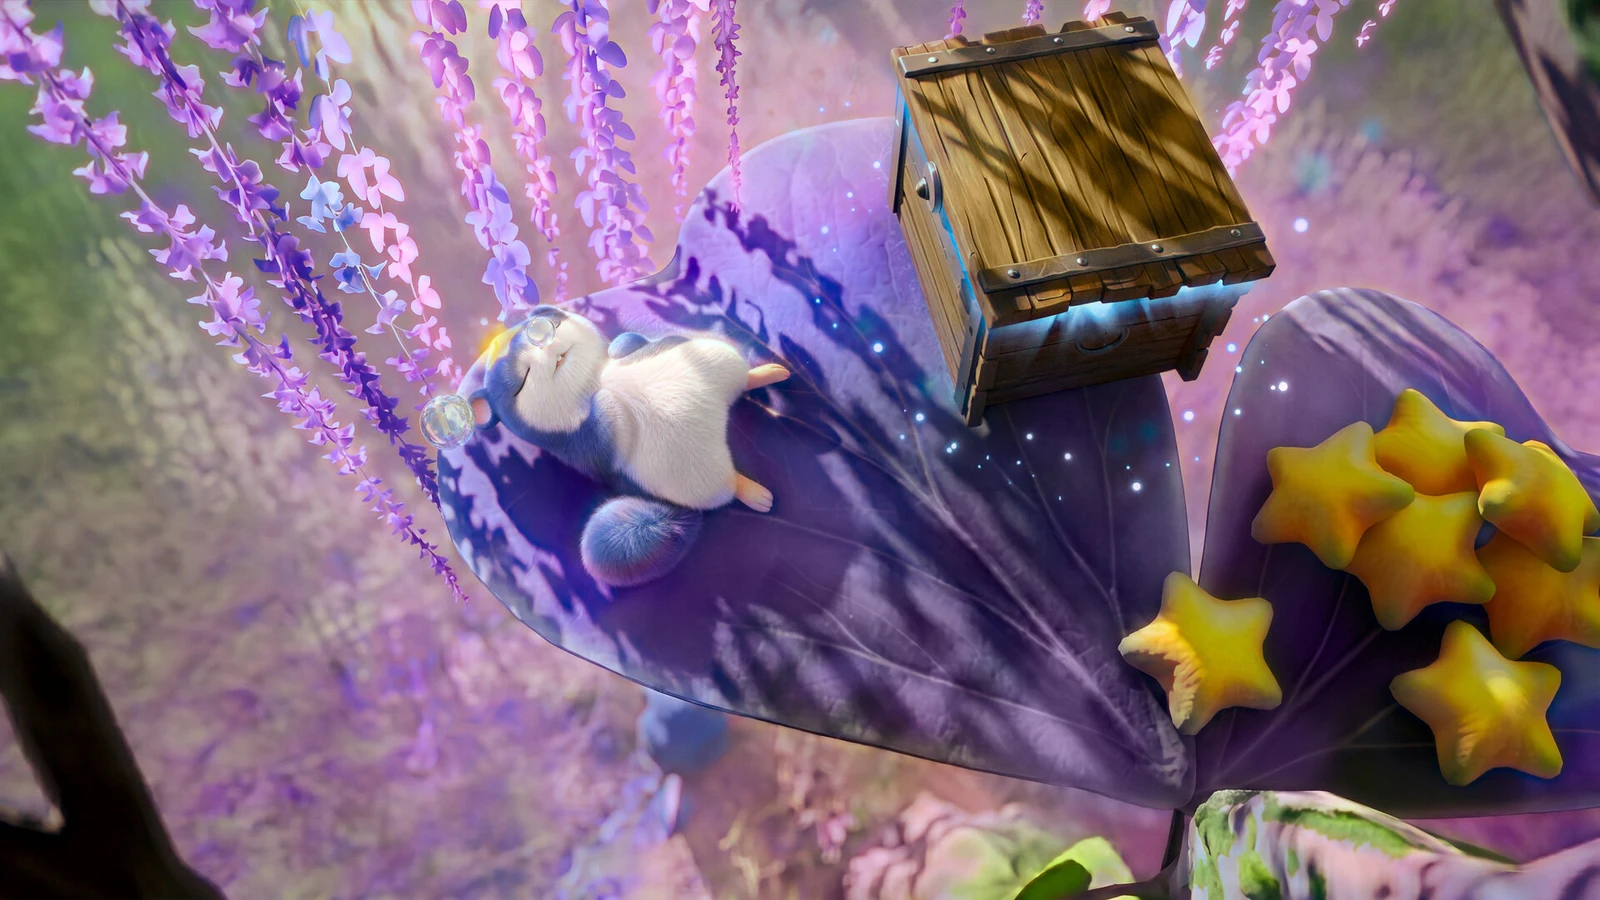

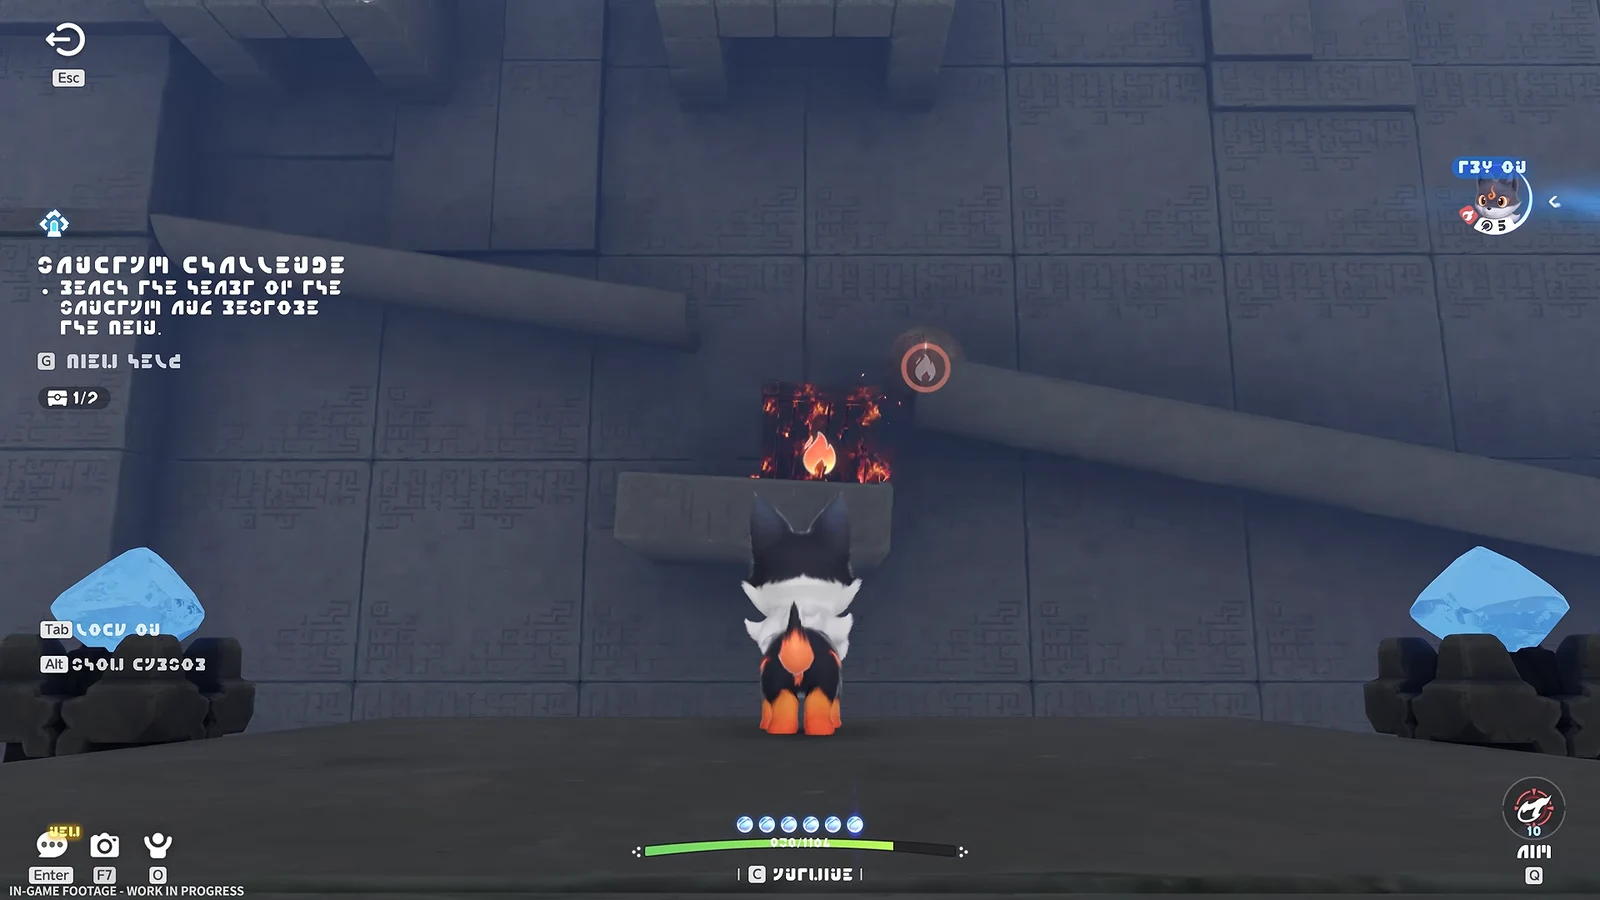
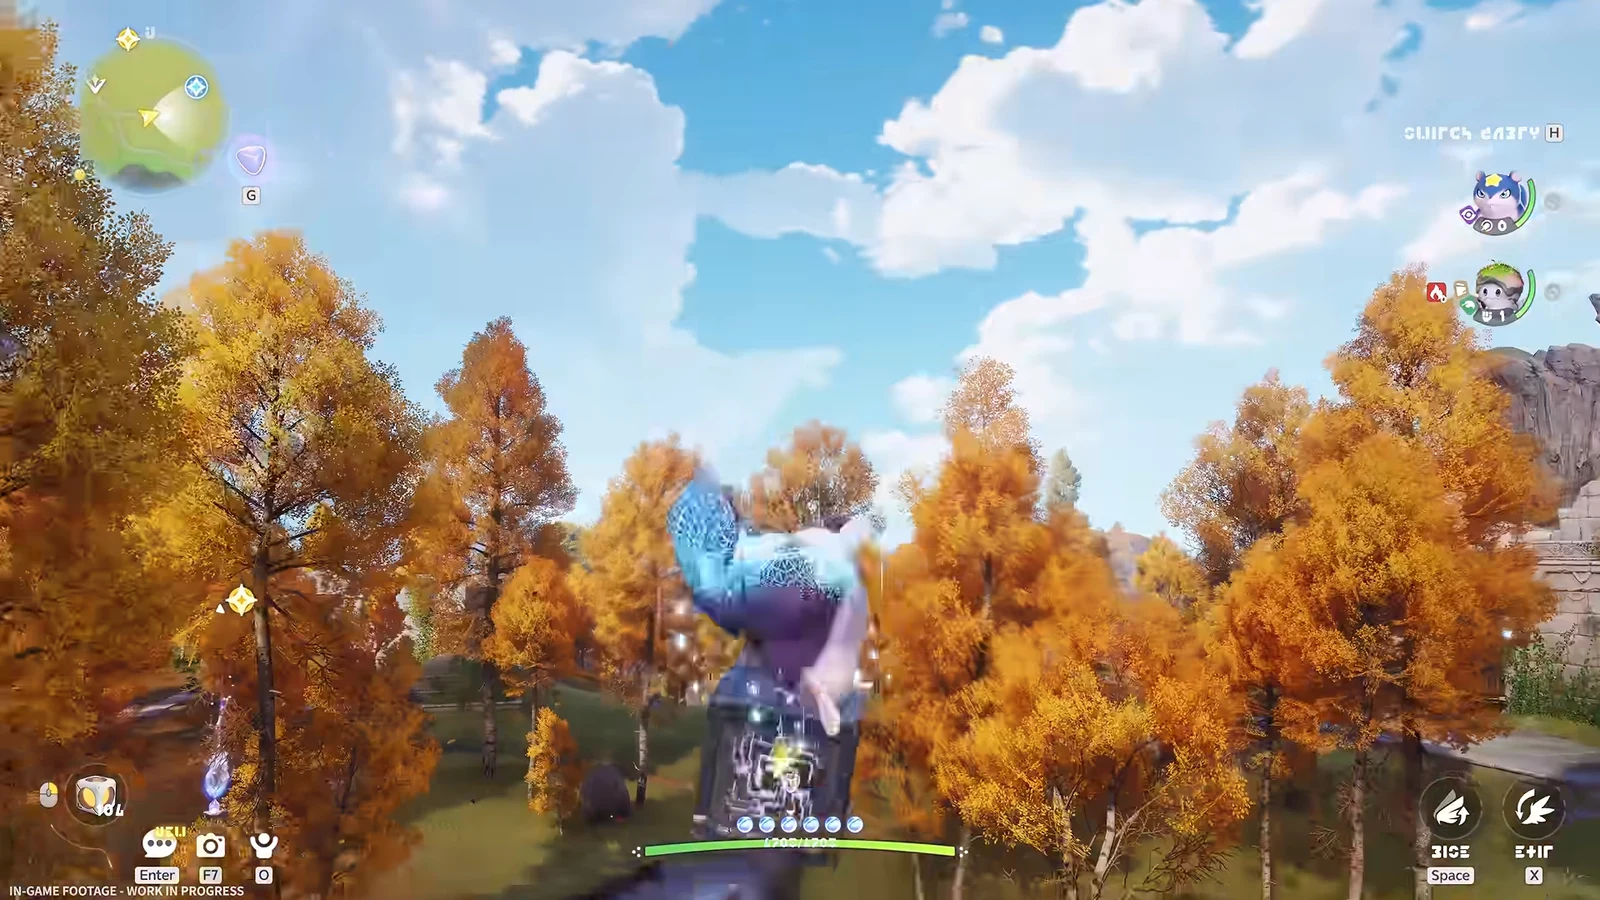
If a circuit stays dull after you drop a battery, it has landed beside the plate rather than on it. Pick it up again with Control, or pull the nearby Refresh Battery lever to reset it.
All 4 chest locations in Chasing Clouds
Three chests are Standard grade and one is Premium. The Premium is the third chest, down in the east pit, not something hidden past the final gate. Chests 3 and 4 share the battery chamber with one on each flank, so sweep both sides before you load the empty plate.
| Chest | Grade | Where it sits |
|---|---|---|
| 1 | Standard | Ledge between the two flame jet banks |
| 2 | Standard | Low shelf beside the crosswind vents |
| 3 | Premium | Floor of the sunken east pit |
| 4 | Standard | West ledge, south and above the battery shelf |
Chest rewards and the first-clear payout
Chest grades are fixed per chest rather than rolled, so the Premium chest always pays the Premium line. The Rare and Epic held items both draw from the same pool of 15.
| Grade | Glimmer | Credits | Extra |
|---|---|---|---|
| Basic | 5 | 5,000 | Sparkling Crystal ×5 |
| Standard | 10 | 10,000 | Sparkling Crystal ×10, one Rare held item |
| Premium | 20 | 20,000 | Sparkling Crystal ×15, one Epic held item |
The first clear pays one Lumin Amber: Breezy Plains and 500 EXP, shown in the First Clear Reward slot on the entrance card. Return visits keep the Transport destination on the map but pay nothing again, so there is no farming loop here. Clears do count toward the Sanctum Delver badges at 3, 5, 10 and 15 rooms.
How to confirm the Sanctum is complete
Two separate things have to be true. The chest counter must read 4/4, which you can check on the challenge display before you cross the final span, and the Vein has to be restored at the Terminus. Restoring the Vein does nothing for the chest counter, and the counter does nothing for the challenge, so the order matters.
You know the battery puzzle has worked when both bulbs turn gold, the gate face closes into a single rosette and the shutter lifts with a pair of updraughts rising over it. You know the run is finished when the Touch prompt on the Terminus resolves the challenge. The entrance stays activated on the map afterwards, but a chest you skipped is not worth gambling on, so count to four before the last flight.