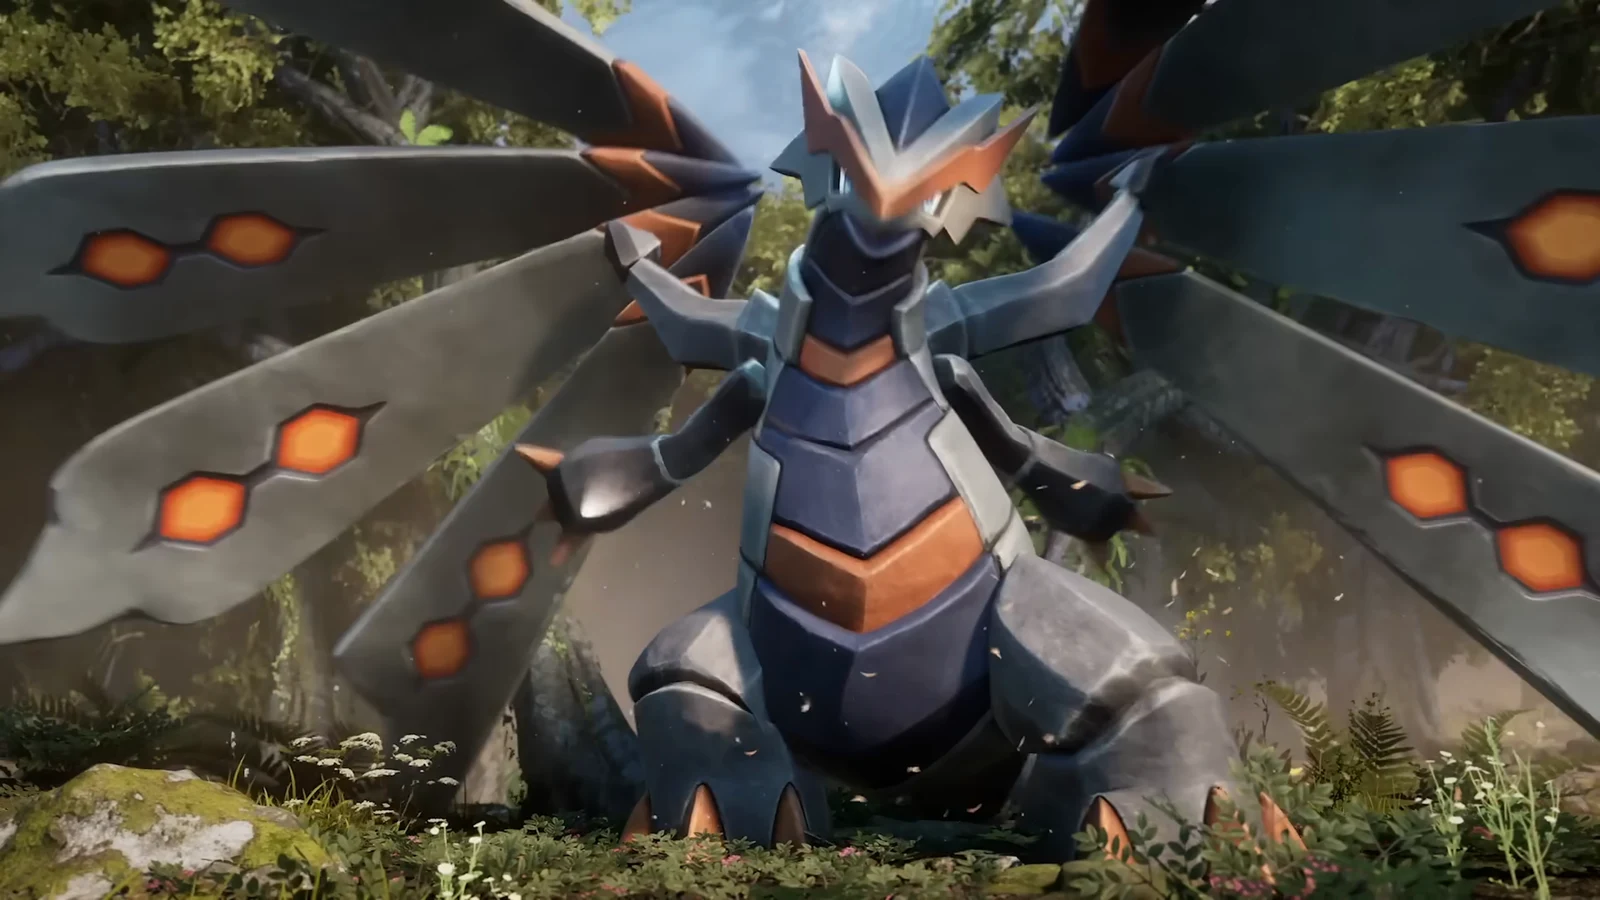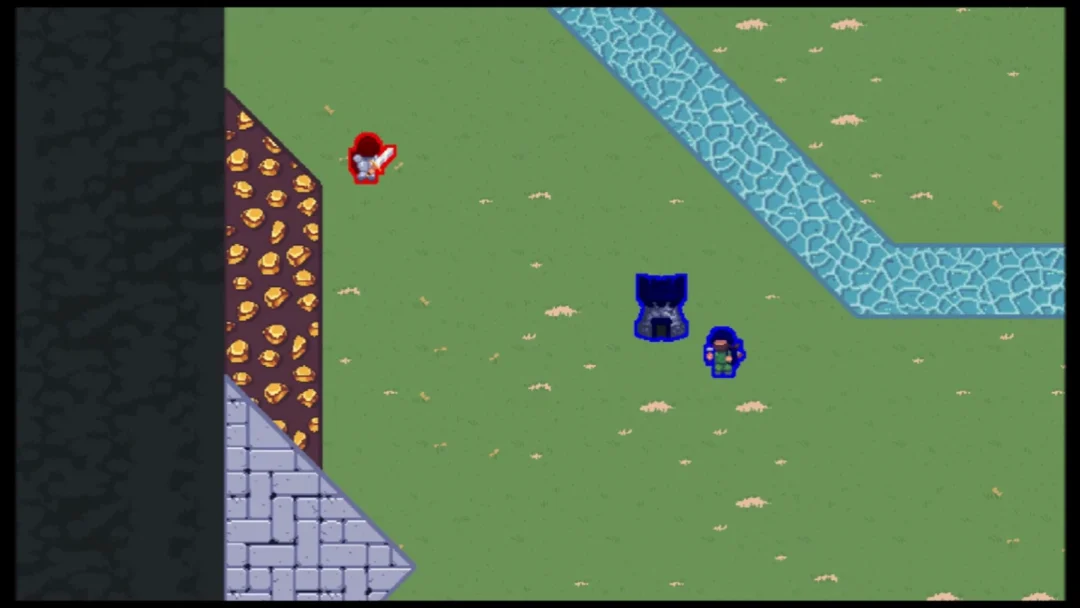
Four C0R1 damage dealers, one boss with roughly 10 million HP, and a split-screen that runs all four attempts at once. The target is Potapo’s Solidarity, a custom boss carrying the “Will of Rivalry and Battle” label, and the challengers are Vesna (Anemo), Zibai (Geo), Flins (Electro), and Nefer (Dendro). Every showcase unit runs at Constellation 0 with a Refinement 1 weapon, so the comparison is about raw kit performance rather than constellation stacking.
Quick answer: Nefer finishes the 10M HP boss fastest at C0R1. Vesna lands next, followed by Zibai and then Flins, with the gap between all four kept fairly tight.
C0R1 finish order against the 10M HP boss
| Finish | Character | Element | Reaction driver |
|---|---|---|---|
| 1 | Nefer | Dendro | Lunar-Bloom |
| 2 | Vesna | Anemo | Swirl-based team |
| 3 | Zibai | Geo | Lunar-Crystallize |
| 4 | Flins | Electro | Lunar-Charged |
Nefer takes the win, but this is not a blowout. The four runs stay close enough that a rotation slip or a missed burst window would reorder the middle of the pack. Treat the result as a ranking of four viable setups, not a case of one character invalidating the rest.
Test conditions for the Potapo’s Solidarity run
- Target: Potapo’s Solidarity, a custom boss with roughly 10 million HP.
- Challenge framing: a trial encounter with a “Defeat Powerful Opponent(s)” objective.
- Every showcase DPS is Level 90, Constellation 0, on a Refinement 1 weapon.
- Support units are built out to C6, so the constellation restriction applies to the carry only.
- All four attempts run side by side, which makes clear time the direct measure of output.
This runs in a modified environment with custom characters and a custom boss. The clear times show relative pacing between the four kits, not numbers you can reproduce on a standard live account.
C0R1 weapons and artifact sets for each DPS
| Character | Weapon (R1) | Artifact set |
|---|---|---|
| Nefer | Reliquary of Truth | Night of the Sky’s Unveiling |
| Vesna | Beyond the Chrysalis | Scarlet Proof |
| Zibai | Lightbearing Moonshard | Night of the Sky’s Unveiling |
| Flins | Bloodsoaked Ruins | Night of the Sky’s Unveiling |
Three of the four carries share Night of the Sky’s Unveiling, which keeps the artifact variable mostly flat across Nefer, Zibai, and Flins. Vesna is the outlier on Scarlet Proof, and she is also the only one of the group whose team is built around Anemo grouping rather than a Lunar reaction.
Team compositions used in the comparison
| DPS | Slot 2 | Slot 3 | Slot 4 |
|---|---|---|---|
| Nefer | Columbina | Nahida | Lauma |
| Vesna | Vodyanitsa | Faruzan | Odette |
| Zibai | Columbina | Linnea | Illuga |
| Flins | Columbina | Sucrose | Ineffa |
Columbina appears on three of the four teams, running Aubade of Morningstar and Moon at C6 with the Nocturne’s Curtain Call catalyst on the Flins and Nefer rosters. Vesna’s lineup is the only one without her, leaning on Faruzan’s Anemo buffing instead.
Support artifact sets by team
| Support | Team | Artifact set |
|---|---|---|
| Nahida | Nefer | Deepwood Memories |
| Lauma | Nefer | Silken Moon’s Serenade |
| Vodyanitsa | Vesna | Tenacity of the Millelith |
| Faruzan | Vesna | Viridescent Venerer |
| Odette | Vesna | Heart of the Furnace |
| Linnea | Zibai | Silken Moon’s Serenade |
| Illuga | Zibai | Instructor |
| Sucrose | Flins | Viridescent Venerer |
| Ineffa | Flins | Silken Moon’s Serenade |
Weapon choices on the support side follow the same logic. Faruzan carries Elegy for the End, Odette runs Whitelake Frostfeather, Linnea uses Golden Frostbound Oath, Lauma holds Nightweaver’s Solace, and Nahida sticks with A Thousand Floating Dreams. Every one of these units sits at C6, which matters when you compare the outcome to your own account.
Why the ranking shifts in other DPS tests
A clear time against one boss is a single data point, and the order does move when the setup changes. In a 60-second timed test against a training target, the Zibai, Columbina, Illuga, and Linnea team posted 280,105 DPS and 16,813,025 total damage, edging out the Nefer, Columbina, Nahida, and Lauma team at 269,815 DPS and 16,194,313 total damage.

Support constellations swing it further. Unlocking Linnea’s Constellation 1, Provisional Classification, pushed that same Zibai team to 317,675 DPS and 19,068,456 total damage in the same 60-second window, a change that has nothing to do with Zibai’s own build.
Budget gear compresses the results in the other direction. Running F2P and low-rarity weapons instead of signature options, the Zibai team peaked above 199K max DPS while both the Flins and Nefer teams topped out above 162K. The takeaway is that weapon tier and support constellations move these teams more than the gap between the carries themselves.
What the C0R1 result actually tells you
- Nefer’s Lunar-Bloom team is the fastest of the four under these exact conditions.
- Vesna keeps pace without a Lunar reaction, relying on Anemo grouping and buffs.
- Zibai and Flins land close behind, not far enough back to be written off.
- C6 supports do heavy lifting in all four runs, so a fresh account will see lower numbers.
- Swapping to a different target or timer format can reverse the top two.
If you are deciding where to put resources, the finish order is less useful than the pattern underneath it. All four carries clear a 10 million HP target at C0 with a Refinement 1 weapon, and the separation comes down to the reaction each team drives and how well its supports are invested. Build the team you already have the pieces for, and the difference between first and fourth place here is a handful of seconds.