
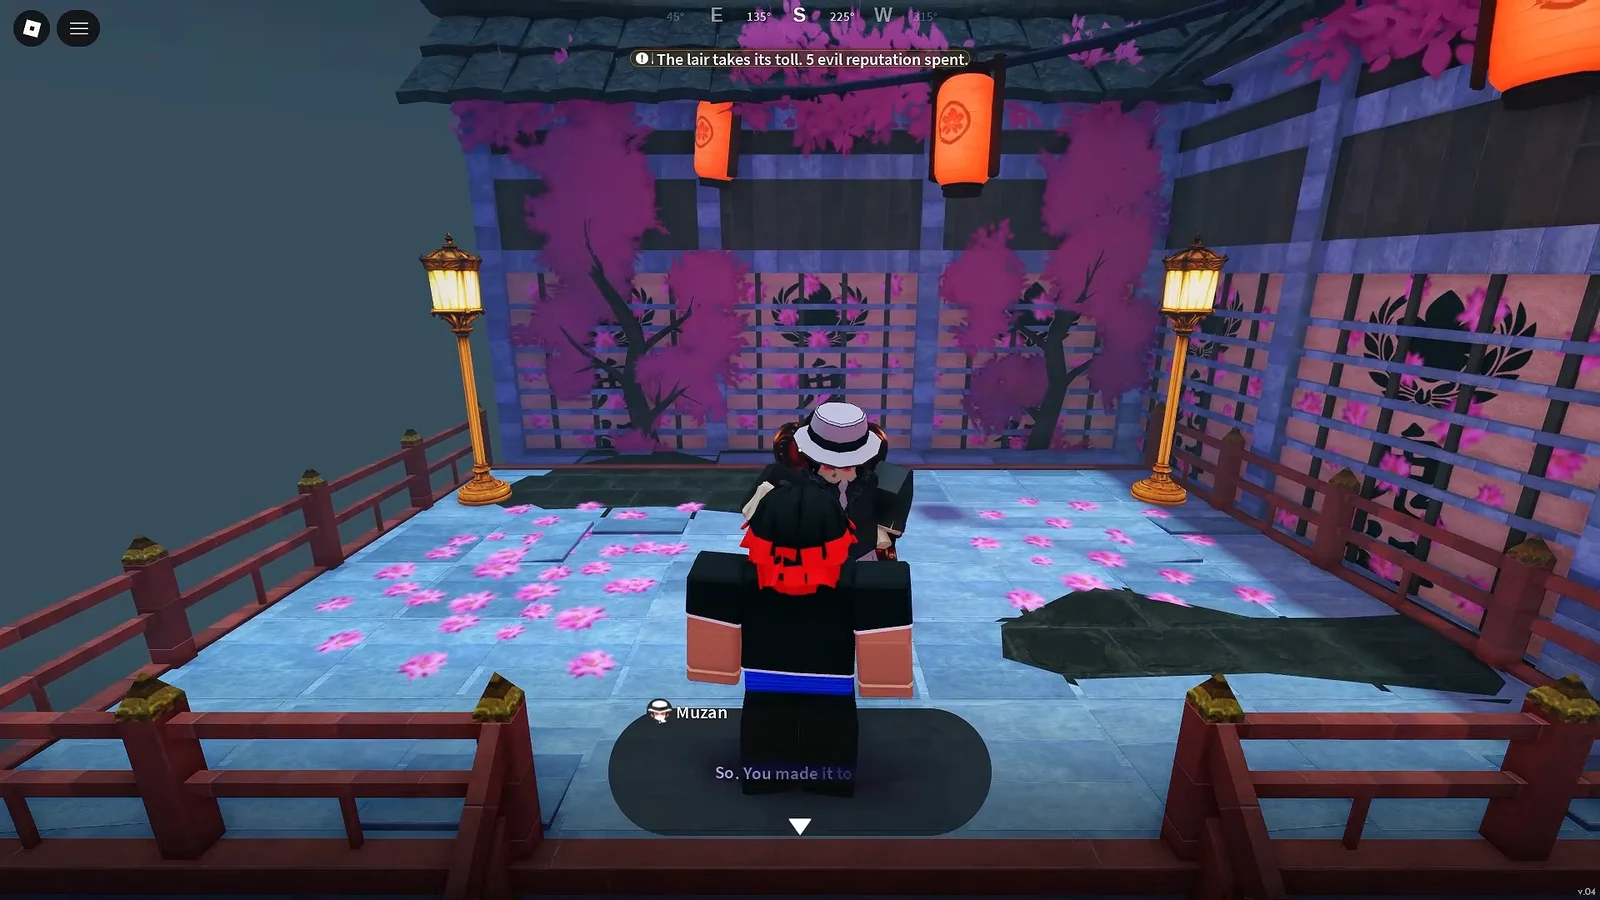
A demon run in Slayers 2 follows a fixed chain. You tank your reputation, find Muzan at night, clear his quest, drink his blood, and then spend the rest of your time chasing one weapon line and one Evil Art. The strongest endgame version of that build pairs Blood Manipulation with Damascus Sickles, which is why almost every decision below points toward sickles.
Quick answer: Farm down to -40 reputation, talk to Muzan at night, finish his Spider Lily and Dr. Higoshima quest, drink Muzan’s Blood, then roll Blood Manipulation and work toward Damascus Sickles.
Demon requirements before you start
The transformation itself has no level gate, but the build behind it does. Line these up first so you are not stuck halfway through a quest at night with no way to reach the objective.
- A reputation of at least -40, earned by killing civilians and Slayers. Mizunoto Demon Slayers near Butterfly Estate and Seasons Crossing give -9 per kill.
- Double jump and climbing unlocked in the skill tree, both needed for the Dr. Higoshima leg of Muzan’s quest.
- Night time in the server, since Muzan only appears at night and Spider Lilies only spawn at night.
- Around 10,000 Wen spare if you plan to buy the Black Amigasa for early sun protection.
- Level 52 before the Sickles drop becomes realistic, which matters if you want Blood Manipulation.
Killing other demons does nothing for reputation farming or later soul farming, so stick to human NPCs and Slayers.
How to become a demon in Slayers 2


Best Blood Demon Art for a demon build
Arts come from two places. You can pull them from bosses and chests, including luck chests, or you can ring the Biwa Bell, ask Muzan for power, and spend spins on orbs. Rolls cost three spins each, paid with Robux spins or the free in-game currency.
| Tier | Blood Demon Arts |
|---|---|
| Top | Blood Manipulation, Ice Manipulation, Shockwave |
| Strong | Dream Manipulation, Reaper |
| Situational | Arrow, Explosive Blood, Obi Manipulation, Tamari |
Blood Manipulation is the pick for this build, and the reason is the weapon lock. It only works with a sickle, so it scales directly with the same weapon line you are already farming. That also makes it a bad first art for a fresh character, because the sickle drop realistically needs level 52.
Shockwave and Dream are the usual fallbacks while you grind toward a sickle. Shockwave mixes close-range pressure with a ranged opener, a teleport follow-up and a counter, while Dream leans on placed threats and control.
Once you select an orb, the game hands you a random unlock quest with map markers, plus Demon Core training such as pushups, barbell squats and boulder pushes. Warning: Dying or resetting mid-quest can wipe that progress, so finish it before you pick a fight.
Sun protection: Black Amigasa, Classic Straw Hat, and the Kamado clan
Daylight burns demons to death, which makes sun protection the first thing you sort out after transforming. There are three answers, and they sit at different points in the run.
| Option | How to get it | Extra stats |
|---|---|---|
| Black Amigasa | MoldySugar delivery quest to Elara, 10,000 Wen | None |
| Classic Straw Hat | Iceveil Valley chest, three guards | None beyond immunity |
| Kamado clan | Clan roll | Passive, frees the hat slot |
The Black Amigasa is the beginner option. Speak to MoldySugar in the beginner village, ride the package over to Mistfall Harbor, hand it to Elara, and the hat unlocks for purchase at 10,000 Wen. It buys you daylight and nothing else.
The Classic Straw Hat is the mid-game replacement, sitting in a chest in Iceveil Valley behind three enemies that guard it. Clear them, open the chest, and you have permanent sun immunity without the delivery quest.
If you roll Kamado, none of that matters. The clan carries sun protection on its own, which frees the head slot for a piece that actually adds damage. That is the main reason it sits at the top of the clan rankings.
Leveling to the sickle bosses
Between the transformation and the sickle grind there is a straight leveling stretch. At level 40 you can start taking quests from Wagwan, which is also when the Recommended Quest tracker becomes useful on the map, and the Book of Guidance unlocks at Windy Peak. Kasugai Crow boss missions add XP, Cash and Mastery on top.

Push to level 52 before you camp Hoyuzo. Below that, the Sickles drop is not worth the time investment, and Blood Manipulation stays unusable without it.
Sickle weapon chain: Sickles to Blood Sickles to Damascus Sickles
| Weapon | Boss and location | Drop rate | Skill |
|---|---|---|---|
| Sickles | Hoyuzo, Bamboo Grove waterfall cave | 7% | Scyther Vortex |
| Blood Sickles | Gyutai, cave right of spawn | 7% | Circular Slashes |
| Damascus Sickles | Crafted, Nithirin Forge | Craft | — |
Both bosses drop a weapon and a skill, and you want both from each. Hoyuzo sits in the cave behind the Bamboo Grove waterfall and gives Sickles plus Scyther Vortex. Gyutai holds the cave to the right of spawn, reachable through the Wilderness gate near Windy Peak, and gives Blood Sickles plus Circular Slashes along with Blood Manipulation ultimate items.
Damascus Sickles crafting recipe
Begin by talking to Blacksmith Togane at Hidden Mist Village, then use the Nithirin Forge for crafting. Making the mythic upgrade uses one sickle you already own.
| Material | Amount | Where to get it |
|---|---|---|
| Sickles or Blood Sickles | 1 | Hoyuzo or Gyutai |
| Metal Scraps | 500 | World boss chests |
| Silk Thread | 300 | World boss chests |
| Mythic Refinement Ore | 10 | Ginzo or Changer Zeni |
| Wen | 90,000 | Tower Mode |
For earning Wen, Tower Mode is the quickest option and supplies the practical path to the 90,000 Wen requirement. Mythic Refinement Ore is available in two ways: hand mythic items to Ginzo at Mistfall Harbor for sale, or, after Tower Mode is complete, purchase it from Changer Zeni at 30,000 Wen per ore.
Once the craft completes, the Damascus Sickles appear in your inventory as a mythic weapon. From there, take them to Refiner Hagane in Hidden Mist Village. Warning: Refining can fail, and a failure can drop the weapon’s level, so weigh the success rate shown before you spend.
Demon boss locations and their drops
Outside the sickle chain, a handful of bosses carry the art items and mastery materials a demon build needs. They are spread across four regions.
| Boss | Location | Drop focus |
|---|---|---|
| Hoyuzo | Bamboo Grove | Sickles |
| Yahari | Bamboo Grove | Arrow |
| Sumari | Bamboo Grove | Temari |
| Reaper | Bamboo Grove | Sonido Surge |
| Datai | Wilderness cave | Obi Manipulation |
| Gyutai | Wilderness cave | Blood Manipulation |
| Domae | Iceveil Valley | Ice items, War Fans |
| Akazo | Hidden Wilderness cave | Shockwave mastery |
| Nezura | Final Selection Plains | Blood Rupture |
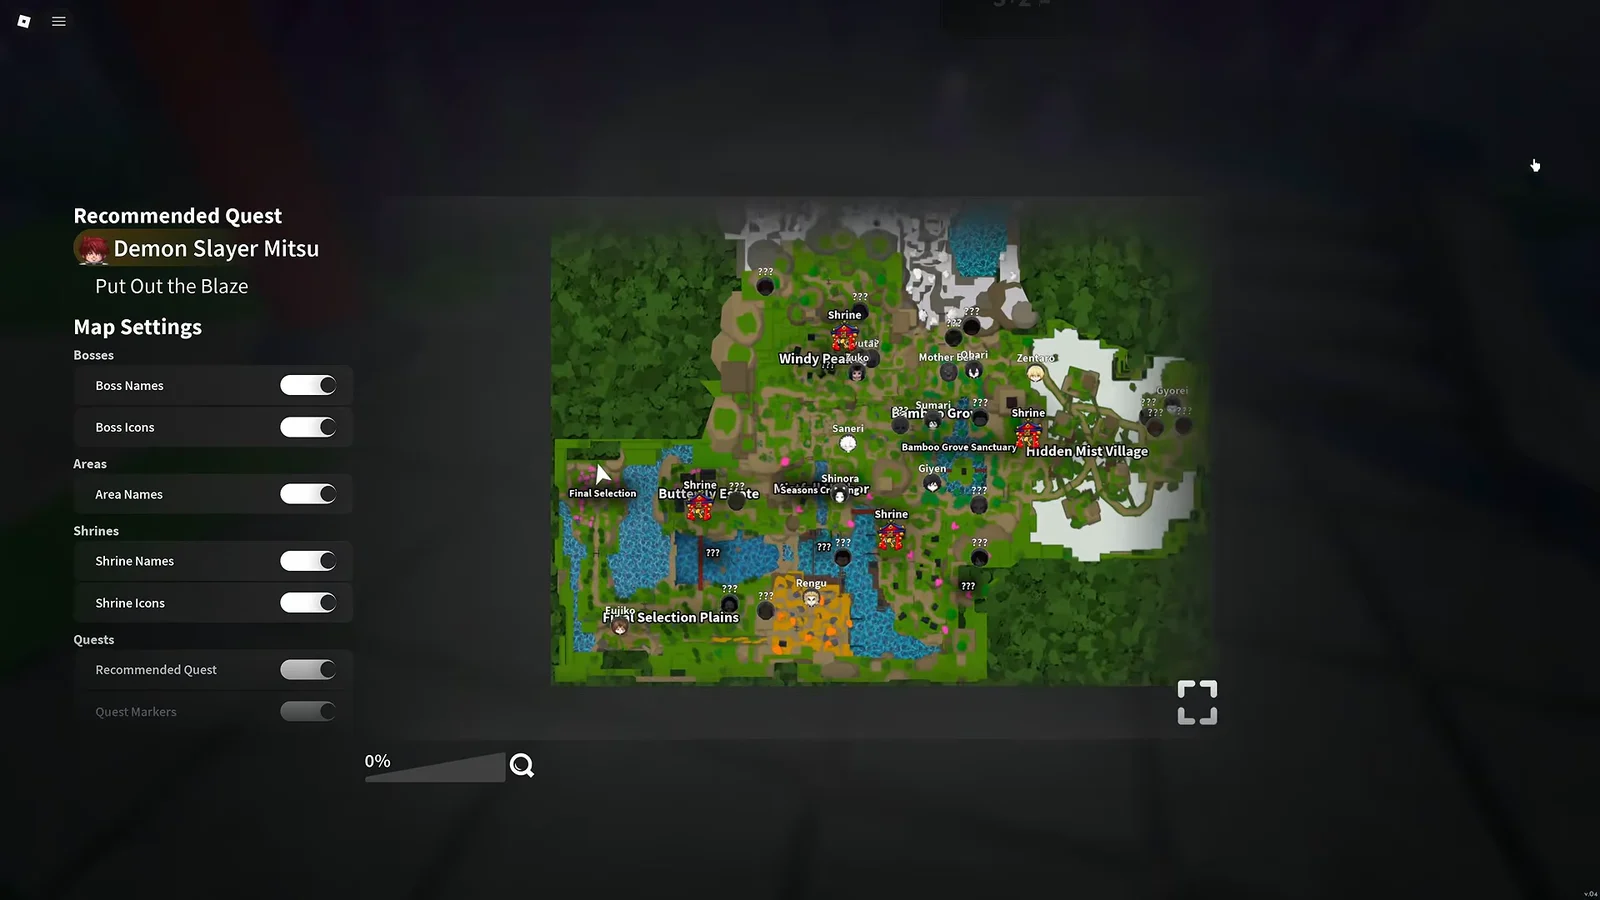
In the Wilderness by Windy Peak, Akazo is concealed past a gate beside an entrance covered in overgrown grass, making him easy to miss. Once you reach level 140 or higher, ring the Biwa Bell to open Muzan missions targeting Hashira.
Best gear, titles, and clans for damage
Equipment
The Demonic Lantern is the standout accessory. It drops from demon world boss chests and stacks flat damage, damage factor, max health and max stamina, plus it lights the area at night. For haoris and armor, sort by flat damage and damage factor first, then take defensive stats as a tiebreaker.
Titles
You can equip three titles at once, and the slots should all go to offence. Monster Hunter, Hard Hitter, Demon and Blood Manipulation Perfected cover flat damage, damage factor and Evil Art damage between them, so pick the three that match your current art.
Clans
| Tier | Clans |
|---|---|
| Best | Kamado, Rengoku, Himejima, Uzui, Soyama, Iguro, Shabana |
| Very good | Shinazugawa, Agatsuma, Douma, Tamayo, Urokodaki, Tomioka, Kocho, Sabito |
Kamado is the clan to stop rolling on for a demon build, purely because its sun protection hands you a free equipment slot. Shabana is the strongest Legendary option, with a Blood Demon Zone that buffs your party and Blood Poison as a second offensive threat. Rarity alone is not the deciding factor, so a useful specialist beats spinning endlessly for a famous surname.
Demon progression levels and soul farming
Demon progression is a separate bar from your character level. Press M, open Player Info, and select Progression to see where you stand. Filling the bar unlocks progression levels that grant buffs and passive abilities, running up to Level 4, which appears to be the cap.
| Soul | Dropped by | Progress |
|---|---|---|
| Weak Soul | Low-level NPCs | Small |
| Strong Soul | Mid-tier NPCs | +10 |
| Brave Soul | Hashira and elite NPCs | +25 |
Souls only come from NPCs. Killing another demon player or demon NPC returns nothing, so the efficient route is hunting the strongest human NPCs you can reliably beat and absorbing Brave Souls from Hashira once your damage supports it.
Skill tree and mastery allocation
Skills unlock with two things at once: skill points and mastery. Mastery climbs as you use the abilities, so the tree opens up in stages rather than all at once. Spend points on your weapon skills and your Blood Manipulation nodes as each mastery threshold clears, and leave the stat nodes for whatever is left over.

Each art also lists its weapon requirement here. Some work from your fists, while Blood Manipulation stays greyed out until a sickle is equipped, which is the clearest in-game confirmation that the weapon chain and the art are one build rather than two.
Run the order as written and the checkpoints are easy to read. Demon Progress Lv 1 in Player Info tells you the transformation stuck, the art quest completion adds your skills to the tree, and the mythic Damascus Sickles landing in your inventory after the Nithirin Forge craft means the weapon side is finished. Everything after that is refining, titles, and soul farming.