


A private server in Slayers 2 gives you an individual version of the world under your control. It is ideal for grinding without strangers, arranging clan battles, testing Breathing Styles with a friend, or running a tournament while choosing exactly who enters and when. After buying one, you control it by entering commands in the regular in-game chat.
Quick answer: Open the main menu, press Unlock Private Servers below the Join button, and buy the VIP subscription for 150 Robux per month. Then manage the server with chat commands like /kick, /ban, and /access closed.
Unlock a private server in Slayers 2
You access the feature through the main menu, and payment works as a monthly subscription instead of a single permanent purchase.
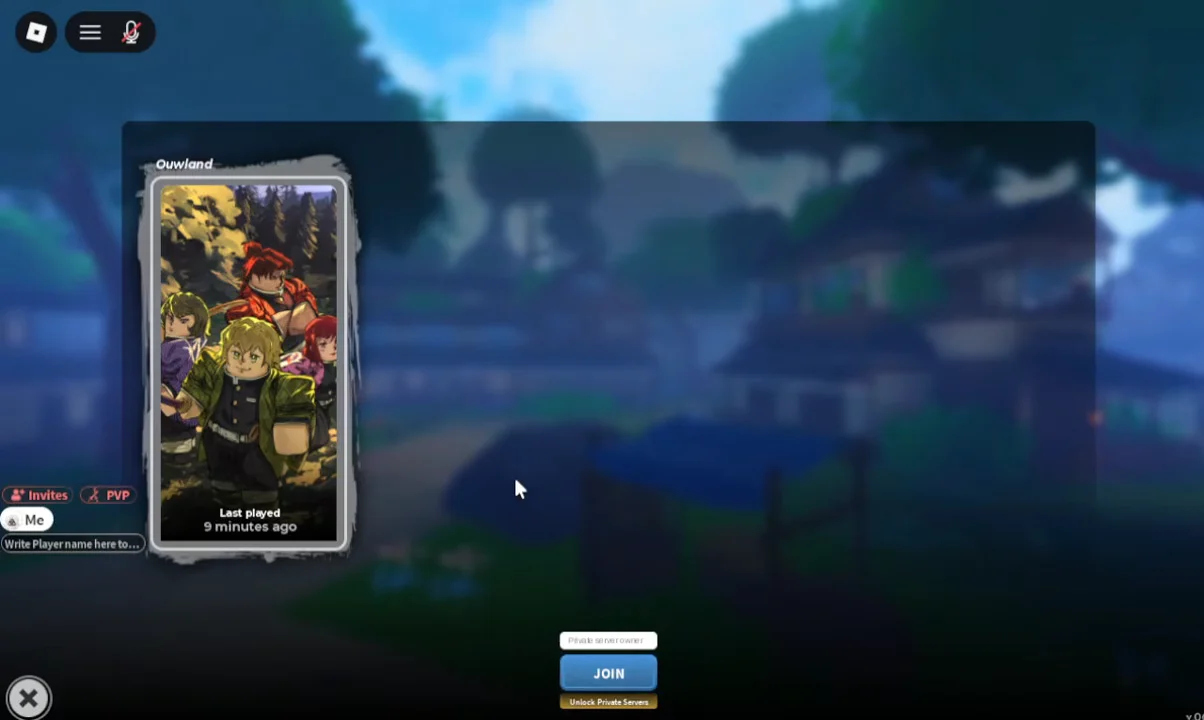
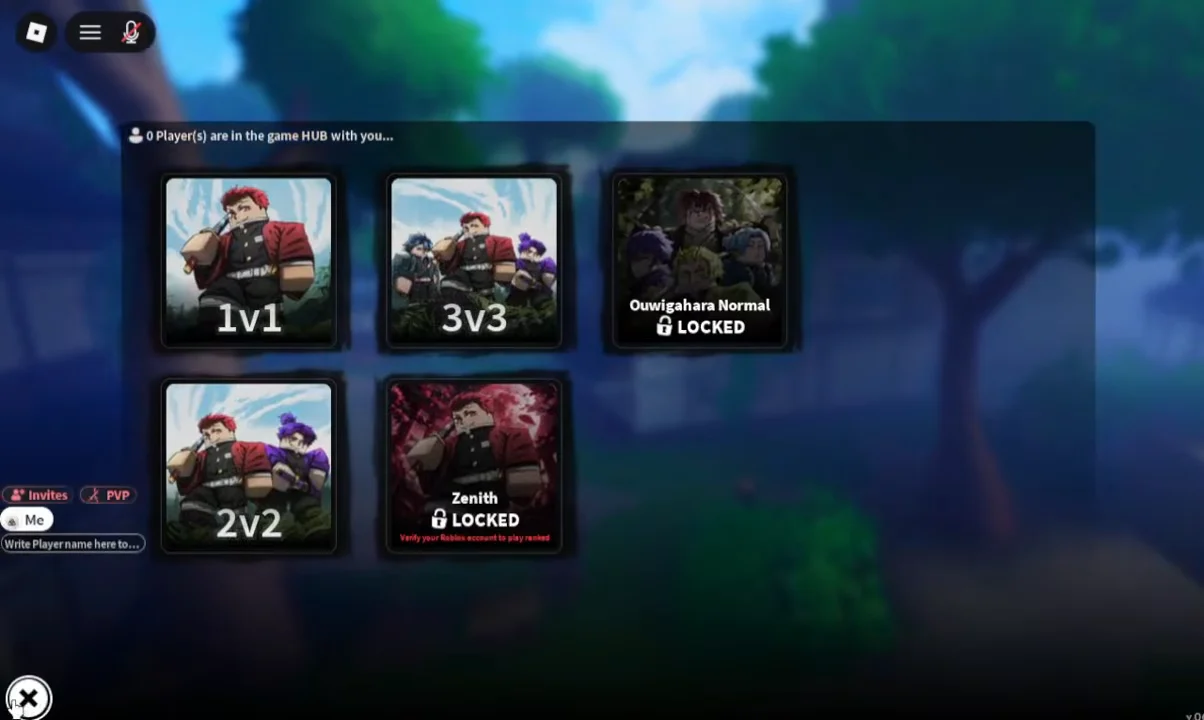
The unlock is billed at 150 Robux every month, not a single purchase, so it keeps charging until you cancel the subscription.
Full private server command list
Every command runs from the chat box. Most are open to owners and moderators, but a few are locked to the owner alone.
| Command | Effect | Owner only |
|---|---|---|
/kick <player> | Removes a player; they can rejoin unless banned | No |
/ban <player> | Bans a player, works even while offline | No |
/unban <player> | Lifts an existing ban | No |
/whitelist <player> | Lets a player in regardless of access setting | No |
/unwhitelist <player> | Removes a player from the whitelist | No |
/mod <player> | Grants moderator permissions | Yes |
/unmod <player> | Removes moderator permissions | Yes |
/access closed | Blocks regular players; whitelist still enters | No |
/access friends | Limits entry to eligible friends | No |
/access everyone | Opens the server to all players | No |
/pvp on | Enables player-versus-player damage | No |
/pvp off | Disables player-versus-player damage | No |
/pve on | Restores NPCs across the server | No |
/pve off | Removes every NPC from the server | No |
/announce <message> | Broadcasts a message to everyone inside | No |
/shutdown | Clears all players and restarts the session | Yes |
A kick only lasts for the moment, allowing that player to return unless you also ban them. Whitelist entries take priority over the access mode, so event staff or a few trusted friends may enter even while the server is closed. Removing an entry places that person under the active access rule again.
How to enter a command
Bring up chat, enter the command in its exact form, and append the required player name or message. Accurate spelling and spacing are required. The angle brackets shown in the list above represent placeholders and must be left out.
/kick George
/announce PvP tournament starts in five minutes
Line one removes George from the current session, while line two displays that message to everyone there. Verify the username before sending: a typo in a kick or ban may affect the wrong player, and an incorrect access choice may keep your expected guests outside.
Owner-only commands versus moderator commands
There are two permission levels. Moderators take care of routine tasks such as removing disruptive players and keeping events moving, but the owner retains the settings that alter the server itself. The owner alone may use /mod and /unmod to change moderator status, and /shutdown is also owner-only.
Running /shutdown immediately removes all active players and restarts the server as a new session, so reserve it for a real reset rather than using it during a tournament. Give moderator access only to trusted players because it unlocks management functions unavailable to regular players.
Set up a PvP event or training session
Use the access, PvP, and PvE options in sequence: secure the server first, prepare the arena, and open it only after the setup is complete.
- Run
/access closedwhile you prepare. - Give
/modaccess to the players assisting with server management. - Run
/pve offwhen you want the arena cleared of NPCs. - Leave PvP disabled while the group is still assembling.
- Use
/announceto publish the rules and the starting time. - Once ready, select
/access friendsor/access everyone, and then enable PvP with/pvp on.
The same pattern works for solo practice. Turning PvE off gives you a quiet space to drill combos, perfect blocks, dodges, movement, Breathing Styles, Demon Arts, weapon strings, and clan abilities without an NPC breaking the rep. Disabling PvP instead lets a group train side by side with no accidental damage.
Re-enable NPCs with /pve on afterward. Otherwise, the world remains without NPCs well beyond the event, leaving farming, quests, and boss runs with no enemies to fight.
Confirming a command worked
Commands show their results directly in the game, making the display the quickest typing check. Every player in the session sees an announcement, while a kicked or banned player is removed at once. Disabling PvE clears NPCs from the world and enabling it again restores them; the PvP switch determines whether players can damage one another. Using /shutdown ejects everyone and starts the server over as a clean session.
When there is no response, the command text is usually at fault. Enter it again exactly as shown, omit the angle brackets, and verify the username’s spelling before you retry.





