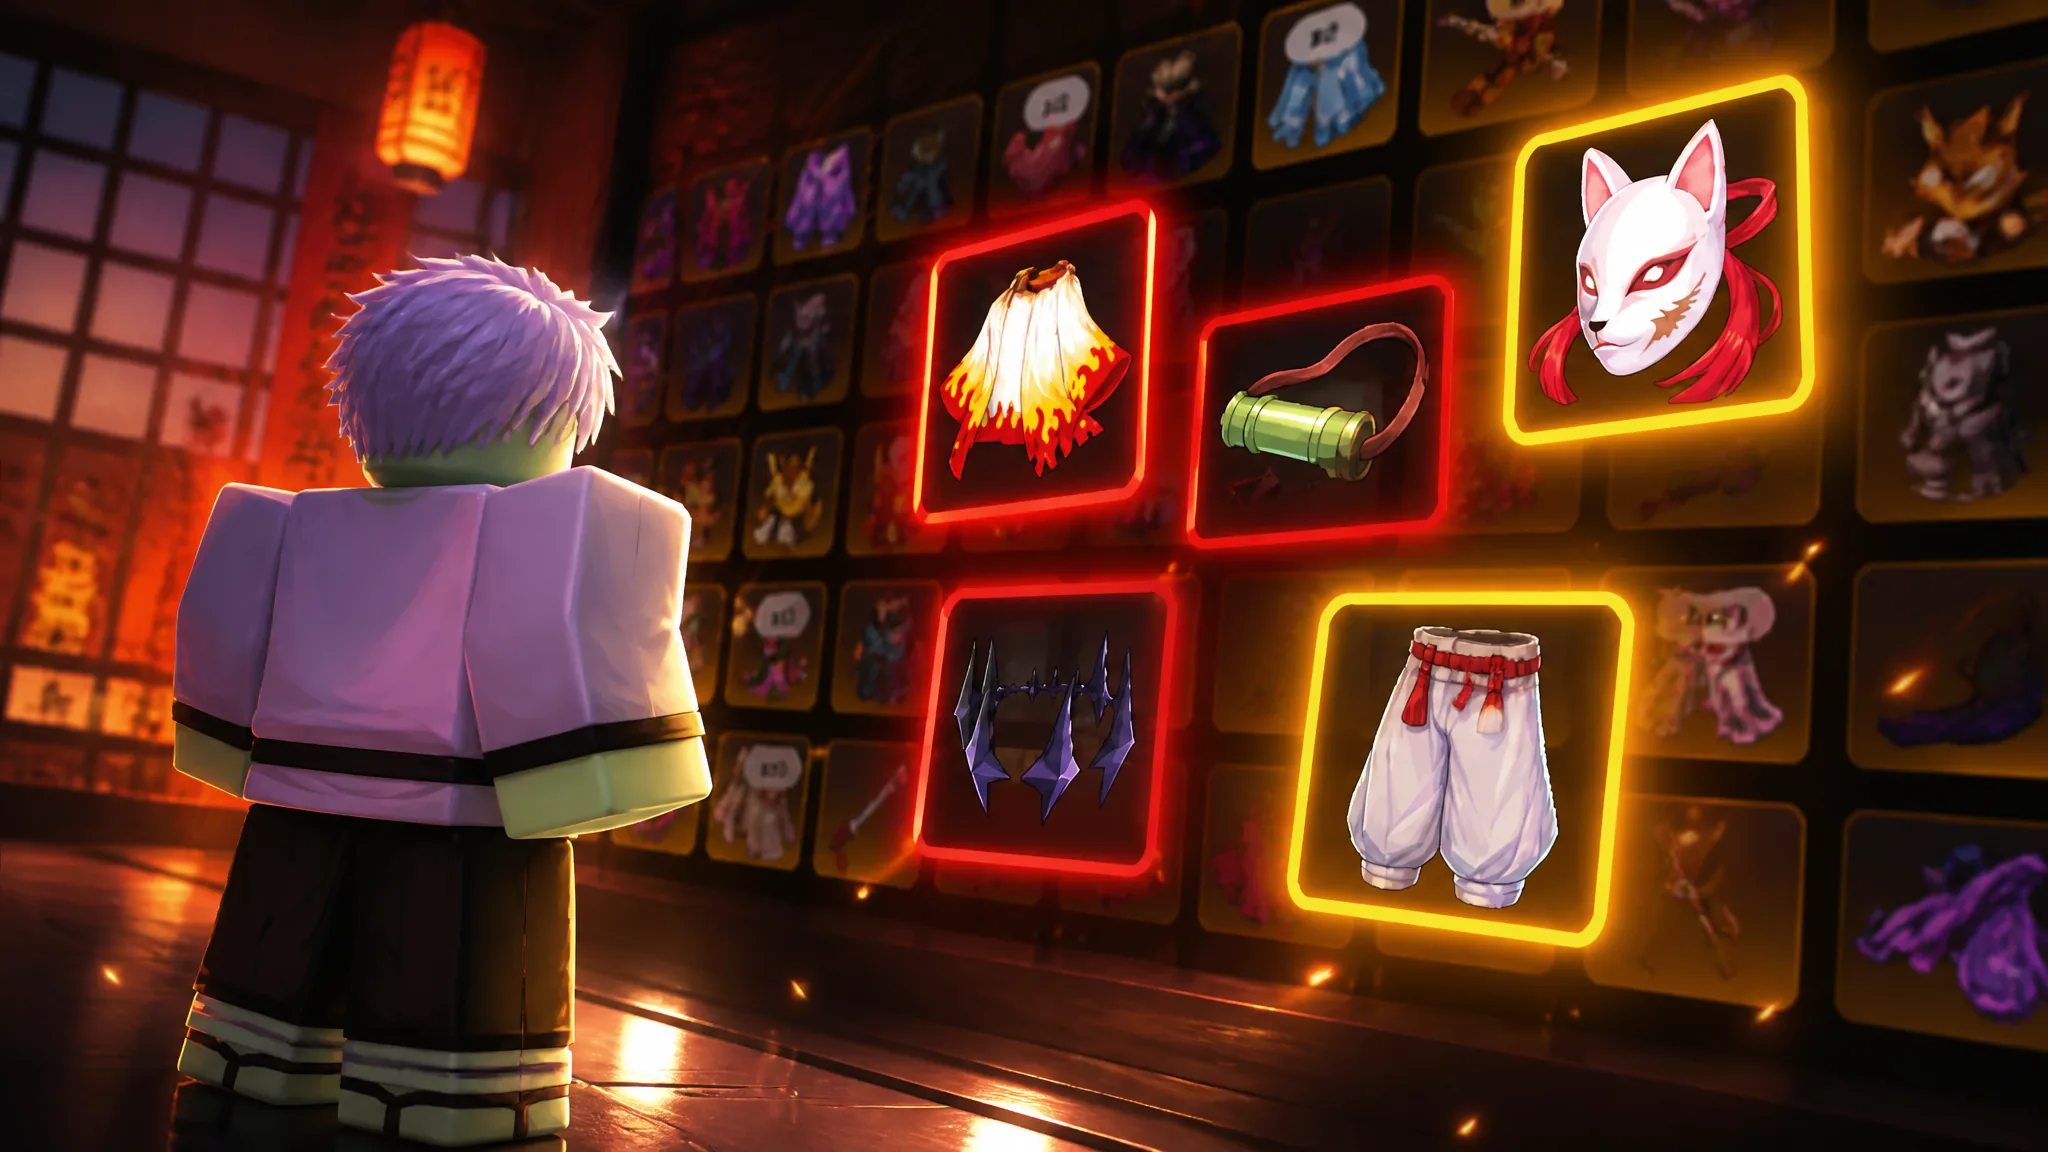
Accessories carry a huge share of your power in Project Slayers 2, and the strongest farmable pieces are all tied to specific world bosses, dungeons, and chest tiers. Ignoring the uncraftable late-game sets like Firstlight and Nightfall, there are two loadouts worth building: a damage-focused Duelist setup and a high-health Bulwark setup.
Quick answer: Run Stone Haori, Bamboo Muzzle, Demonic Lantern, Reaper’s Outfit, and Red Oni Mask for damage. Swap to Kintsugi Haori, Black Dragon Armour, Black Lotus Crown, Golden Kanzashi, and Bamboo Muzzle for tanking.
Best Duelist (DPS) accessory set and stats
The damage set stacks flat Additional Damage across as many slots as possible while still adding a healthy chunk of health and stamina. Every piece here is obtainable from a boss, a dungeon, or a chest.
| Piece | Damage stats | HP / Stamina | Source |
|---|---|---|---|
| Stone Haori | +2 dmg, 1.02x factor | +100 / +80 | Gyorei (3%) |
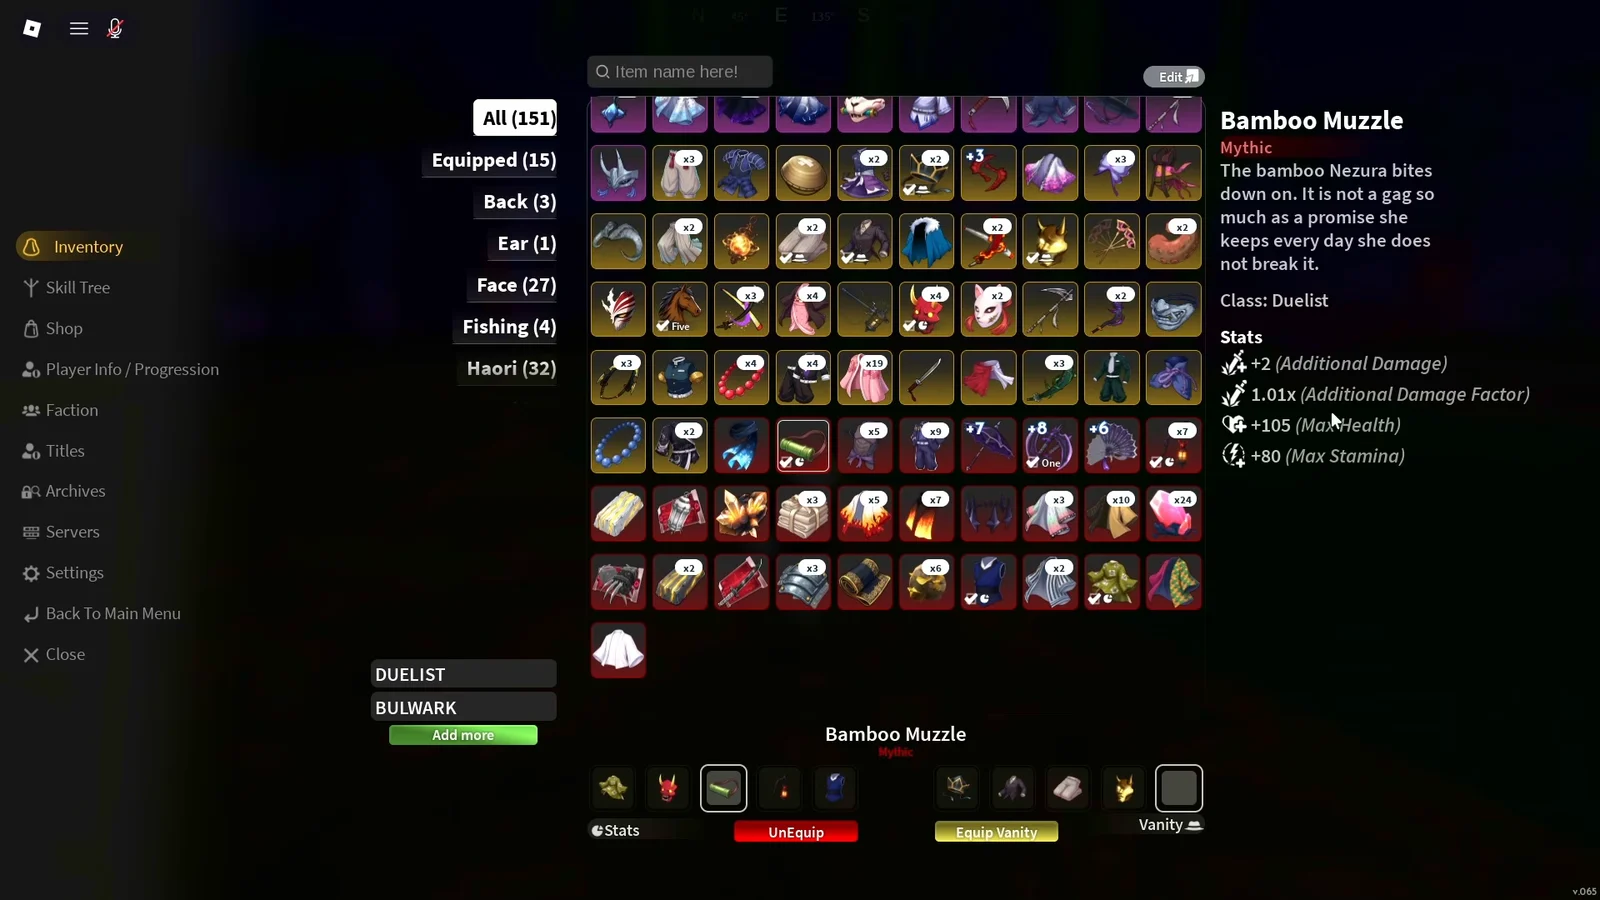
| Bamboo Muzzle | +2 dmg, 1.01x factor | +105 / +80 | Nezura (3%) |
| Demonic Lantern | +2 dmg, 1.01x factor | +70 / +55 | World boss or chest |
| Reaper’s Outfit | +1 dmg, 1.01x factor | +120 / +90 | Boss drop |
| Red Oni Mask | +2 dmg | +55 / +45 | Ougiwahara dungeon |
| Scarred Warding Mask | +2 dmg | +40 / +30 | Sabito (2%) |
The two masks are functionally interchangeable on damage, since both give +2 Additional Damage. Red Oni Mask simply carries more health and stamina, so take it if you have dungeon access and treat the Scarred Warding Mask as the easier stand-in. The Demonic Lantern also adds +0.8 Illumination, which helps at night without costing you damage.
Best Bulwark (tank) accessory set and stats
The tank loadout trades flat damage for damage reduction, raw health, and regeneration speed. Bamboo Muzzle stays in both builds because its health pool is the largest of any muzzle-slot option while still adding damage.
| Piece | Defensive stats | HP / Stamina | Source |
|---|---|---|---|
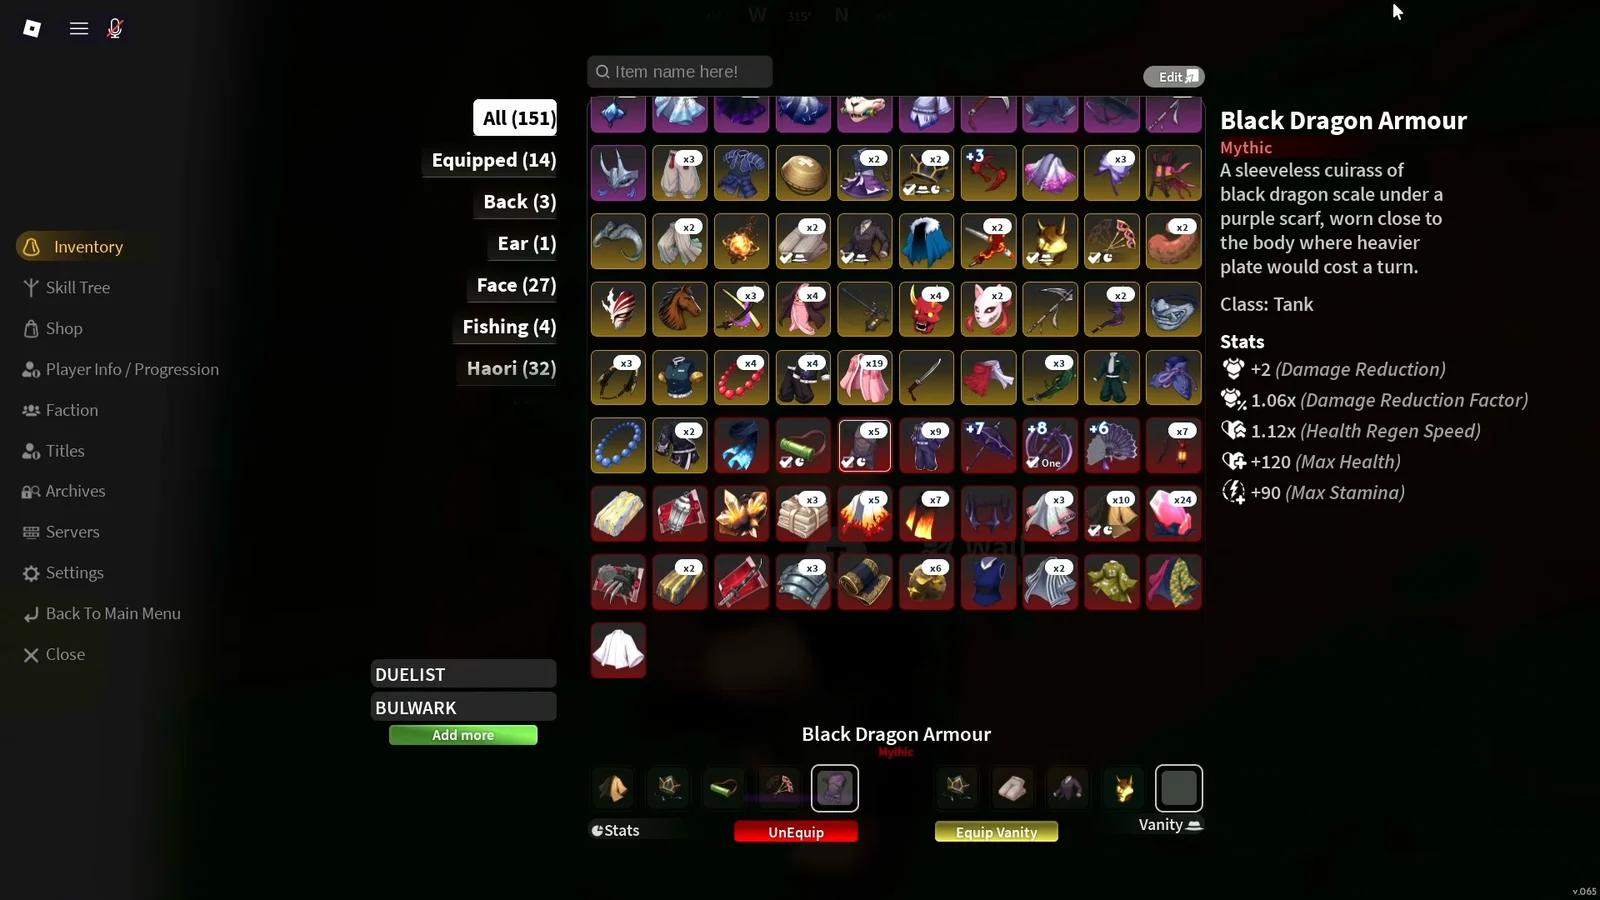
| Black Dragon Armour | +2 DR, 1.06x DR factor, 1.12x regen | +120 / +90 | World chest or Tier 3 boss |
| Kintsugi Haori | +1 DR, 1.05x DR factor | +85 / +65 | Mythic chest drop |
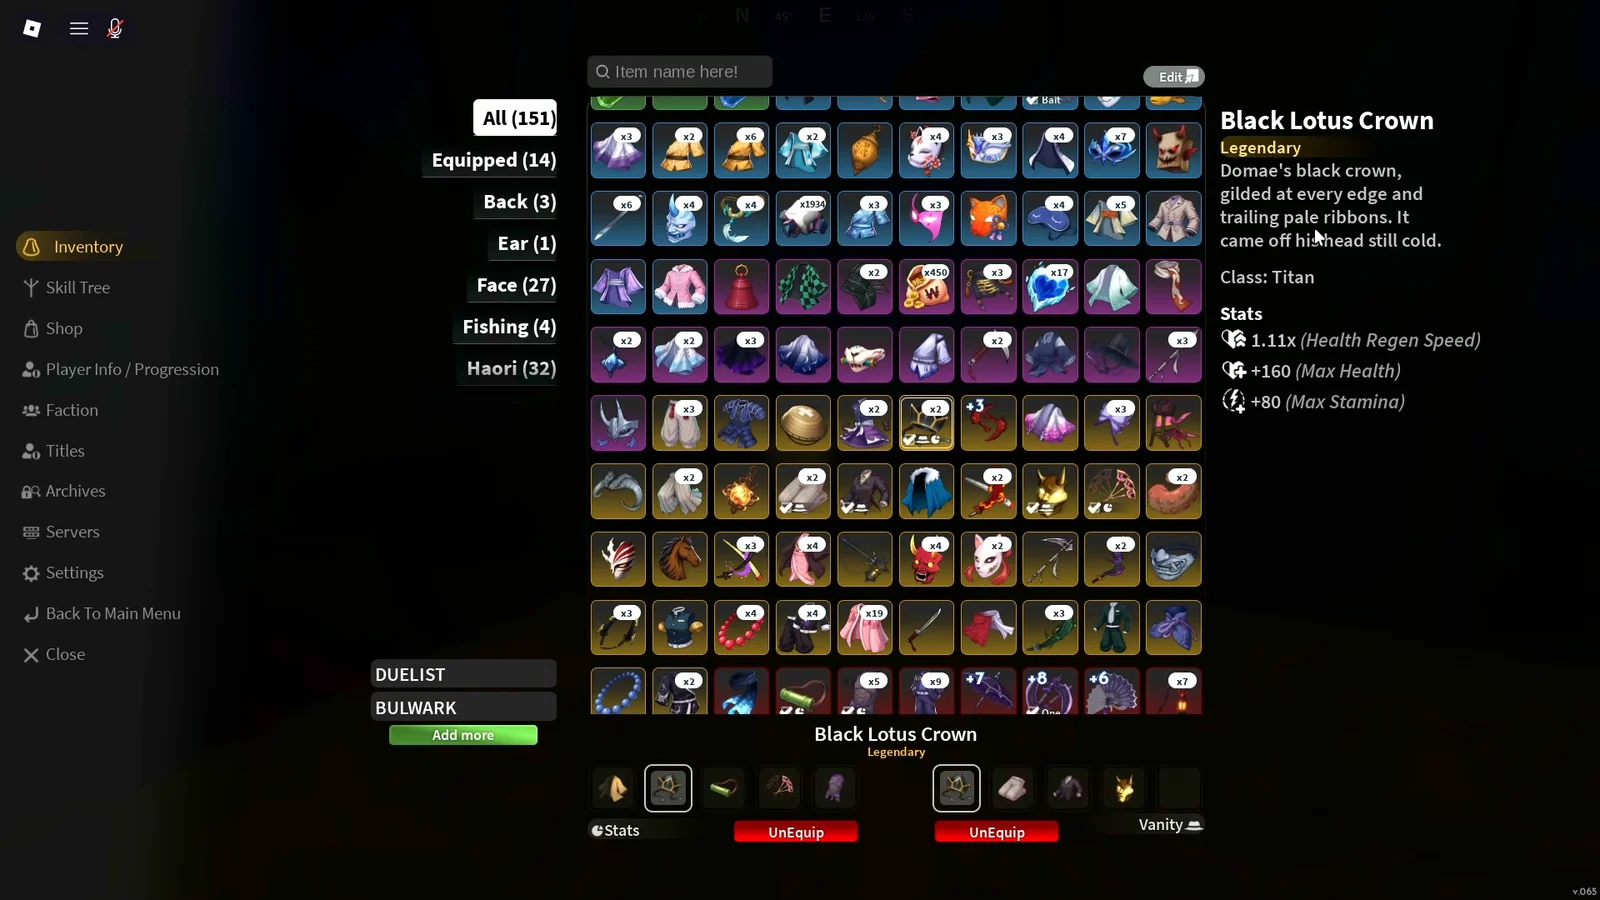
| Black Lotus Crown | 1.11x health regen | +160 / +80 | Doma |
| Golden Kanzashi | 1.11x health regen | +160 / +80 | Dotai (5%) |
| Bamboo Muzzle | +2 dmg, 1.01x factor | +105 / +80 | Nezura (3%) |
Black Lotus Crown and Golden Kanzashi share identical numbers, so running both is the cleanest way to reach a high health ceiling. Keep the damage set and the tank set on separate loadout slots and hover each piece in your inventory to confirm the stat lines are active before you commit to a fight.
Boss locations, HP, and drop rates
Most of these accessories come from fixed world bosses with single-digit drop rates, so expect repeat kills. The drop pools are shared, meaning the same boss can hand you a haori, an outfit, or the accessory you actually want.
| Boss | HP | Accessory | Rate |
|---|---|---|---|
| Water Trainee Sabito | 600 | Scarred Warding Mask | 2% |
| Nezura | 3,000 | Bamboo Muzzle | 3% |
| Gyorei | 3,000 | Stone Haori | 3% |
| Dotai (Daki) | 3,000 | Golden Kanzashi | 5% |
| Gyutai (Gyutaro) | 3,000 | Blood Scythes | 5% |
| Frozen Yeti | 3,000 | Emberheart Lantern | 25% |
Scarred Warding Mask from Sabito
Sabito sits near the Bamboo Grove as a mini-boss with only 600 HP, which makes him the cheapest farm on this list despite the 2% rate. He also drops the Silent Abundant Outfit at the same 2% chance, so you may clear several kills before the mask appears.

Bamboo Muzzle from Nezura
Nezura spawns out on the Final Selection Plains, which is a short run from the Butterfly Estate teleport. The 3,000 HP world boss also drops Nezura’s Haori at the same 3% rate, and the muzzle is worth the grind because it lands in both builds.
Stone Haori from Gyorei
Gyorei is found past the Thunder Trainee after teleporting to Hidden Mist Village. This is the most valuable single drop for a damage build, since the Stone Haori is the only accessory in the set with a 1.02x Additional Damage Factor on top of its flat +2. Gyorei’s pool also includes the Stone Necklace and Stone Slayer Uniform at 3% each.

Golden Kanzashi from Dotai and Gyutai
Dotai (Daki) and Gyutai (Gyutaro) both spawn inside the cave system and share a 5% drop rate, the friendliest odds of the named bosses. Dotai hands out the Golden Kanzashi and Daki’s Outfit, while Gyutai covers Blood Scythes and Gyutaro’s Haori. Clearing both in one trip is the efficient play.
Black Lotus Crown and the Frozen Yeti
The Black Lotus Crown comes from Doma rather than a roaming world boss. While you are in the area, the Frozen Yeti hides behind the waterfall at Butterfly Estate, and it needs a Frozen Heart to spawn. It drops the Emberheart Lantern at a generous 25%, though that lantern is a light-source pickup rather than a damage piece.
Mythic chest drops: Demonic Lantern, Kintsugi Haori, Black Dragon Armour
Three of the strongest pieces have no named boss connection. World bosses, world chests, and Tier 3 chests can all drop the Demonic Lantern and Kintsugi Haori as mythic loot. Black Dragon Armour is the best tank piece and can come from any world chest or a Tier 3 boss, making chest routes just as important as boss routes for a Bulwark build.
Additional Damage vs Additional Damage Factor
The tooltip makes these stats seem alike, but they work in separate ways. Additional Damage gives every hit a fixed bonus, while Additional Damage Factor multiplies damage and performs especially well on attacks that hit several times, including barrages.
Flat damage is the safer pick overall because it applies consistently regardless of which moves you use. That is why the Duelist set leans on pieces with +2 Additional Damage and treats the small 1.01x and 1.02x factors as a bonus rather than the goal.
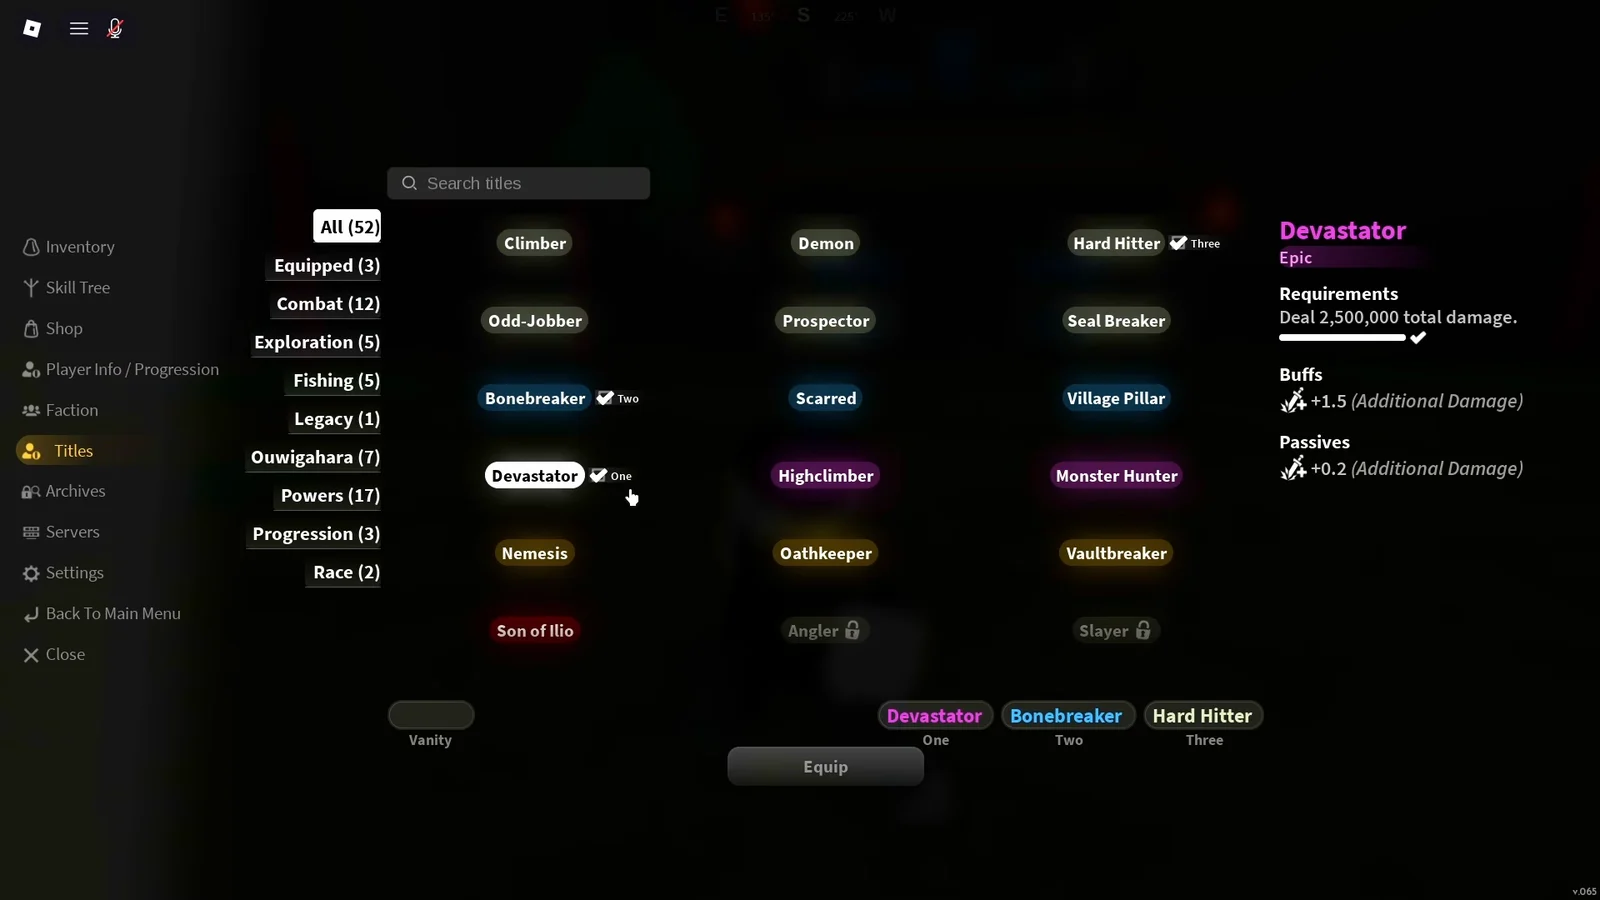
Titles that add flat damage
| Title | Bonus |
|---|---|
| Devastator | +0.2 Additional Damage |
| Bonebreaker | +0.15 Additional Damage |
| Hard Hitter | +0.1 Additional Damage |
All three title bonuses are passive flat damage, so Devastator is the default pick for either build unless you are chasing a different passive.
Boss farming rotation for accessory drops
With drop rates between 2% and 5%, the fastest way to complete a set is a loop that minimizes travel between spawns rather than camping one boss. This path chains the relevant fights across the map in a single circuit.
| Order | Stop |
|---|---|
| 1 | Obanai |
| 2 | Arrow |
| 3 | Tonmari |
| 4 | Giyu |
| 5 | Reaper |
| 6 | Sanemi |
| 7 | Daki and Gyutaro |
| 8 | Shinobu |
| 9 | Rengoku |
| 10 | Nezuko |
| 11 | Umbrella |
Run the loop with the Bulwark set equipped if you are still under-geared, then switch to the Duelist loadout once your damage pieces are in hand. You will know the swap landed when the stat lines on each equipped accessory appear in your inventory and your health and stamina totals shift to match the set you selected.