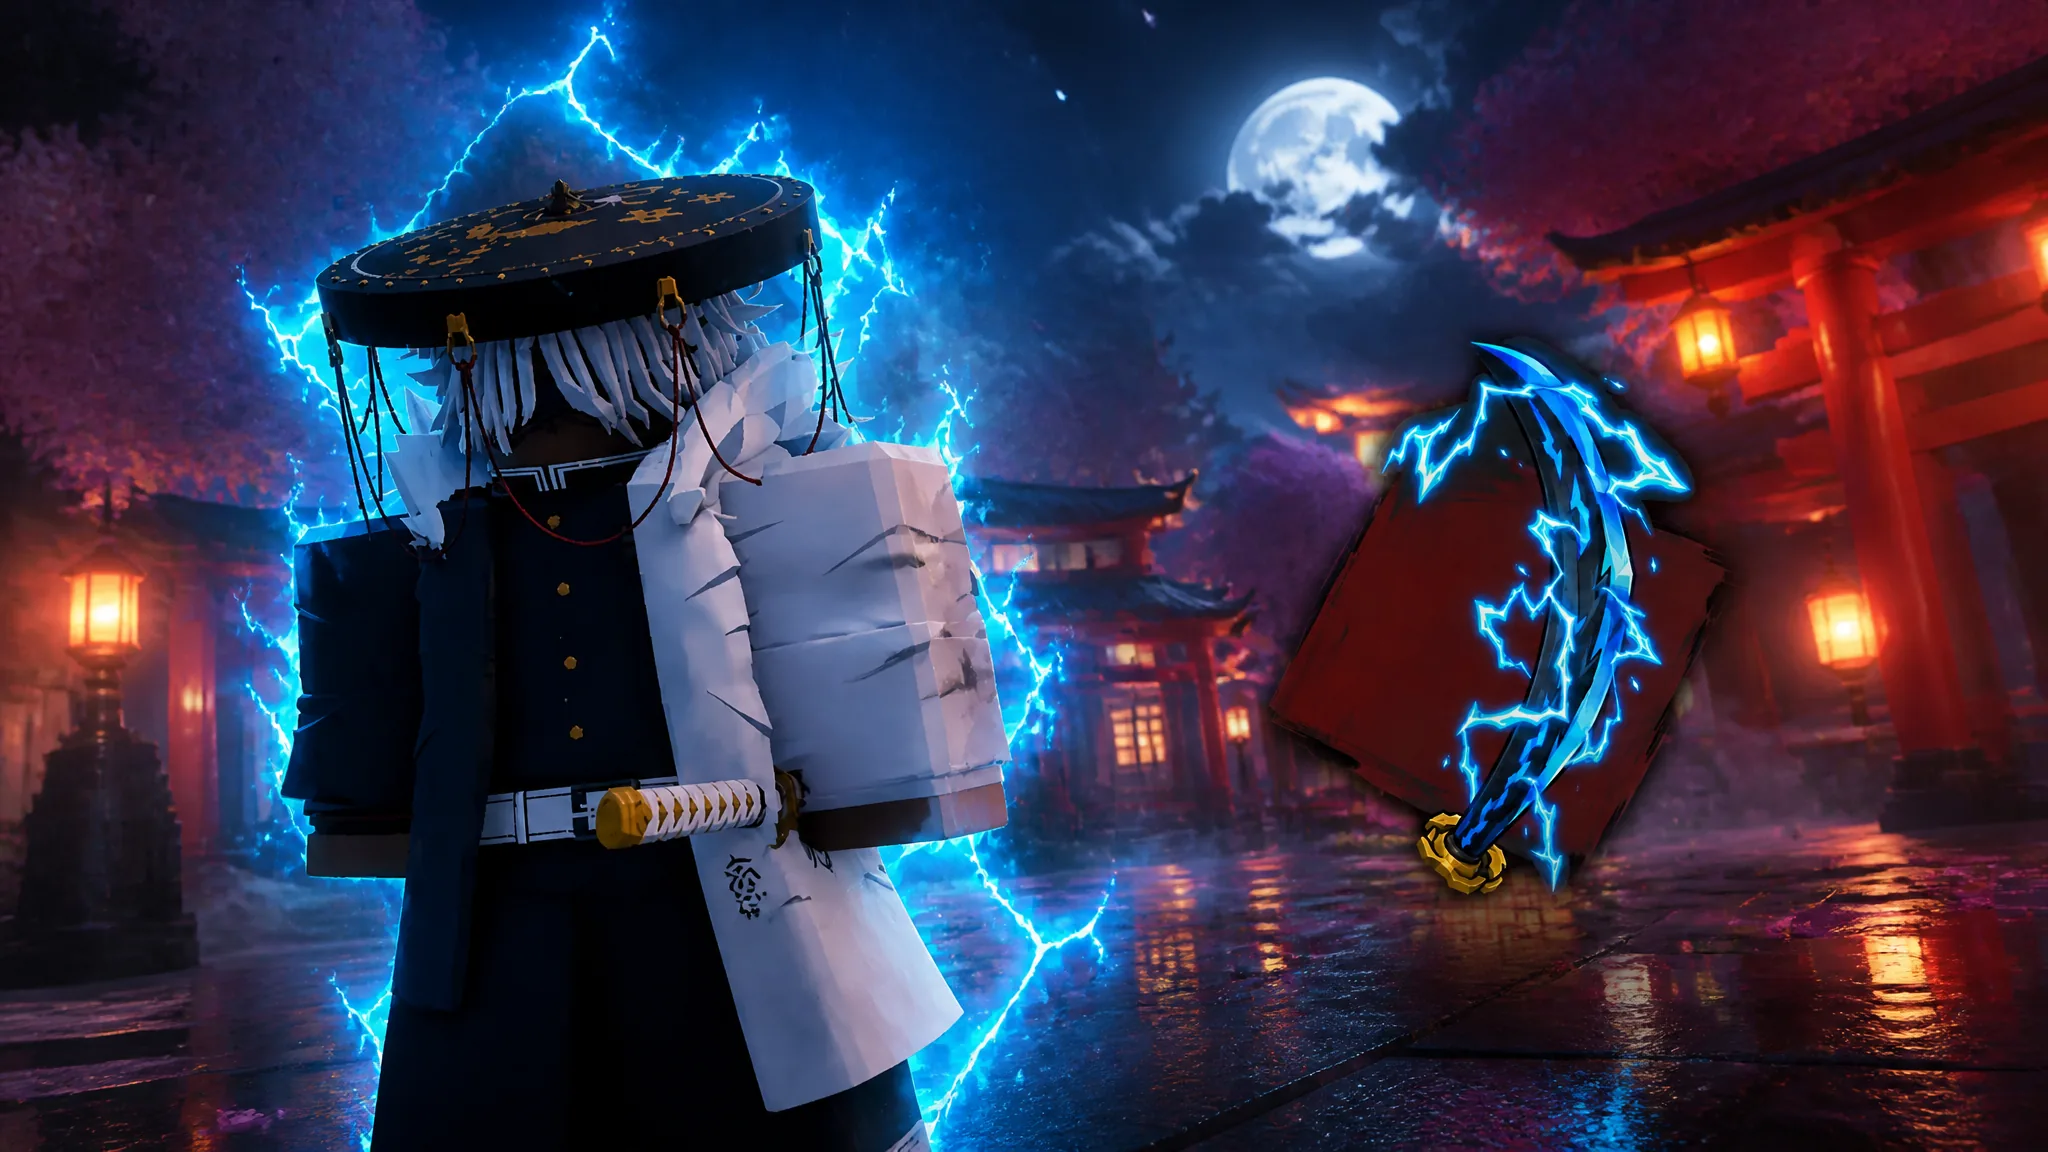
Stone Breathing is the Axe and Mace style modeled on Gyomei Himejima, and it is one of the more gated breathing styles in Project Slayers 2. You cannot buy your way into it or learn it bare-handed. The trainer sits at the top of a cliff in Stone Sanctuary, he wants a specific weapon in your hands before he says anything useful, and he follows that up with a string of physical tasks.
Quick answer: Run from Bamboo Grove past Obari to Stone Sanctuary, Wall Climb to the top, farm the Axe and Mace from the Stone Trainee, then finish the trainer’s training tasks to unlock Stone Breathing.
Stone Breathing requirements in Project Slayers 2
Before you make the trip, line up these four things. Missing any of them turns the run into a wasted walk.
- Wall Climb, since the final stretch to the trainer is a vertical cliff face.
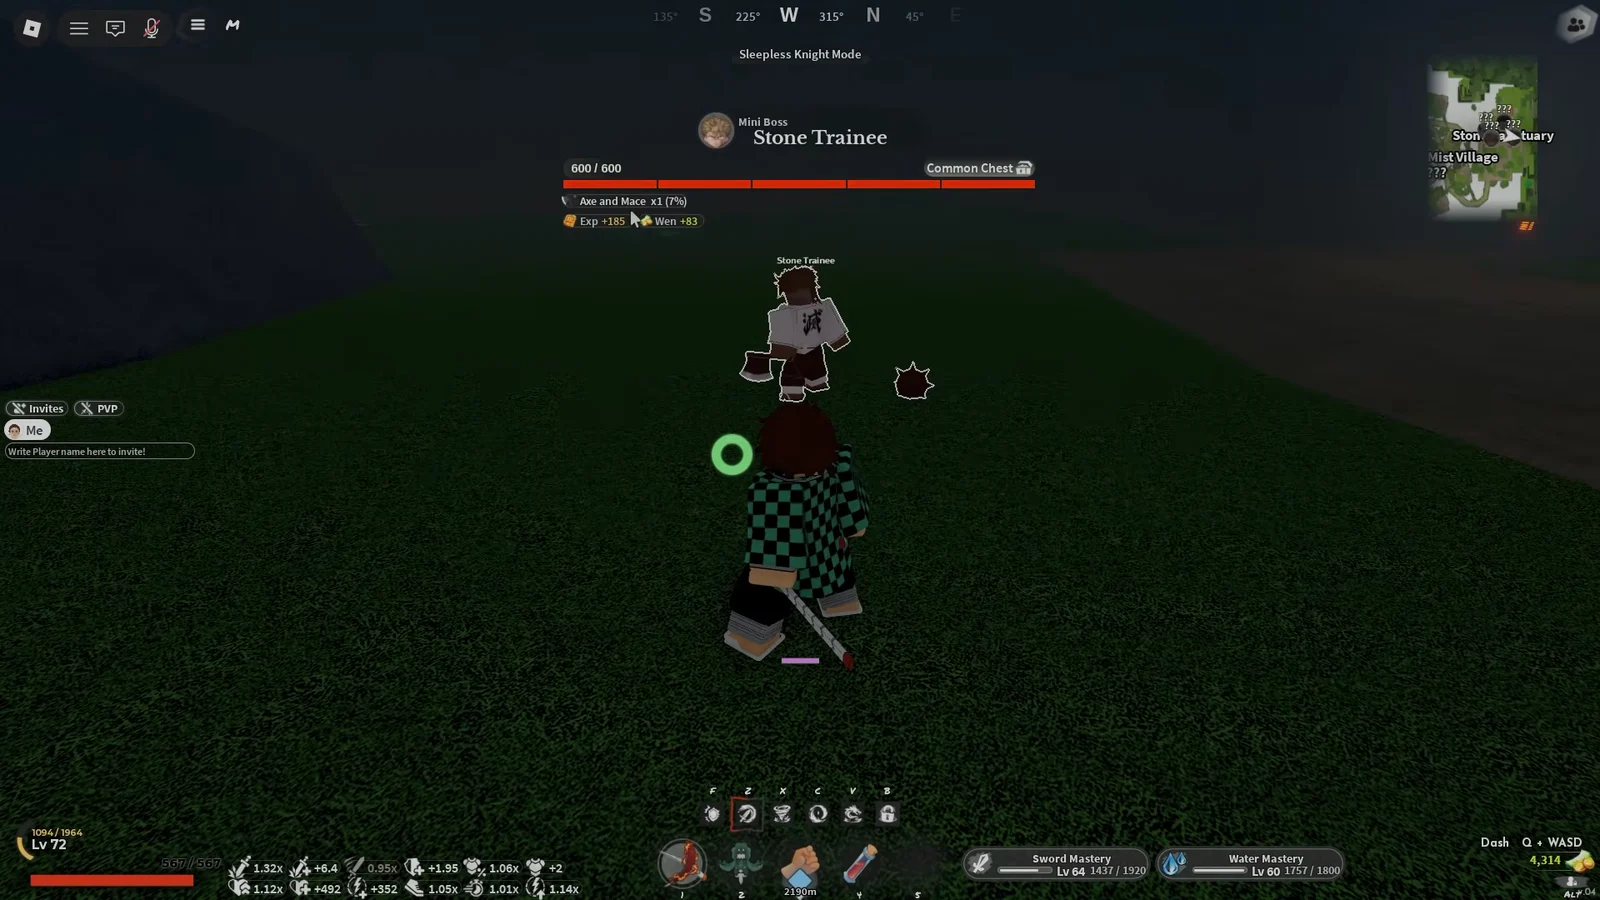
- The Axe and Mace, dropped by the Stone Trainee NPC at the top of the sanctuary.
- The turn-in materials the trainer asks for, either Beast Cores or B-Scrolls depending on the dialogue you get.
- Enough combat ability to clear the Stone Trainee more than once, since it is both a drop source and a training objective.
The trainer is labelled Stone Trainer Gyorei, and he also turns up under the name Kore. His material request has shown up as five B-Scrolls in some runs and as four or five Beast Cores in others, so treat the number on your own quest prompt as the one that counts.
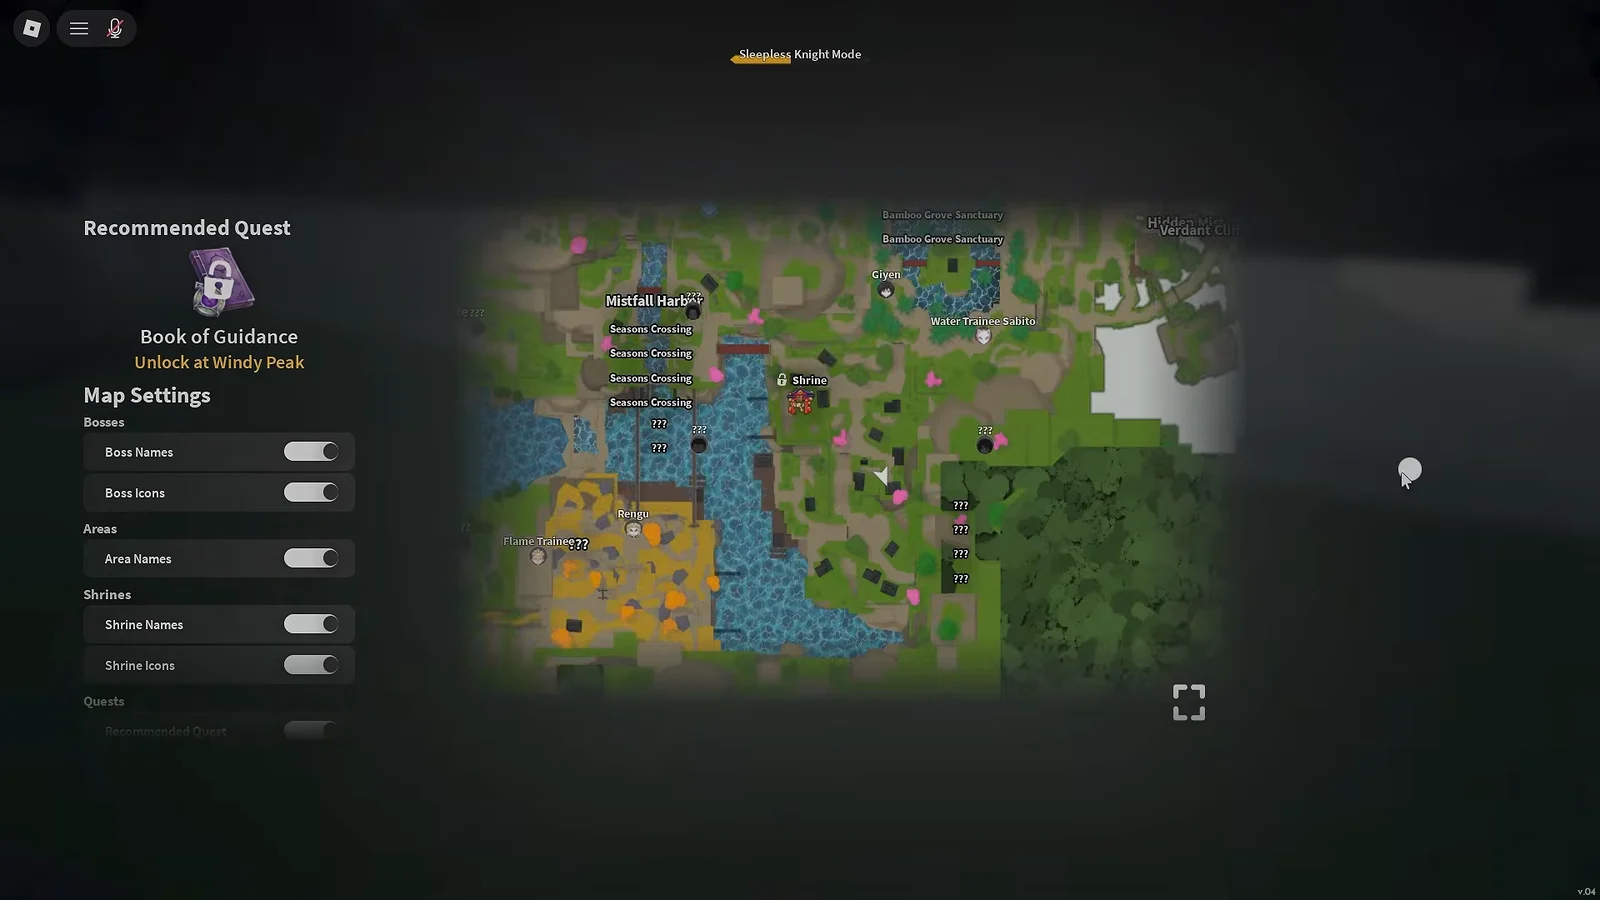
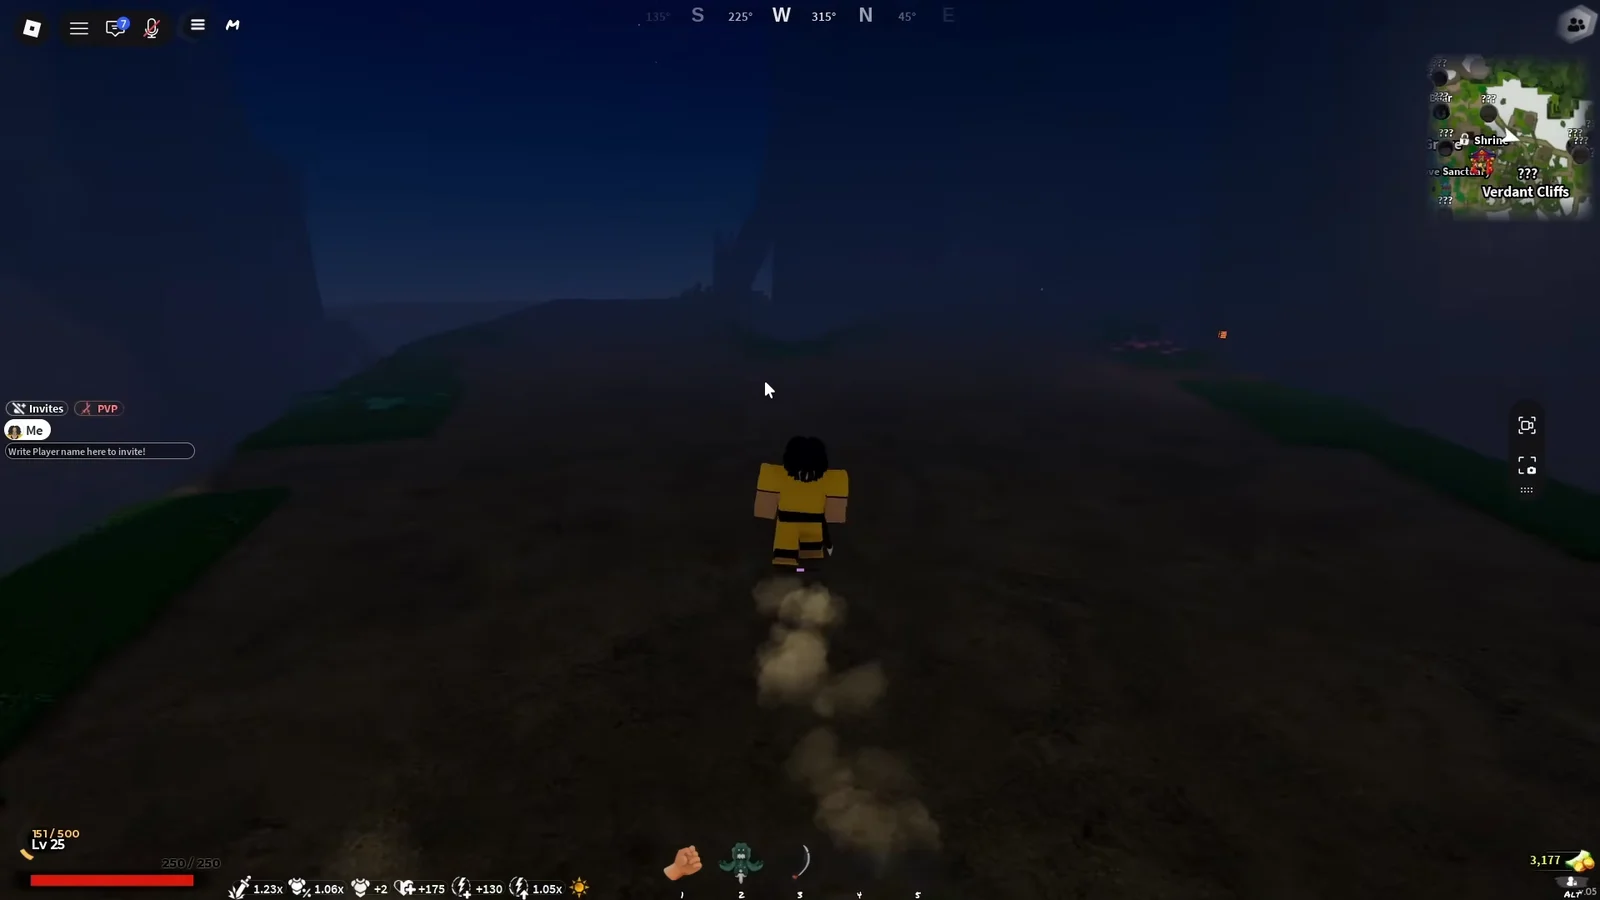
Stone Breathing trainer location: route from Bamboo Grove
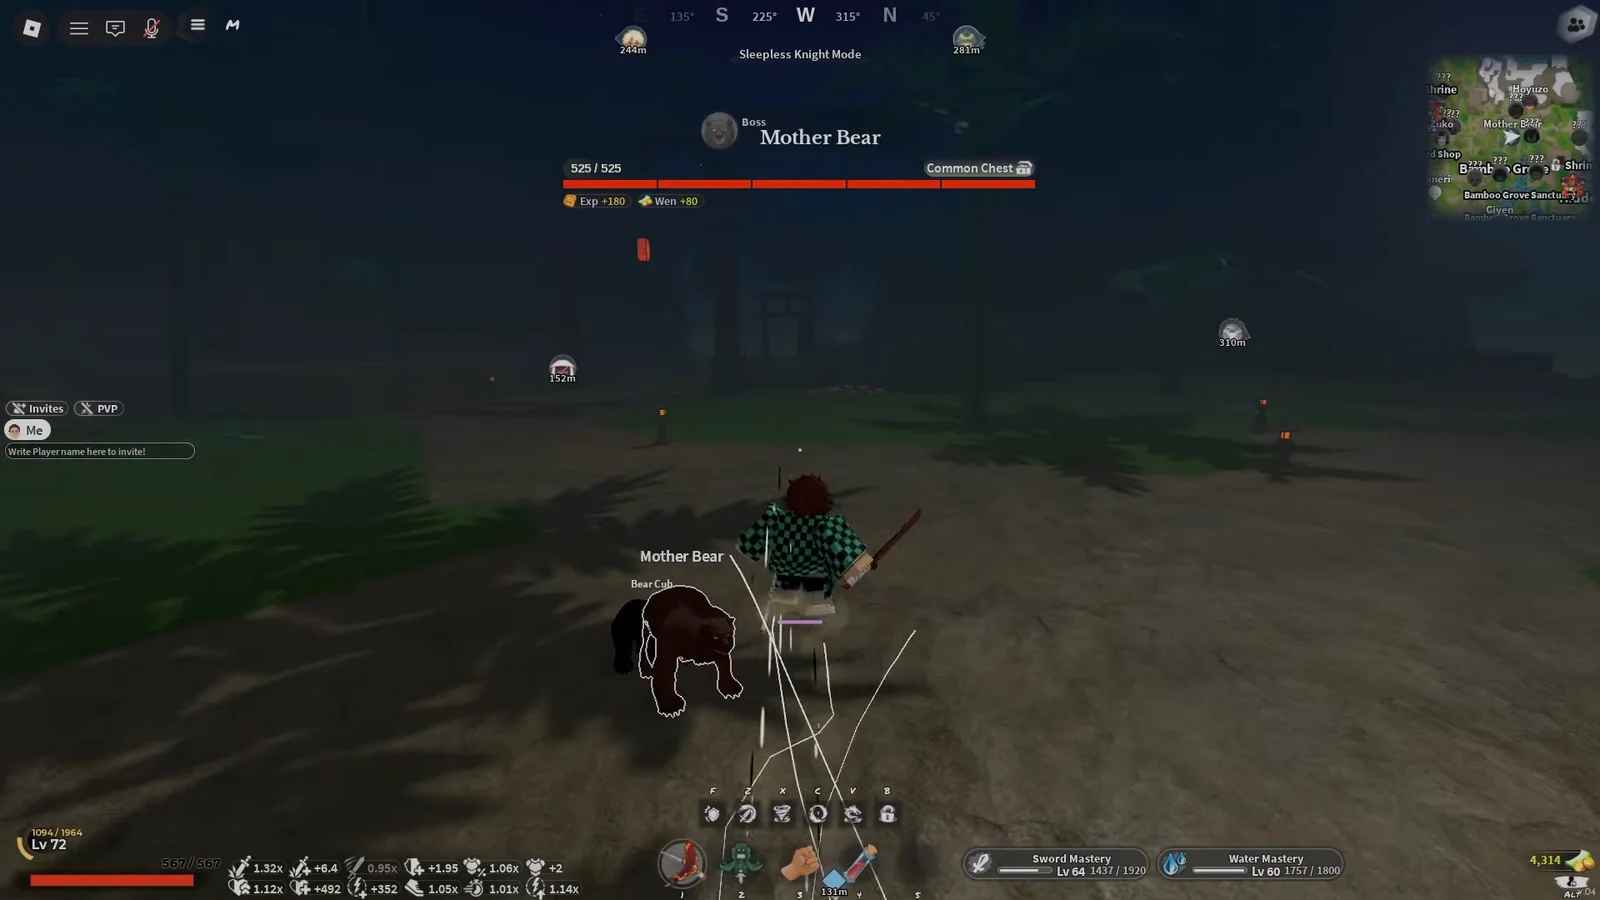
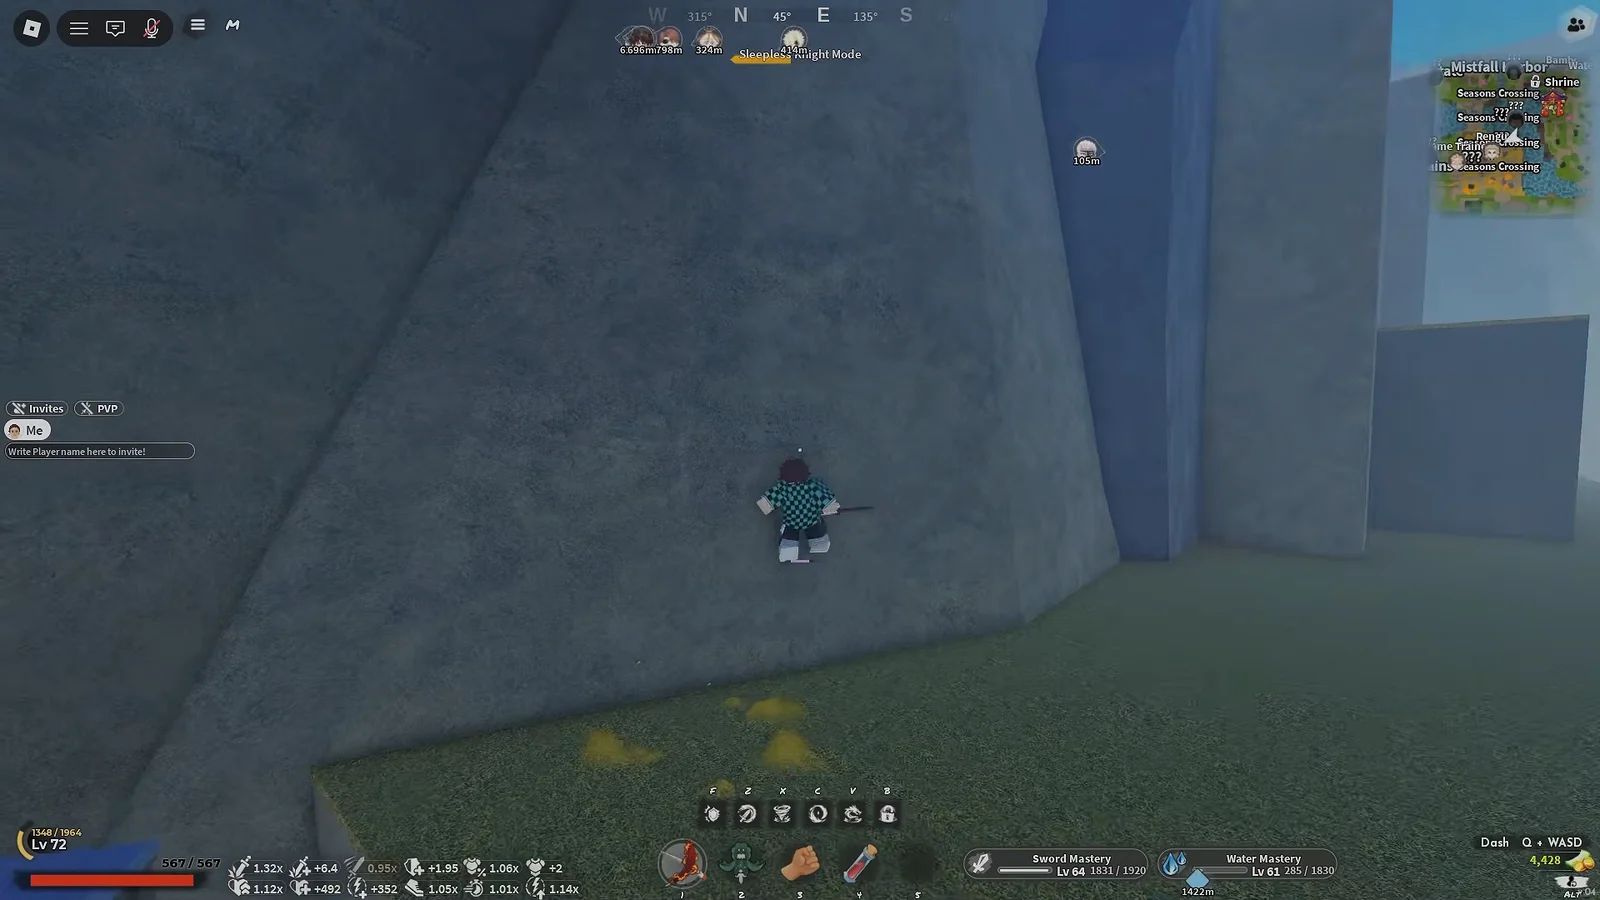
Alternate route from Starter Island
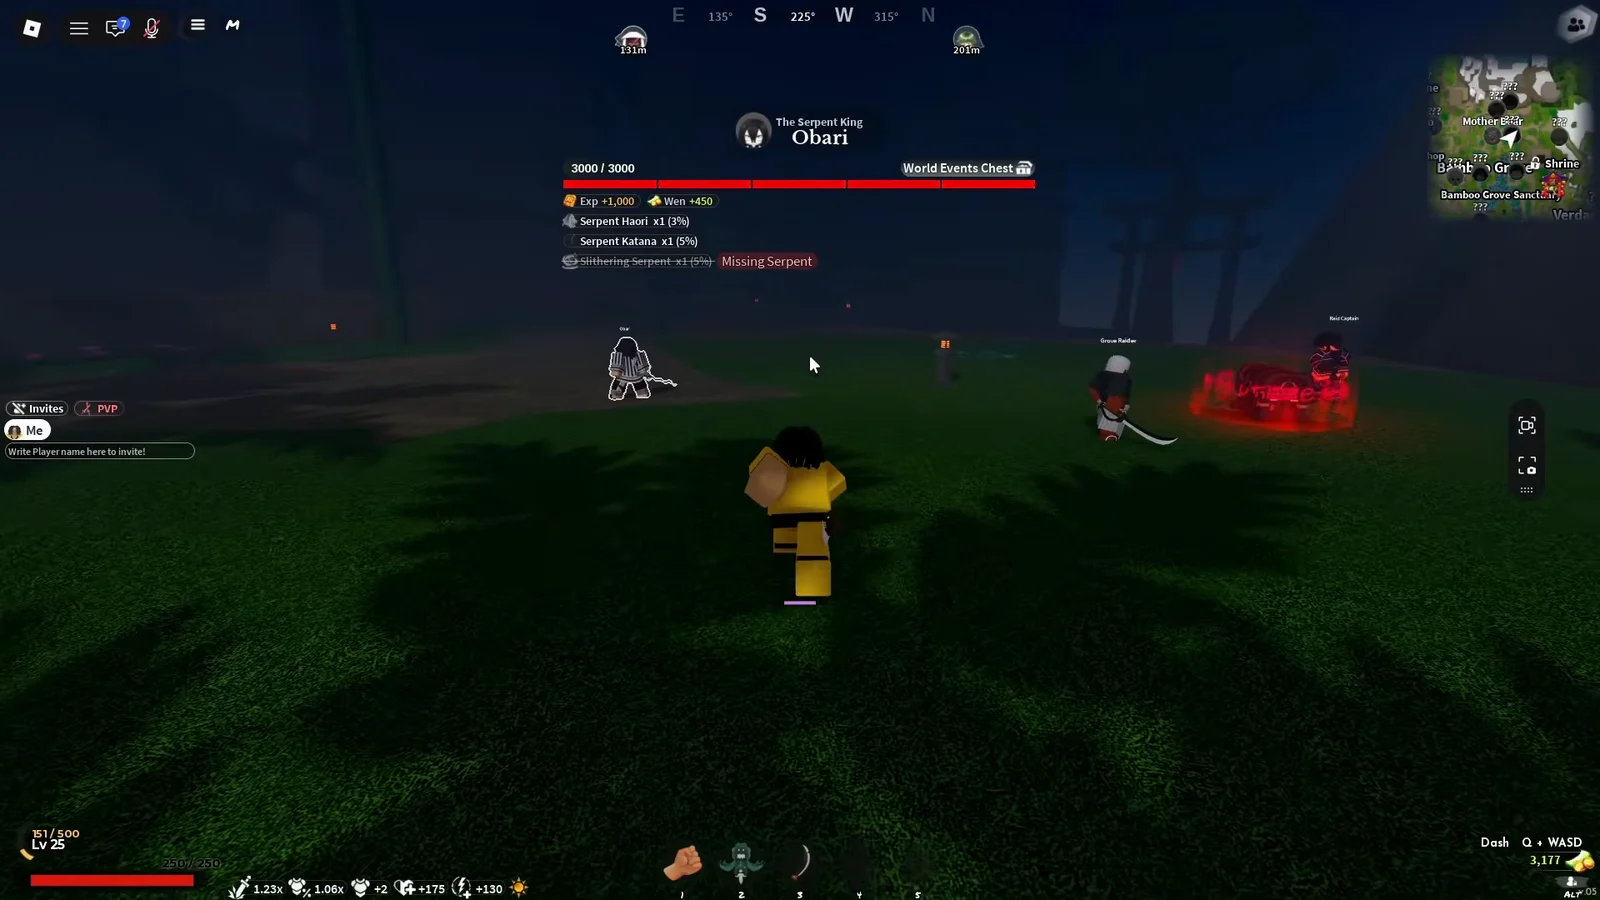
How to get the Axe and Mace from the Stone Trainee
The Axe and Mace is the gate. The trainer will not move past his opening dialogue until you are carrying it, and it only comes from the Stone Trainee standing a few steps away from him.
| Detail | Value |
|---|---|
| Source | Stone Trainee |
| Drop chance | 7% |
| Stone Trainee health | Around 600 HP |
| Inventory tab | Miscellaneous / uncategorized |
At roughly 600 HP the fight itself is light work compared to the game’s real bosses, but the 7% drop rate means several clears is the normal experience, not bad luck. Expect to reset the fight repeatedly.
Once it drops, open your inventory and look in the miscellaneous or uncategorized section rather than the weapon slots. Equip it there. The weapon is oversized enough that it drags along the ground as you move, and it has its own M1 attack chain, so get comfortable with it before heading back to the trainer.
Where to farm Beast Cores
With the Axe and Mace equipped, speak to the trainer again. His next request is a batch of Beast Cores, which drop from Beastorn NPCs.
Leave Urokodaki’s house and follow the route toward the gate-side area, where Beastorn spawns appear. Their cores are random drops, so a kill may not provide one, and these enemies can punish poor spacing if you do not yet have a breathing style.
Check the required count on the trainer’s prompt before you start farming. The ask has appeared as both four and five, and overshooting costs you nothing while undershooting sends you back across the map.
All Stone Breathing training tasks
Hand over the cores and the trainer finally opens up the training itself. There are six objectives, and they run roughly in this order.
- Meditation
- Push-ups
- Boulder Push
- Boulder Split
- Parkour Dungeon
- Defeat the Stone Trainee
Meditation and push-ups
Both are prompt-matching minigames. Meditation is the fiddlier of the two because some of the input prompts render small and are easy to miss entirely. Slow down and read each one instead of mashing. Push-ups follow the same pattern with larger, more forgiving timing.
Boulder Push and Boulder Split
Boulder Push has you shoving a large boulder along a set route until it reaches the end point. It is not difficult, just long, so stay on the path and keep pushing in the correct direction.
Boulder Split requires the Axe and Mace equipped. If you swapped weapons at any point, switch back first, or the prompts will not resolve. Then follow the attack inputs until the boulder breaks apart.
Parkour Dungeon
This is the wall most players hit. The course is timed, split into sections, and gated by levers you have to pull before the next platform opens up. Your double jump is the deciding resource and it carries a four-second cooldown, so burning one on a jump you could have made normally will strand you.
- Always move toward the side holding the lever first.
- At each new section, make contact with the blue flag to save your progress.
- In the three-lever section, plan the full route before you jump.
- Save the double jump for crossing to the opposite side.
Once the last lever is pulled, make it to the course’s finish; that completes the dungeon.
Final Stone Trainee fight
The last objective sends you back to the Stone Trainee, this time with the Axe and Mace already in hand. After the parkour it is a formality. Drop his health to zero and return to the trainer.
Confirming Stone Breathing unlocked
Speaking to the trainer after the final task completes the unlock. You will know it landed because Stone Breathing appears in your skill tree with its first move already purchasable, rather than showing as locked.
| Skill | Mastery needed |
|---|---|
| First move | Available on unlock |
| Second move | 14 |
| Arc of Justice (ultimate) | 53 |
Mastery is only half of it. Several skills also cost skill points, so you will need to keep levelling alongside the mastery grind. The early kit covers Seismic Smash and Upper Burst, with Stone Wall arriving later once you have banked more mastery. Seismic Smash has a held variation with noticeably longer reach, and Stone Wall’s held version grabs an enemy before the strike, which is the closest thing the style has to a reliable opener at close range.
From there the Axe and Mace does the rest of the talking. The style trades mobility for weight, so positioning matters more than it does with the faster breathing styles, especially against demons that can chain M1 combos while you are stuck recovering on the ground.