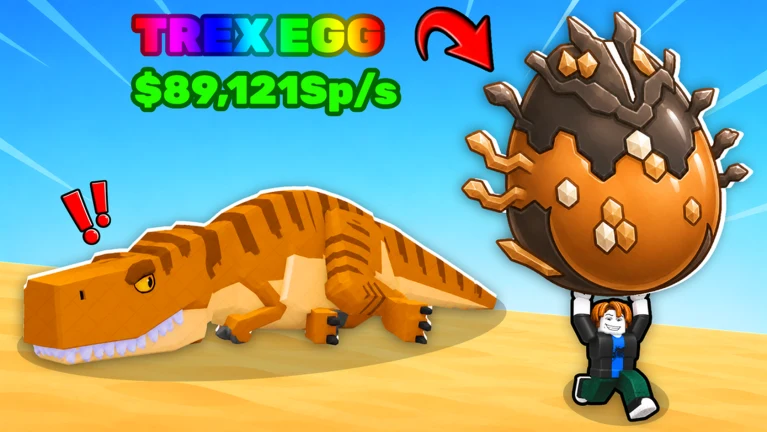
Ride A Pet lives and dies by one number: how fast your mount moves. Speed decides how many eggs you can grab before their break timers run out, which decides how quickly you hatch rarer pets, which decides how fast you clear the game’s seven Rebirths. Radars, food, nests, and mutations all exist to feed that loop. You can jump straight in from the official Ride A Pet page on Roblox.
Quick answer: Use your quickest pet as a mount, make the $50 Advanced Radar your first purchase, repeat one dependable egg circuit, keep all nests occupied, and hold onto every Horse, Fox, Unicorn, Phoenix, Kitsune, and Dragon until it has served a Rebirth.
The core loop: eggs, speed, and income
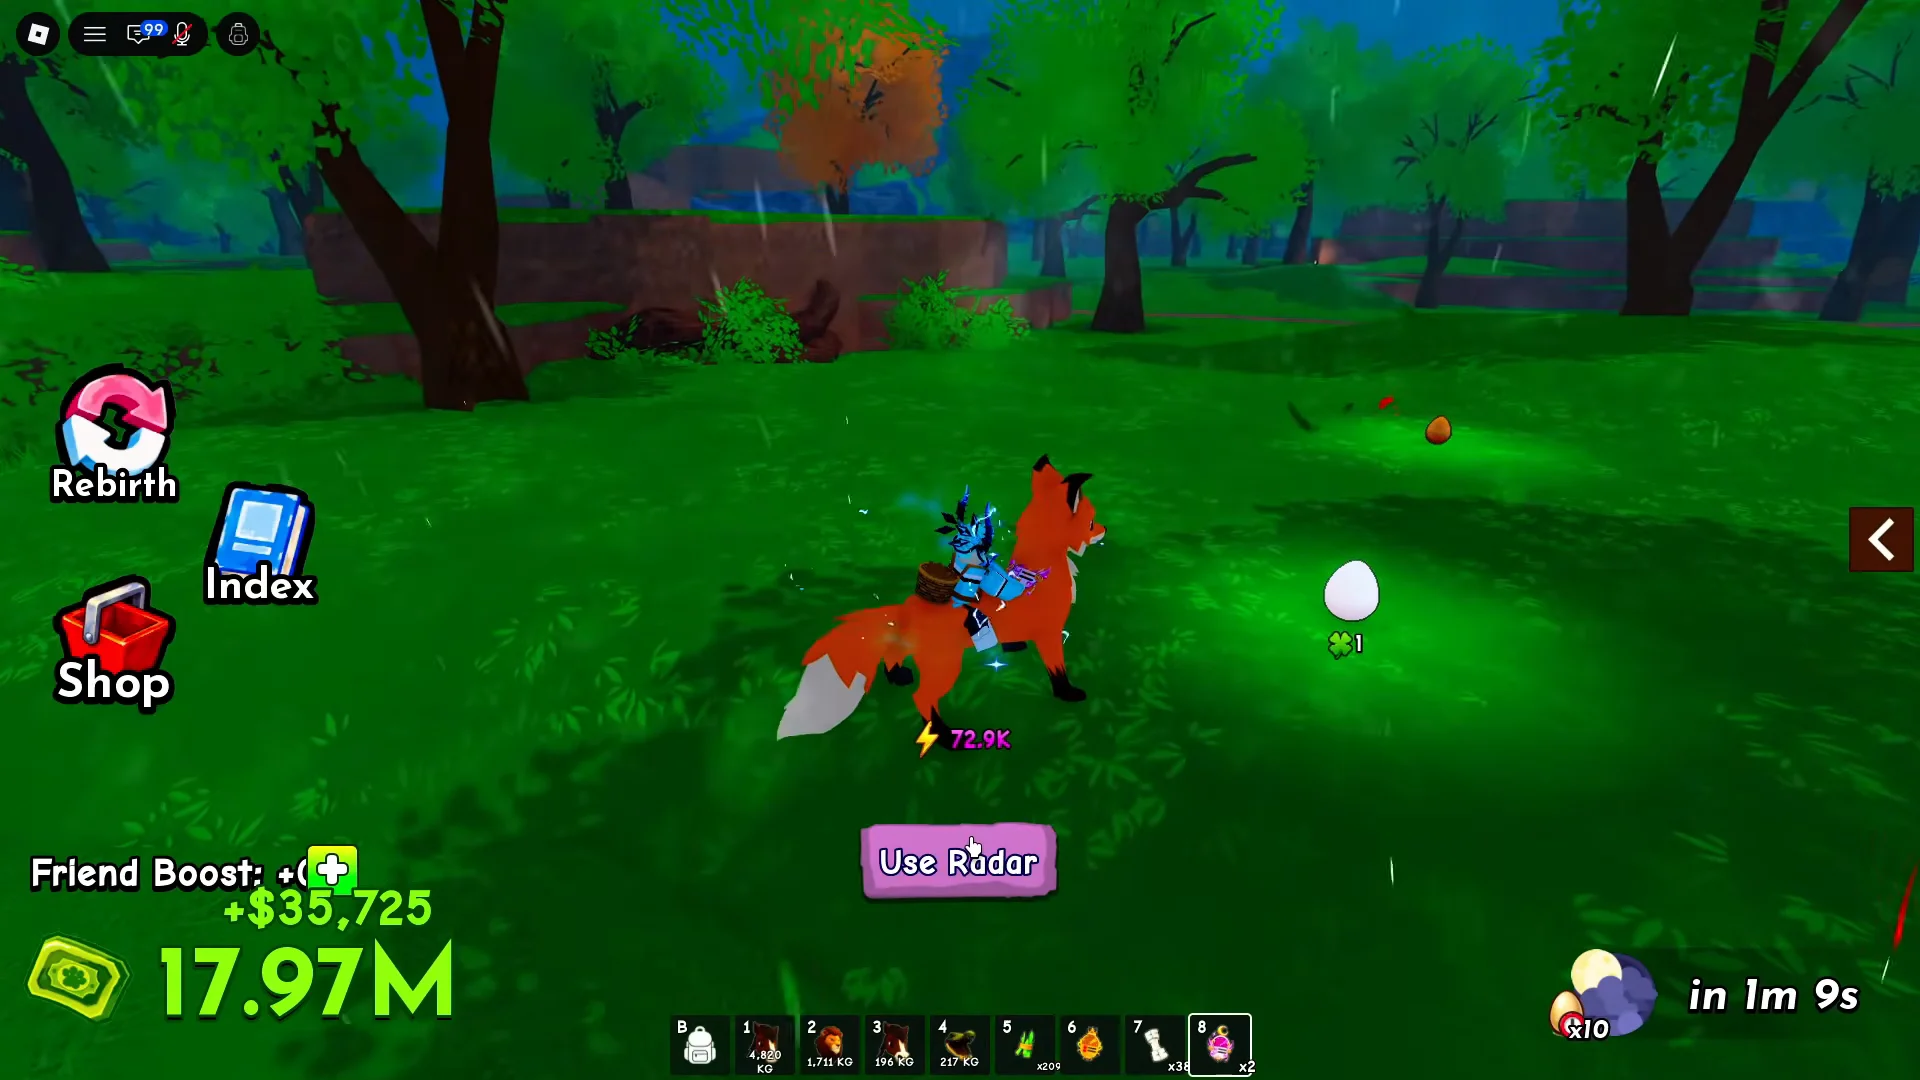
The cycle starts by locating an egg, carrying it to your ranch plot, placing it in an open nest, and dismounting so it can hatch. Its result can either replace your mount or remain on the plot to generate cash per second. Use that income for radars, Hatch Luck, and food, improving the pets you obtain on the next run.
Your choices come down to three stats: Speed determines how many spawns you can visit during the roughly 20-second window, Base Income pays for upgrades through pets left on the plot, and Jump controls access to certain terrain. Since every documented pet weighs 10 kg, that stat needs no comparison.
Many new accounts lose time by pursuing the map’s most unusual-looking egg. A destination that requires repeated failed jumps can take longer than its hatch is worth. Build around eggs per minute rather than egg quality, expanding the circuit only after a faster mount lets you do so.
Picking up an egg starts its break countdown immediately, and hatching only works on your own plot. When the “Egg Basket Is Full” banner appears, head home and unload before grabbing anything else.
First hour: free cash, radar, and one clean route
Early pets have sharply different earnings, making upgrades important. A Snail produces about $3 per second, whereas a Chicken produces roughly $42 per second. One hatch can therefore multiply that income fourteen times.
Radars: upgrade order in the Gear Shop
Better radars detect rarer egg tiers, and they matter more as the Index climbs toward its rarest spawns. Work through the tiers in order as your cash allows, and flip on the Auto-Buy toggle so restocks are purchased for you while you are AFK farming.
| Radar | Rarity | Cost |
|---|---|---|
| Advanced | Rare | $50 |
| Jewel | Epic | Cash |
| Royal | Legendary | Cash |
| Magic | Mythic | $300,000 |
| Angelic | Divine | Cash |
| Eternal | Ethereal | $30,000,000 or 500 Robux |
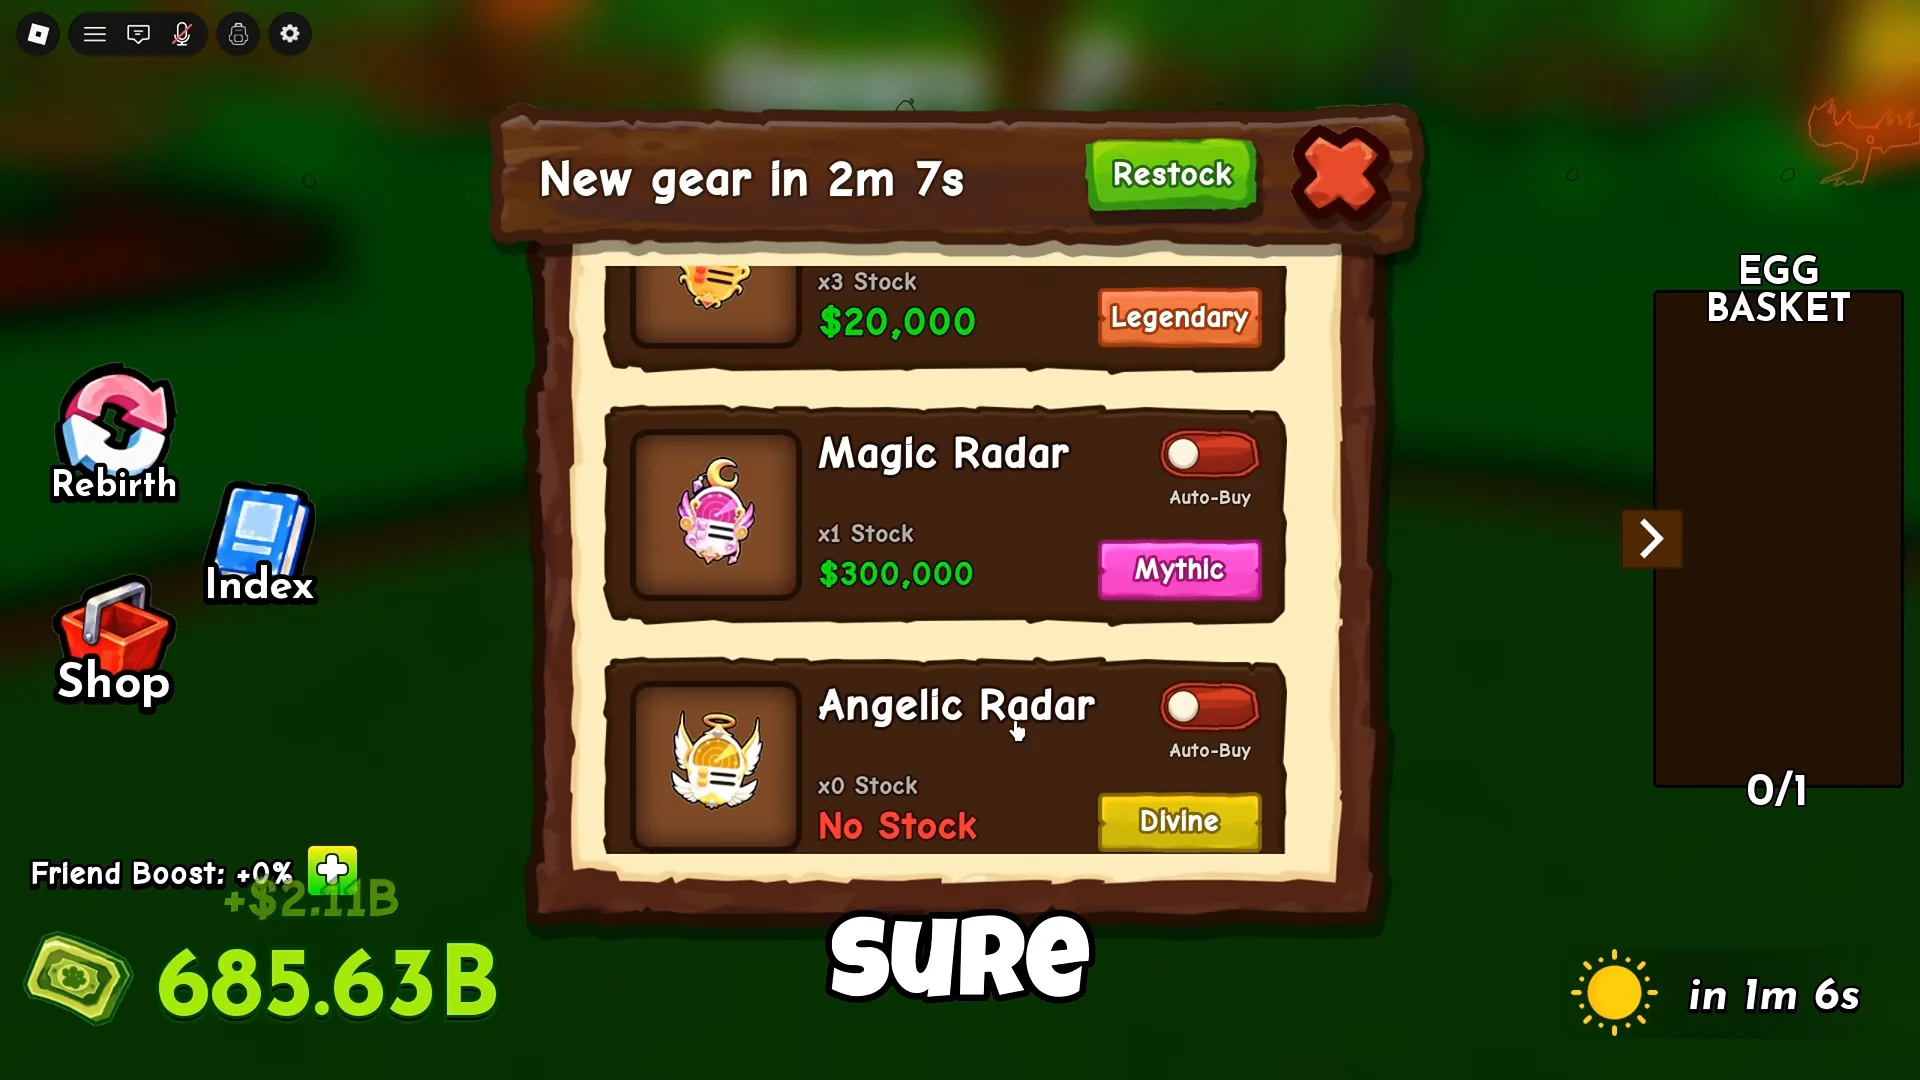
Gear stock refreshes on a timer, and a “Shops Have Restocked” banner confirms the refresh. A top-speed mount paired with a high-tier radar is what lets you reach a server-wide rare spawn before anyone else does.
Best pets by stage
Updates may alter the exact values, but the progression pattern remains, and crossing each band is what cuts travel time from your runs. Because Speed alone affects how quickly you move, a pet’s appearance should not influence the choice.
| Pet | Speed | Base Income | Stage |
|---|---|---|---|
| Snail | 15 | 3% | Starter |
| Axolotl | 165 | 9% | End of tutorial |
| Chicken | 553 | 25% | First real jump |
| Horse | 5,340 | 350% | Solid mid-game |
| Fox | 19,500 | 1,200% | Power spike |
| Cheetah | 38,400 | 3,500% | Late game |
| Phoenix | 1,000,000 | 100,000% | Endgame entry |
| Cerberus | 100,000,000 | 30,000,000% | Endgame |
| Dragon | 300,000,000 | 300,000,000% | Money mount |
| Kitsune | 1,000,000,000 | 90,000,000% | Speed mount |
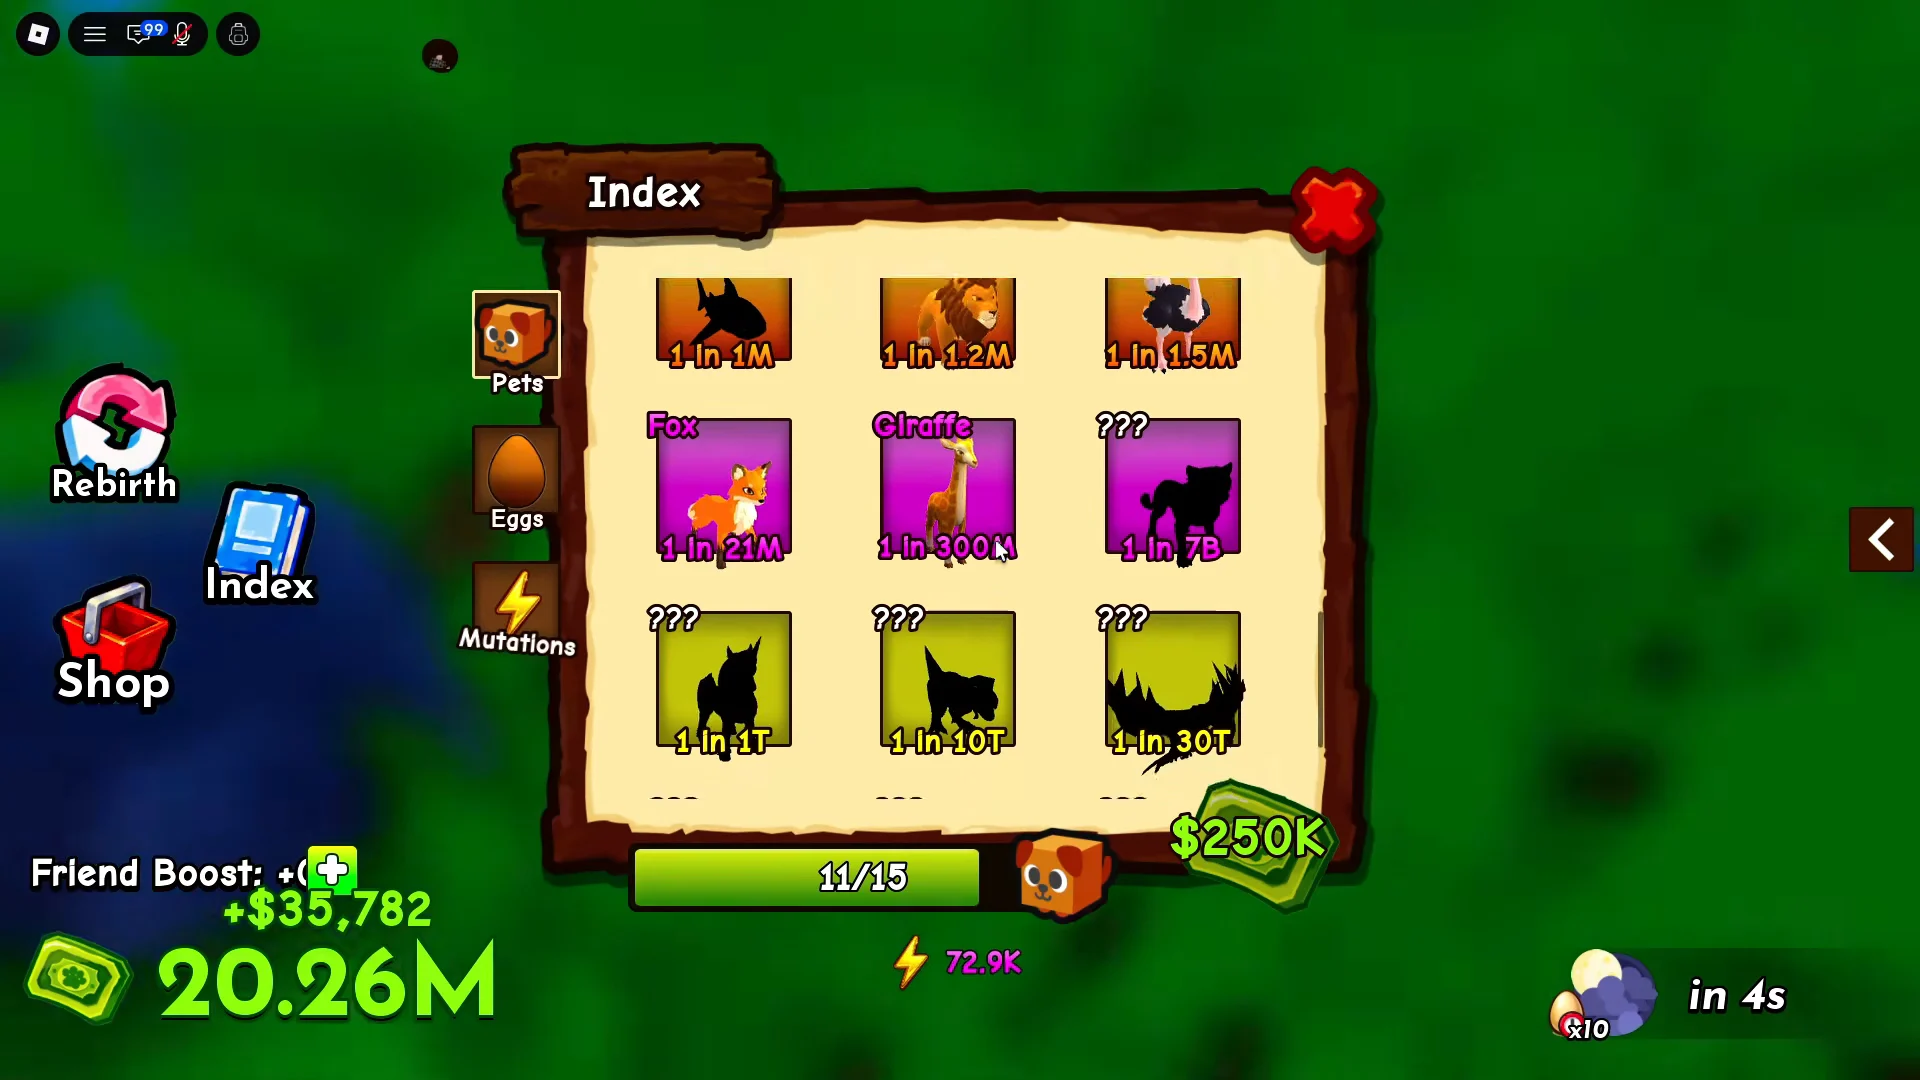
Fox is the first real power spike. It lands at a 1 in 21M hatch chance with roughly three times the speed of Ostrich, and once it unlocks the map shrinks so much that Giraffe, Cheetah, and Unicorn become reachable in normal play instead of as lucky hatches.
Spider is the important mid-game exception. Its speed of around 3,690 seems ordinary, yet its 129 Jump surpasses Horse, Shark, and Lion. When a route fails because of elevation instead of distance, Spider provides the missing capability that more raw speed cannot.
The endgame options address separate needs. Choose Kitsune for egg collection, as its one billion speed is the chart’s highest. For income, leave Dragon on the plot because it has the game’s highest reported Base Income. Retain both and assign each to its purpose instead of simply choosing the rarer pet.
Hatch Luck, food, and nests
Upgrading Hatch Luck at the ranch board multiplies your egg hatching odds. Reaching roughly 2,000x luck is a sensible target before you pour cash into food and gear, and you should buy a level whenever you can afford one, ideally right before cracking a batch of eggs.
Food raises a mount’s XP, which increases its physical size and movement speed. Feed it to pets you plan to keep, not throwaway starters.
| Food | Rarity | XP granted |
|---|---|---|
| Bone | Epic | +50,000 |
| Meat | Legendary | +100,000 |
| Magic Apple | Mythic ($700,000) | +300,000 |
| Dragonfruit | Ethereal | Highest tier |
An egg must incubate inside the pen before hatching unless you use Robux for Skip Egg Growth. On the map, noticeably oversized egg models deserve priority because they produce larger pets with better speed and cash output.
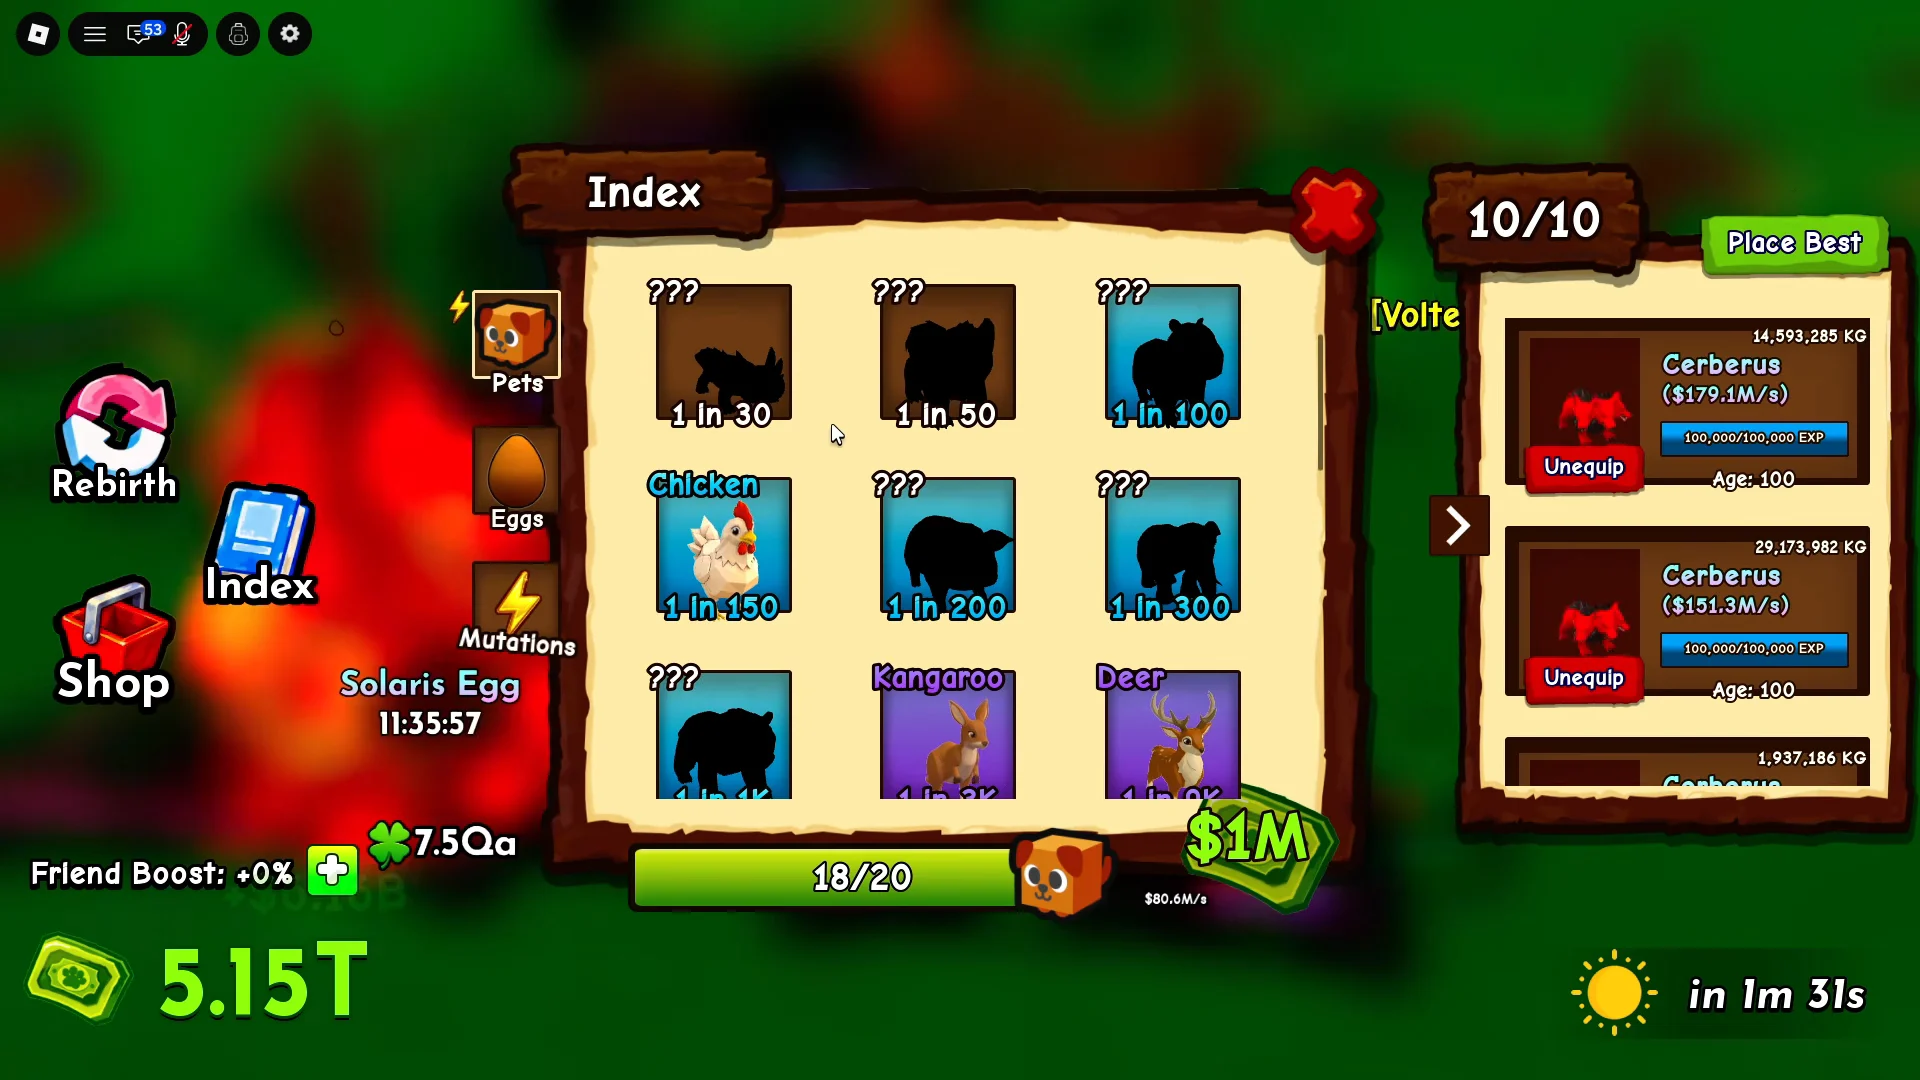
Open the Index’s Pets tab before you sell. If the pet creates a previously missing entry, register it first; only sell it after confirming that it is a duplicate, and direct the money into Hatch Luck.
Mutations and weather traits
The Mutations menu splits into Hatched Mutations (Gold, Diamond, Rainbow) and Weather Traits. Weather Traits are the ones that transform a pet, applying to speed, money per second, and sale value at the same time. Each weather event runs for five minutes, and every event has an equal chance of appearing when the weather changes.
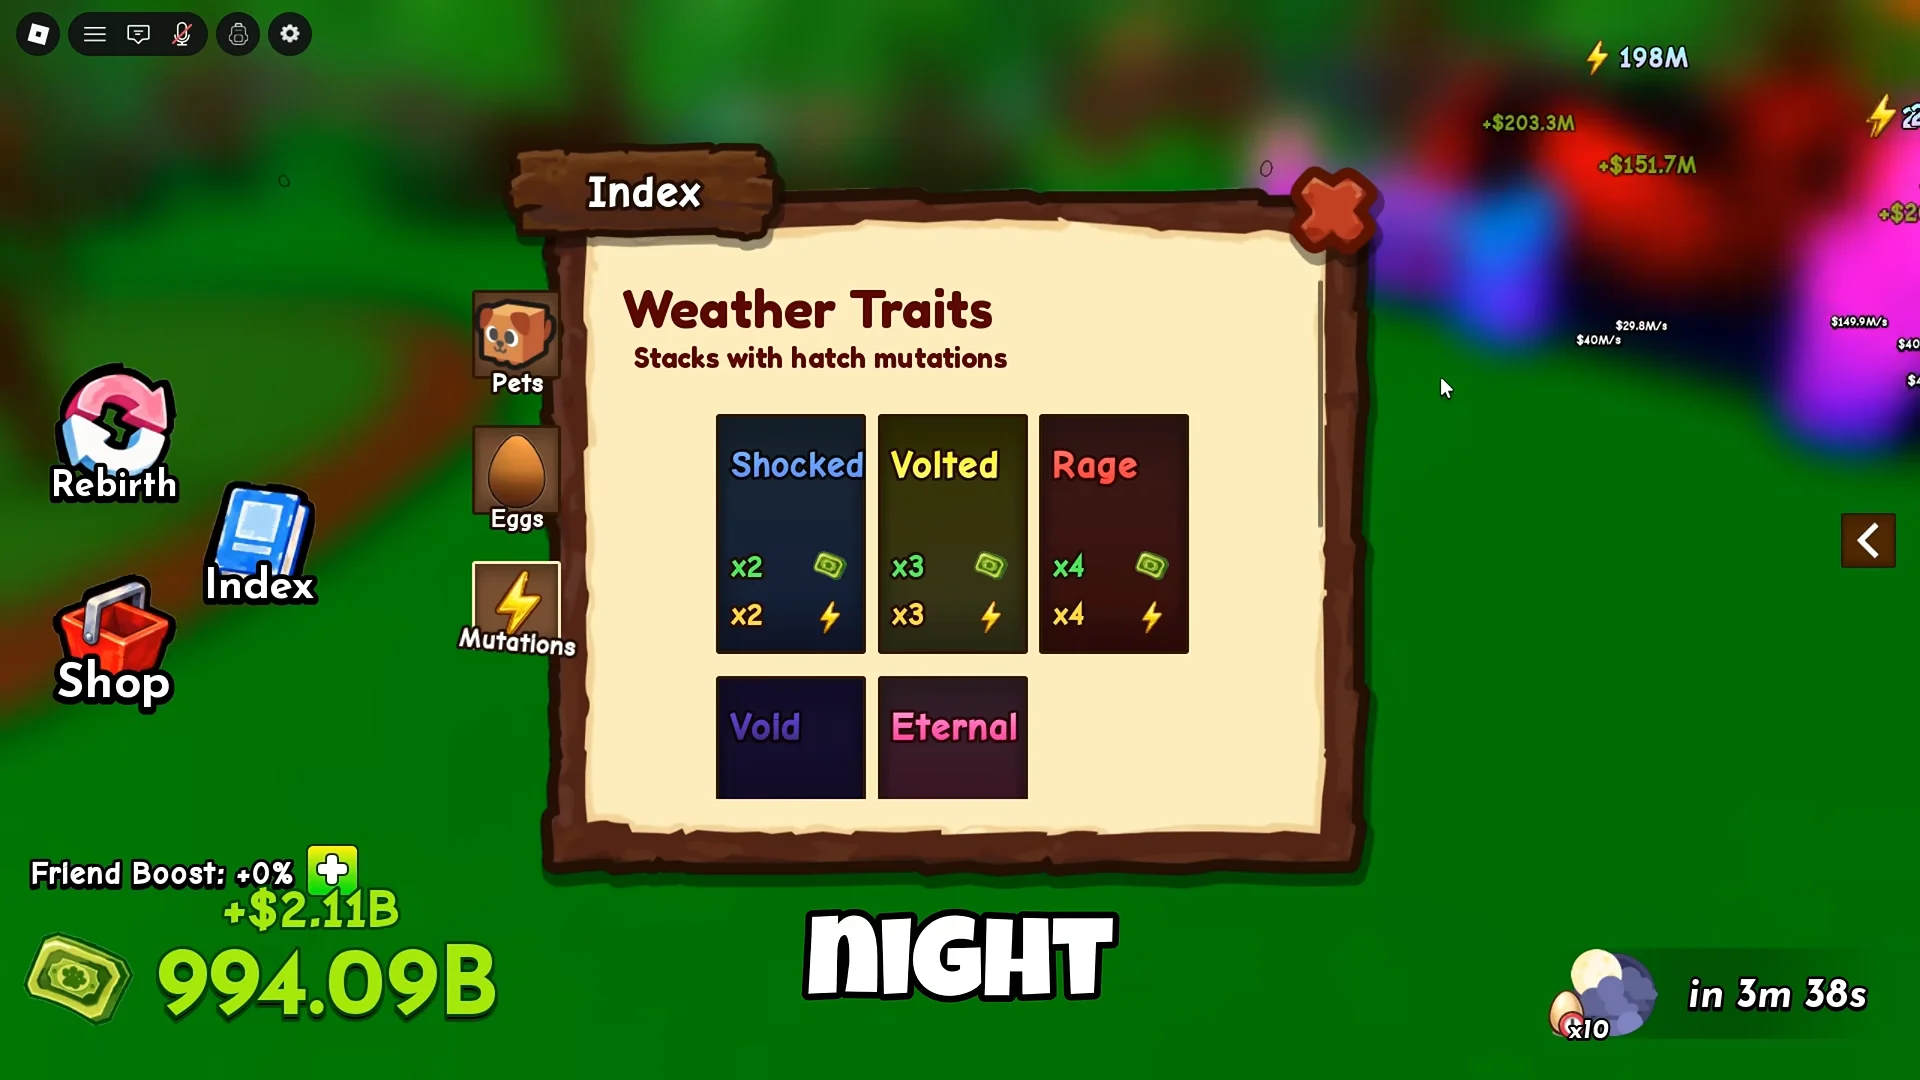
| Weather event | Mutation | Multiplier |
|---|---|---|
| Thunder | Shocked | 2x |
| Volt | Volted | 3x |
| Rage | Rage | 4x |
| Void | Void | 10x |
| Eternal | Eternal | 100x |
Pet placement controls mutation eligibility. The active mutation can affect pets in your Pen or the one you are riding, but an inventory pet cannot mutate. Eggs inside the Pen are eligible as well, so store valuable high-rarity eggs there before they hatch.
Only one weather trait can remain on a pet at once; a stronger trait replaces a weaker one. Thus, a Shocked pet hit during Volt weather changes to Volted. This is why mutations belong on pets you plan to keep: putting a 100x Eternal on a mount due for replacement wastes it, while placing that roll on Kitsune benefits every later route.
Hidden high-tier egg locations
The rarest eggs, including the 100B Blackhole Egg and the Galaxy Egg, spawn away from the basic starter areas. Learn these four zones so you can react the moment a server-wide spawn banner appears.
Waterfall Cave
Enter the concealed pool by passing through the waterfall. Inside are two rock platforms and a tall cliff ledge beside the falls, with high-rarity spawns such as the 100B Blackhole Egg. Heavy eggs from this area move slowly against the river current on the return trip, making a strong mount useful.
Giant Tree Summit
Use the outer limbs of the huge central tree to reach the wooden hollow platform above. Blackhole-tier eggs appear on the high branches, and a flying mount greatly reduces the time needed to get there.
Beach and pyramid landmarks
Search the open blue chest beneath the sand, the area surrounding the lighthouse, and the spot beside the stone pyramid. Beneath the desert pyramid, a submerged passage also reaches a hidden tomb egg spawn.
Mountain cliffs
Follow the raised rock shelves around the map to find divine and ethereal eggs. The cliff face by the waterfall can produce the 1.5B Galaxy Egg, while the Angelic Radar, used from a high summit, can reveal faraway spawns before other players do.
All 7 Rebirths: required pets and cash
There are seven Rebirths, and each one demands a specific pet in your ranch or inventory plus a cash threshold. Because the pet must be present when you press the button, selling a Horse, Fox, Unicorn, Phoenix, Kitsune, or Dragon before using it is the most expensive mistake in the game.
| Rebirth | Required pet | Hatch chance | Cash |
|---|---|---|---|
| 1 | Horse | 1 in 500K | $1M |
| 2 | Fox | 1 in 21M | $50M |
| 3 | Unicorn | 1 in 1T | $2.5B |
| 4 | Phoenix | 1 in 30T | $125B |
| 5 | Kitsune | 1 in 1Qi | $6.2T |
| 6 | Kitsune | 1 in 1Qi | $325T |
| 7 | Dragon | 1 in 5Qi | $50Qa |
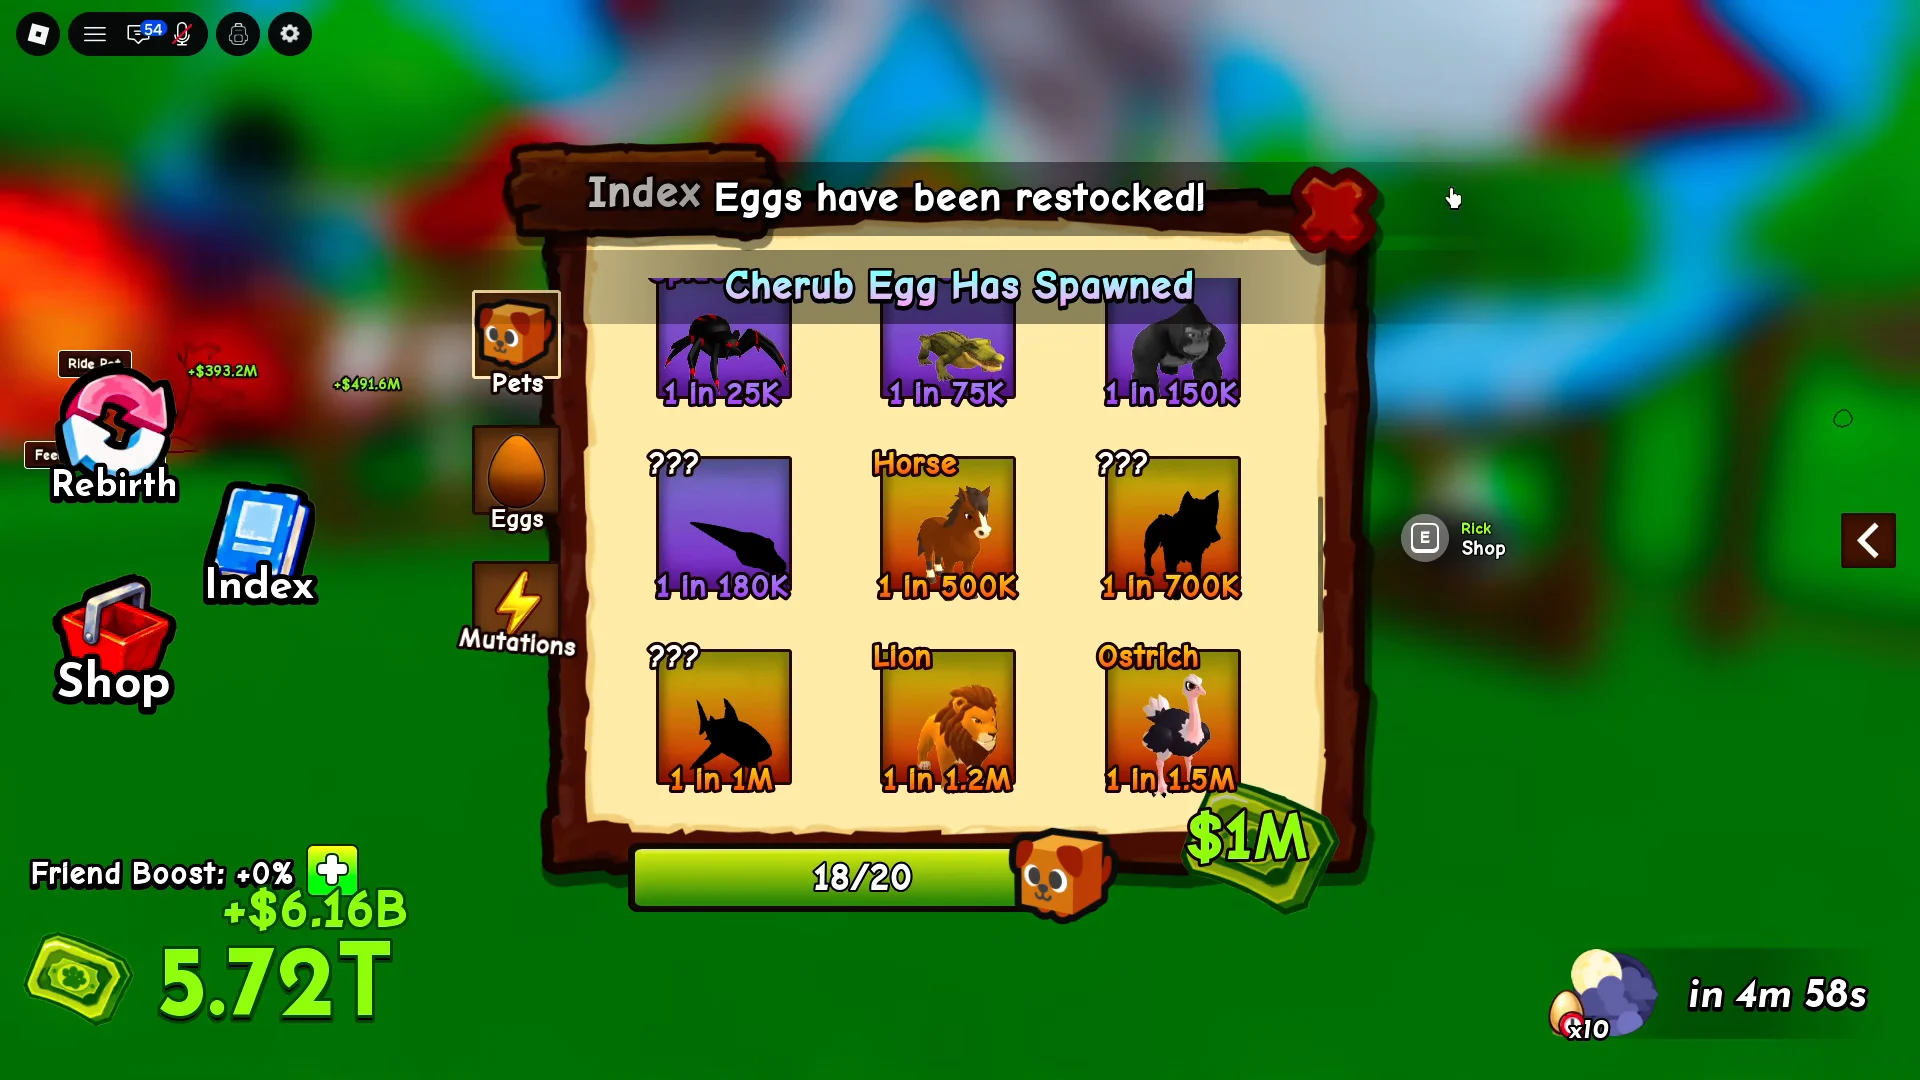
The Rebirth button sits on the left of the screen and lights up once both conditions are met. Each completed reset grants a permanent +1x money multiplier and +1 pet slot, so after all seven your pets earn at +7x and your ranch holds up to 12 placed pets. Rebirths also unlock alternate ranch skins, including the Diamond Base, which make your plot easier to spot when you sprint home with a cracking egg.
Resetting clears your cash and every Hatch Luck purchase made at the ranch board. Placed pets and Rebirth rewards remain, but your money returns to zero, so do not buy Luck you are about to lose.
Being able to reset is not the same as choosing the right moment. Wait until your setup can recover in a few minutes instead of resetting as soon as the button activates. Once reset, skip the tour, immediately run your strongest early route, upgrade from the starter mount as quickly as possible, and head directly toward the next requirement. A rising pet-slot total on your plot and a higher income multiplier confirm that it counted.
Mistakes that cost the most time
- Roaming without a repeatable egg circuit.
- Choosing a slower mount solely for its appearance.
- Spending mutations on starter pets you will replace within an hour.
- Allowing your collecting trips to leave nest spaces unused.
- Before selling a pet, confirm that it will add an Index entry.
- Resetting as soon as Rebirth becomes available instead of waiting for a fast recovery.
The Snail-to-Dragon climb follows a single repeating pattern. Mount your fastest pet, choose a circuit you can finish without missing jumps, leave nests and Hatch Luck active while away from the plot, and retain the required Rebirth pets until activation. Reserve mutations for mounts you plan to keep, and the seven Rebirths become a checklist instead of a grind.