
Meteor got a round of damage buffs in Season 15 — Impact damage, Shooting Star impact damage, Air Burst, and Comet all went up — and that pushed a very specific Sorcerer setup to the front of the class. Instead of treating Meteor as a slow, clunky finisher, this build uses it as a Mana pump that feeds a permanent wall of Hydras. The result clears Torment 12 and Pit Depth 120+ without you ever really aiming at anything.
Quick answer: Spam Meteor to burn Mana, let the Hydra Enchantment convert that spent Mana into Hydras, and use the Behemoth modifier plus Hydra’s Cooldown Reduction node to keep 10 or more of them out permanently.
How the Meteor and Hydra loop actually works
Three mechanics do the heavy lifting here, and none of them are optional.
- Resource Damage Bonus on Meteor scales your damage with the Mana each cast consumes, so spending more is a straight damage gain rather than a cost.
- Hydra Enchantment summons extra Hydras based on Mana spent, turning every Meteor into another conjuration.
- Behemoth upgrades those Hydras into much larger versions, and the Cooldown Reduction node on Hydra means the army constantly resets the rest of your bar.
The fuel comes from the Horadric Seal. A Tal Rasha’s Threefold Way setup with the “Mana on Mastery Skill Trigger” affix effectively gives you infinite Mana generation, which is what lets you hold the Meteor button down. Hydra also carries Healing, so as the count climbs you gain a large, passive sustain layer on top of your barriers.
The ceiling version of this setup needs a Legendary Seal with 6 slots and the Mana on Mastery Skill Trigger affix. That roll is the real gate on the build, not the uniques.
Skill bar and skill tree points
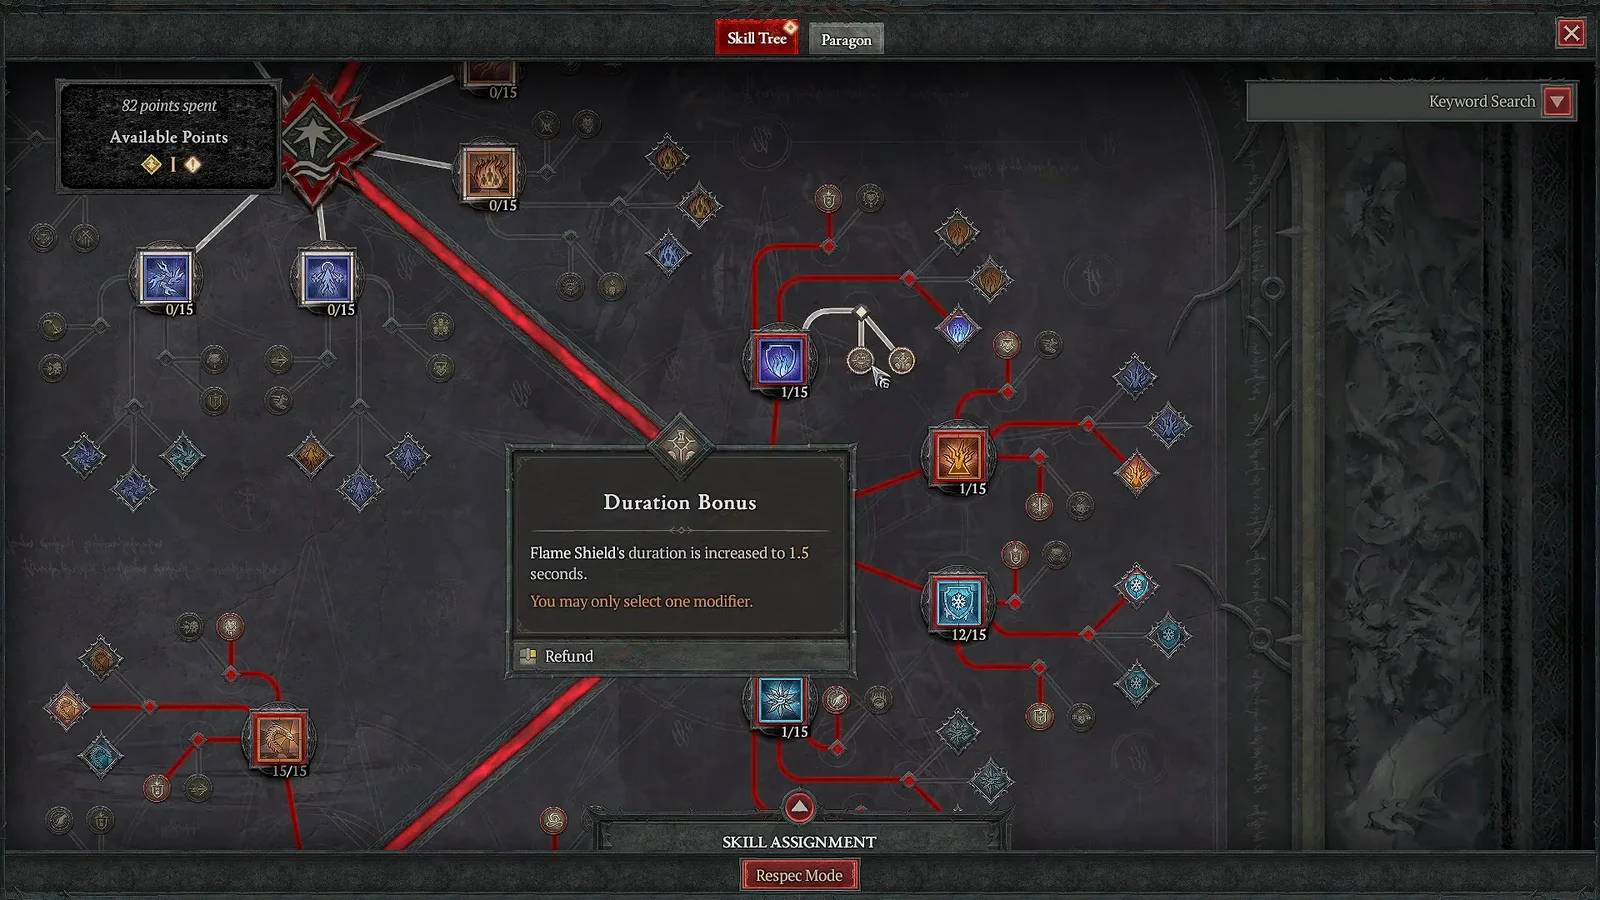
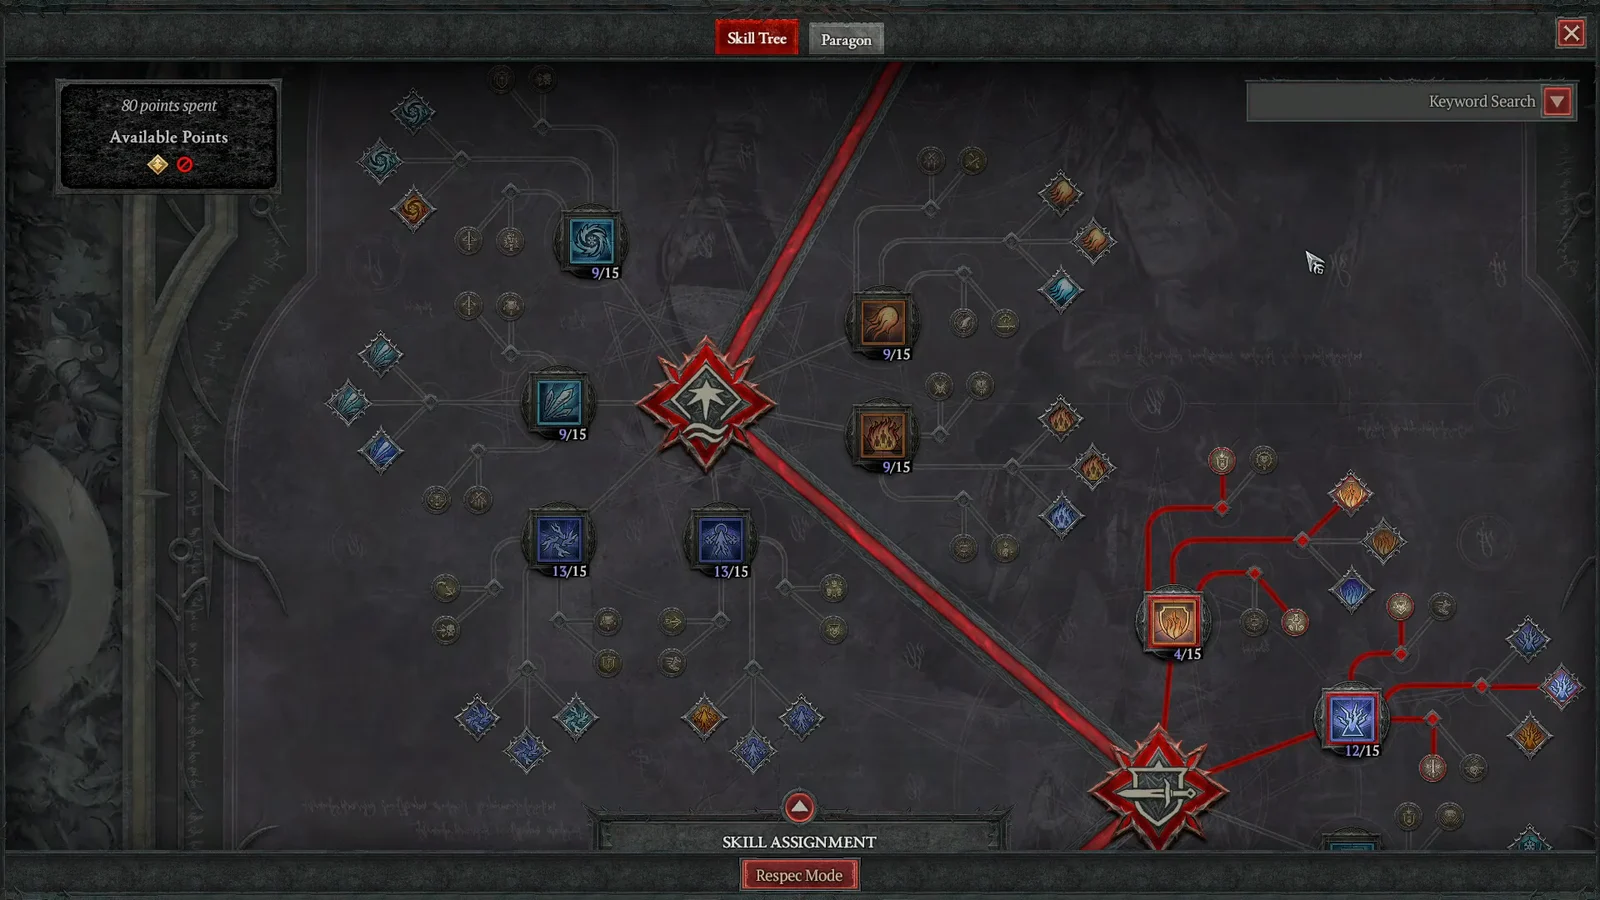
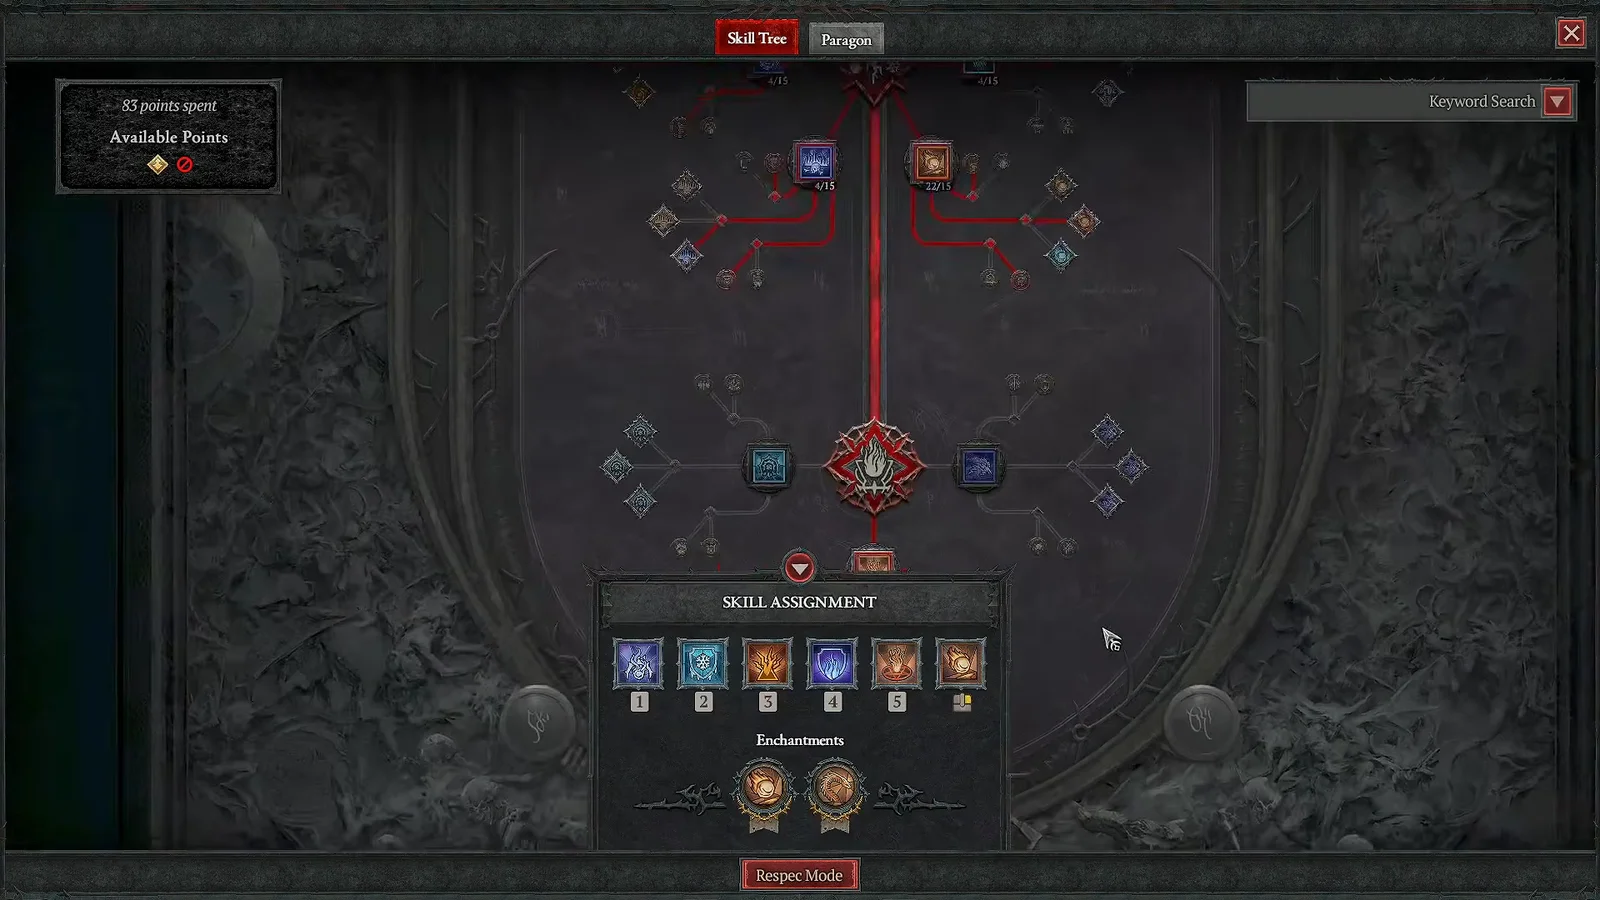
Meteor is maxed with Resource Damage Bonus and Air Burst. Hydra is maxed and takes Healing, Cooldown Reduction, and Behemoth. Inferno takes Overpower and Lifecoil, and Ball Lightning picks up Orbital. Firewall and Blizzard sit at low ranks as utility and paragon enablers.
Defensively, Flame Shield takes Cooldown Reduction, Duration Bonus, and Flash. Teleport takes Weaken, Ferocity, and Blaze. Ice Armor takes Permafrost, and Frost Nova picks up Freezing Mist. Familiar takes Fast As Lightning purely so it can stay on cooldown as a buff-keeper.
Enchantment slots
Both enchantment slots are locked in: Hydra Enchantment and Meteor Enchantment. Hydra Enchantment is the engine, and swapping it out collapses the entire build.
Rotation and playstyle
Gear and aspects
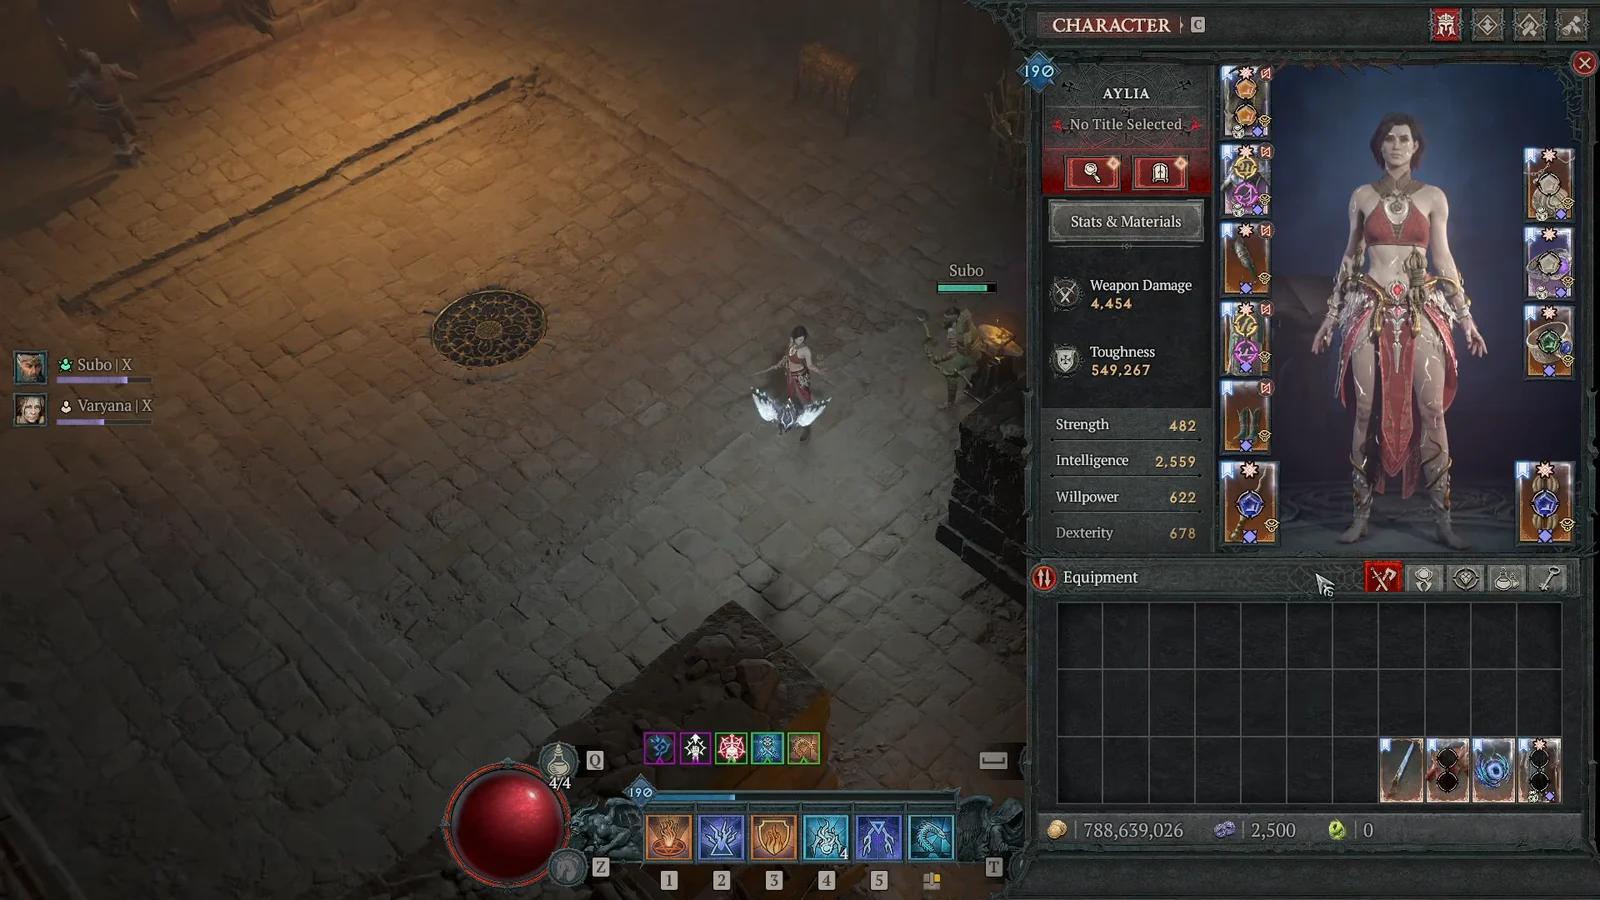
| Slot | Item or aspect |
|---|---|
| Weapon | Lingering Seer’s Staff |
| Helm | Starfall Coronet |
| Chest | Raiment of the Infinite |
| Gloves | Blasting Sovereign |
| Pants | Iceheart Brais |
| Boots | Esu’s Heirloom |
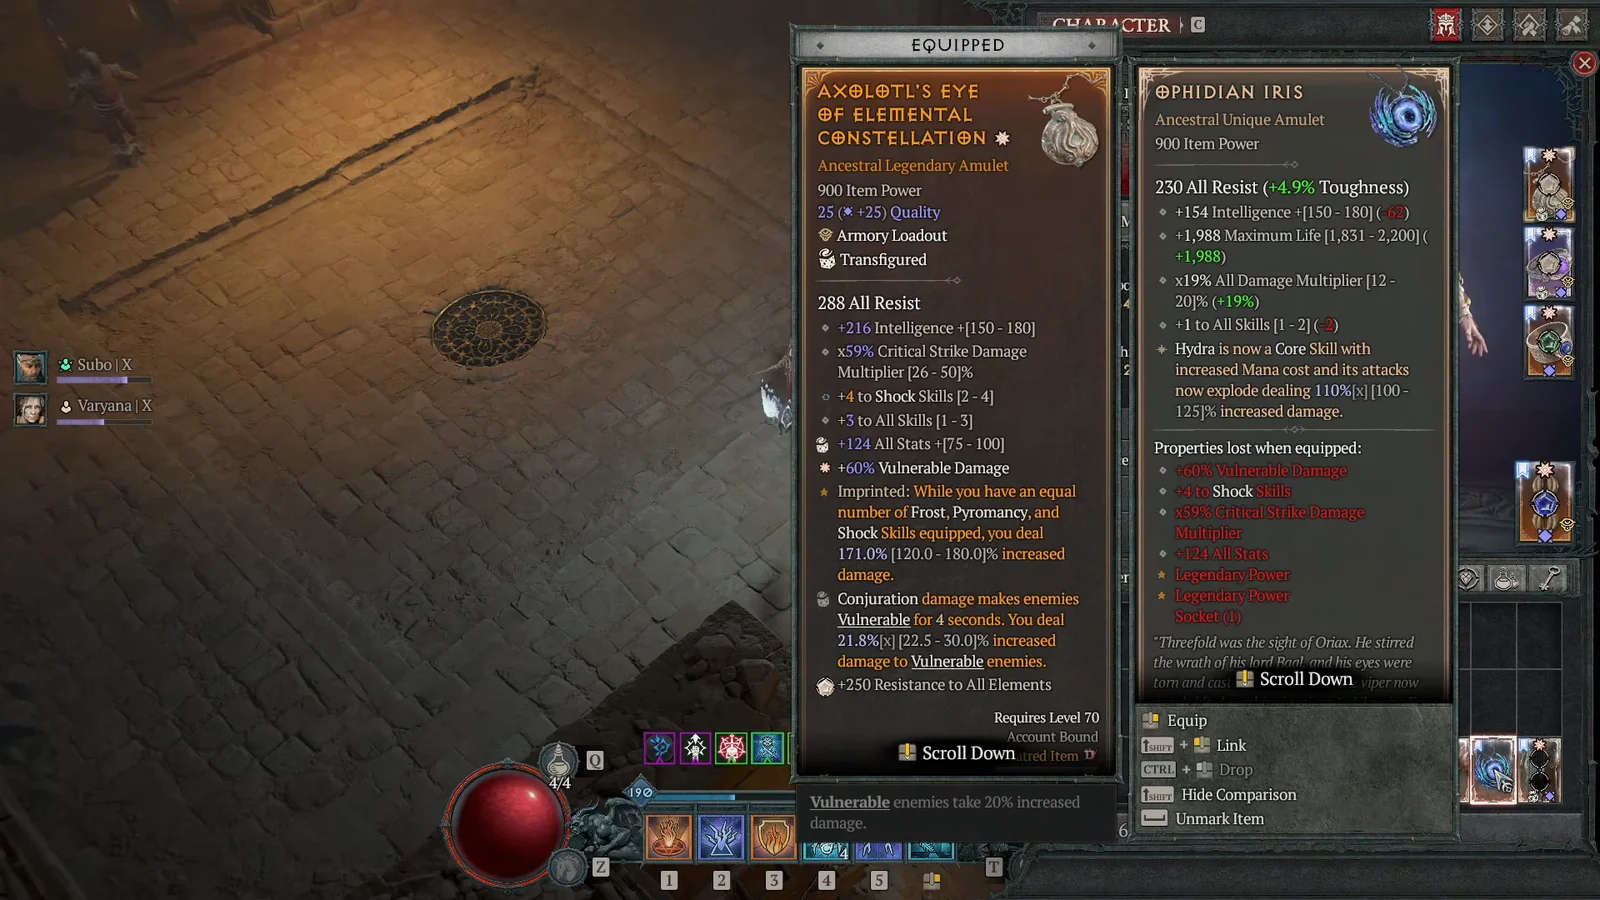
| Amulet | Crocodilian Eye of Combustion |
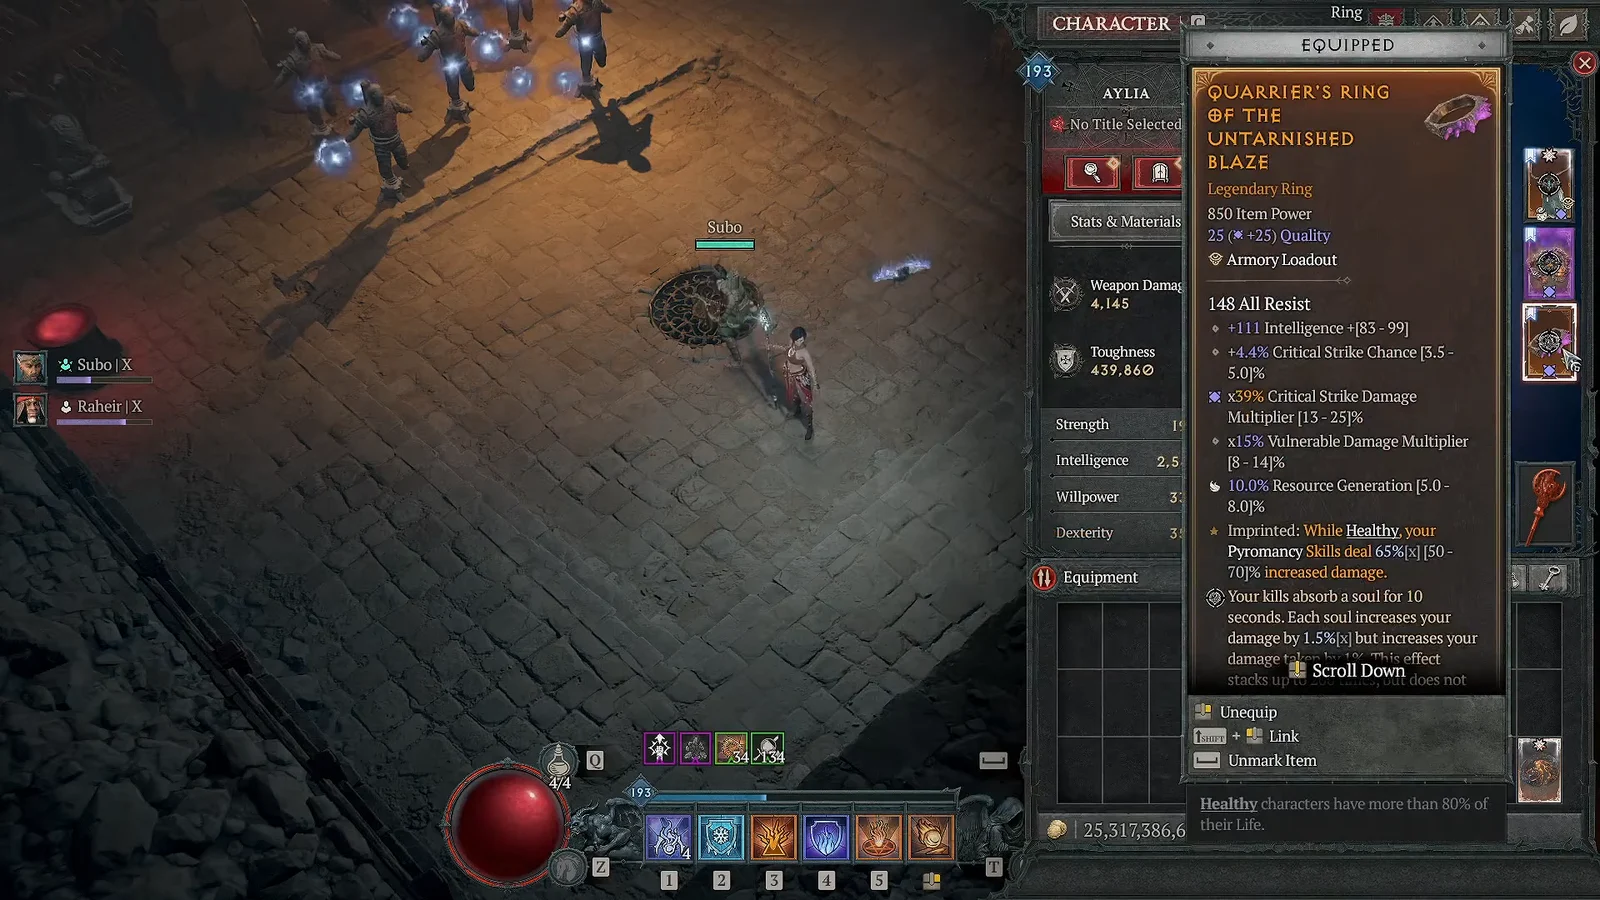
| Ring 1 | Aspect of the Untarnished Blaze |
| Ring 2 | Tal Rasha’s Iridescent Loop or Molten Band |
Ring slots are the flexible part. Tal Rasha’s Iridescent Loop and Molten Band both work, and a Legendary ring carrying Aspect of Armageddon is a fine substitute if your uniques are rolled poorly. Ring of Starless Skies is the other common choice on Meteor setups.
Mythic priority order
| Mythic | Value |
|---|---|
| Raiment of the Infinite | 43% toughness |
| Leoric’s Crown | Splinter host |
| Ophidian Iris | 19% damage |
| Esu’s Heirloom | ~9% damage |
| Orsivane | 8% damage |
| Tibault’s Will | 5% damage |
Work down that list as drops arrive. Only one Mythic crafted in the Horadric Cube with Pandemonium Fragments can be equipped at a time, so spend fragments on the top entry you are still missing.
Affixes, tempering, and Masterworking
- Prioritize Critical Strike Damage, Vulnerable Damage, Intelligence, and Maximum Life across the staff, jewelry, gloves, and armor.
- Temper for Attack Speed, Resource Generation, and Movement Speed.
- Target Critical Strike Damage multipliers when Masterworking, since those are the crits that carry both Meteor and the Hydras.
- Gems should cover Fire damage multipliers, Intelligence, and mobility-triggered crit bonuses.
Seal, charms, and Soul Splinters
Run the Remedial Horadric Seal of Mastery, Tal Rasha’s Threefold charms with maximum resource, and Banished Lord’s Talisman. For a major toughness boost and more damage, substitute the Seal of the Diamond Mind and two Berú of Uncanny Insight pieces for Banished Lord’s Talisman; the build still requires Mana on Mastery Skill Trigger on the Seal itself to function.
Soul Splinters are the new socketable jewelry gems this season. Slot them in this order:
- Abyssal Splinter of the Black Soulstone (in Leoric’s Crown)
- Abyssal Splinter of Pain (in Leoric’s Crown)
- Abyssal Splinter of Anguish
The remaining splinters carry downsides that outweigh their bonuses. Abyssal Splinter of Skarn and Abyssal Splinter of Lies are the exceptions if you want slightly better loot and can absorb the added difficulty.
Paragon boards and glyphs
| Board | Glyph | Purpose |
|---|---|---|
| Starter | Elementalist | Base scaling |
| Enchantment Master | Unleash | Enchantment power |
| Searing Heat | Destruction | Fire damage, legendary node |
| Frigid Fate | Tactician | Cooldown support |
| Static Surge | Pyromaniac | Mana sustain, fire multipliers |
Rank glyphs up through the Pit. Static Surge is the board that keeps your Mana pool healthy enough to hold down Meteor, so do not skip it even though the name suggests a lightning build.
Mercenaries, Prime Evil powers, and War Plans
Hire Subo for the map reveal and the Opening Fire bonus, and set Raheir as your reinforcement with Bastion on Injured for a safety net in dense packs. Crater is the alternative Raheir option. On the Prime Evil side, Ice of Excidium is the pick.
For War Plans, the Astaroth-related upgrades in the Lair Boss and Nightmare Dungeon trees matter most, because that is how you farm Esu’s Heirloom. Everything else is personal preference around which endgame activity you want to run.
How to tell the build is online
Stand in the Training Grounds and spam Meteor. If the setup is working, Hydras stack up until you have 10 or more Behemoths on the field at once, your cooldowns visibly reset as they attack, and your health bar refills on its own from Hydra’s Healing node. At full build, the conjurations stay up even without Hydra sitting on your bar.
Two things to expect going in. The build has ramp-up time, so the first few seconds of any pull are weak until the Hydras populate, and you cannot choose what they attack — they hit whatever is nearby. That makes it excellent for clearing Torment 12 content and deep Pit runs, and less precise than builds where you point damage at a single target. Sorcerer as a whole sits below the top push classes this season, but the Meteor helm buff and the Heat set changes put this particular setup comfortably in Torment 12 territory.