Black Ops 7 Zombies Super Easter Egg Walkthrough: All Six Toys and Rewards
Collect all six map toys, clear the boss rush, and unlock the Warden and Mister Peeks Mayhem.
Collect all six map toys, clear the boss rush, and unlock the Warden and Mister Peeks Mayhem.
by Pallav Pathak
Black Ops 7 Zombies’ Super Easter Egg is the final challenge spanning the game’s maps. After completing the main quest on each round-based map, six new toy-related quests become available. Each quest rewards one collectible toy; place all six in the display at Her House on Rex Infernus to unlock the boss rush that concludes the hunt.
Quick answer: Finish all six main quests first, then return to each map to complete its toy quest and Exfil with the toy. Place all six toys on the shelf in Her House on Rex Infernus and clear the boss rush.
Image credit: Activision via YouTube/@MrDalekJD
Prerequisites: Finish all six main quests
All six maps must have their main quests completed before any toy quest unlocks: Ashes of the Damned, Astra Malorum, Paradox Junction, Totenreich, Kowakujō, and Rex Infernus. Treyarch confirmed this condition in the Season 06 announcement.
The original main quests can be cleared in Standard, Directed, or Cursed mode, and every one of those completions satisfies the requirement. For the toy quests themselves, choose Standard mode; Directed mode does not consistently load the special toy-box interactions.
If you are still missing a main quest and struggling on Standard, use Directed mode to clear it, then swap back to Standard for the toy step.
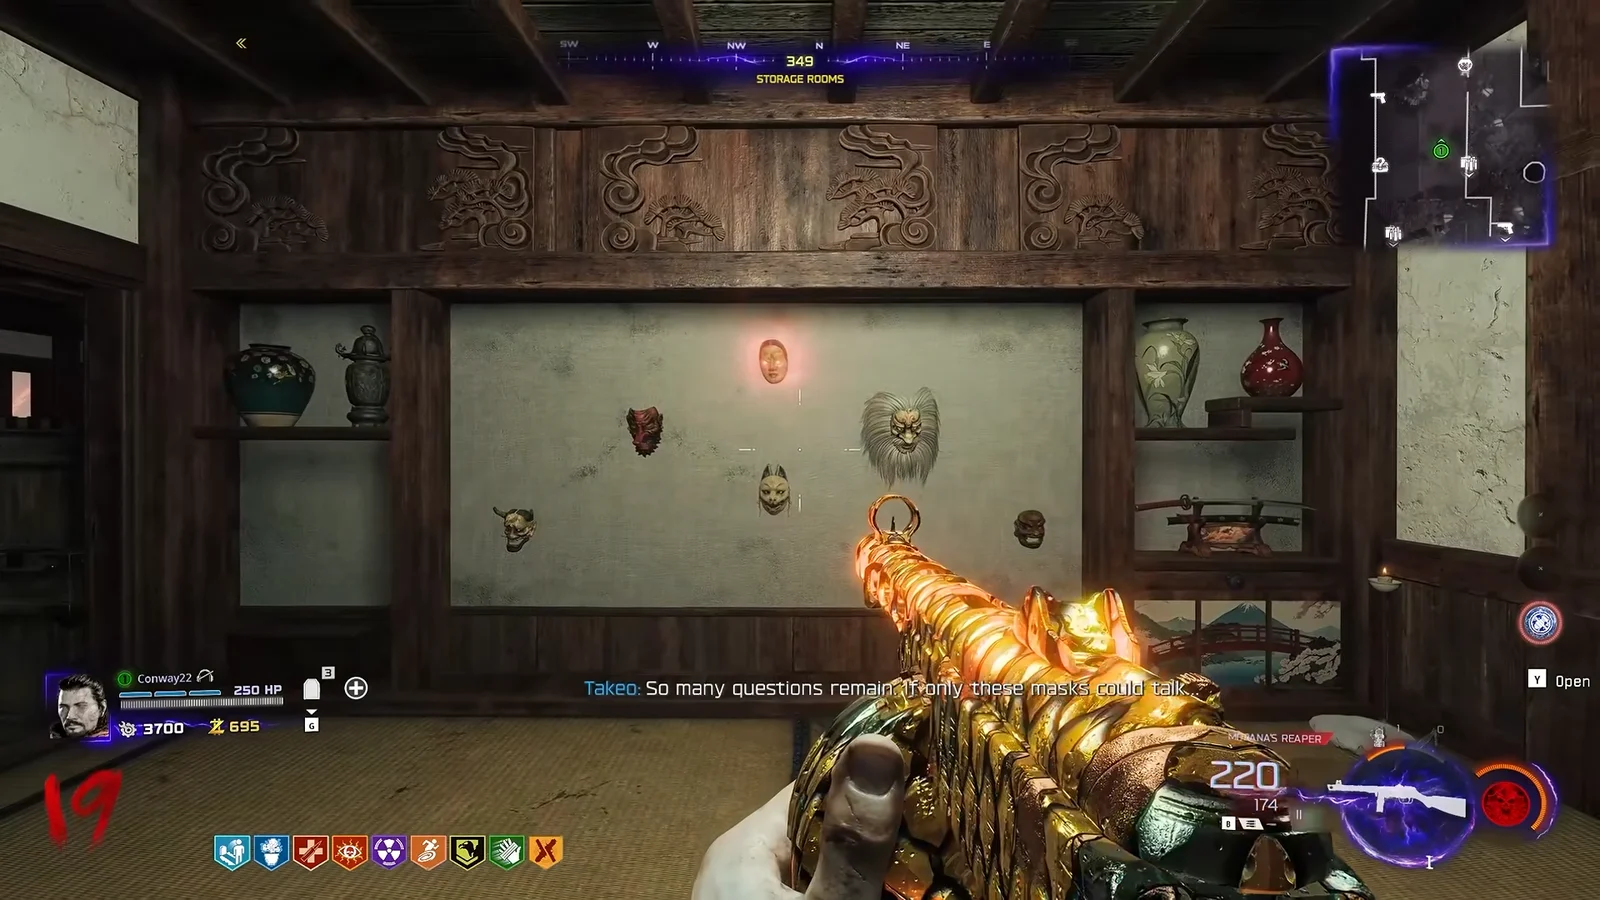
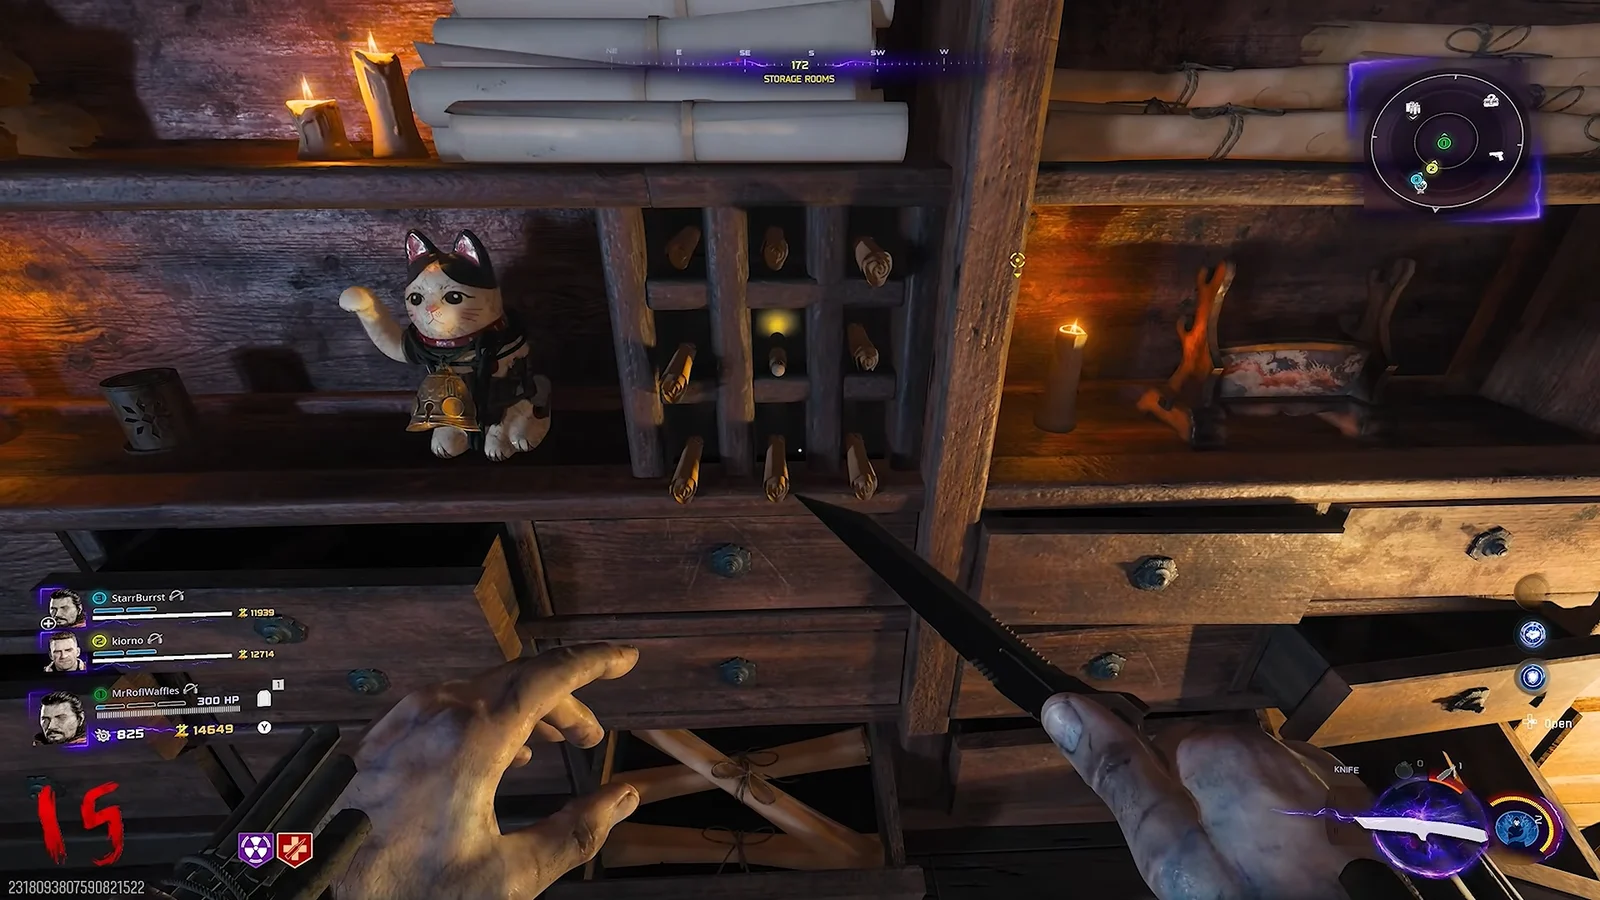
Kowakujō has one of the longer main quests, so budget extra time for it. It involves building the Nekomata Spirit Cat wonder weapon, solving a mask memory puzzle, and working through several evidence puzzles before you reach the boss.
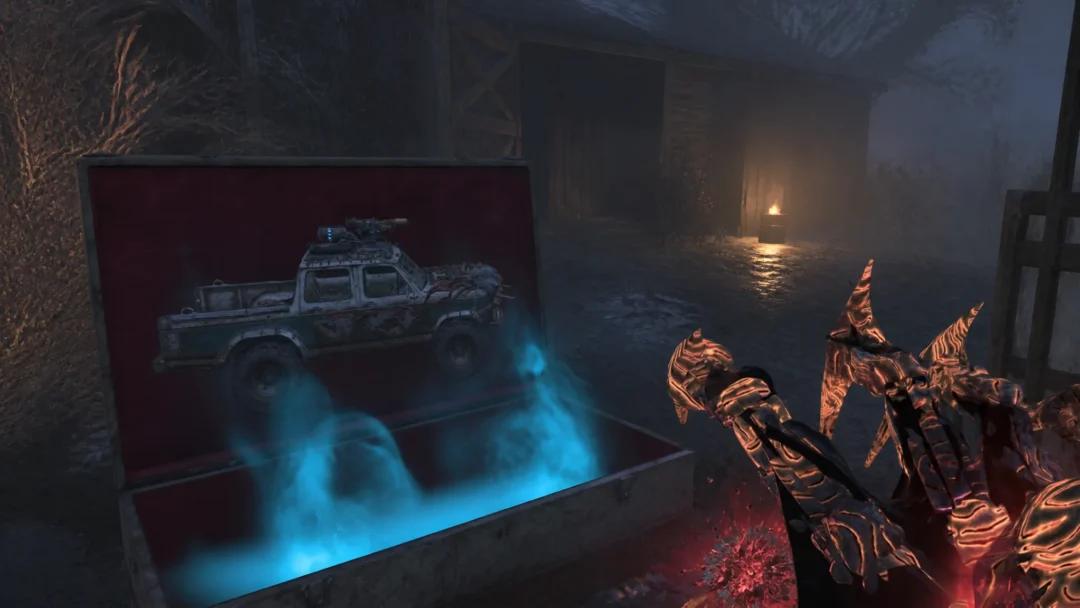
Each of the six maps hides the Twins’ Toy Box. You complete a short or lengthy new quest on that map, receive its toy, and then Exfil to carry it back to the House in Rex Infernus. The Exfil part matters. The toy only counts once you successfully extract with it, and you can watch it enter the Exfil portal as the completion registers.
Map
Toy
Ashes of the Damned
Ol’ Tessie
Astra Malorum
Caltheris
Paradox Junction
Twins
Totenreich
Guardian
Kowakujō
Z-Rex
Rex Infernus
Warden
Several steps require one continuous run. On solo, avoid saving and quitting mid-quest, or you risk breaking the sequence.
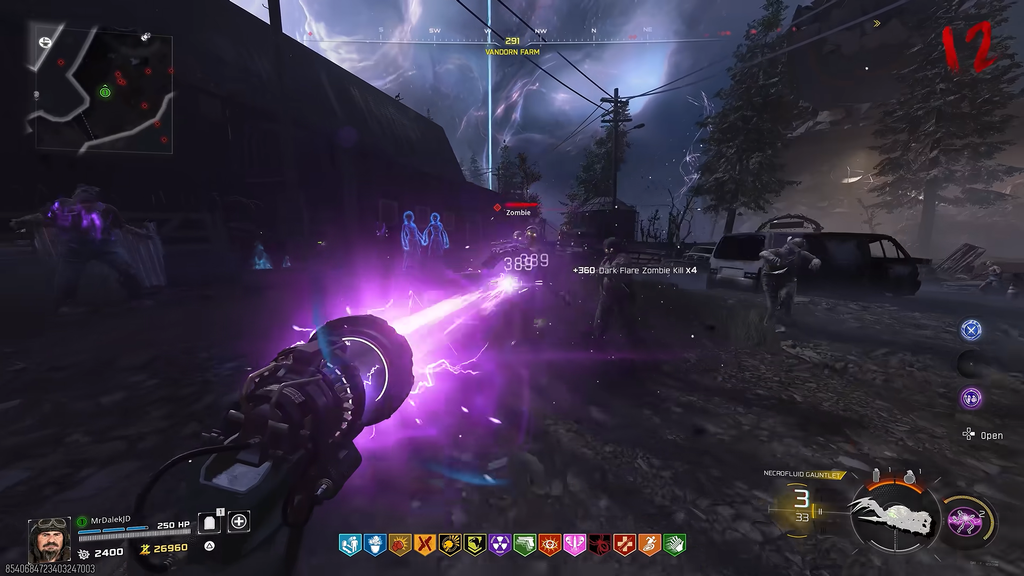
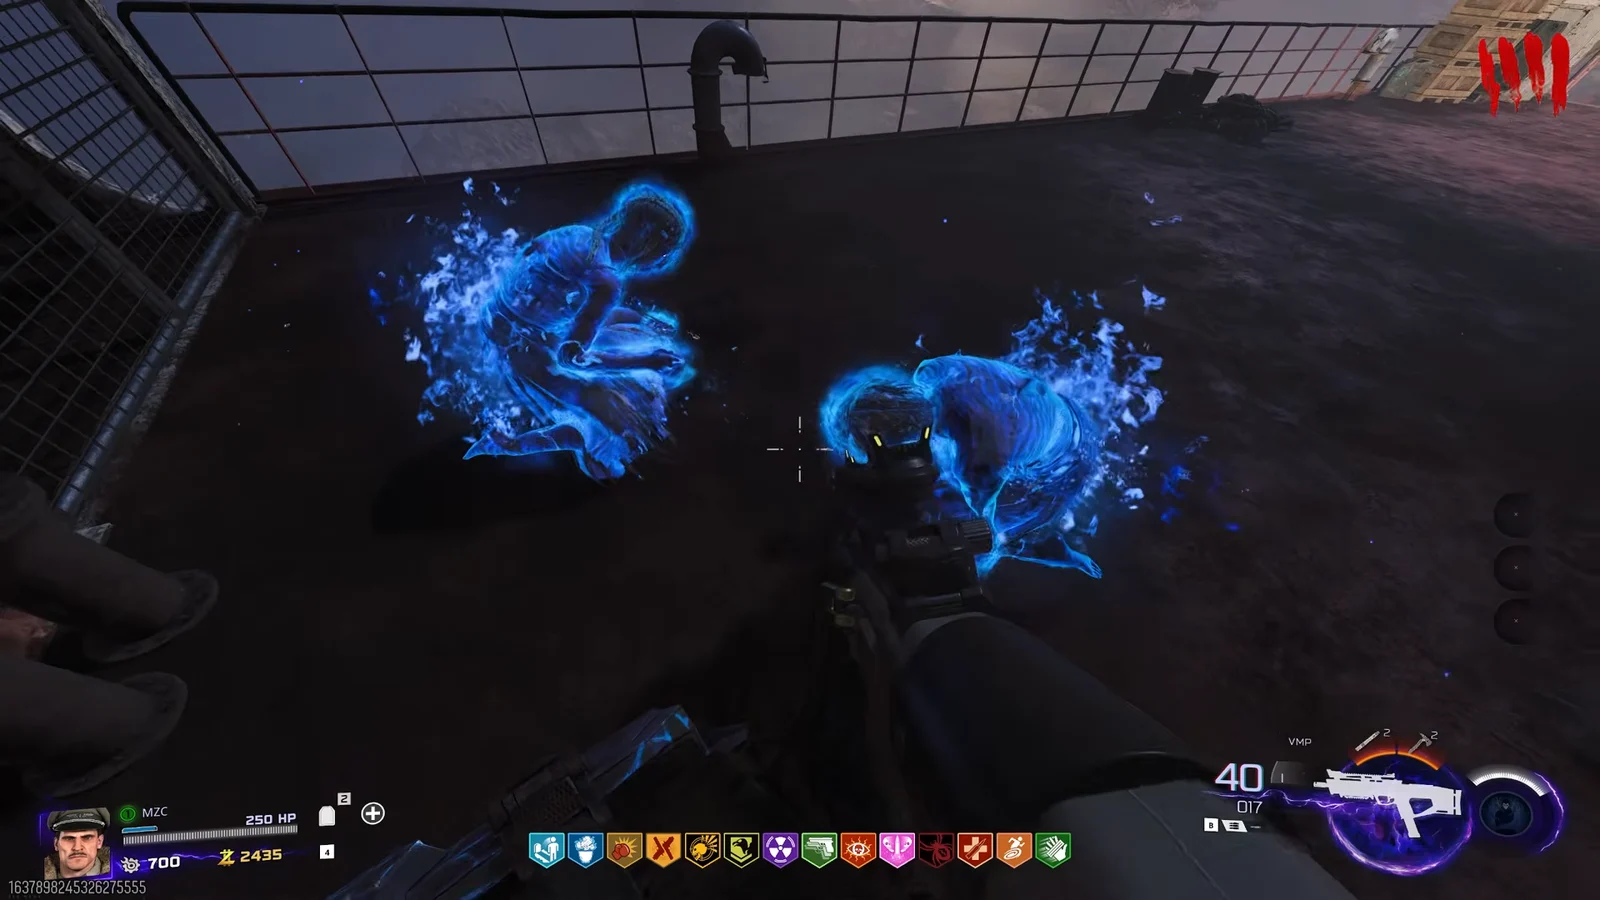
Find the ghostly Twins in the Fog or Ashwood. Known spots include the Lost Cabins, the Grounded Ship, near the boat, behind the cabins between Blackwater Lake and Ashwood, and by the Ashwood zipline. Approach them, and they relocate to the barn at Vandorn Farm.
Head into the Fog in the Monolith Forest and find three purple crystals on the large rocks. Shoot each with the Necrofluid Gauntlet, then use a Fumigator on them to summon a meteor.
Find the floating wooden box outside the Luminarium and use explosives such as a Semtex or Impact Grenade to push it toward the Crash Site at spawn. A zombie and web will block you on one push, so clear them and continue.
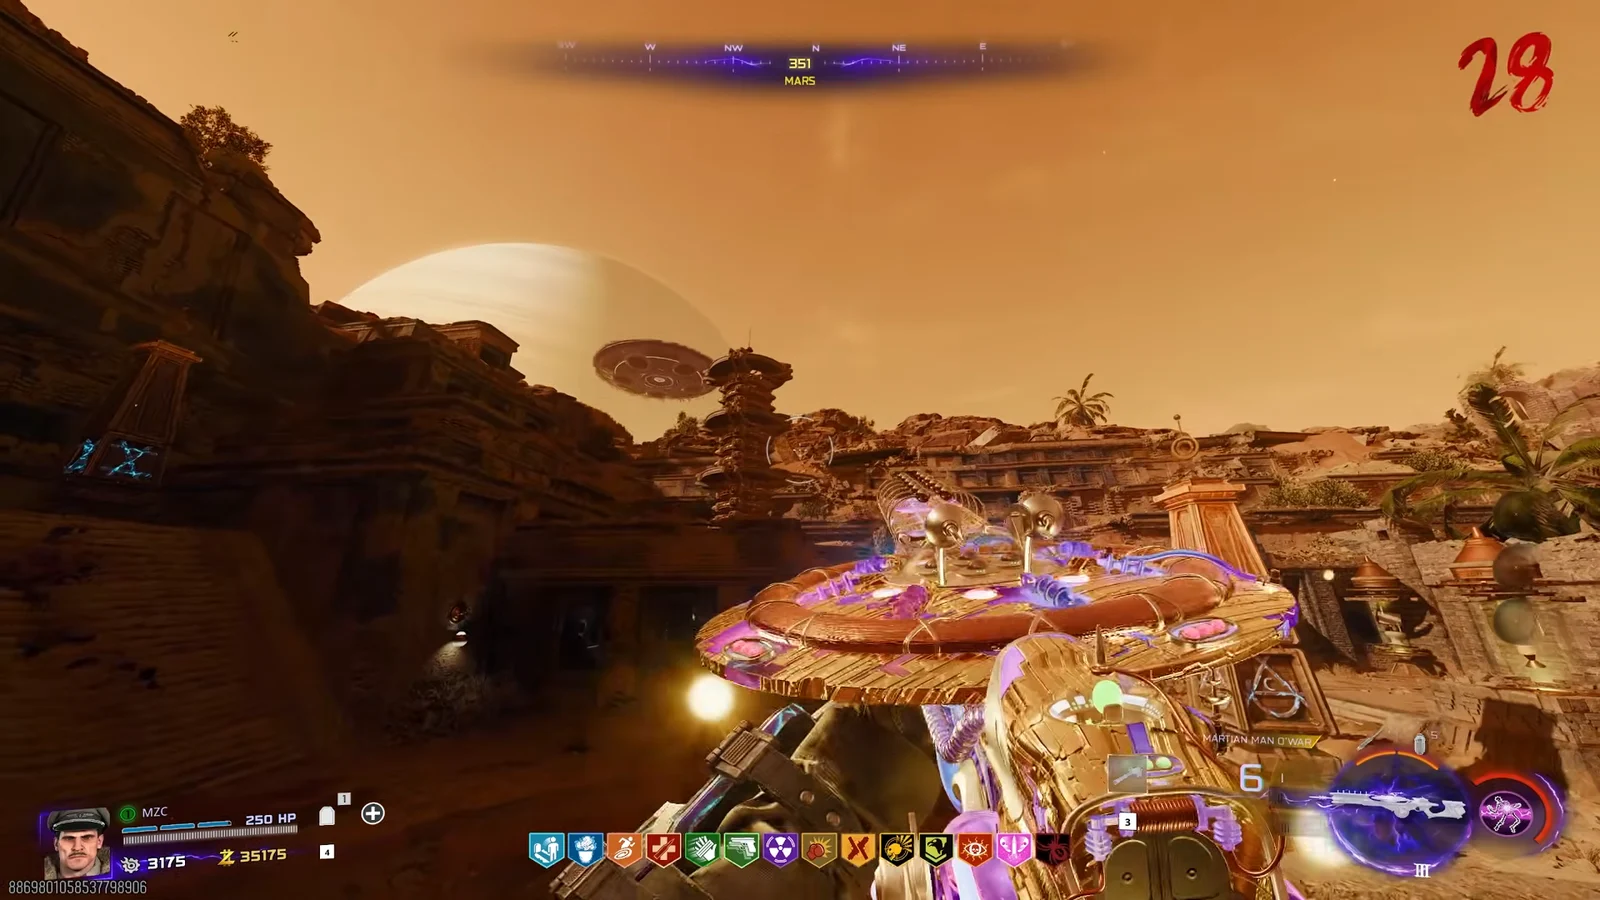
Complete the grandfather clock side Easter Egg by meleeing every clock to slow time. During the effect, look through the telescope near the piano in the Observatory Dome to catch and reveal the UFO.
The UFO flashes a sequence matching suspended objects around Mars, including the flamingo, lava lamp, space suit, and toilet. Use the wisps on the objects in the shown order, or hit all of them if you would rather not decode it.
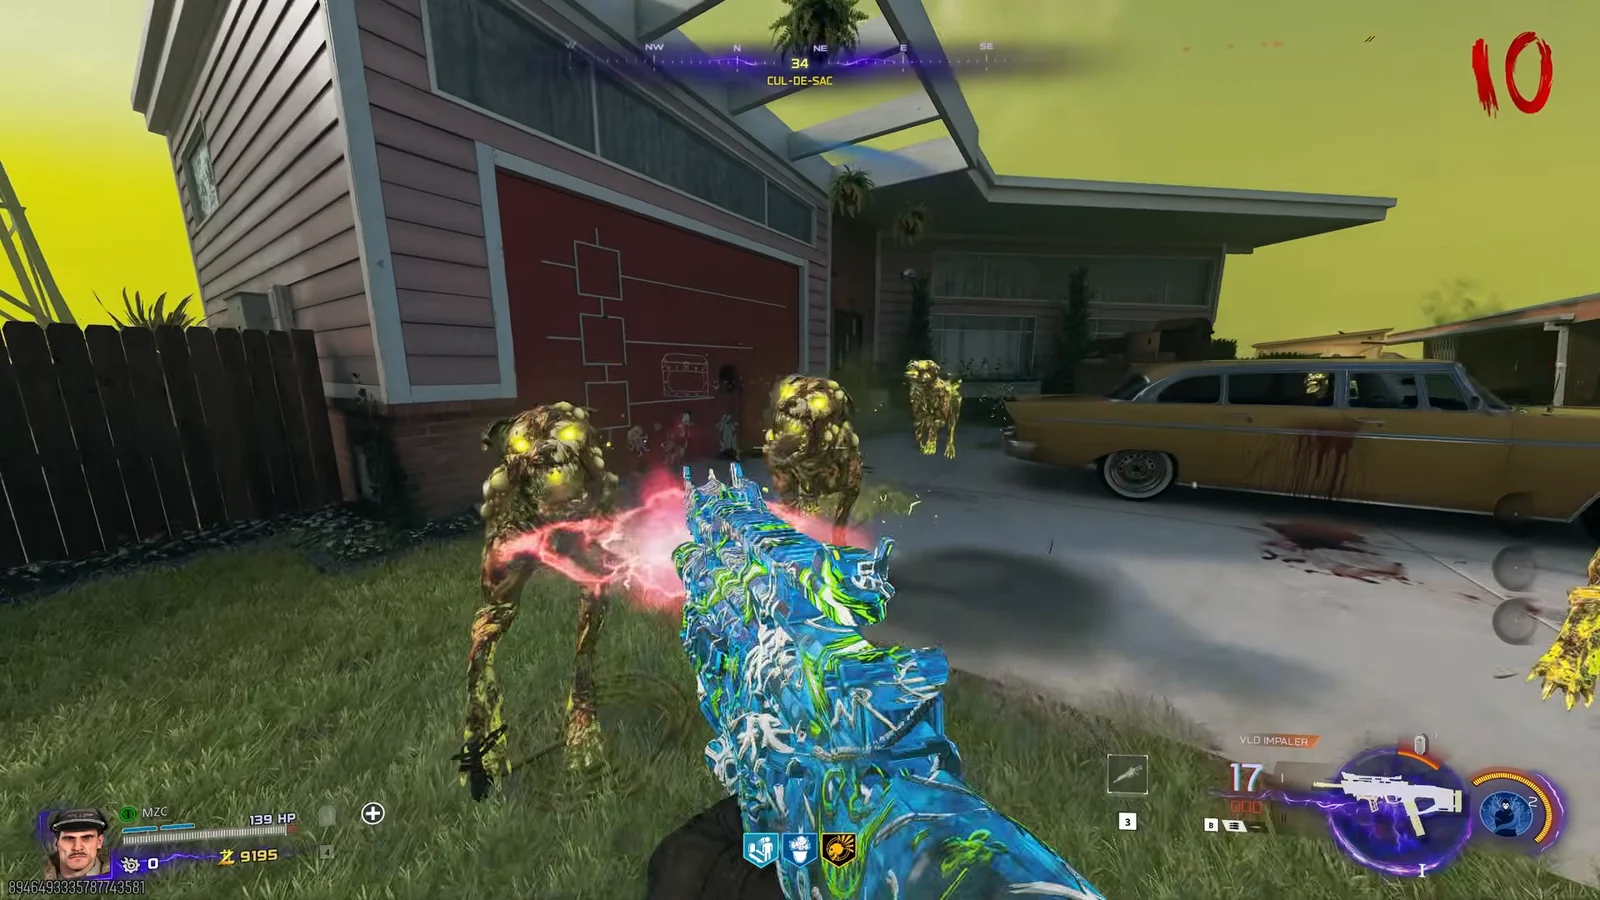
Go upstairs in the Yellow House and throw a Psych Grenade at the chalk question mark by the bookshelf to reveal a key. Interact with the chalk chest again to summon the real chest, then return to the Future.
Collect the pink teddy bear parts scattered around the Future area. They sit on rooftops near the Exfil and Pack-a-Punch, on the back of a truck, inside the RC-XD garage, and on top of the Bunker.
Grab the finished Pink Teddy Bear from the bus, crouching if you cannot pick it up while standing, and place it in the chest for the Twins toy. Exfil to secure it.
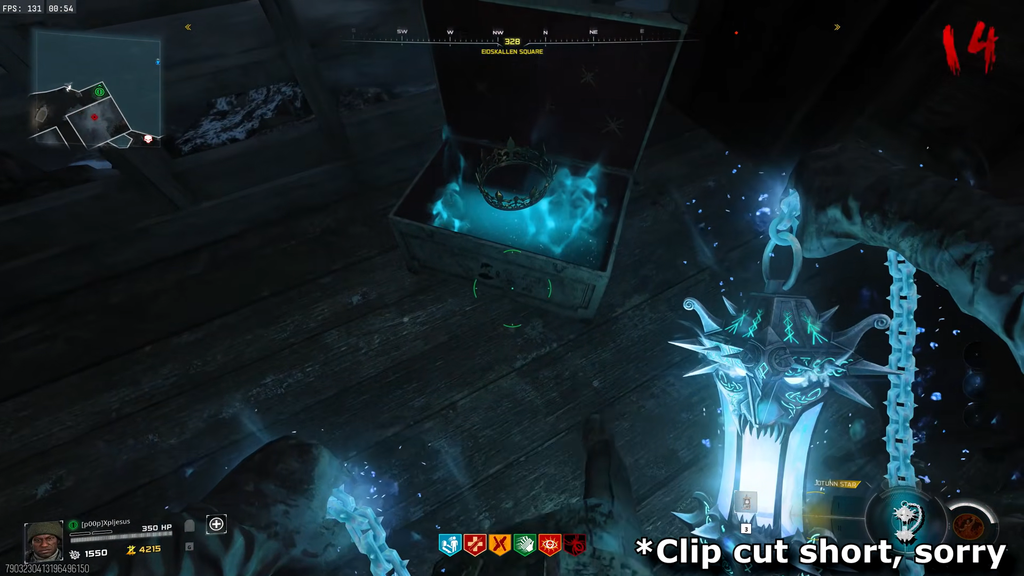
Turn on the Wildfire field upgrade and cast from the closest fishing spot. Once the rod starts glowing, interact with it and reel the iceberg in so the frozen box reaches shore.
Place the crown in the Toy Box to receive the Guardian toy, then Exfil.
Wait before using the fishing rod; interacting with it prematurely may disrupt the sequence.
Image credit: Activision via YouTube/@TheGamingRevolution
Kowakujō: Z-Rex toy
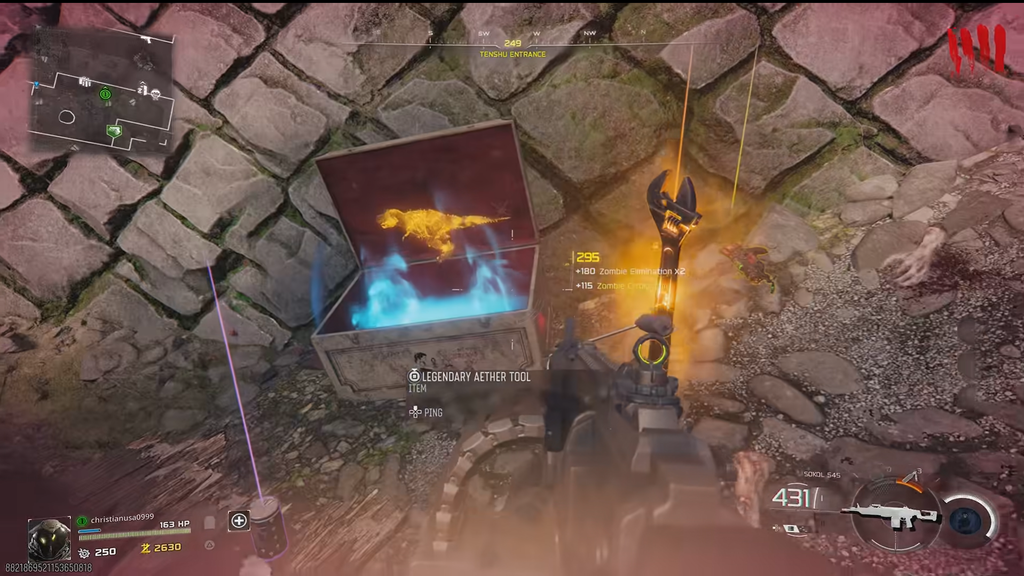
This toy quest is among the quickest and is possible during the early rounds. However, advancing the round at an inopportune point may disrupt the bird sequence.
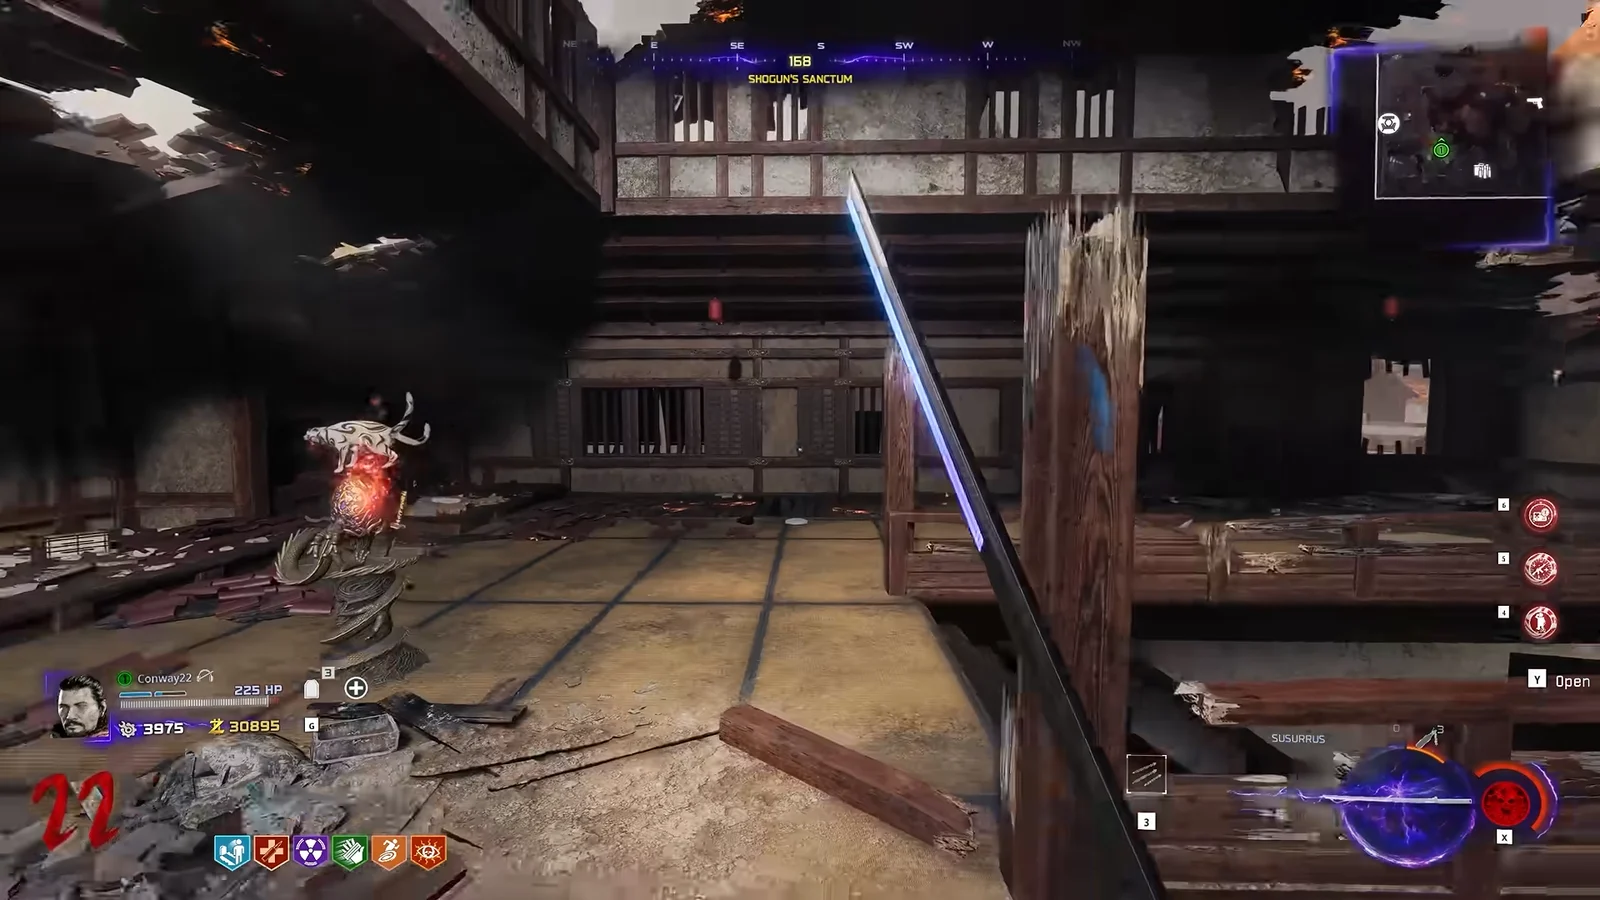
Melee the Sakura tree at the castle to gain its whirlwind power, then sprint in a circle beneath the chest above Pack-a-Punch to pull the Toy Box down and summon a bird.
Activate the Sakura trees in this order to guide the bird: Kitchens, Staging Area, and Training Area. After each activation, wait until the bird relocates before using the next tree.
Improve the grapple by shooting the basketball at the house, which reveals the symbols. Next, use the wonder weapon on the second-floor bathroom toilet to make the eye appear, then collect the upgraded grapple gun.
Use the upgraded grapple on the invisible floating lock in Nyxara’s Passage, complete the floating rock parkour course, and turn the ghost box into the chest with Aether Shroud.
Find the three floating horse toys above Juggernog, Widow’s Wine, and PhD Flopper. Each needs a different soul-collection method to complete: jump kills, PhD Flopper kills, and Frenzied Guard kills.
Place all three completed items in the chest to receive the Warden toy.
In co-op, each player must pick up and place the Warden toy so progress registers for everyone.
Image credit: Activision via YouTube/@Schrawgs
The boss rush finale
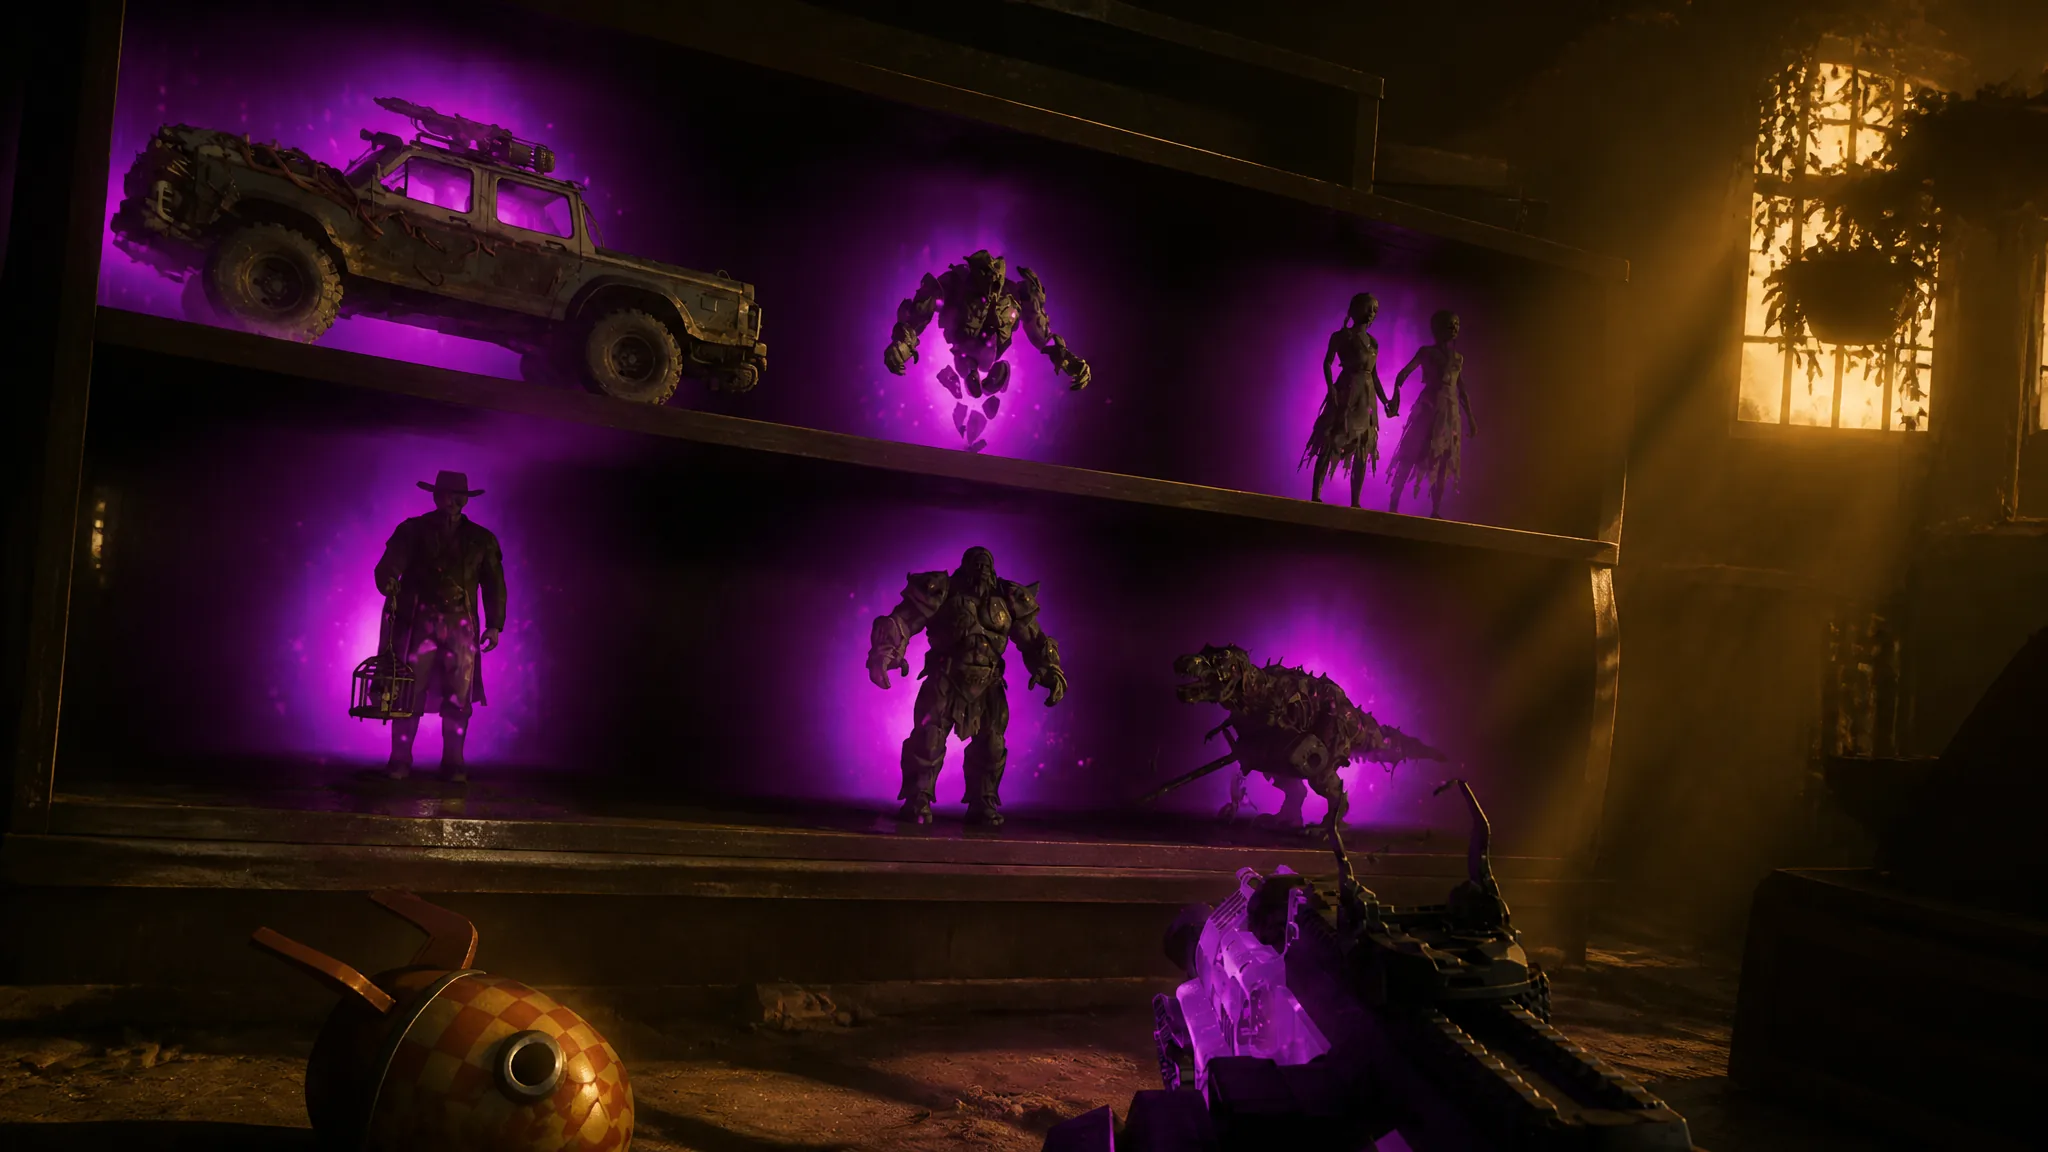
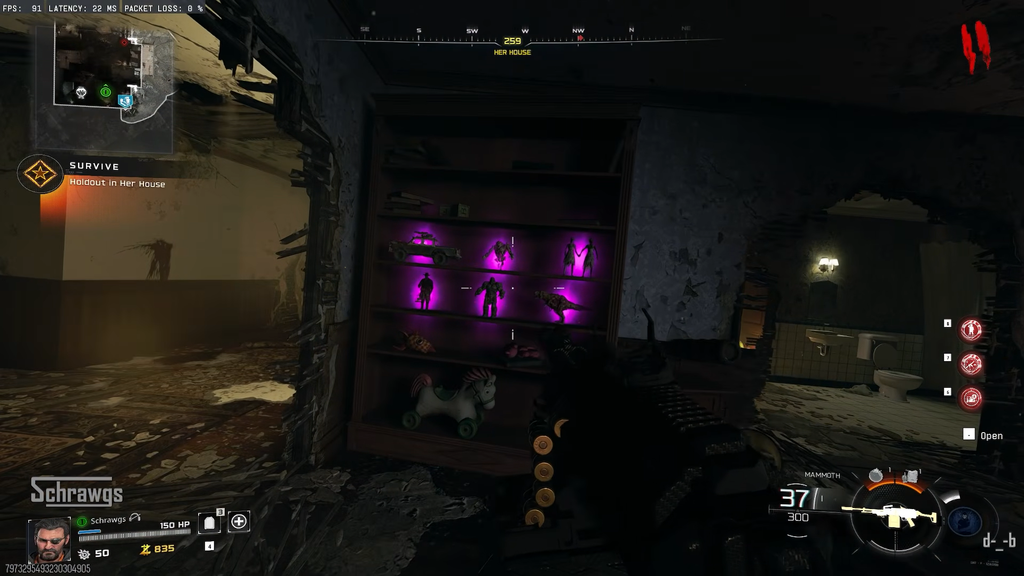
With all six toys collected, load into Rex Infernus and enter Her House. The toys sit on a shelf and glow purple once you have all six. Interact with them to start the boss rush. The encounters always run in the same order.
Order
Boss
Map
#1
Z-Rex
Shattered Veil
#2
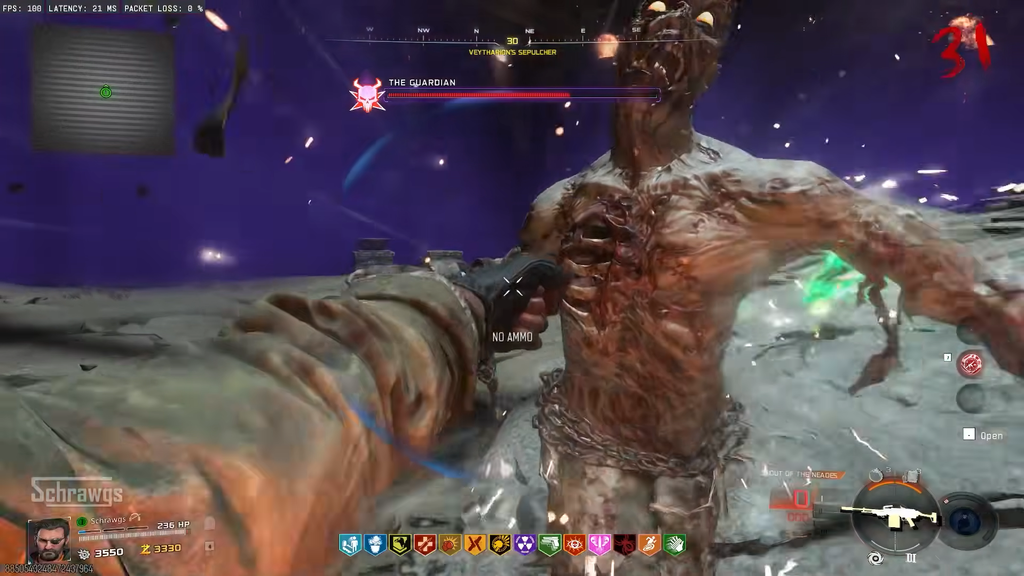
The Guardian
Citadelle des Morts
#3
Caltheris the Needle
Astra Malorum
#4
The Warden
Rex Infernus
Between fights you can use Pack-a-Punch, Wunderfizz, the Arsenal machine, and the crafting table to prepare. There is no GobbleGum machine inside the arena, so bring the ones you want before you start. If you fail, return to Her House and try again, but you restart from round one.
Image credit: Activision via YouTube/@Schrawgs
Super Easter Egg rewards
Once you defeat every boss, the run ends and you keep the following permanently.
The Warden as a playable Operator.
Memento Mori Outfits for each of the 8 Dedicated Crew Operators, based on the Operator used to defeat the boss rush.
Mister Peeks Mayhem is exclusive to Cursed mode. It activates Tier 3 Cursed without Relics, gives the Mystery Box better luck, provides an Eternal Perk Wunderfizz, and lowers Pack-a-Punch costs.
You will know each toy step worked when the toy travels into the Exfil portal as you extract, and when all six appear glowing purple on the shelf in Her House. Clearing the final boss ends the game with a special ending sequence and grants the rewards above, which remain unlocked across future runs.