Chirpi's air shots, two ball sockets, and every optional chest between the entrance and the Vein.
Chirpi’s air shots, two ball sockets, and every optional chest between the entrance and the Vein.
by Sehaj Padda
Image: Pawprint Studio
Rising Wind is a solo Sanctum sitting on a small island off The Argent Strait, and it hands you everything you need to clear it at the door. A trial Chirpi waits at the statue inside, and its single skill — an air shot that leaves a tornado behind — is the answer to every obstacle in the room, including all three optional chests.
Quick answer: Twine with Chirpi, then seat both wooden balls in their floor sockets. Chest 1 is caged at the barred corner, chest 2 is down a side ramp past the second socket, and chest 3 sits behind a crate wall across the water.
Rising Wind Sanctum location and entry requirements
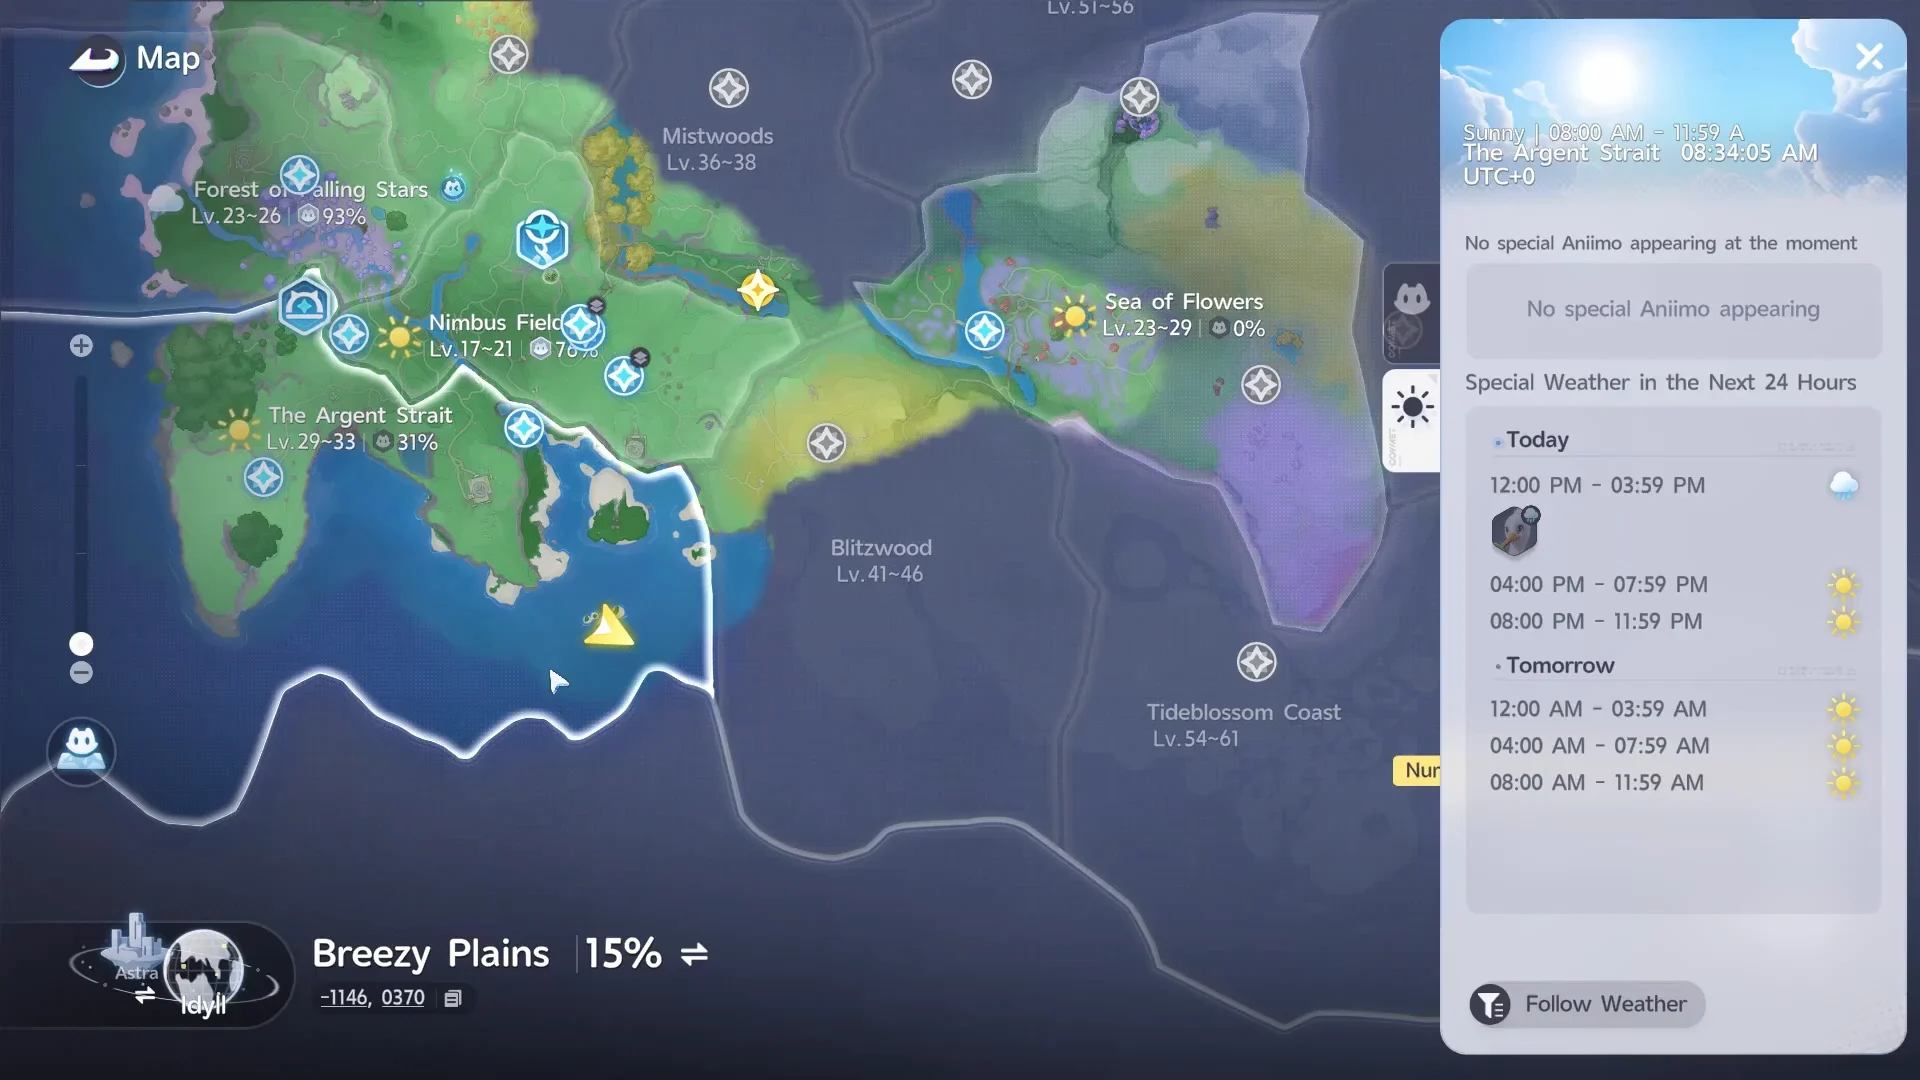
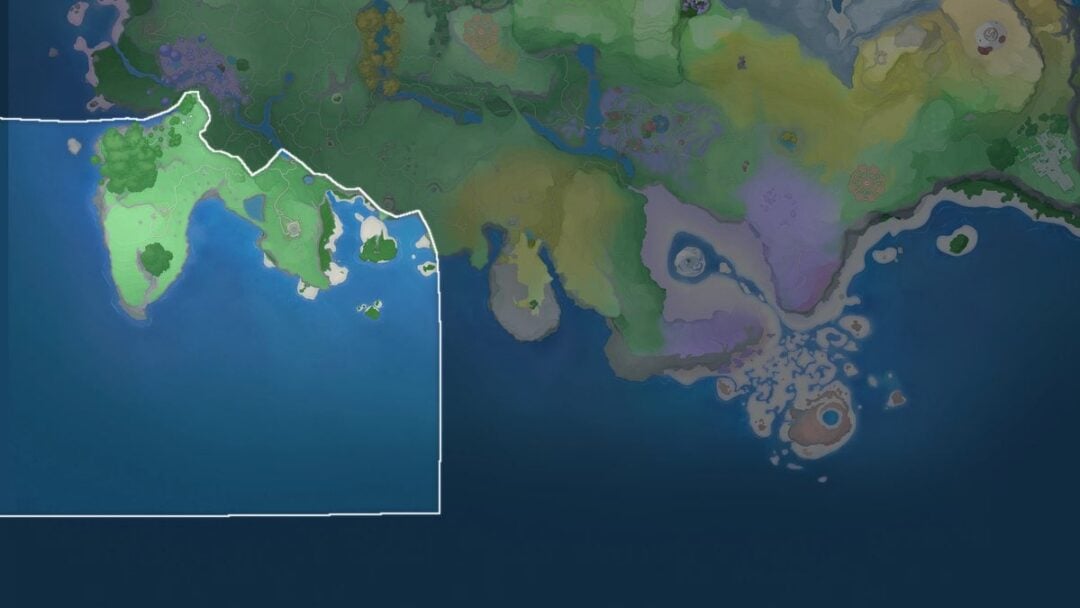
An island southeast of the Argent Strait contains the entrance at map coordinates -1135, 0365. The footer identifies the surrounding region as Breezy Plains, but the local area record calls it The Argent Strait, meaning both labels indicate the same pin.
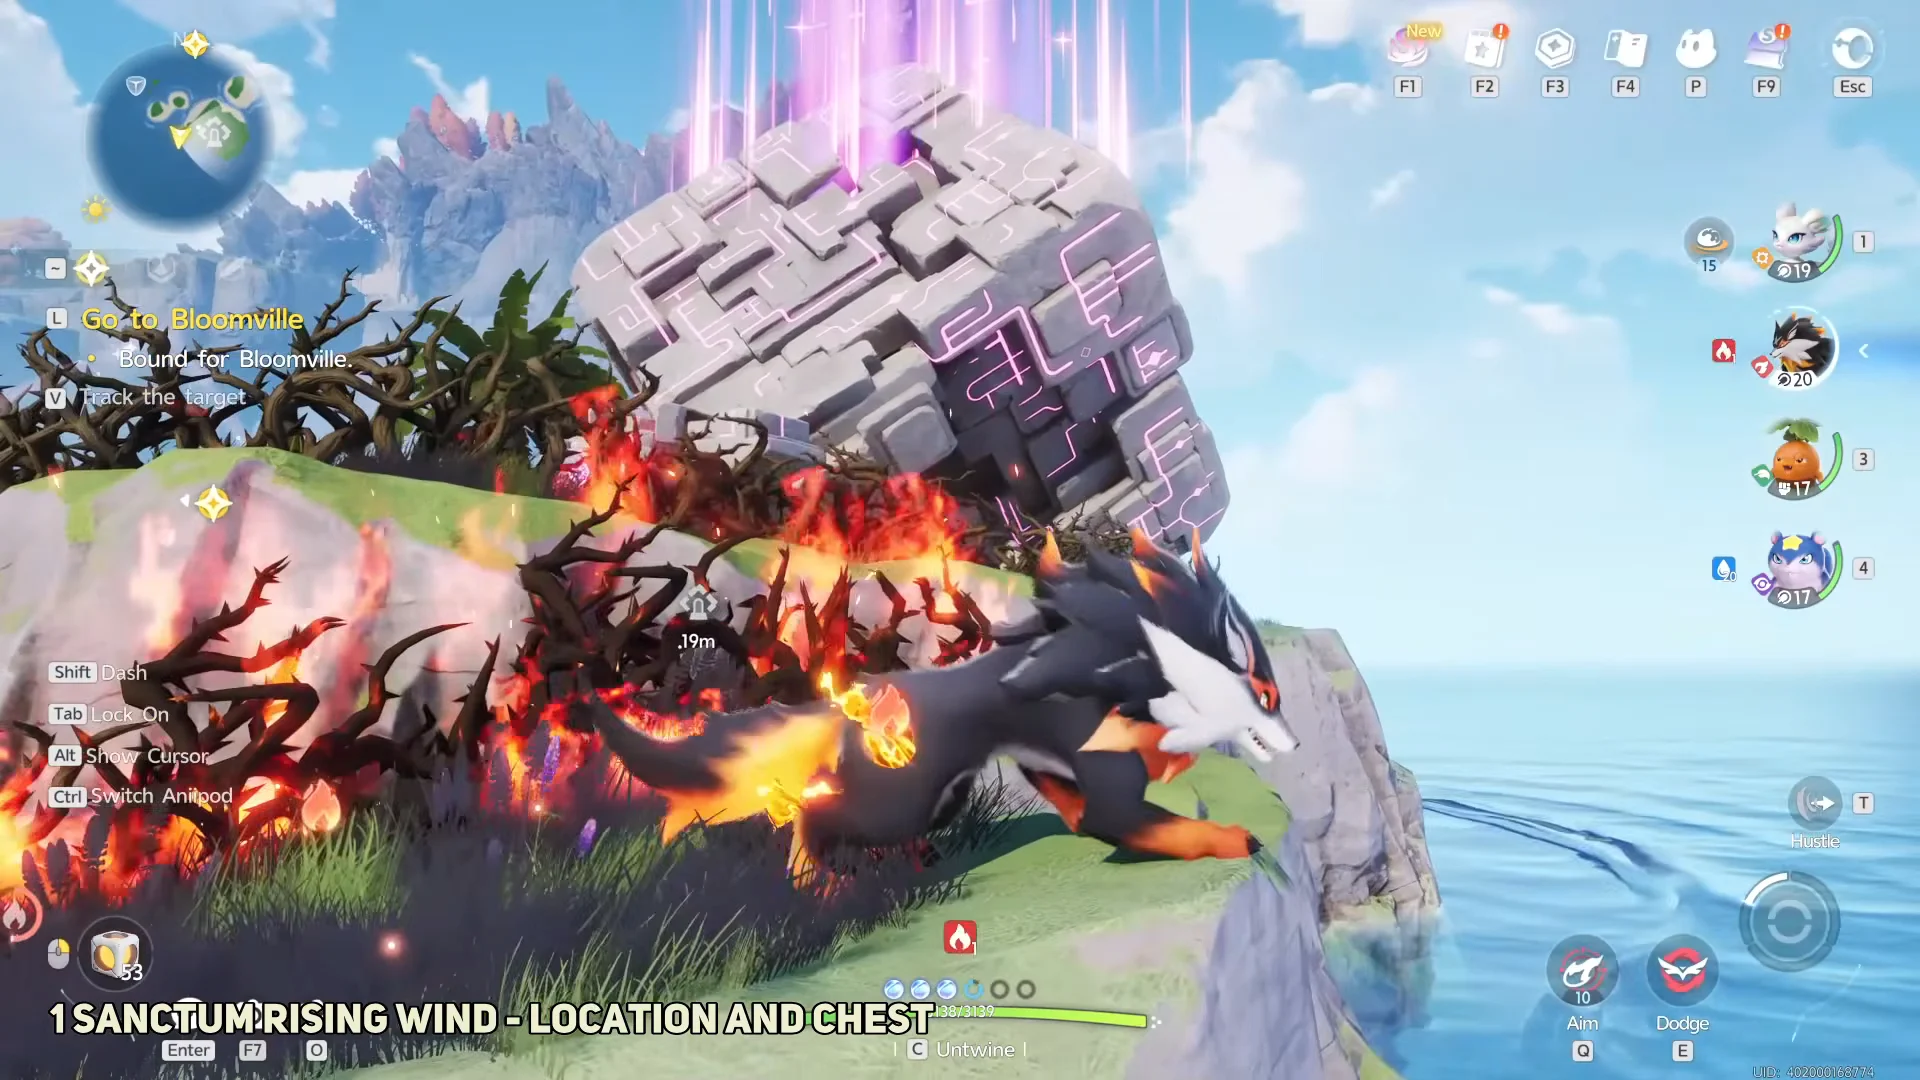
Getting to the structure means crossing open water and clearing the thorny vines wrapped around it. A fire-type mount burns them off in seconds; once the vines are gone, interact with the structure and confirm the challenge to open the portal.
The challenge screen shows 1 challenger and a chest counter reading 0/3 before you go in. This is a Solo Sanctum, so there is no second player to wait for.
Chirpi’s air shot, tornado, and Wind Riding
Every puzzle inside runs on one short loop. The ability card that pops up after you twine spells it out, and it is worth reading once because nothing else is taught later.
Chirpi. Image: Pawprint Studio
Keep the skill input held (right click on mouse and keyboard) to line up the shot; releasing it sends an air shot toward the target.
The air shot explodes on impact and leaves a Tornado behind it.
The Tornado lifts and moves lighter objects — crates, barrels, wooden balls, chests.
Stand in the middle of a Tornado and press jump twice to enter Flight and begin Wind Riding.
Blue floor currents work the same way as tornadoes for gaining height.
If there is no current where you need one, make your own. Firing at the floor or at a nearby lamp gives you a tornado to ride, which is how you reach several ledges that look unreachable.
Wooden crates and barrels seal off the hall. Aim an air shot directly at the barrier; the lightweight crates fly apart, leaving a tornado that serves as your first ride.
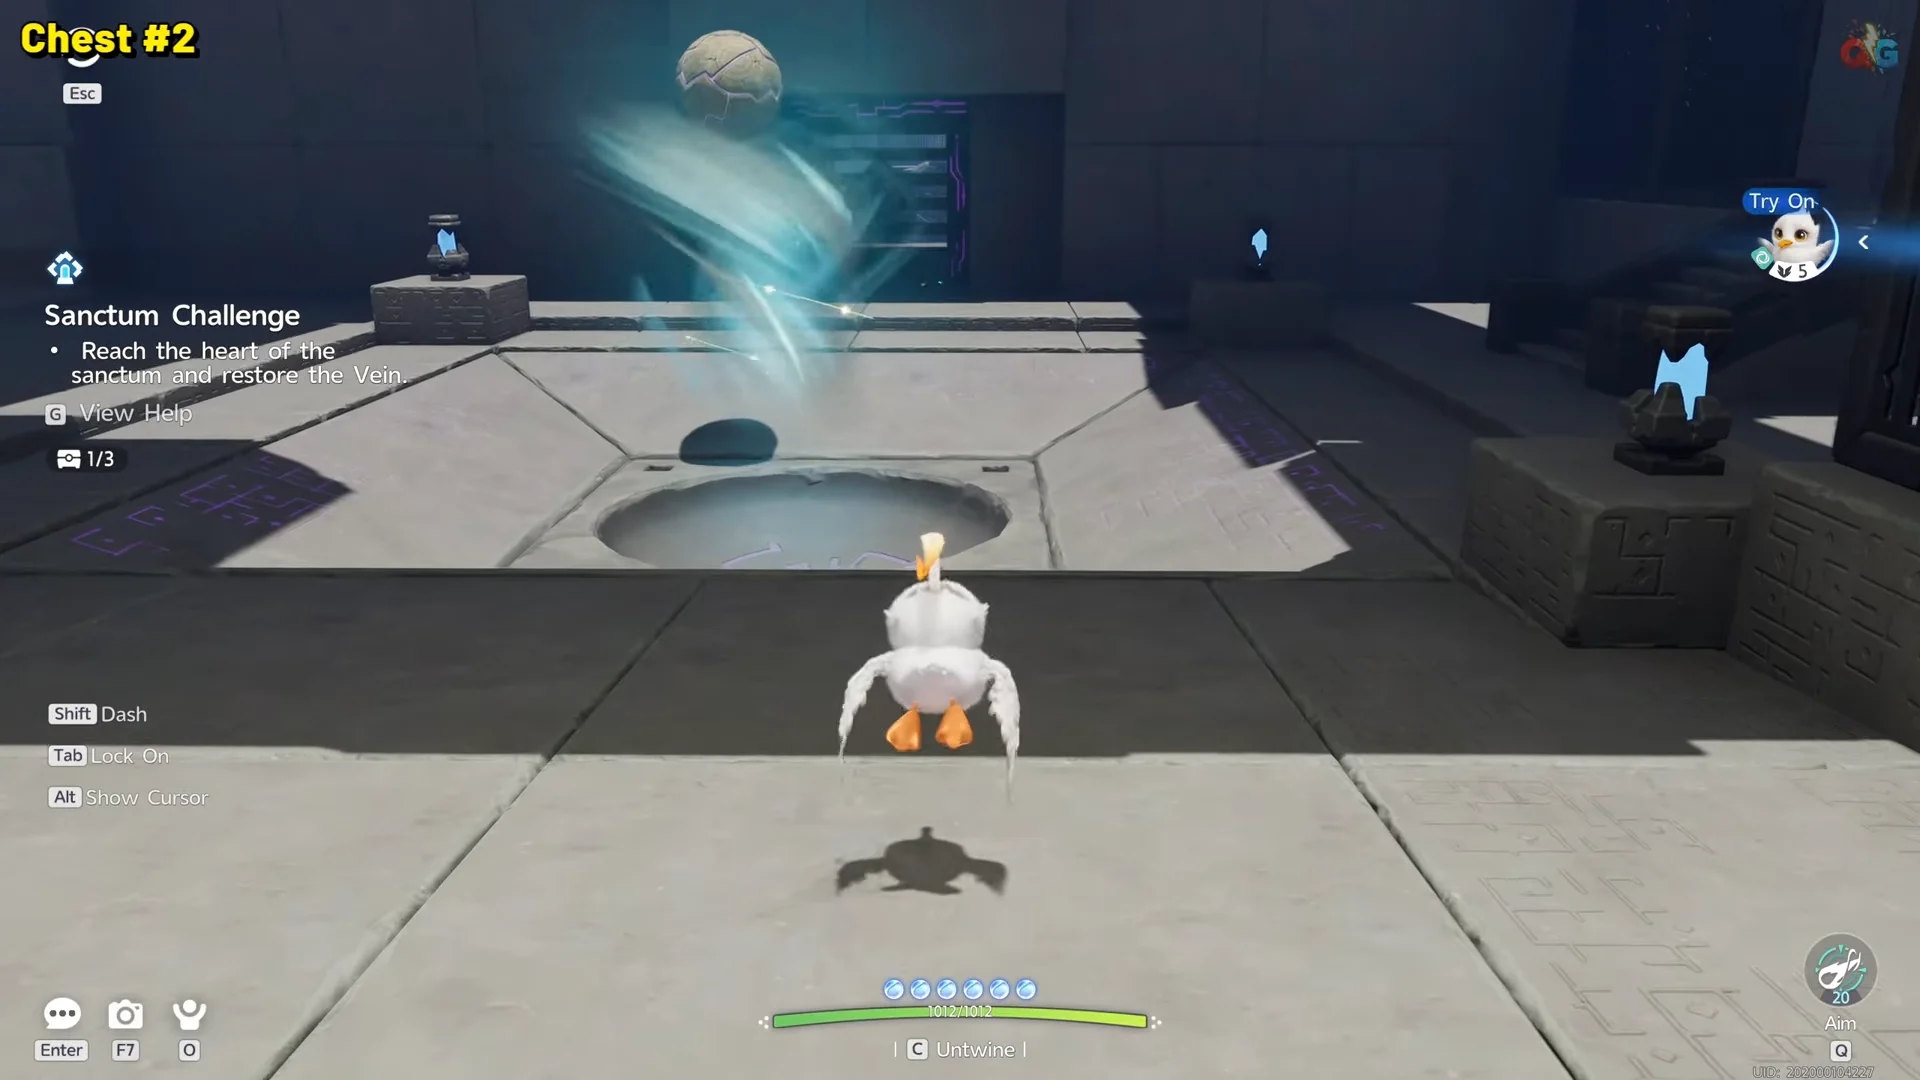
Step into the centre of that tornado, double-tap jump to enter Flight, and settle on the raised pad ahead. Use the wind current on the floor past it to reach the next level.
A wooden ball sits on the platform up here. Stand on the side opposite the circular floor socket and use short air shots to nudge it along, letting it come to rest between pushes rather than blasting it repeatedly.
When the ball settles into the socket, blue light spreads across the floor pattern. The gate at the hall’s far end opens, and the nearby barred corner receives current. Wait before going through the gate.
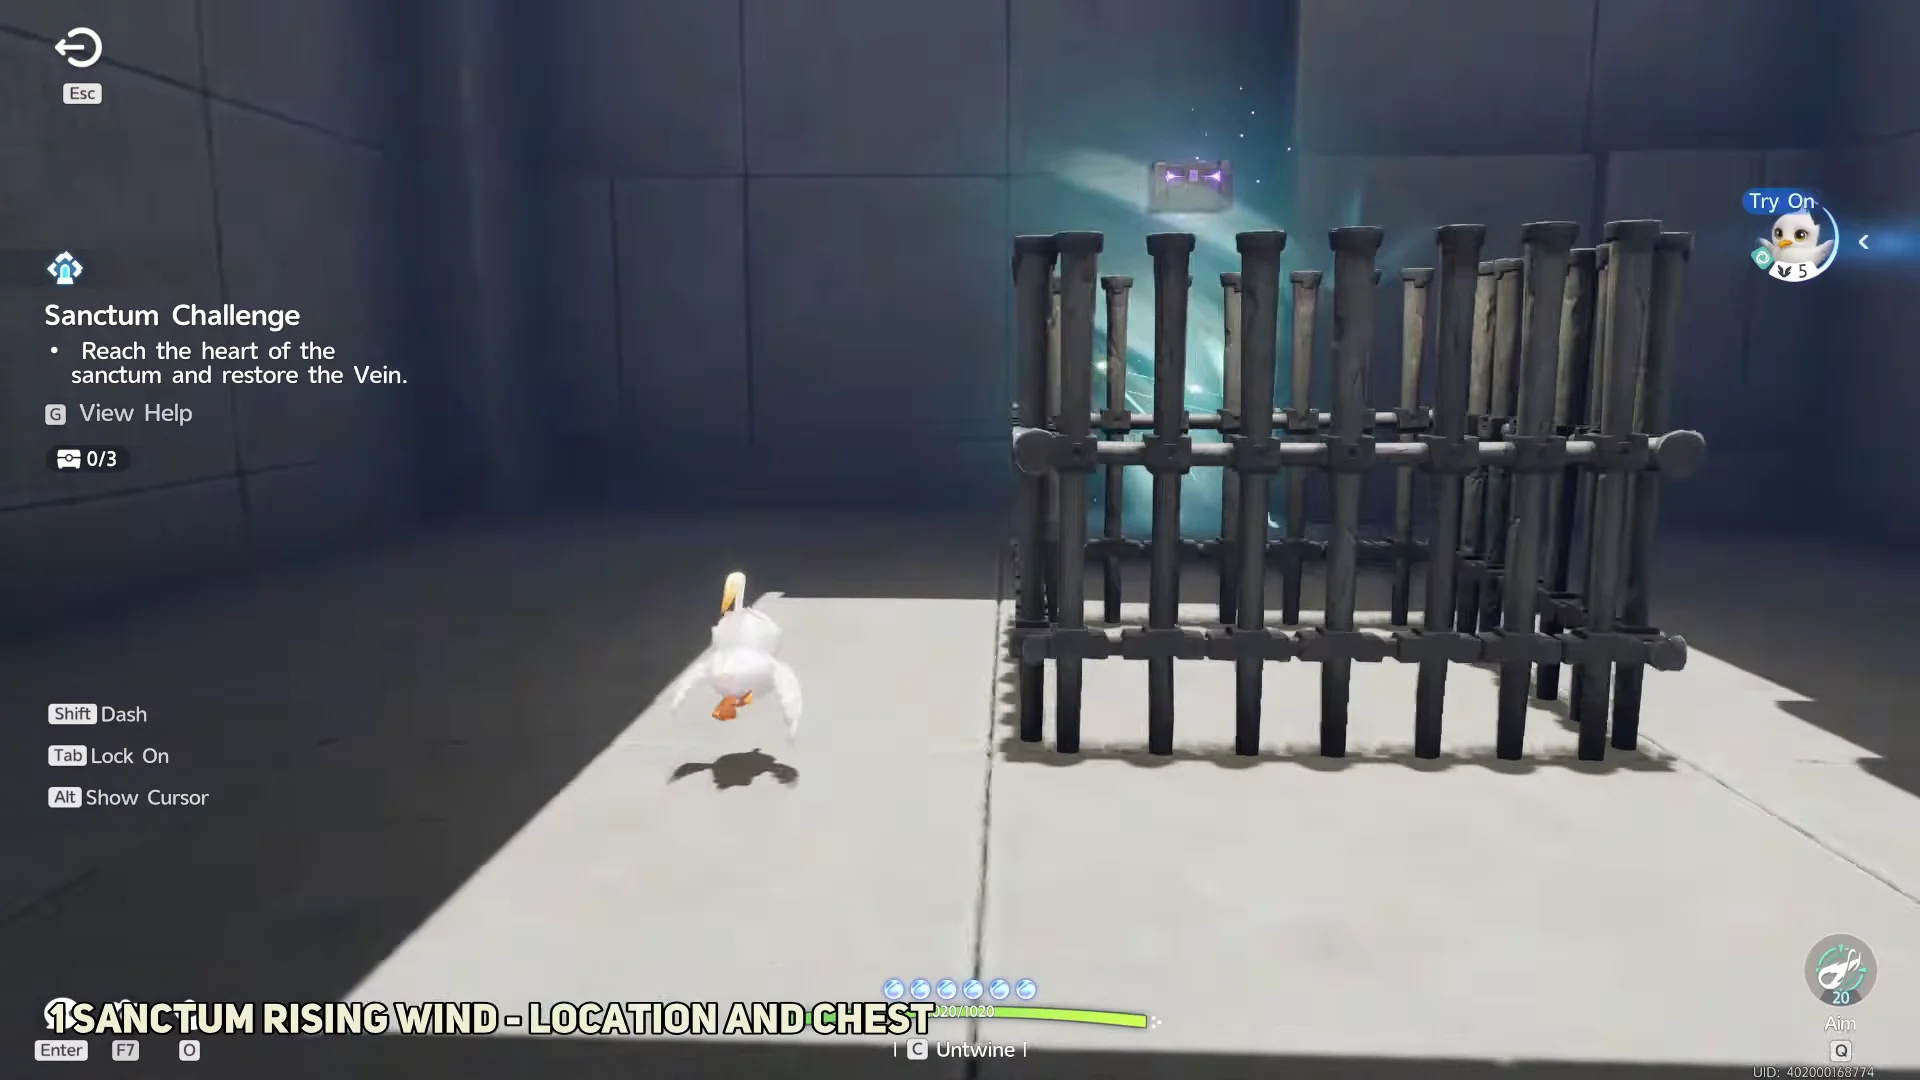
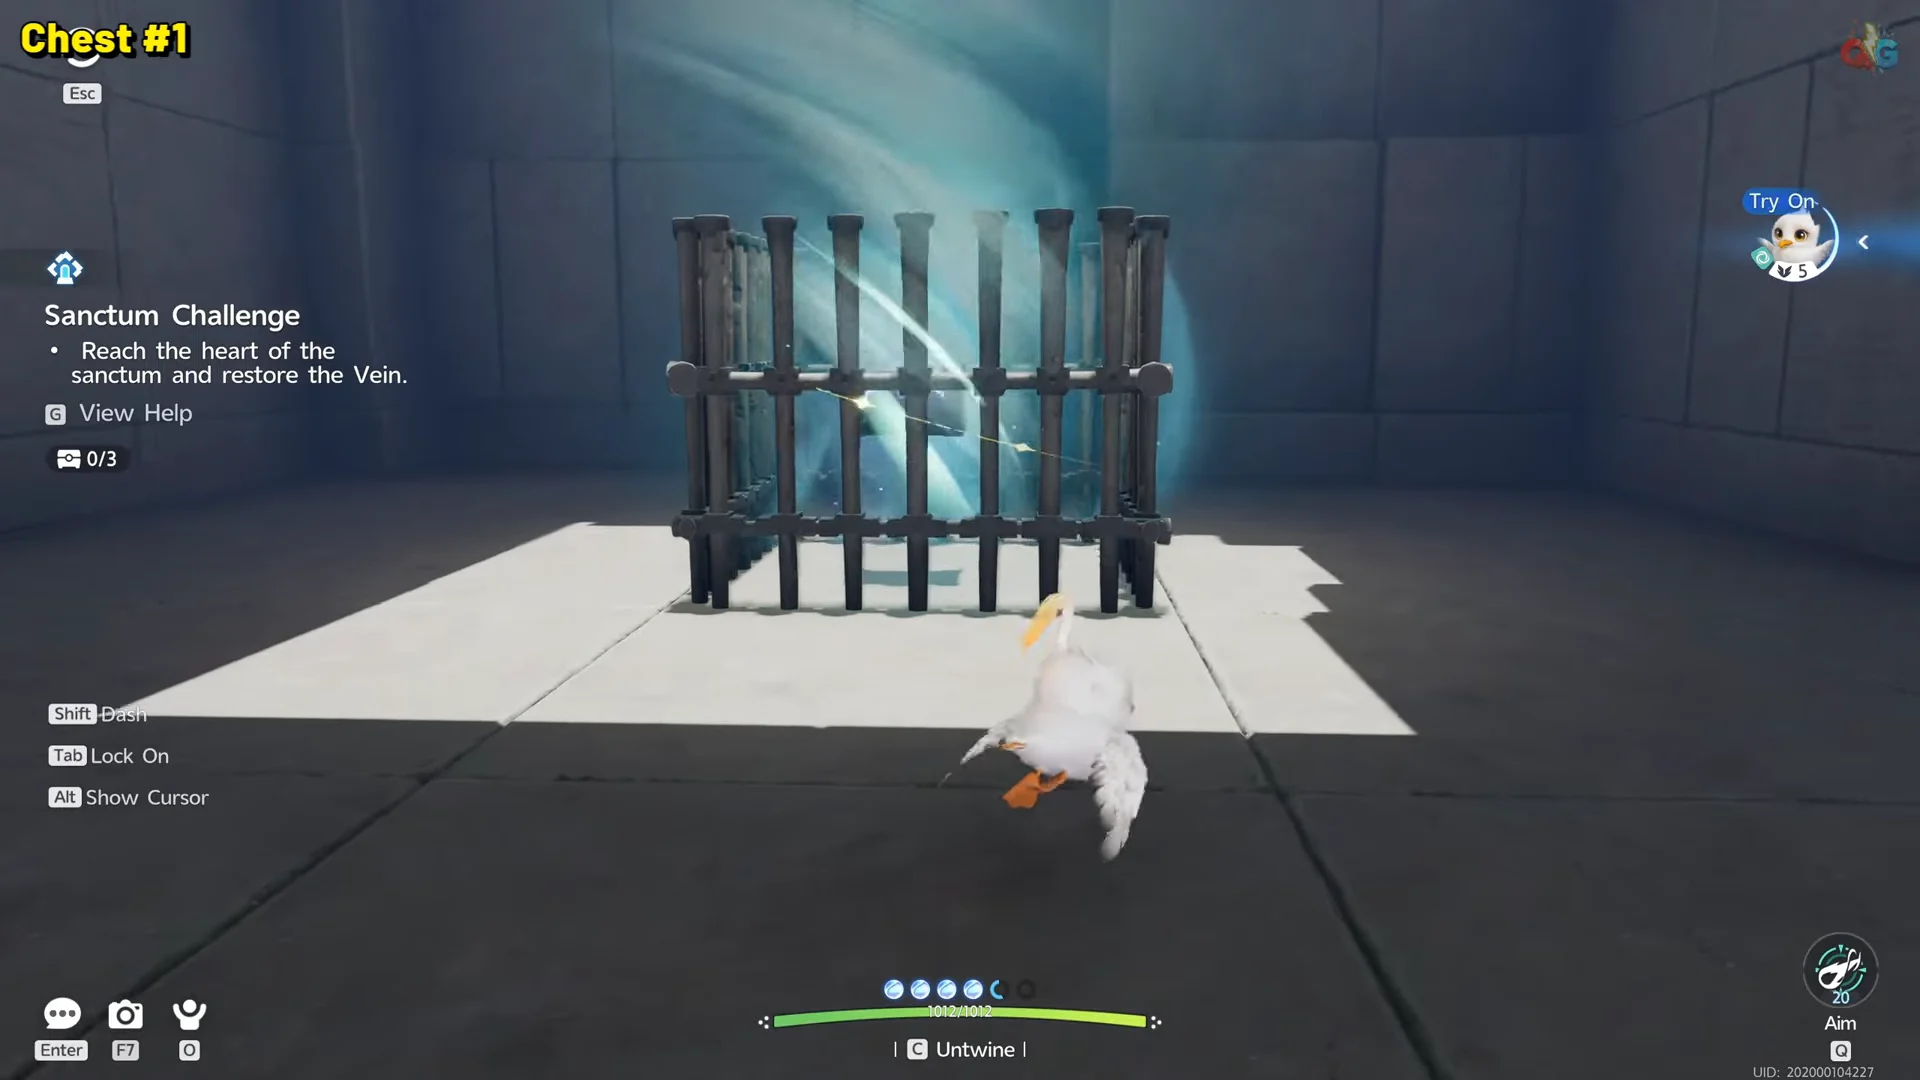
Turn toward the barred corner beside the socket. The first chest is sealed inside an iron cage on a shelf above the lit plate, visible through the bars.
00:54Chest 1Chest 1 glowing behind the bars at the corner beside the first socket. Shown at 00:54 in WoW Quests’s video. Image: Pawprint Studio
Fire an air shot at the cage. The tornado lifts the chest up through the open top, so ride the activated current up, land beside it and open it. The counter should now read 1/3.
Head through the opened gate onto the walkway and follow the yellow rings in the air across the platforms. A large circular fan blocks the passage further in, and the round power object resting nearby controls it — lift that object with an air shot and move it to change the fan’s state, then pass through to the stairs.
Take the launch current at the top of the stairs to the high landing, then chain the standing and moving tornadoes past it to cross the open water. Face your landing spot before you enter each current, since the pits and pool below are a full reset to the last respawn pad.
The second wooden ball sits on a raised ledge behind a short fence or bars. Use repeated air shots to float it up and over the barrier, then drop to floor level and tap it into the circular receptor to open the passage to the final room.
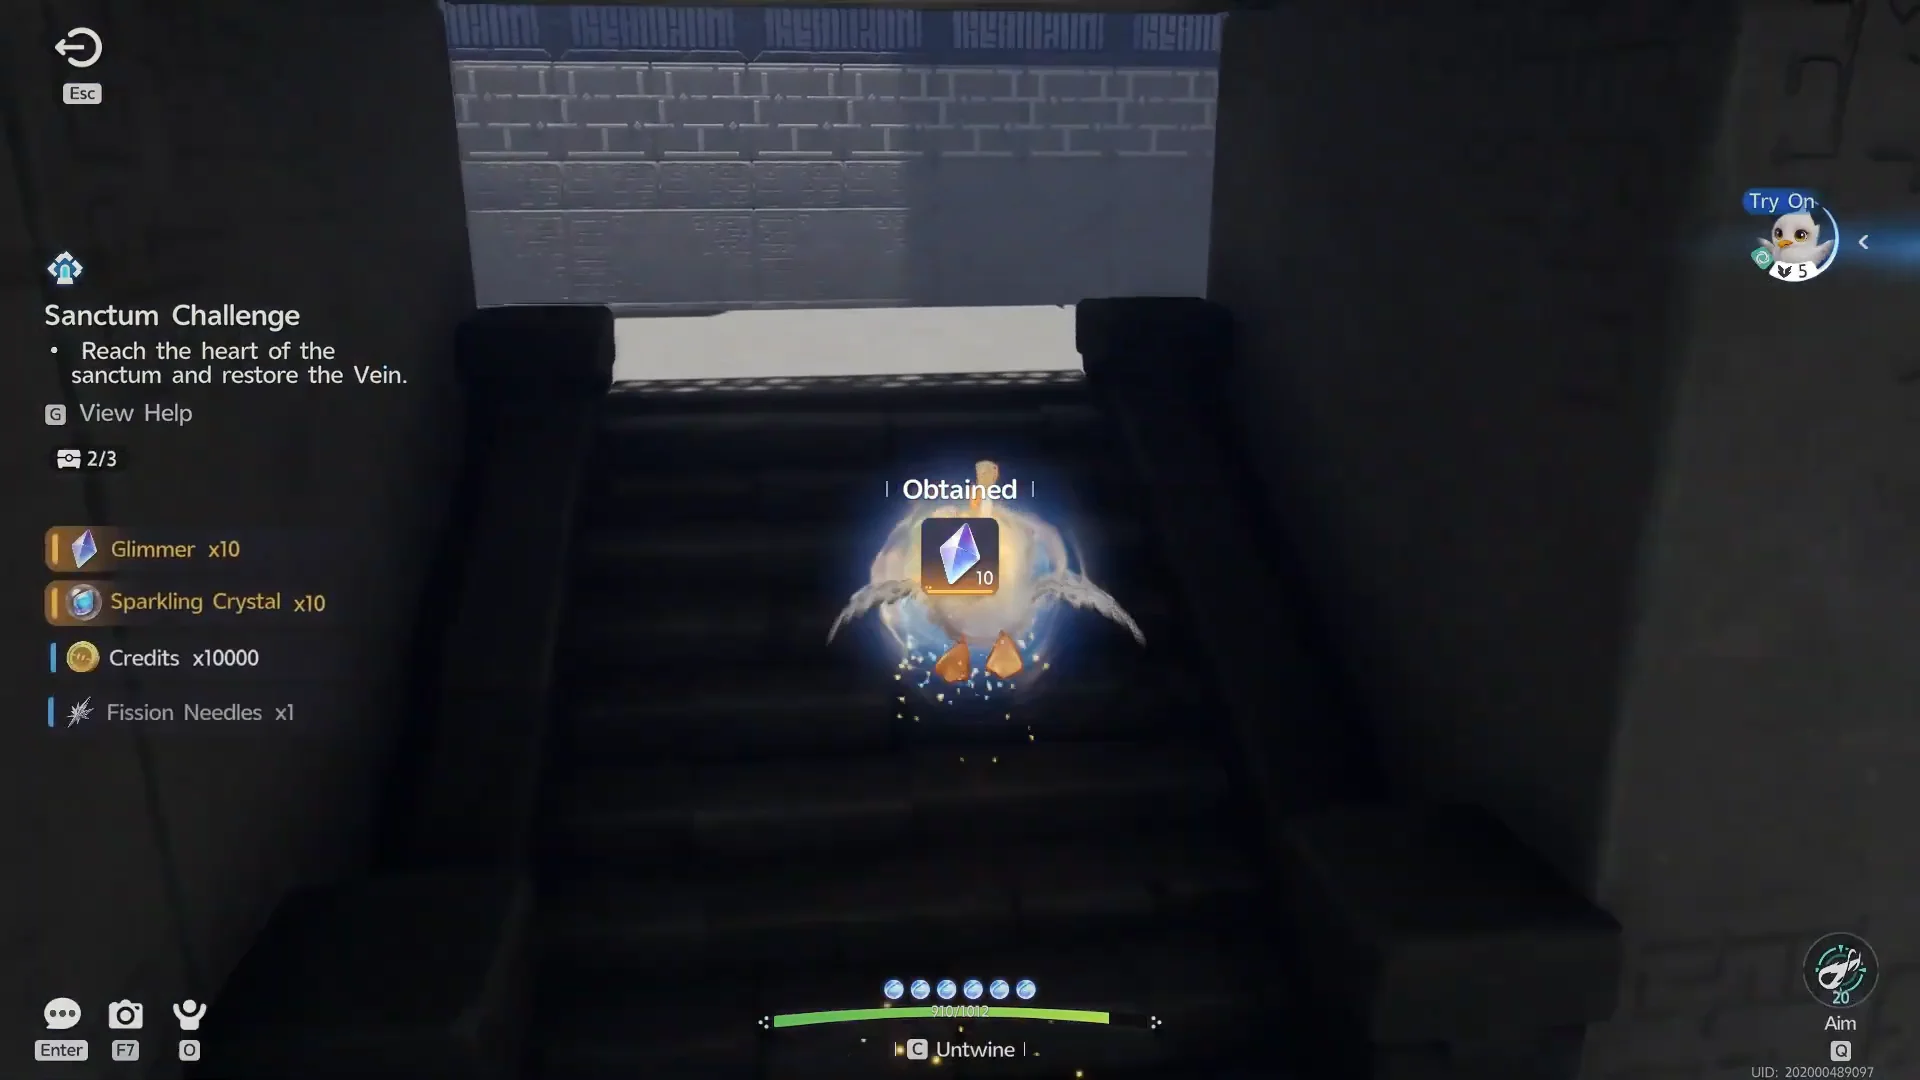
Chest 2 is the easiest one to walk past. From the second socket, go down the small ramp and take the side opening below — the chest sits in a short corridor behind the metal bars, off the main route. Open it for 2/3.
Before the final room, look to the side for a platform ringed by water and thorns. Ride a current across, then blow the stack of wooden crates apart with an air shot to reveal the hidden platform behind them.
The third chest sits on a fixed stone pedestal inside. You cannot push the pedestal, so fire at the floor beside its base and ride your own tornado up to the ornate chest. Check that the counter reads 3/3 before you leave.
Fly back the way you came, climb the stairs into the final chamber and interact with the glowing Vein core at the far end. Touching it restores the Vein and ends the run.
Touching the Vein closes the Sanctum immediately. Anything still unopened is left behind, so confirm the chest counter first.
Rising Wind chest rewards and clear rewards
Chest
Glimmer
Sparkling Crystal
Credits
Chest 1 (caged corner)
10
10
10,000
Chest 2 (side corridor)
10
10
10,000
Chest 3 (pedestal)
20
15
20,000
Each chest also holds one carried item on top of the currencies, and that slot is not fixed between runs. Pulls have included a Heritage Amulet, Explosive Gloves and Avenging Gear from the first chest, Fission Needles, a Lightning Needle and a Marching Flask from the second, and a Spirited Feather or Giant Tortoise Shell from the third.
Finishing the Sanctum for the first time pays Lumin Amber x1 and 500 EXP. That first-clear reward is granted once, so repeat runs are only worth it for the chest counter if you missed something.
How to confirm the Sanctum is fully cleared
Two indicators tell you the run is finished properly. The challenge tracker on screen should read Chests Obtained 3/3 before you touch the Vein, and the objective text should have shifted from “restore the Vein” to the completion state once you interact with the core.
After the core is touched, the clear screen appears with the EXP and Lumin Amber payout, and you are returned to the island in the overworld. Reopening the Sanctum entry on the map afterwards should show the chest count at 3/3 rather than 0/3.
The whole thing is a short run once you stop treating the air shot as a weapon and start treating it as a lift. Crates, balls and chests all obey the same tornado, and the only mistakes that cost real time are flying into a pit or walking into the final chamber one chest short.