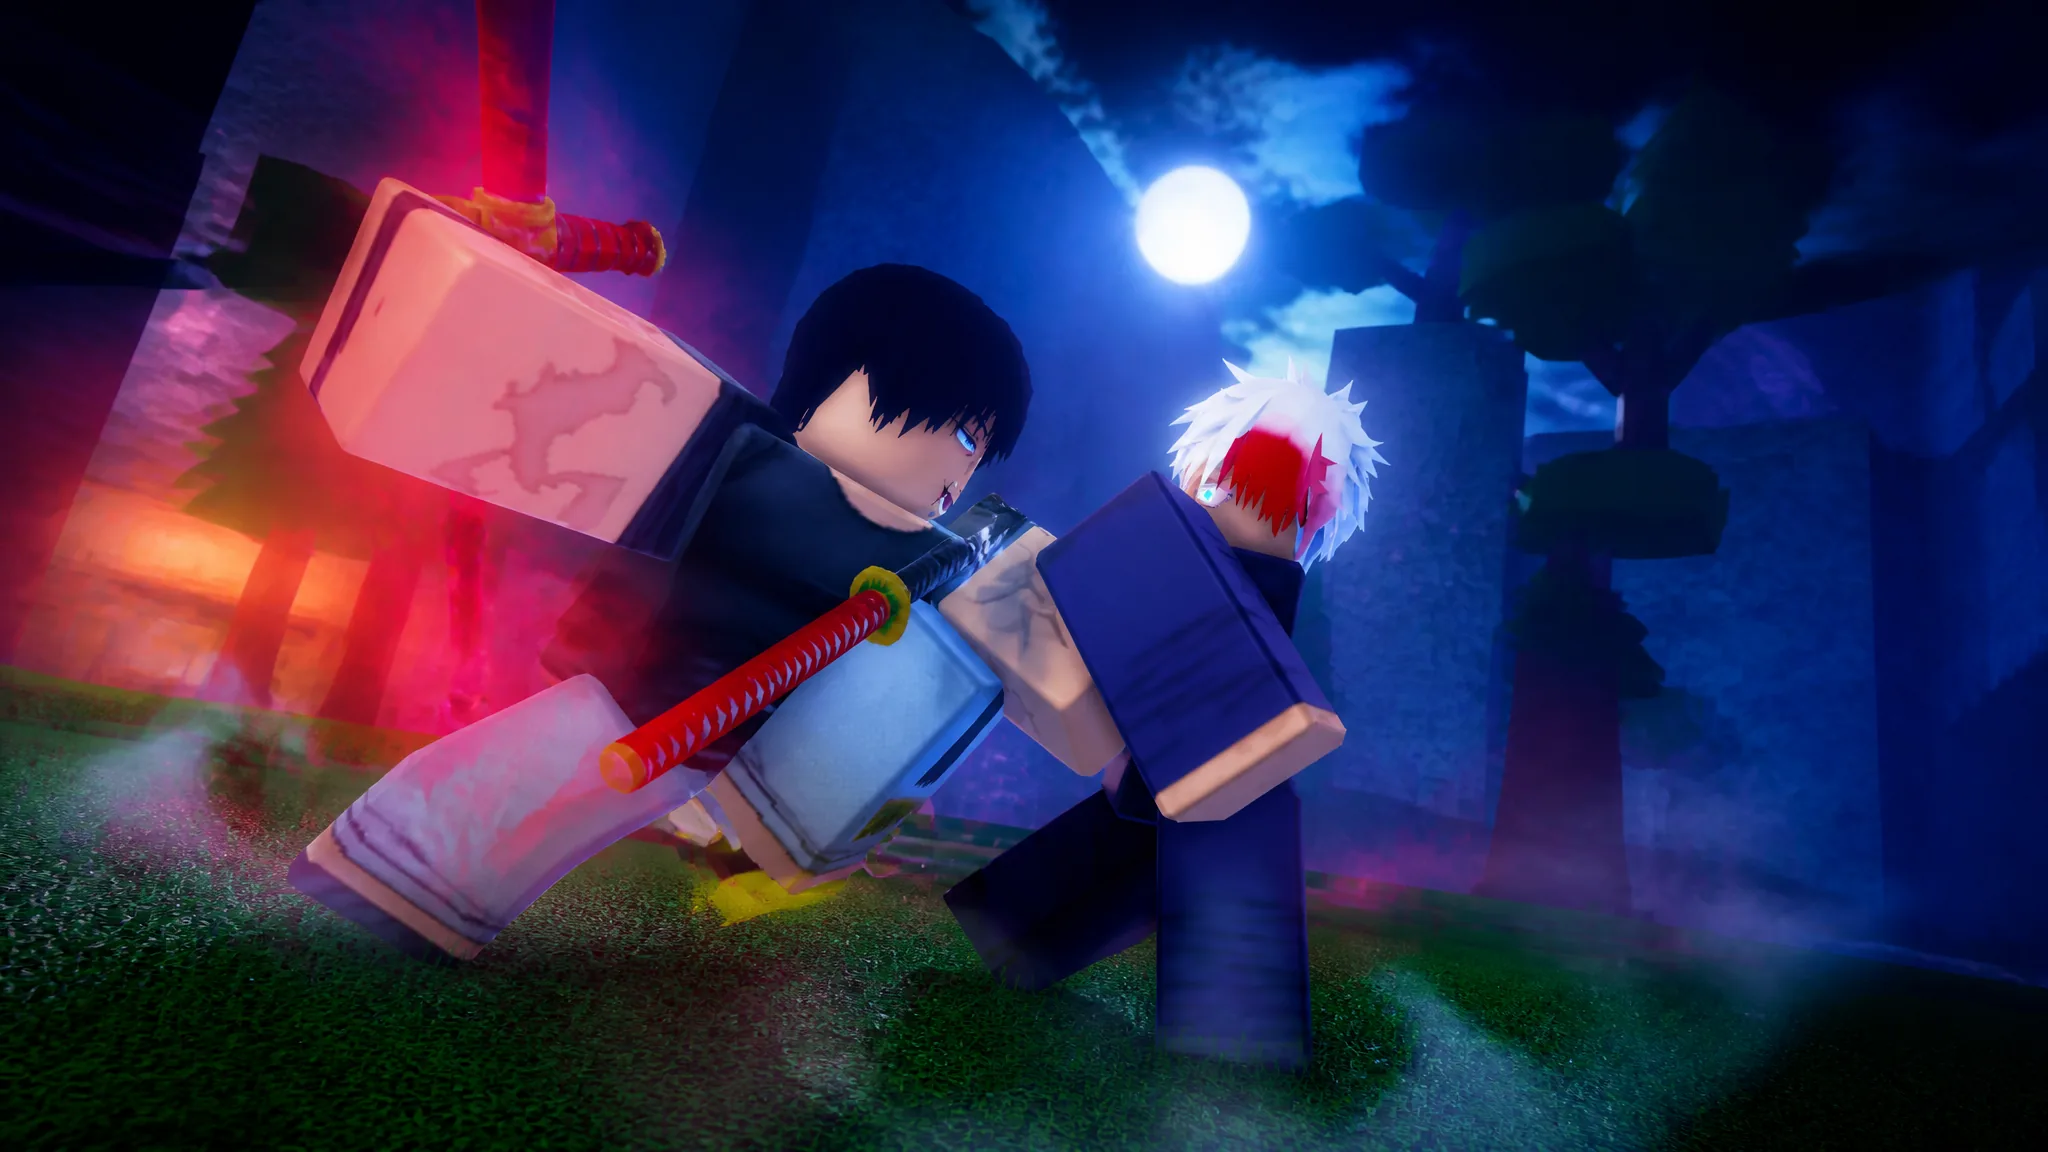
Physical Heavenly Restriction abandons Cursed Energy entirely, directing all scaling into the weapon you hold. The best current setup uses two Disaster Grade weapons—Shattered Cloud and Honoyagi—alongside the Toji clan, Bloodthirst passive, and Sovereign gear. Only one weapon supplies the damage; Honoyagi is carried solely to press one button.
Quick answer: Turn on Bloodthirst, equip Honoyagi, and use Maculation (Z). After that, change to Shattered Cloud and use its skills. Each weapon must be Level 100, Rank 5.
PHR damage rotation: Bloodthirst, Maculation, Shattered Cloud
Everything else in the build exists to feed these five inputs. Run them in this order every time, because equipped-only bonuses apply solely to the weapon you are currently holding, and Maculation has to go out before the swap.
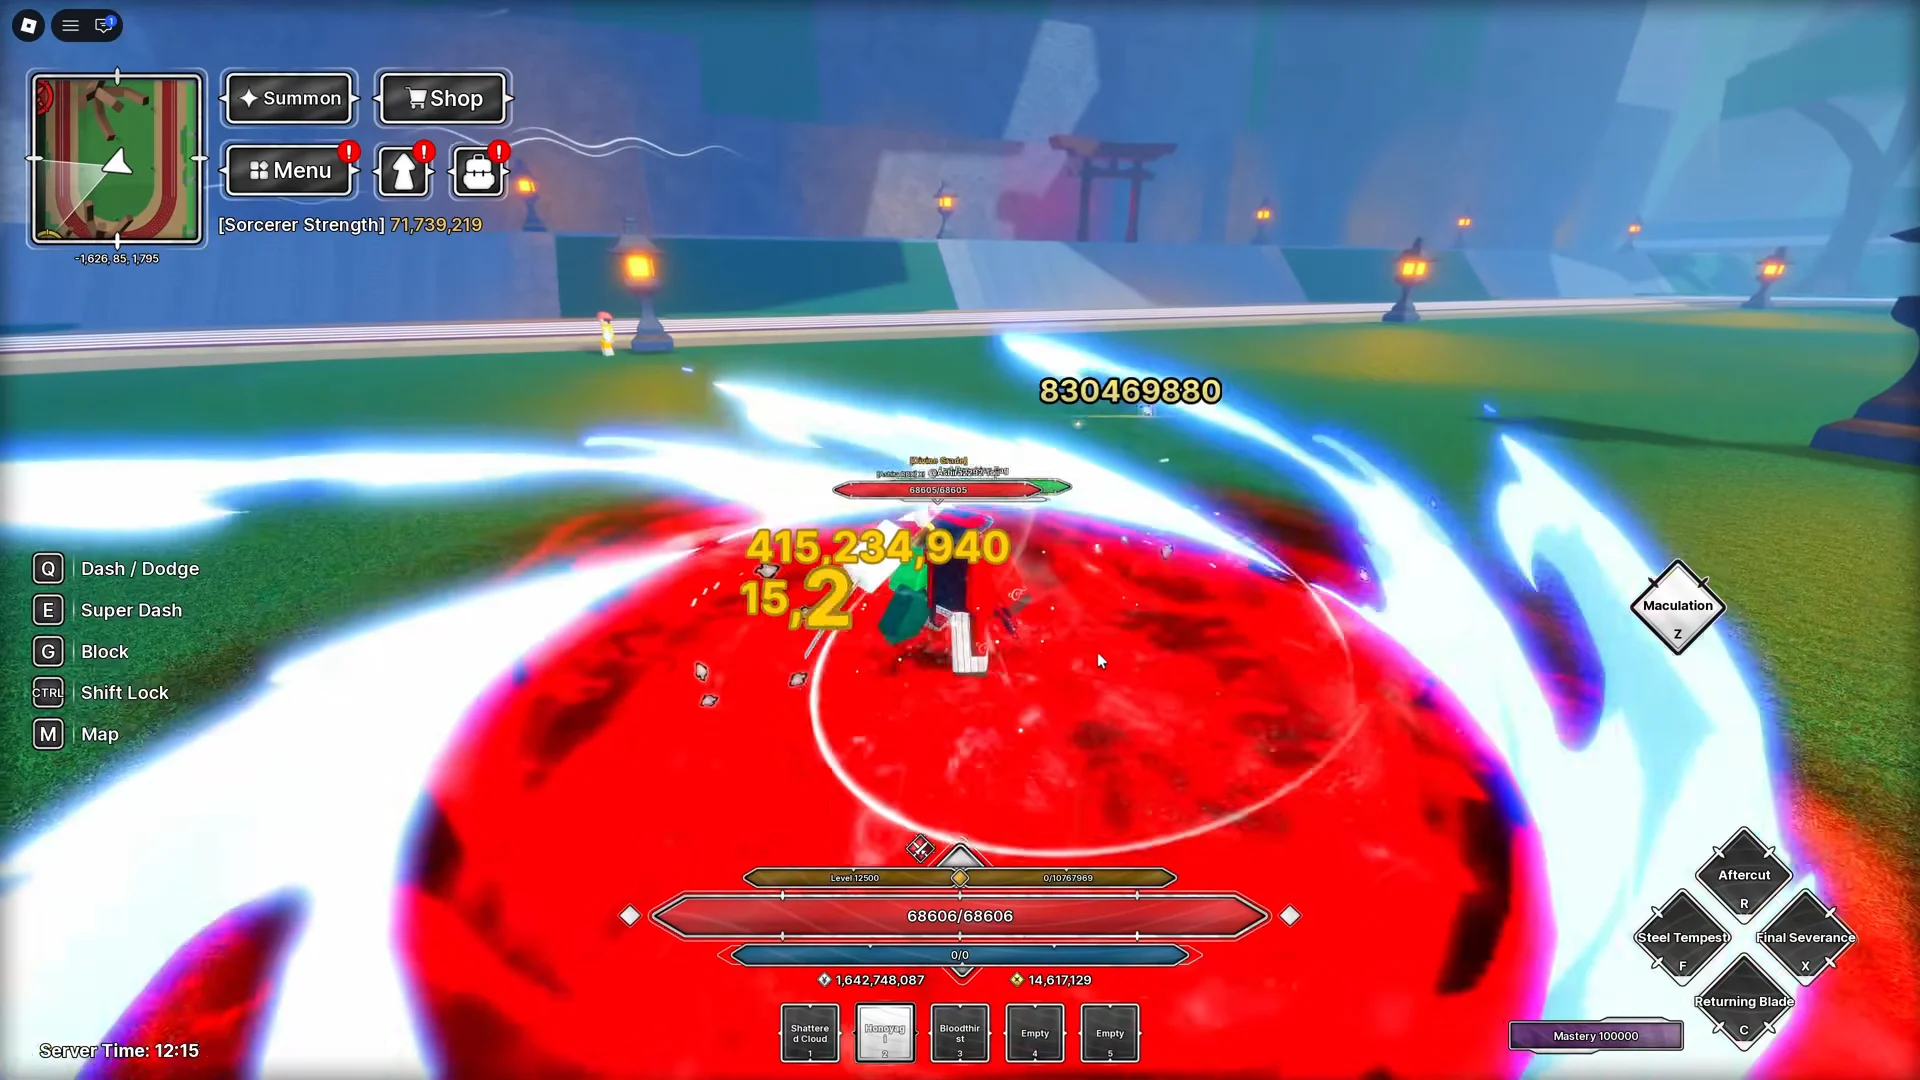
Bloodthirst pays for its damage with your health. On long raid fights, flick it on for rotations and watch your HP bar instead of leaving it running permanently.
Shattered Cloud and Honoyagi stats at Level 100, Rank 5
| Weapon | Main stats (max) | Equipped bonuses |
|---|---|---|
| Shattered Cloud | 163.5 ATK, 163% ATK | +60 Crit. Rate, +240 Crit. DMG |
| Honoyagi | 130.8 ATK, 33% CDR | +300% ATK, +300 Crit. DMG |
Do not expect the build to perform until both weapons reach Level 100 and Rank 5. A newly obtained weapon is far weaker than a completed one, so wait until both tooltips show 100/100 and 5/5 before evaluating either sword.
The Disaster Grade dagger version of Playful Cloud, Shattered Cloud, begins with +15 flat Attack and +15% Attack. Honoyagi is Disaster Grade as well, starting with +12 flat Attack and +3% Cooldown Reduction. Both weapons benefit from Toji and Zen’in clan synergy, making the later clan choice overwhelmingly clear.
How to get Shattered Cloud and Honoyagi
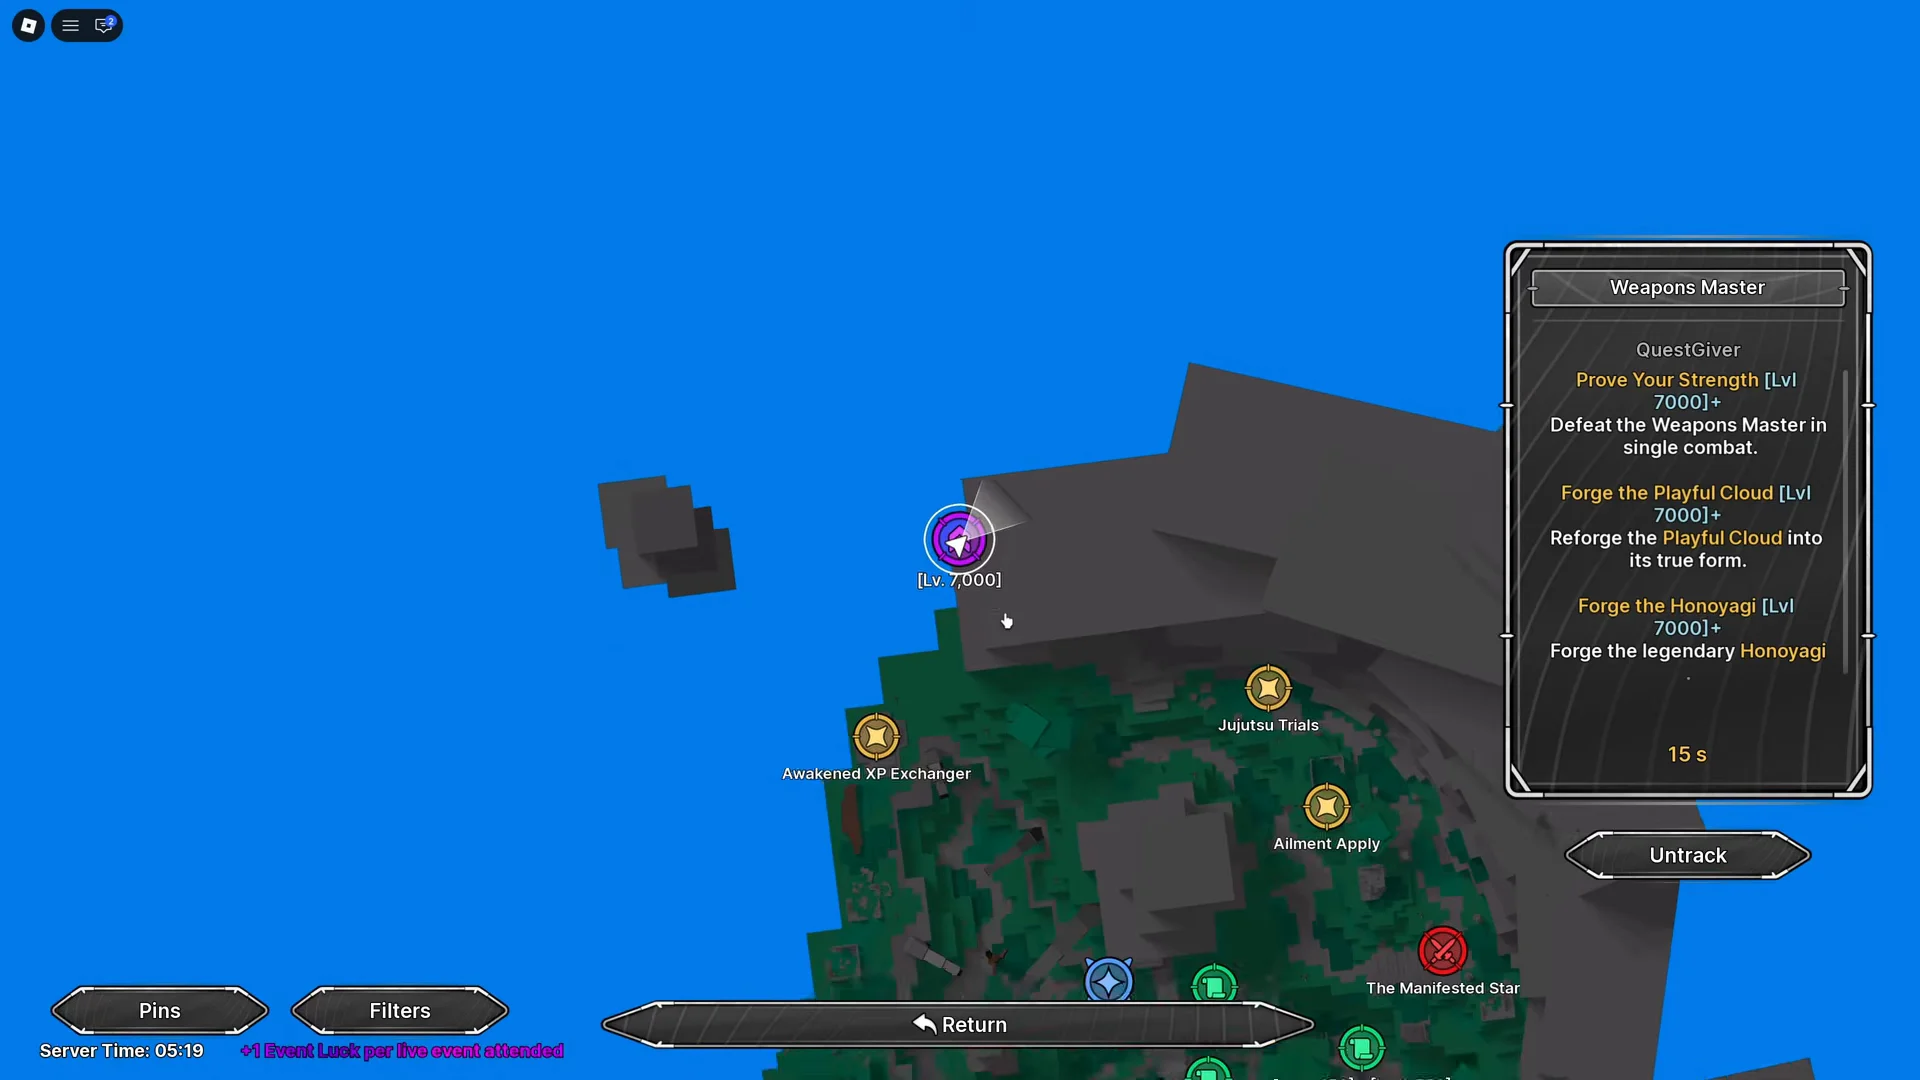
There are two routes. The Weapons Master questline hands you one guaranteed copy of each, and the Weapon Banner is the only way to pick up the extra copies you need for ranking up.
Weapons Master crafting route
Tsurugi Raid Awakening Crates provide these materials. Their level requirements are 5,000 for Easy, 7,000 for Normal, and 9,000 for Hard, letting you stockpile Easy crates well before speaking with the Weapons Master. Each crate lists a 1.8% Divine Steel chance and a 0.5% Godspark chance, so Godspark is almost always the bottleneck.
Weapon Banner summons
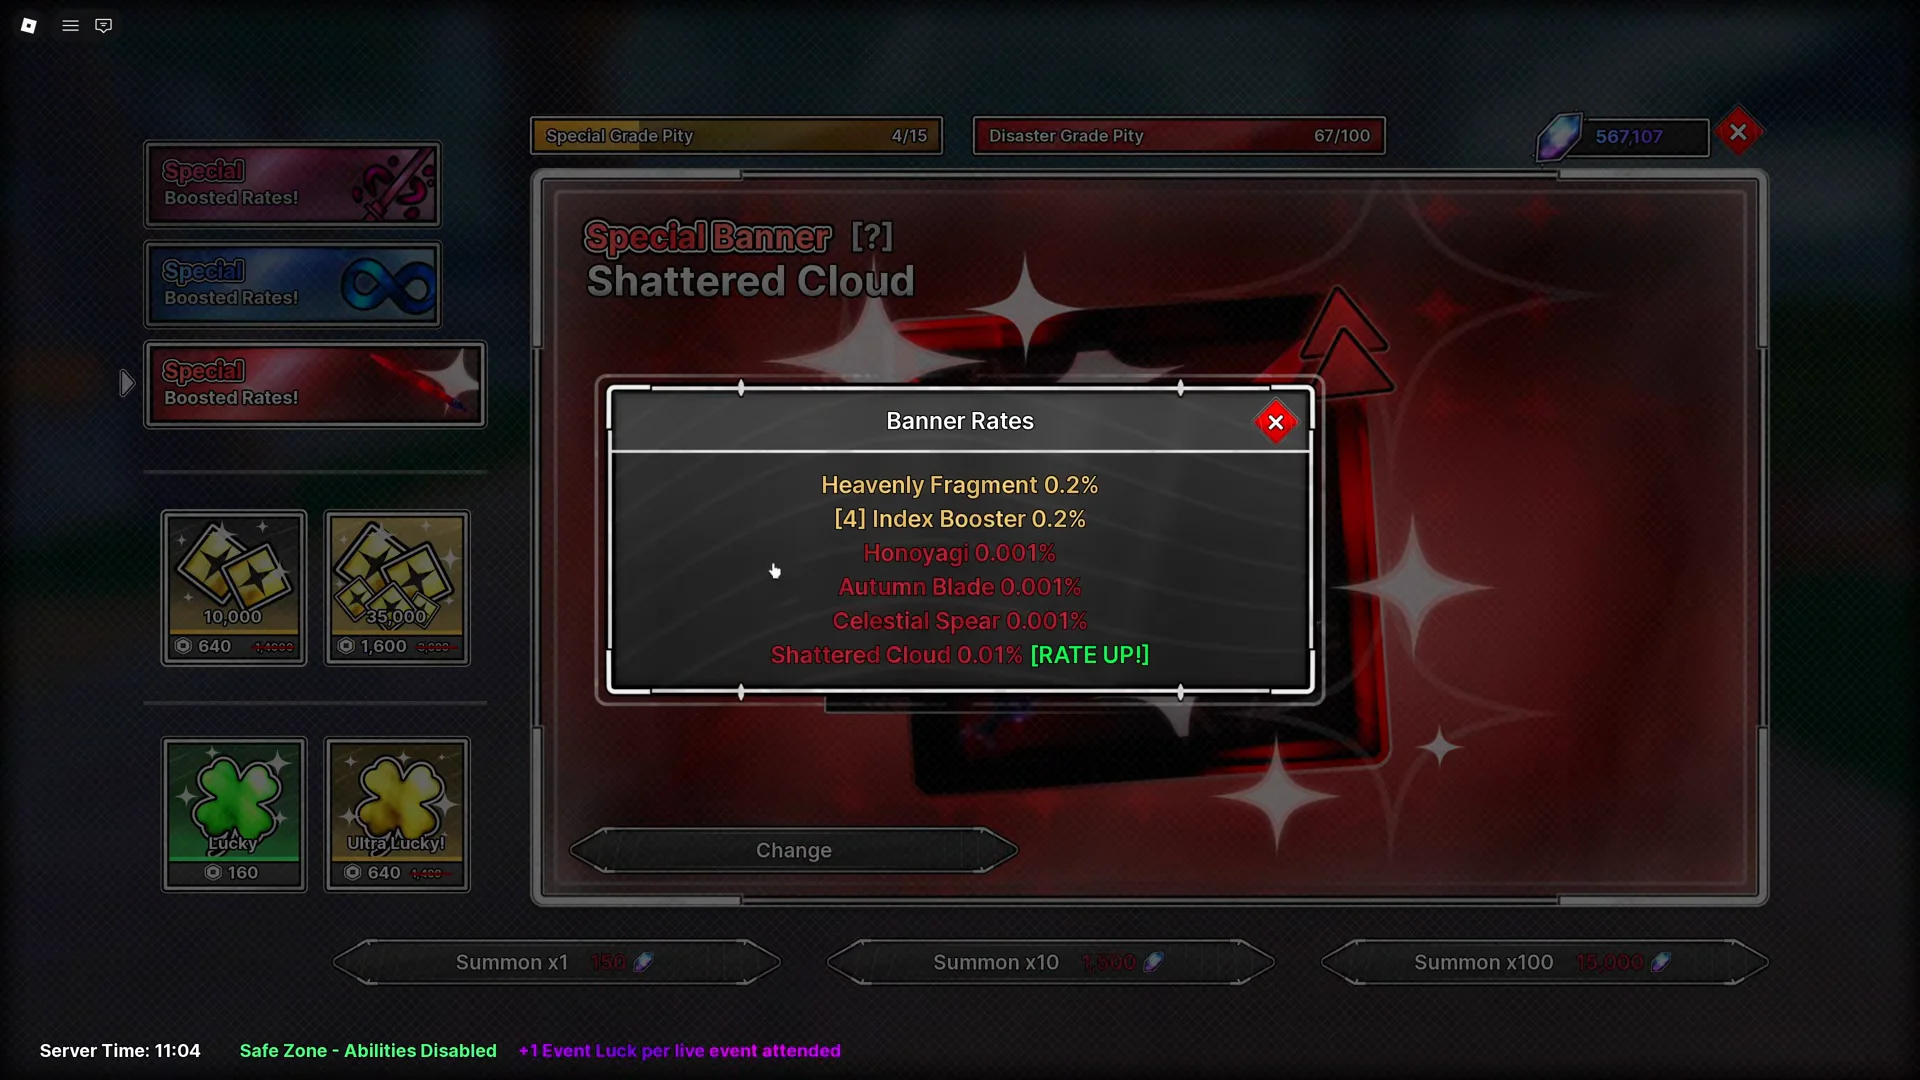
Cursed Crystals power the Weapon Banner, where both weapons can also appear. In the summon menu, choose the desired banner through Banner Selection, then review its shown pool and rates before spending. Duplicate weapons come only from this source, and duplicates are required to reach Rank 5.
Best clan for PHR: Toji, with Zen’in as the stand-in
| Clan | Offensive bonuses | Other effects |
|---|---|---|
| Toji | +100% ATK, +100% Crit. DMG, +10% DMG AMP | +30% HP AMP, -100% CE |
| Zen’in | +35% ATK, +20% Crit. DMG, +5% DMG AMP | +20% CDR, -50% CE |
Toji is the pick, and it is not close. It stacks raw Attack and Critical Damage, it synergizes with both weapons, and its brutal Cursed Energy penalty costs you nothing in a build that never touches Cursed Energy. Run Zen’in while you are still rolling for Toji, since it shares the same weapon synergy at smaller numbers.
These clan choices are built specifically around PHR weapon damage. A Sorcery Heavenly Restriction character should not use this loadout.
Siege Shop: Bloodthirst and the Zenin Crests
| Item | Cost | What it gives |
|---|---|---|
| Bloodthirst | 6,000 Siege Tokens | +50% Weapon Damage, +100% Festering Damage |
| Zenin Crest I | 3,000 Siege Tokens | Farmable emblem option |
| Zenin Crest II | 4,500 Siege Tokens | Farmable emblem, cannot be leveled |
Plan to purchase both items instead of taking whichever one appears first. Bloodthirst with Crest I costs 9,000 Tokens, while Bloodthirst with Crest II costs 10,500. Bloodthirst is required because of its +50% Weapon Damage line; the Festering bonus is merely additional value.
Perfected Summer Emblem II is limited and can now change owners only through trading, which explains the Crests. Since emblem stats roll at random, the tooltip name alone cannot tell you which copy is stronger. Compare the real rolls in this order:
- Flat damage
- Damage percentage
- Critical Damage
- Critical Chance
Ailments: Water Prison or Thunderbolt
Choose Water Prison when you possess enough Bubbles to inflict it. Because Bubbles are scarce, regard it as the better option rather than a requirement—Thunderbolt is the specified substitute, and the build functions correctly with it.
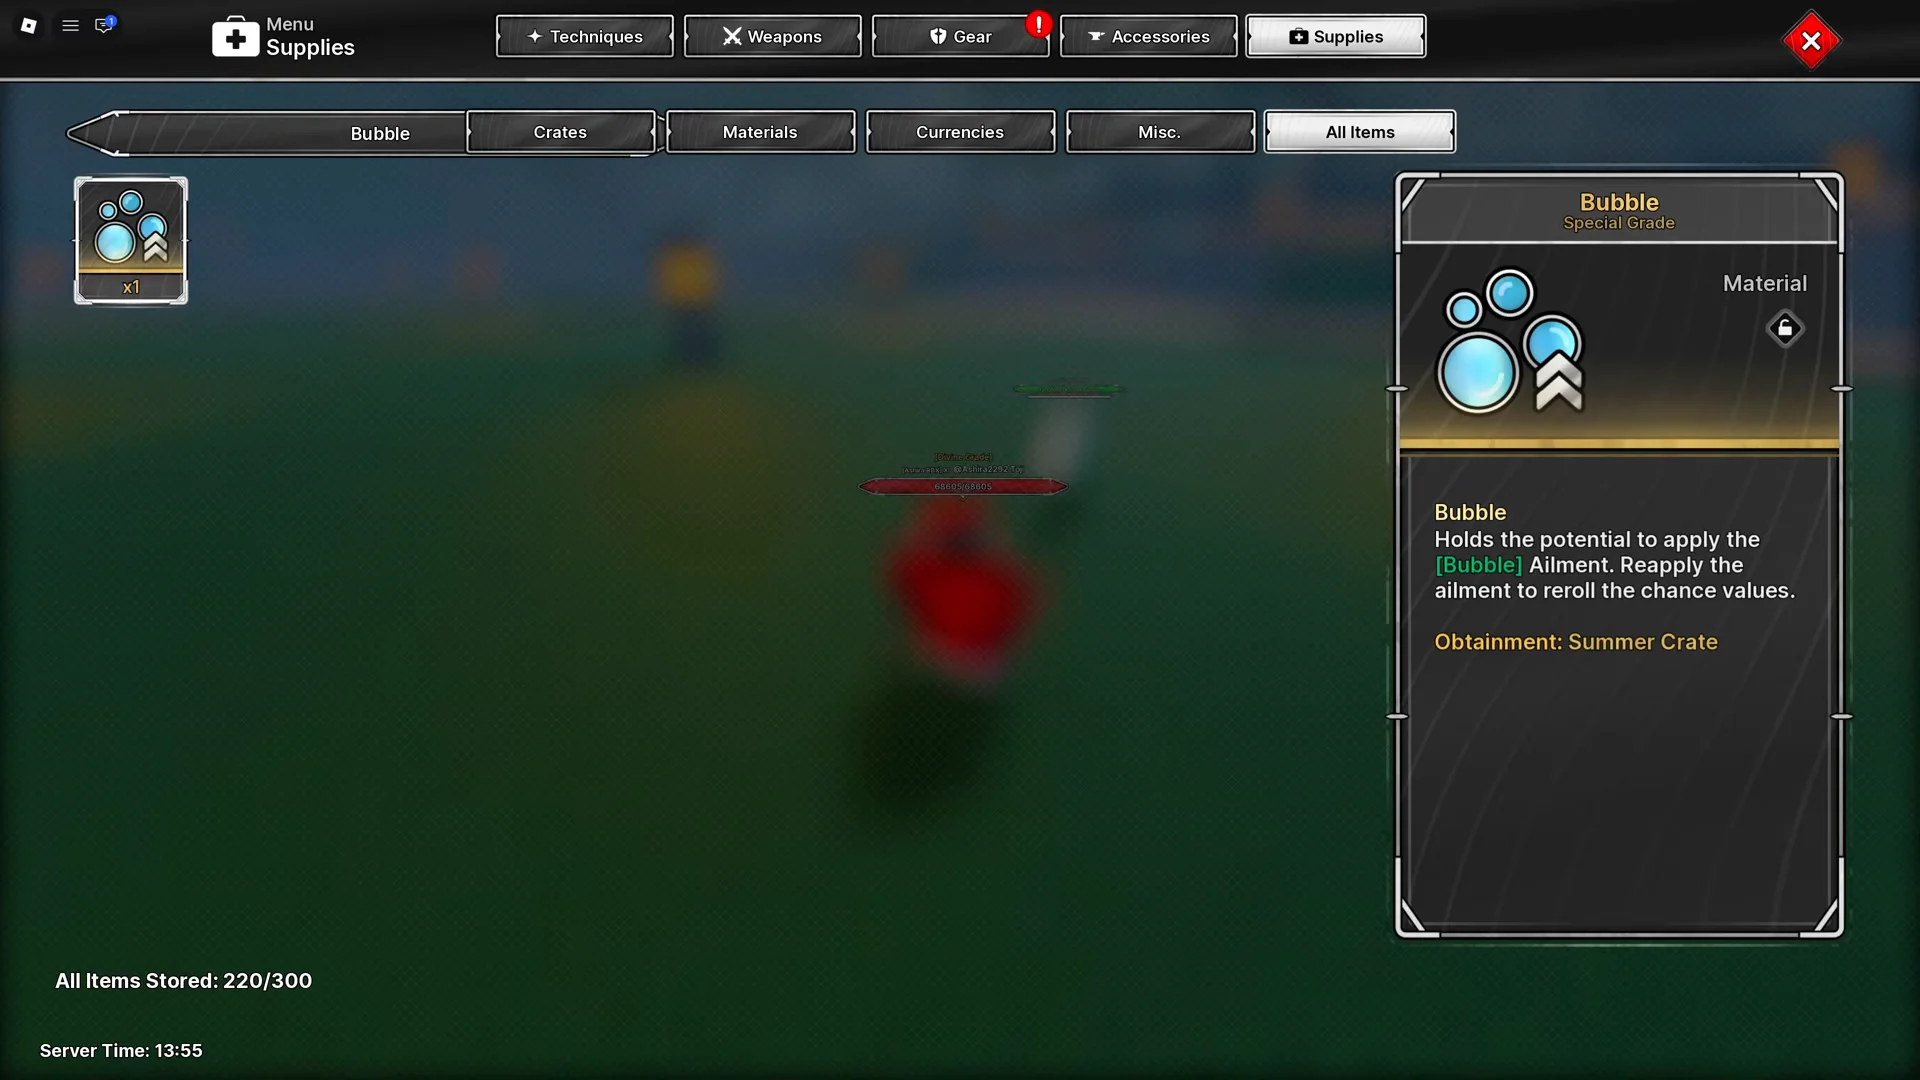
Apply your chosen ailment to both weapons, then open the emblem and check it as its own slot. Weapon applications do not carry across to the emblem, and that is the easiest piece of the build to leave half finished.
Sovereign gear and the Awakening Set bonuses
The endgame target is three fully upgraded Sovereign pieces. At Level 30/30 each piece lists 386.1 flat Attack, +666% Attack, and +666 Critical Damage, plus a heavy Cursed Energy reduction that a PHR character never feels. The catch is the equip requirement of level 9,999.
The same Awakening Crates that provide Godspark and Divine Steel can drop Sovereign at a listed 0.4%, so Tsurugi Raid farming advances all three objectives. The 0.4% applies separately to each crate and never turns into a guarantee after a fixed run count.
- 1 piece: all weapons gain +15% amplification
- 2 pieces: Honoyagi gains another +15% amplification
- 3 pieces: Shattered Cloud gains another +15% amplification
Heavenly Burden (level 5,000+) and Chain Breaker (level 7,500+) belong to the same Awakening Set, so they count toward those set bonuses while you hunt Sovereign. Fill the empty slots with them now and swap pieces out one at a time later.
The second and third bonuses in the set apply only to the weapons they name. Nothing in those bonuses increases damage across your entire inventory.
Accessory: Thug Flamingo Floatie or Inventory Curse
| Accessory | Key bonuses | Availability |
|---|---|---|
| Thug Flamingo Floatie | +75 DMG AMP, +75% Weapon DMG, +75% ATK, +75 Crit. DMG | Limited |
| Inventory Curse | +75% Weapon DMG, with up to +25% all-weapon amp based on HP | Non-limited |
Thug Flamingo Floatie is the better choice if it is already in your collection. Its separate +75% Summer Blade bonus has no effect on these two swords, so compare it using only the general offensive lines.
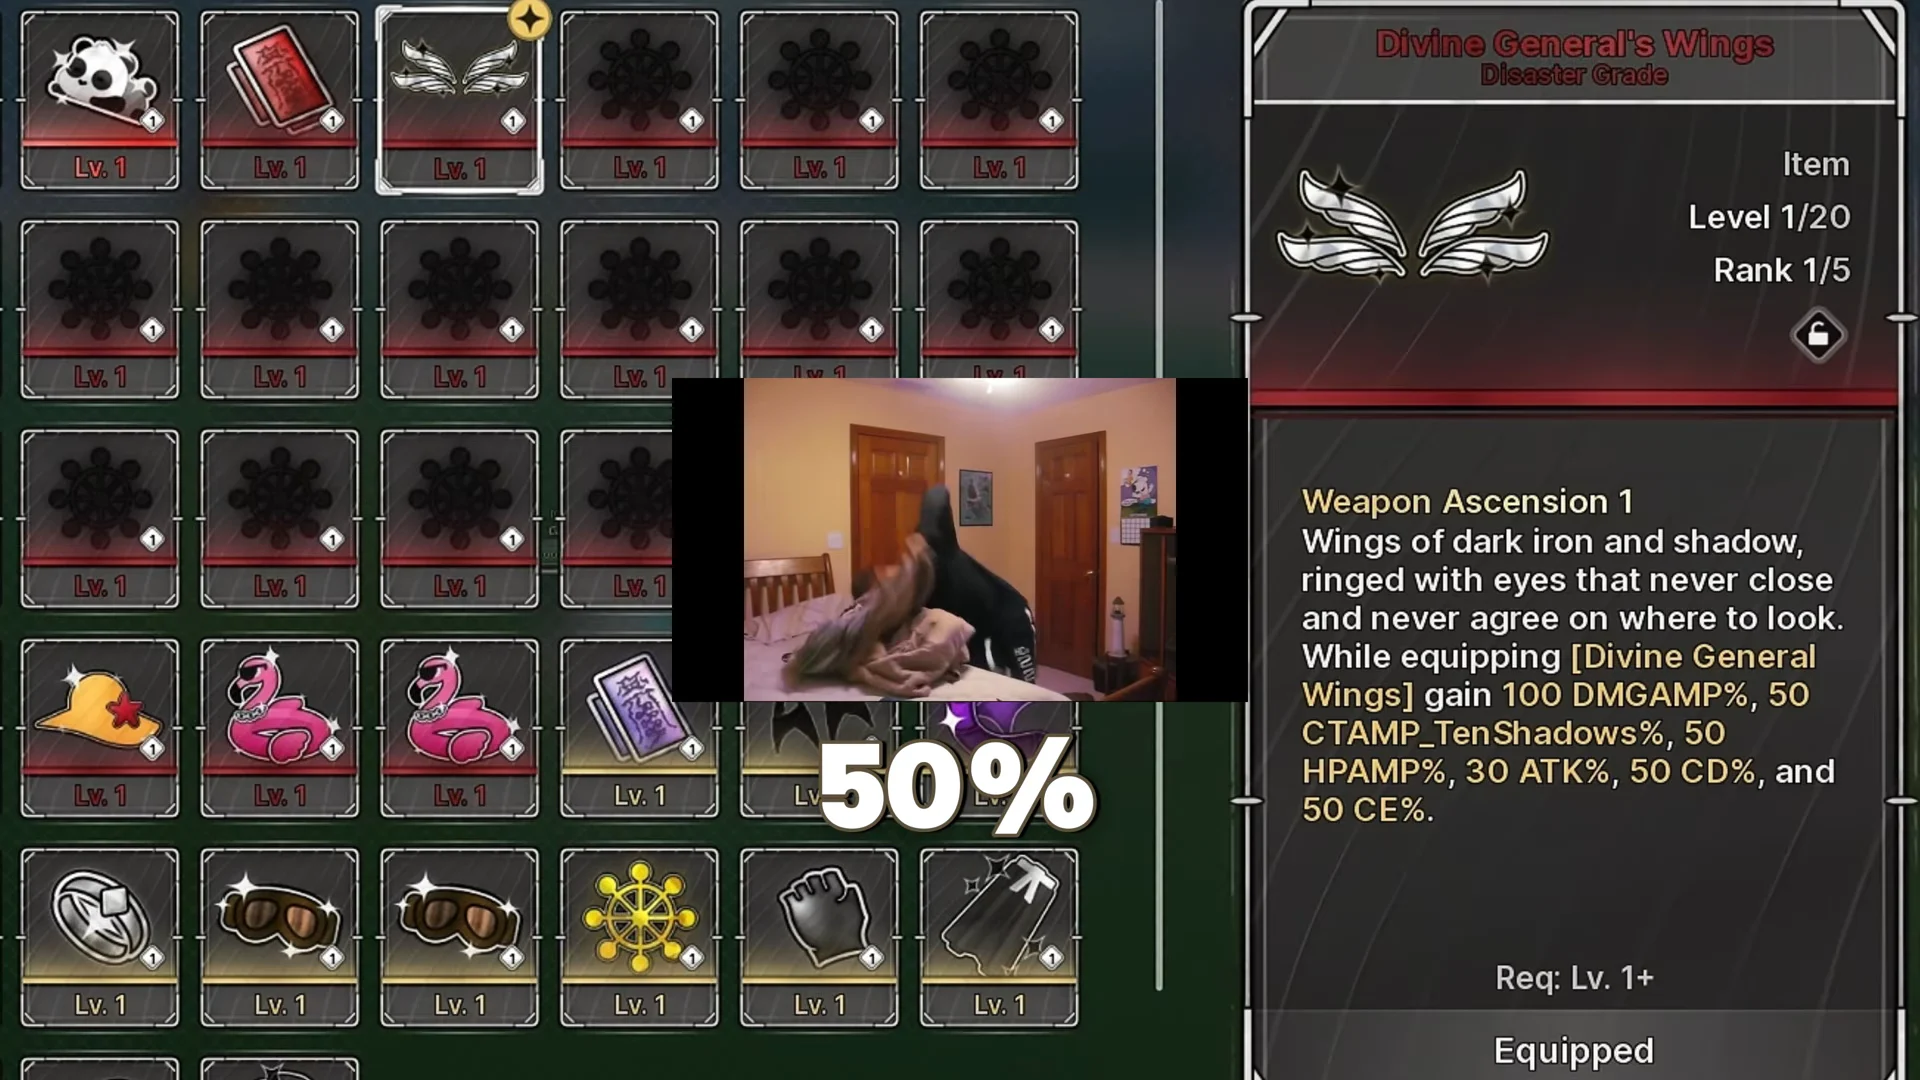
Inventory Curse is the other option to chase. It supplies +75% Weapon Damage outright, then grants every weapon +2.5% amplification per 1,000 HP over 5,000, with a maximum of +25%. That maximum arrives at 15,000 HP, and more health does not raise it further.
Skip Curse King Tattoo. Its bonuses are designed for Shrine technique and Kamutoke amplification, neither of which helps a Shattered Cloud loadout. Its broader lesson remains useful: roll accessory substats with DMG AMP% as the priority.
PHR node 6, Cursed Storage, and the Evolution tree
Node six of the Physical Heavenly Restriction tree provides +15% amplification for all weapons, along with +10 Air Jumps and +5 Stamina. It also unlocks the Cursed Storage questline, available only to PHR characters.
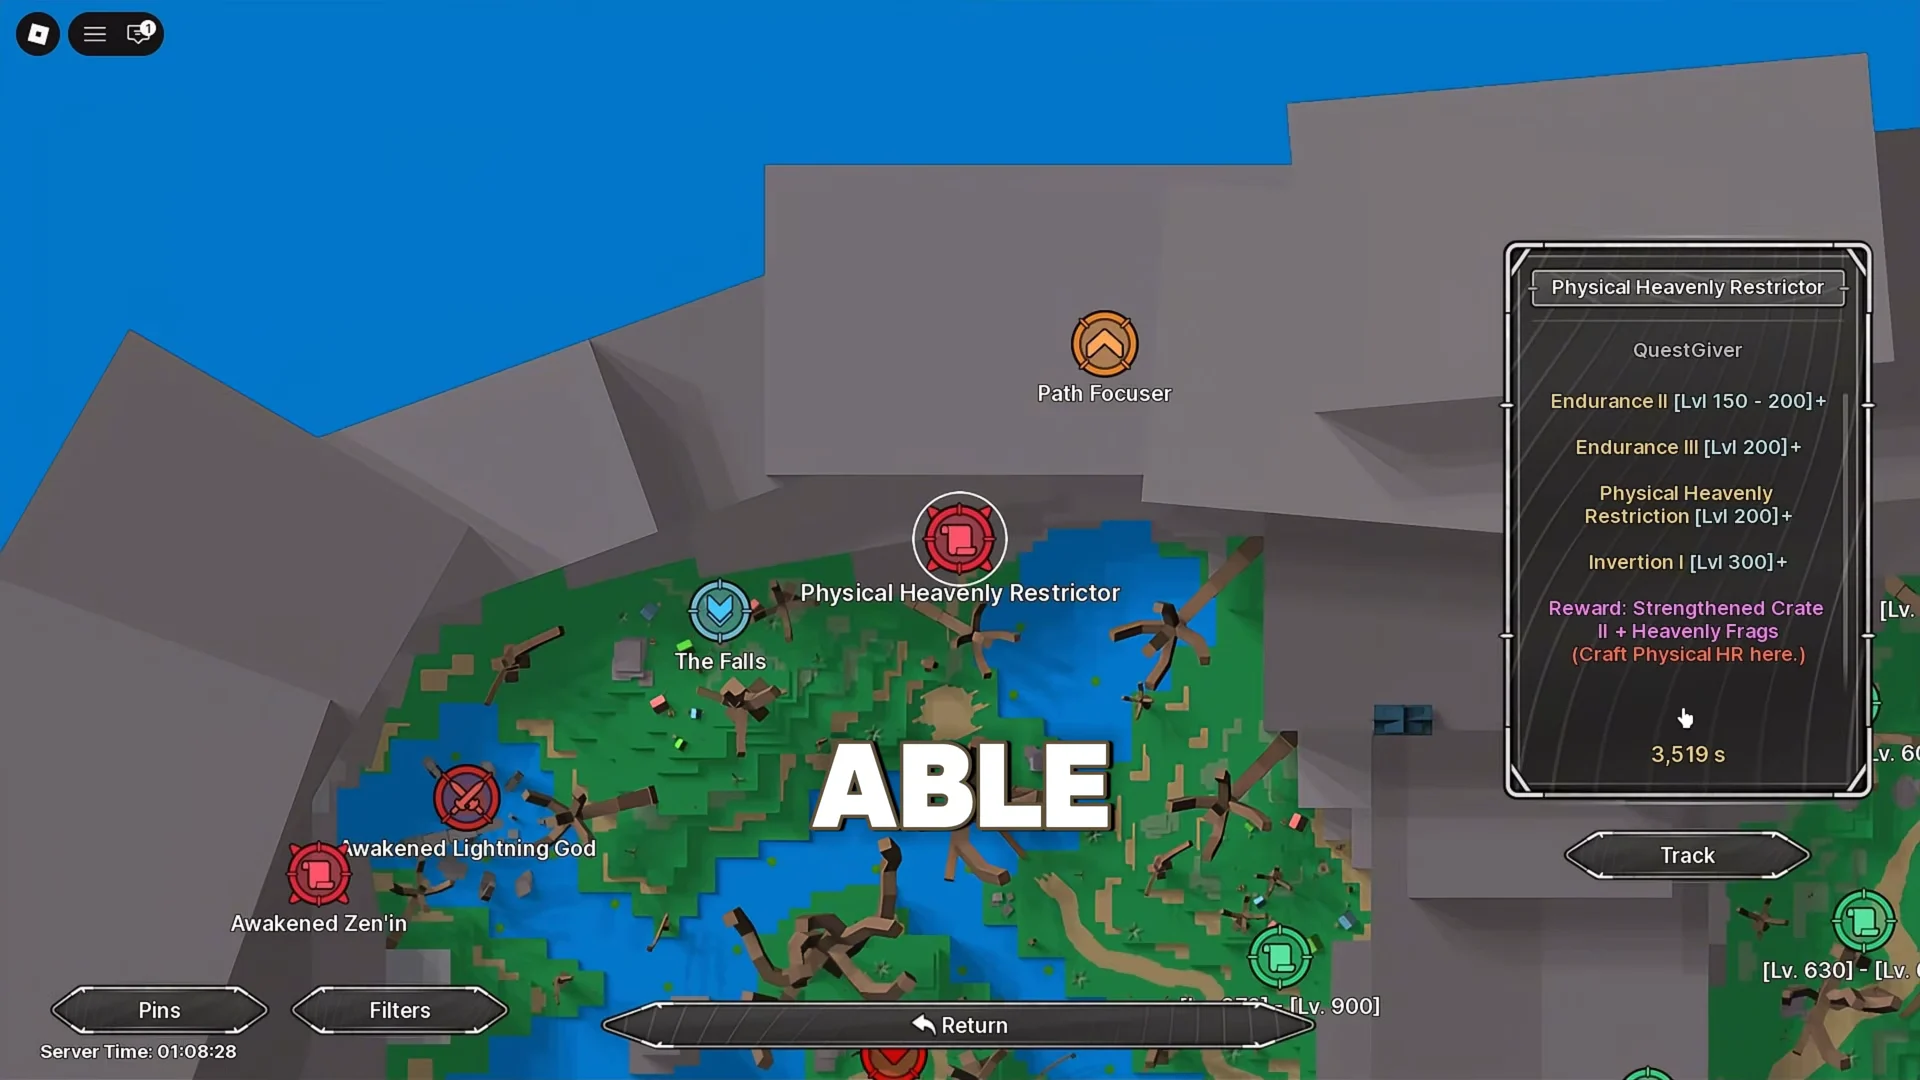
Unlocking the node takes level 5,000, 30,000 Health, 100 completed Tsurugi Raids, 10 Heavenly Fragments, 3 Godspark, 5 Divine Steel, and 500 Stat Points. Those Godspark and Divine Steel costs sit on top of your weapon crafts, so keep a reserve aside instead of dumping everything at the Weapons Master.
Cursed Storage’s accessory increases according to the number of unique weapons collected. Multiple copies of one weapon do not raise the count. Continue investing in the Evolution tree too, because its upgrades are permanent passive stats that remain active across every loadout.
Farming order if you are starting from scratch
Two activities carry the whole build, and nearly everything else is downstream of them.
- For Godspark, Divine Steel, and Awakening Set gear, farm Tsurugi Raid at the highest difficulty you can clear consistently.
- Farm Siege for the Tokens used to purchase Bloodthirst and a Zenin Crest.
- Weapon upgrades, taking Shattered Cloud and Honoyagi to Level 100 and Rank 5 before you worry about gear polish.
Tooltips confirm the build is assembled: each weapon must show Level 100/100 and Rank 5/5, the gear panel must display the active 3/3 Awakening Set line, and Bloodthirst should visibly drain health as soon as it is enabled. If that passive is not active and Maculation has not gone out, the rotation’s numbers will be off—and because Sovereign requires level 9,999, the completed loadout is a destination rather than a starting point.