


Aberrant Strength is the progression track that decides how much punch Dylan brings to Remedy’s warped Manhattan, and it does not climb on story missions alone. It grows from the content scattered across the map, which means the fastest route to the cap is a sweep, not a sprint.
Quick answer: Take the Aberrant Strength increases from the Gap tutorial, then clear side quests, world tasks, and map icons as you move through each area. A full clear caps Aberrant Strength by the end of the game.
What raises Aberrant Strength in CONTROL Resonant
Two things feed the meter early on. The Gap tutorial hands over increases as you work through it, and world tasks keep the number moving after that. Everything else you tick off in the open city adds to the same pool.
It helps to keep Aberrant Strength separate in your head from zone rank, which is a different meter tied to the seven zones. Both reward the same behavior — clearing content — but they track progress differently.
| Activity | What it feeds |
|---|---|
| Gap tutorial | Aberrant Strength |
| World tasks | Aberrant Strength |
| Side quests and extra content | Aberrant Strength |
| Map icons and side activities | Aberrant Strength |
| Quests that end inside a zone | That zone’s rank |
| Bosses and zone tasks | Extra zone progress |
Why a main-story-only run falls short
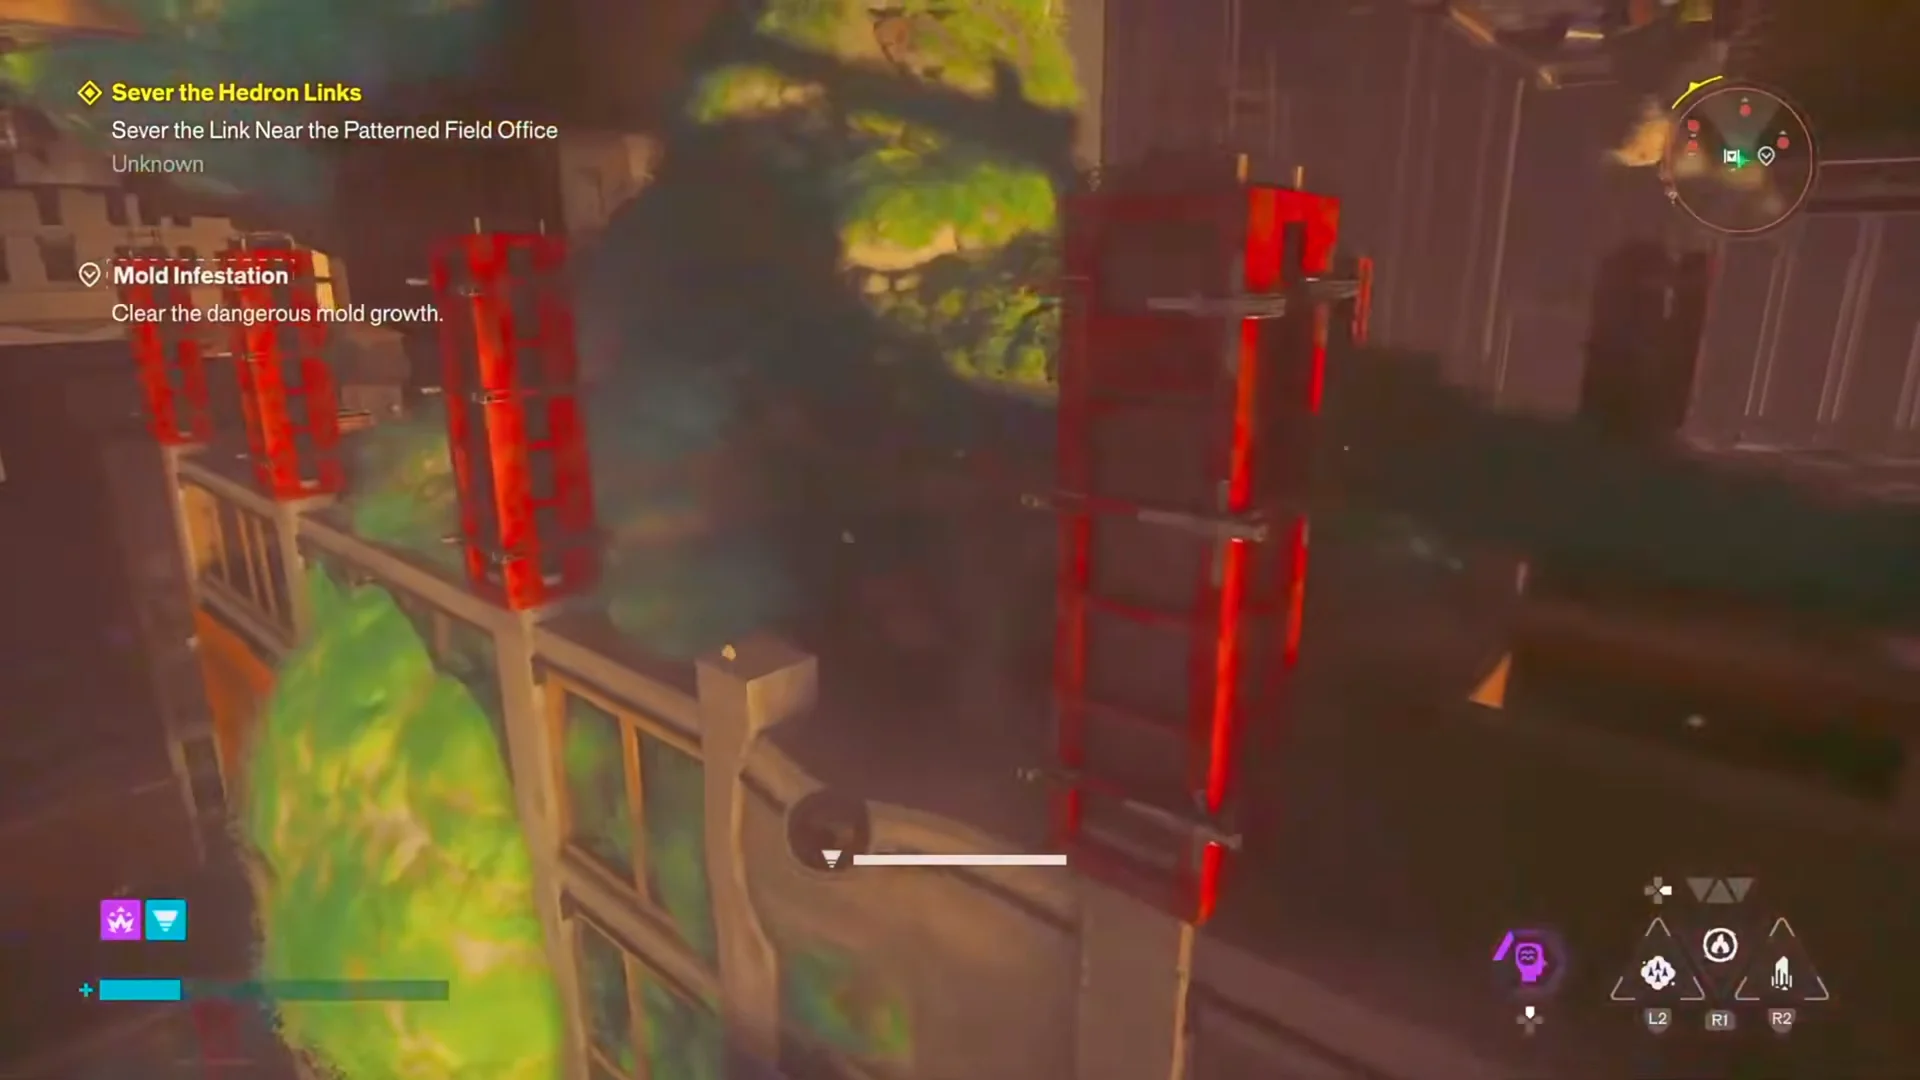
Beelining objectives like Sever the Hedron Links will get you to the ending, but it skips most of the material that raises Aberrant Strength. If you only touch the critical path, you finish the game well under the cap.
The fix is unglamorous. Take side tasks, quests, and extra content as they appear rather than banking them for later, because the traversal you do between them — vaulting ledges, scaling walls, jumping rooftops — is the same traversal you would repeat on a cleanup pass.
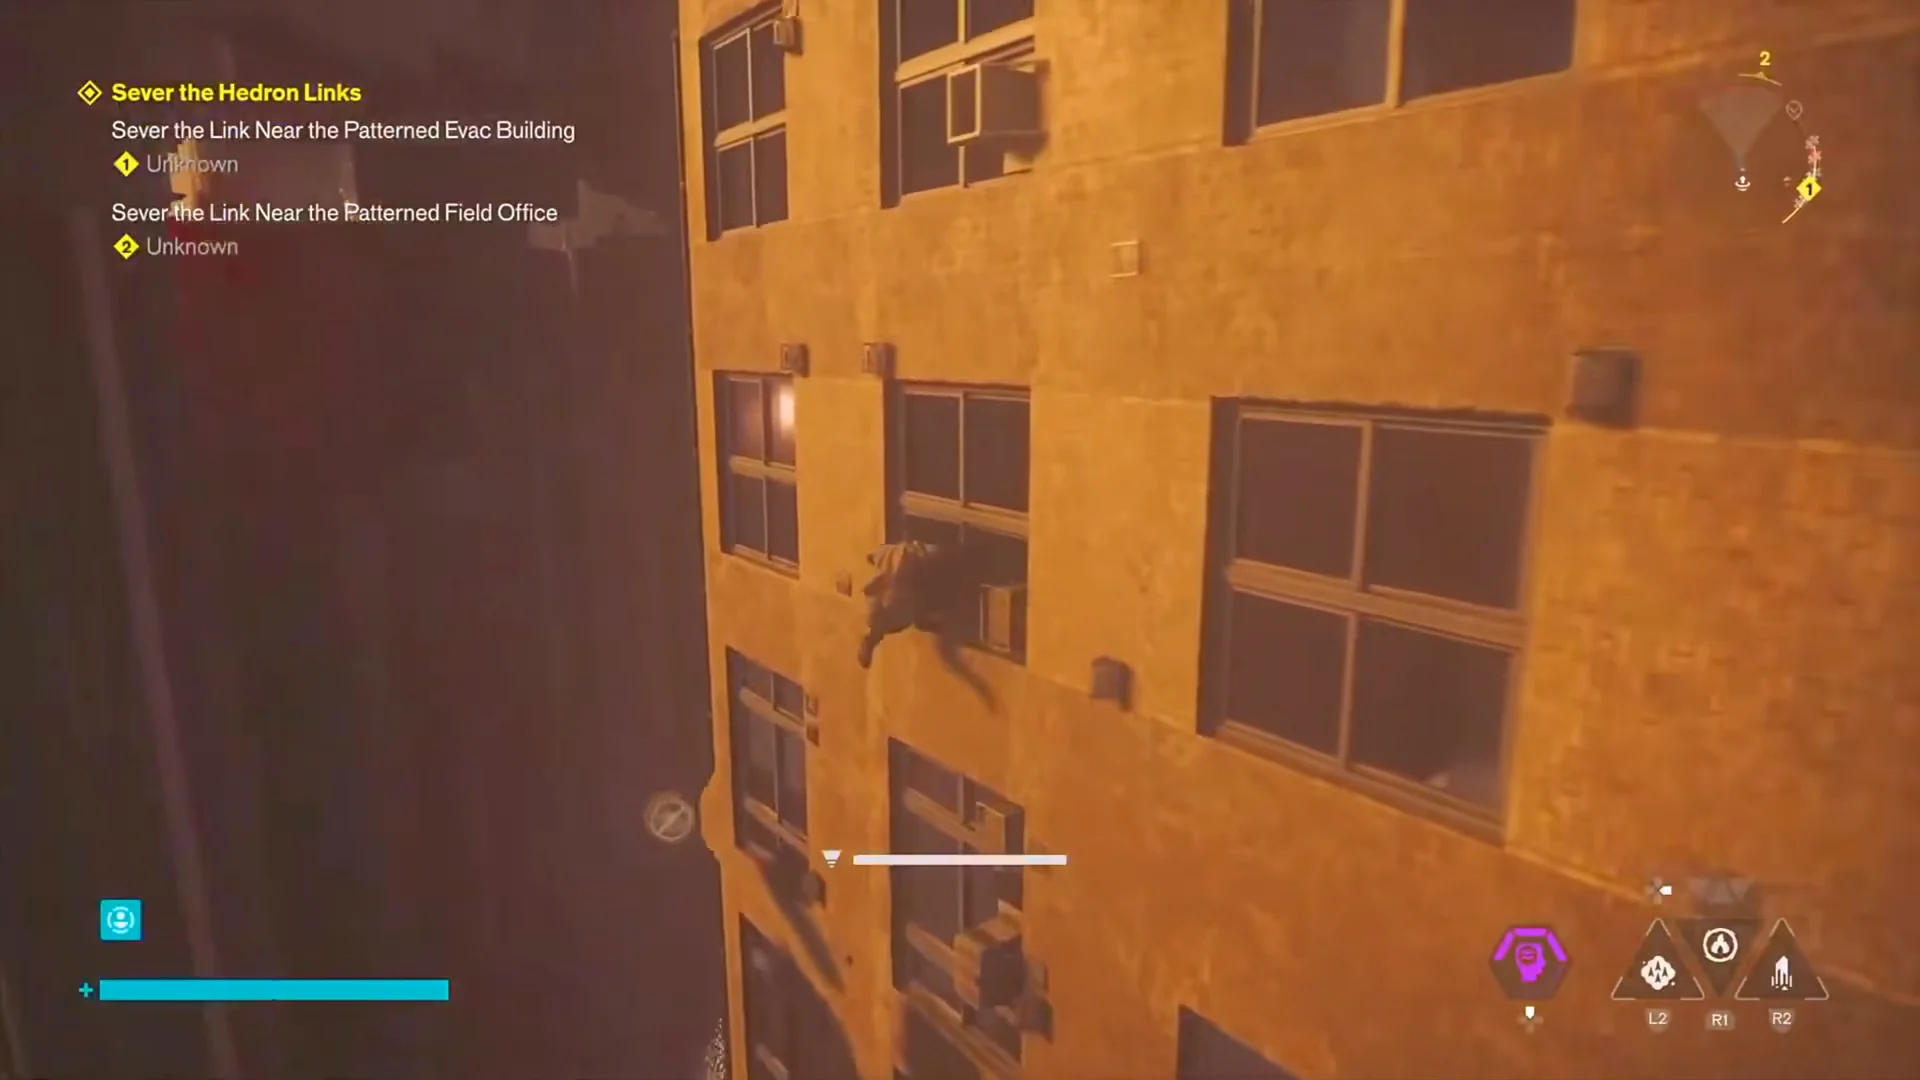
Clear one zone at a time for faster Aberrant Strength gains
The city is split into seven zones, and travel time is the real cost of this progression. Committing to one area until it is empty cuts that cost dramatically compared to hopping across the map every time a new marker pops.
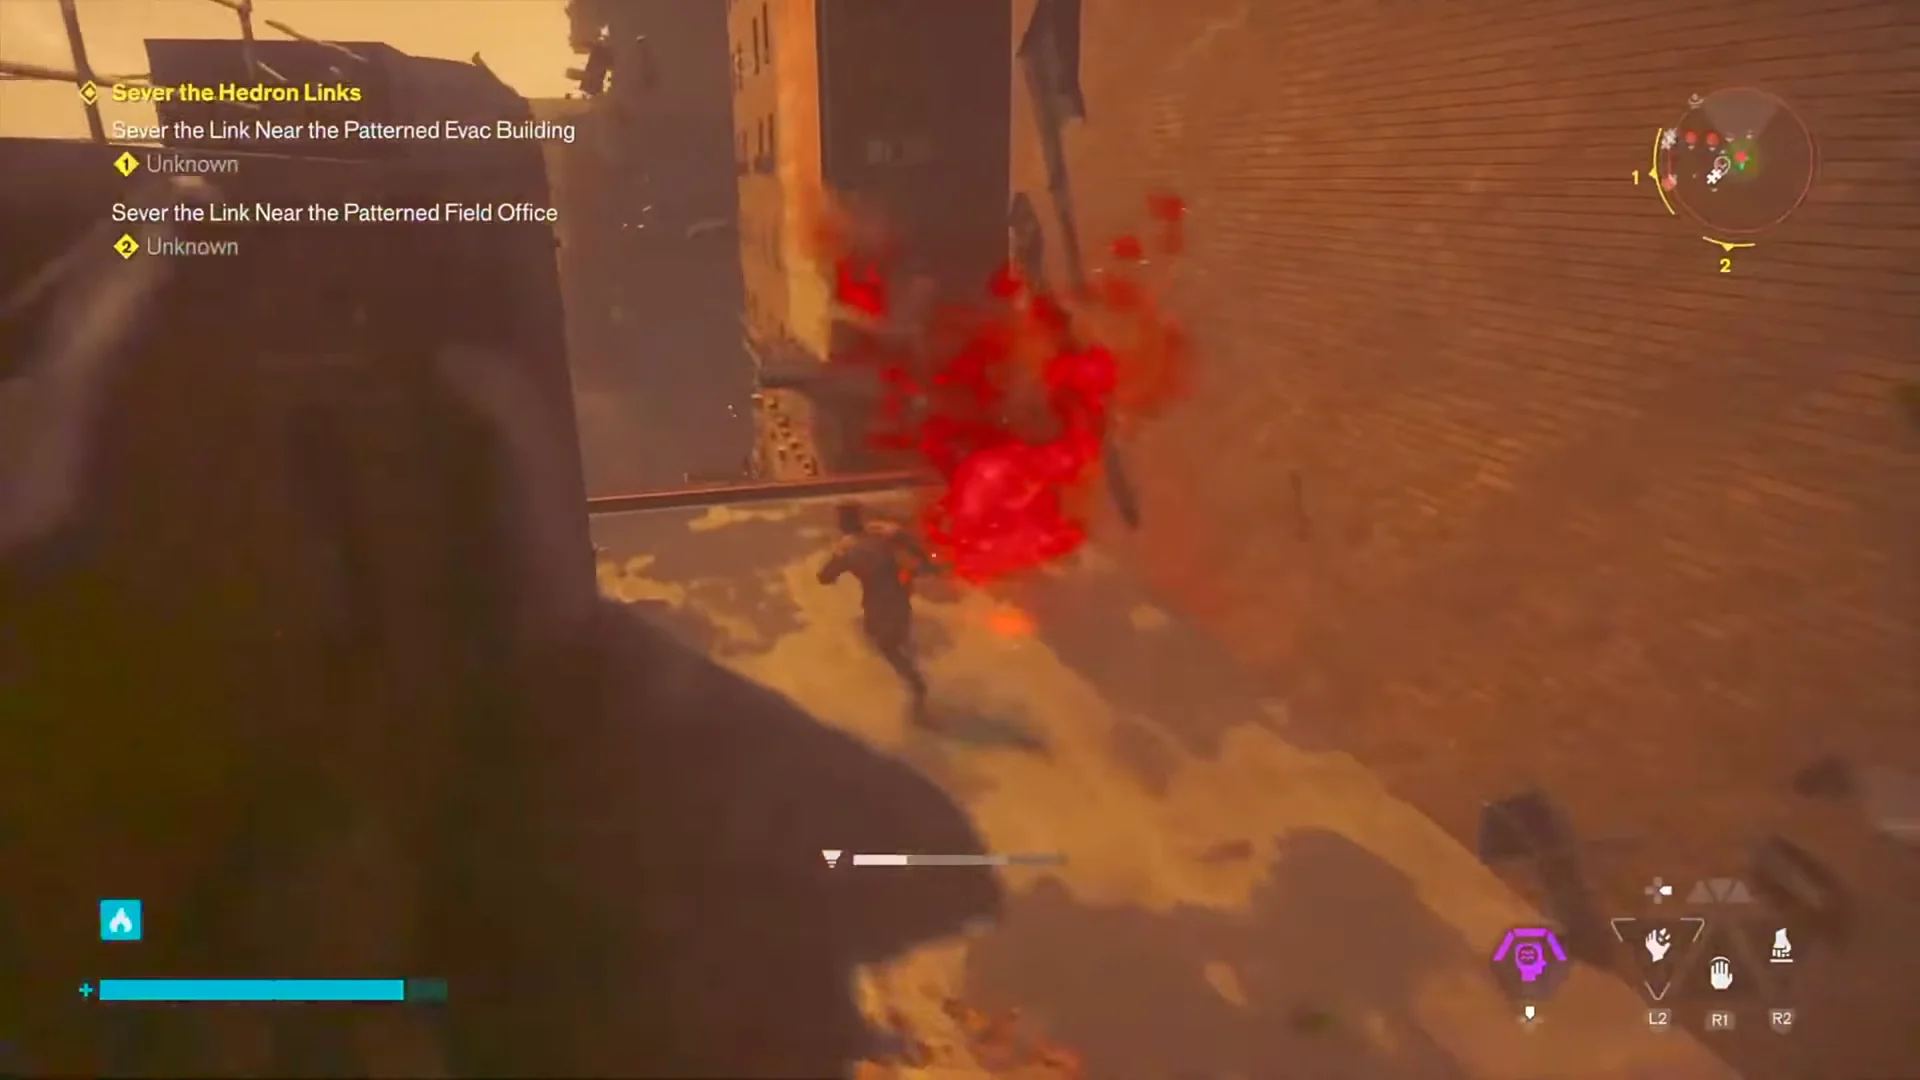
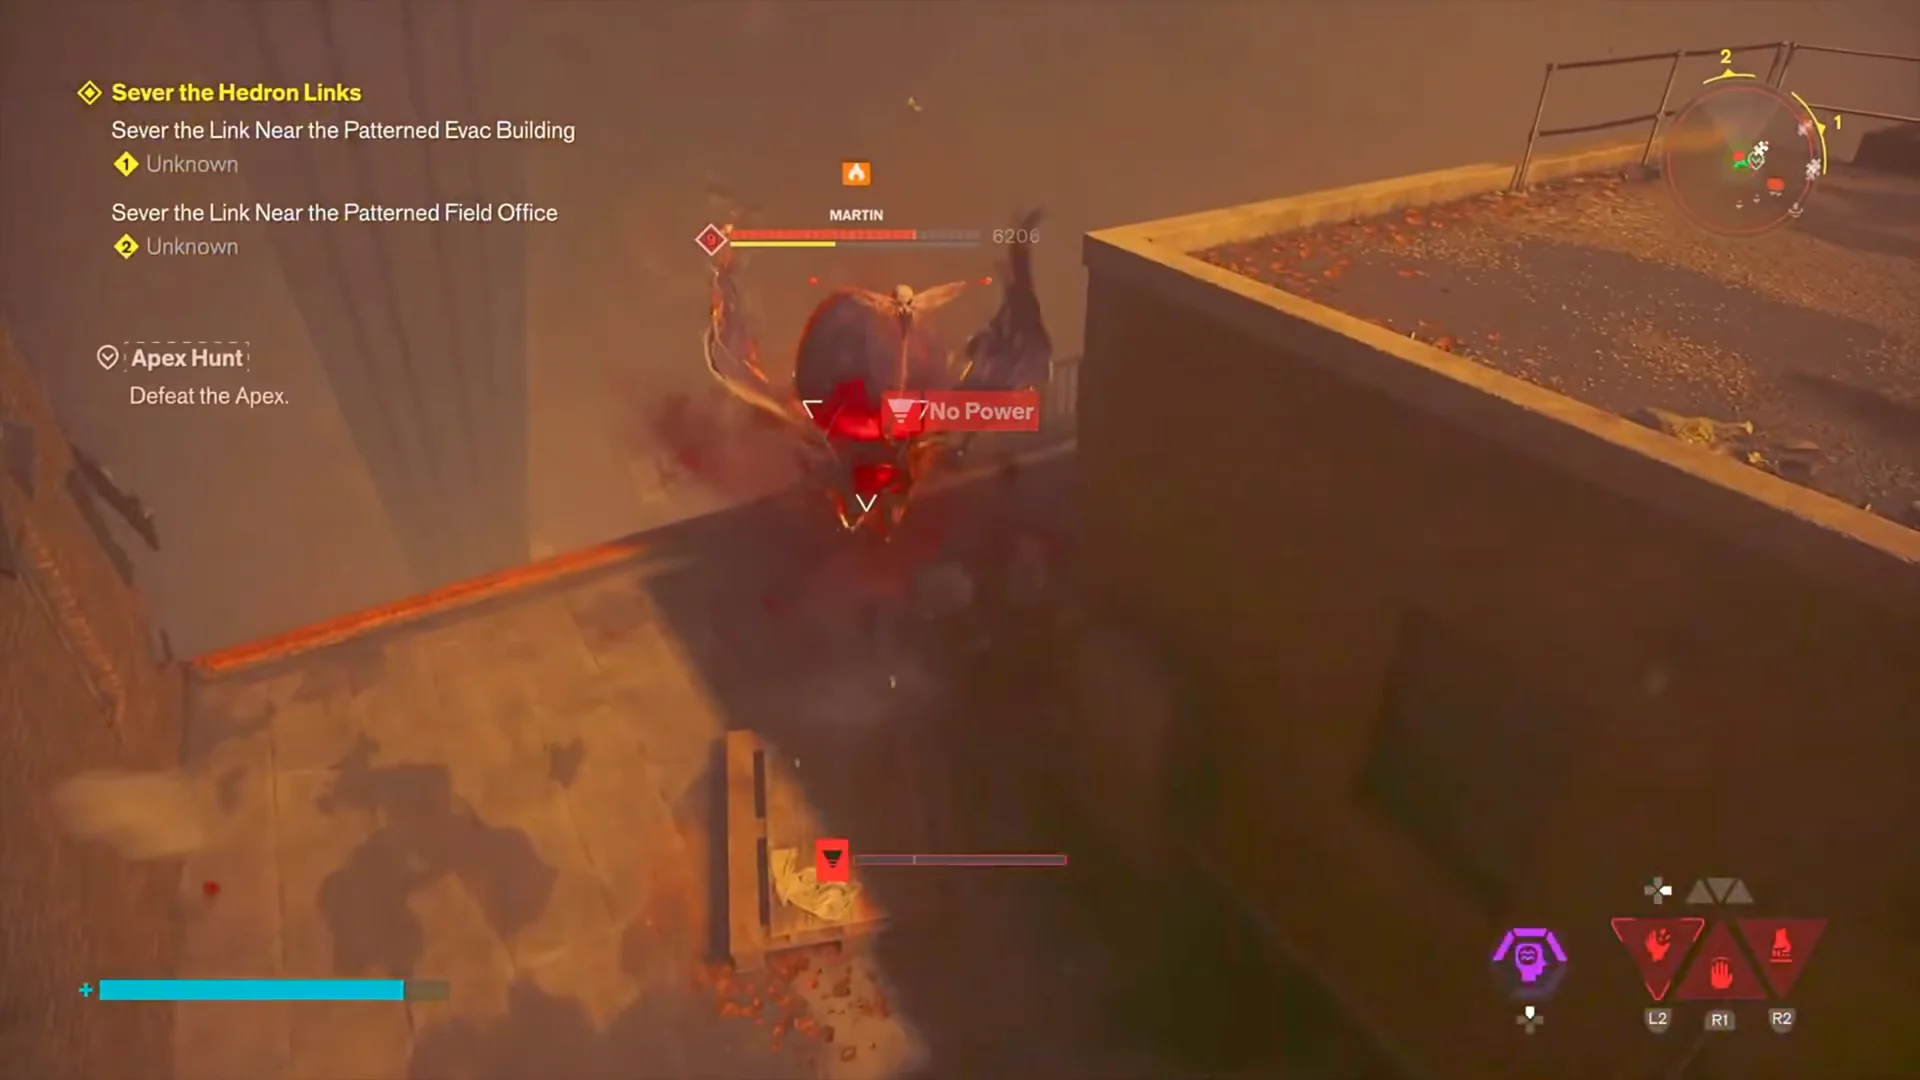
Clearing every map icon across all seven zones is what gets Aberrant Strength to maximum by the end of a playthrough, so anything you deliberately skip is progress you have to come back for.
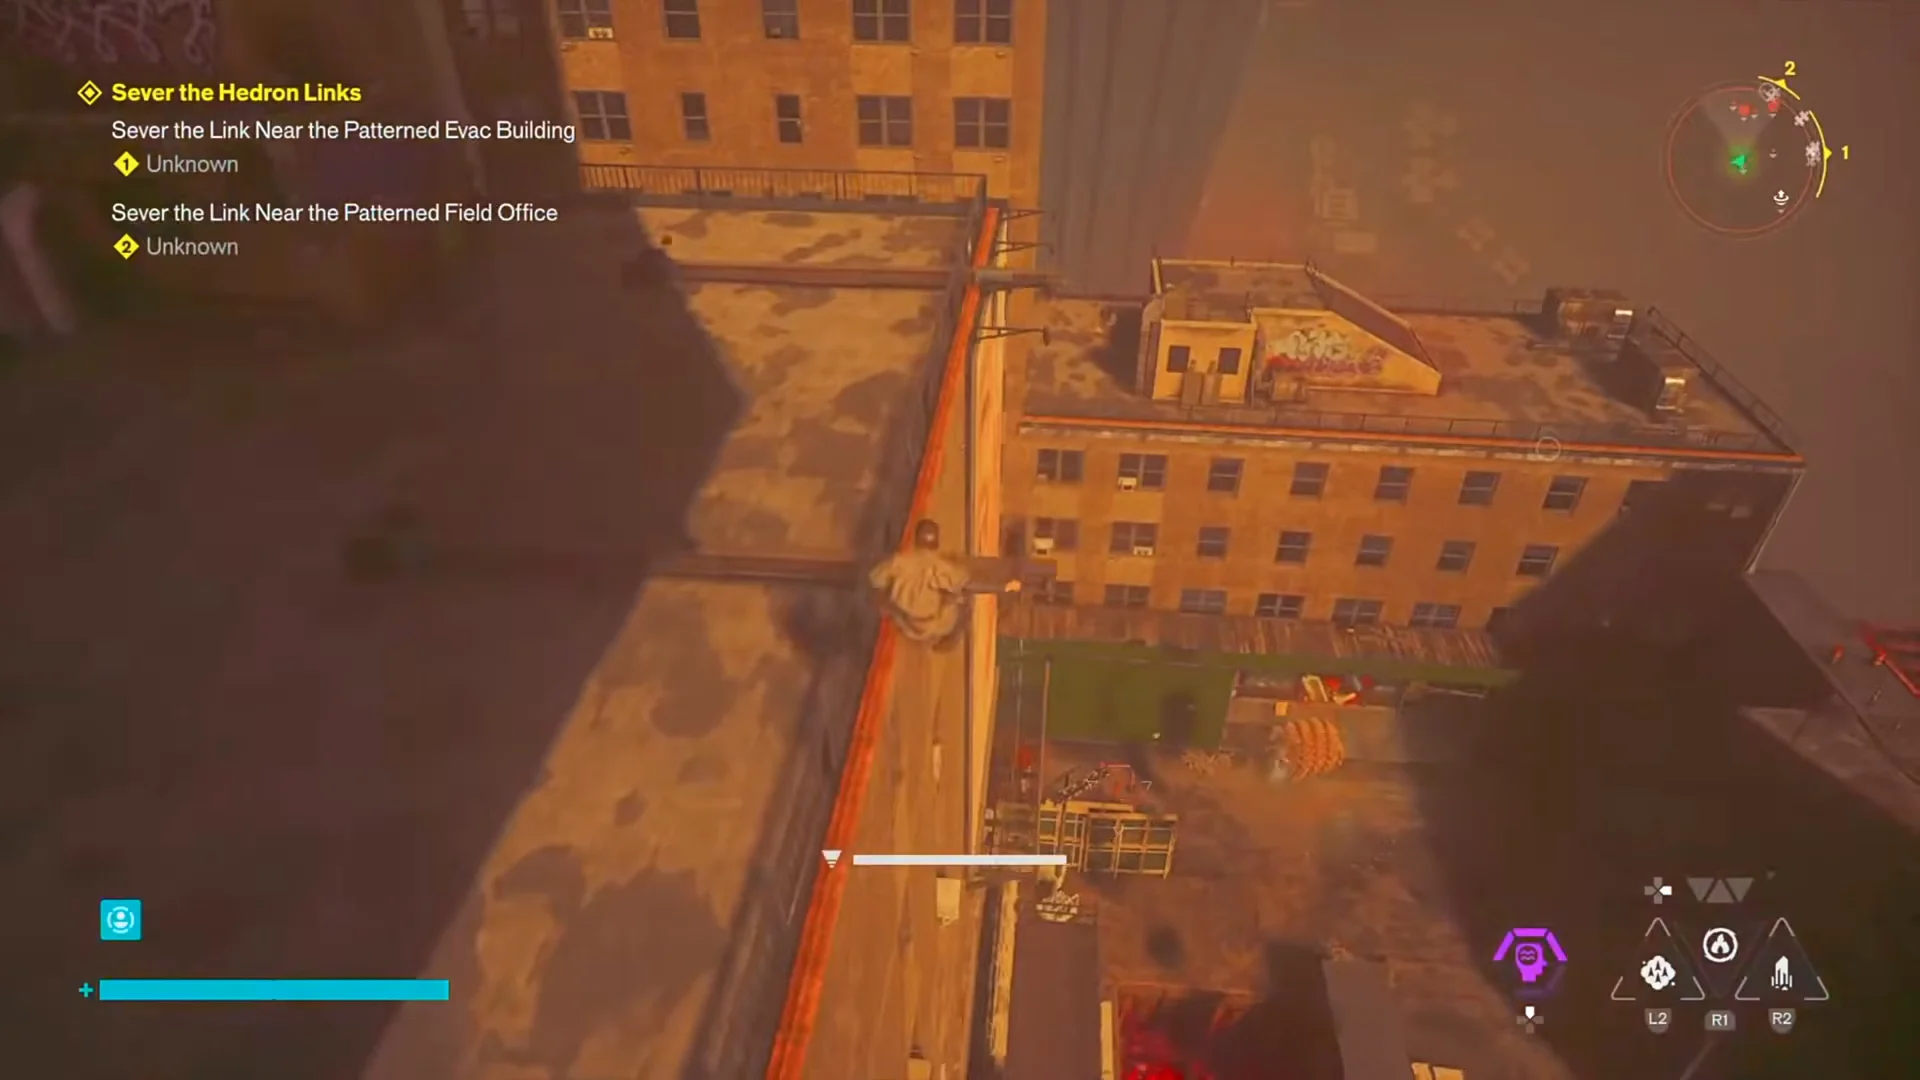
Side content off the critical path
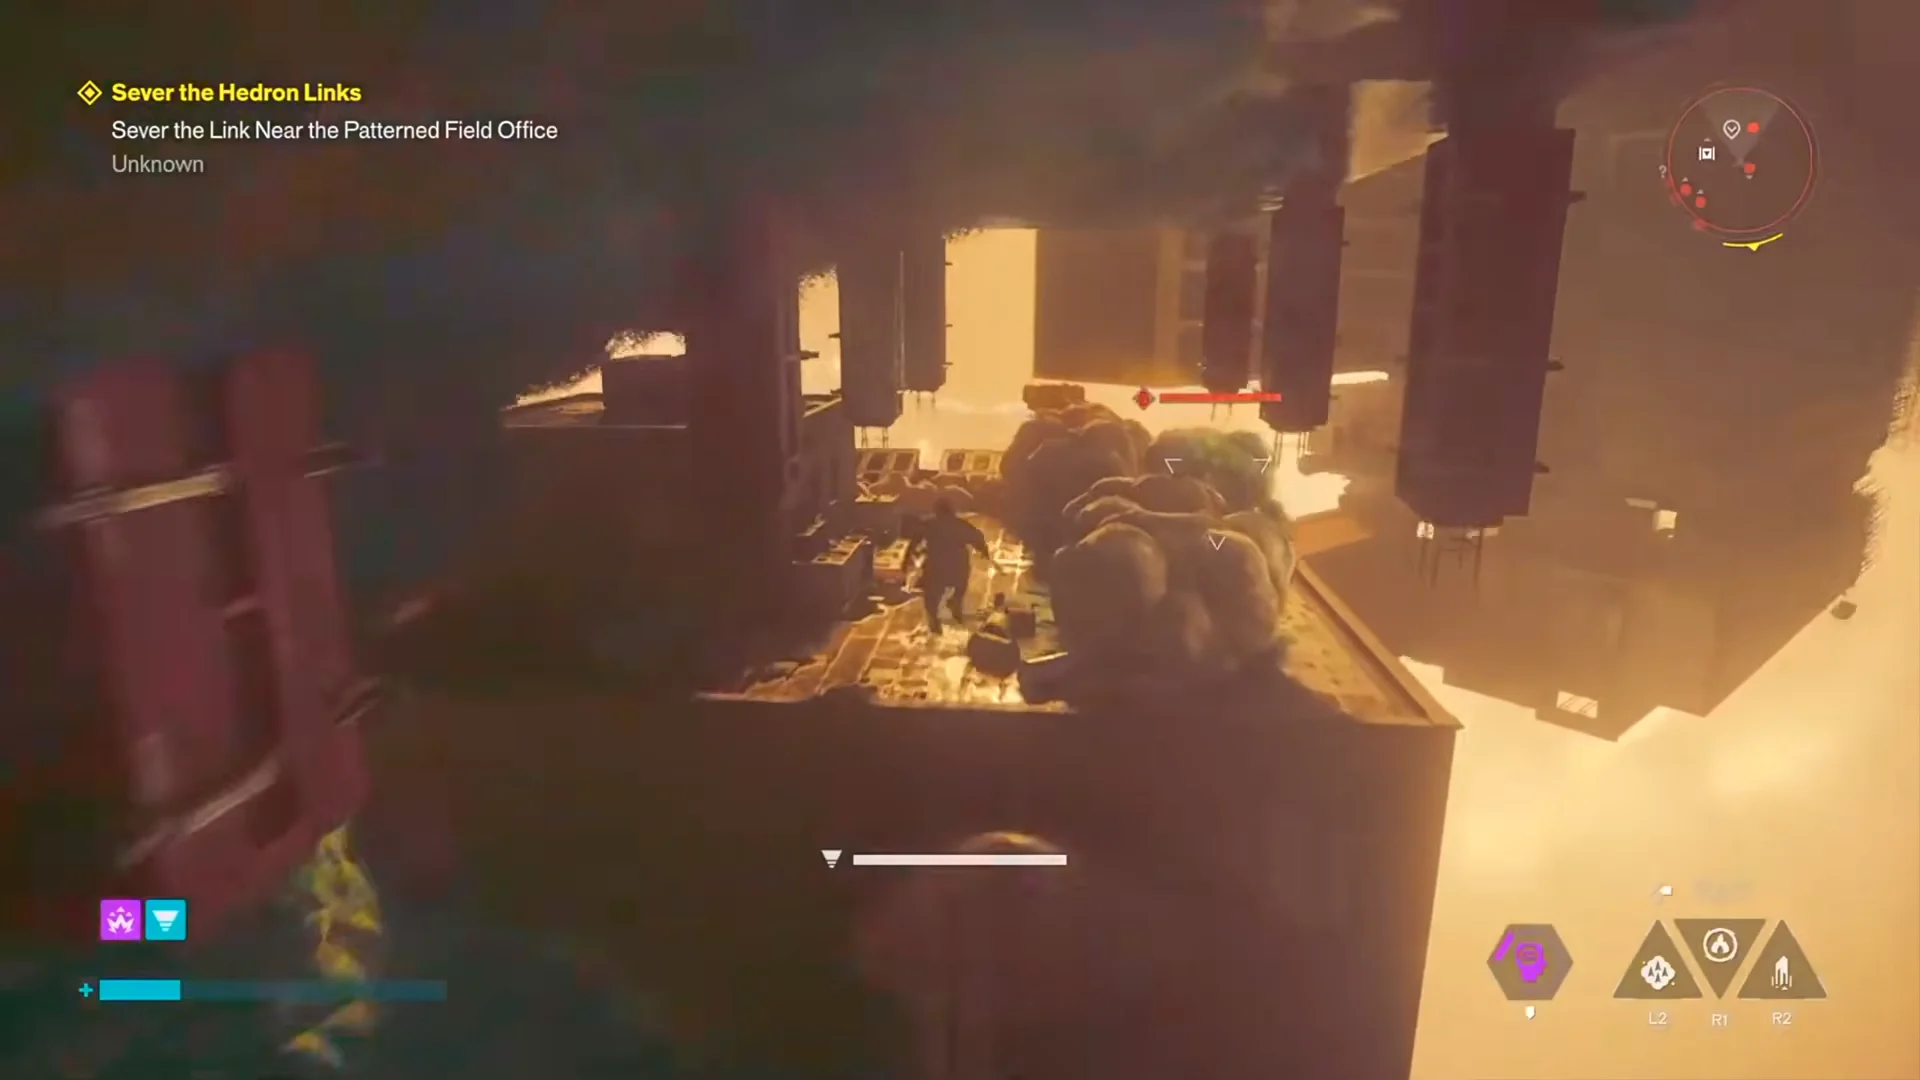
Not all of it sits at street level or on rooftops. A fair amount is tucked into altered spaces you reach by climbing, drifting, or dropping down to lower platforms, and those detours count exactly the same as the tasks with a clean map marker.
Some tasks point you at one specific enemy rather than an area. When you engage the right target, its health bar appears on screen, which is your cue that you are in the correct spot and not just clearing filler.
How to confirm Aberrant Strength is climbing
Each completed world task or side quest registers immediately, so the meter should move as soon as an activity wraps rather than at some later checkpoint. If you finish a batch of icons and nothing changes, you were clearing content that feeds zone rank instead.
The real checkpoint is the map itself. A zone with no remaining icons is a zone that has given you everything it has, and seven empty zones is what a maxed Aberrant Strength run looks like on the way to the ending.





