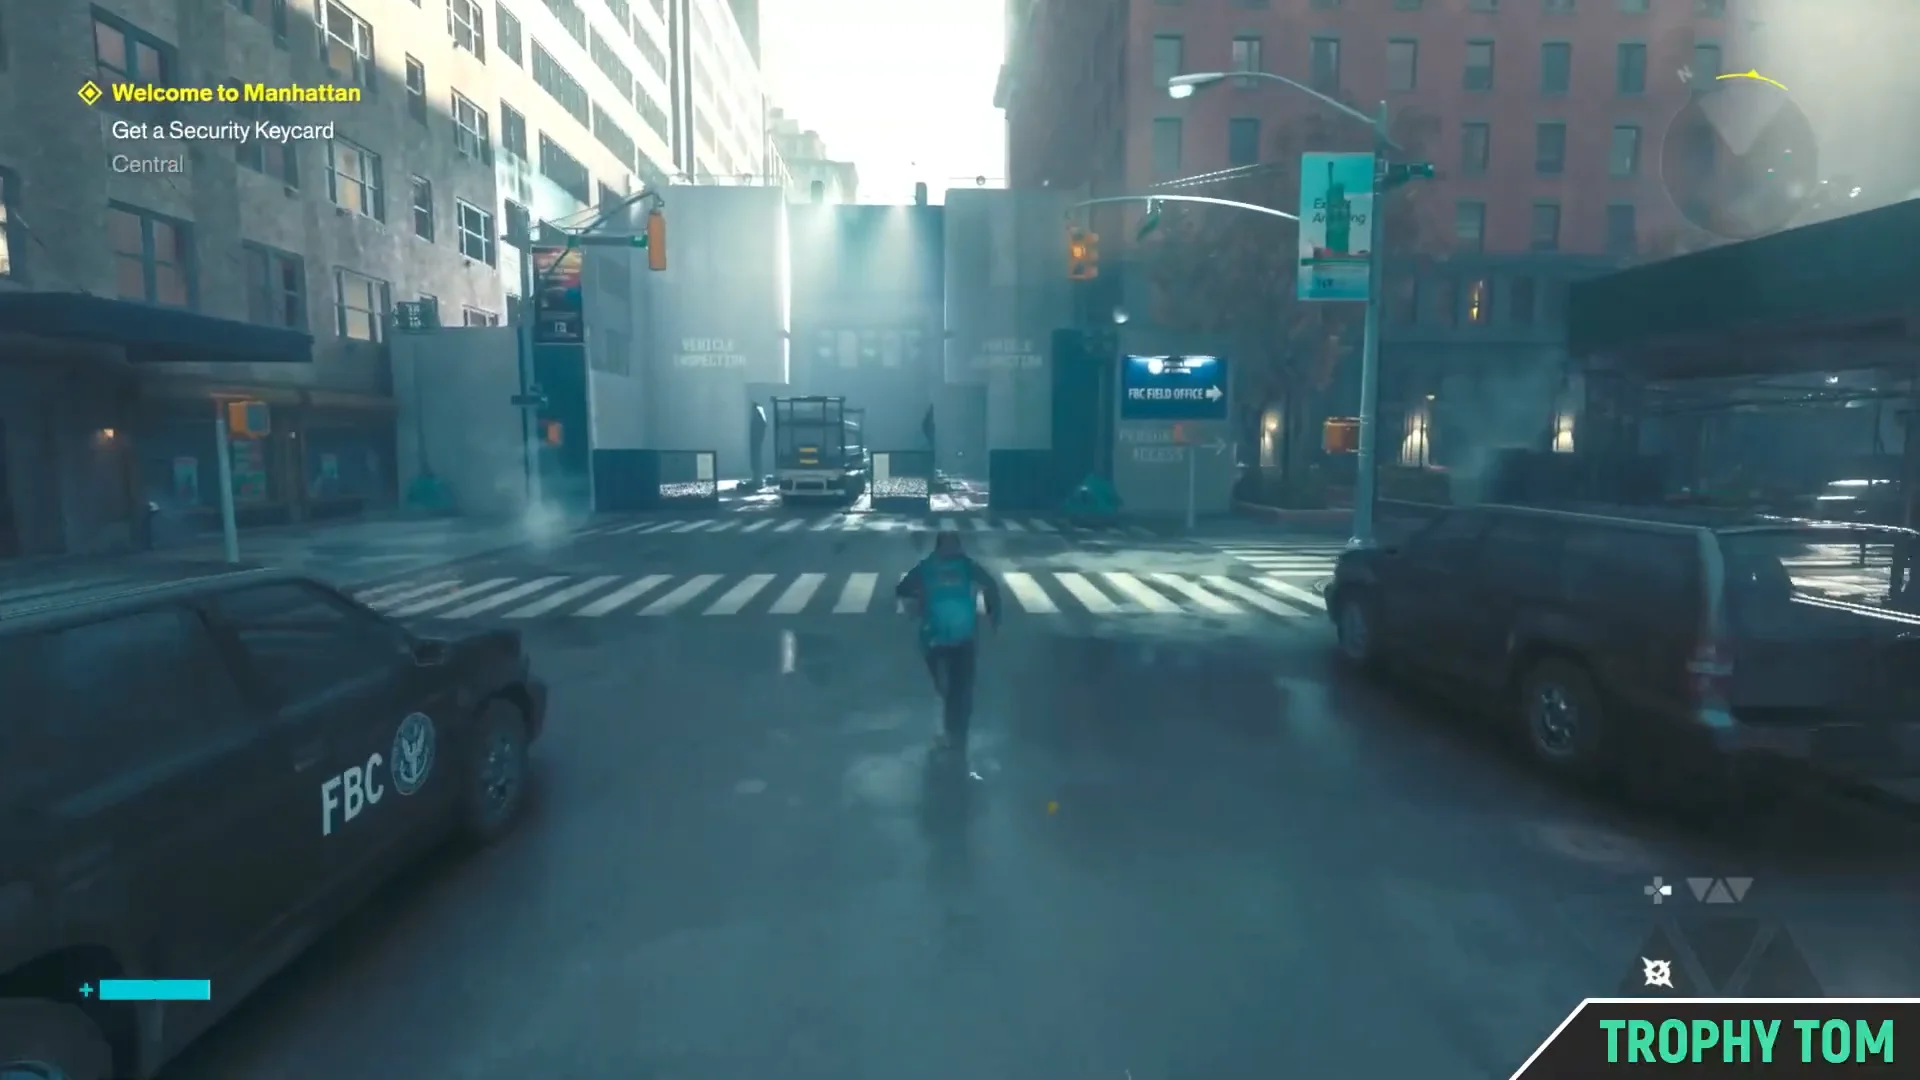
Locked doors show up early in Control Resonant, and the first one that stops most players is tied to the main story quest Welcome to Manhattan. Its final objective simply reads “Get a Security Keycard,” and the card in question is the Level 1 Keycard held at the FBC Field Office in Central Manhattan.
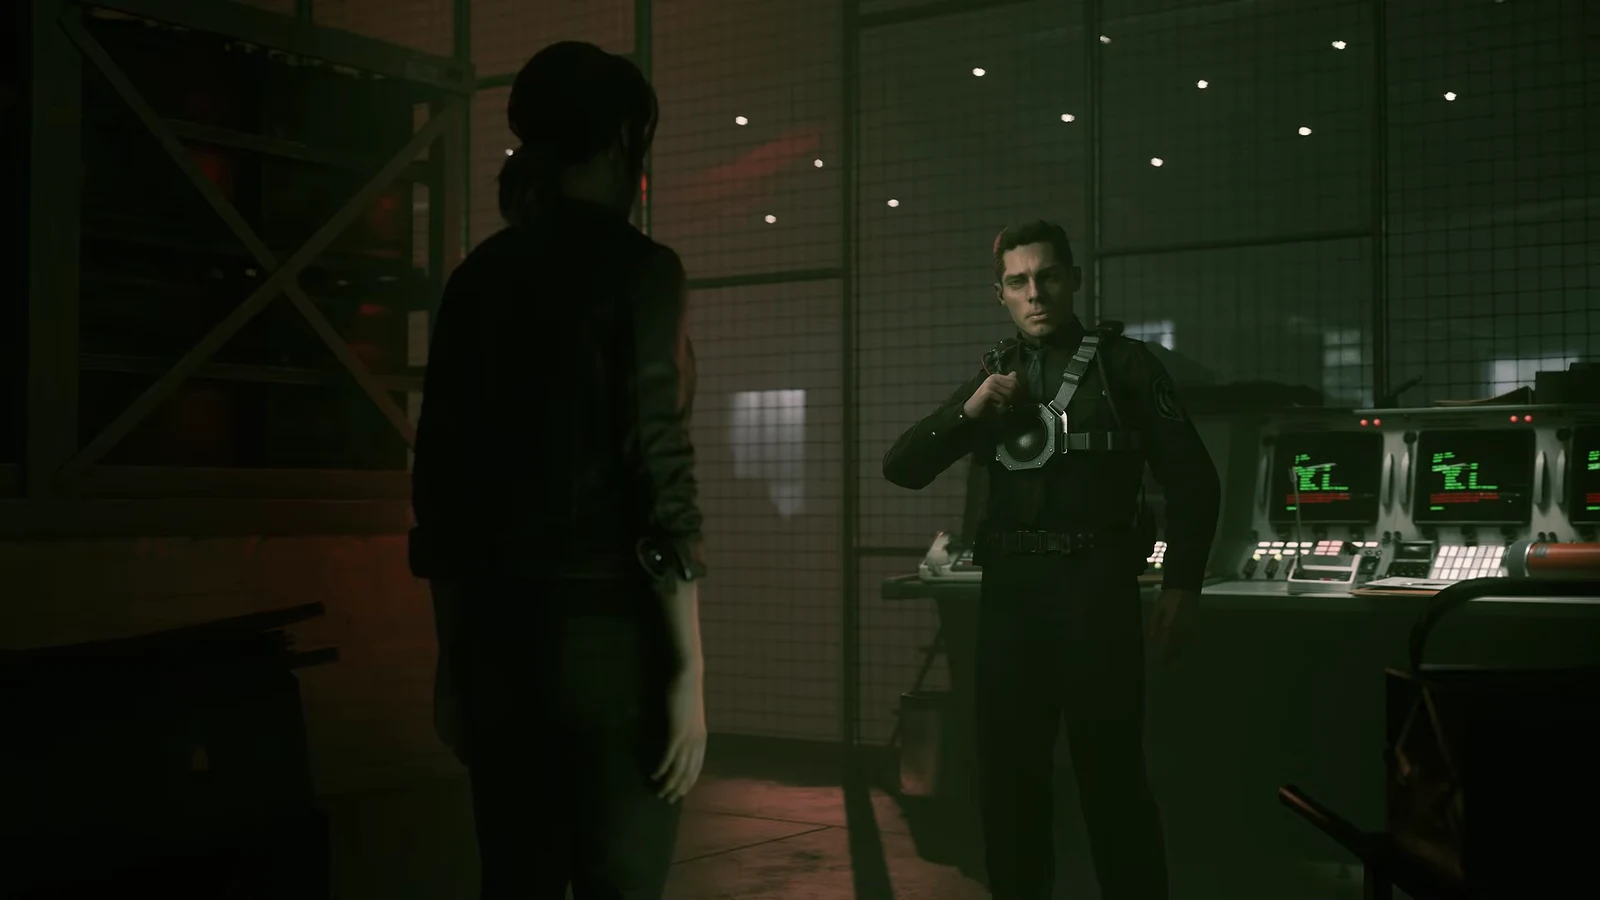
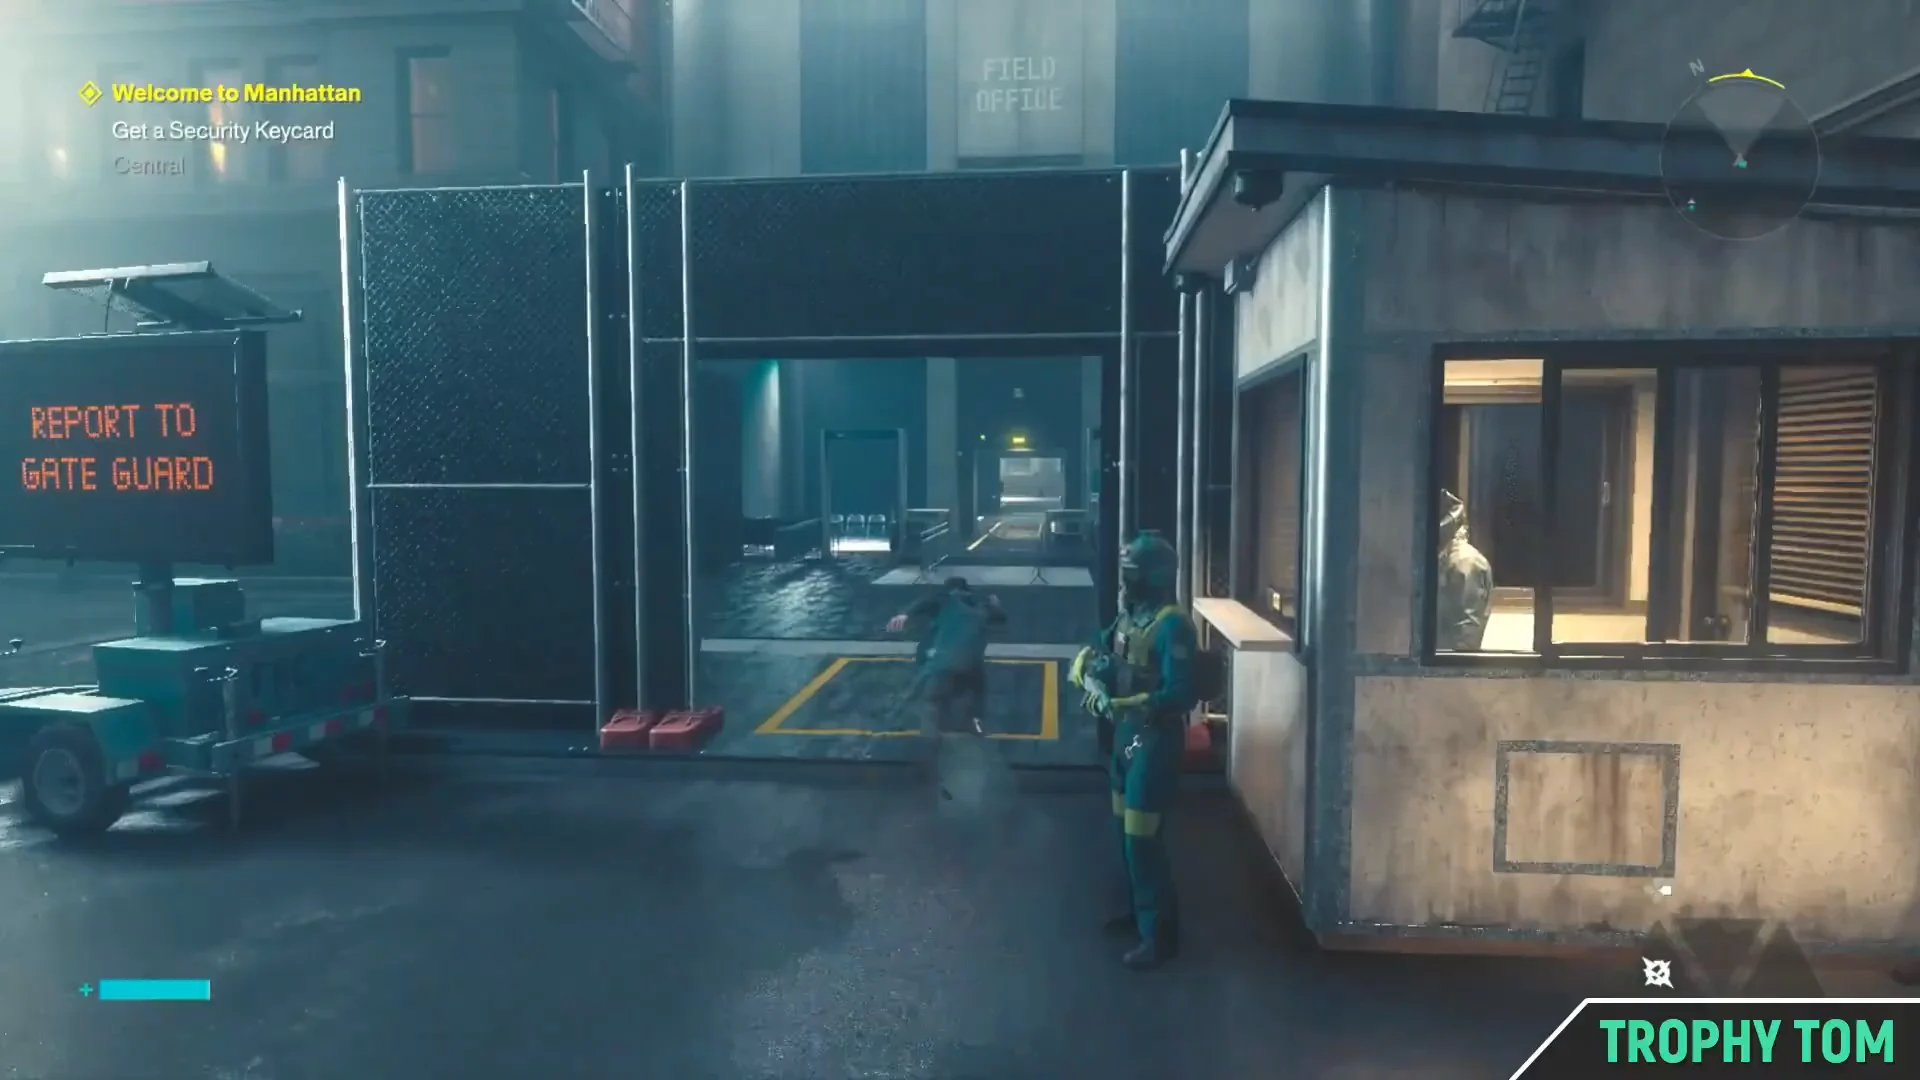
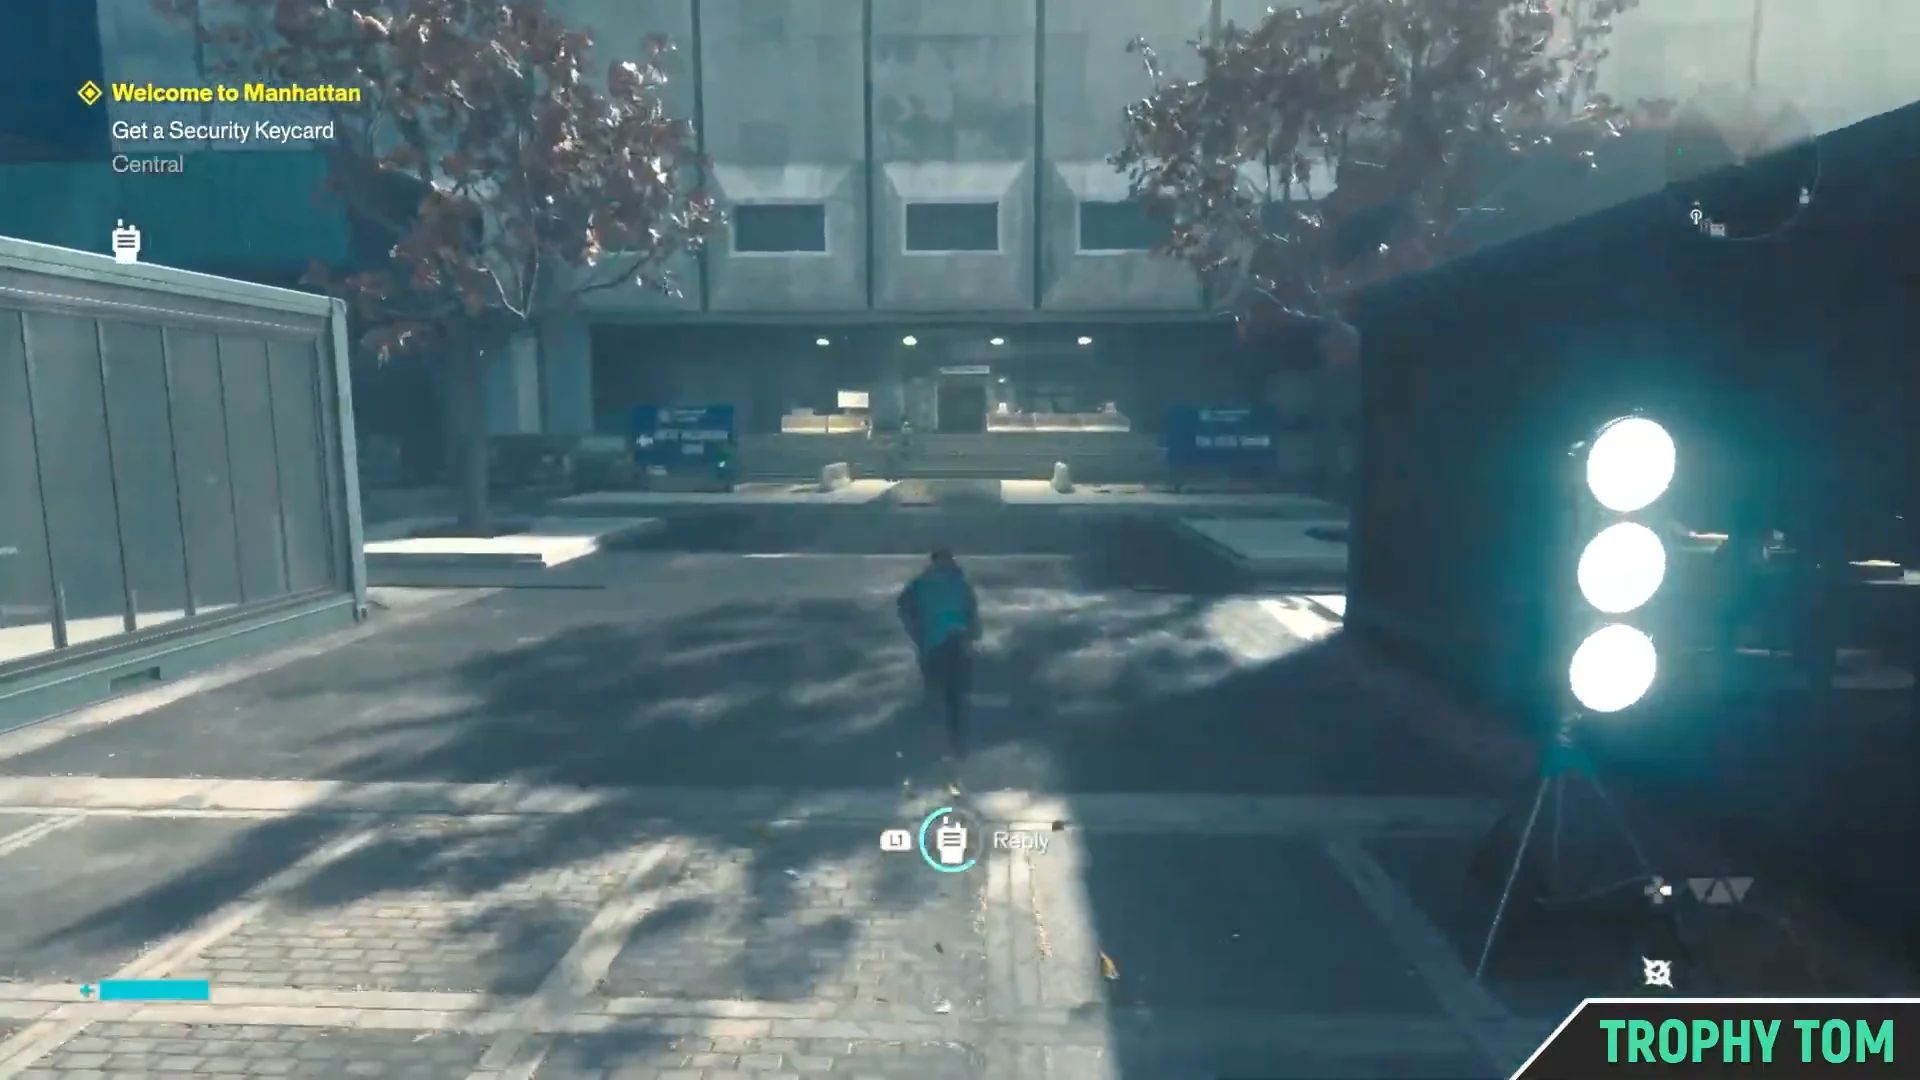
Quick answer: Follow the FBC Field Office street signs, check in with Gate Ranger Larsen at the security booth, cross the courtyard into Field Command, and take the Level 1 Keycard from the lobby desk.
Where the Level 1 Keycard is in Control Resonant
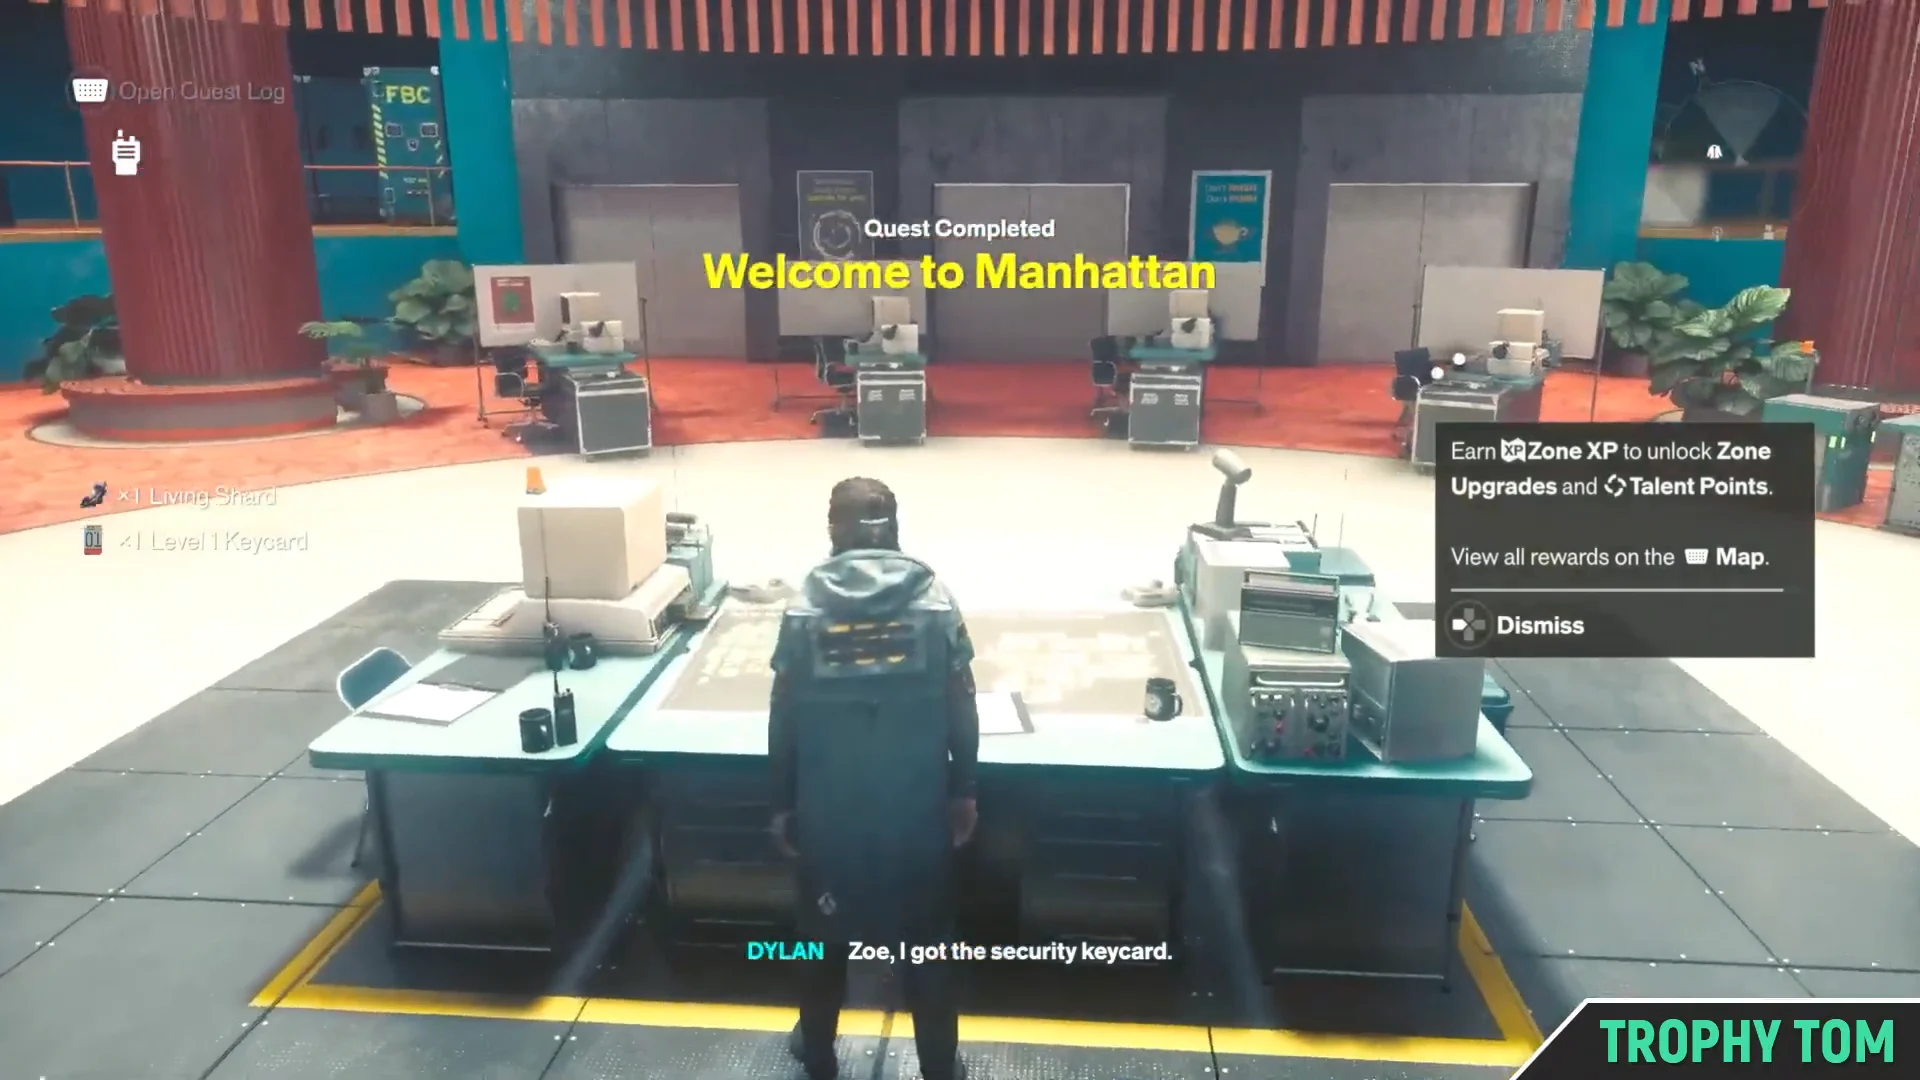
The keycard sits on the central desk inside the Field Command lobby, on the FBC Field Office grounds in Central Manhattan. It is not hidden, and there is no puzzle or fight guarding it. Dylan picks it up as the closing beat of Welcome to Manhattan, so the route matters more than the search.
- Quest: Welcome to Manhattan (main story)
- Objective text: “Get a Security Keycard”
- Area: Central Manhattan, FBC Field Office
- Exact spot: the desk in the Field Command lobby
- Reward: Level 1 Keycard (Clearance Level 1)
Route to the keycard from Central Manhattan
How to confirm you have Clearance Level 1
Welcome to Manhattan closes out the moment the keycard enters your inventory, so the quest log updating to complete is the confirmation. From then on, doors and containers that ask for Level 1 access read as unlocked when you approach them rather than rejecting the interaction.
If a door still refuses to open after the quest completes, check the clearance level printed on the lock. Level 2 doors will not respond to the Level 1 Keycard at all.
Level 2 Keycard: When higher clearance unlocks
Clearance Level 2 comes much later, during the Evacuation Procedures main mission, and there is no way to grab it early. Arish hands the card to Dylan as a scripted part of that mission, which also means it cannot be permanently missed.
| Card | Mission | How you get it |
|---|---|---|
| Level 1 Keycard | Welcome to Manhattan | Desk pickup at Field Command |
| Level 2 Keycard | Evacuation Procedures | Given by Arish |
The route to Arish runs through the Evacuation Zone. Follow the mission marker to the building causing the tremors, then destroy the three Hiss orbs surrounding it to drop the barrier over the entrance. Red trails and floating debris point toward each one.
After opening the entrance, ride the elevator on the left to floor 12 and defeat the enemy groups there. Higher up, a second Hiss orb prevents the elevator from proceeding; destroy it, go to floor 15, and keep moving until the objective becomes finding the survivor. The survivor is Arish.
Lead him back toward the elevator. A Hiss orb interrupts the exit, and once you destroy it and speak to Arish again, he gives Dylan the Level 2 Keycard. The clearance is permanent from that point.
What Level 2 clearance opens
Level 2 doors and containers become usable immediately. The back half of Evacuation Procedures walks you through the same floors you already cleared, so you can sweep the rooms and material crates you had to skip on the way up.
- Locked rooms and material crates inside the Evac Building
- Level 2 containers back at the Field Office
- The Evac Building’s SHÜM III arcade room on the Ground Floor
The arcade room sits opposite the Customization closet in the Evac Building lobby, where you can also change into pre-order or deluxe outfits. Since the clearance carries over to earlier areas, it is worth circling back to any Level 2 lock you walked past before the Evacuation Zone.