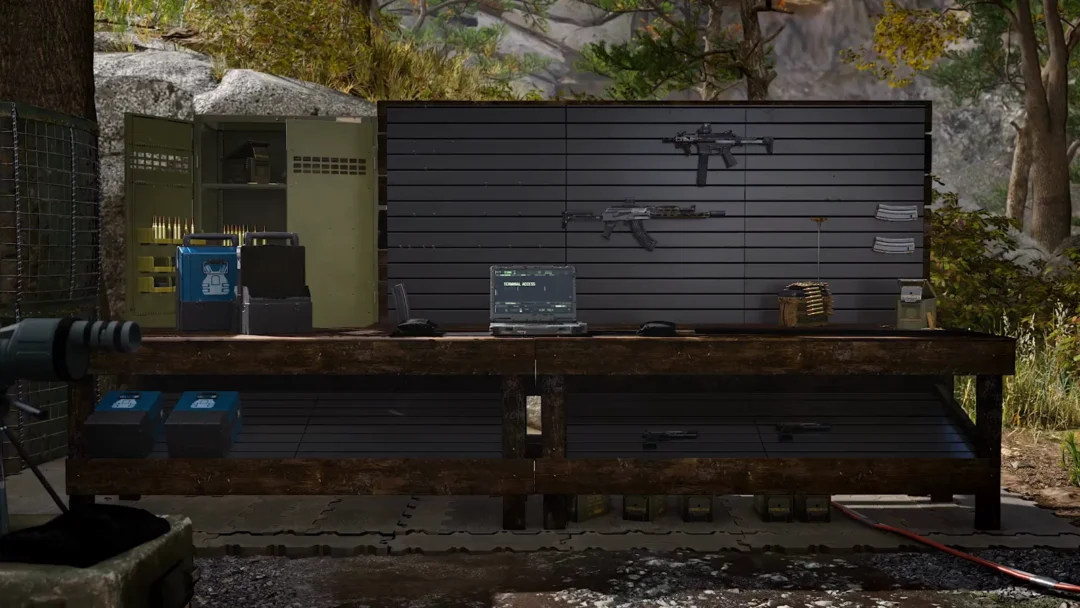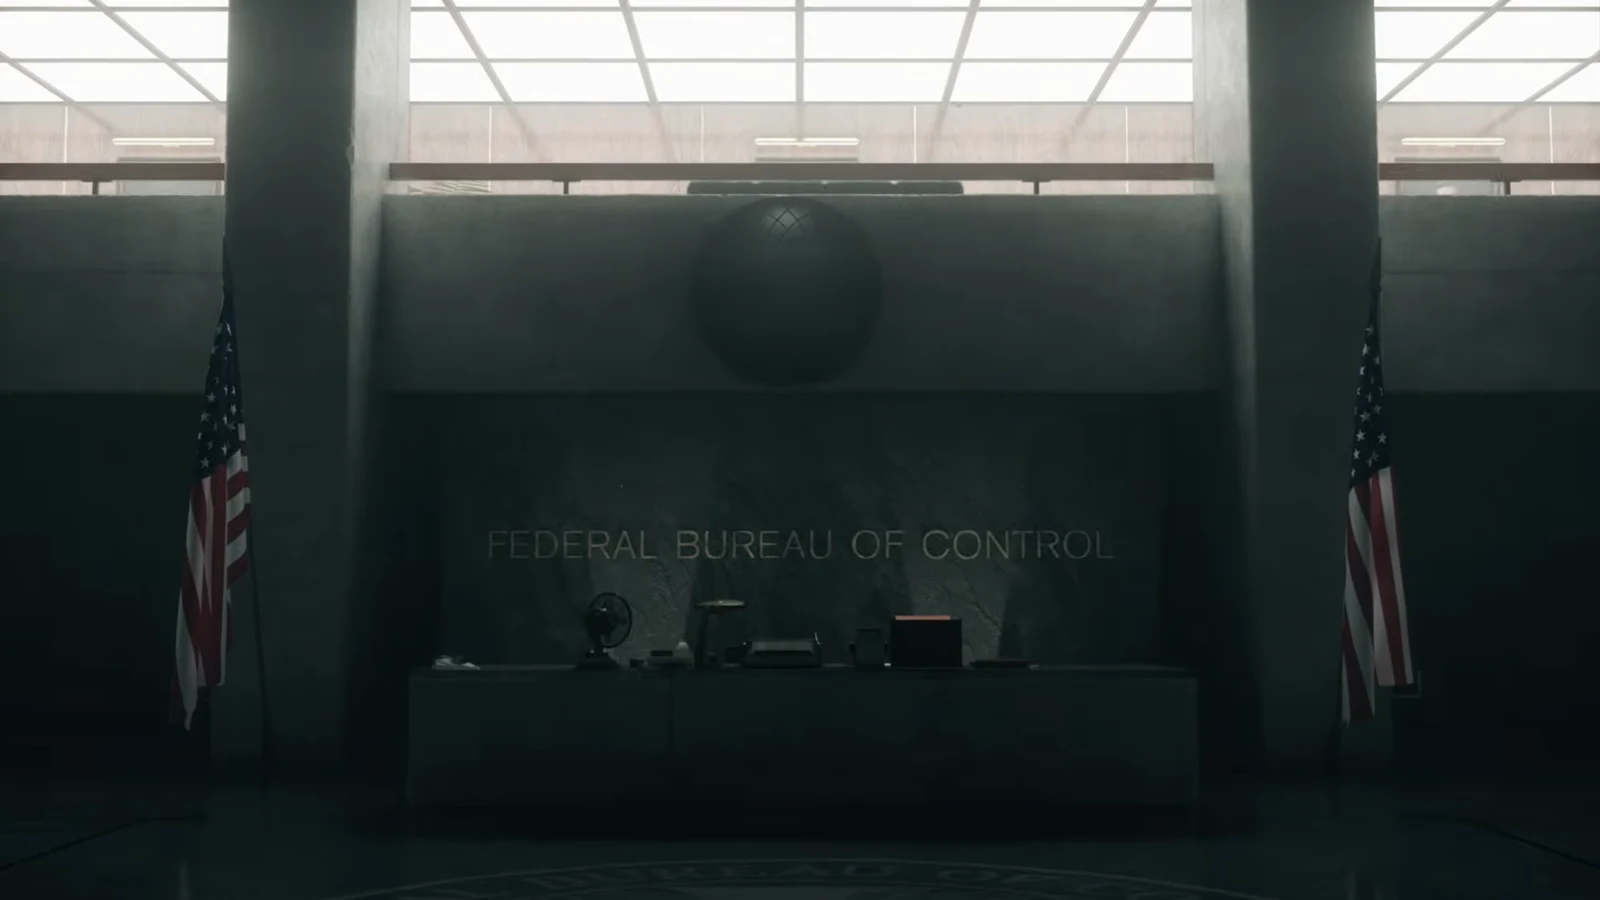
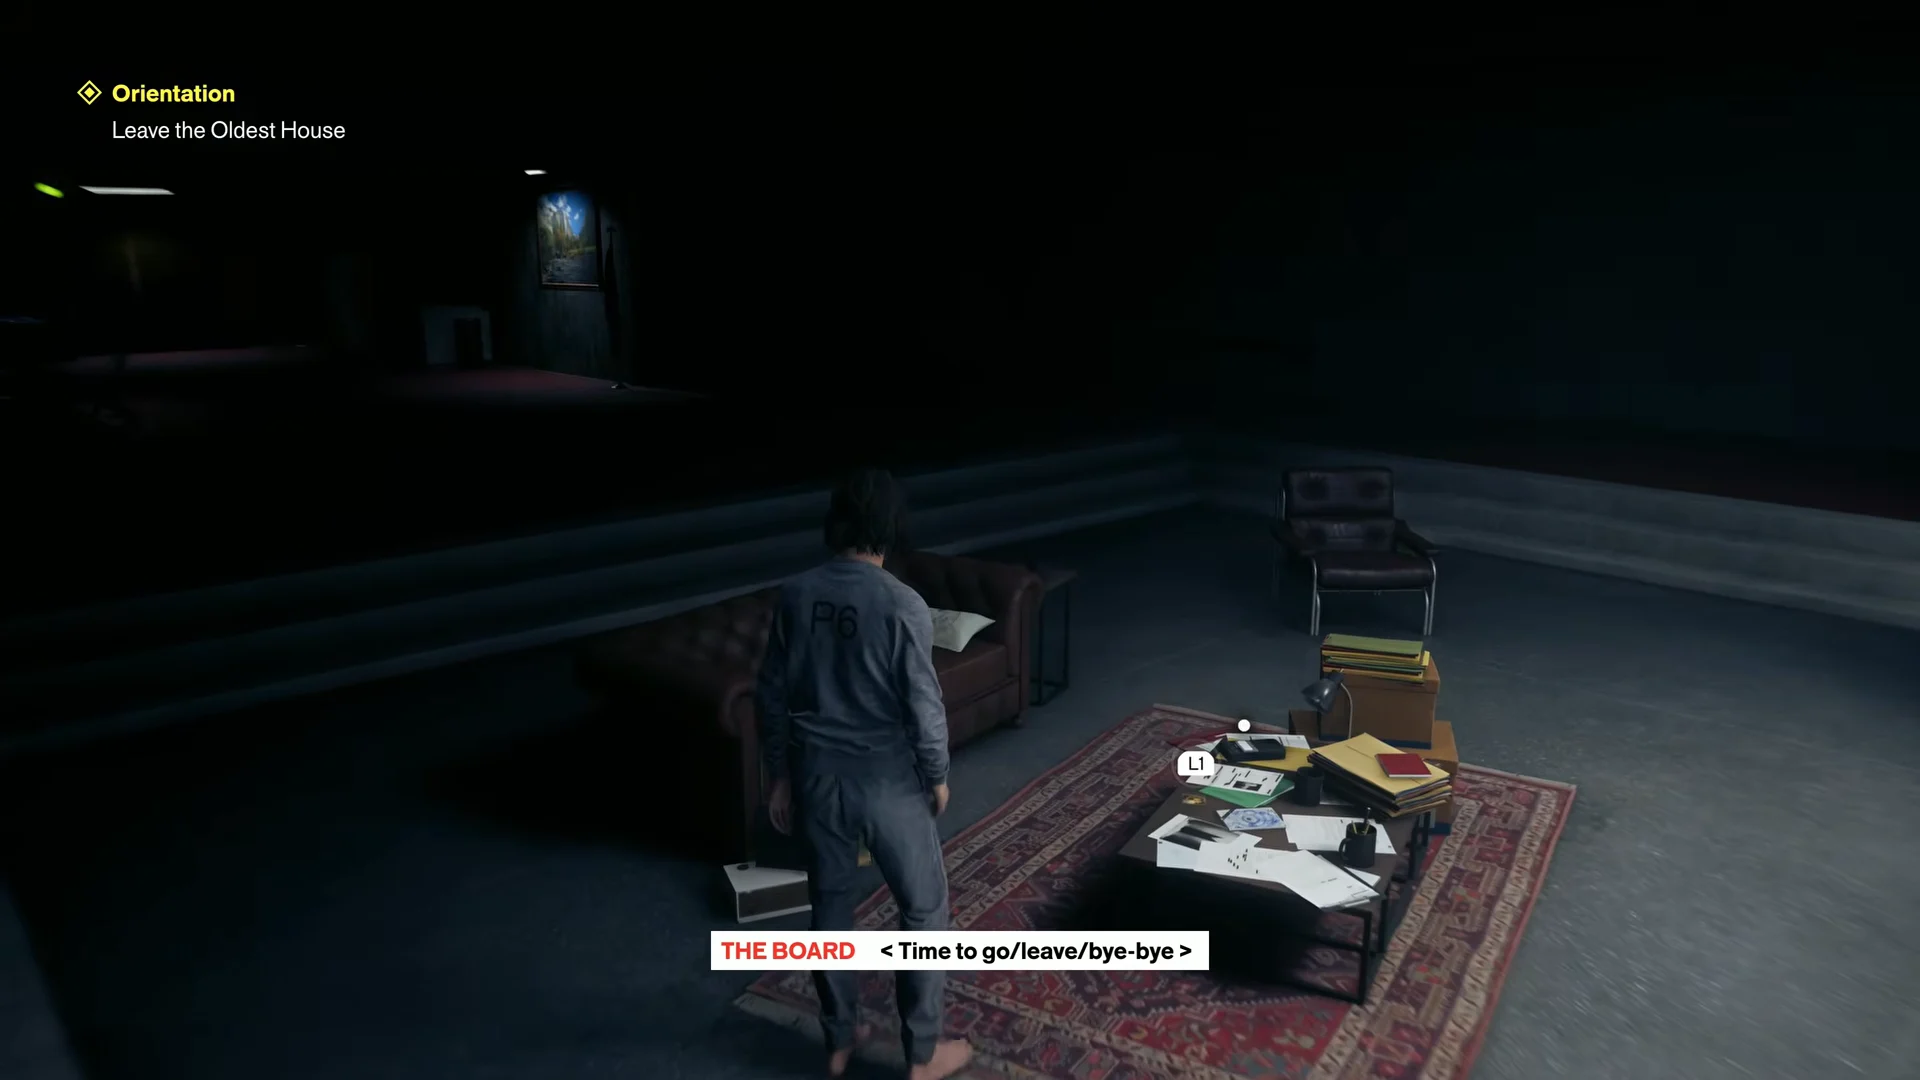
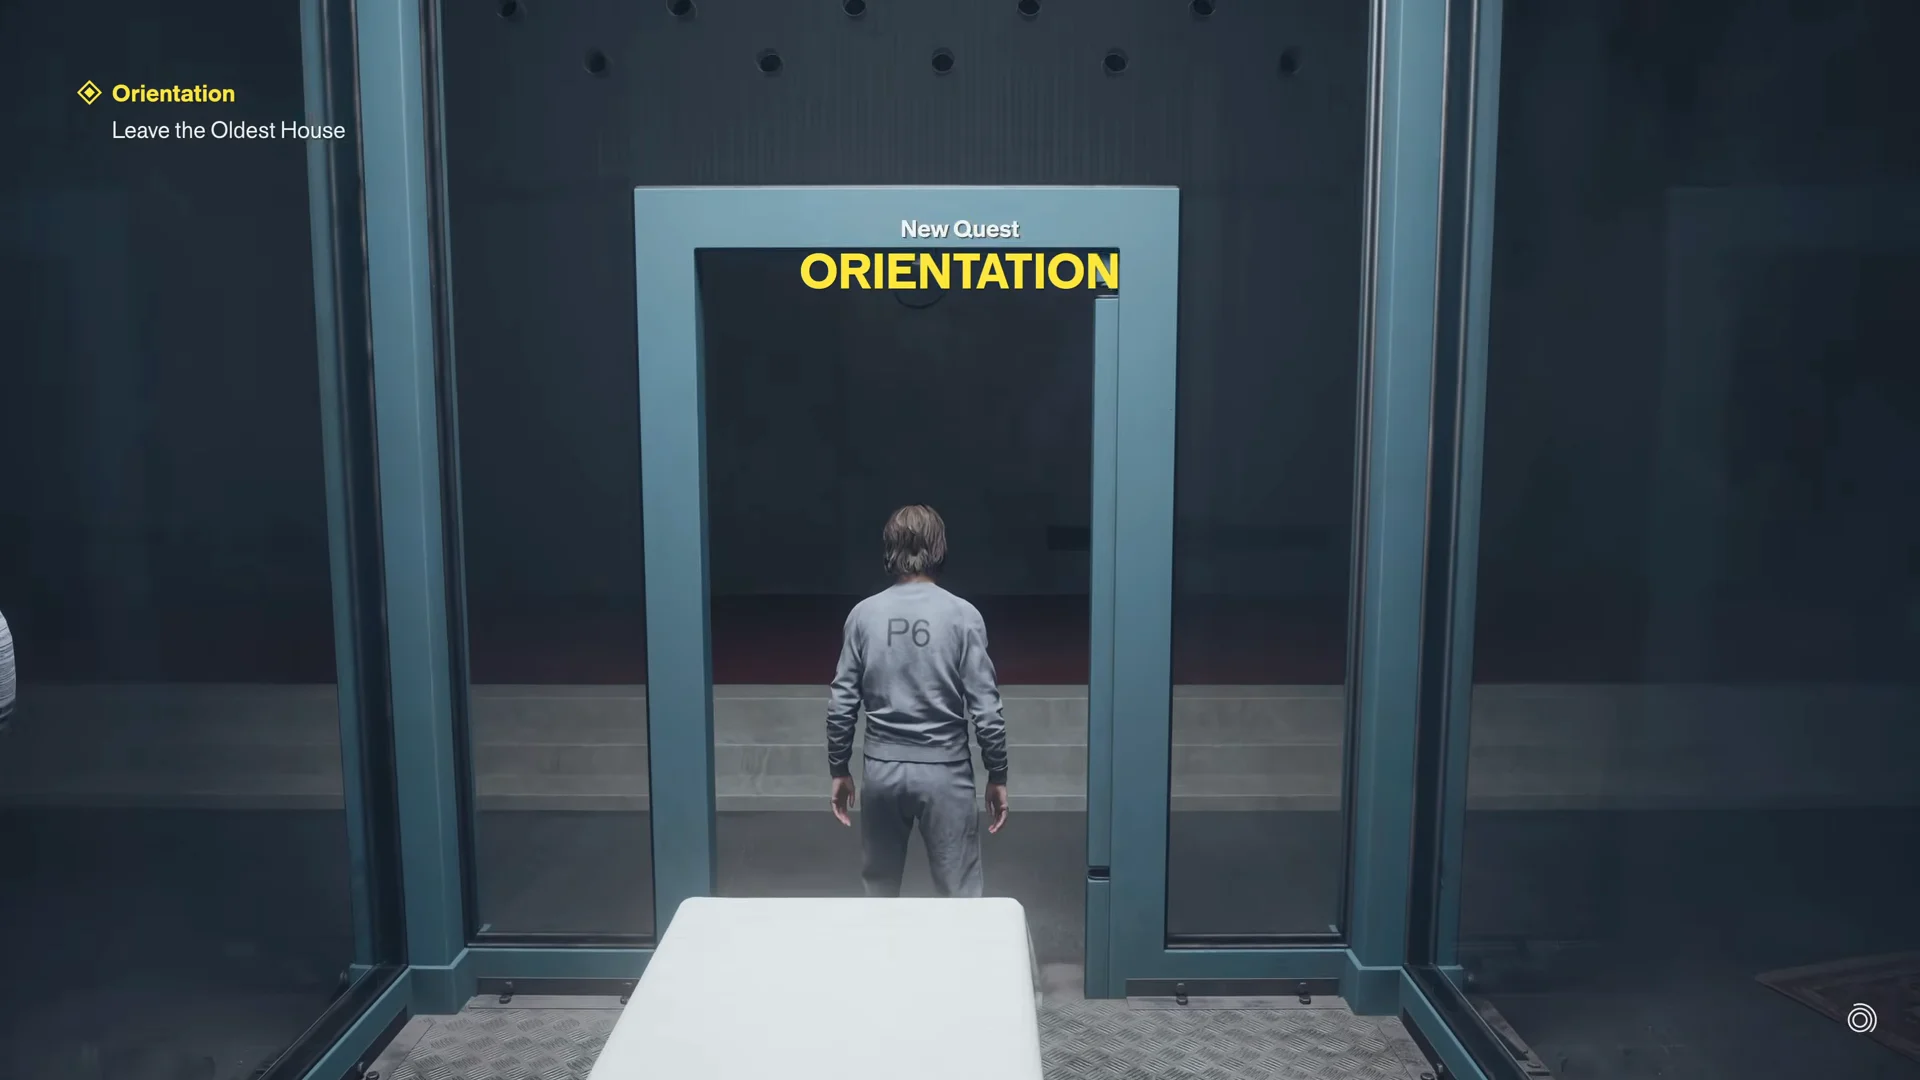
Orientation is the first main mission in CONTROL Resonant, and it runs far longer than a normal tutorial. It starts with Dylan Faden waking up in a containment cell inside the Oldest House and ends with the game’s first Resonant boss fight on the streets of Manhattan. Along the way it locks in two Aberrant weapon forms, three traversal abilities, and your first combat ability.
Quick answer: Escape the Oldest House through the Thomas Street Exit, meet Zoe at the hotel, follow the birds into the alley Fault for Rush, then beat the Artist by striking the glowing weak point under it.
Orientation objectives and rewards
The mission belongs to the Wake Up story chapter and begins the moment you start a new game, so there are no prerequisites. It spans the Oldest House and the Downtown zone.
| Objective | Where | What ends it |
|---|---|---|
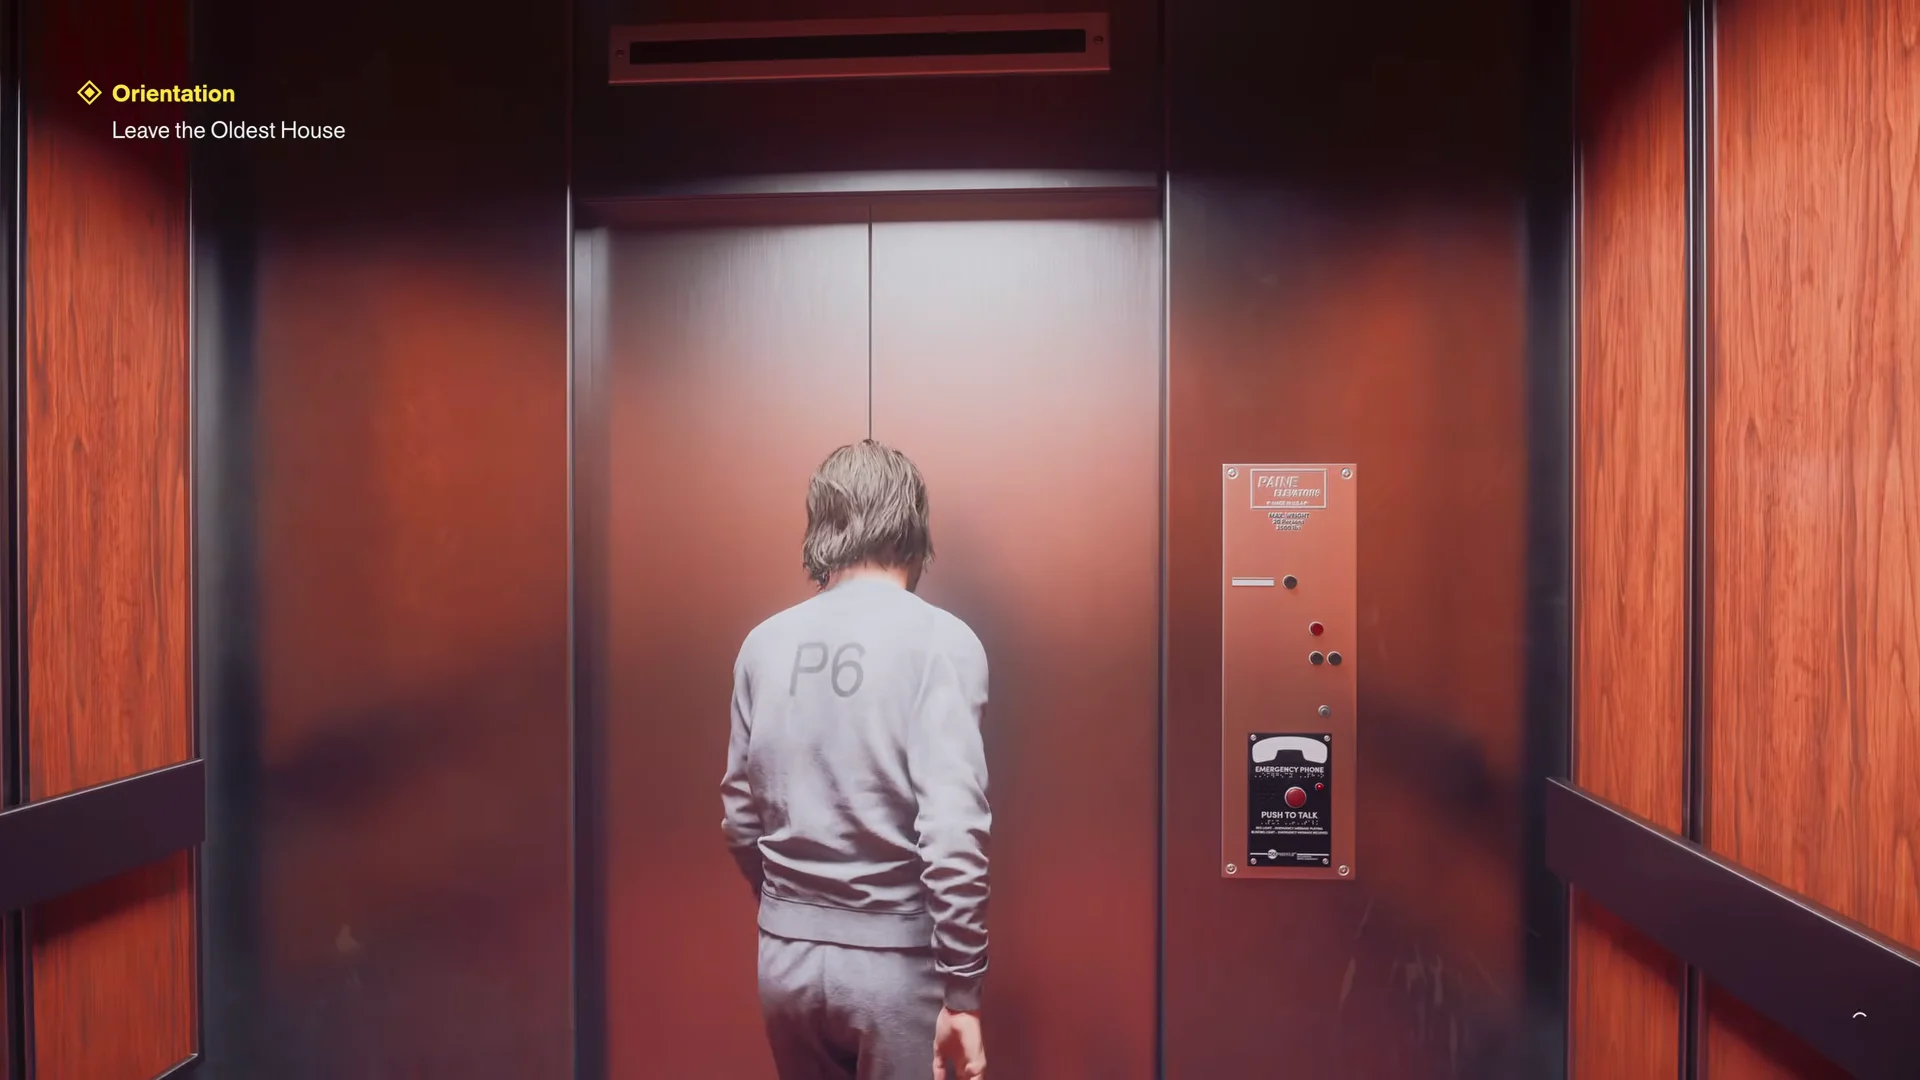
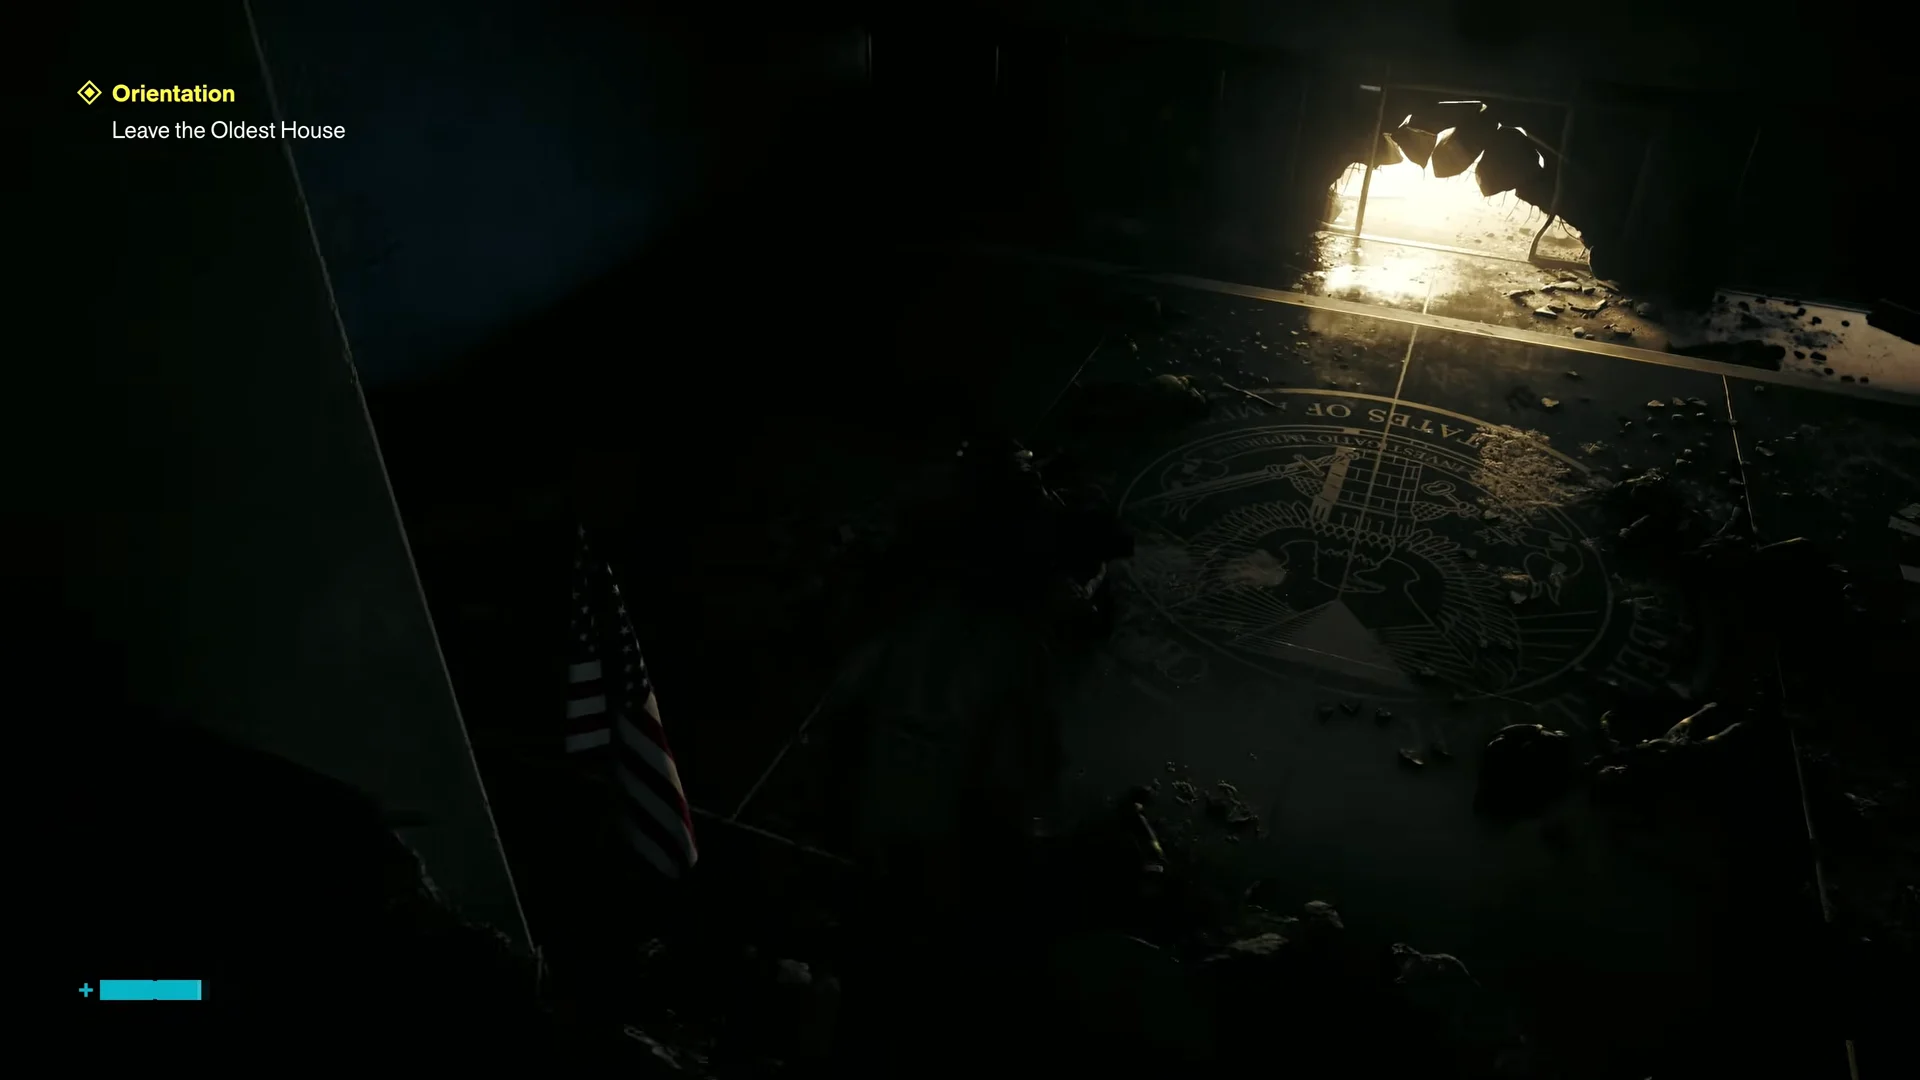
| Leave the Oldest House | Containment sector | Interact with the wall breach |
| Meet Zoe at the hotel building | Downtown streets | Reach Zoe at the chasm |
| Investigate the alley | Alley and rooftops | Follow the birds through a window |
| Search for Jesse | Inside the building | Use the TV, then talk to Jesse |
| Complete the ritual | Fault dimension | Touch the final TV set |
| Find a vantage point | Downtown | Take the newly opened route |
| Reach the source of the patterning | Rooftops | Enter the gallery |
| Defeat The Artist | Gallery back room | Kill the boss |
Finishing the mission pays out 1,000 Source, one Living Shard, one Reset Item, and the Untapped Badge 11–60 Artifact.
Escape the Oldest House
Aberrant form choices: primary and secondary
Orientation hands out two weapon decisions. The primary form is chosen in the hospital bed; the secondary form unlocks after the arena fight in the Downtown alley.
| Form | Slot | Feel |
|---|---|---|
| Strike | Primary | Fast basic attacks |
| Glaive | Primary | Wide slicing swings |
| Cleave | Primary | Heavier cutting blows |
| Crush | Secondary | Hammer, high falter, blunt damage |
| Drill | Secondary | Continuous thrusting damage |
| Extend | Secondary | Three-section staff, whip-like reach |
Crush is the most direct option for the fights ahead because its blunt hits build the Falter meter quickly. Once an enemy is faltered, clicking the Left Stick (L3) triggers an execution. Drill trades that stagger for sustained damage, while Extend covers more distance than its name suggests.
An auto-save lands just before the secondary form prompt. Loading that checkpoint from the Load Game menu lets you test another form and re-pick without restarting the mission.
Meet Zoe at the hotel building
On the street, pick up the field radio near the floating bodies to answer Supervisory Special Agent Zoe de Vera, who takes command and sets the hotel as your destination. The map is not available yet, so aim at the glowing “Hotel” neon sign and hold the tag button to mark it. The building sits to the southwest and doubles as your landmark.
- Begin by following the street on the right; afterward, turn left to enter the alley.
- Killed enemies drop Health Elements; Large Health Elements restore a fixed, larger amount.
- The alley is an arena encounter: barriers stay up until the Heavy enemy and its drone waves are dead.
- Clearing that arena unlocks the secondary Aberrant form selection.
- Use dodges to cross gaps that are too wide for a plain jump.
The route then climbs over fences, fire escapes, and rooftop vents before dropping back to street level. Zoe is waiting at the far end, standing with a shotgun at the edge of the enormous fracture splitting the road. Talk to her, and the objective updates to investigate the alley after a rumble sounds nearby.
The Fault ritual: double jump, Elevate, and Rush
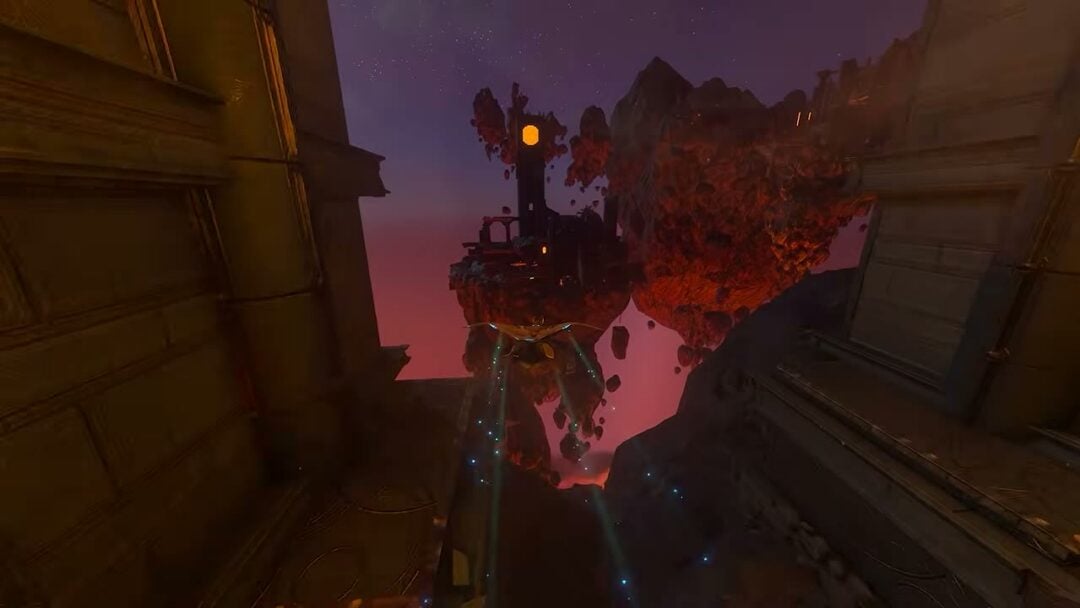
Head into the alley and climb the buildings. If the path is unclear, watch the flock of birds overhead. They fly the correct route and eventually stream through a window. Go in after them, find the television set, and interact with it to enter the Fault, a floating landscape of grassy islands and autumn trees.
Platforming from here is linear. Cross to the parking-garage structure, climb to the top level, and speak to Jesse at the railing to begin the Ritual. Each TV set you reach grants one ability.
- Double jump — a second jump in mid-air for extra height and distance.
- Elevate — hover and float to cross wide gaps.
- Rush — a brief movement burst at high speed.
The closing obstacle course expects all three in sequence. Jump twice for height, hold Elevate to stretch the airtime, and fire Rush to clear the longest gaps. Touch the final television to return to the threshold room, then walk out and up the stairs to the street.
Reach the source of the patterning
A route that was previously out of reach now opens straight ahead, which satisfies the vantage point objective. Fight through the patrol of flying and ground Hiss on the street, then start climbing toward the visibly patterned part of the city.
Both the left and right sides of the area work. Each eventually gets you high enough to hop the suspended metal platforms across to the gallery building. Inside, run past the spiral motifs to the back of the hall and interact with the door there to start the boss fight.
How to defeat The Artist
The Artist is the first Resonant boss, and the fight is split into two distinct stages. It spends much of the battle racing around the arena, hurling cars and pushing waves of rocks across the floor. At close range, it wields two traffic lights, bringing them down from overhead or sweeping them sideways across its front. React quickly to dodge either melee attack.
The weak point transition
Use the blue marker on the boss health bar as the phase-change point. When its health reaches that mark, healing pickups appear; collect them before continuing if Dylan needs health. The Artist then ascends above the arena’s center, with platforms forming around it. Climb up, reach the glowing weak spot beneath it, and strike the point to force the boss back onto the ground.
Second stage adjustment
The pattern continues afterward with one new feature. As the Artist moves across the arena, rocks also fall from overhead along approximately that same route. Move sideways out of the lane rather than following it, wait for the rocks to hit, then move in and punish the opening between its attacks.
Confirming Orientation is complete
Killing the Artist transports Dylan to the Gap. That is the confirmation the mission has ended, along with the quest closing out in the log and the rewards landing in your inventory. A short tutorial on ability upgrades plays here, and you choose your first Combat Ability from Barrage, Volatile Anomaly, or Shield.
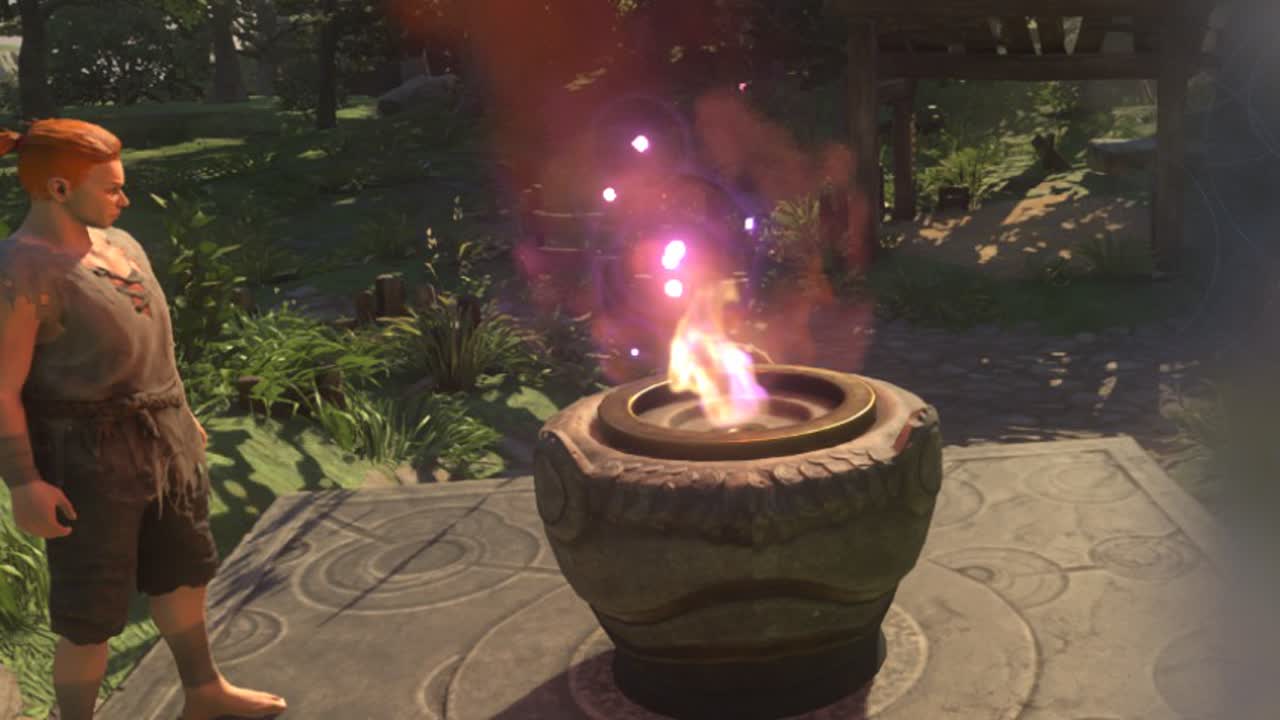
The Gap also introduces the loadout systems you will use for the rest of the campaign, including Reset and Exchange, the Artifact Formation shrine, the talent tree, and the pillar where primary and secondary weapon forms are reviewed and upgraded.
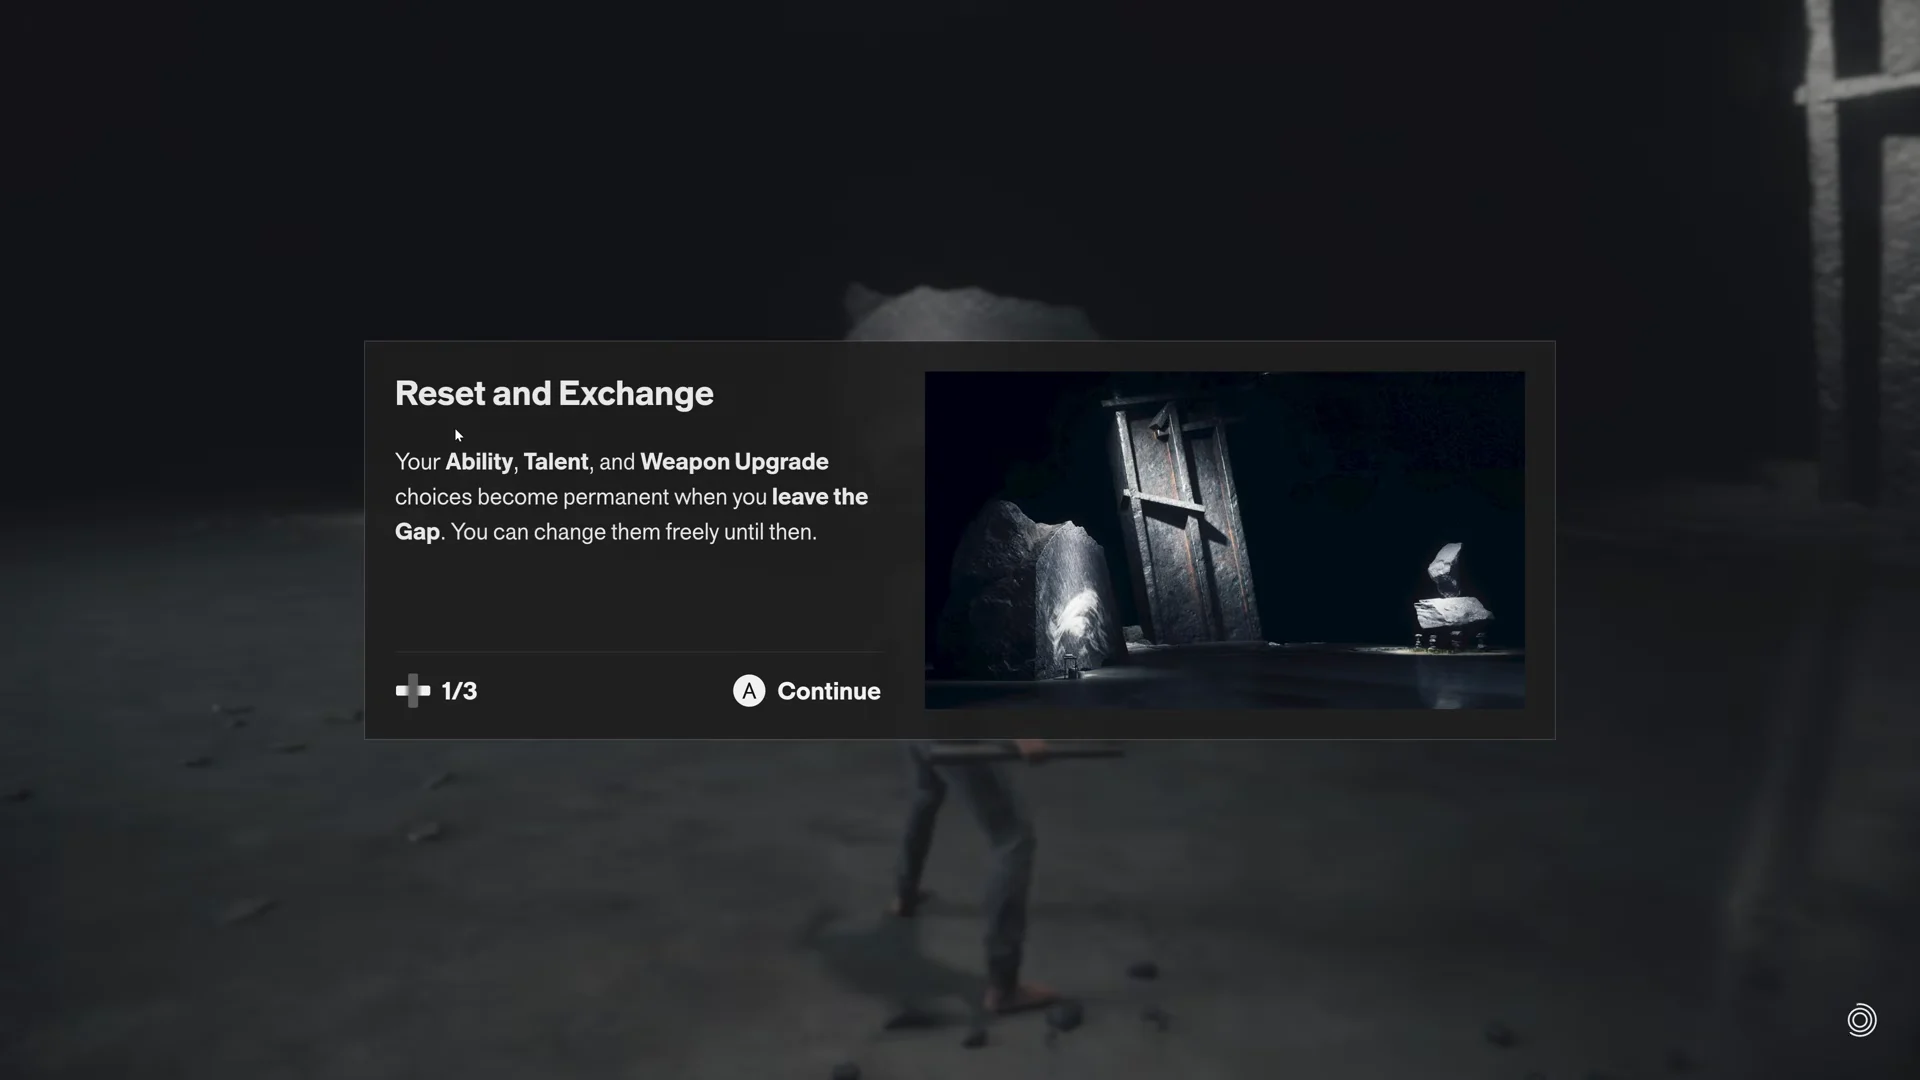
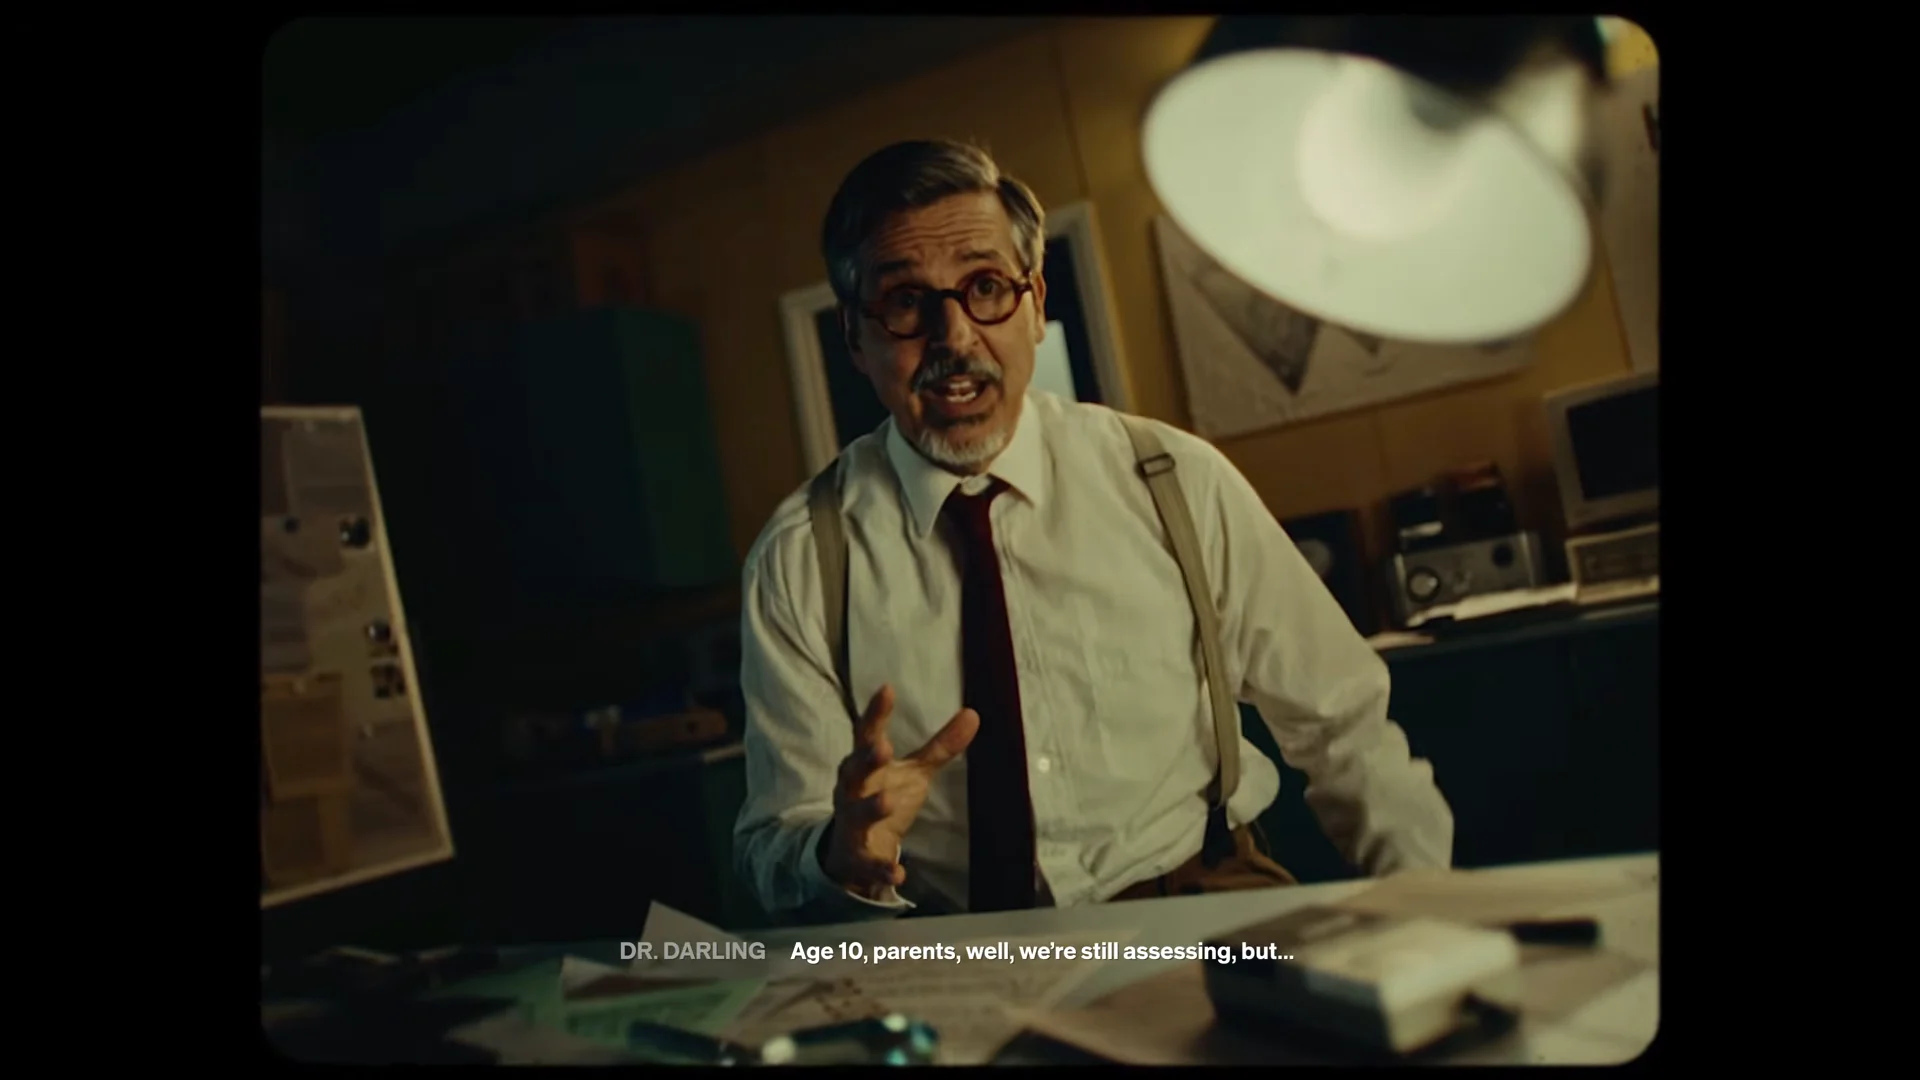
Leaving the Gap puts Dylan back in front of Zoe and rolls the story into the second mission, Welcome to Manhattan, which opens with archive footage of Dr. Darling discussing the Ordinary AWE and the boy the Bureau found there.