Three concrete walls, dozens of red switches, and a document that looks like someone spilled punctuation on a page. The Auxiliary Lines puzzle in Silent Hill: Townfall is one of the last big roadblocks in Simon’s chapter, and it gets a lot easier once you know that the little white paint stripes on each switch are doing all the work.
Quick answer: Open the AUX Room with locker code 0825, put the AUX Disk in the room’s computer to get the Auxiliary Lines file, then flip each striped switch up or down in the order listed below.
How to unlock the AUX Room and get the Auxiliary Lines file
The AUX Room stays locked until you are most of the way through the Remote Systems Control puzzle, so there is no point circling back to it early. The door opens during the objective that has you relive the events on CCTV.
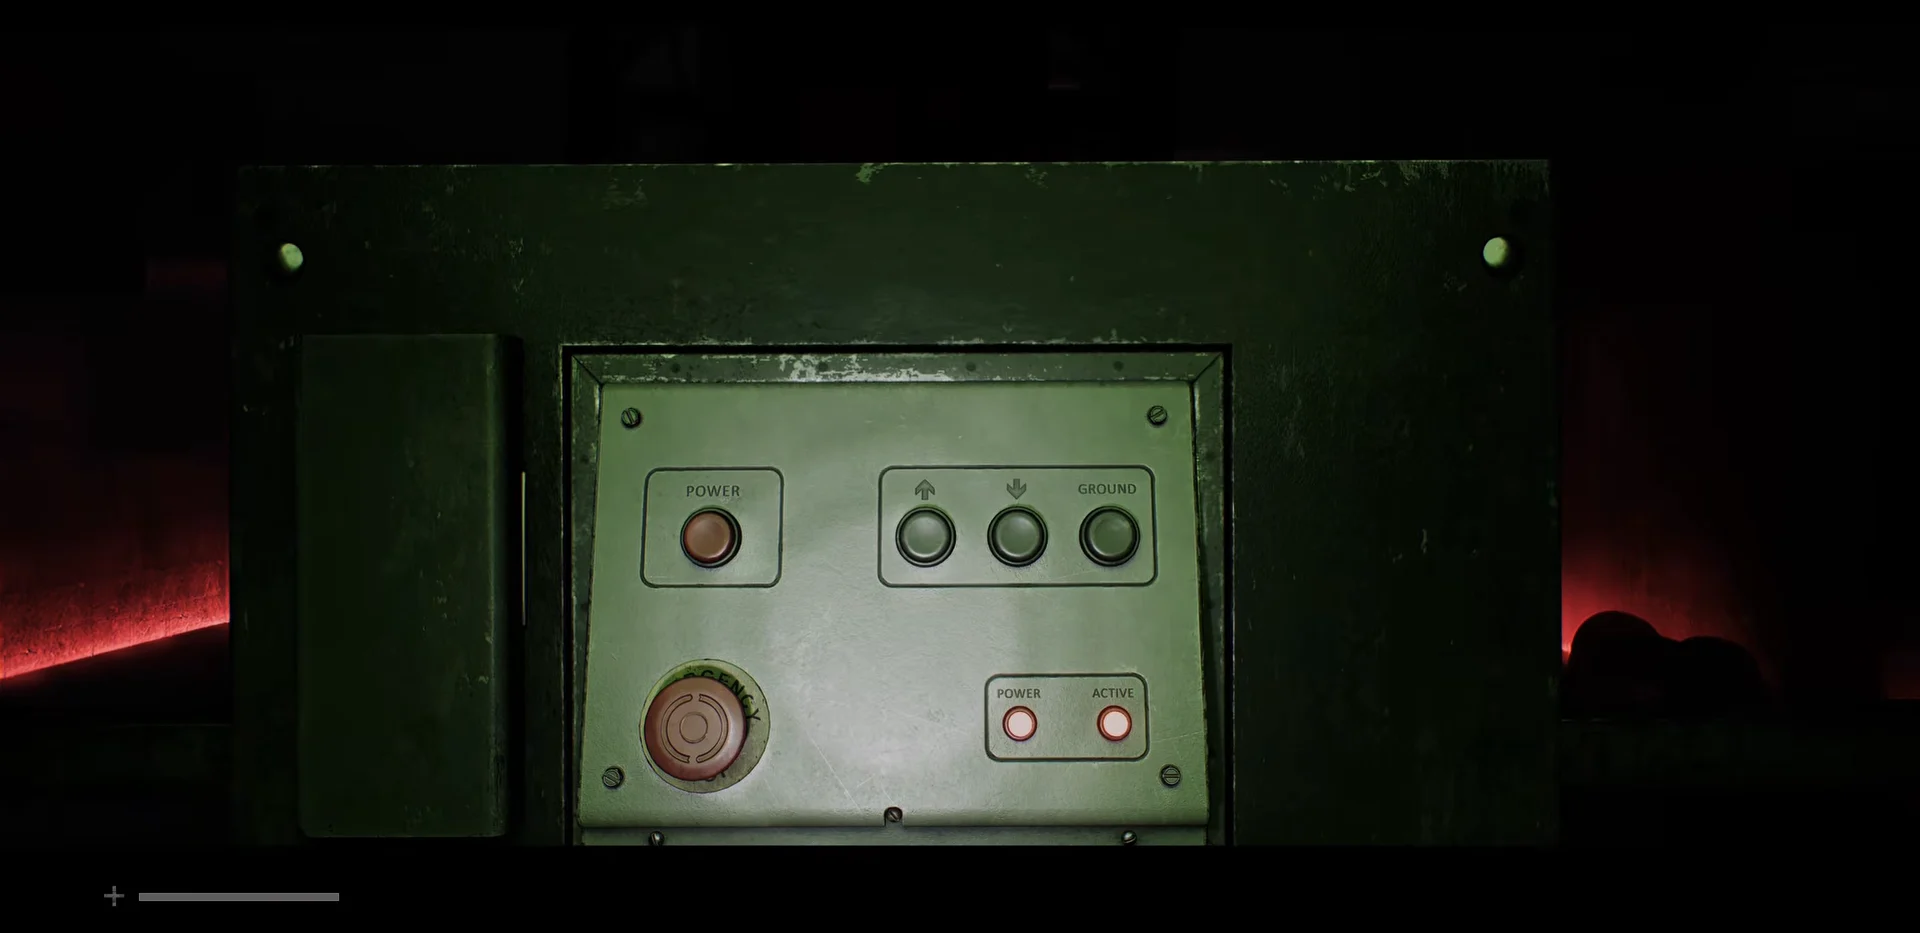
The terminal reports DISK NOT FOUND IN DRIVE A:/ until the disk goes in, so the file cannot be read before you raid the cabinet.
How to read the Auxiliary Lines document
The file is three rows of vertical and horizontal marks:
1. | _ | | _ | _ | |
2. | _ _ _ | _ _ | |
3. _ | | | _ | _ |
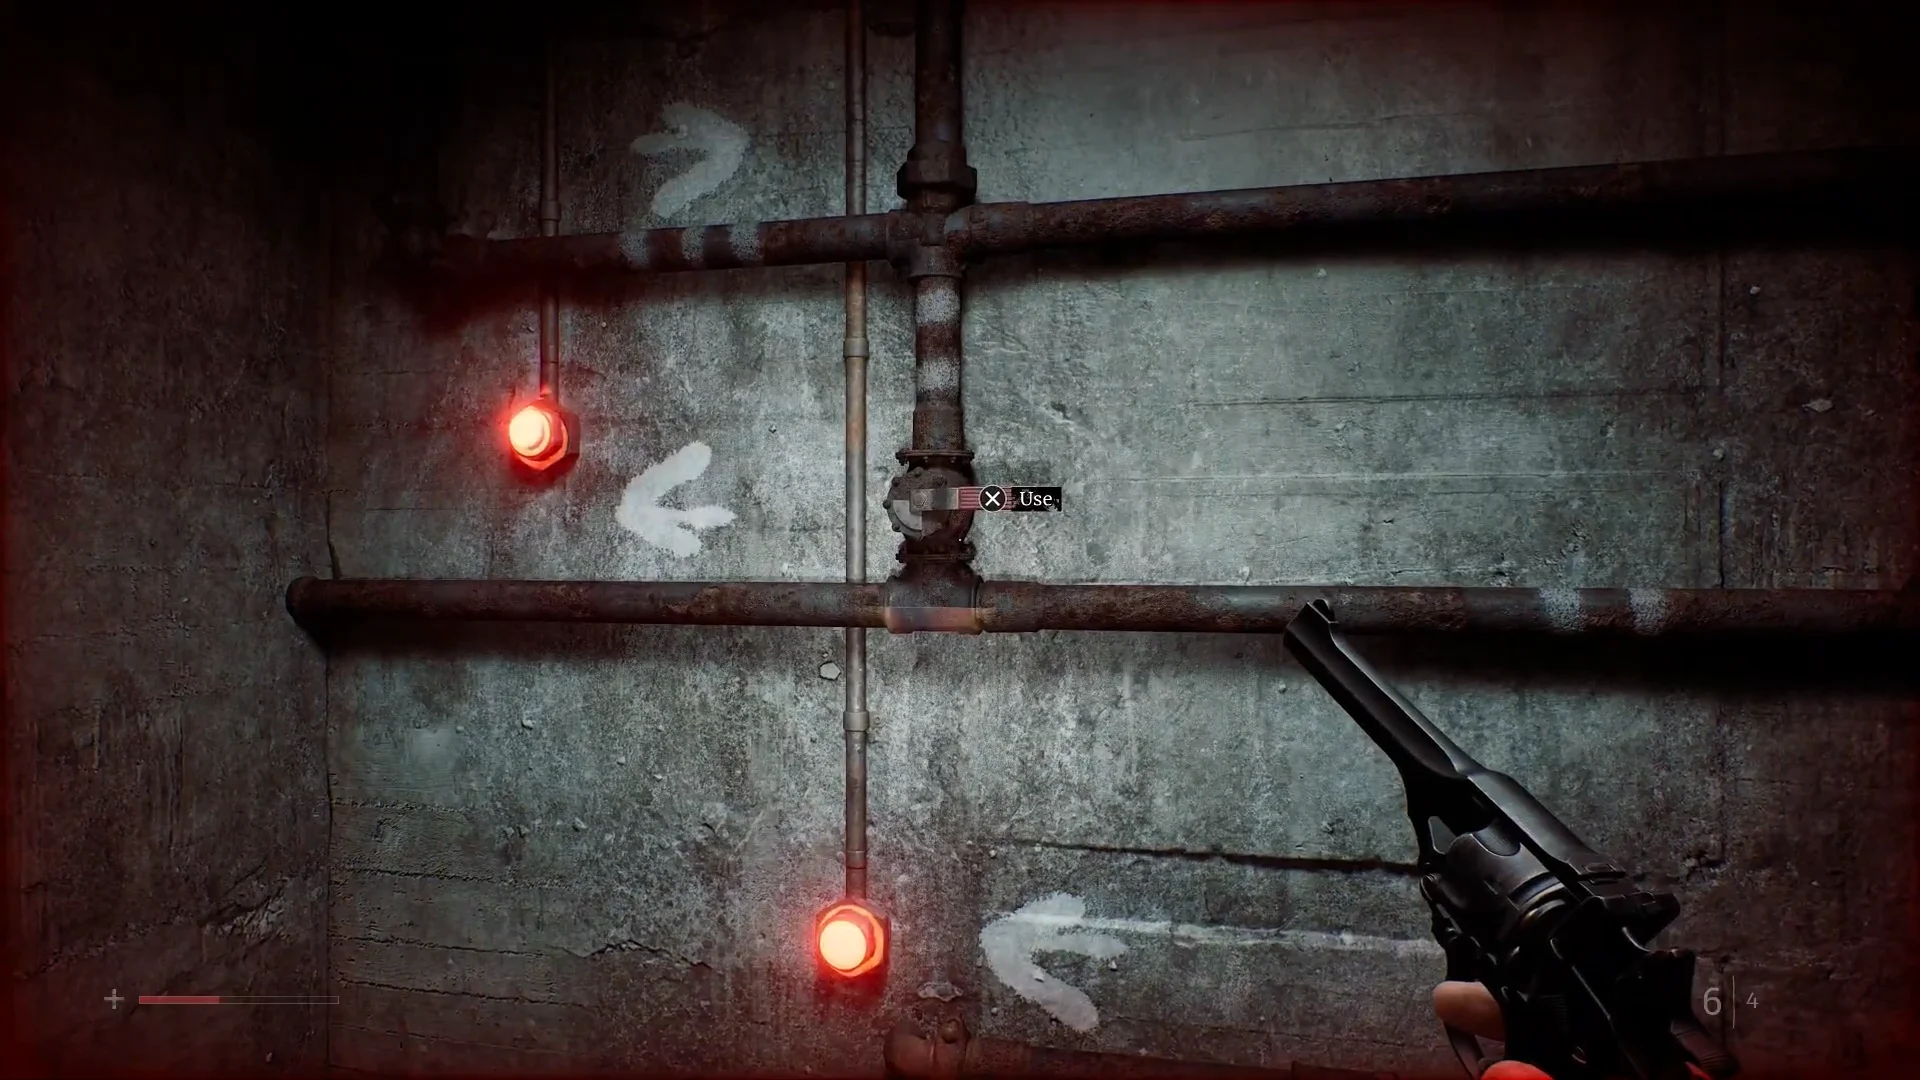
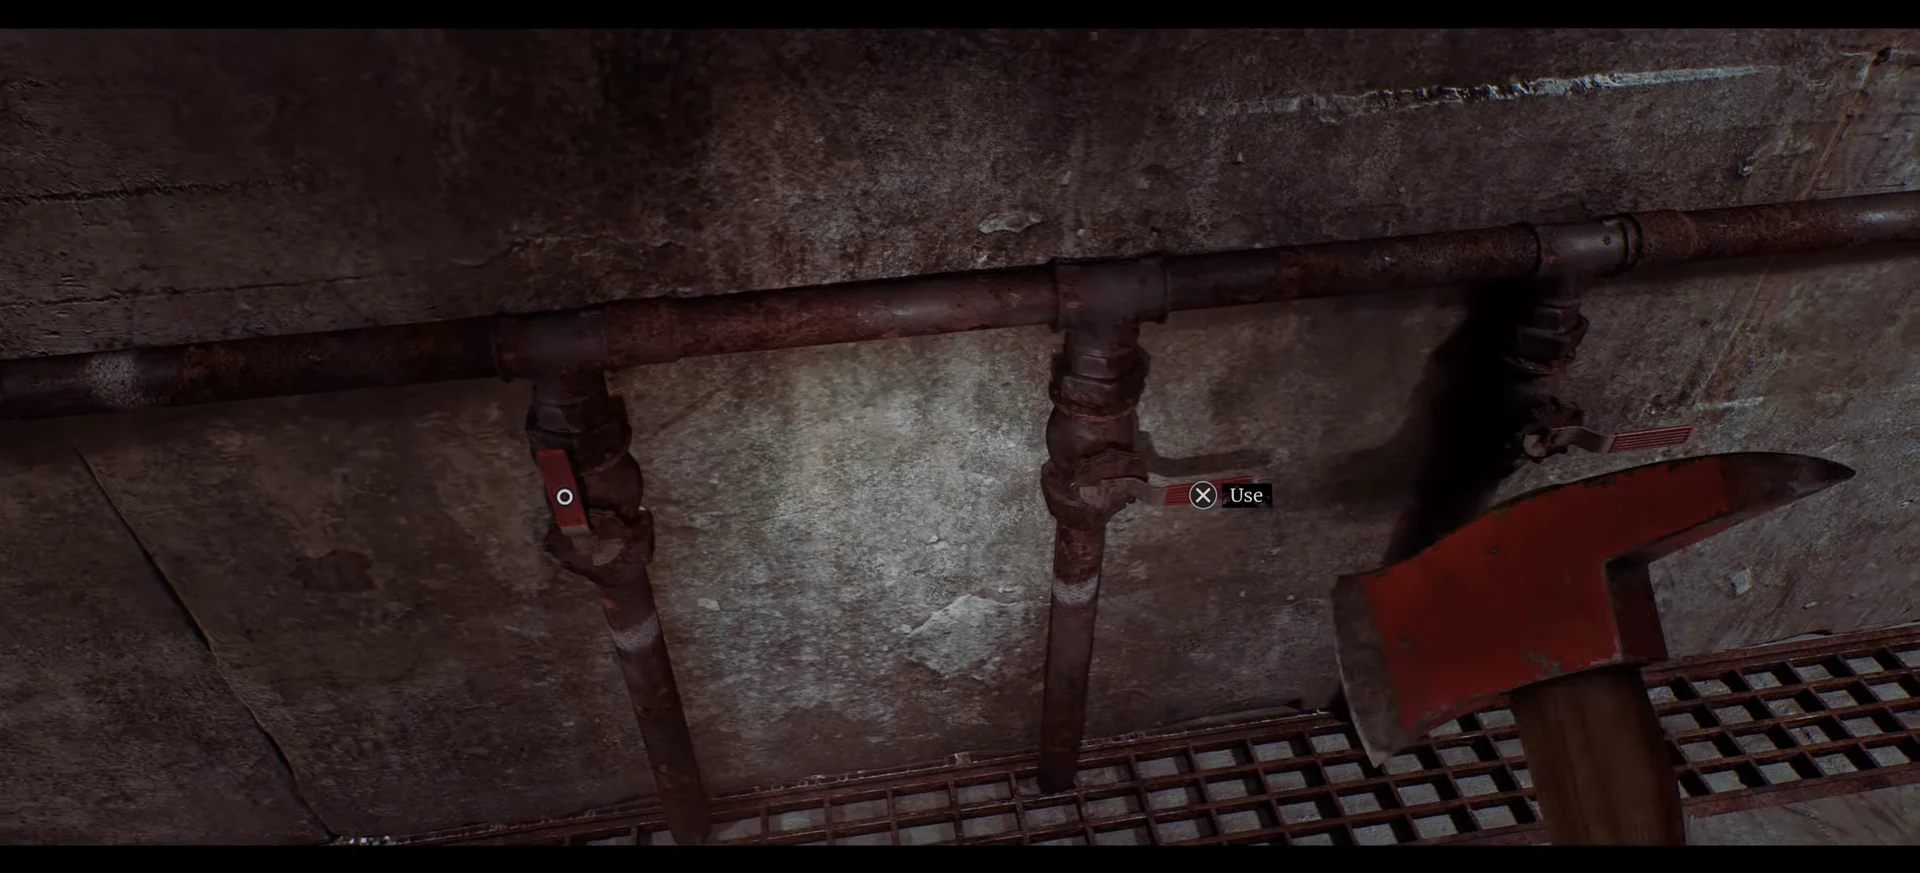
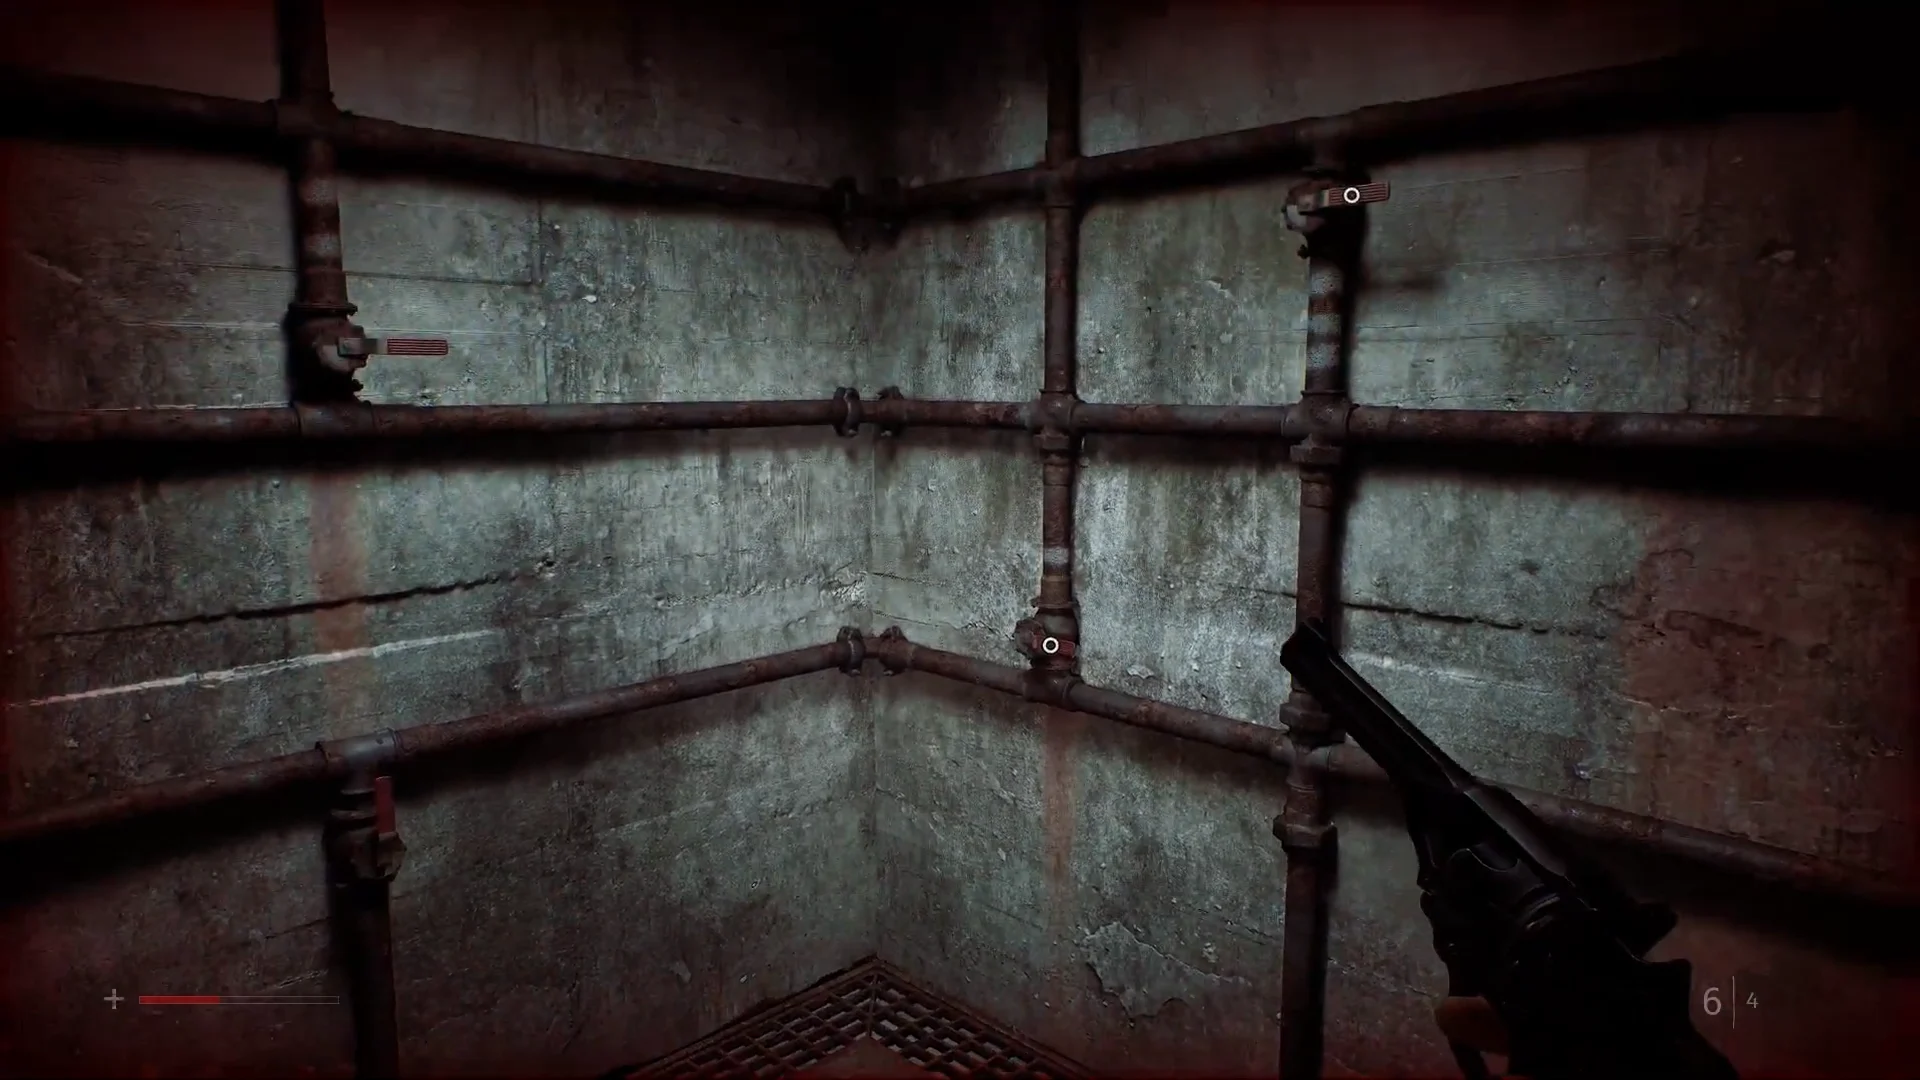
A vertical bar means the switch points up. A flat underscore means the switch points down. The row number tells you which group of switches it applies to, and the groups are identified by the white paint stripes on the pipes: one stripe for row 1, two stripes for row 2, three stripes for row 3.
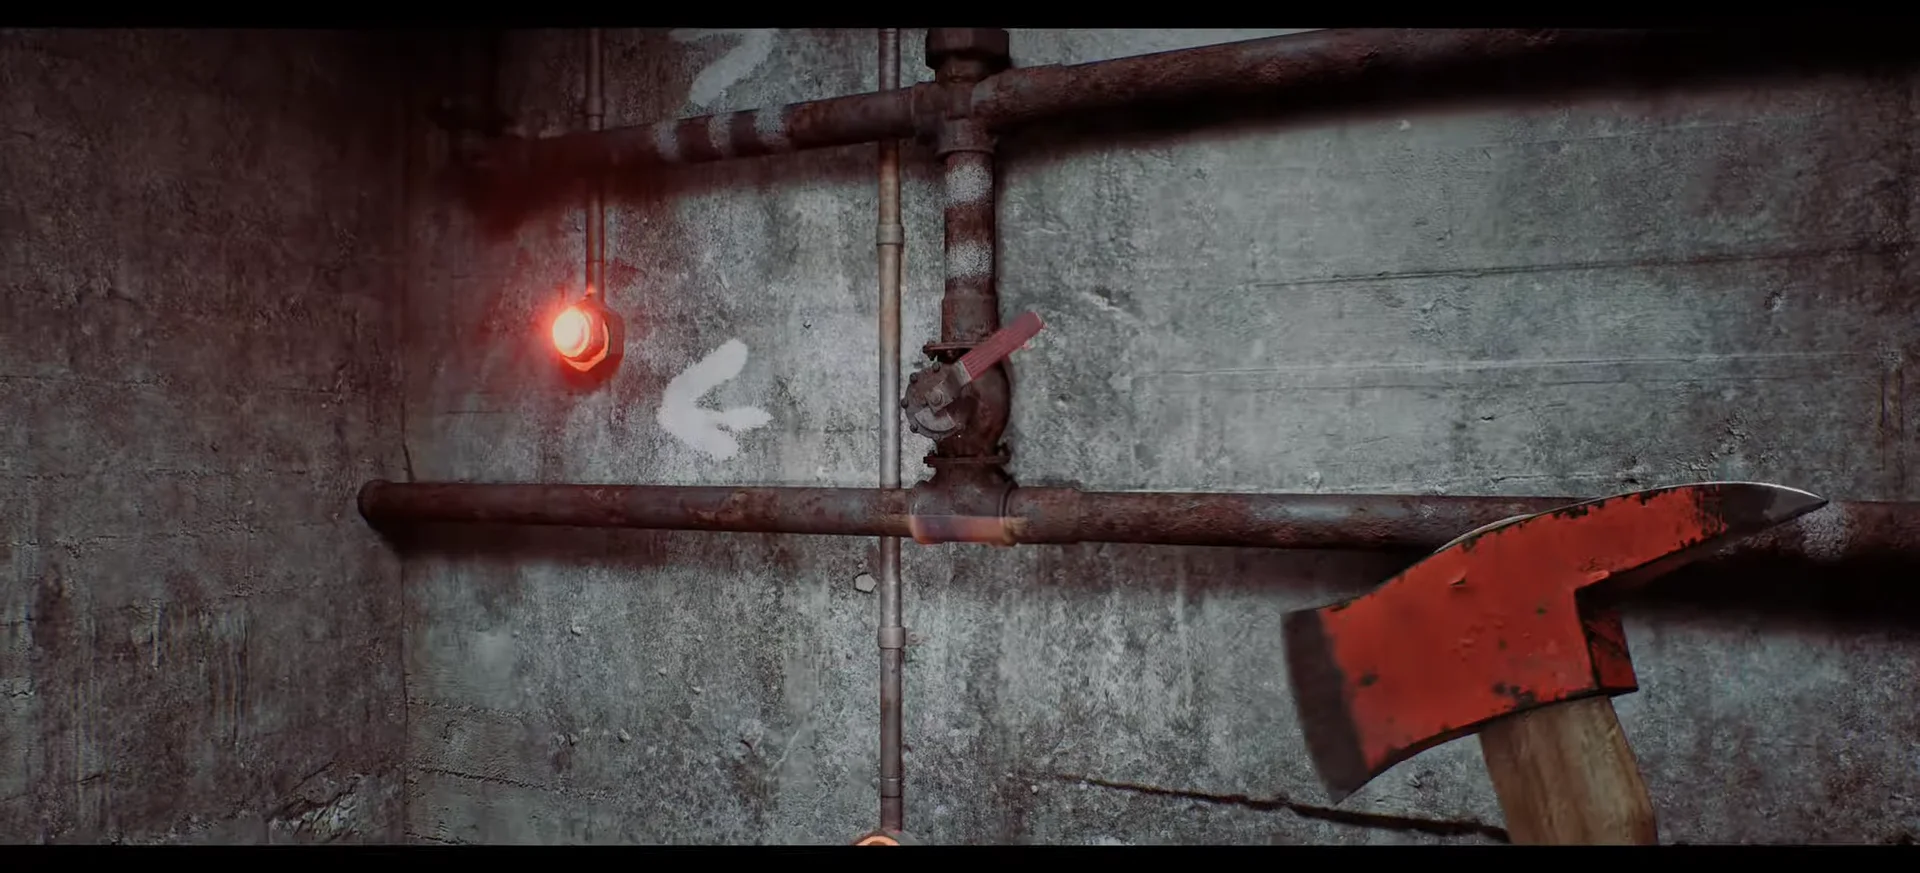
Only switches carrying the right number of stripes belong to a line, so ignore everything else on the wall while you work through a group. Here is where each line lives and which way to count.
| Line | Stripes | Start from | Pipes |
|---|---|---|---|
| 1 | One | Right (cabinet), going left | Bottom row, 9 switches |
| 2 | Two | Right (cabinet), going left | Middle row, 9 switches |
| 3 | Three | Left (door), going right | Top and middle rows, 8 switches |
Full switch sequence for all three Auxiliary Lines
Work one line at a time. The order column counts the marked switches in the direction given in the table above, so the first entry is the switch closest to your starting side.
| Order | Line 1 (right → left) | Line 2 (right → left) | Line 3 (left → right) |
|---|---|---|---|
| 1 | Up | Up | Down |
| 2 | Down | Down | Up |
| 3 | Up | Down | Up |
| 4 | Up | Down | Up |
| 5 | Down | Up | Down |
| 6 | Up | Down | Up |
| 7 | Down | Down | Down |
| 8 | Up | Up | Up |
| 9 | Up | Up | — |
Line 1: nine single-stripe switches
Stand near the cabinet on the right side of the room and look at the lowest run of pipes. Follow them left and flip only the switches with a single white stripe. The first status light turns green the moment all nine sit correctly, which makes this the easiest group to sanity-check your reading of the document.
Line 2: nine double-stripe switches
Return to the right side of the room and repeat the sweep, this time along the middle row of pipes. Nine switches there carry two white stripes. Setting them correctly lights the second indicator green.
Line 3: eight triple-stripe switches
The final group runs in the opposite direction. Begin beside the door on the room’s left side and move right, activating eight switches with three stripes across the top and middle rows. This is the quickest sequence, but also the easiest to mishandle since it crosses two rows instead of staying in one.
How to confirm the puzzle is solved
Each line reports independently. A red status light flips to green as soon as that group of switches matches its row in the document, so you can verify your work one line at a time instead of guessing at the end.
When the third light turns green, the game triggers an autosave and the exit door swings open. That save prompt is the clearest confirmation that all three circuits are live.
From there, head back to the Remote Systems Control room and pick up the CCTV sequence where you left it. The auxiliary lines are only a prerequisite, and the story does not move until you return to that console.