Abysmal Training is one of the Key Items added to Grounded 2 with the Into the Abyss update, and it is filed under Notes rather than anything you can craft with. It is also one of the easiest collectibles in the zone to grab, as long as you have already cleared the gate that blocks the entire area.
Quick answer: Equip all three Diving Suit pieces, descend into The Abyss, and take the Pneumatic Transit System into Abyss Outpost 1. The note sits on a desk right beside the tube.
Diving Suit requirement before The Abyss opens
The access panel at the diving station checks for three armor pieces at once. A partial set does nothing, so there is no way to sneak in early and pick the note up ahead of schedule. Each piece is bought from the Science Shop for 1,500 Raw Science after you load the matching Aquatic Optical Disc into a Ranger station.
| Piece | Unlocked by | Cost |
|---|---|---|
| Diving Helmet | Pond Aquatic Optical Disc | 1,500 Raw Science |
| Diving Suit Chestplate | Bridge Aquatic Optical Disk | 1,500 Raw Science |
| Diving Boots | Gnarly Bark Aquatic Optical Disk | 1,500 Raw Science |
You also need two pieces of ordinary swim gear long before the suit matters. A Gill Tube keeps you breathing underwater, and Fin Flops raise your swim speed enough to make the trip across Skunk Pond bearable. A tamed Toe Biter Buggy is not required, but it moves through water far faster than you do.
How to reach Abyss Outpost 1 and pick up the note
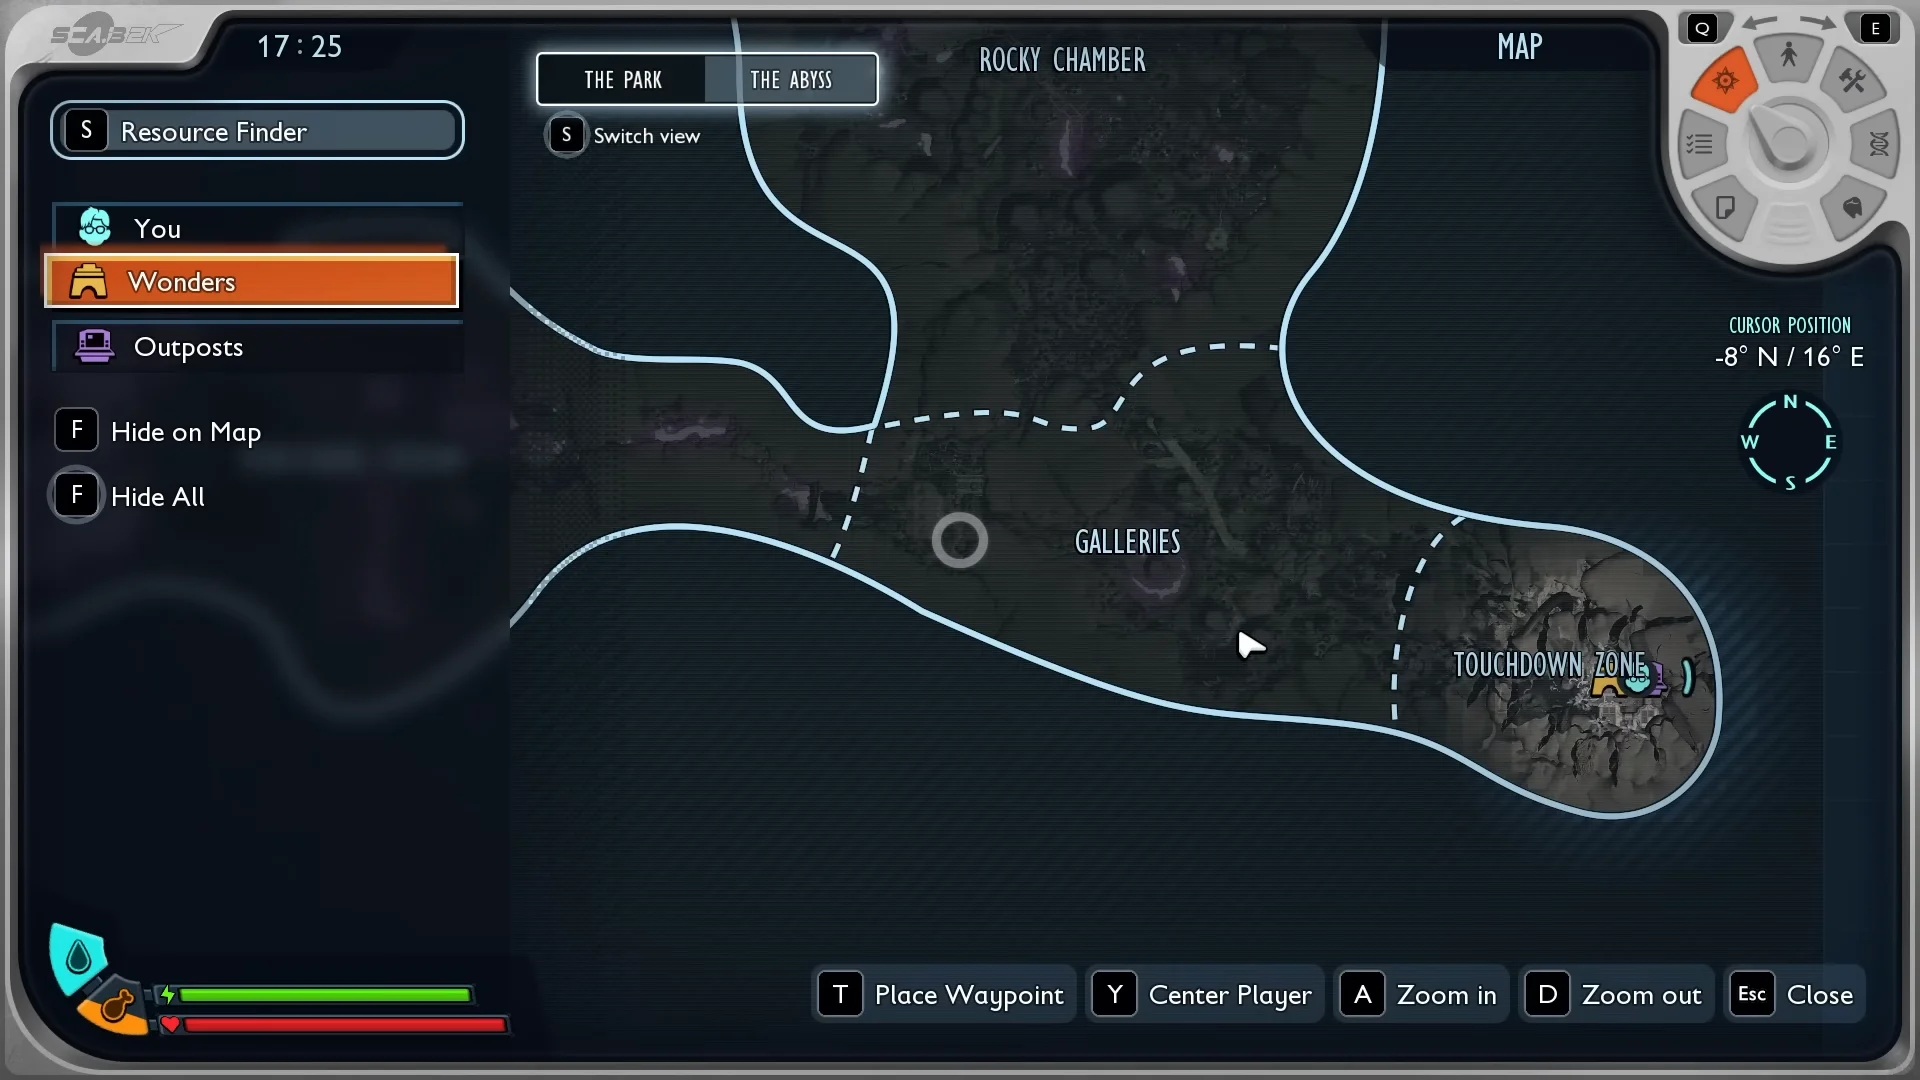
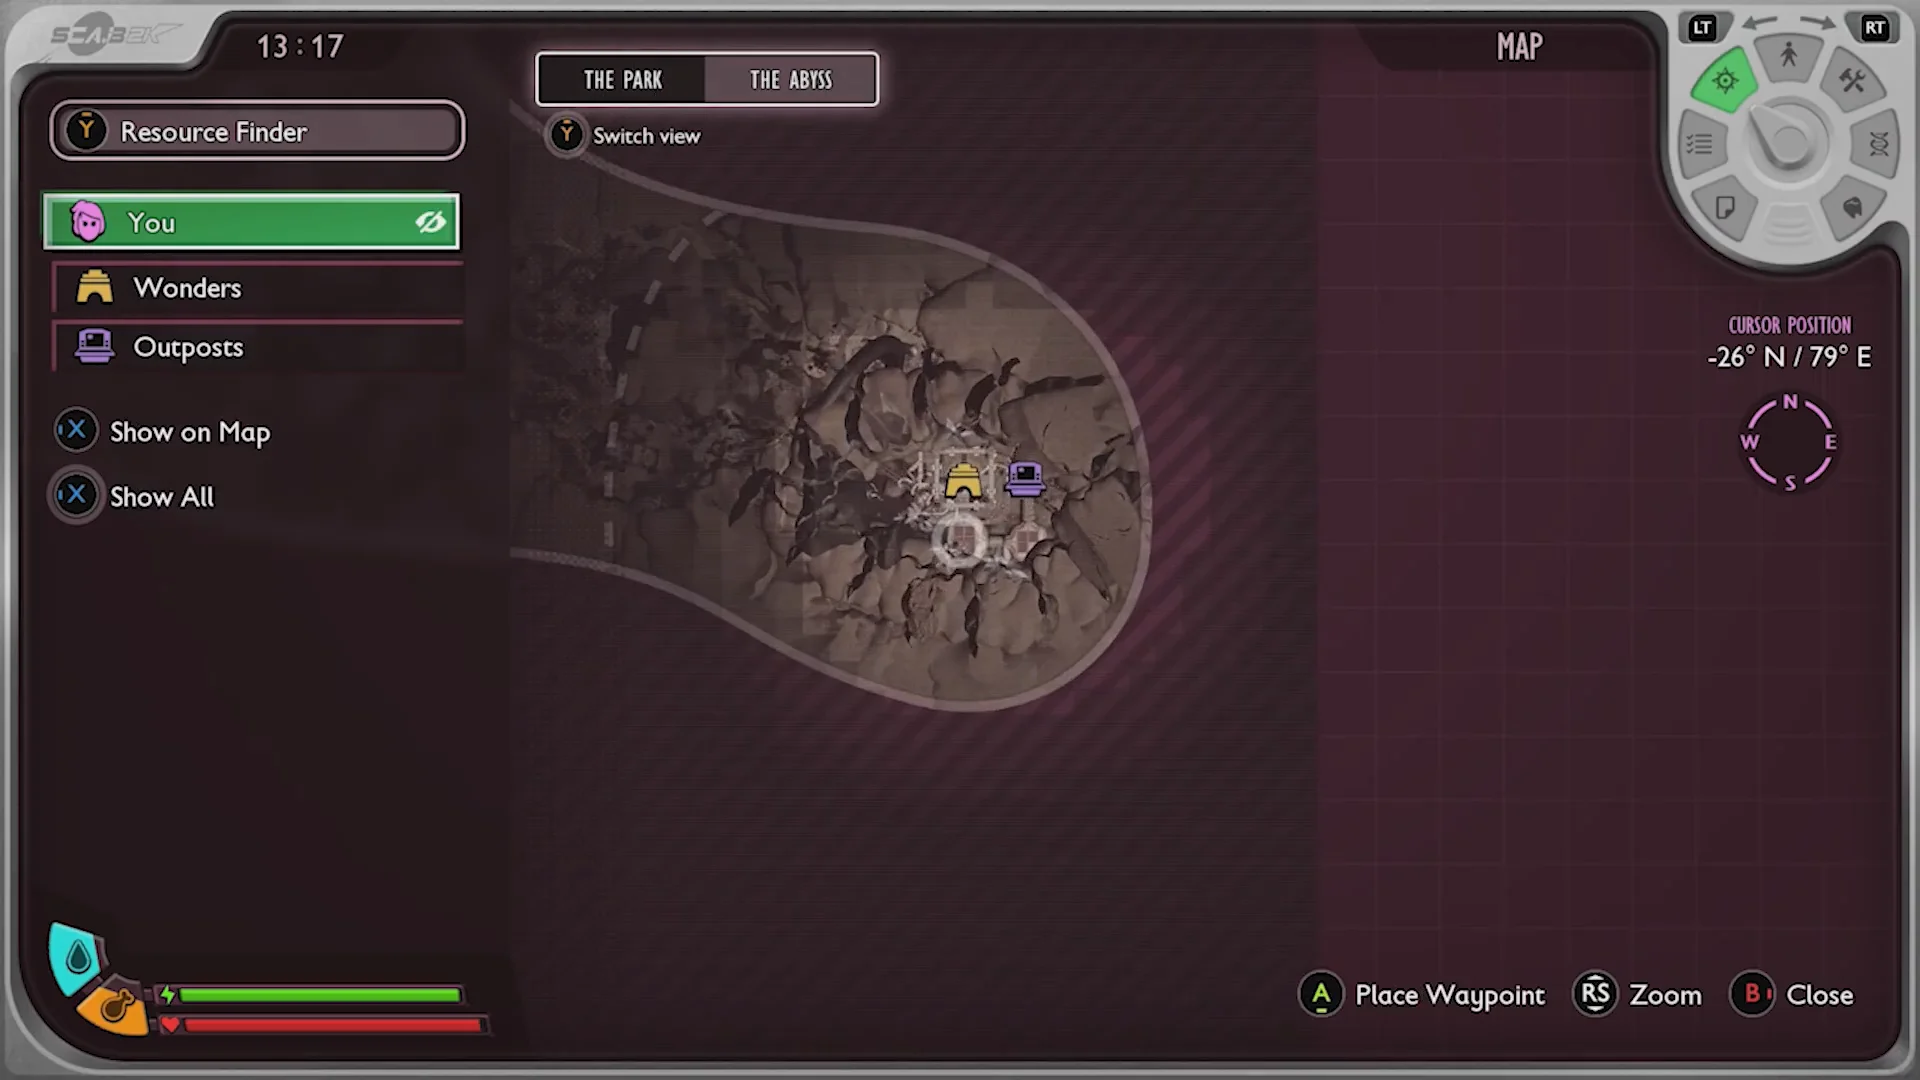
Send your buggy home before you climb into the diving station. Left outside, it gets attacked while you are indoors.
How to confirm you collected Abysmal Training
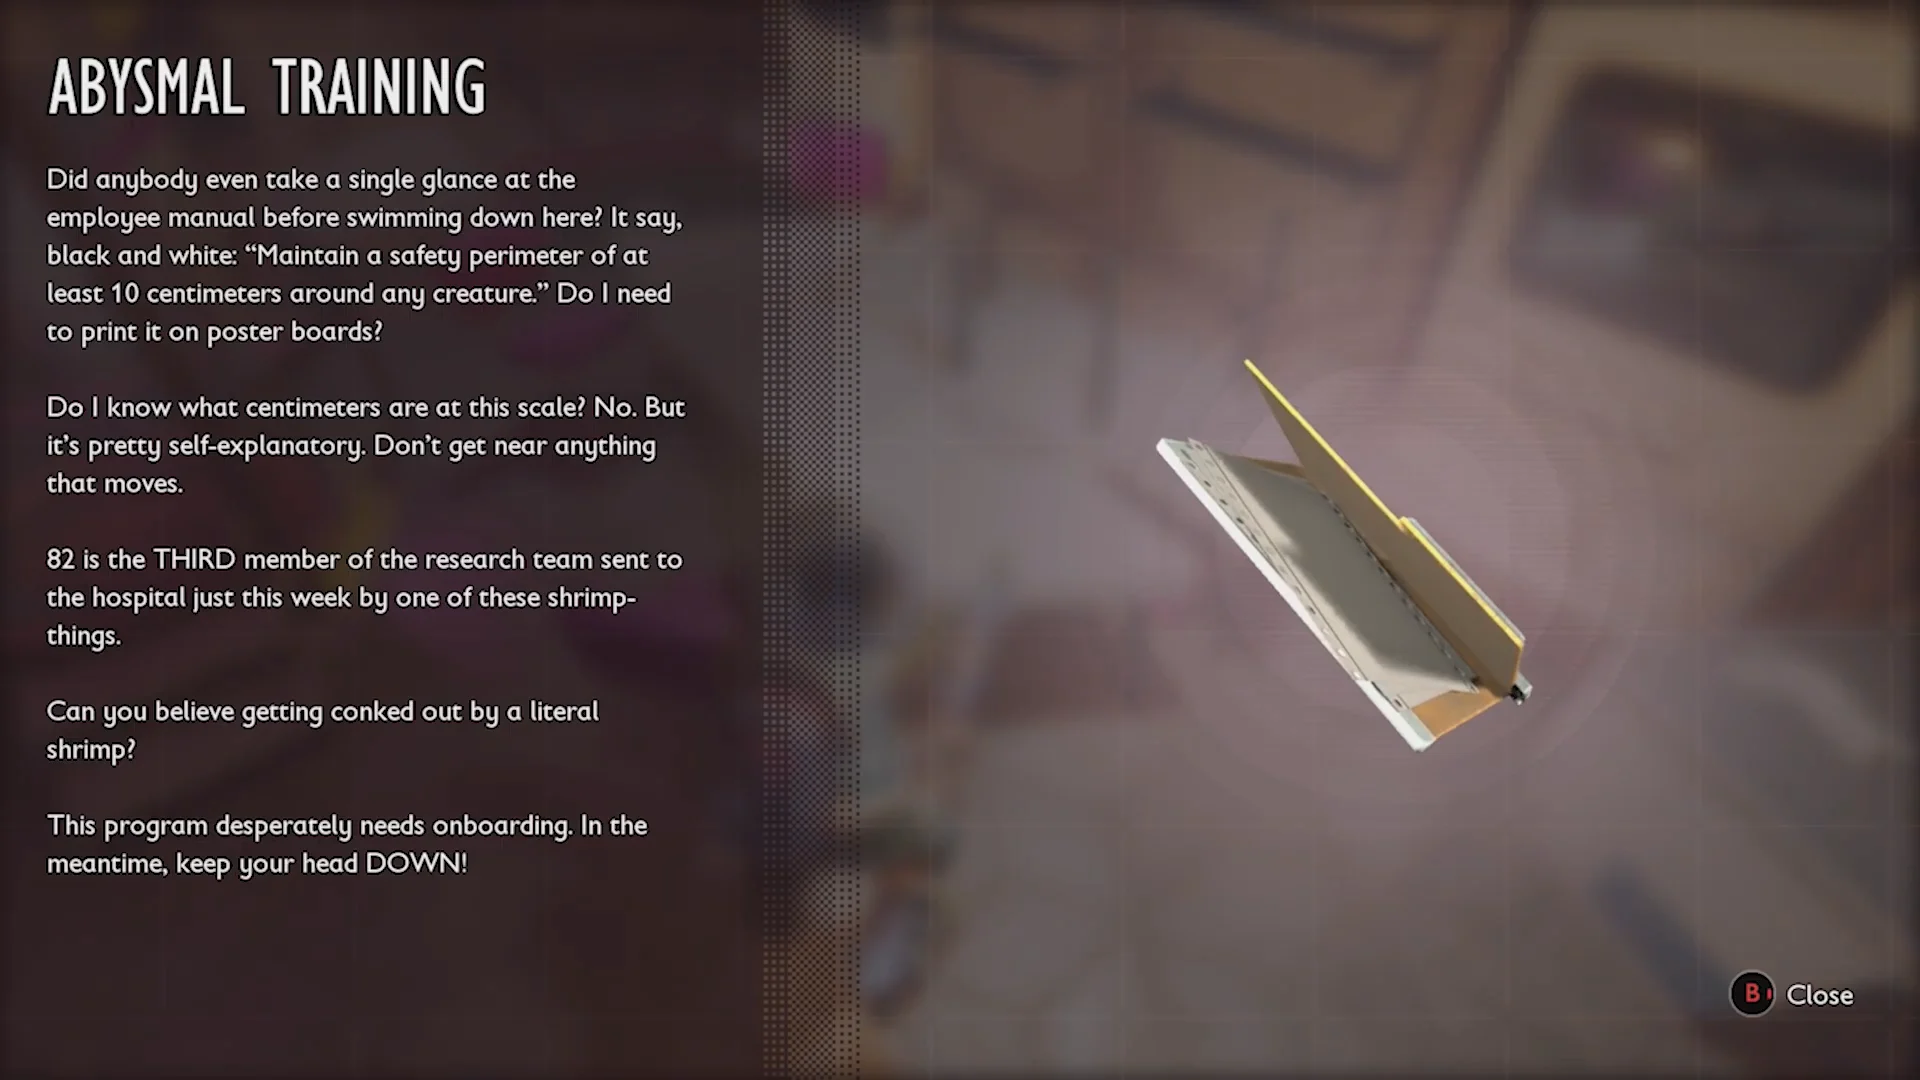
The pickup registers immediately and the memo opens on screen with its full text, narrated as you read. After that it lives permanently in your Key Items under the Notes category, so you can reopen it any time without returning to the outpost. If the entry is missing from that list, you never actually interacted with the folder on the desk.
What the Abysmal Training memo says
The note is written by an exasperated staffer complaining that nobody on the research team read the employee manual before heading underwater. The rule they keep quoting is blunt.
Keep at least 10 centimeters of space between yourself and any creature.
They admit they have no idea what 10 centimeters means at your current size, then land on the practical version instead: stay away from anything that moves. The reason for the memo is a run of injuries, with employee 82 becoming the third team member hospitalized that week by one of the shrimp-things down there. It reads as comedy, but the warning tracks with the Toe Biters you meet almost immediately in the zone.
Where the Abyss route continues after Outpost 1
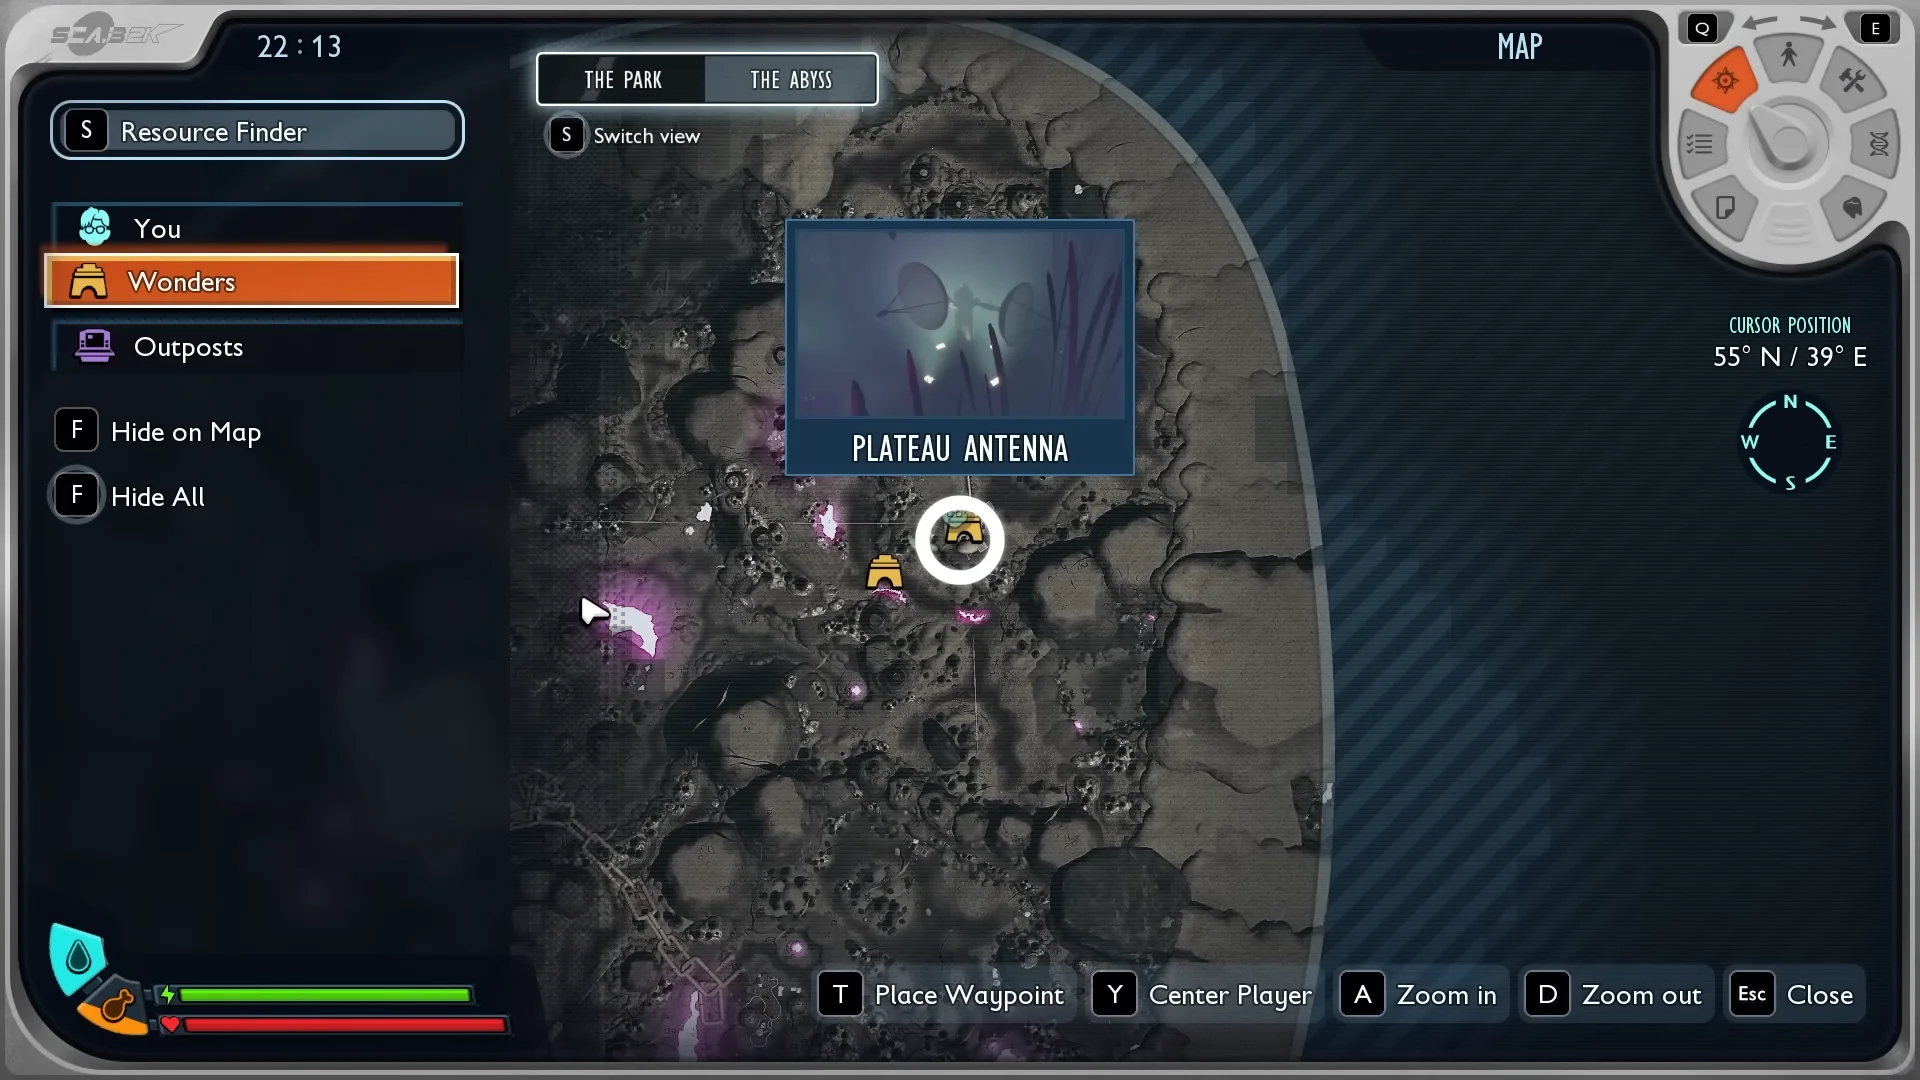
Collecting the note is optional and does not gate anything, so nothing changes in your objectives once it is in hand. The Into the Abyss questline pushes on from here to Abyss Outpost 2, where a door stays locked until you activate three separate antenna sites scattered across the zone.
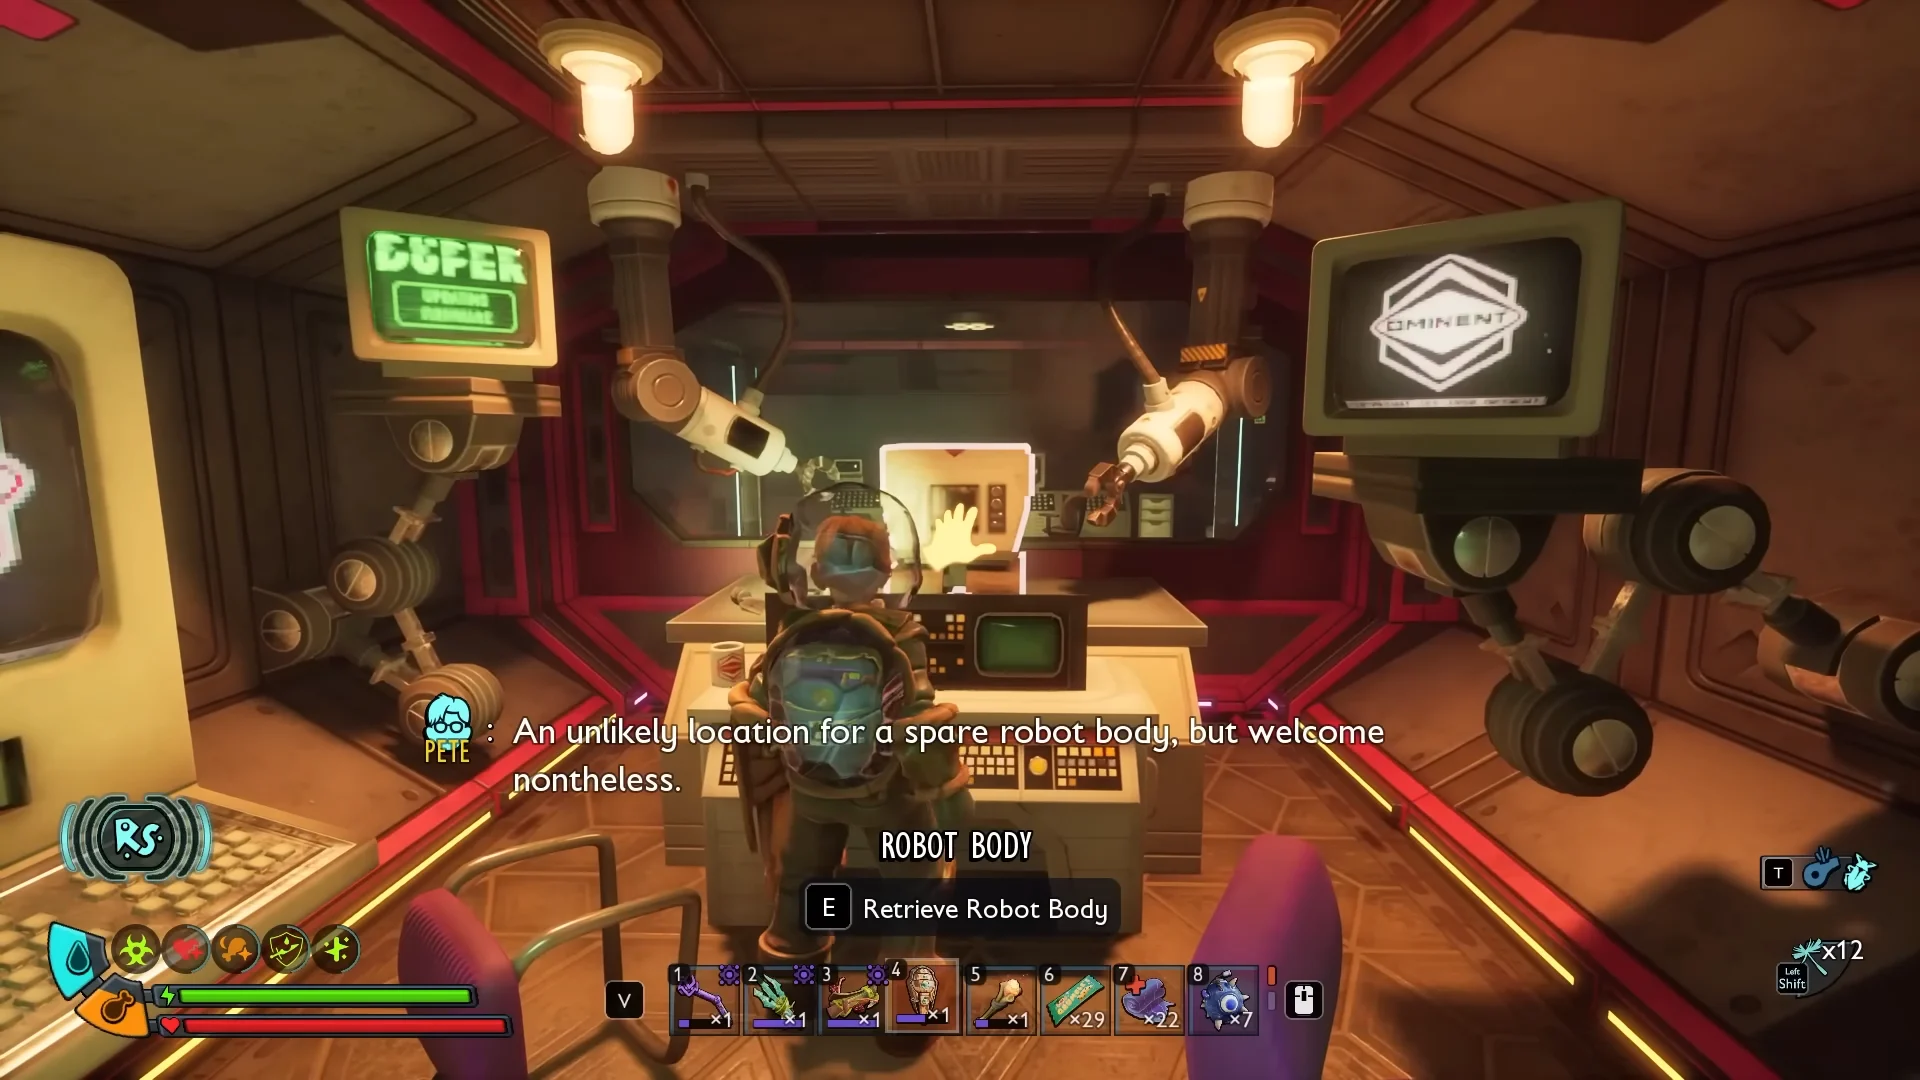
Past that door sits the Abyss Monitoring Station, a run of robot fights, and the Toe Biter Leviathan boss. The questline ends with you turning three emergency valves, draining the flooded access corridor, and retrieving BURG.L’s Robot Body from the console at the far end.
For anyone sweeping The Abyss for collectibles rather than pushing the story, Outpost 1 is worth a stop on the way down every time. It costs you nothing, it is indoors and safe, and the desk beside the transit tube is the single spot you need to check.