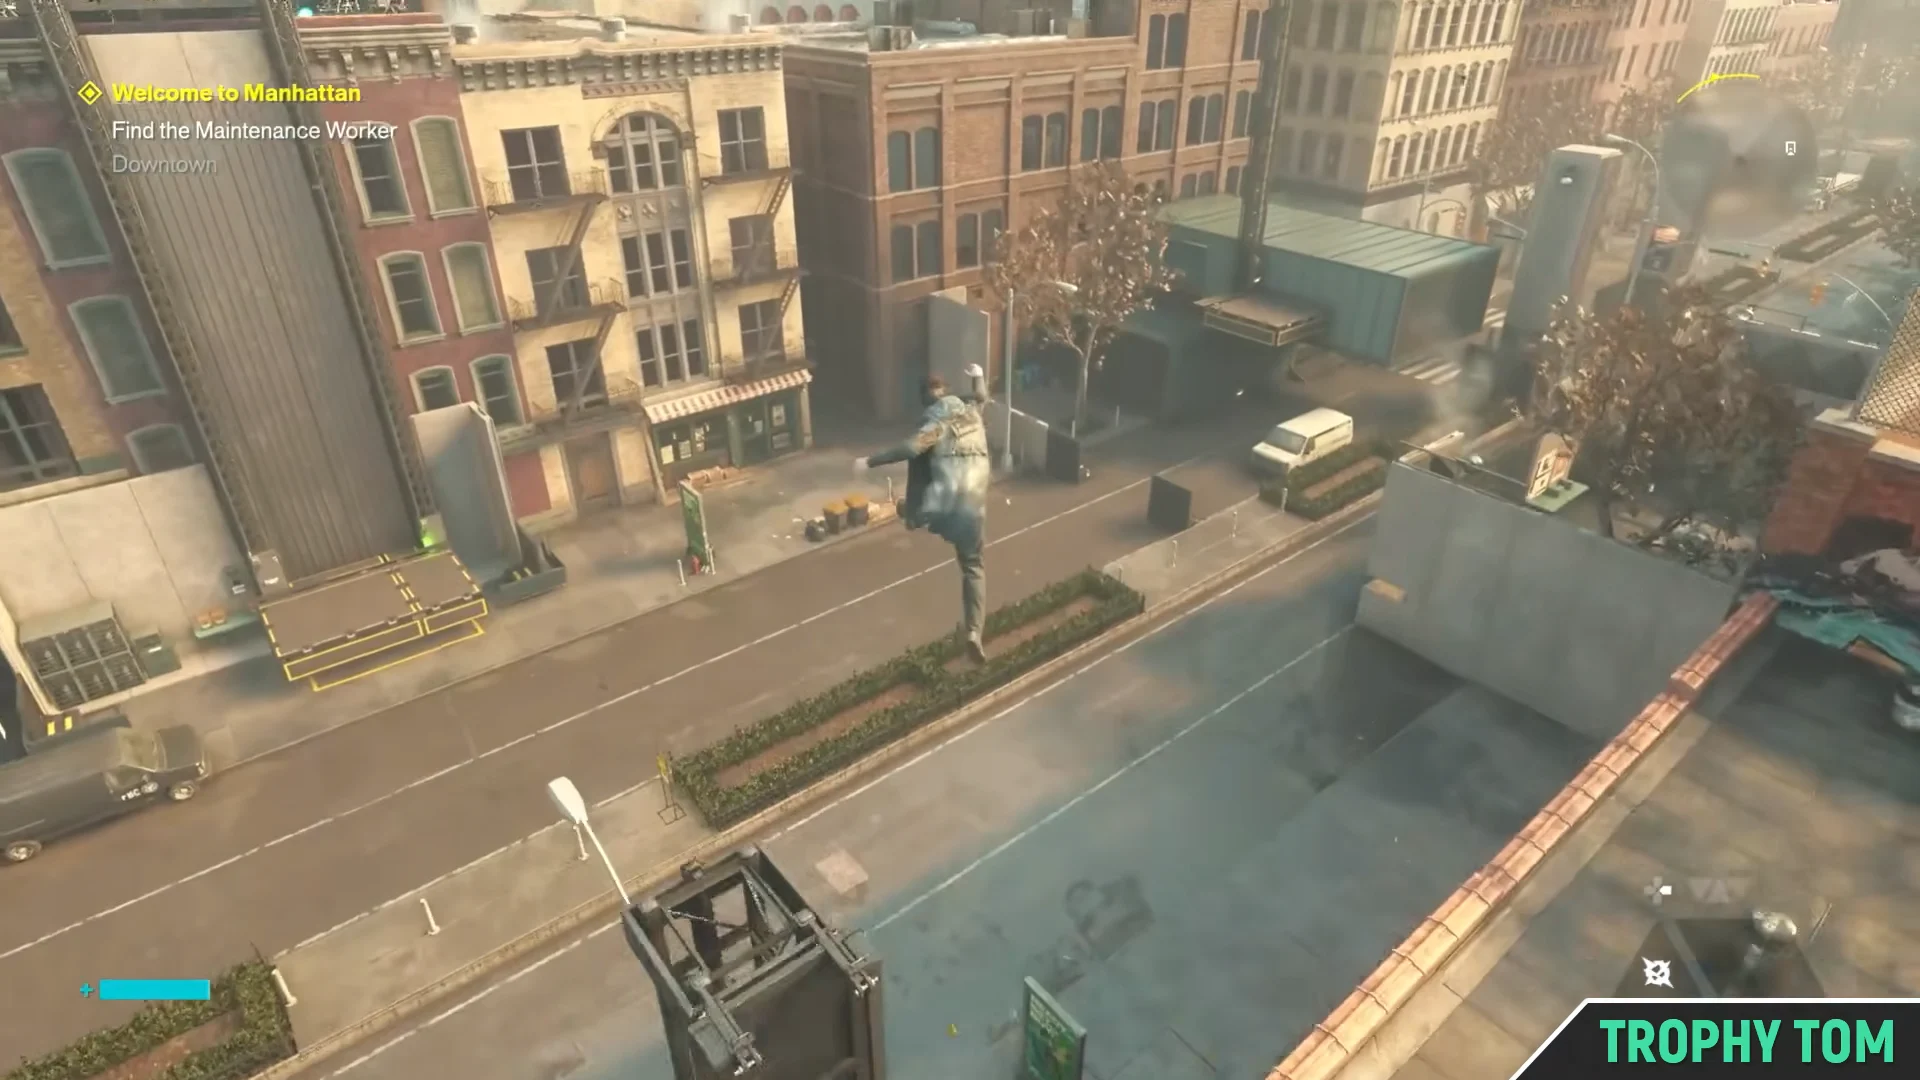
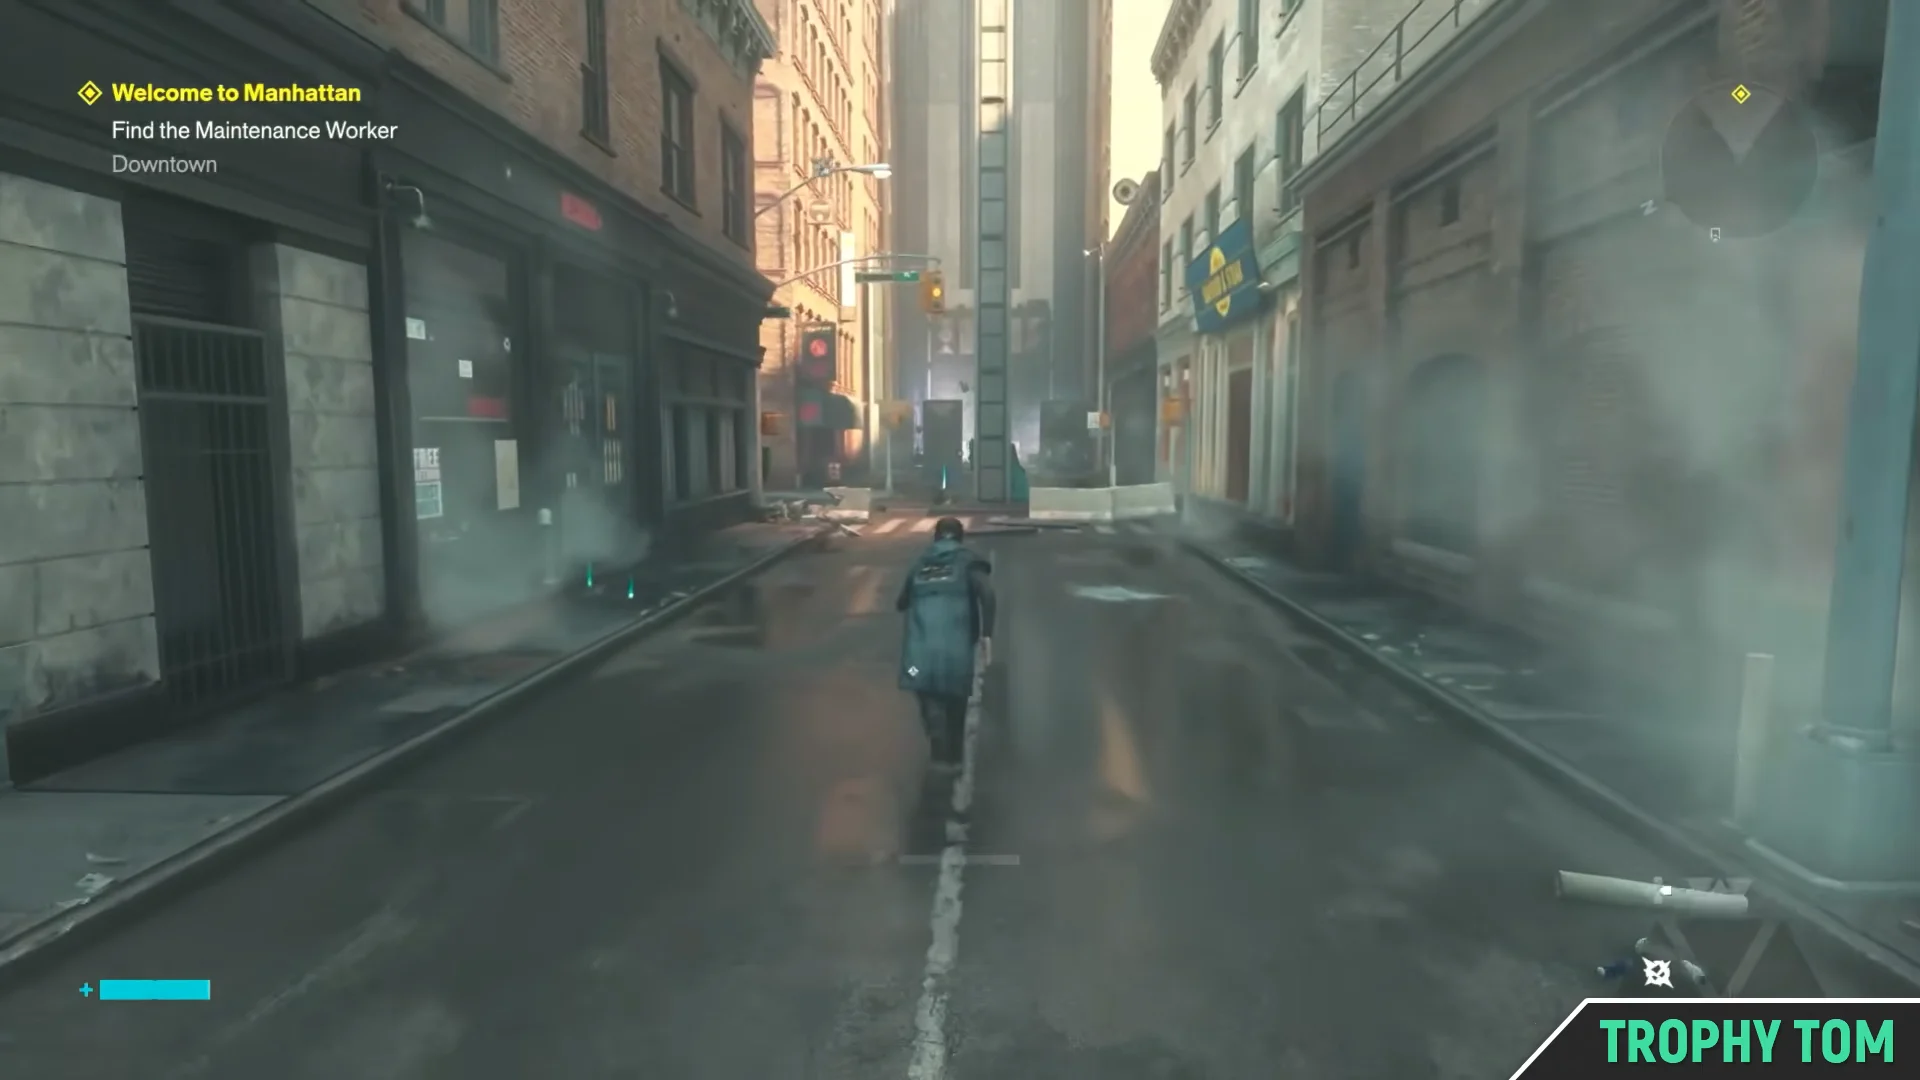
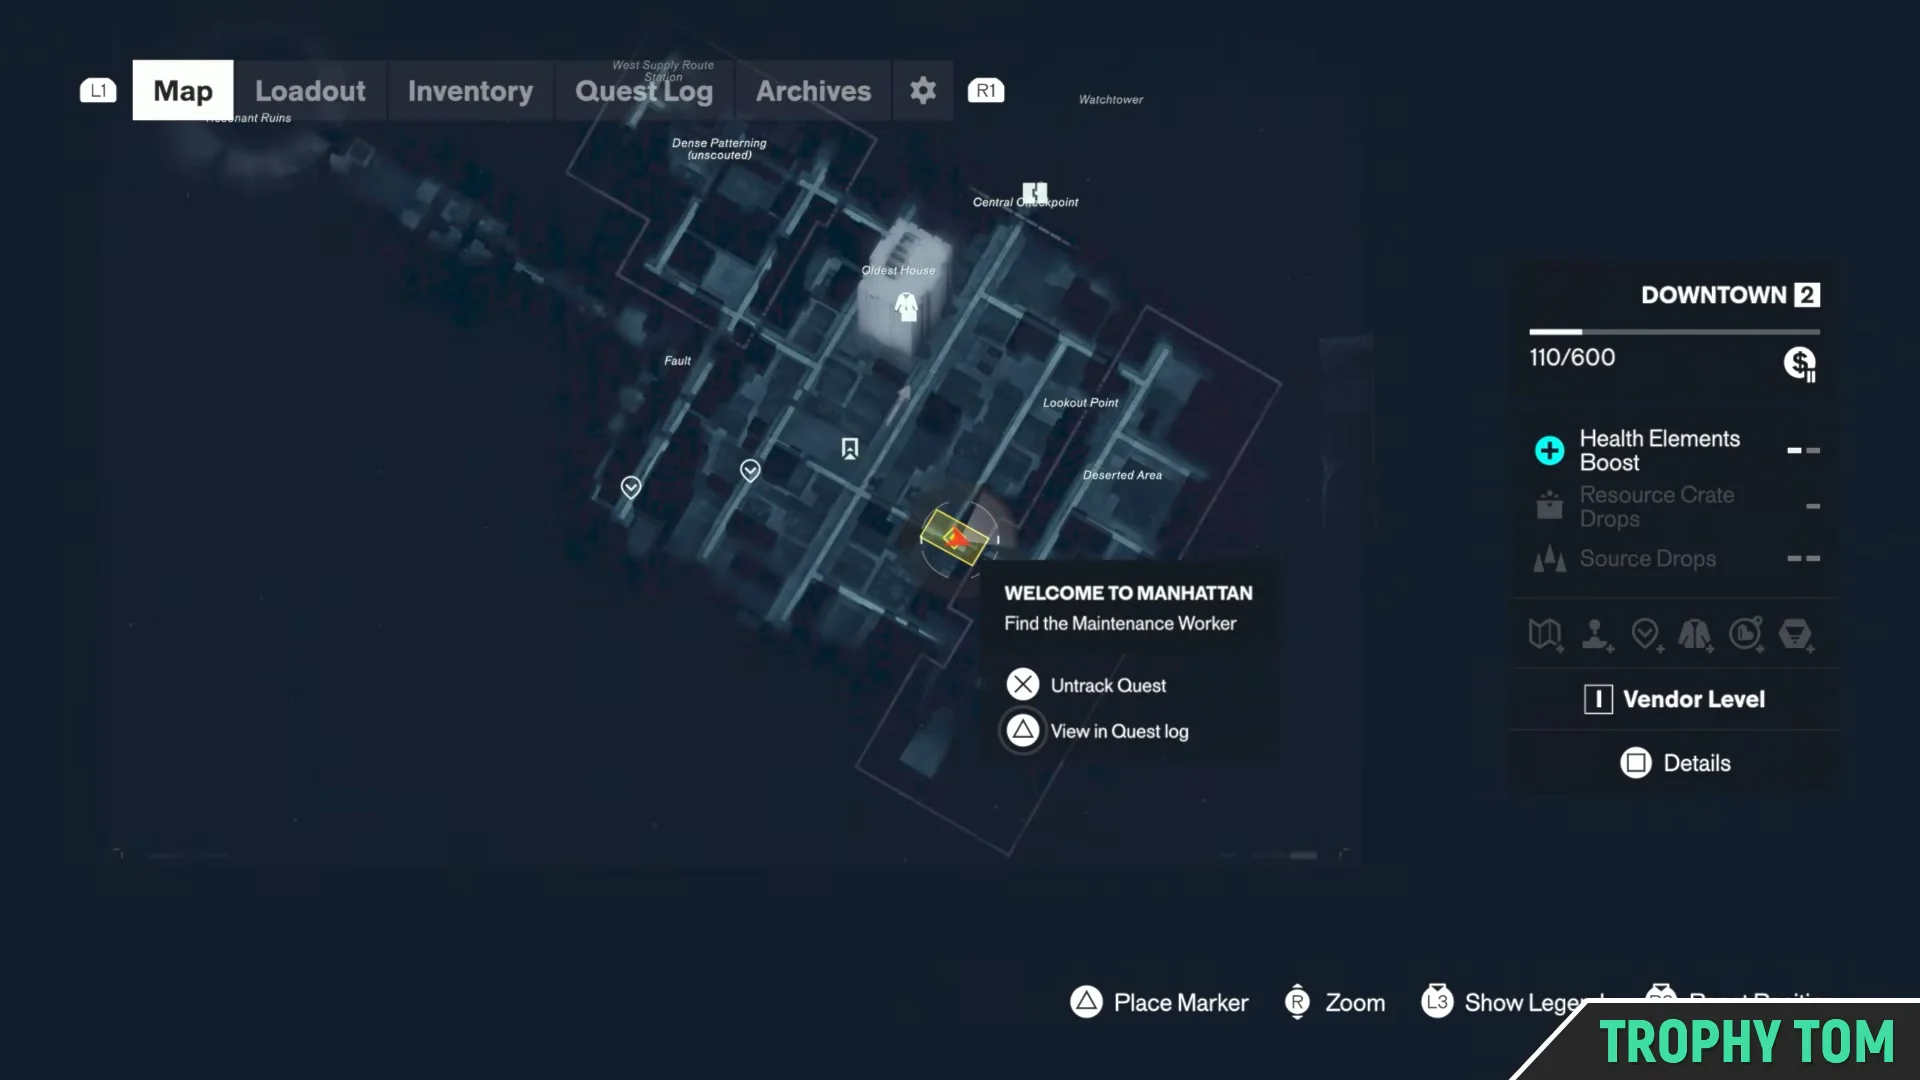
The “Find the Maintenance Worker” objective shows up early in Control Resonant, during the second main mission, “Welcome to Manhattan.” The marker sends Dylan across Downtown toward the Central Checkpoint, and the worker in question is Baker, the FBC maintenance employee who walked off the job and left the checkpoint without power. You will not find him standing around waiting to be interviewed.
Quick answer: Follow the quest marker to the Central Checkpoint, clear the Hiss, and read A Note From Baker on the table inside. Baker himself turns up dead in a garage later.
Route to the Central Checkpoint marker in Downtown
Track “Welcome to Manhattan” in the quest log so the objective marker stays pinned. The fastest line across Downtown is over the rooftops rather than through the streets, since the ground route runs straight through Hiss patrols.
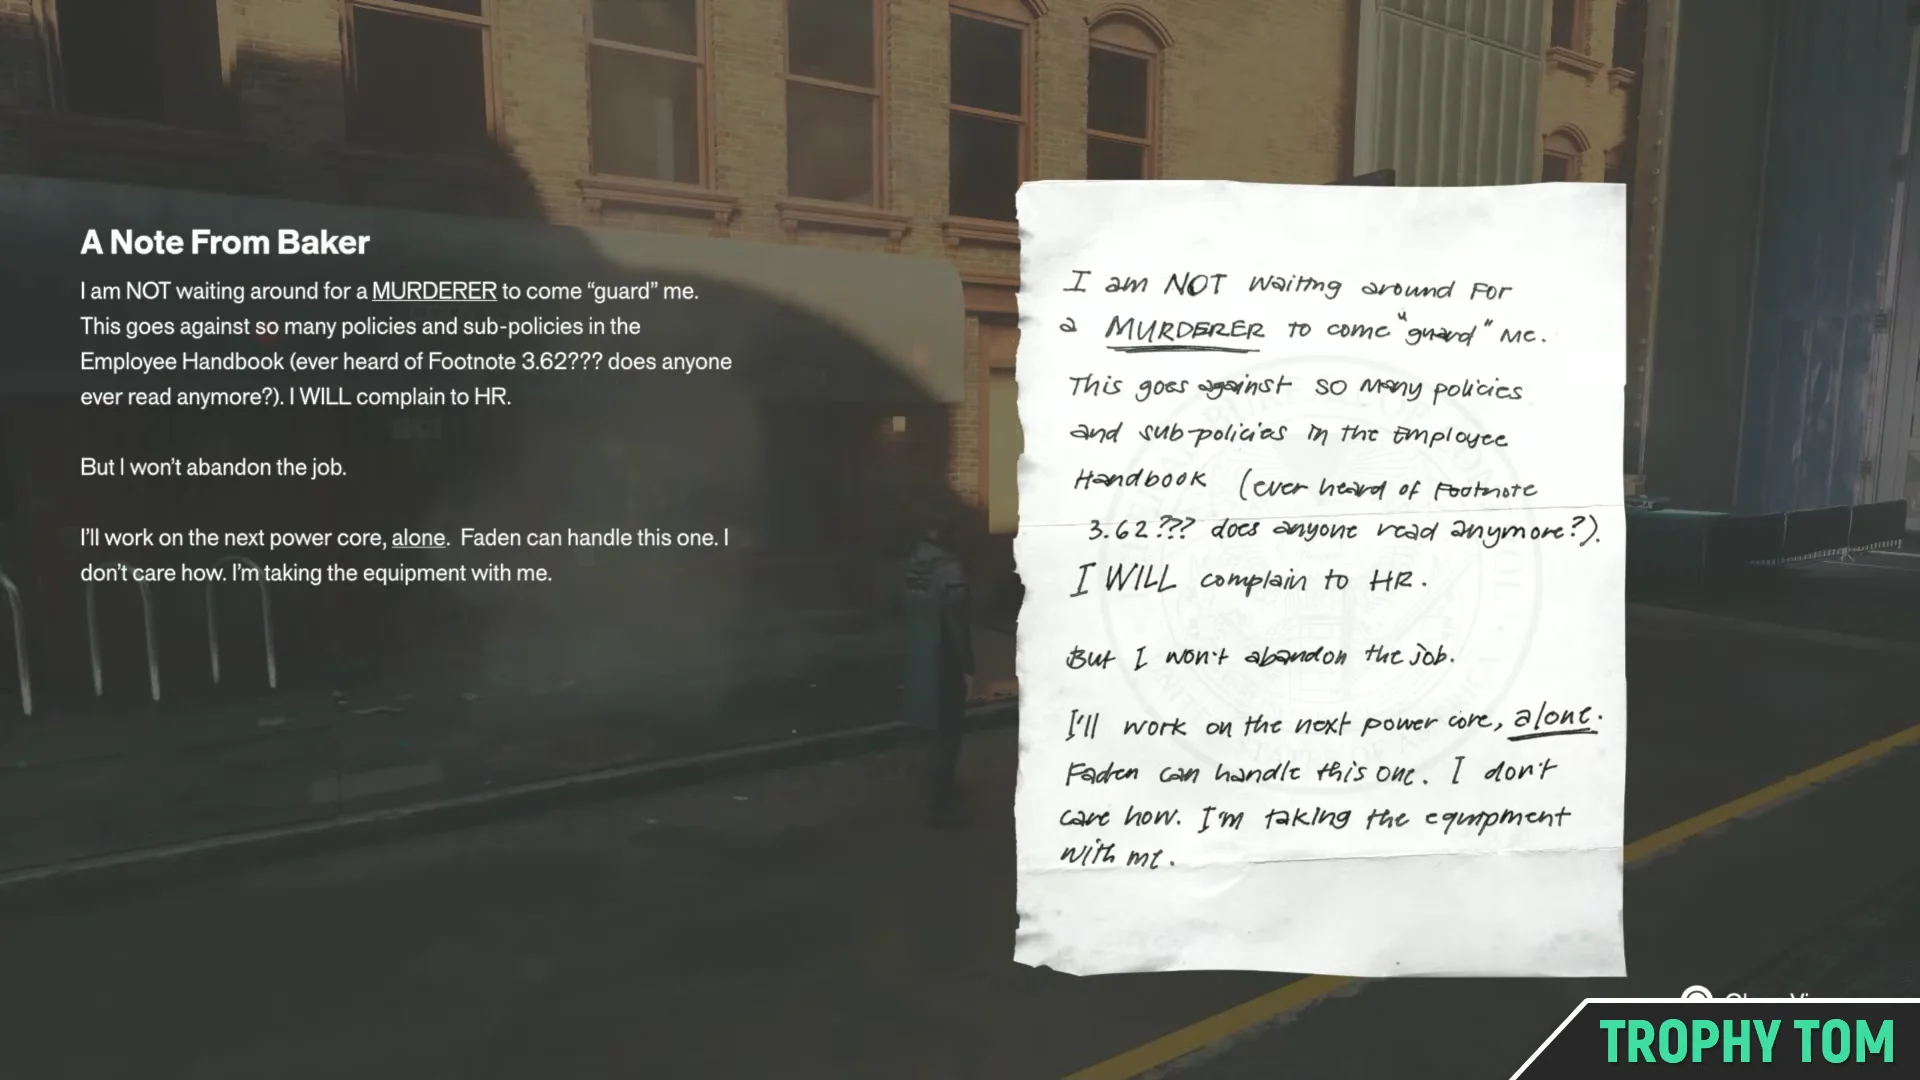
A Note From Baker and the Power Core Servicing Diagram
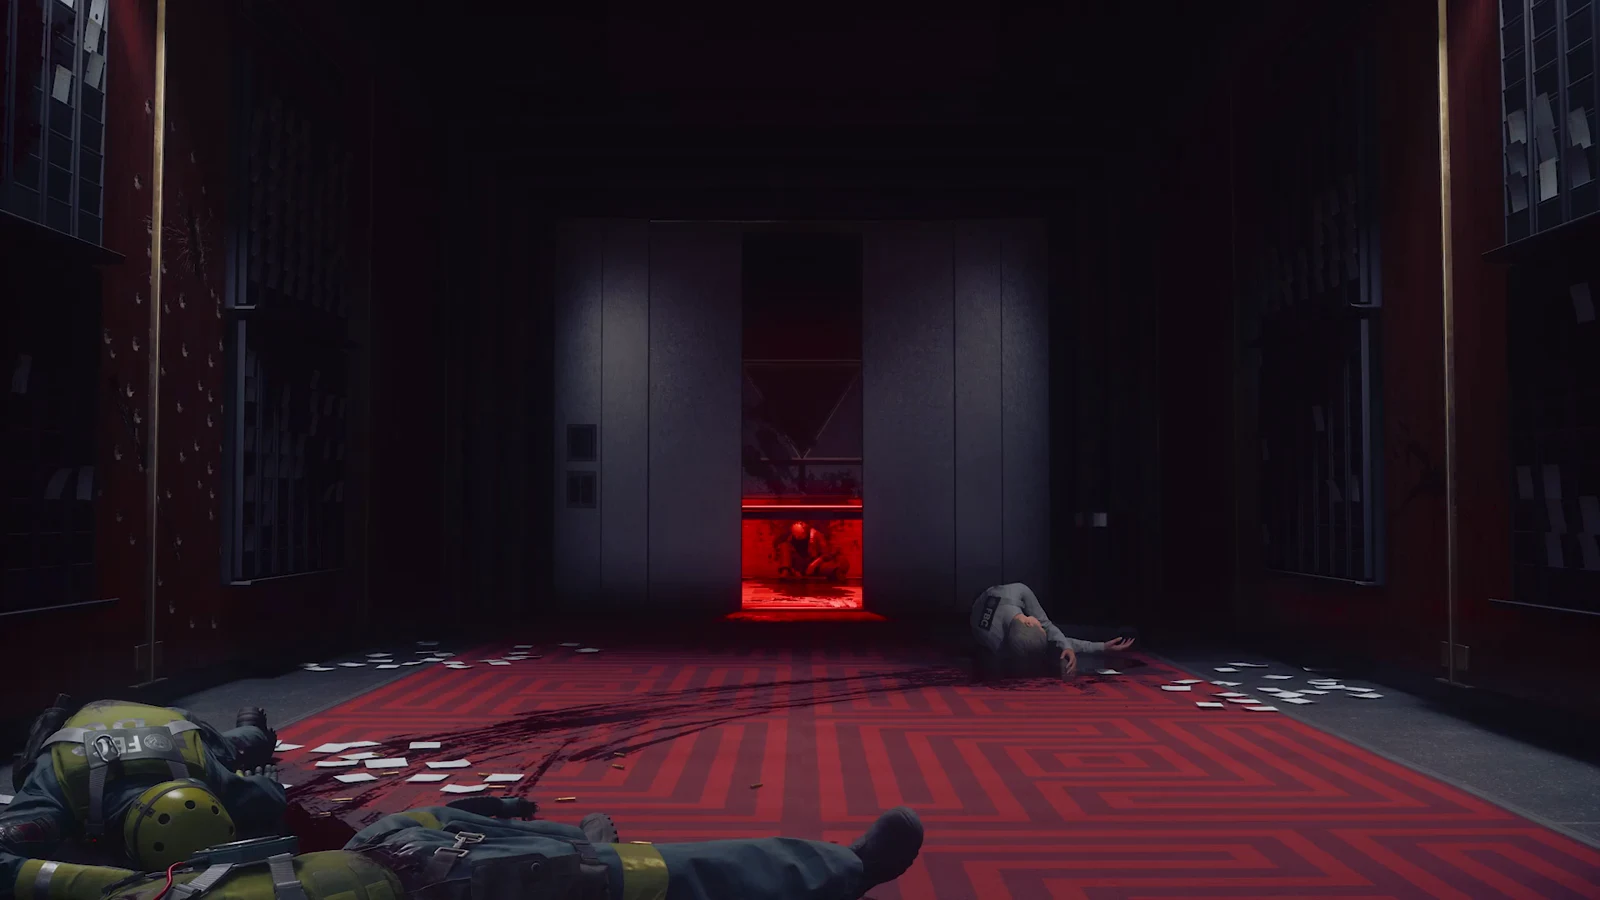
Inside the checkpoint, the desk holds the two documents that answer the objective. A Note From Baker is his own message about moving on to the next power core, which is as close as you get to meeting the man himself at this stage.
On the same workstation you can pick up the Power Core Servicing Diagram, a rough hand-drawn map of the surrounding blocks with five cubes numbered in order. That drawing is the actual solution to the checkpoint, and reading it turns the objective from a search into a timed errand.
Running the five power cores
Hit the sparking orange cube opposite the desk to pull its charge into your Aberrant. You then have roughly 20 seconds to reach the next cube and strike it, so the route matters more than the fighting.
| Core | Where it is | Route note |
|---|---|---|
| 1 | Against the central pillar | Directly across from the checkpoint |
| 2 | Loading dock, one block away | Right down the road, first left, then left down the ramp |
| 3 | Rooftop to the north | Up the green awnings from the alley with Hiss Spikes |
| 4 | FBC outpost between buildings | Across the rooftops, by the armed guards |
| 5 | Further down the main road | Back to the road and right; sprint the whole way |
The rooftop leg is usually crawling with Hiss Elevated and Hiss Focused. Clear them out on a scouting trip first, because you will not have time to fight while carrying a charge.
Two files sit along the route and are easy to grab between runs. The Power Core Complaint rests on the air conditioner beside the rooftop core, and there is a chest of upgrade materials in the garage near the second core.
Where Baker’s body is
The objective resolves for real at the second power core. In the open garage beside that loading dock, Baker is lying dead. Walk up to the body and Zoe opens a radio conversation with Dylan about guilt, which is the payoff the “Find the Maintenance Worker” prompt was pointing at.
It is easy to miss him entirely if you are only thinking about the timer. Approach the body on a run where you are not carrying a charge, then go back and restart the sequence from the first cube.
How to confirm the objective is done
Charging the fifth core triggers three waves of Hiss on the road. Colliders come first and must die before the grunts stop respawning, then two Hiss Focused arrive with continuous beam attacks. Use the large concrete slabs on either side of the street to break line of sight and pick them off one at a time.
After the road is cleared, the green panels flanking the checkpoint become active. Use either panel to call the elevator down, confirming that the checkpoint has power and the mission has advanced. Dylan can then take the elevator up to the Watchtower and meet Zoe, continuing Welcome to Manhattan with the supply route and the FBC Field Office’s Level 1 Keycard.