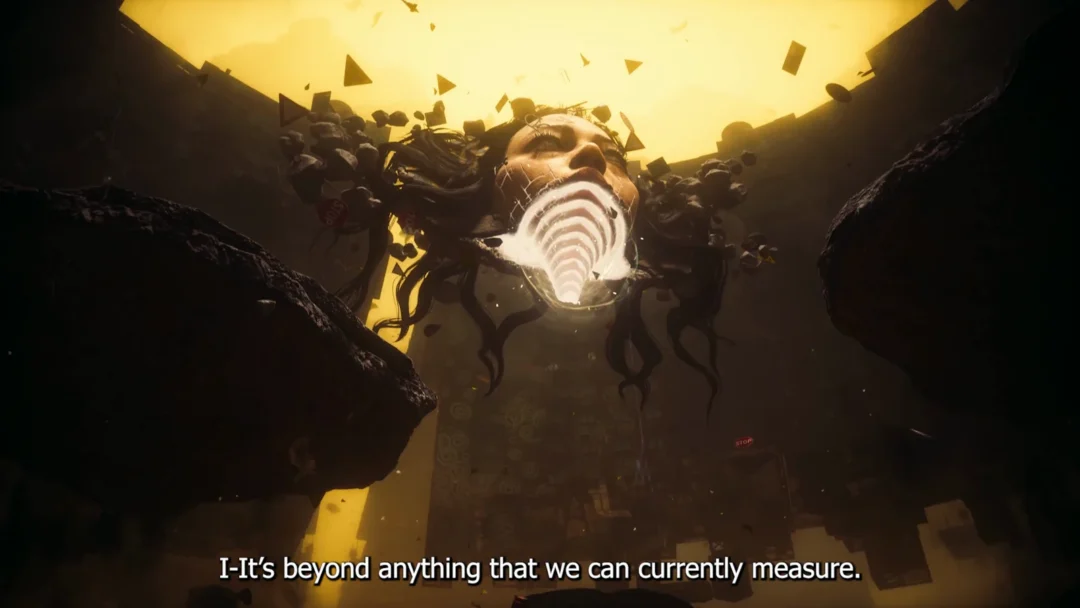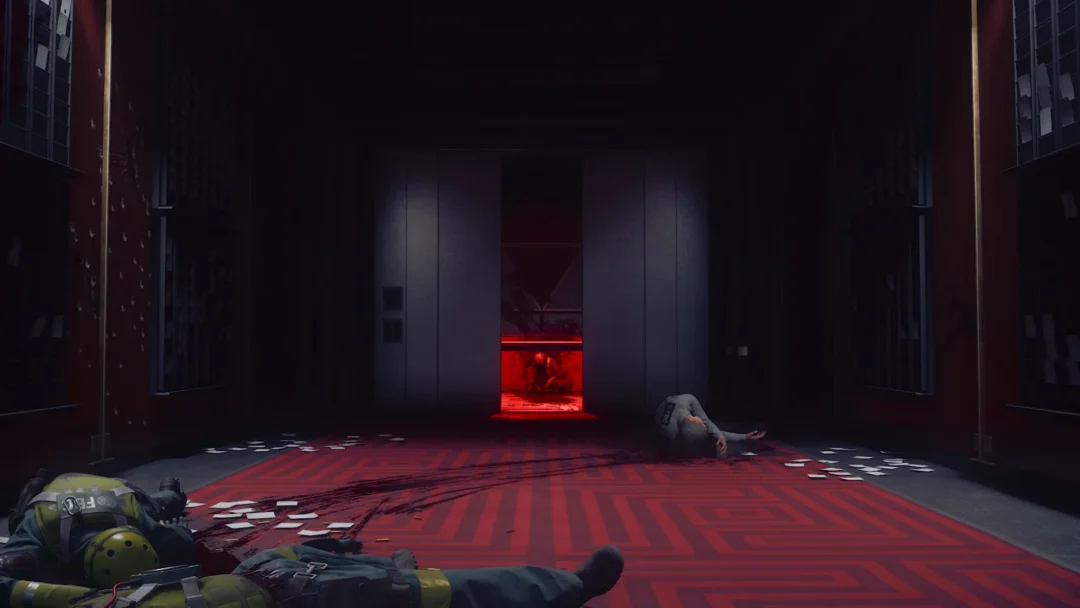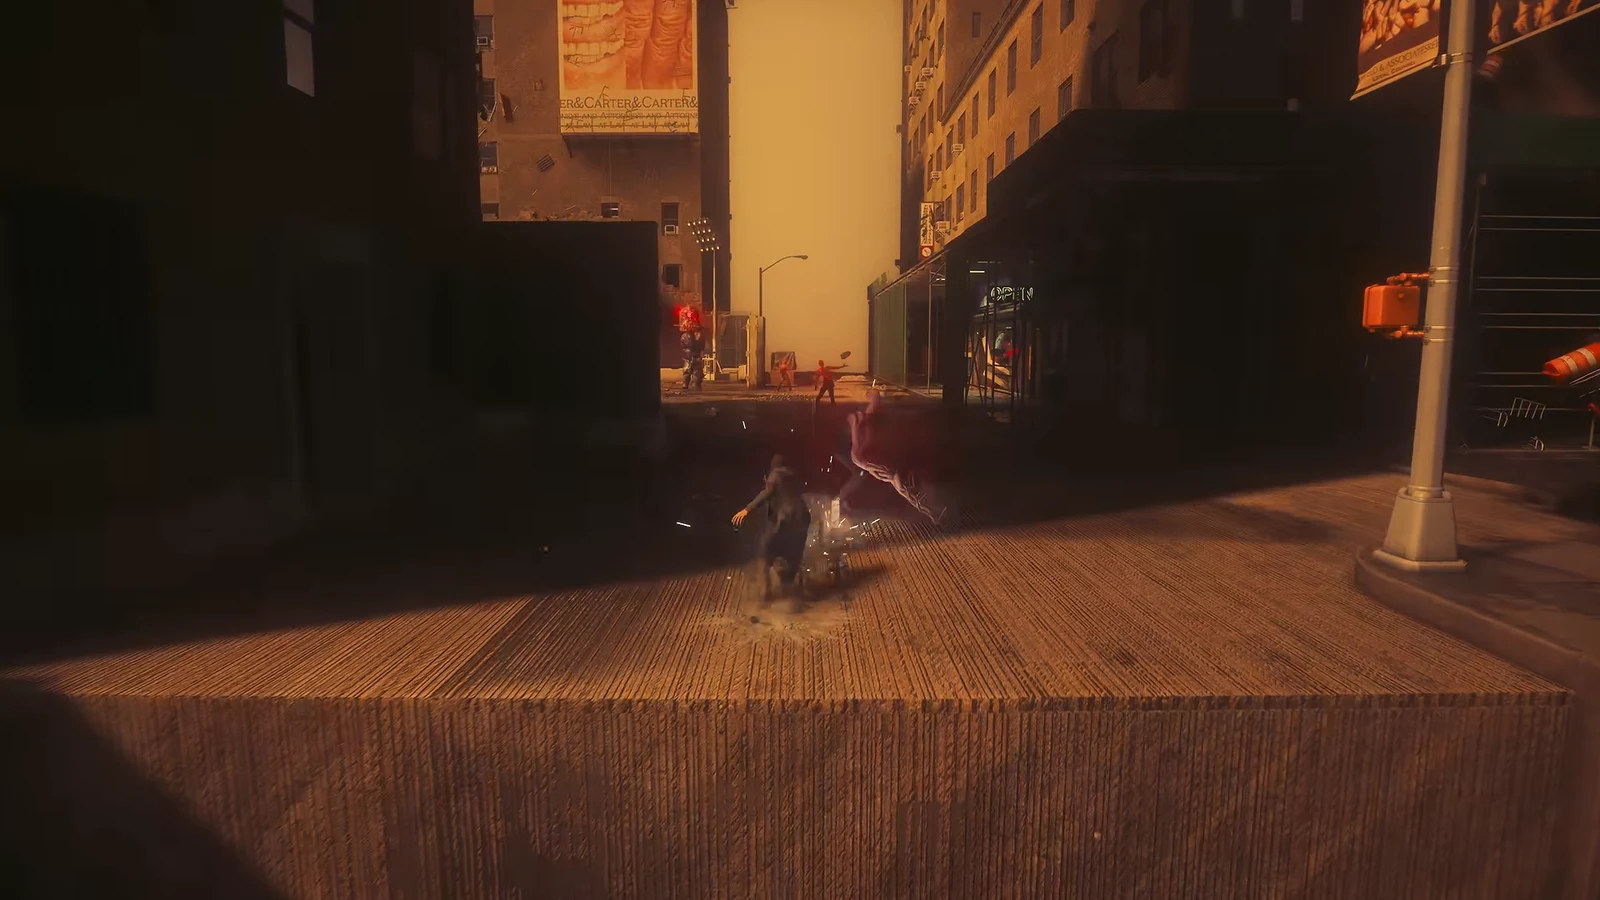
Clear the Supply Route is the objective that finally gets Dylan out of the Federal Bureau of Control’s facilities and onto street level in Manhattan. It starts right after your conversation with Zoe at the Watchtower during Welcome to Manhattan, and it runs through a flooded maintenance level, a red-lit tunnel chamber, and a subway station before it ends. The path is mostly linear, but two upgrade points are easy to walk straight past.
Quick answer: Take the elevator one floor below the Watchtower, use the power boxes to open the flooded tunnel gates, destroy the red growth blocking the tunnel, then follow the FBC Field Office signs up through the subway to the street.
Before you head underground
The objective only appears once you have restored power to the Central Checkpoint, cleared the Hiss that show up afterward, and spoken to Zoe in the Watchtower. That same conversation opens the Defeating Resonants questline and starts the next mission, Evacuation Procedures, so you may see multiple entries appear in the Quest Log at once. Make sure Clear the Supply Route is the tracked objective before you move.
Activate the Fast Travel door inside the Watchtower before you leave. The tunnels are a one-way trip toward the street, and the door gives you a quick way back to Central later.
Route from the Watchtower to the flooded tunnels
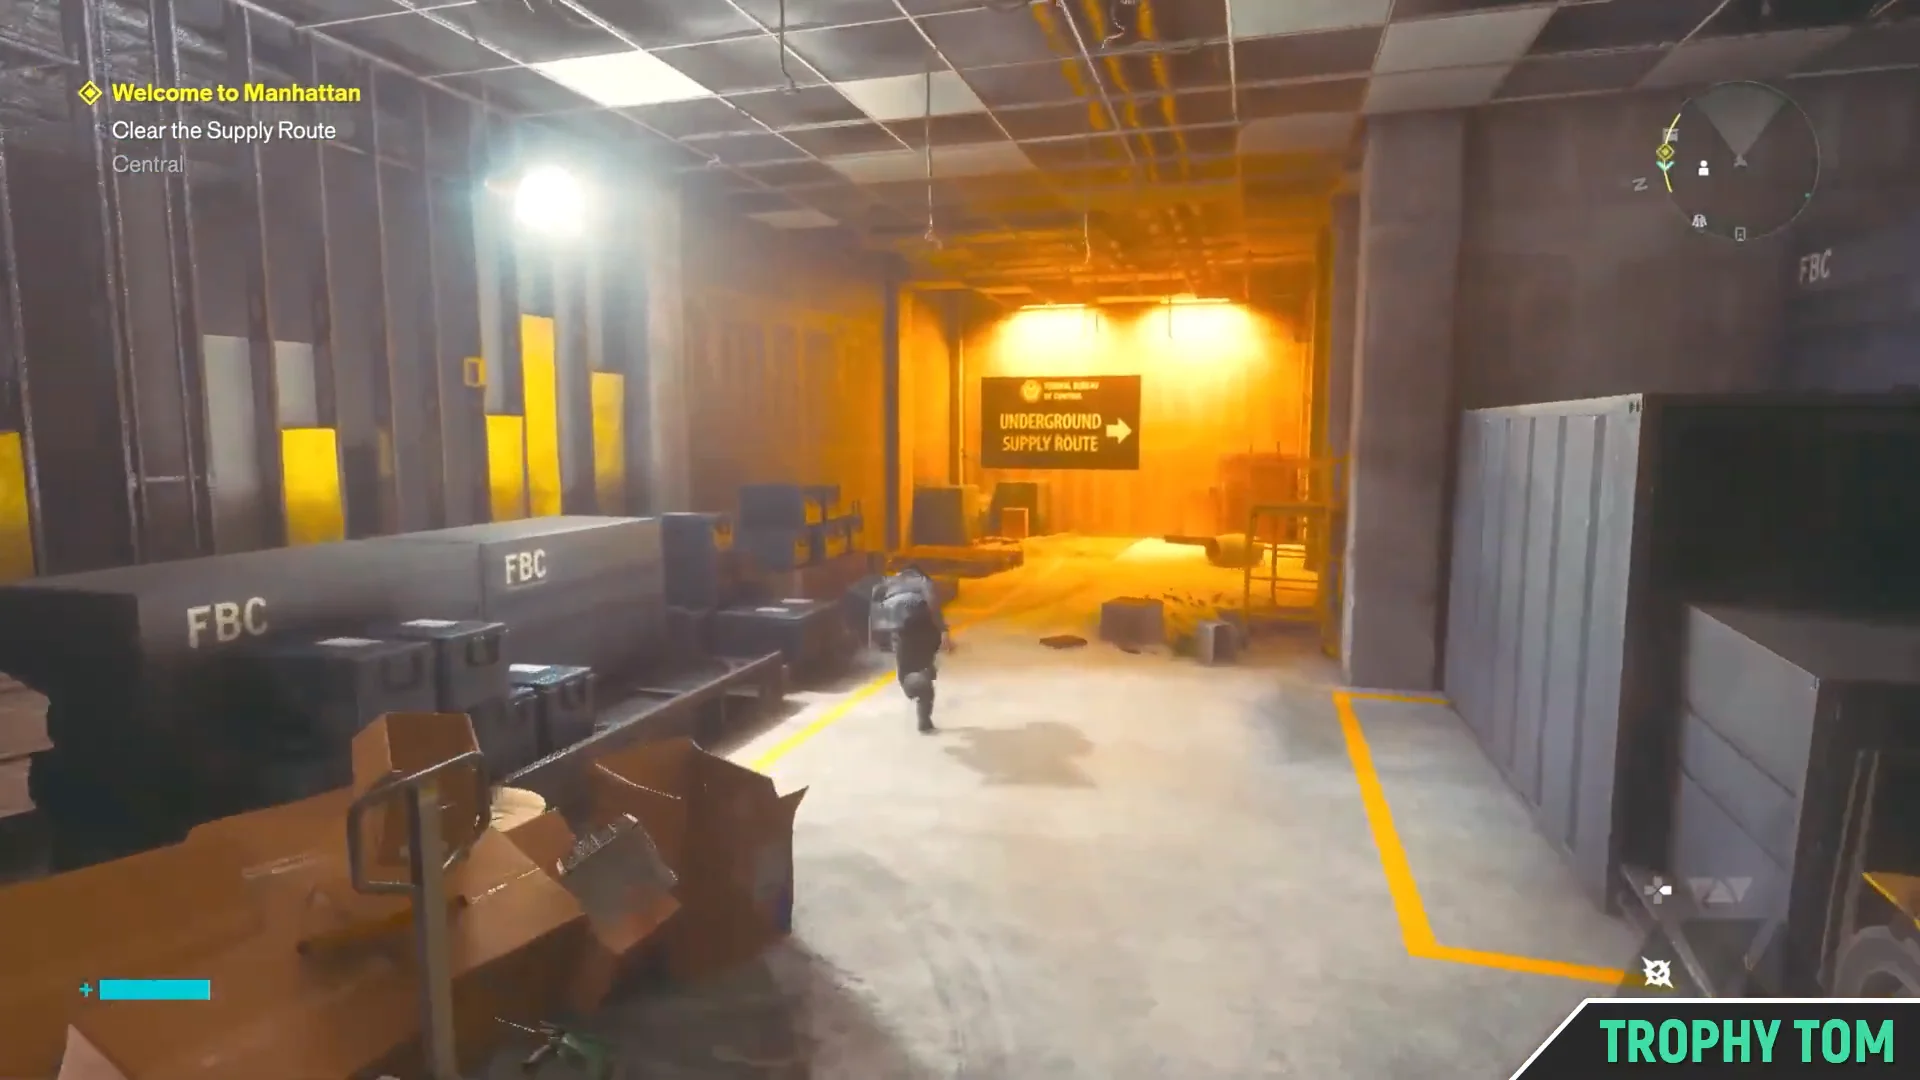
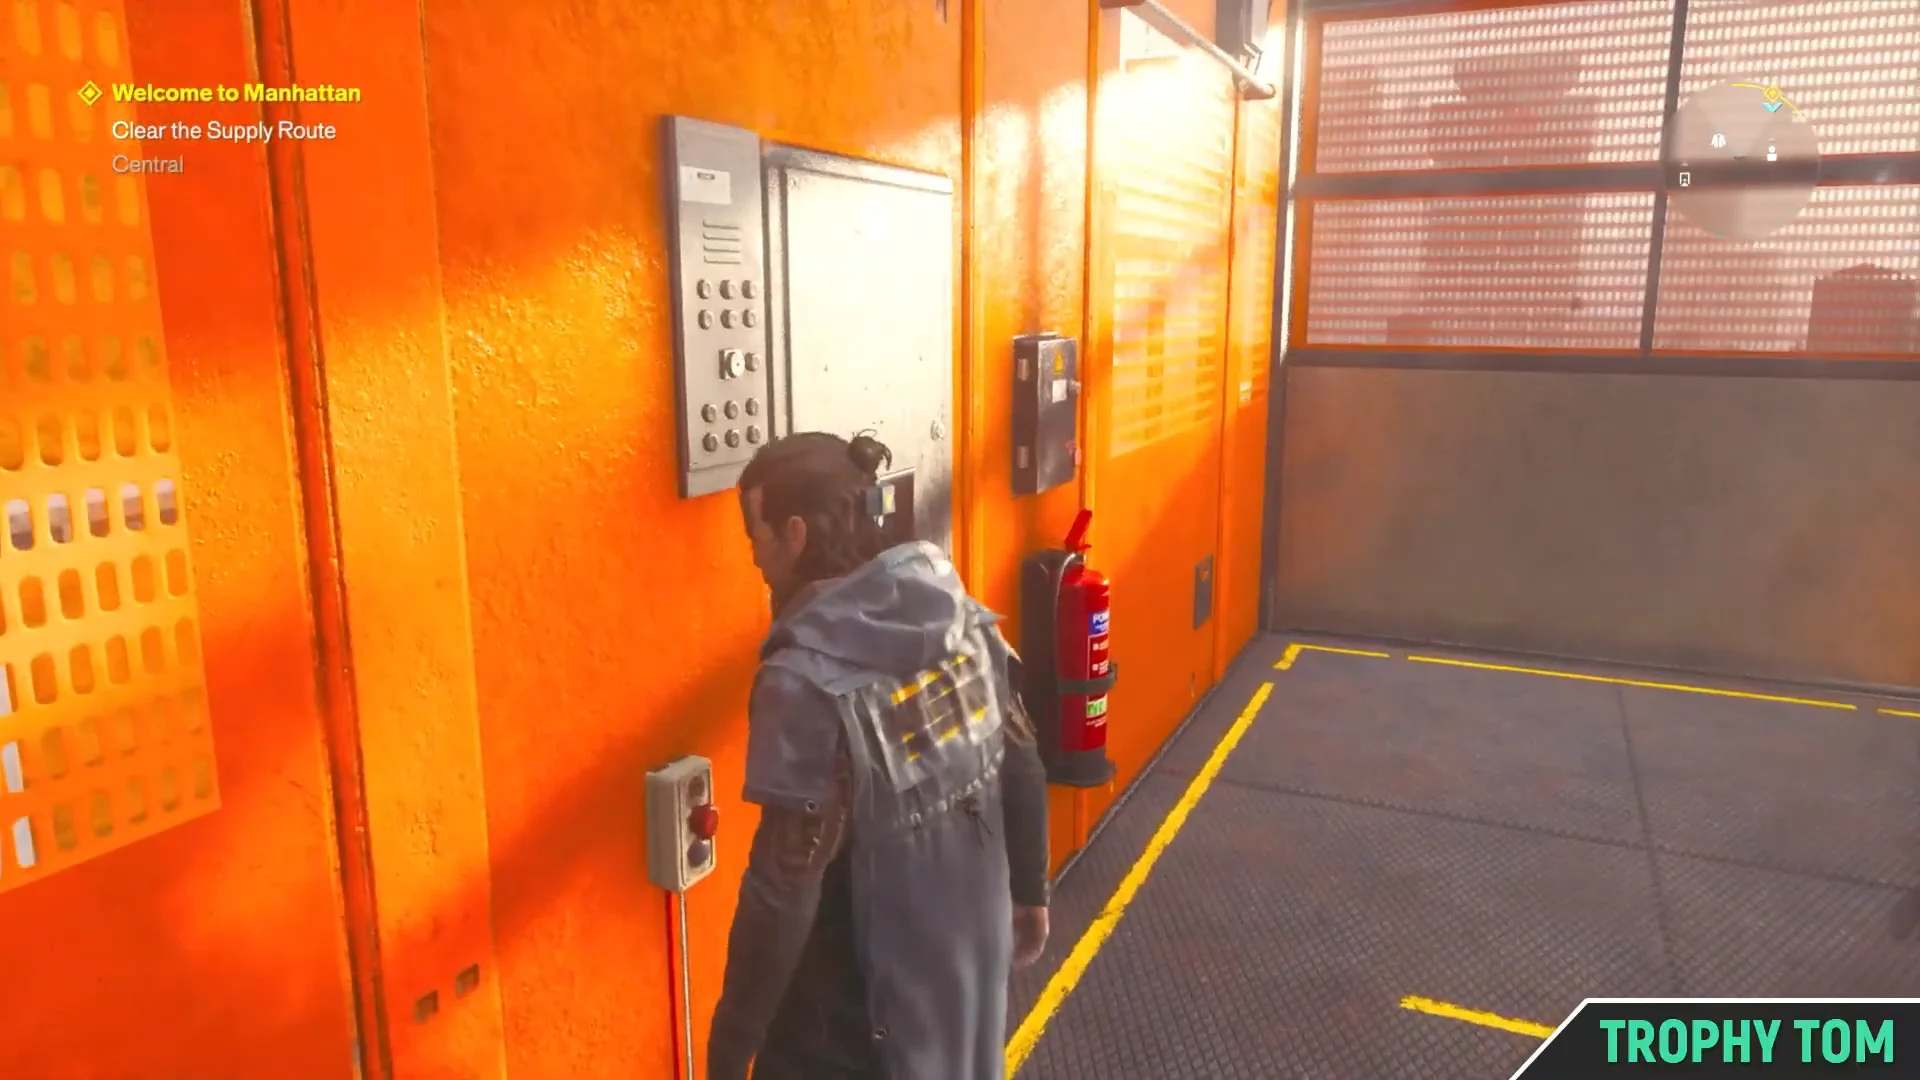
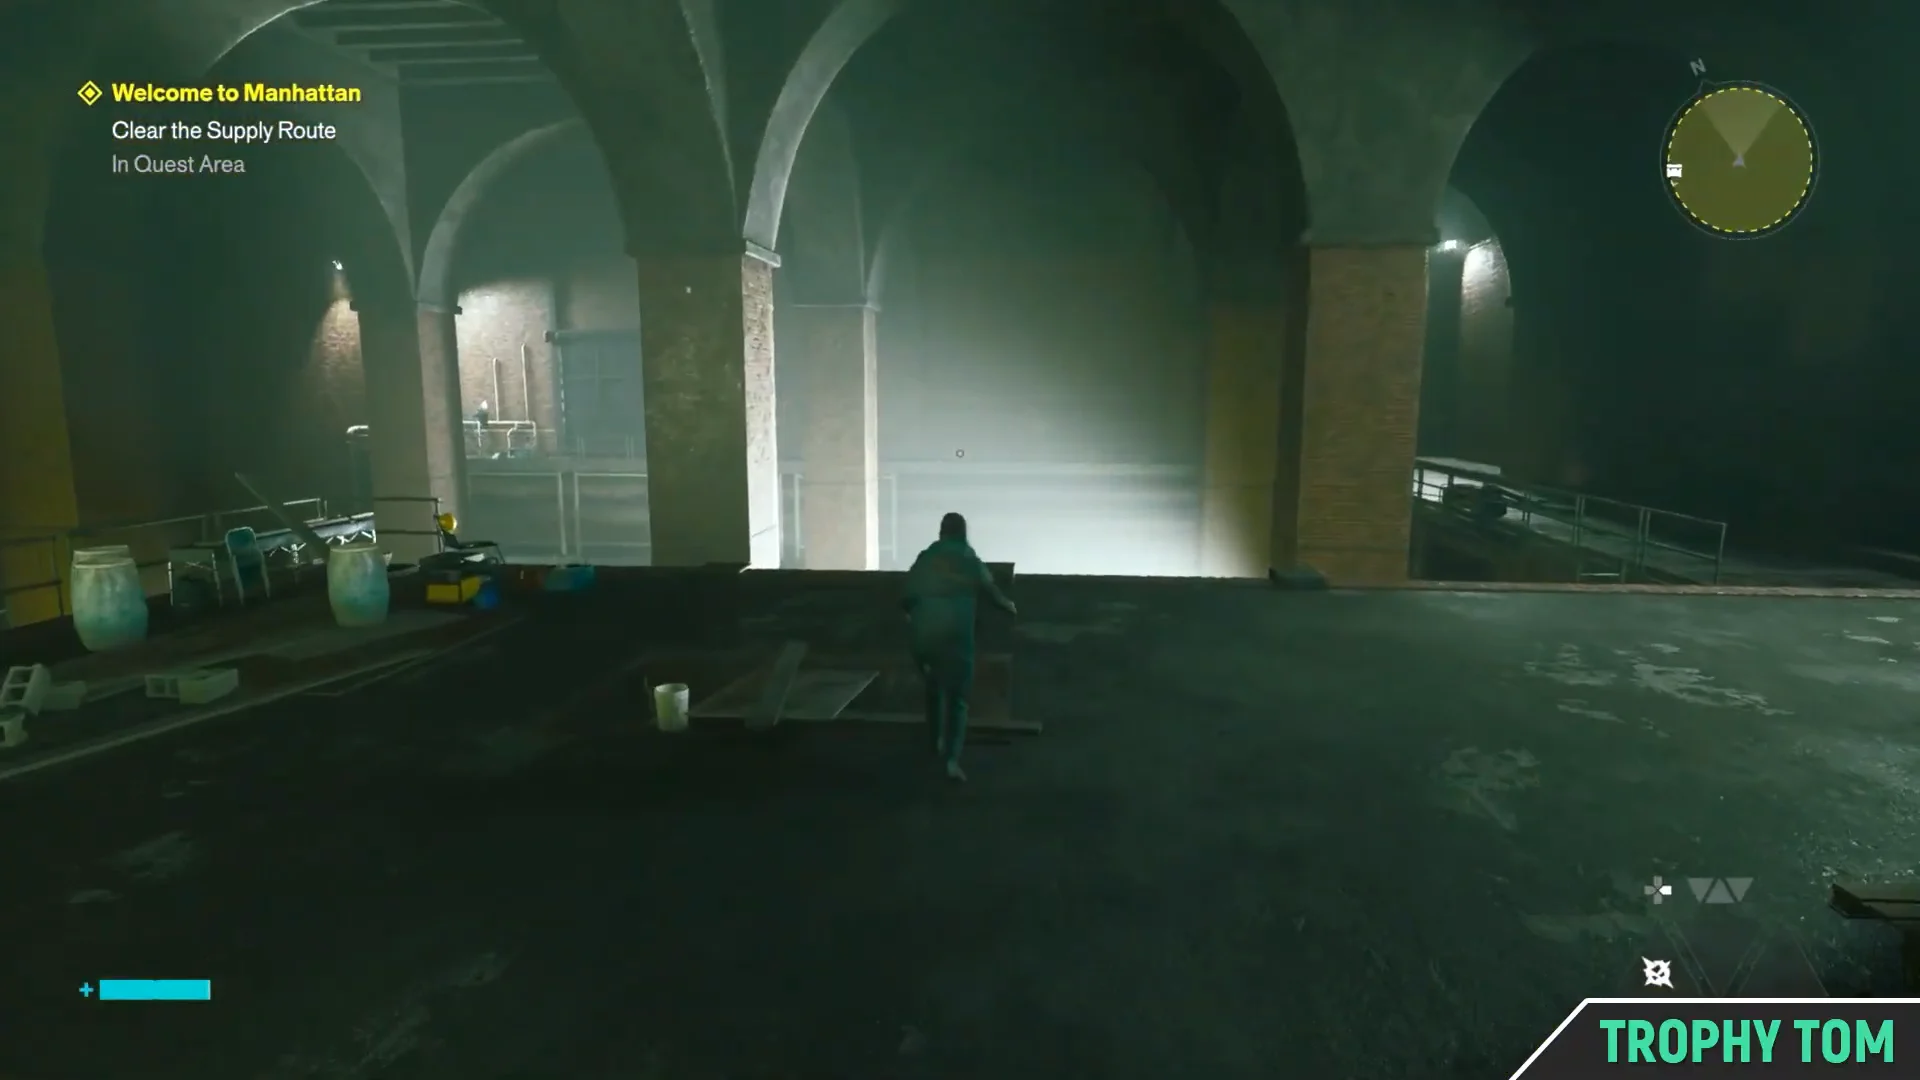
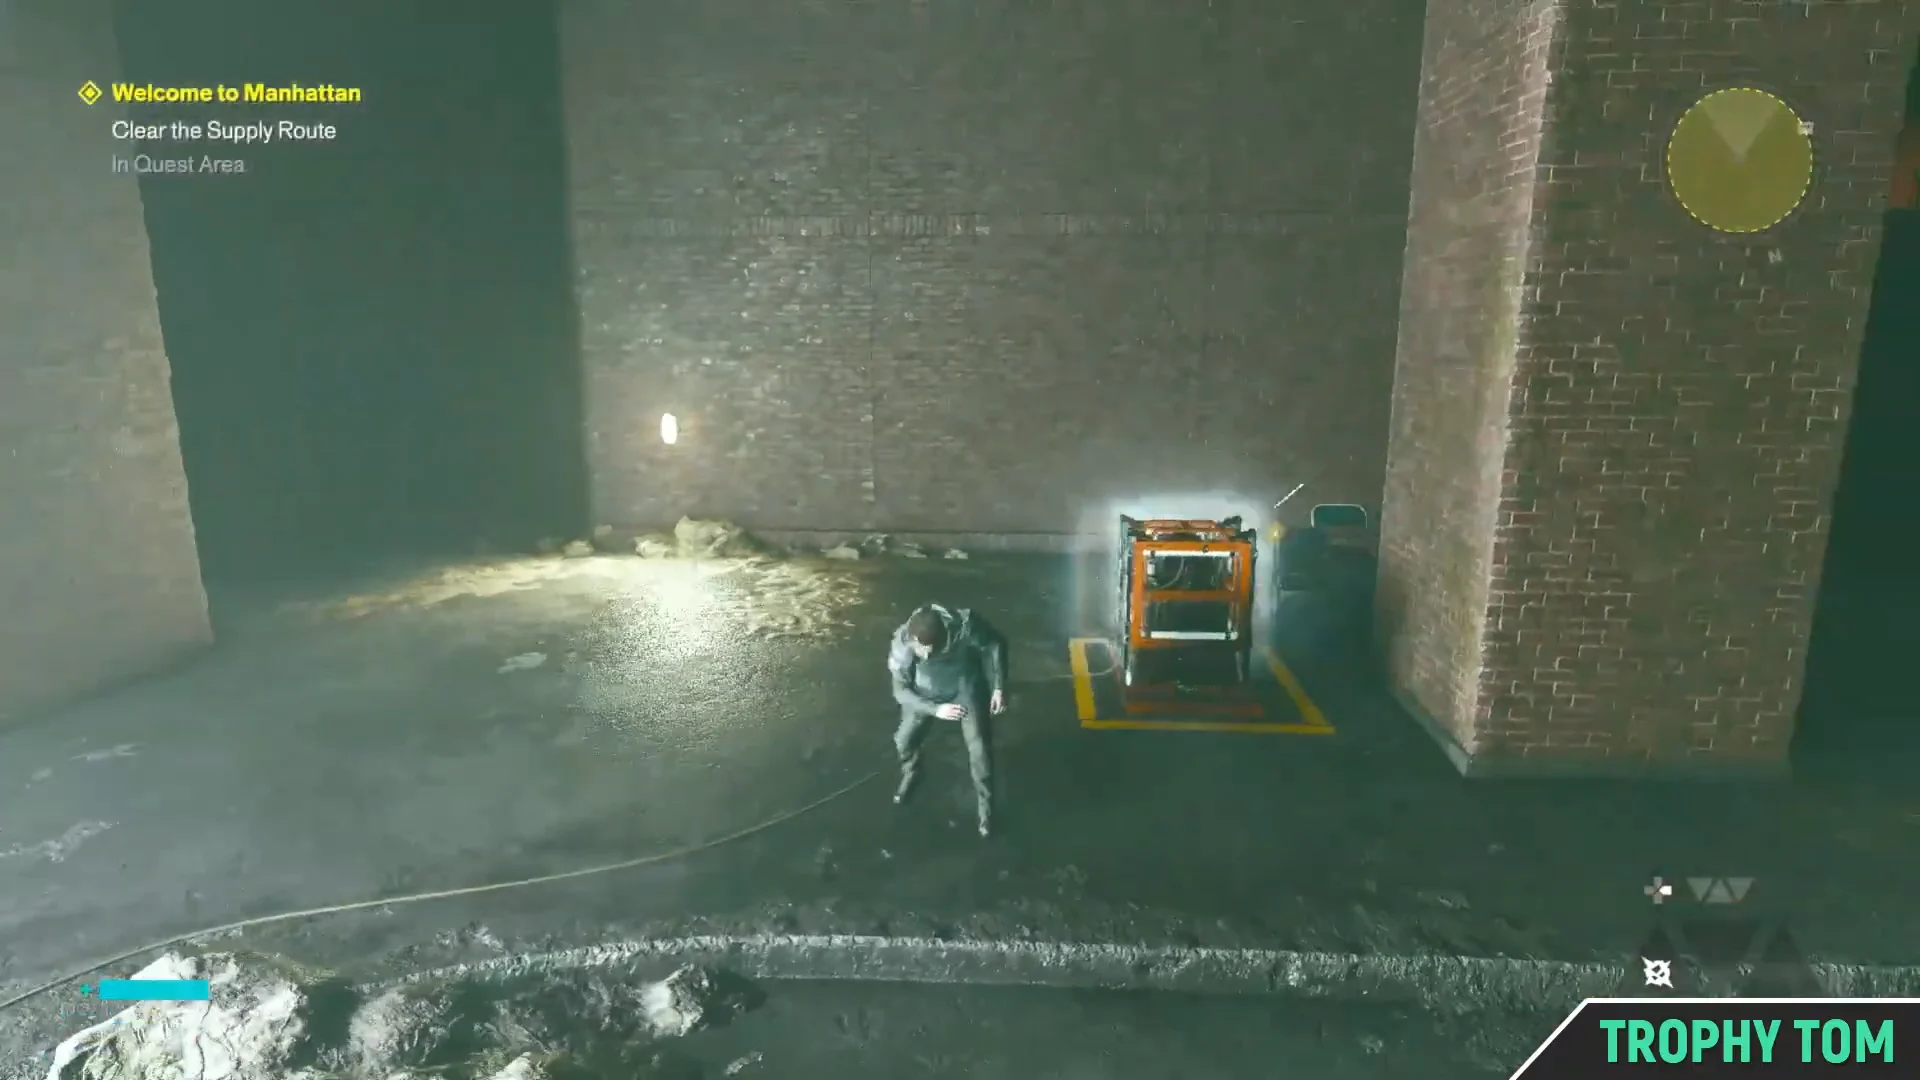
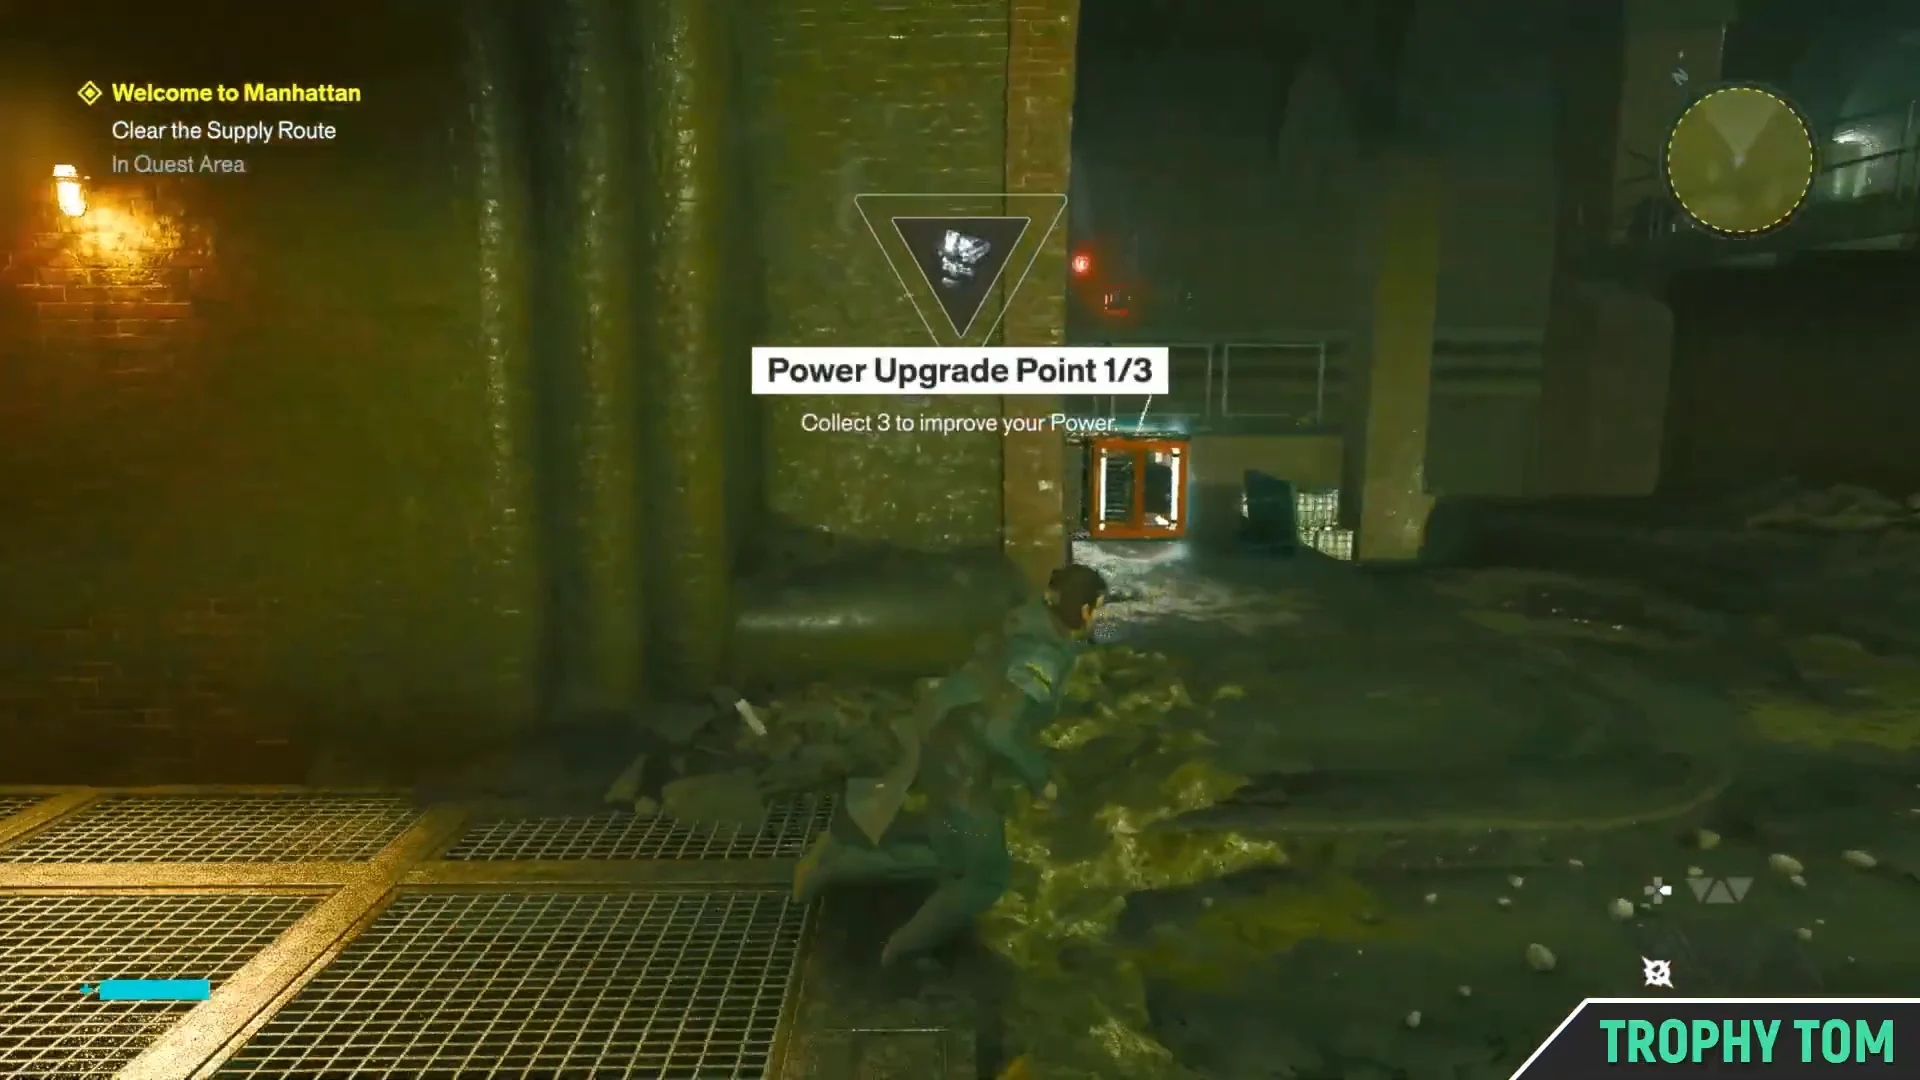
Power box puzzle in the flooded room
The tunnel gates here run on the same charge-carrying mechanic you used at the Central Checkpoint. Hitting a live power box with your melee weapon stores its charge on the weapon, and that charge drains after a few seconds, so look at where you are going before you take it.
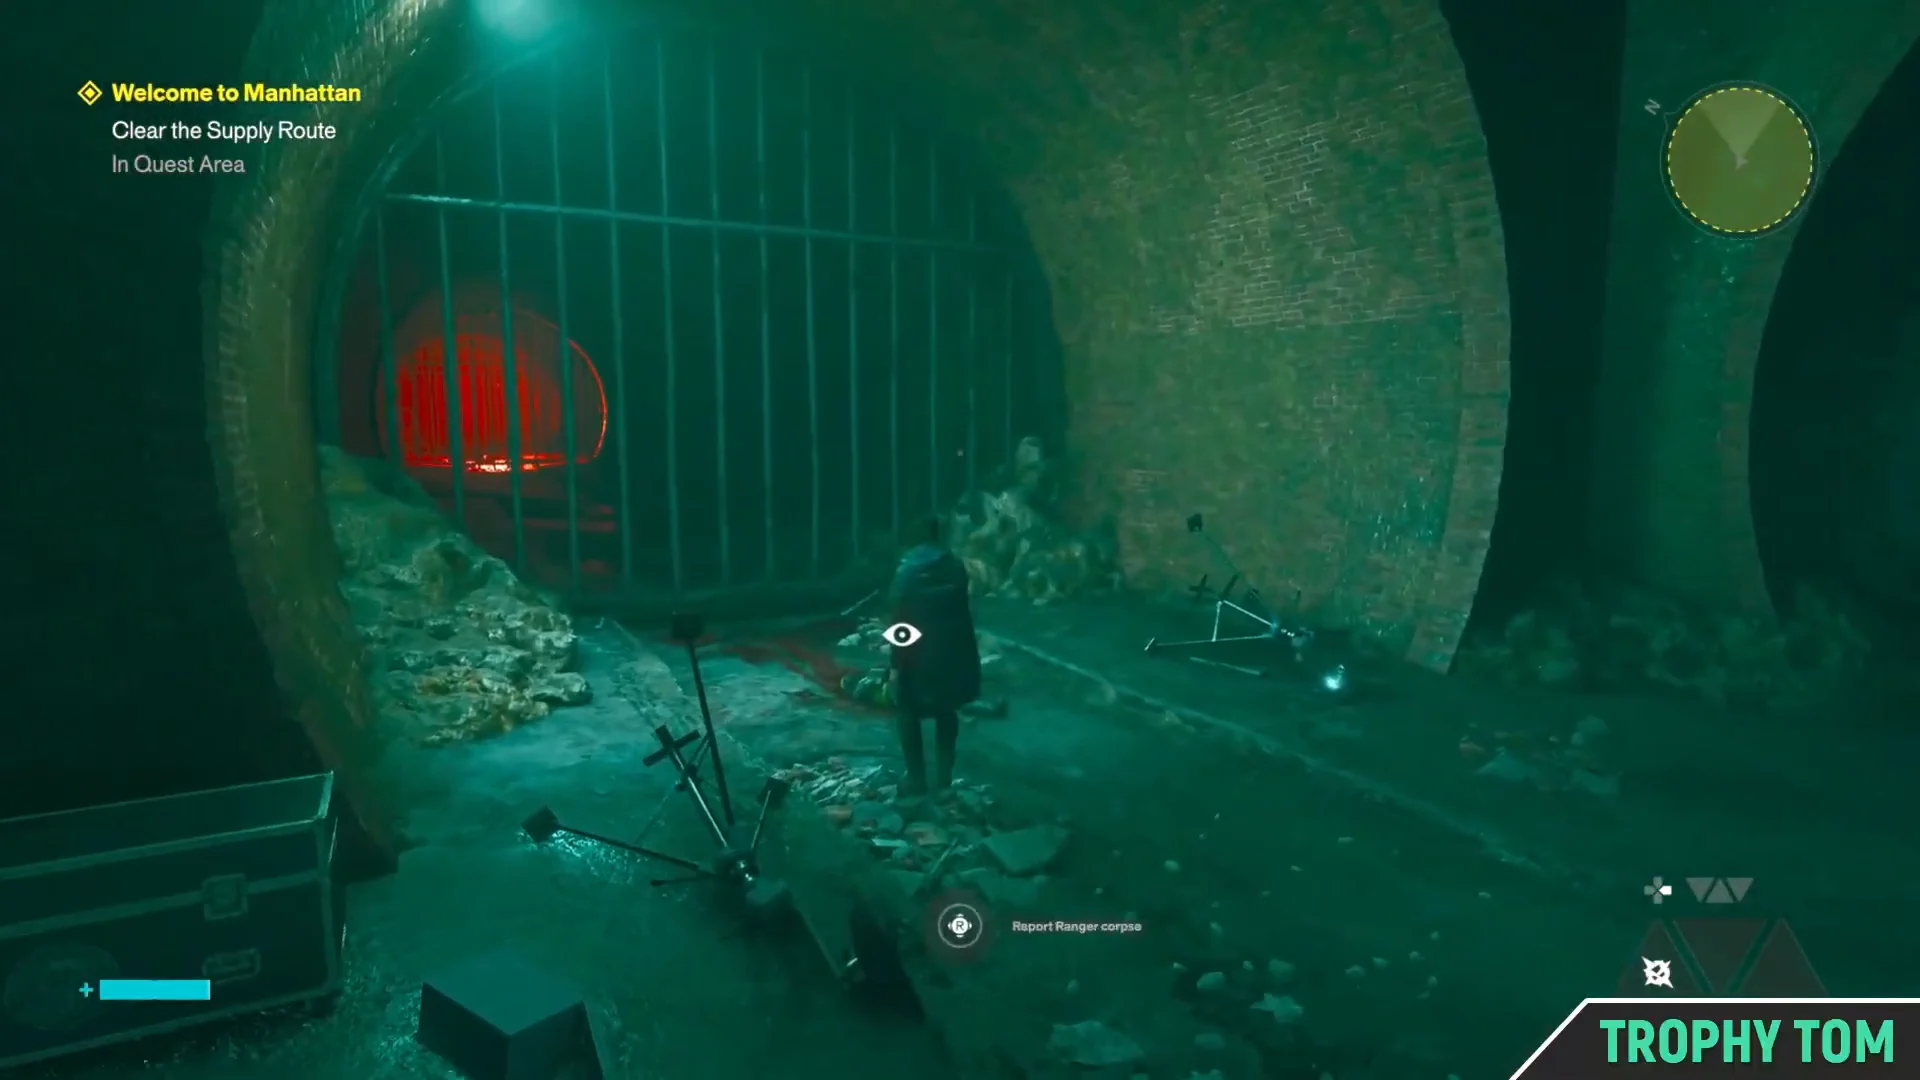
Past the gate you find a dead Ranger on the floor. Interacting with the body lets Dylan report it to Zoe over the radio. It is optional dialogue and does not gate progress, but it costs you only a few seconds.
Destroy the red growth blocking the tunnel
Keep following the corridors, through the green and then red-lit stretches, until you reach a large chamber filled with Hiss. One of them is a named enemy, which works as a miniboss here with more health and altered attacks than the standard version.
A huge red growth blocks the tunnel on the opposite side. Use telekinesis against it or detonate explosive barrels beside it to clear the obstruction. Then find and enter the door labeled FBC FIELD OFFICE. The power box in the room behind you also unlocks a path toward an earlier area, but that route contains nothing worth picking up.
If you are only trying to get through, most of the fighting on this route can be avoided by running for the waypoint. Assist Mode options such as immortality or one-hit kills are available if the chamber fight is holding you up.
Subway station and the hidden Health Upgrade Point
The cleared tunnel opens onto a subway platform. Run along the platform, up the stairs, and into the hallway above, but stop before you head outside. The room on the left holds a crate with Health Upgrade Point 1/3 inside, hidden behind a wall poster reading QUALITY GAS FOR ANY VEHICLE. Break the poster to reveal the compartment.
After that, take the last set of stairs up and out of the station.
Upgrade points on the supply route
| Collectible | Location | Effect |
|---|---|---|
| Power Upgrade Point 1/3 | Side room in the flooded tunnel, opened by the mid-level power box | Collect 3 to improve Power |
| Health Upgrade Point 1/3 | Room on the left at the top of the subway stairs, behind a gas poster | Collect 3 to increase maximum health |
Both are worth the short detour. Upgrade points are finite, and the difficulty climbs quickly once the first Resonant Cycle brings defeated enemies back stronger.
How to confirm the objective is complete
Stepping out of the subway station onto the Manhattan streets closes out the objective. The Quest Log updates to Get a Security Keycard, with the waypoint now pointing northeast toward the FBC Field Office inside the VERCONN building.
On the way there a soldier at a security booth stops Dylan and asks what he is doing. The dialogue option you pick does not change anything, since Zoe talks him down regardless. Head up the steps into the Field Office and grab the Security Keycard from the desk inside to finish Welcome to Manhattan, along with a Living Shard and Level 1 Security Clearance for any door with a Level 1 panel.