The surgical wing of St. Amelia Medical Centre has doors that ignore every tool you are carrying. No scalpel, no key, no lanyard badge. Each one is fitted with a small electronic push-button lock mounted on the wall beside the frame, and it only responds to a four-digit number. The good news is that you are not meant to deduce these digits from a puzzle. They are handed to you.
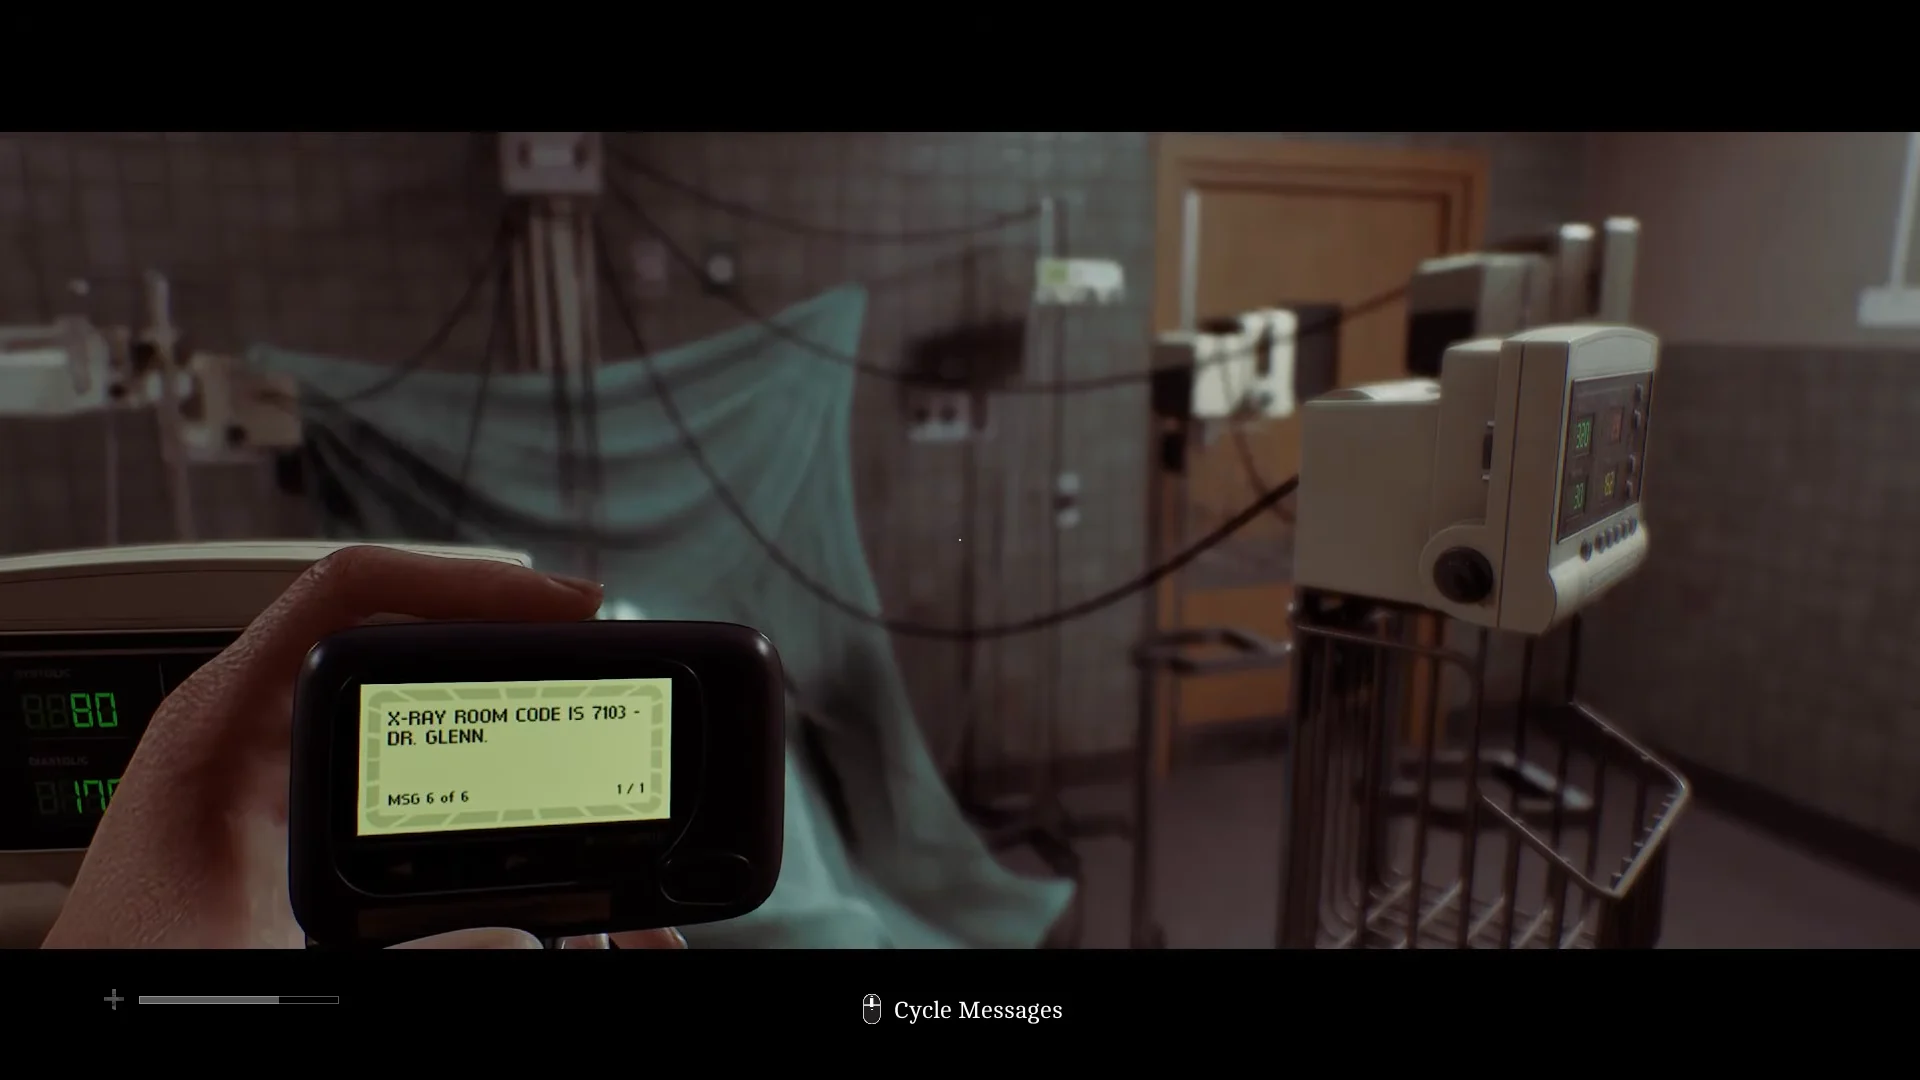
Quick answer: Check Dr. Glenn’s note through the pager, then type its four-digit code into the keypad beside the door. Use 7813 for the X-ray room; the other keypad door in that wing requires 7103.
St. Amelia Medical Centre keypad codes
This hospital section has two doors with keypads, each using a different combination. Identify the doorway in front of you before entering any numbers.
| Door | Code | Where the digits come from |
|---|---|---|
| X-ray room | 7813 | Pager message signed Dr. Glenn |
| Second keypad door, same wing | 7103 | Entered directly at the lock |
Difficulty settings do not change these numbers. The only thing the option adjusts is how many written hints turn up in the environment, so a lower setting will not hand you a different combination.
Read the pager before you touch the keypad
The X-ray room code does not arrive as a note pinned to a corkboard or a number scrawled on a wall. It is sent to your pager during the chapter. Bring the device up and read the message in full: it spells out the code and it names the room, which is how you know which of the two doors it belongs to.
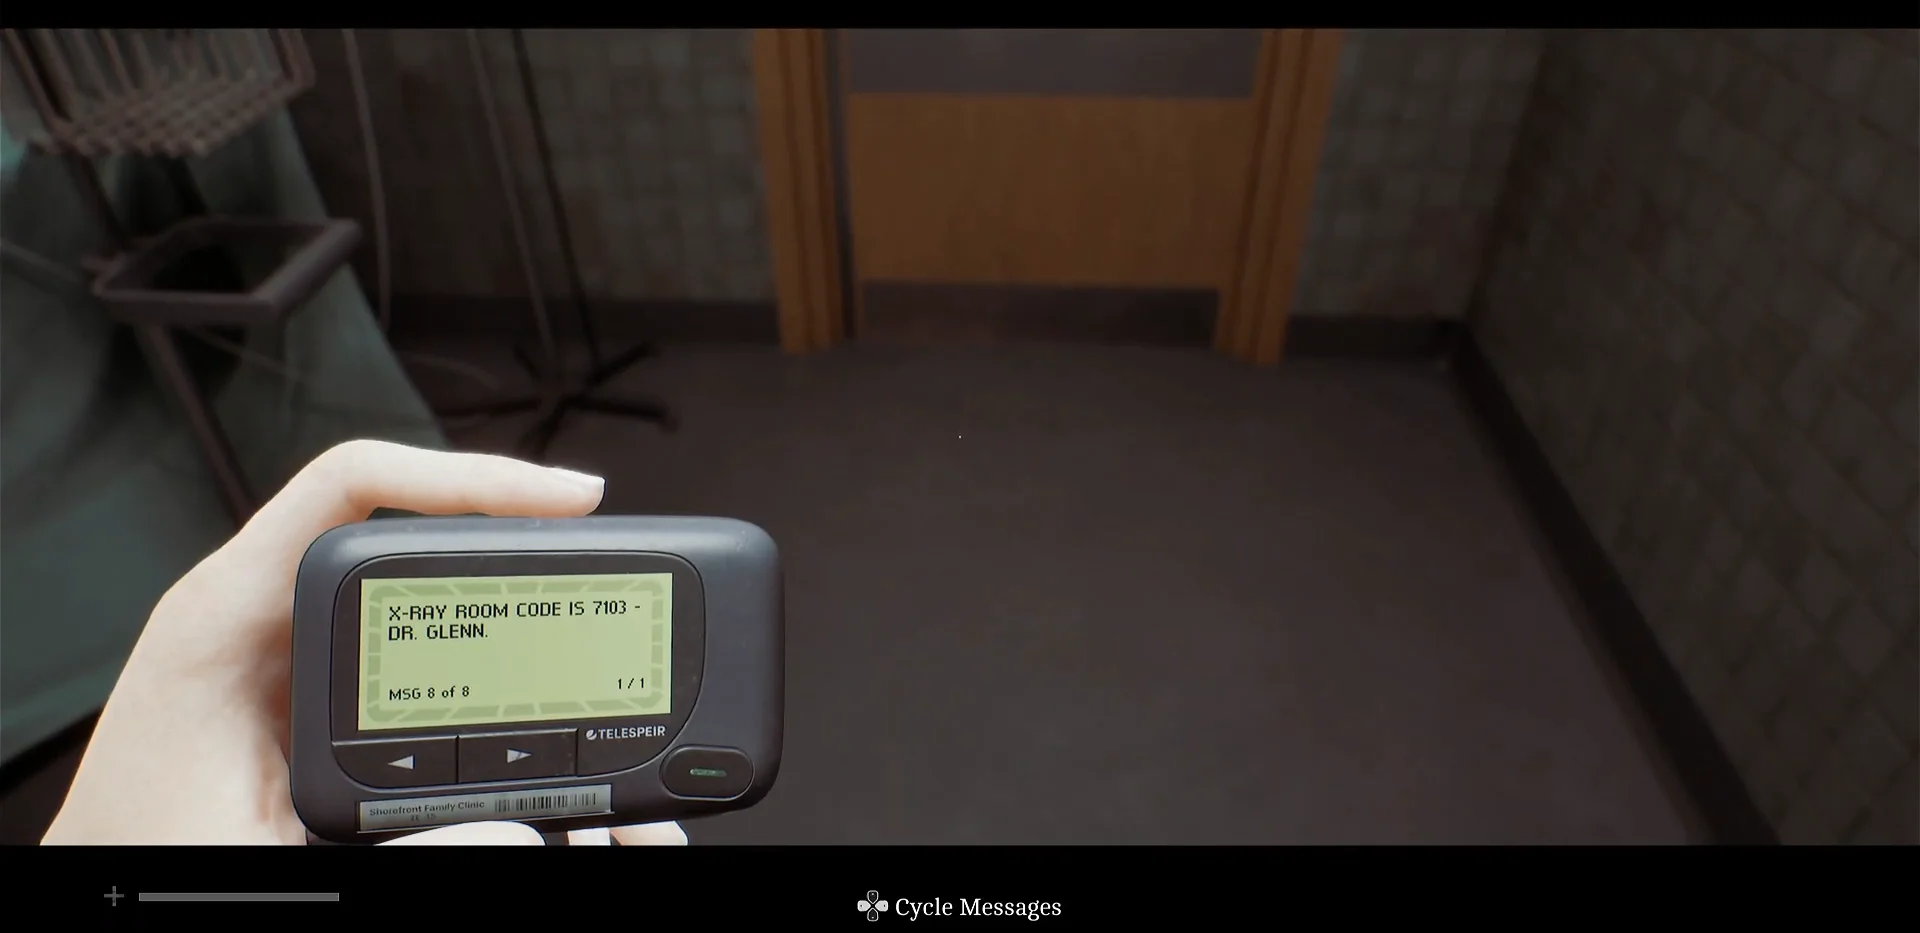
If a code is rejected, reopen the pager and re-read the message rather than trying digits at random. The message is the authority on which number belongs to which door.
For the other useful pickup, collect the paper floor plan. When the chapter begins, inspect the wall left of the operating room to obtain the St. Amelia Medical Center Map. It shows the room layout and identifies the Patient room, helping distinguish the nearly identical corridors.
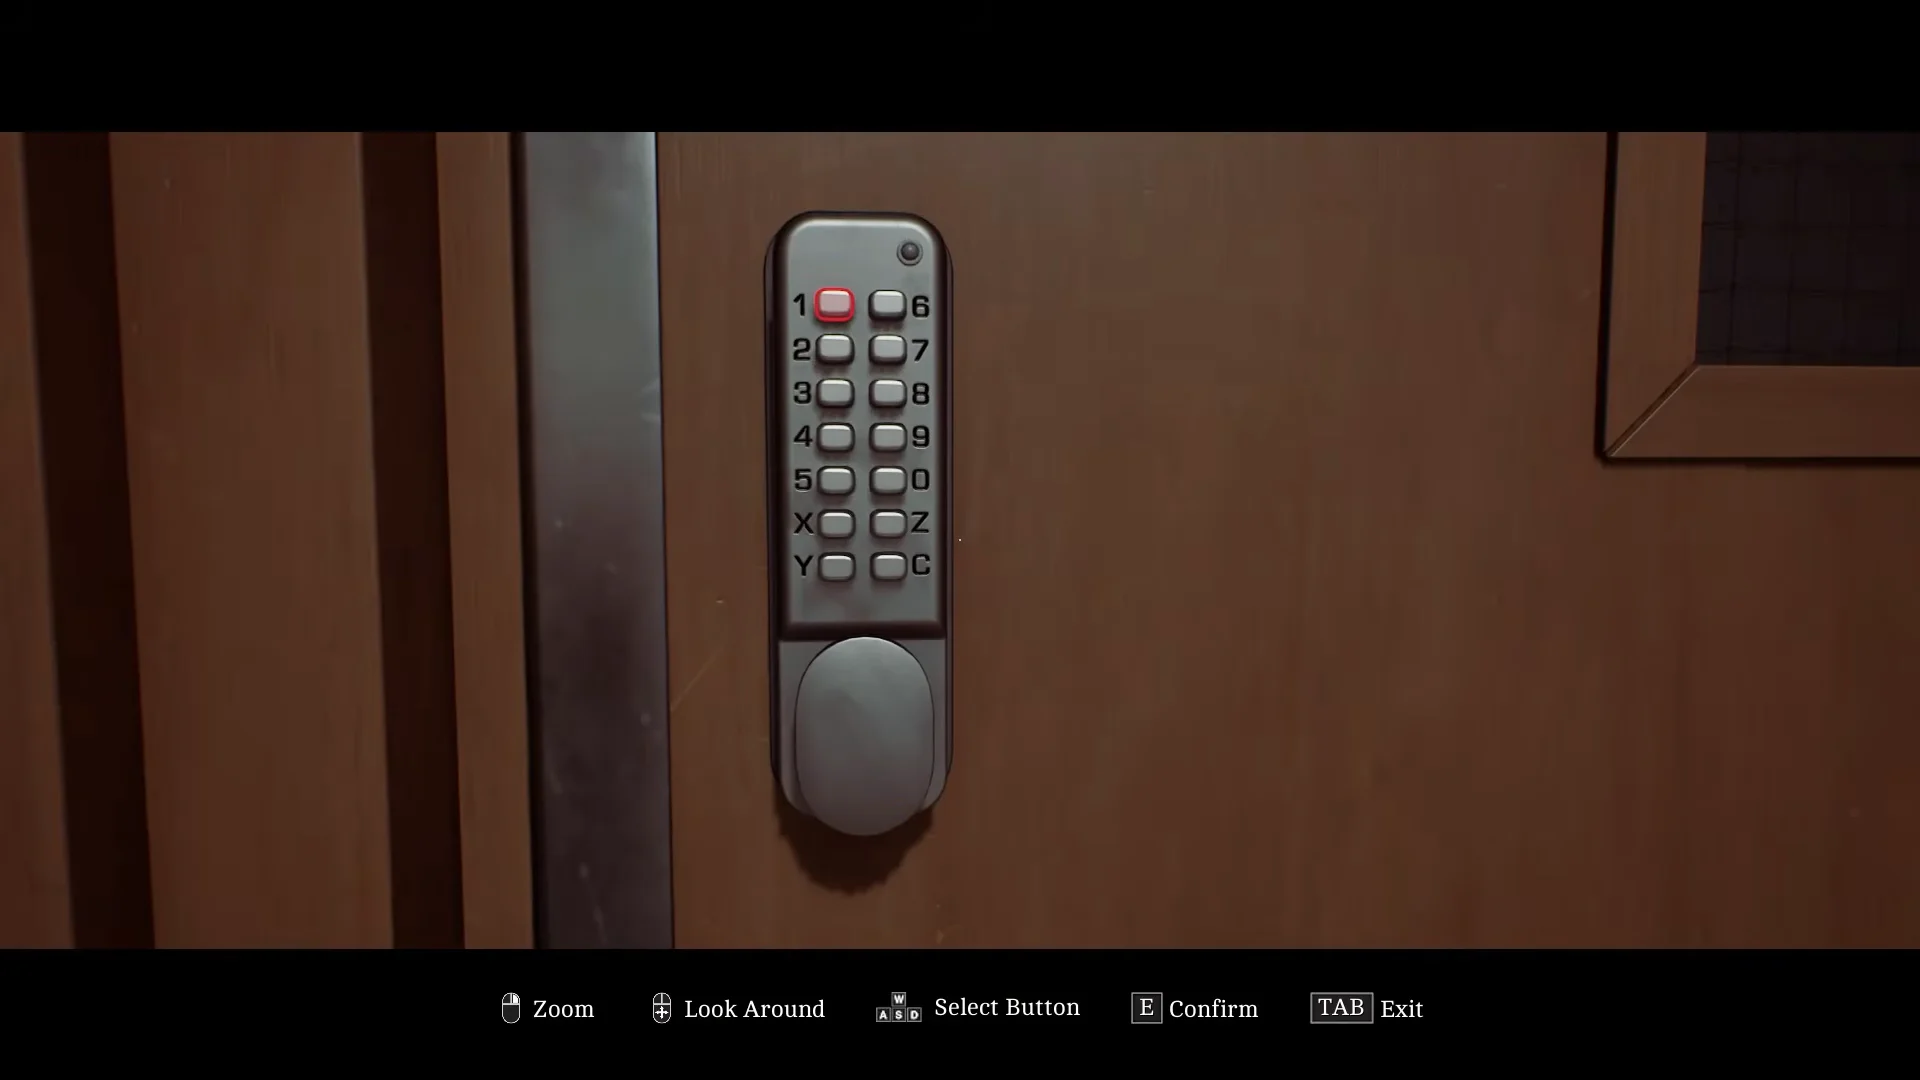
How to enter the code on the door keypad

How to confirm the X-ray room door opened correctly
Once you enter, a recording starts playing throughout the room and explains system alignment and camera calibration. Hearing it confirms that the correct door opened and the sequence has advanced.
Dials and switches cover the medical control console that dominates the room, and its green power light confirms that it is active. Approach it for a close inspection; this is the interactive component connected to everything else in the room.
If the corridors become hard to distinguish after you return outside, display the floor plan and verify your location. The wards look alike, so the map’s marked rooms offer the quickest reset before the chapter directs you to the next item.