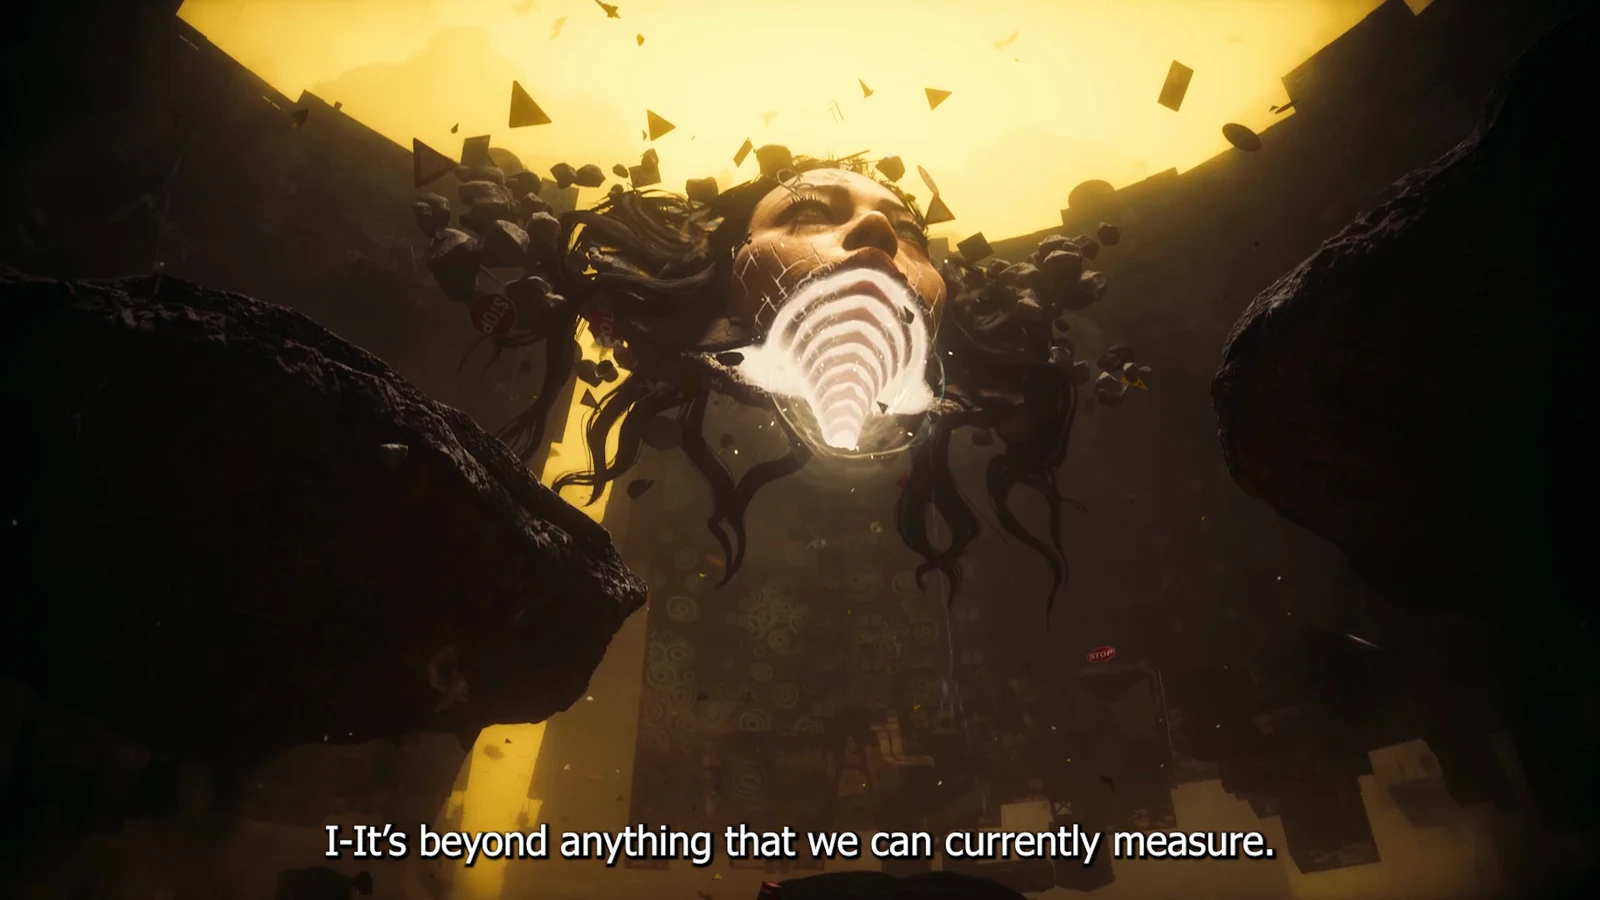
Resonants are the named bosses scattered across the twisted Manhattan of Control Resonant, and they sit on their own quest chain rather than the main campaign. You can finish the story without touching most of them, but every kill hands Dylan a Combat Ability, and clearing the full set is tied to repairing the Mural in the Gap for a completion run.
Quick answer: Five regional Resonants sit one per zone (none in the Evacuation Zone), plus The Artist in the prologue and Hedron as the final boss. Each defeat grants a Combat Ability choice.
All Resonant locations and rewards
| Resonant | Zone | Access requirement | Reward |
|---|---|---|---|
| The Artist | Downtown | Prologue, story-mandatory | Barrage, Volatile Anomaly, or Shield |
| The Deserter | Central | Patterned Factory, north of the Field Office | Ignite or Inferno |
| The Dancer | West Incursion Zone | Shift, Patterned Theater route | Push or Ground Slam |
| The Collective | The Park | Shift, all mold strains eaten | Spore Burst or Growth |
| The Physicist | Underpass | Three Astral Keys at the Spire | Spike or Astral Rebuke |
| The Co-Director | Unknown | Rangers’ distress call, Patterned Field Office | Command |
| Hedron | Unknown | All Hedron Links severed | Extra Combat Ability Point |
A few of these fights also drop Untapped artifacts on top of the ability choice, including an Untapped Amulet from The Dancer, Untapped Glasses from the Underpass fight, and an Untapped 1996 Commemorative Coin from the Co-Director.
What you need before you can reach them all
Three of the regional Resonants are gated behind traversal abilities or zone-specific puzzles, so map markers will appear long before you can actually walk into the arena. Sort these out first and the whole chain opens up.
- Shift — unlocked by finishing The Incursion Fault; needed for the Dancer and the Collective.
- Reach — unlocked by the Subway Fault, and the route into the Underpass runs through it.
- Astral Keys — three of them, found on side paths in the Astral Plane.
- Mold strains — eaten across The Park to open the central Mold Gate.
Resonant locations zone by zone
The Artist — Downtown
The first Resonant shows up during Orientation, the prologue mission that also teaches you the basics and hands over Rush from the first Fault ritual. There is no way around it, since the fight is a story requirement, and the boss leans hard on projectiles and explosive area attacks. Your first ability pick comes from this one.
The Deserter — Central
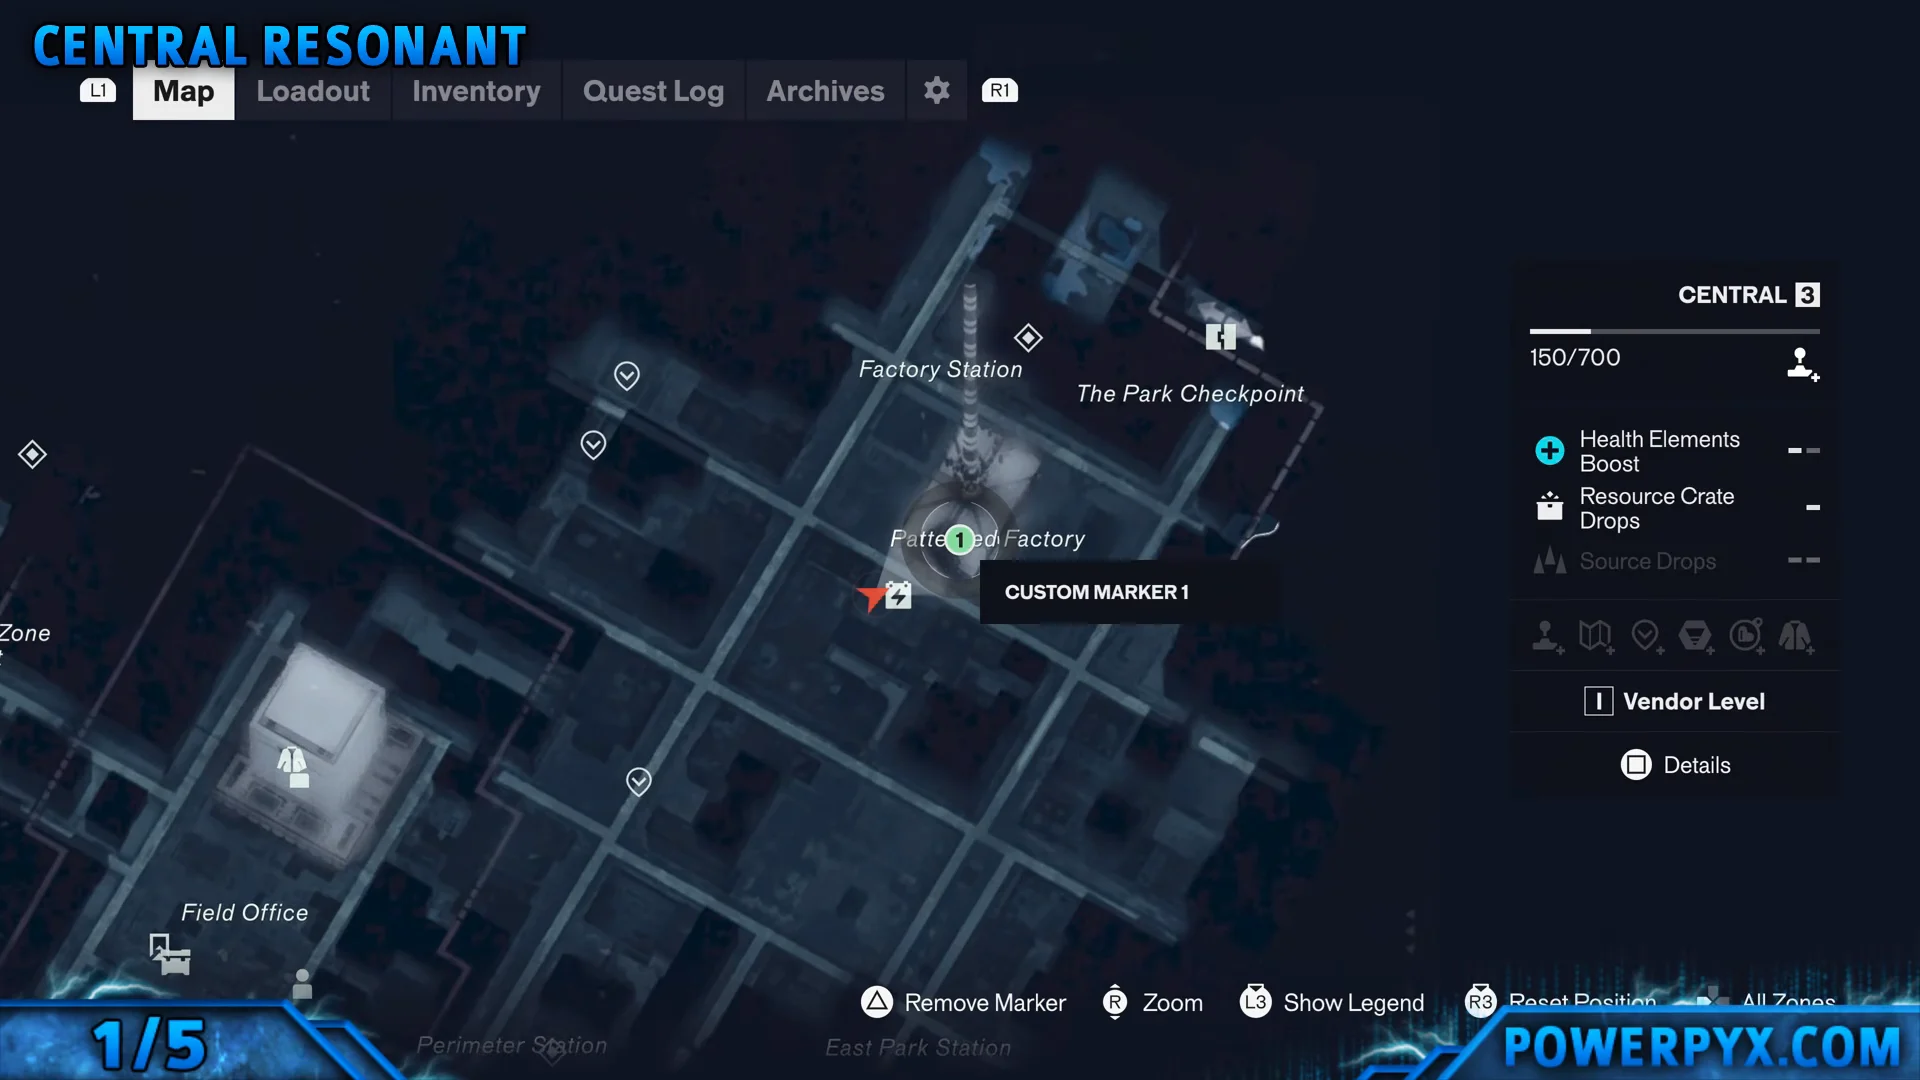
From the FBC Field Office in Central, head north toward the Factory marked on your map. Overheating patterned pipes outside the building add The Central Resonant to your Quest Log. Inside the Patterned Factory, destroy the three heat tumors, then ride the elevator down to the furnace room where The Deserter waits.
The Dancer — West Incursion Zone
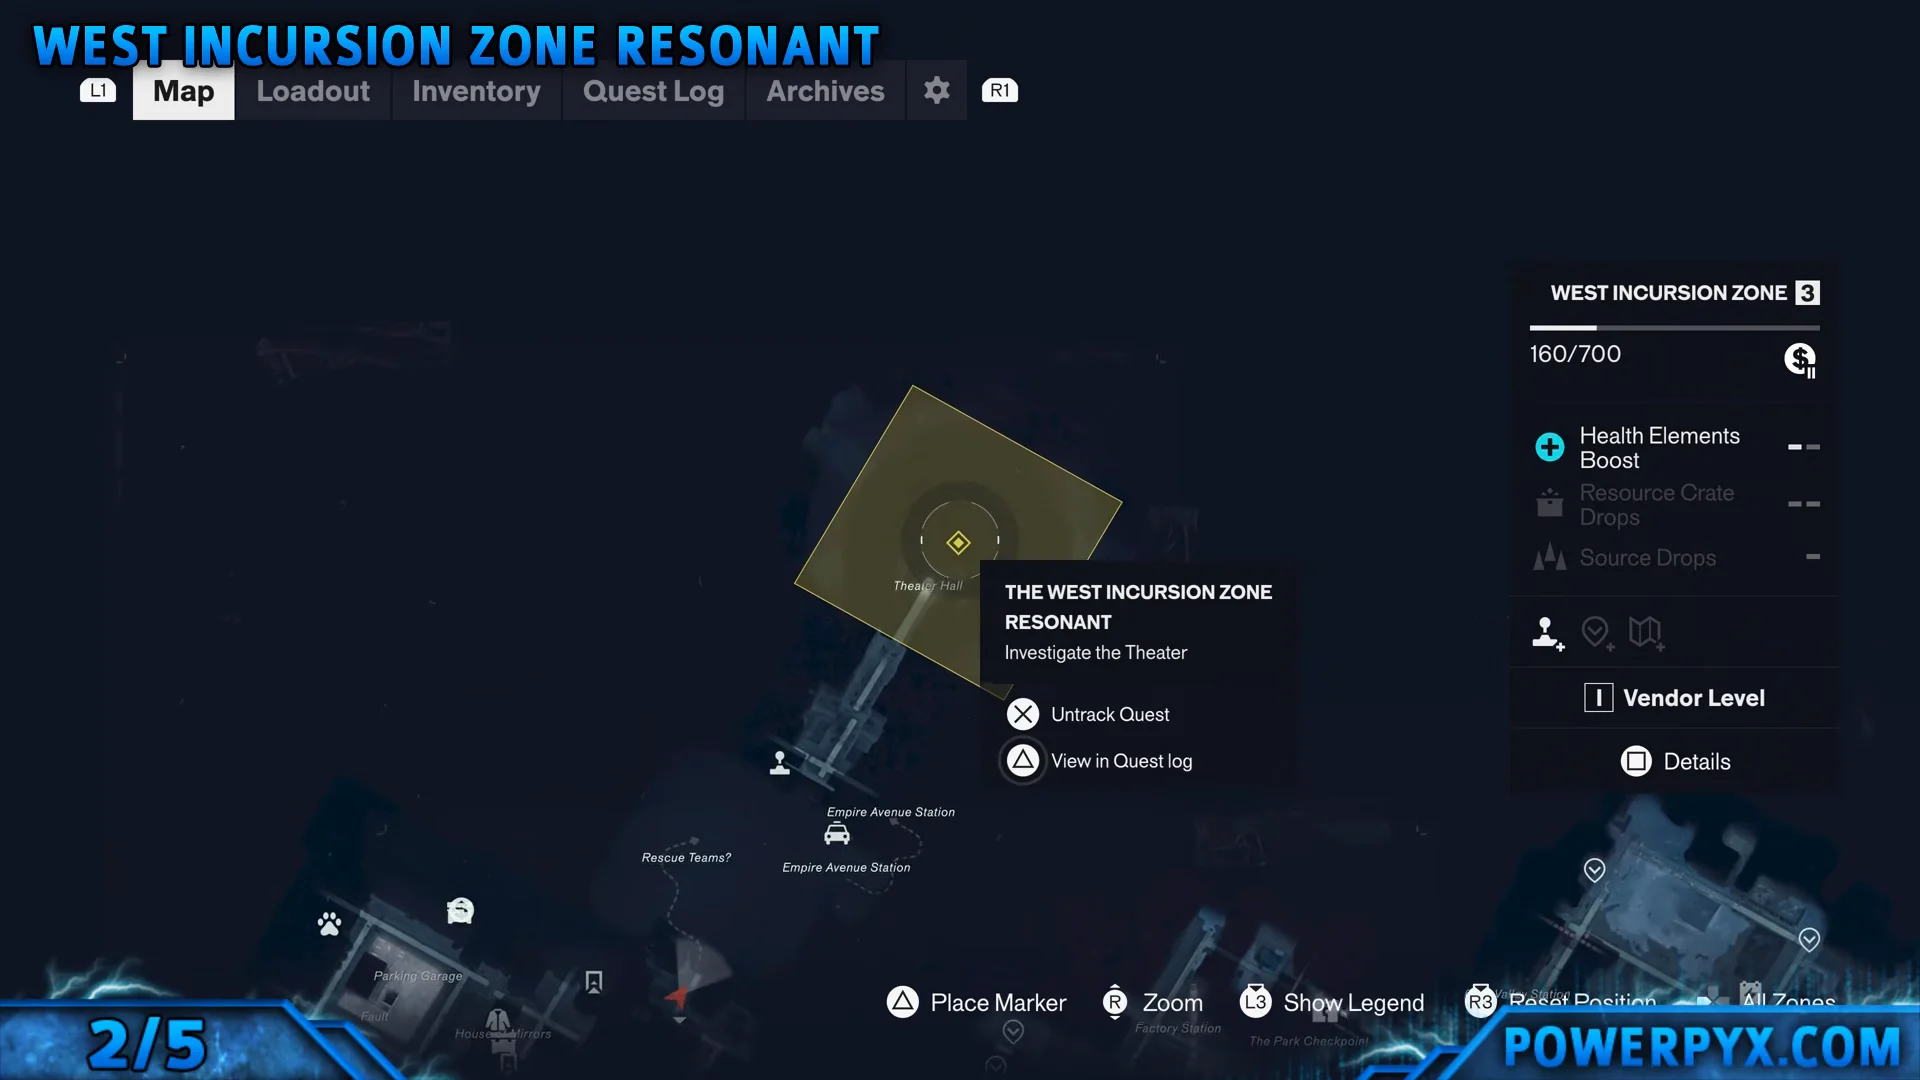
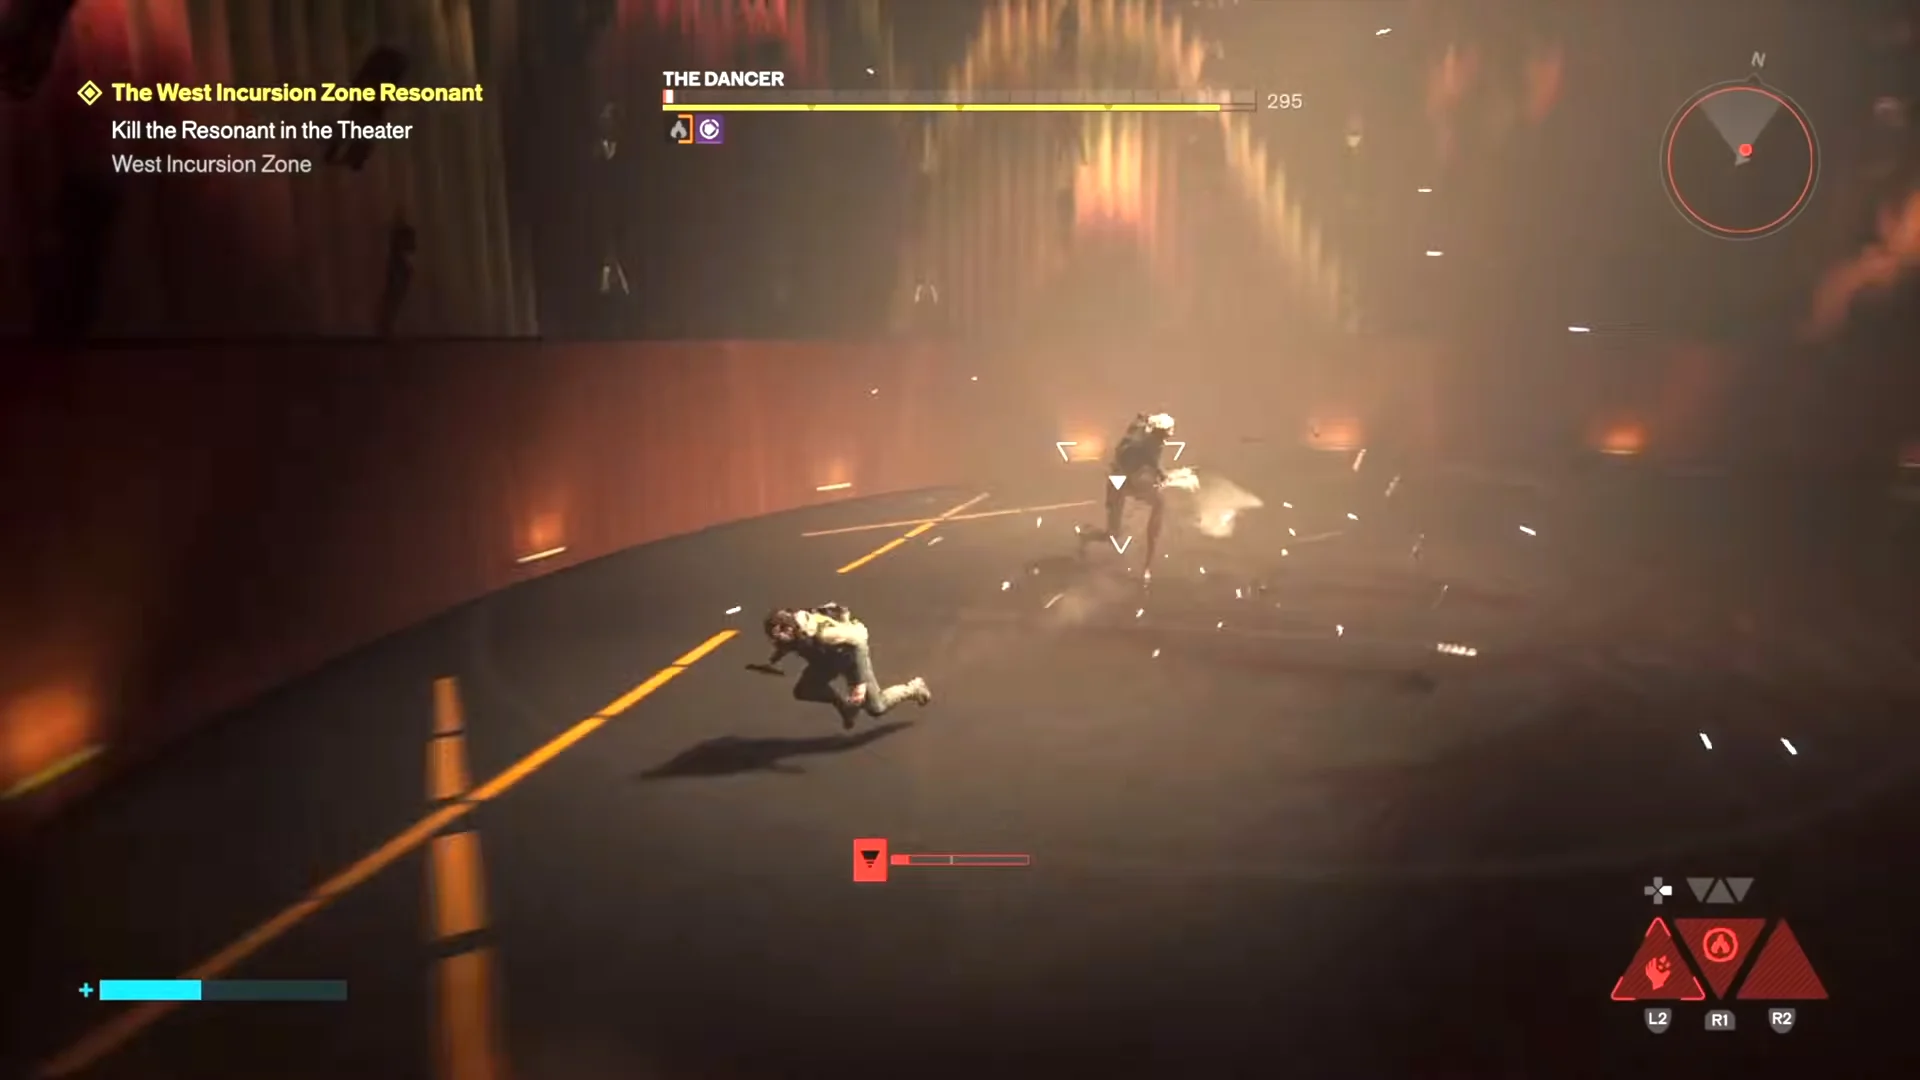
This marker appears early, but the route is blocked until you have Shift. Once The Incursion Fault is done, come back and use Shift to cross the chasms and cut through the subway tunnels to the Empire Theater Dance Hall. The arena is circular and the boss moves fast, so the openings come after its lunges rather than during them.
There is no block or parry in this game, so the fight is built around dodging and constant pressure. Rolling diagonally past a wind-up works better than backing straight out of it.
The Collective — The Park
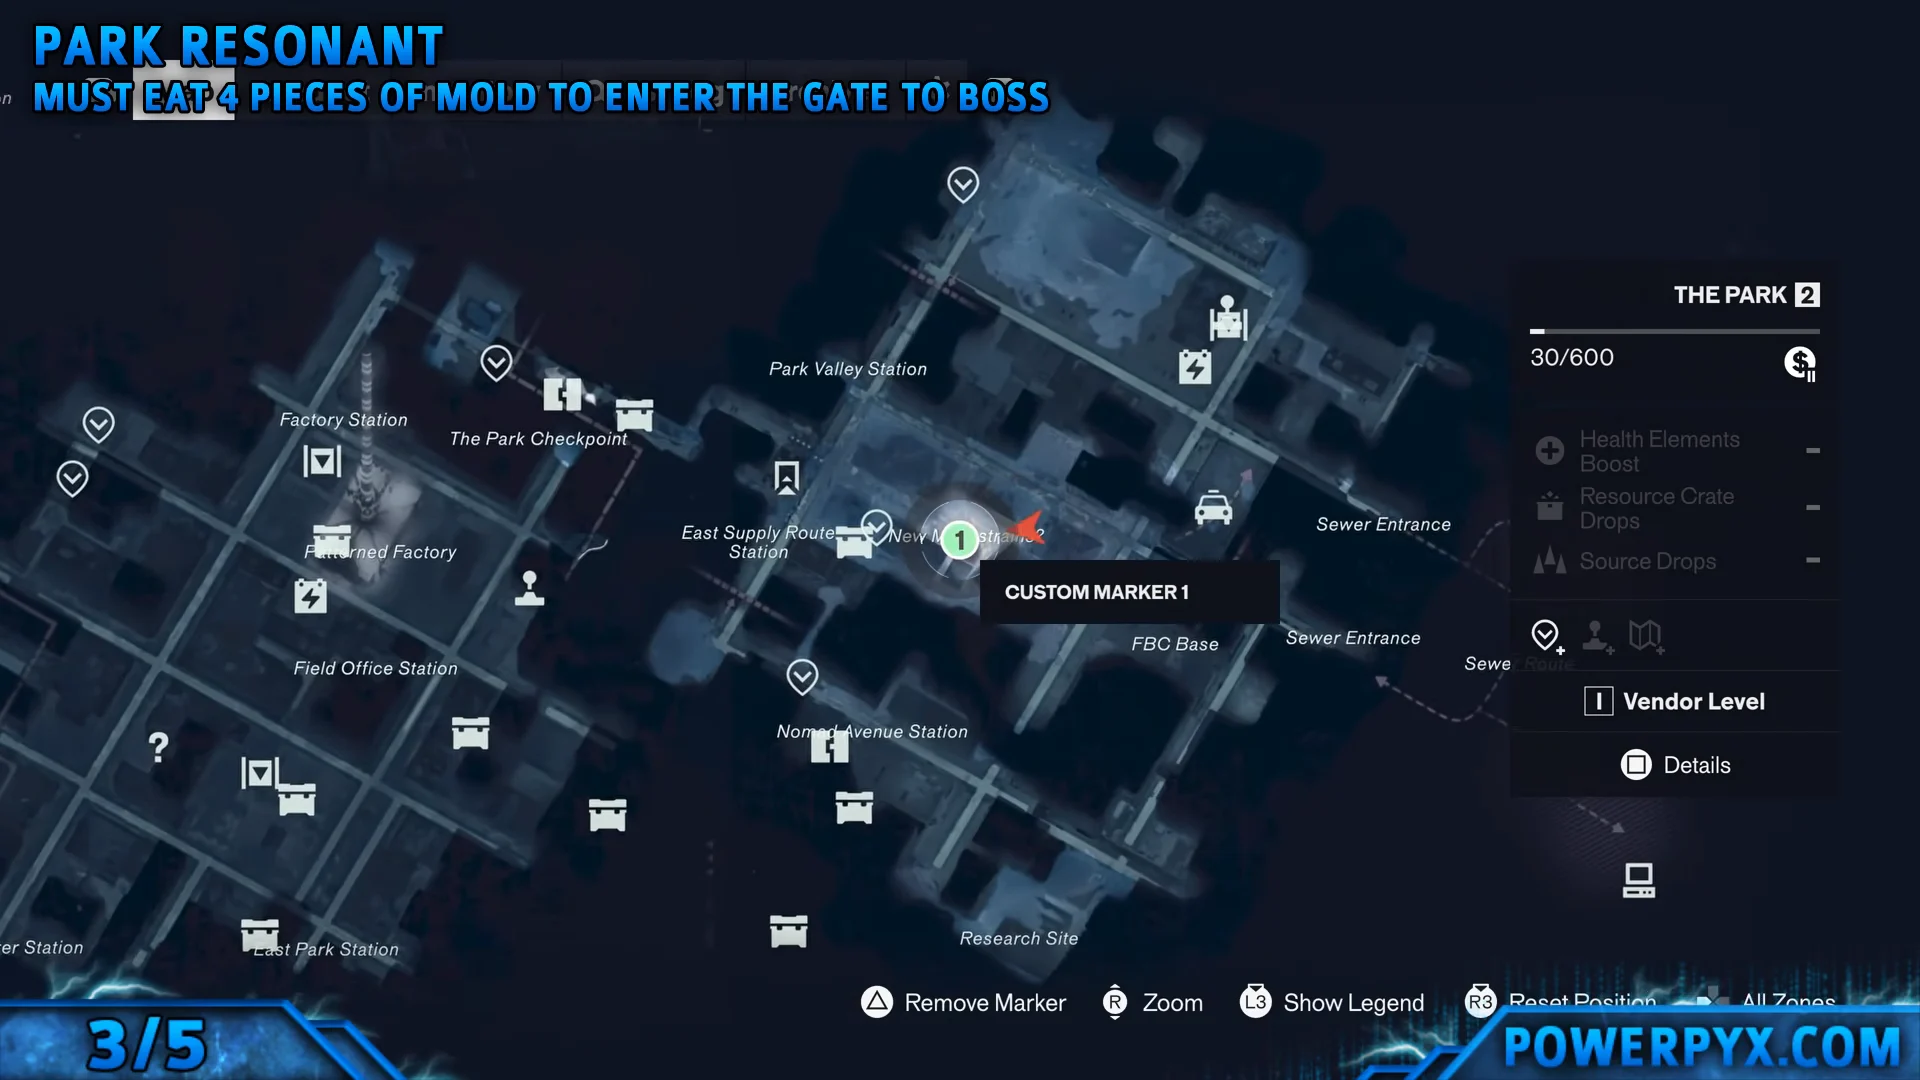
The Collective sits behind the central Mold Gate in the middle of The Park. To open it, Dylan has to eat the mold strains spread around the zone at the Cafe, Pizzeria, Minimart, and Gym. With the gate open, the previously sealed doorway leads straight through, and Shift is required to make the approach.
The Physicist — Underpass
Approach the Spire in the Underpass and cross into the Astral Plane. Floating platforms lead to a chain of locked doors, each one needing an Astral Key hidden down a side path. After the third door opens, keep going forward and the fight starts on its own.
The Co-Director — Unknown
While you are moving through the shifting landscape of the Unknown, Zoe relays a distress call from FBC Rangers pinned down near the Field Office. Use the Gravity Wells to get there, then work through the quest steps, which include escorting the Rangers, disrupting the pattern, and routing a charge to the Power Core. Once you reach the Patterned Field Office, take the elevator up to the fight.
Hedron — Unknown
The final boss is west in the Unknown and only becomes reachable after every Hedron Link is severed and the long backstory sequence plays out. From there you drop into the arena, and the descent matters — avoid clipping the sides on the way down. Instead of a new ability, Hedron pays out an extra Combat Ability Point.
How to confirm a Resonant is down
When a Resonant’s health bar empties, a “No Power” alert flashes up and a few final melee strikes close the encounter. The Quest Log entry for that zone’s Resonant then marks as complete, and the ability selection screen appears immediately so you can lock in your choice.
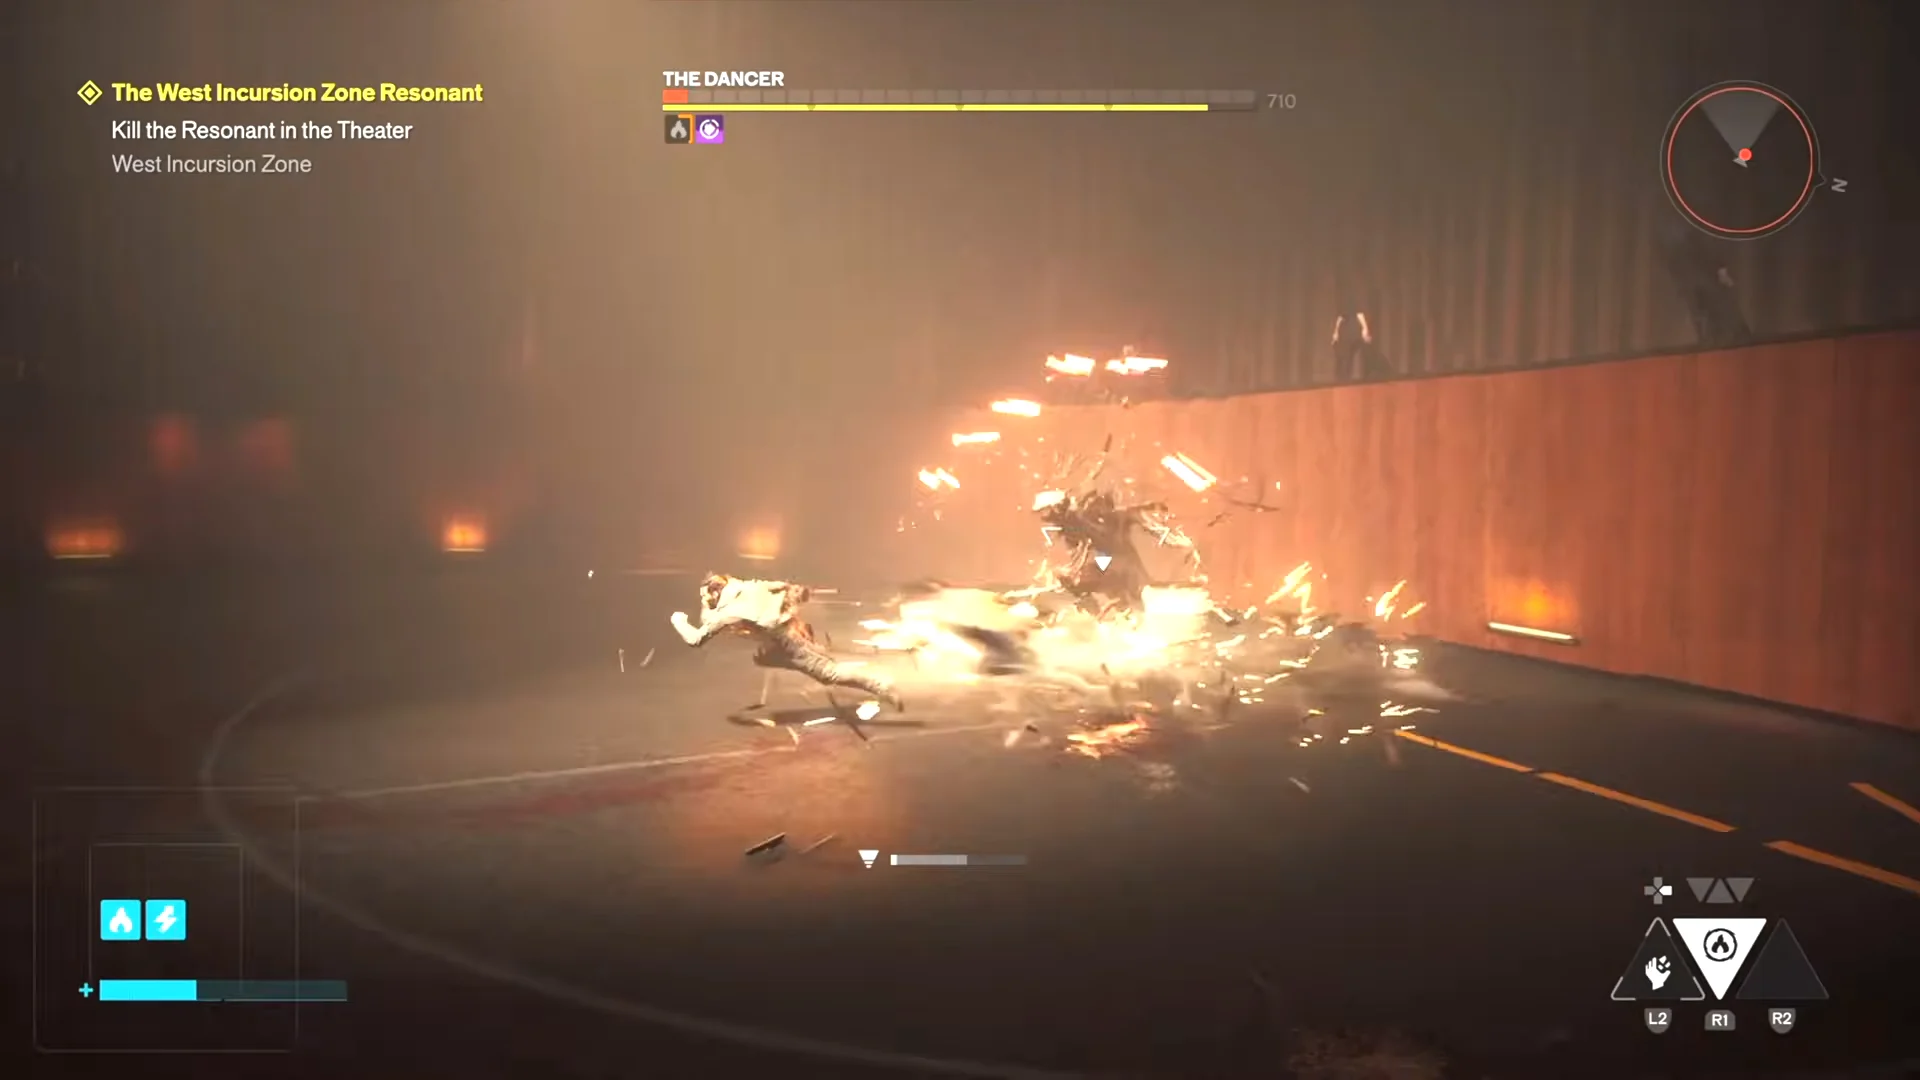
Health items are locked out inside boss arenas, so executing smaller enemies mid-fight is the only way to heal. Clearing every add at once removes your recovery options.
Each ability you pick can then be upgraded in the Talent Tree, which is what makes the order you tackle these in matter. Taking the Deserter and the Dancer early gives you damage and crowd control before the Park and Underpass fights, and by the time the Unknown opens up, Command and a spare ability point round out the set.