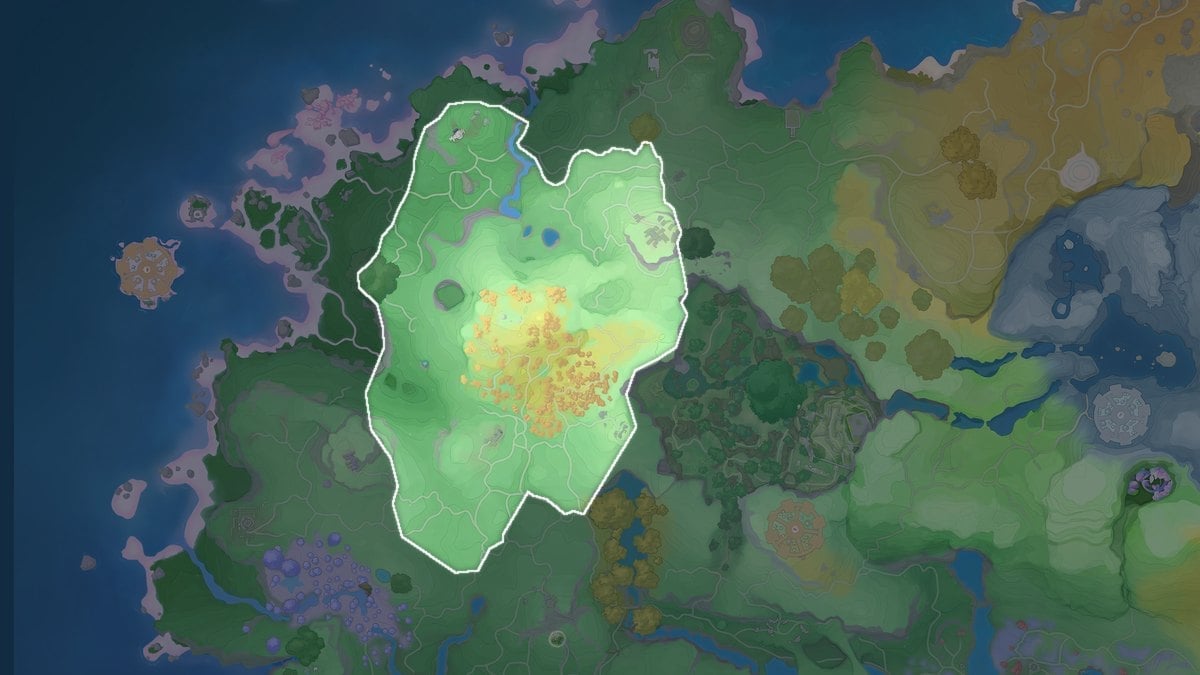
Beast Fang Ridge sits in the Breezy Plains region at a level range of Lv 30-35, and it is packed with low-effort catches: 226 wild spawn points across 19 form entries, with Fire the dominant element. That density is what makes it the cleanest place in the region to push Prismatic Energy from nothing to full in a couple of laps.
Quick answer: Run a continuous capture loop out of the Beast Fang Ridge waypoint and catch every Emberpup, Iris and Flutternym you pass. Lucky and Super Lucky catches raise the area’s Prismatic Energy, and a full meter spawns a Prismana.
How Prismatic Energy and Super Lucky catches work
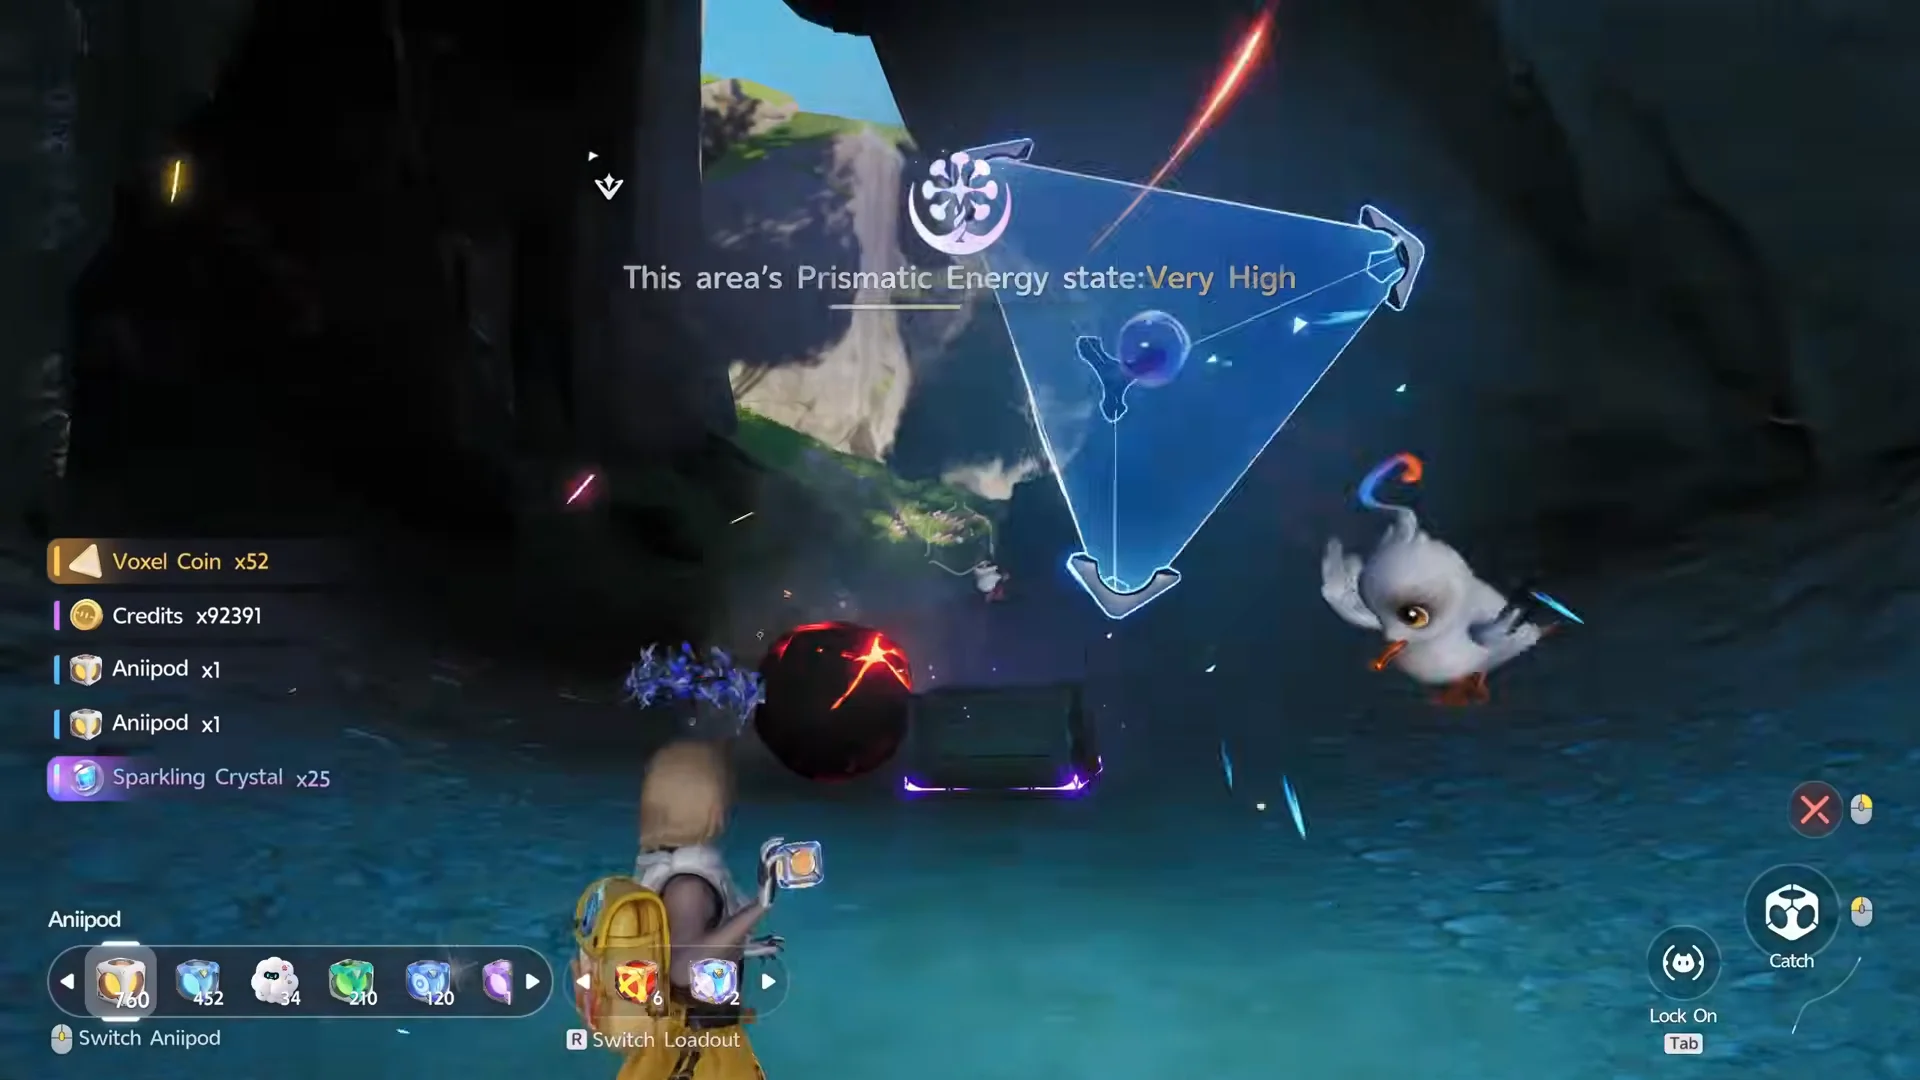
Every catch has a chance to roll as a Lucky catch, and a Lucky catch feeds Prismatic Energy into the area you are standing in. A Super Lucky catch pushes that meter much harder, and a single one mid-run can jump the region’s state straight to Very High.
The meter is tied to the Bloom system. Nurture a Bloom, then keep catching while it is active so the energy keeps stacking. Beast Fang Ridge has two Blooms, and the one used for this route sits at (-1248, 1530). When the meter fills, the game tells you a Prismana has appeared, though it can occasionally show up slightly before the bar is completely topped off.
Nurture is not available in the region until you hit 40% Aniimo Collection Progress there, which unlocks the Tier 1 Primal Breath badge.
What to stock before the run
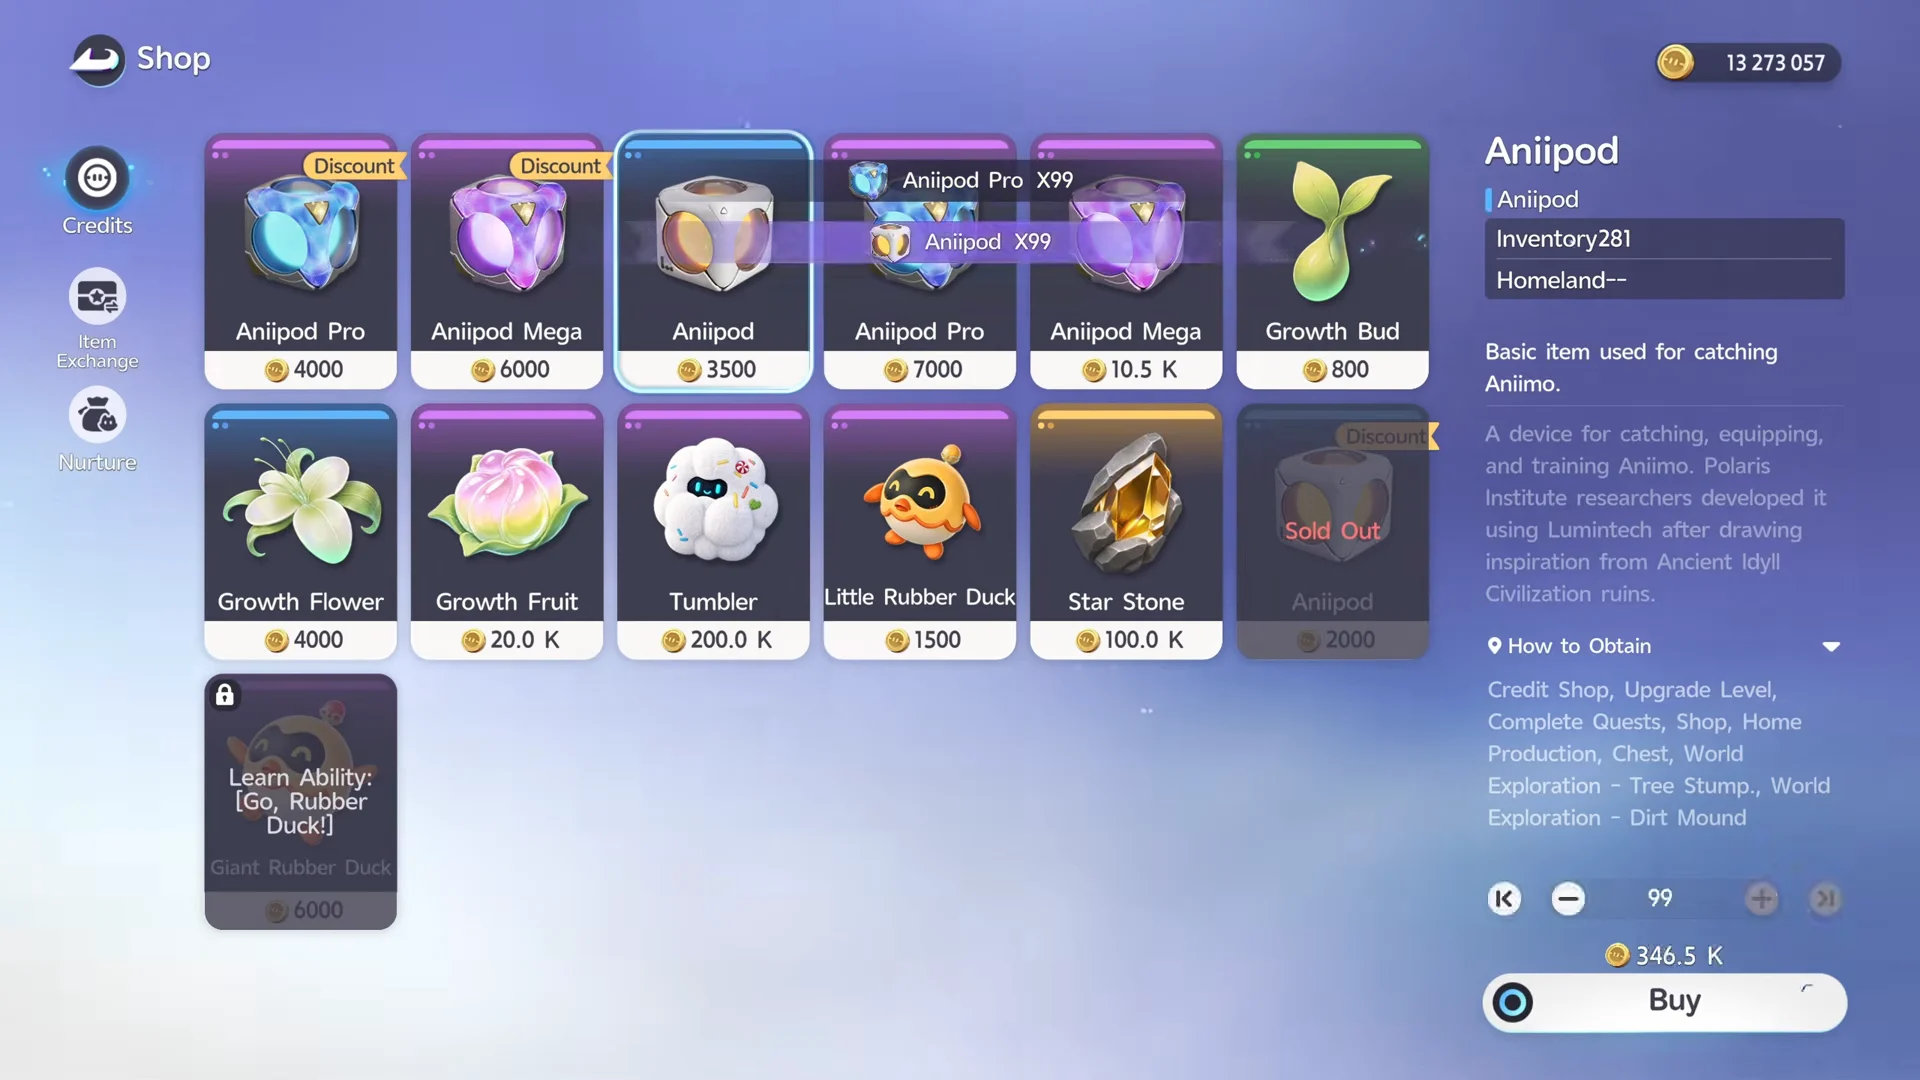
The loop burns through pods fast, so buy in bulk at the shop before you teleport out. Two grades matter here.
- Standard Anipods for the bulk of the route: Emberpup, Iris and Flutternym.
- Anipod Pros for the higher-level Flameruffs on the hill and the upper meadow.
- A Sparkling Cube, kept in reserve for the Prismana at the end of the run.
- A Fire-type Aniimo in the party if you plan to burn vines or leaf piles along the way.
The Beast Fang Ridge capture loop
The route is a single circuit that ends where it starts, so you can chain laps without ever opening the map. Keep moving and throw pods at everything that is cheap to catch.
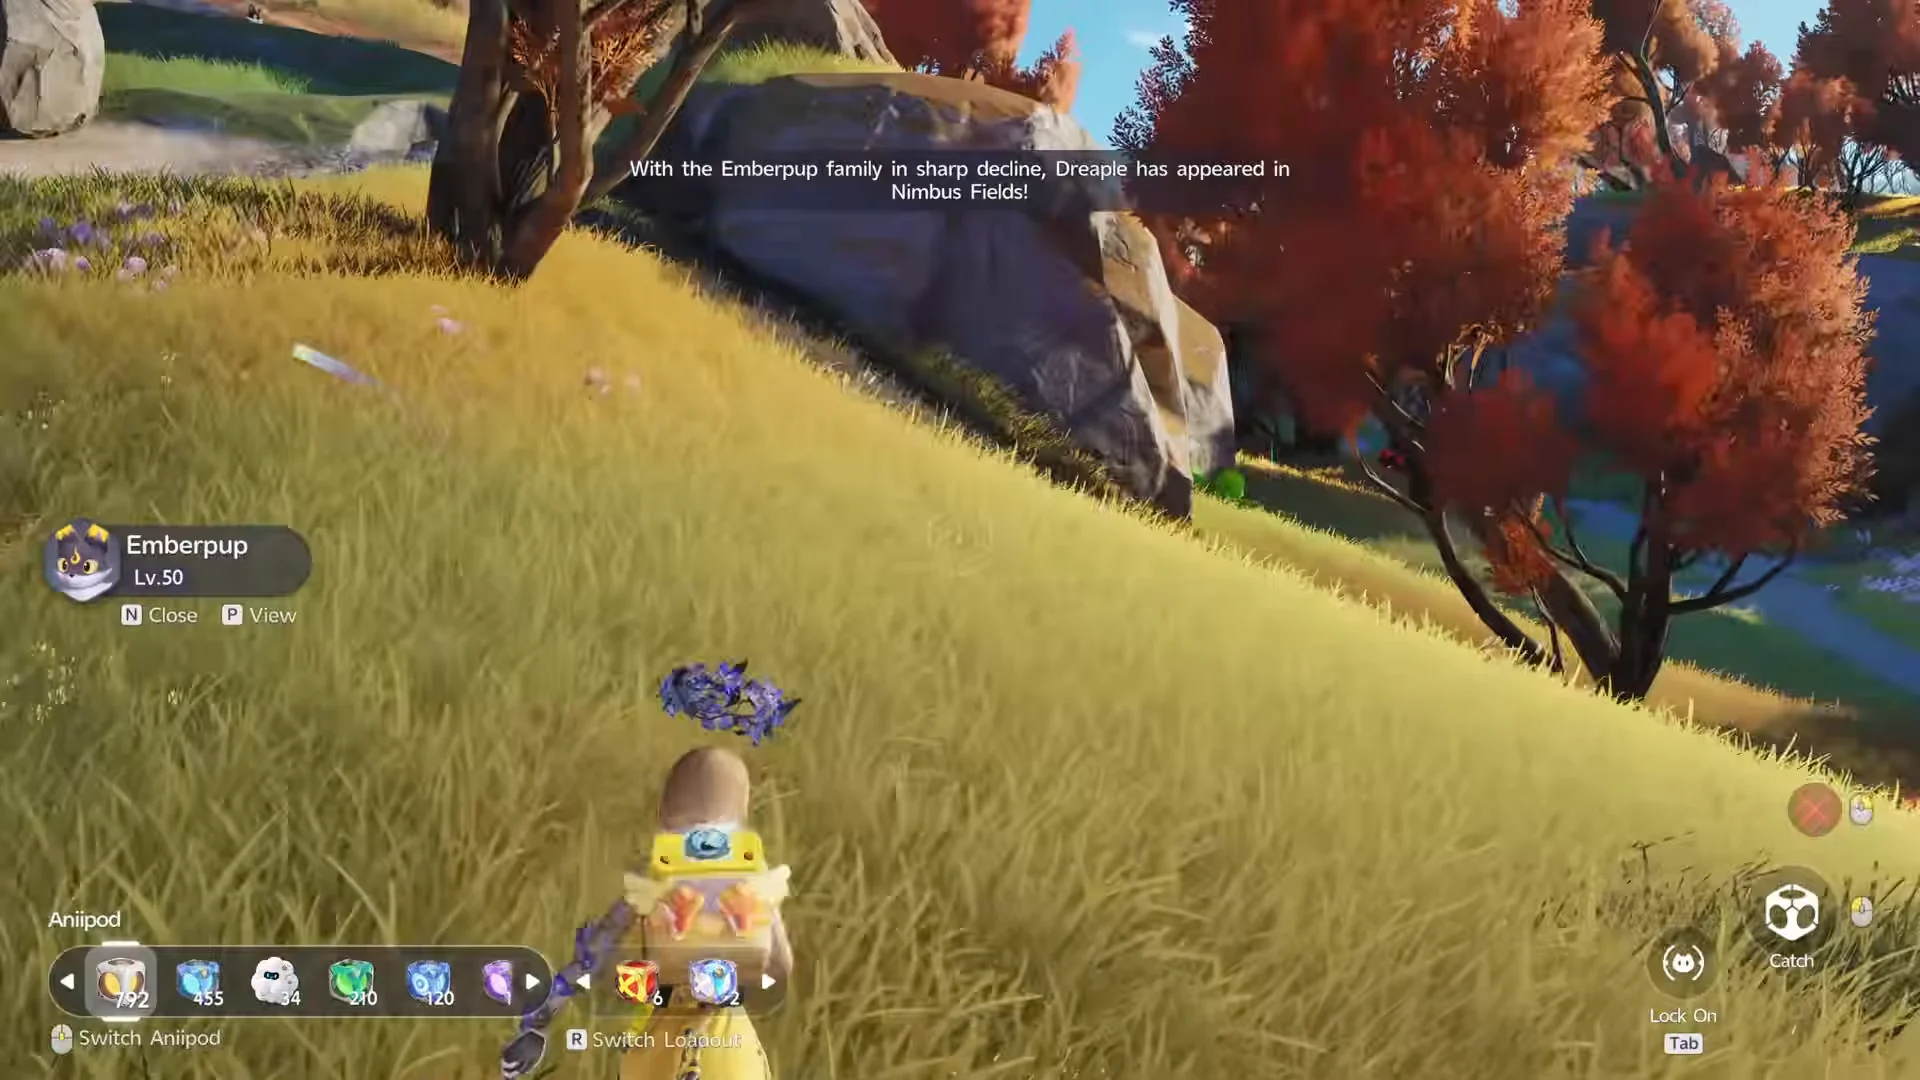
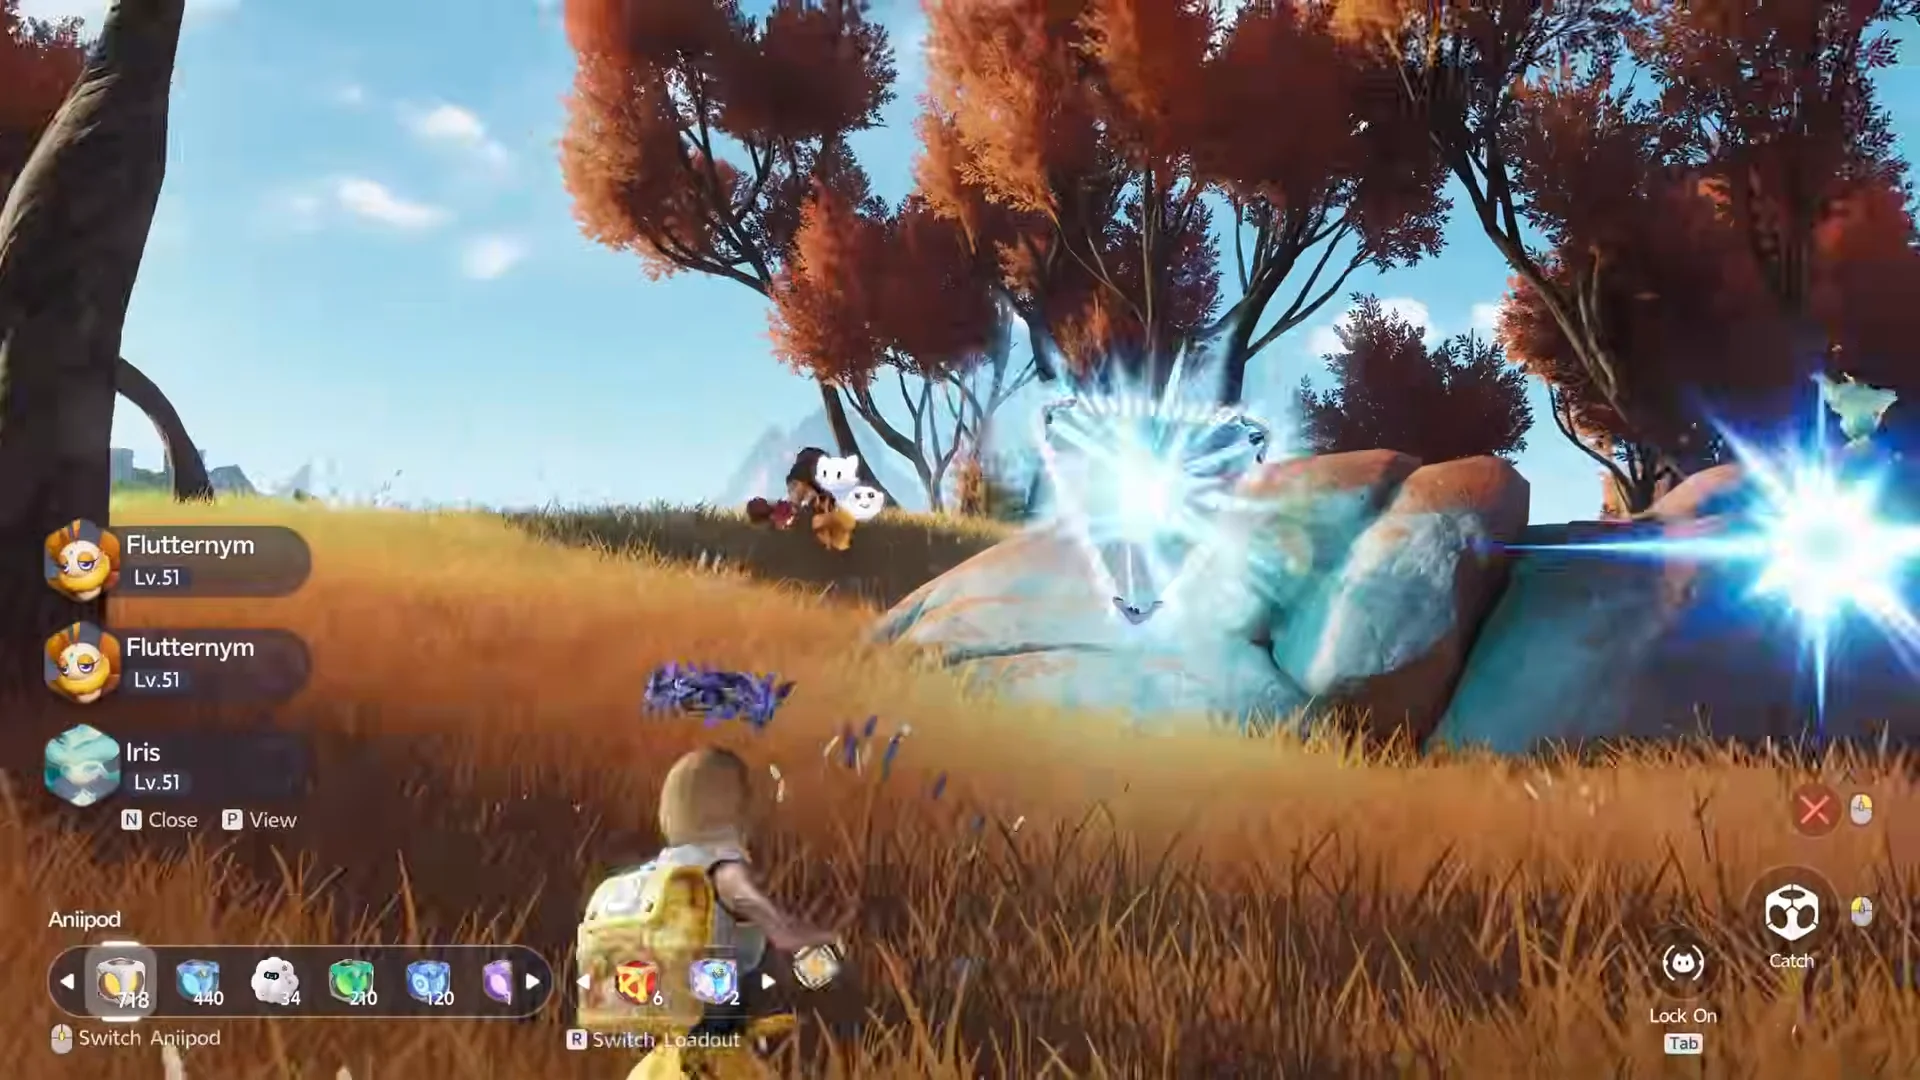
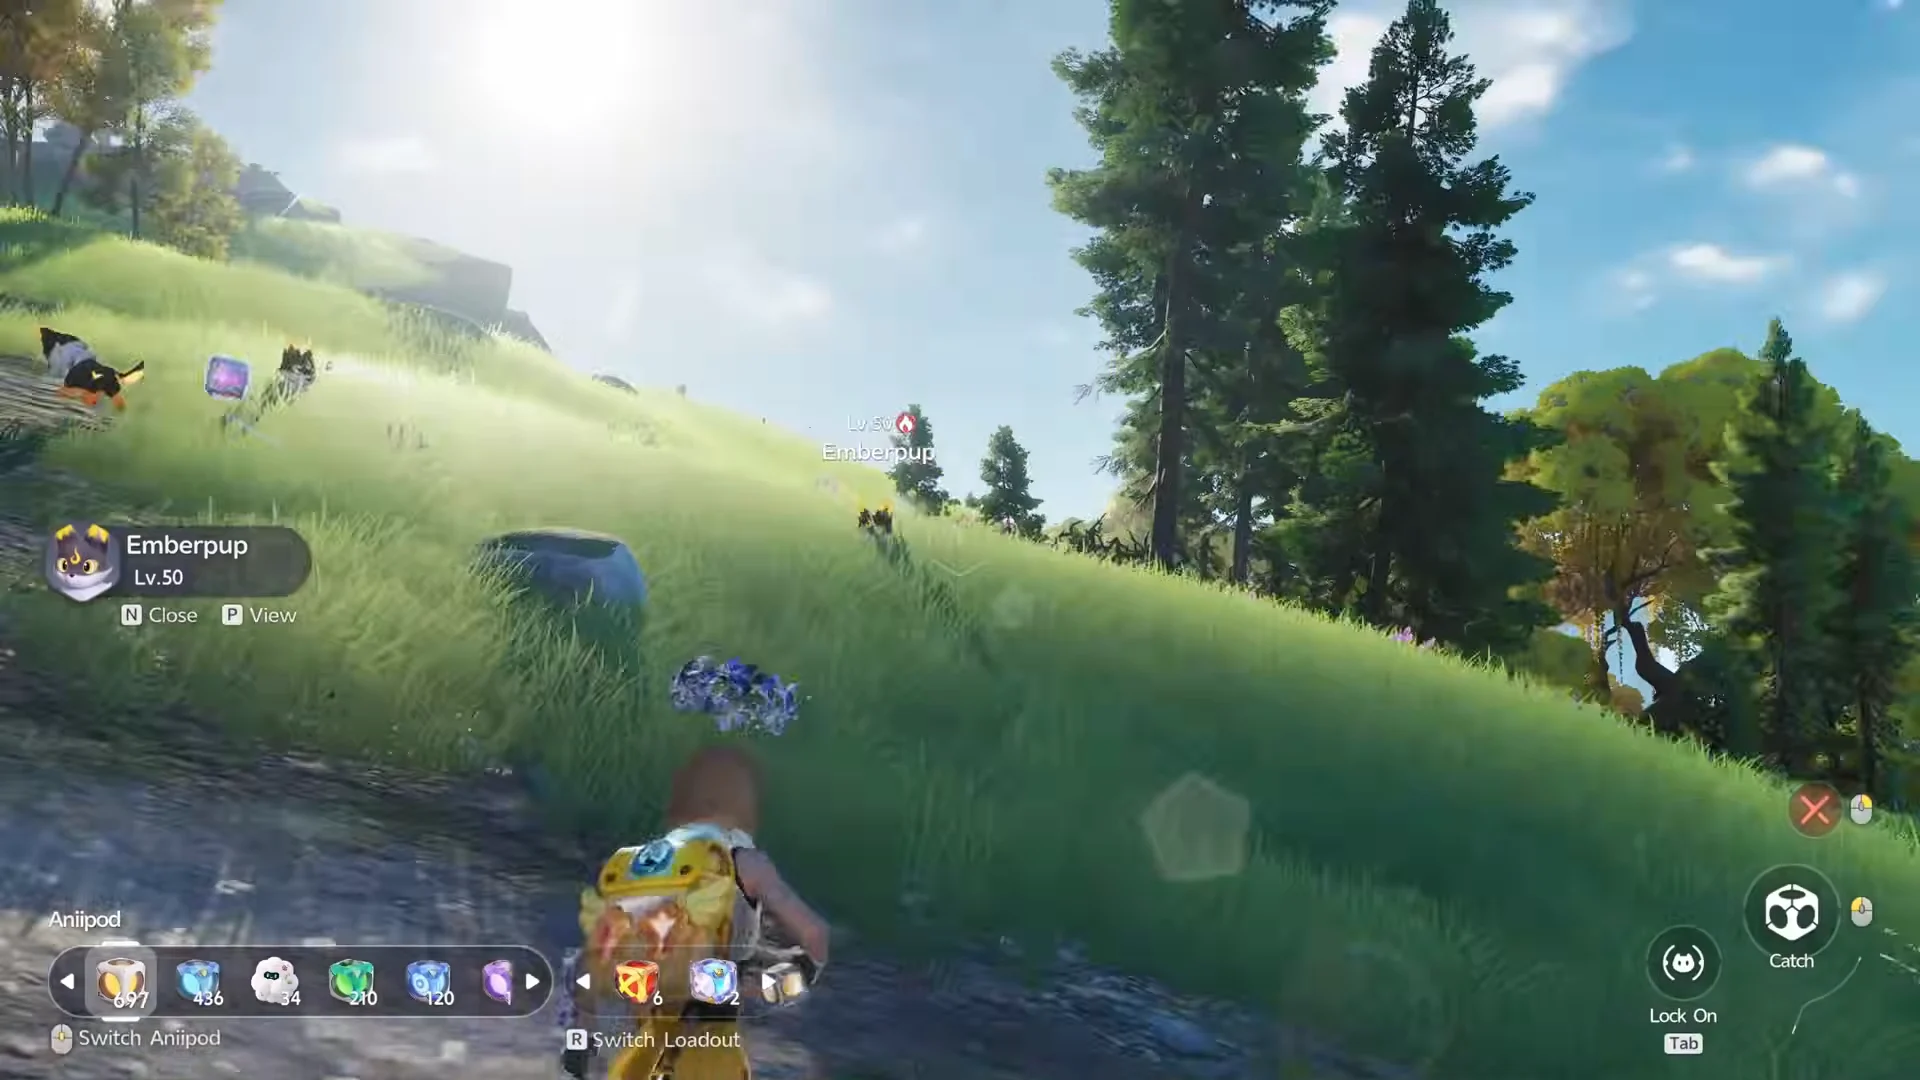
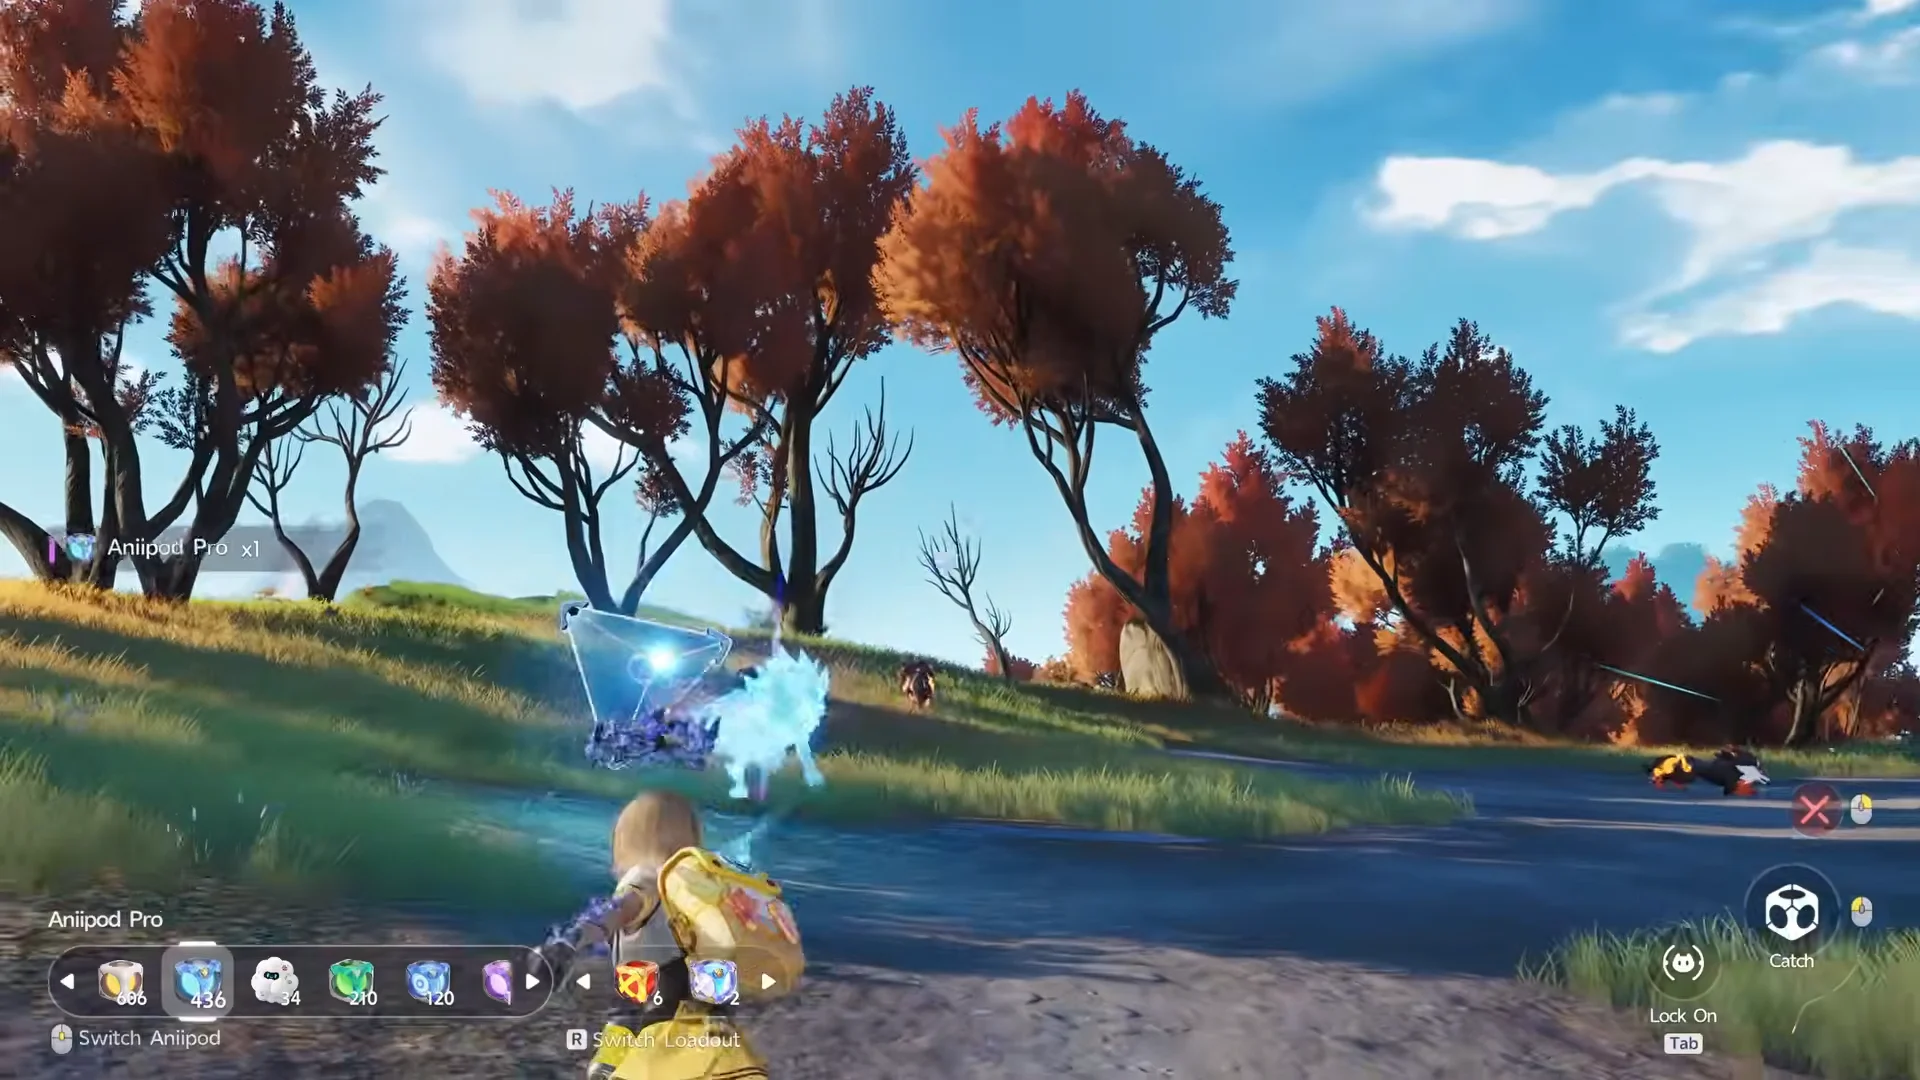
Flameruff density depends on how far you have pushed the Infraloopa questline. If the ridge feels light on them, advance that quest before committing to long farming sessions.
What you are catching on the route
Five species carry the loop. Everything else in the ridge is either gated behind night, weather or story progress, and none of it is worth detouring for while the meter is climbing.
| Aniimo | Element | Role | Spawn points |
|---|---|---|---|
 Emberpup Emberpup | Fire | DPS | 47 |
 Iris (Mountain Woods) Iris (Mountain Woods) | Grass | DPS | 38 |
 Flutternym (Mountain Woods) Flutternym (Mountain Woods) | Wind / Earth | Healer | 19 |
| Emberpup (Mountain Woods) | Fire | DPS | 16 |
 Flameruff Flameruff | Fire | DPS | 15 |
Emberpup (Mountain Woods Form)
Near the ridge’s central orange trees, you will find this regional form. Its darker coat and golden fur tips make it easy to identify. At element level 1, it serves as a Fire DPS with 67 HP, 90 attack, 60 defense, and 90 magic attack. Reaching Aniimo level 12 triggers its evolution into Flameruff. Reporting one grants 100 Credits, while your first release also awards three Growth Buds.

Spawning and catching the Prismana
Once the meter reaches its full state — for most runs, that lands on a routine Iris catch near the waypoint — the Prismana is ready to appear.
Prismana Scorchhowl is the ridge’s weather-flagged variant, and it only shows up during a Prismana flow on the westernmost side of the region, with its marker sitting at (-1466, 1416) once the Bloom is finished.
Confirming the run paid out
Catches alone do not bank anything. Head back to camp and upload your catch reports at the Research Console, which converts the lap into rewards and EXP. Submit the Prismana catch the same way, then check your Aniimo storage — the updated team and box list is the confirmation that everything registered.
Collection progress from these laps also feeds the region’s Primal Breath badge, which makes the next run better. Tier 1 arrives at 40% collection and raises catch chance in the area by 10% while unlocking Nurture. Tier 2 needs 70% collection plus a win over Alpha Scorchhowl, and it improves your odds of catching high-potential Aniimo while enabling weather changes. Tier 3 asks for 100% collection and 5 Lumin Amber gathered in the ridge.
Two clean laps is generally all it takes to go from an empty meter to a Prismana in the box, and because the loop never leaves the region, the only real limit is how many pods you bought before you left the shop.