Track the time fluctuations is the objective that opens the long Underpass stretch of Recursions and Iterations, and it is one of the few points in Control Resonant where a single quest line quietly splits into five separate tasks. Dylan starts by chasing distortion readings through the research sites, then has to restore power, find Dr. Grist, hold a transmission tower, and finally board a cable car to cross the chasm.
Quick answer: Follow the fluctuation markers to the first research site and talk to Ayad, restore power at the generator rooms along the yellow cables, locate Grist, defend the transmission tower, then ride the cable car to cross the chasm.
What you need before this objective appears
This part of the Underpass sits late in the main chain, and it is gated by traversal rather than by combat power. Dylan needs both movement abilities from Jesse’s Faults before the route works as intended.
- Shift, from The Incursion Fault, for gravity-altered walls and rotated surfaces.
- Reach, obtained through The Subway Fault, draws Dylan toward traversal points.
- The Underpass Fault completed, which clears the soft-block on the island of orange pipes.
- Recursions and Iterations active, with the research team objectives already resolved.
The Underpass can hold three unrelated objectives at the same time — the main story route, a Jesse Fault, and The Underpass Resonant. Read the quest name in the upper-left corner before committing to a marker, because the nearest icon is often the wrong chain.
The five objectives in order
Tracking the fluctuations is not one task. It chains into a fixed sequence, and each stage replaces the previous marker automatically once it completes.
| Objective | Where | What ends it |
|---|---|---|
| Track the time fluctuations | Underpass 3 search zone | Talking to Ayad |
| Restore the power | Generator rooms off the first site | All power cells active |
| Locate Grist | Third research site, cliff edge | Dialogue with Dr. Grist |
| Locate the transmission tower | Past the second research site | Reaching the tower |
| Defend the transmission tower | Tower platform | Zoe confirms transmission |
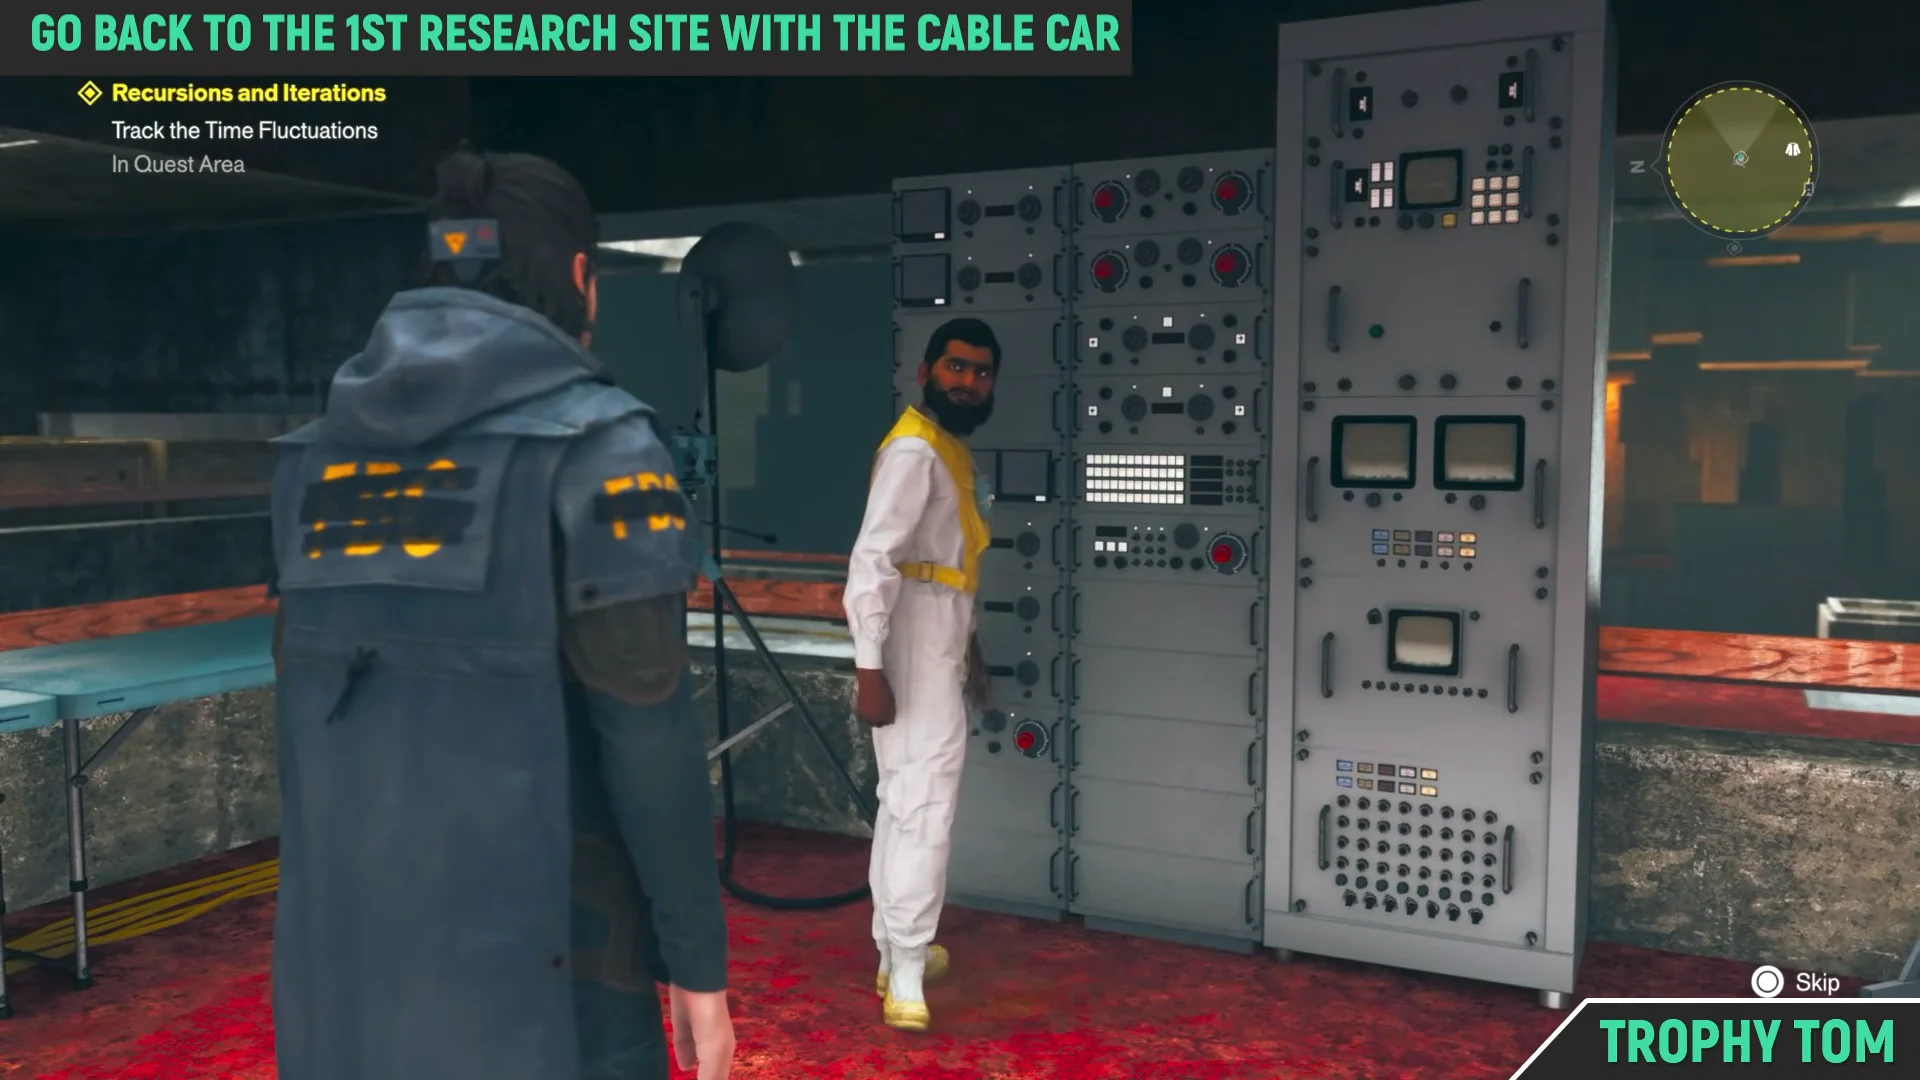
Reach the first research site and talk to Ayad
Restore the power at the generator units
The power units are spread across two areas, and the map marks broad highlighted regions rather than exact doors. The reliable way to navigate is to ignore the map once you are moving and follow the physical cabling instead.
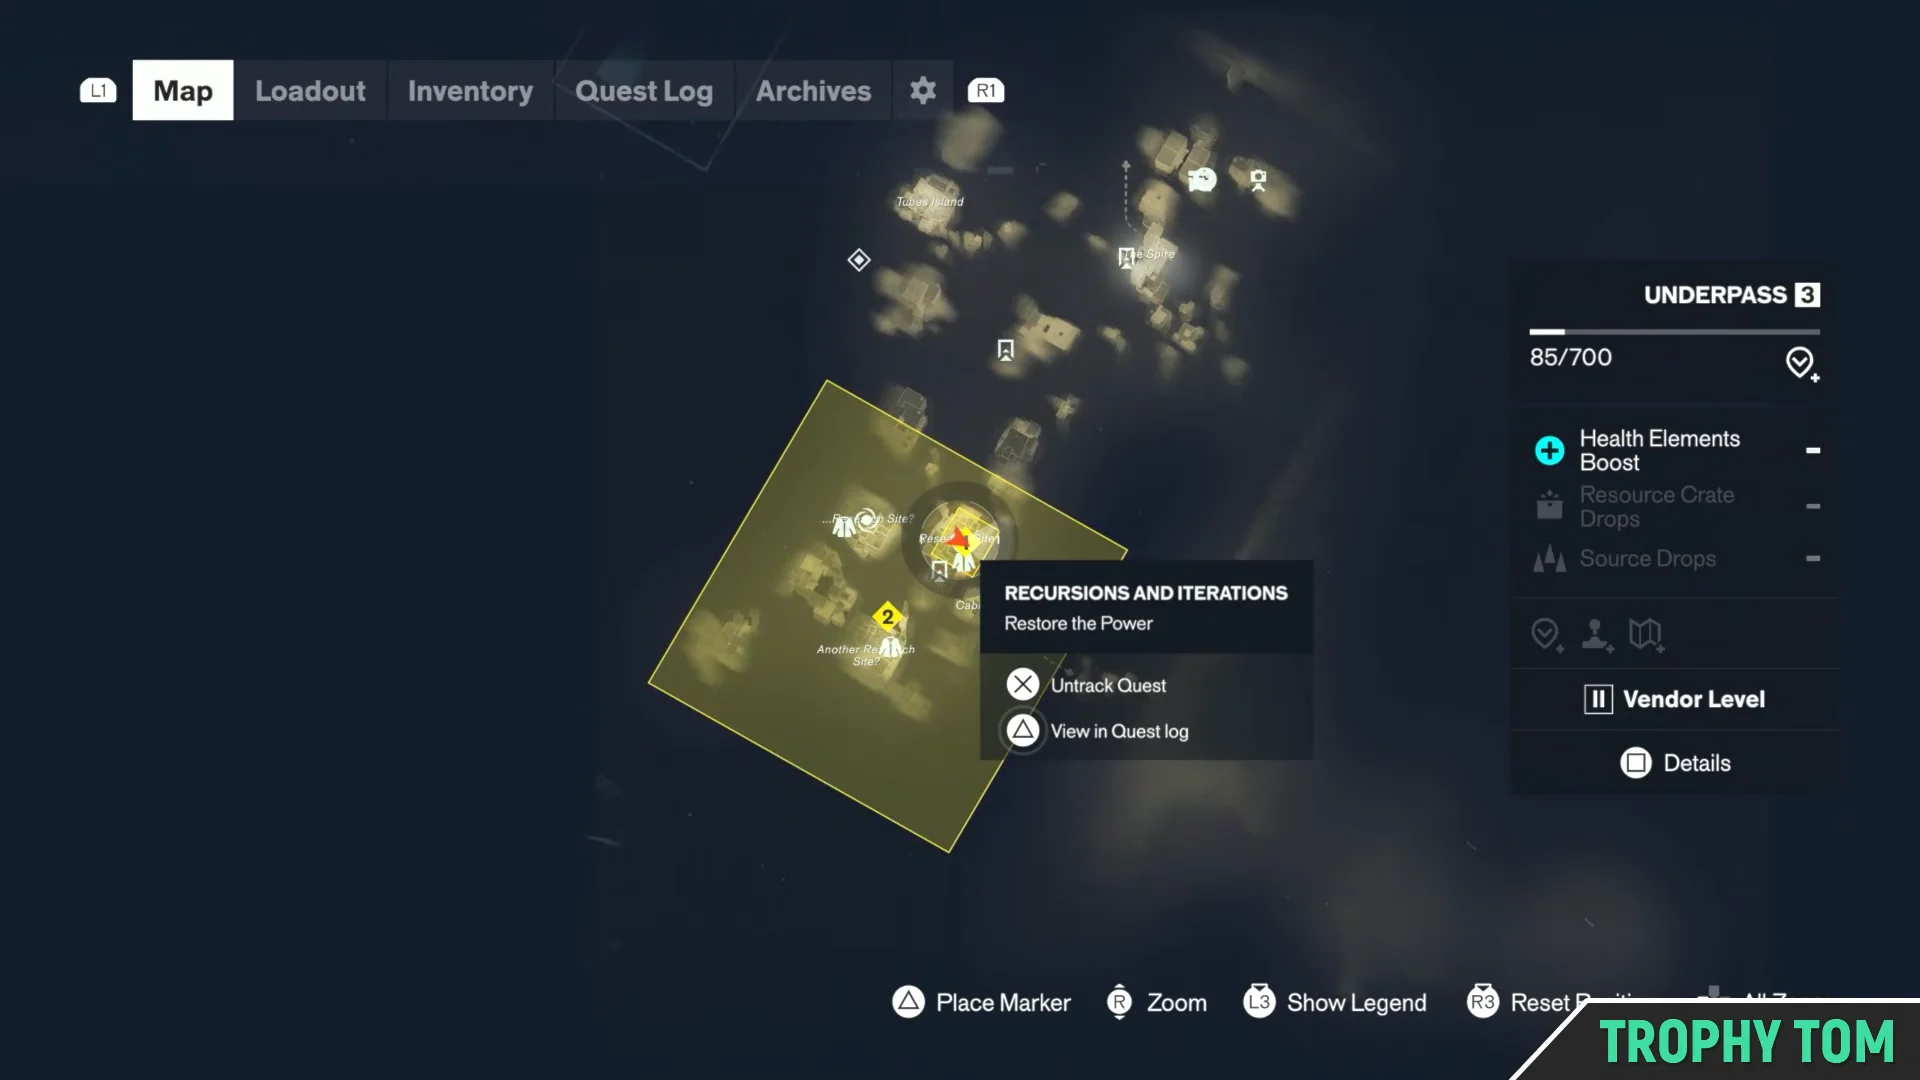
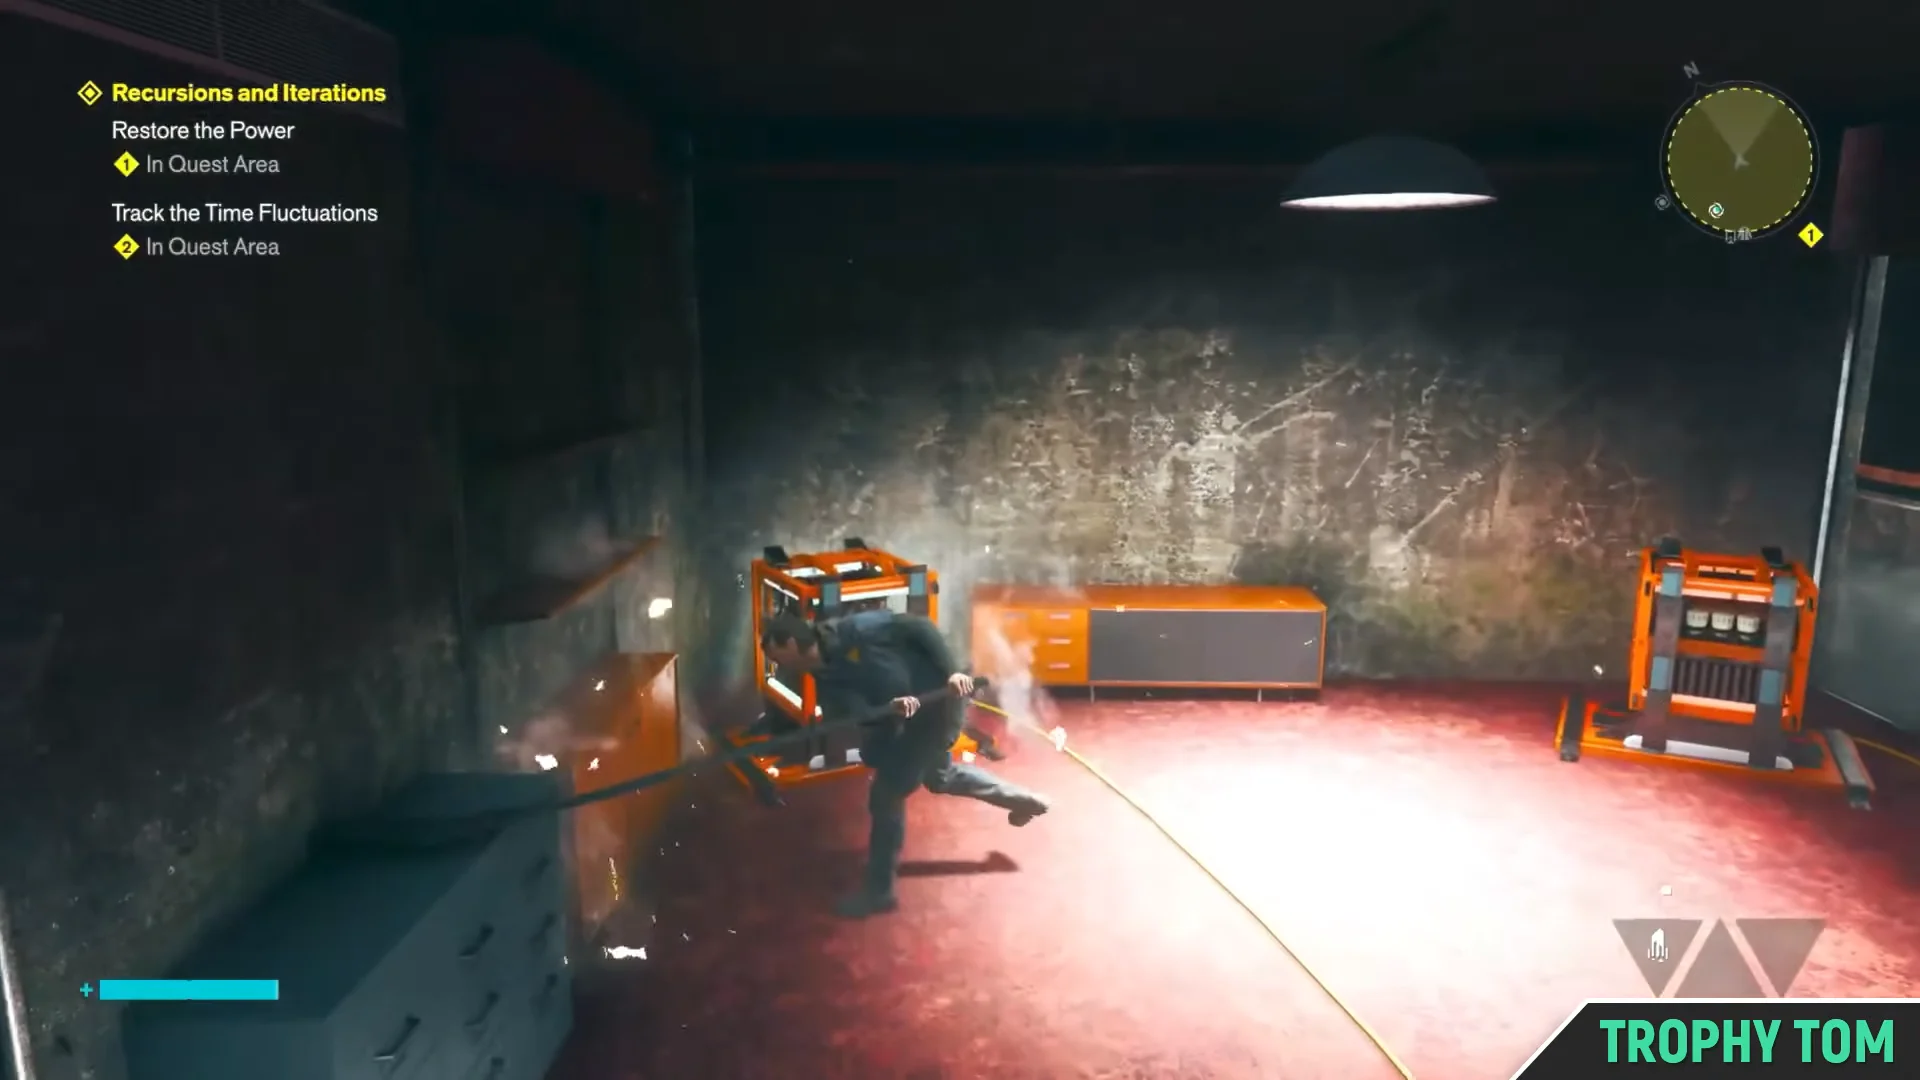
The yellow cables are a two-way guide. Retracing them is the fastest way back to the research hub without opening the map again.
Find Ayad collapsed and move to the third research site
Returning to the control panel does not play out as a simple hand-in. Ayad is on the floor, groaning, and a radio transmission from Zoe cuts in over the scene. There is nothing to interact with here beyond the cutscene, so do not spend time searching the chamber.
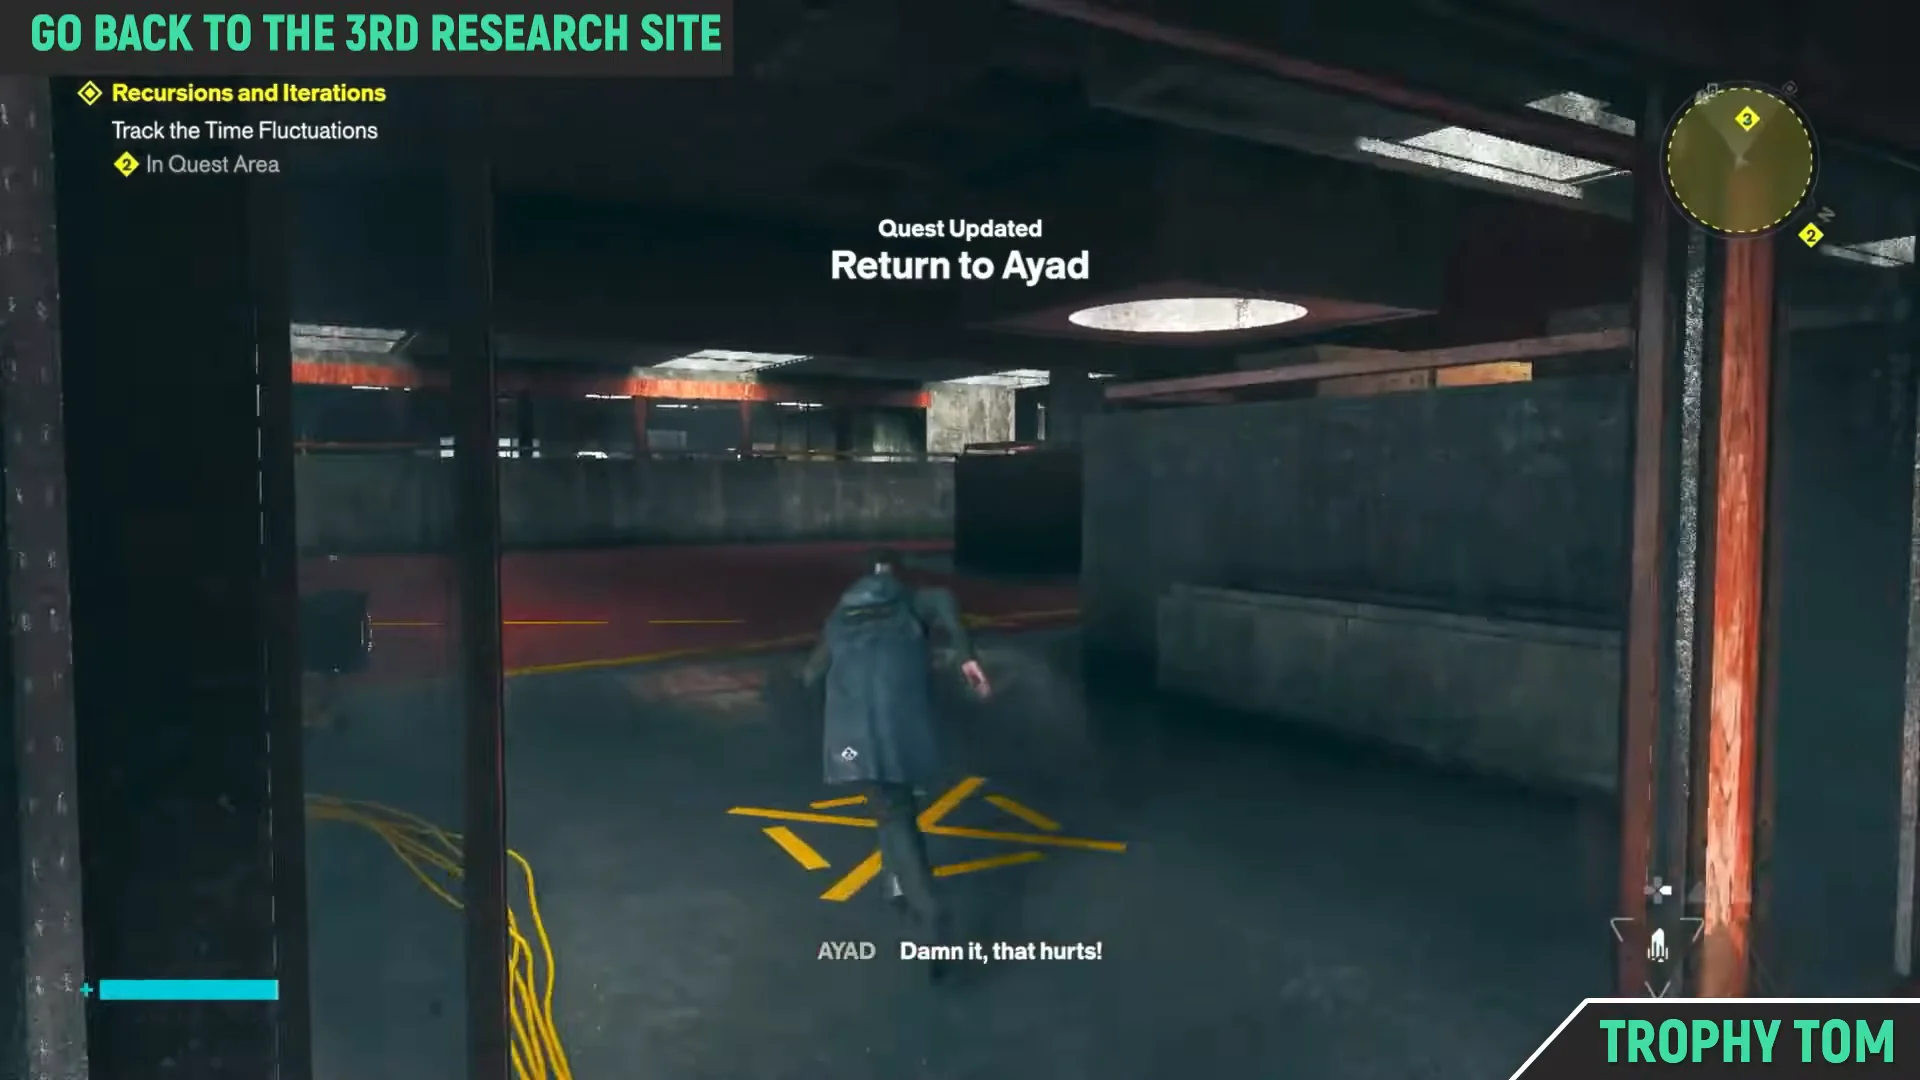
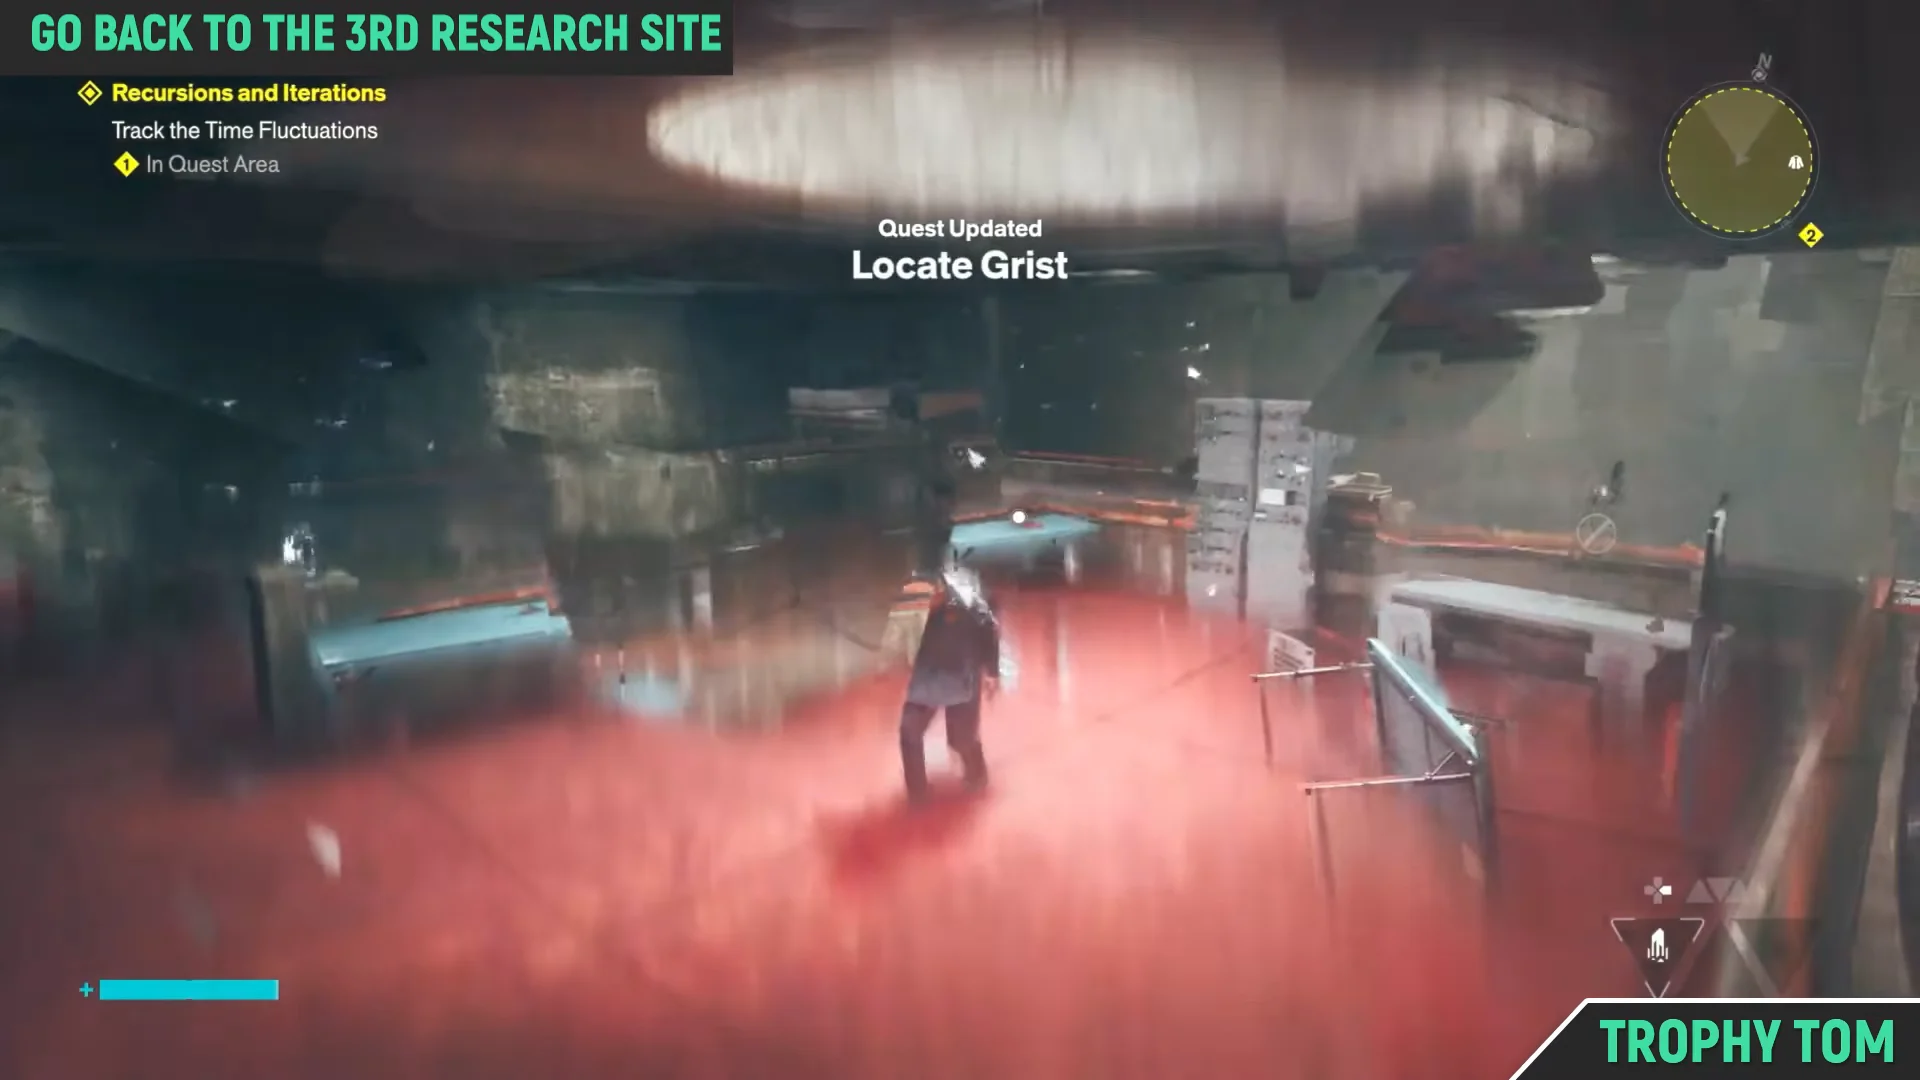
Once the transmission ends, exit the chamber and head out across the exterior stone structures. The gaps between them are wide, and this stretch expects you to jump rather than look for a bridge. The third research site is the destination, and the map switches to a Time Anomaly marker deeper in the Underpass with the objective Locate Grist.
Talk to Dr. Grist on the cliff edge
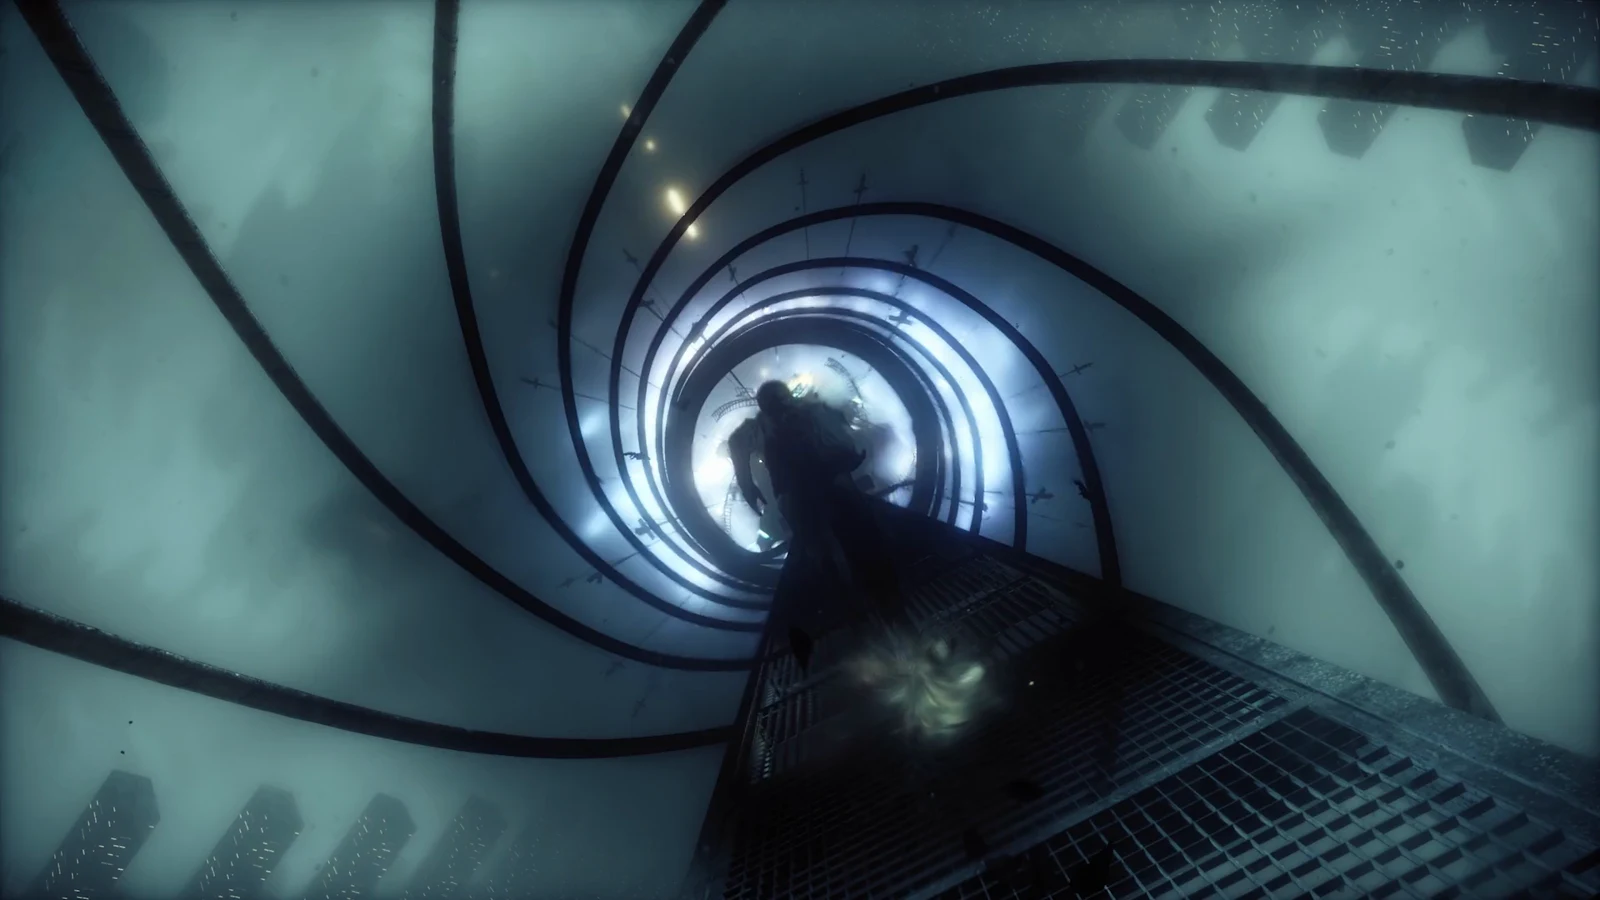
Push through the narrow lit passageway until it opens onto a cliff edge. Dr. Grist is standing out in the open there. Her dialogue covers her despair over the expedition, and it is interrupted partway through by a time distortion event that fires without warning.
Her instruction afterwards is to go to the second research site, which means backtracking across the high platforms and ledges you crossed earlier. When you arrive, check the map — a new Time Anomaly location will be highlighted.
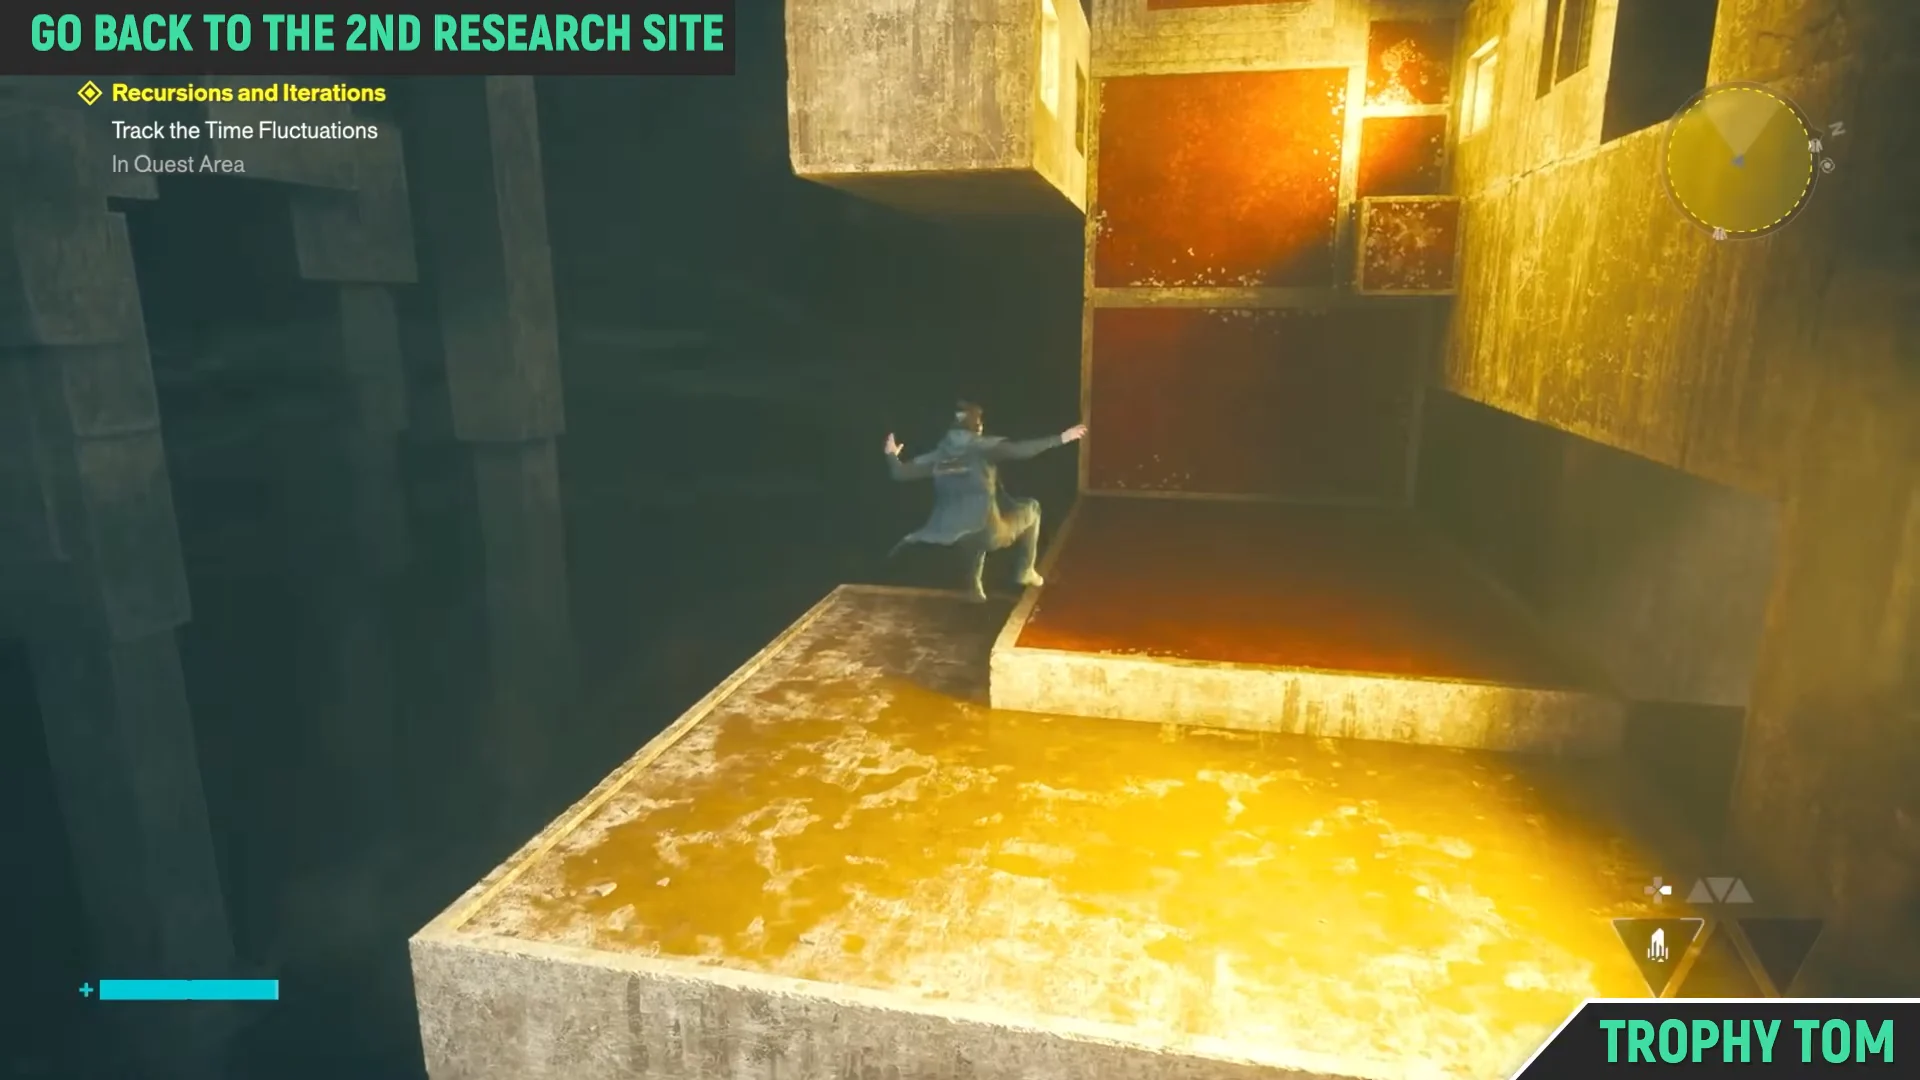
Grab Grist Research Log #3 while you are here
A collectible tape recorder labelled Grist Research Log #3 sits on the floor of the second research site, beside the bodies. Picking it up starts audio playback that continues while you move, so collect it before you leave rather than doubling back for it later.
Defend the transmission tower
The tower is the glowing structure visible across the gap, and the approach is another run and leap sequence over distant concrete pillars. Grist’s log keeps playing during the traversal, so there is no need to stop and listen.
Hostile entities spawn on the tower platform itself once you arrive. They can be cleared with melee attacks, and the fight is short — the goal is protecting the broadcast station rather than clearing a large arena. Stay on the platform until the spawns stop.
Verification: Zoe confirms the data transmission over comms while Dylan is standing beside the radio tower. That callout is the signal that the defence stage is over.
Ride the cable car to cross the chasm
After the chasm, Recursions and Iterations continues with following the relays to Grist and placing the final probe relay. Combat steps up noticeably not long after, so if you have been putting off Talent Points, weapon form upgrades, or Health and Power Upgrade Points, the stretch after the cable car is a sensible place to spend them.