The Wear ‘Em & Wash ‘Em laundromat in the Central region hides one of the six Secret Hideouts in Control Resonant, and it is locked behind a wall of washing machines. A flyer on the notice board spells out the answer entirely in 0s and 1s, with each line standing for one row of machines on the floor. Turn on the right units and a hidden door slides open at the back of the store.
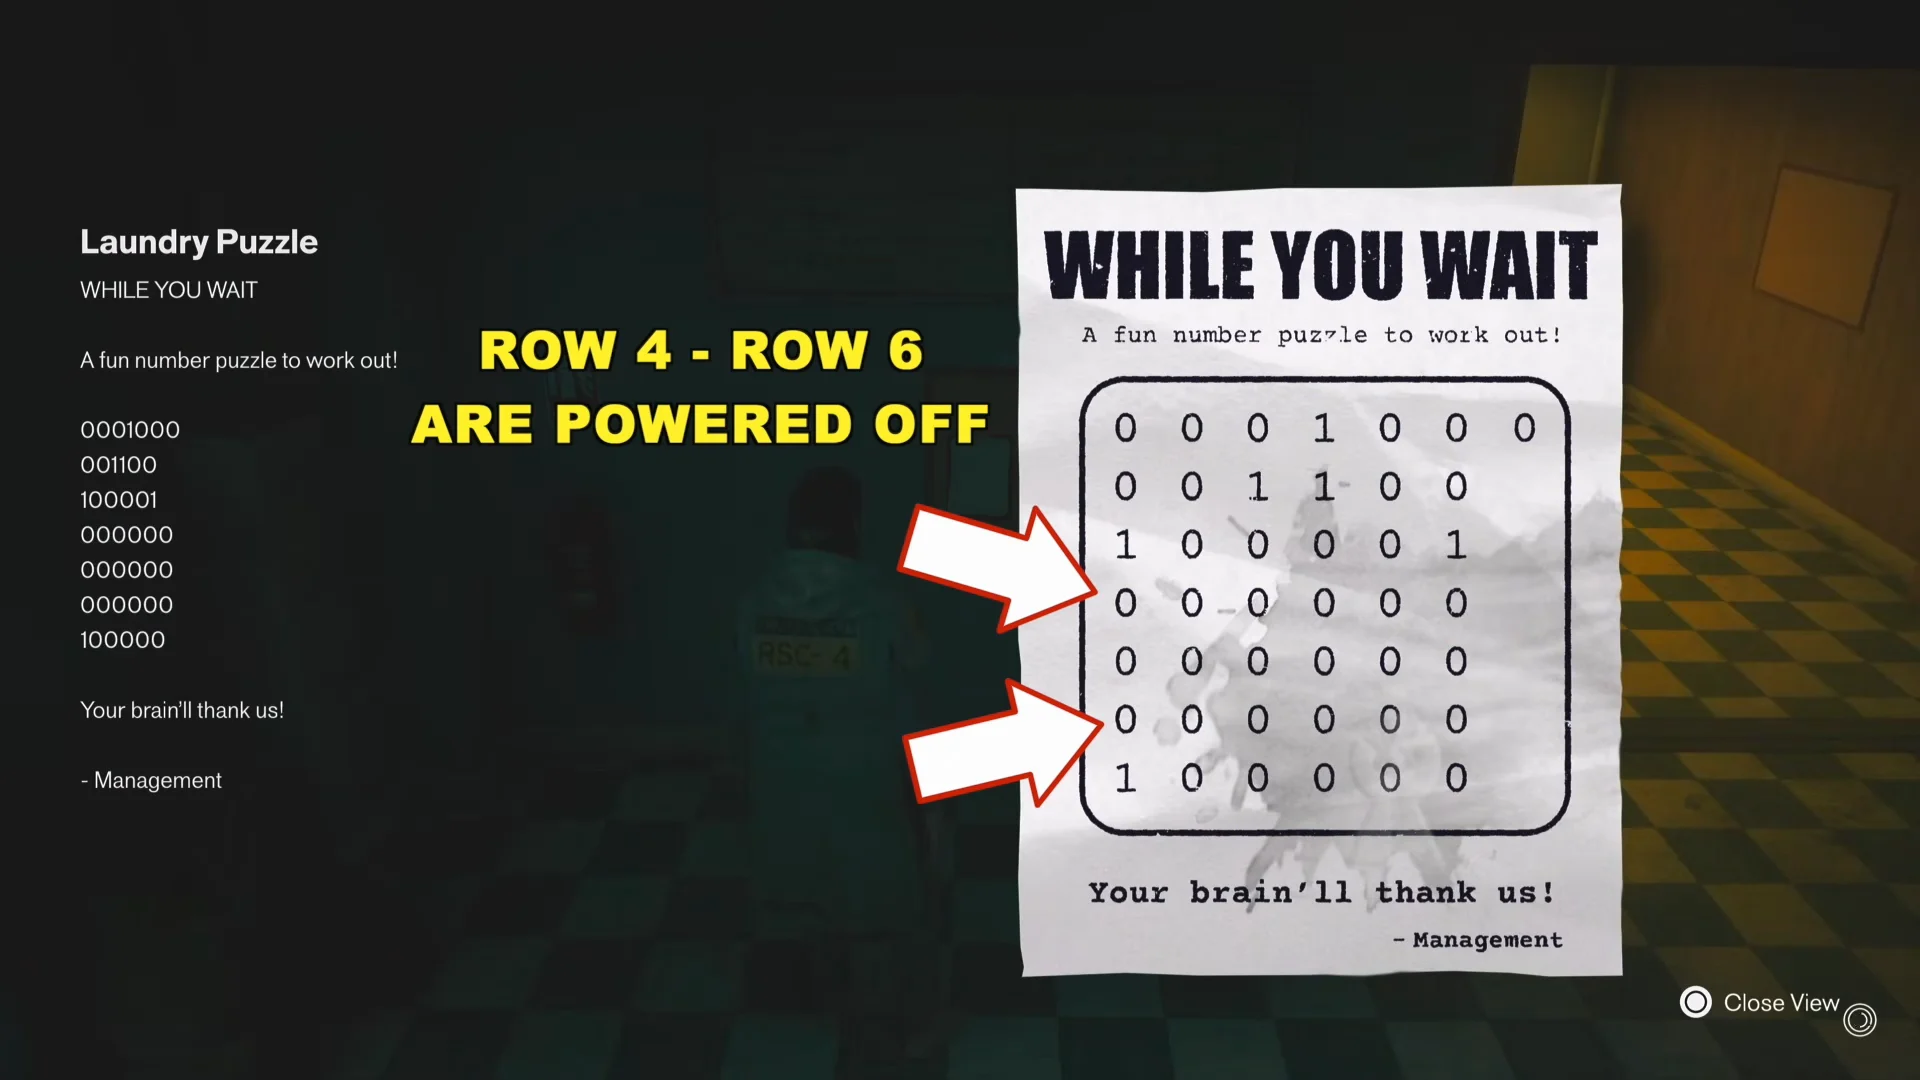
Quick answer: Read the flyer top to bottom as rows left to right. Switch a machine on for every 1, leave it off for every 0, and keep rows 4, 5, and 6 completely off.
Reach the Wear ‘Em & Wash ‘Em laundromat in Central
Head north of the Field Office in the Central region. The laundromat sits west of the Last Park Station, near an intersection with a large resource crate marker close by. It is easy to spot thanks to the bright blue “WEAR ‘EM & WASH ‘EM” fascia sign, and a keyhole symbol is drawn on one of its walls.
On your initial visit, the entrance remains shut. Three crimson tendrils emerge from it and pull debris through the surrounding area. Trace every tendril to where it begins, then destroy the three bulbous Hiss growths there; Hiss enemies protect two of them. Once all three are gone, the barrier drops and the interior becomes accessible.
The Hiss waves around the growths are much easier to handle at Aberrant Strength 30–35.
How the binary flyer maps to the machines
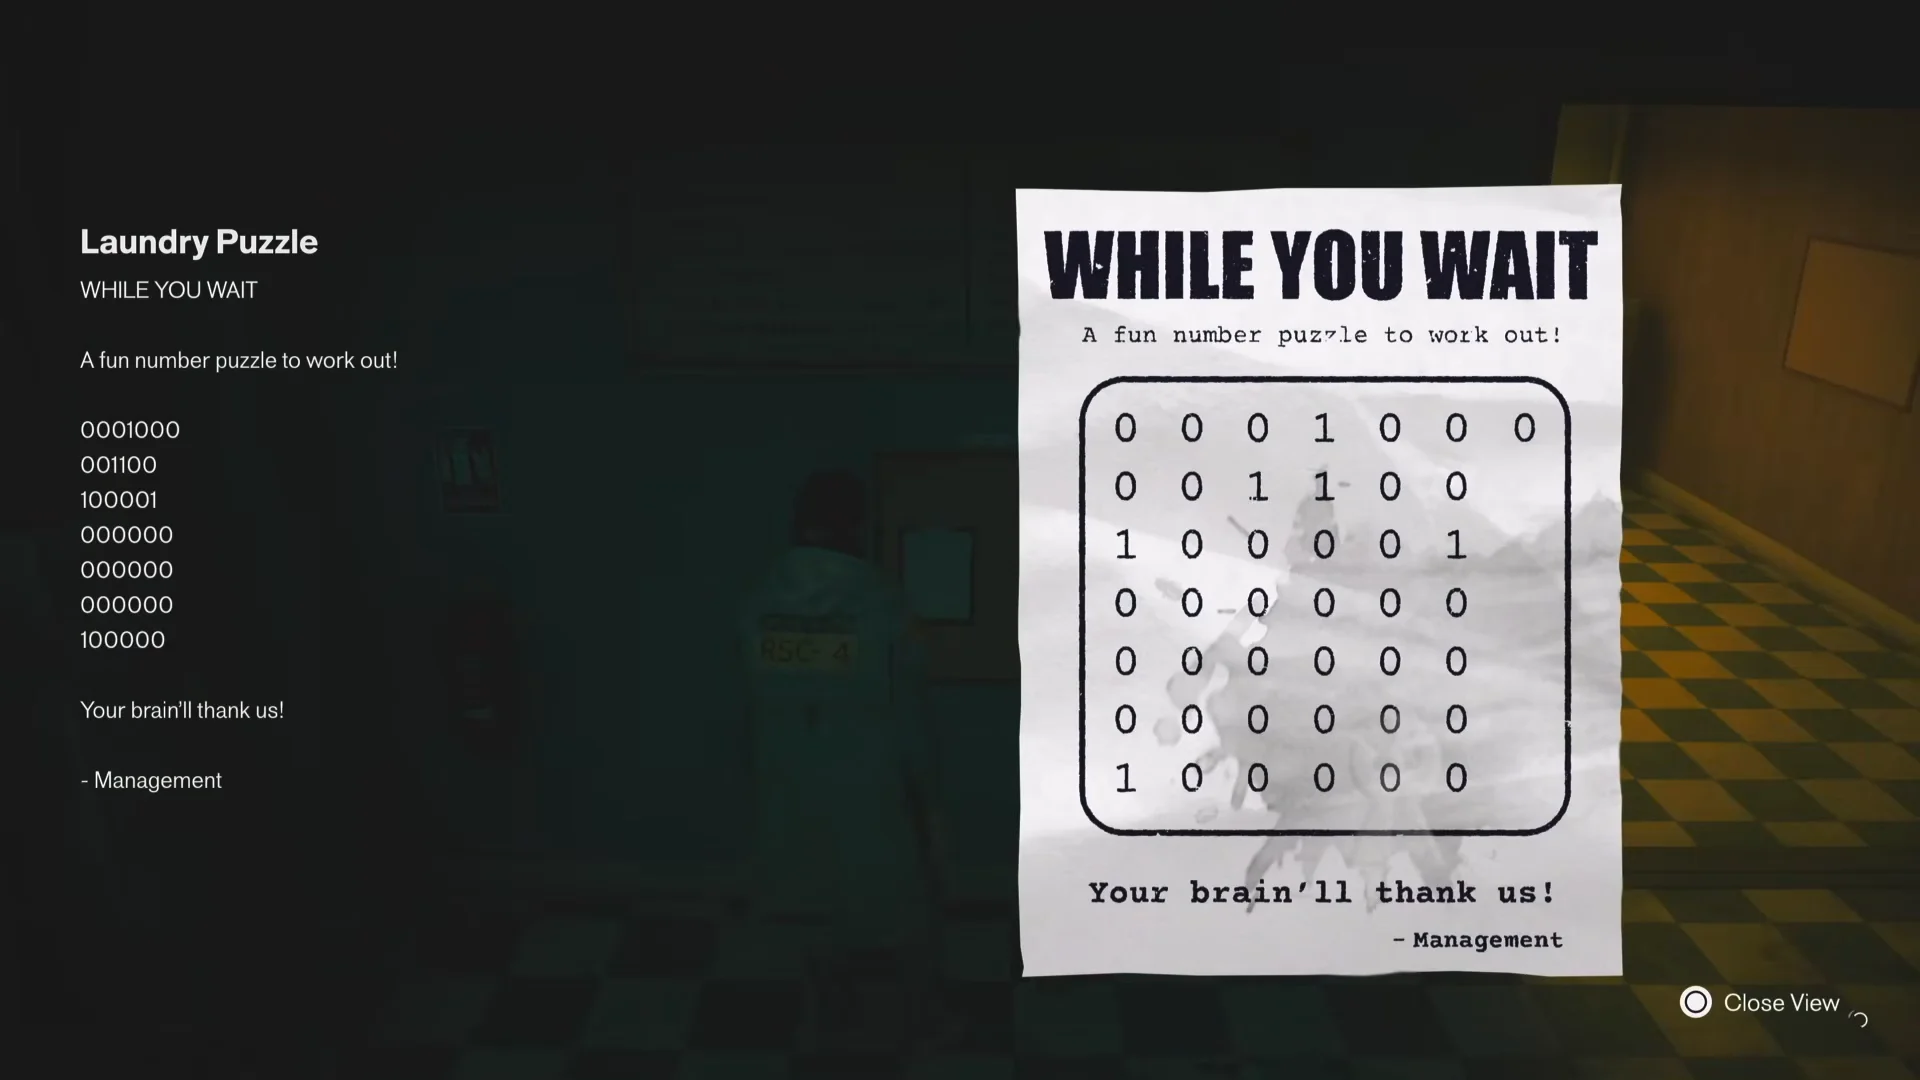
By the entrance, a bulletin board holds two documents. One is a customer note that only complains that no row of machines works completely, and it has no effect on the solution. The other, a “WHILE YOU WAIT” flyer from management, is the one that matters. It lists seven sequences of 0s and 1s.
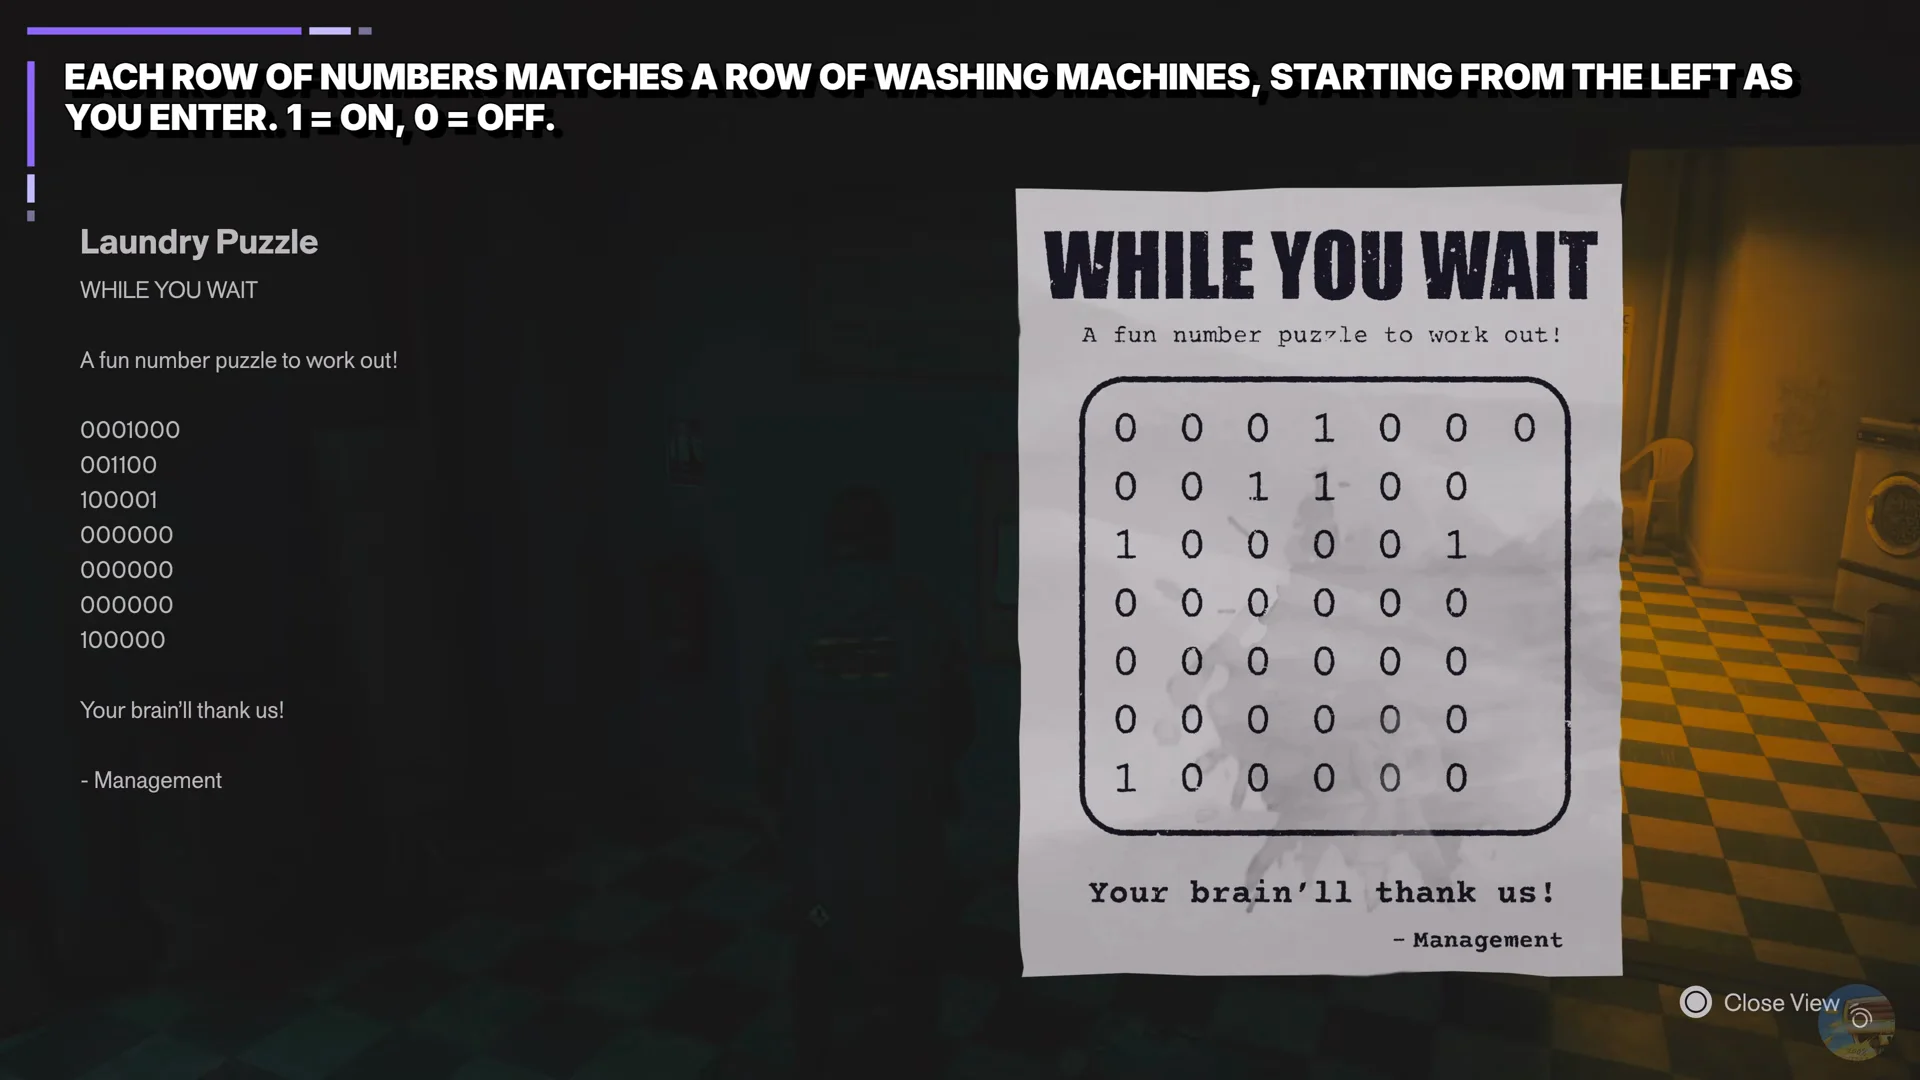
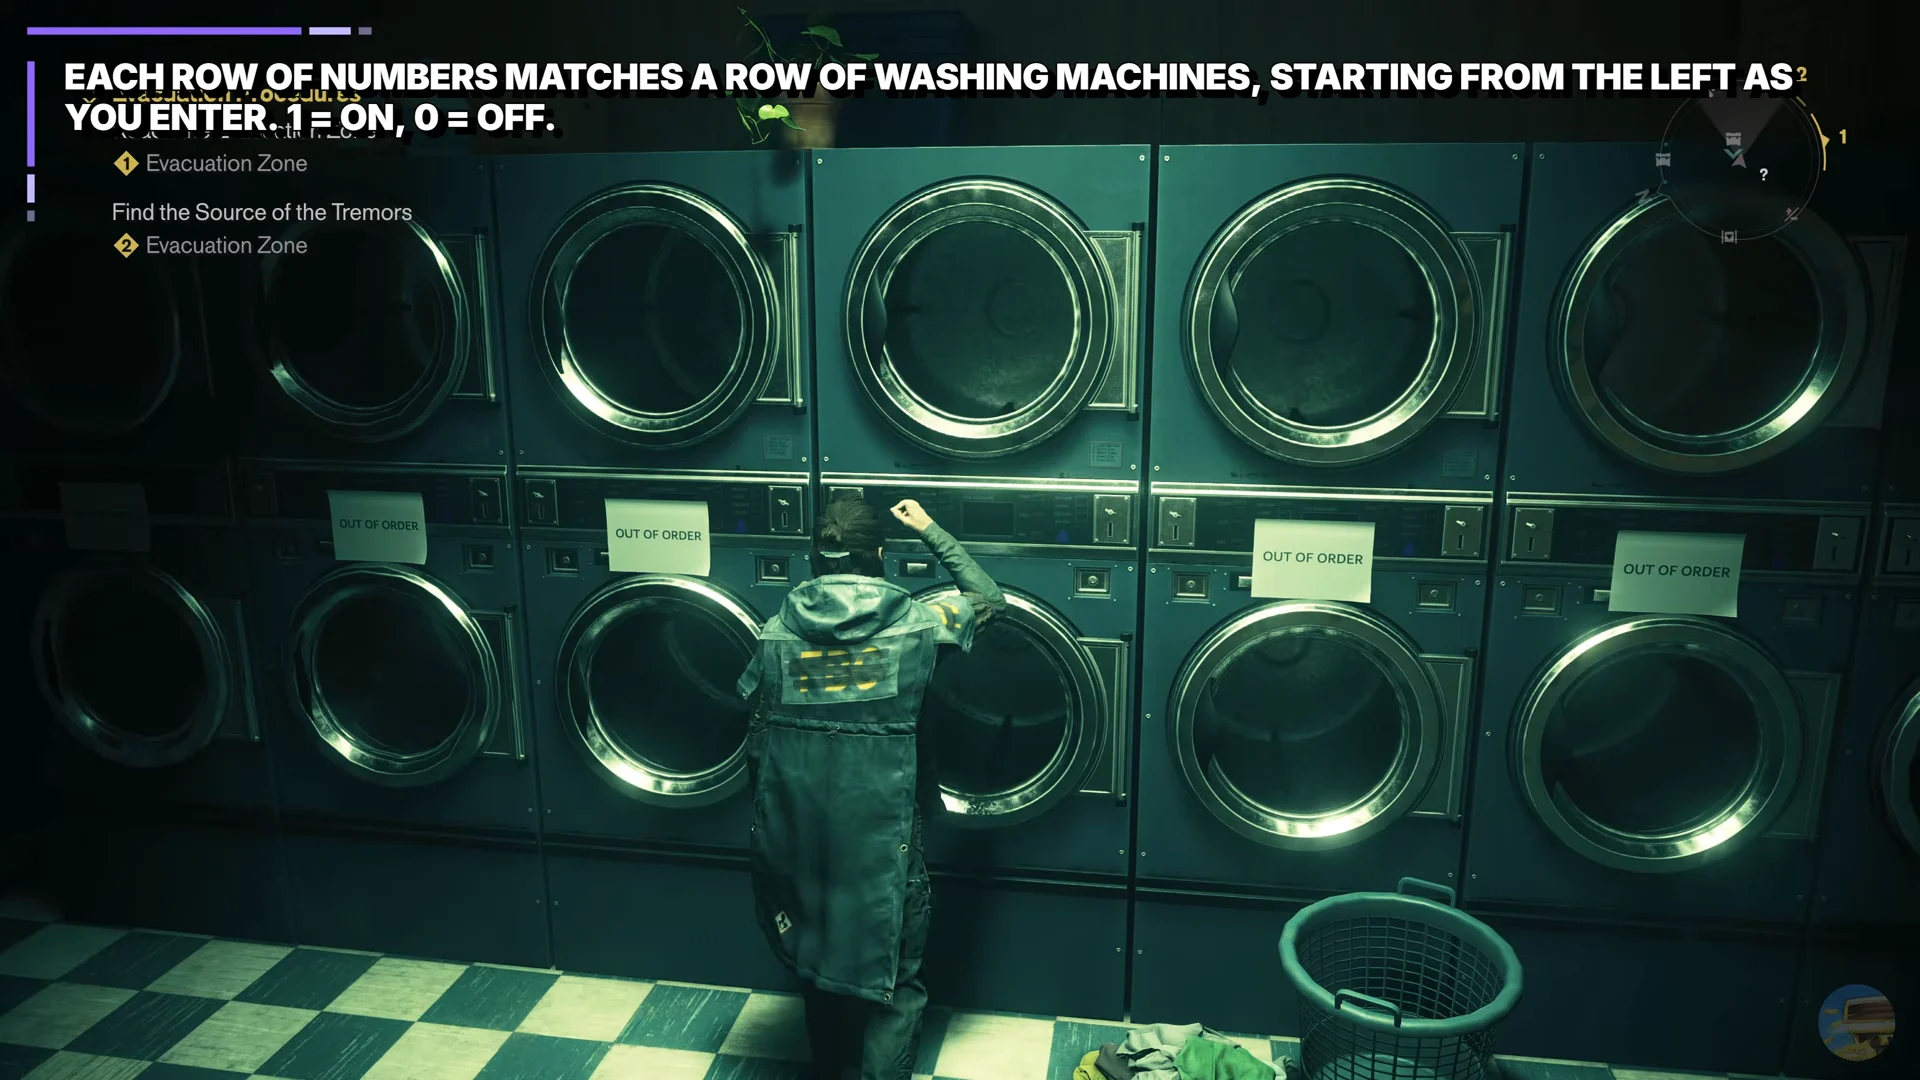
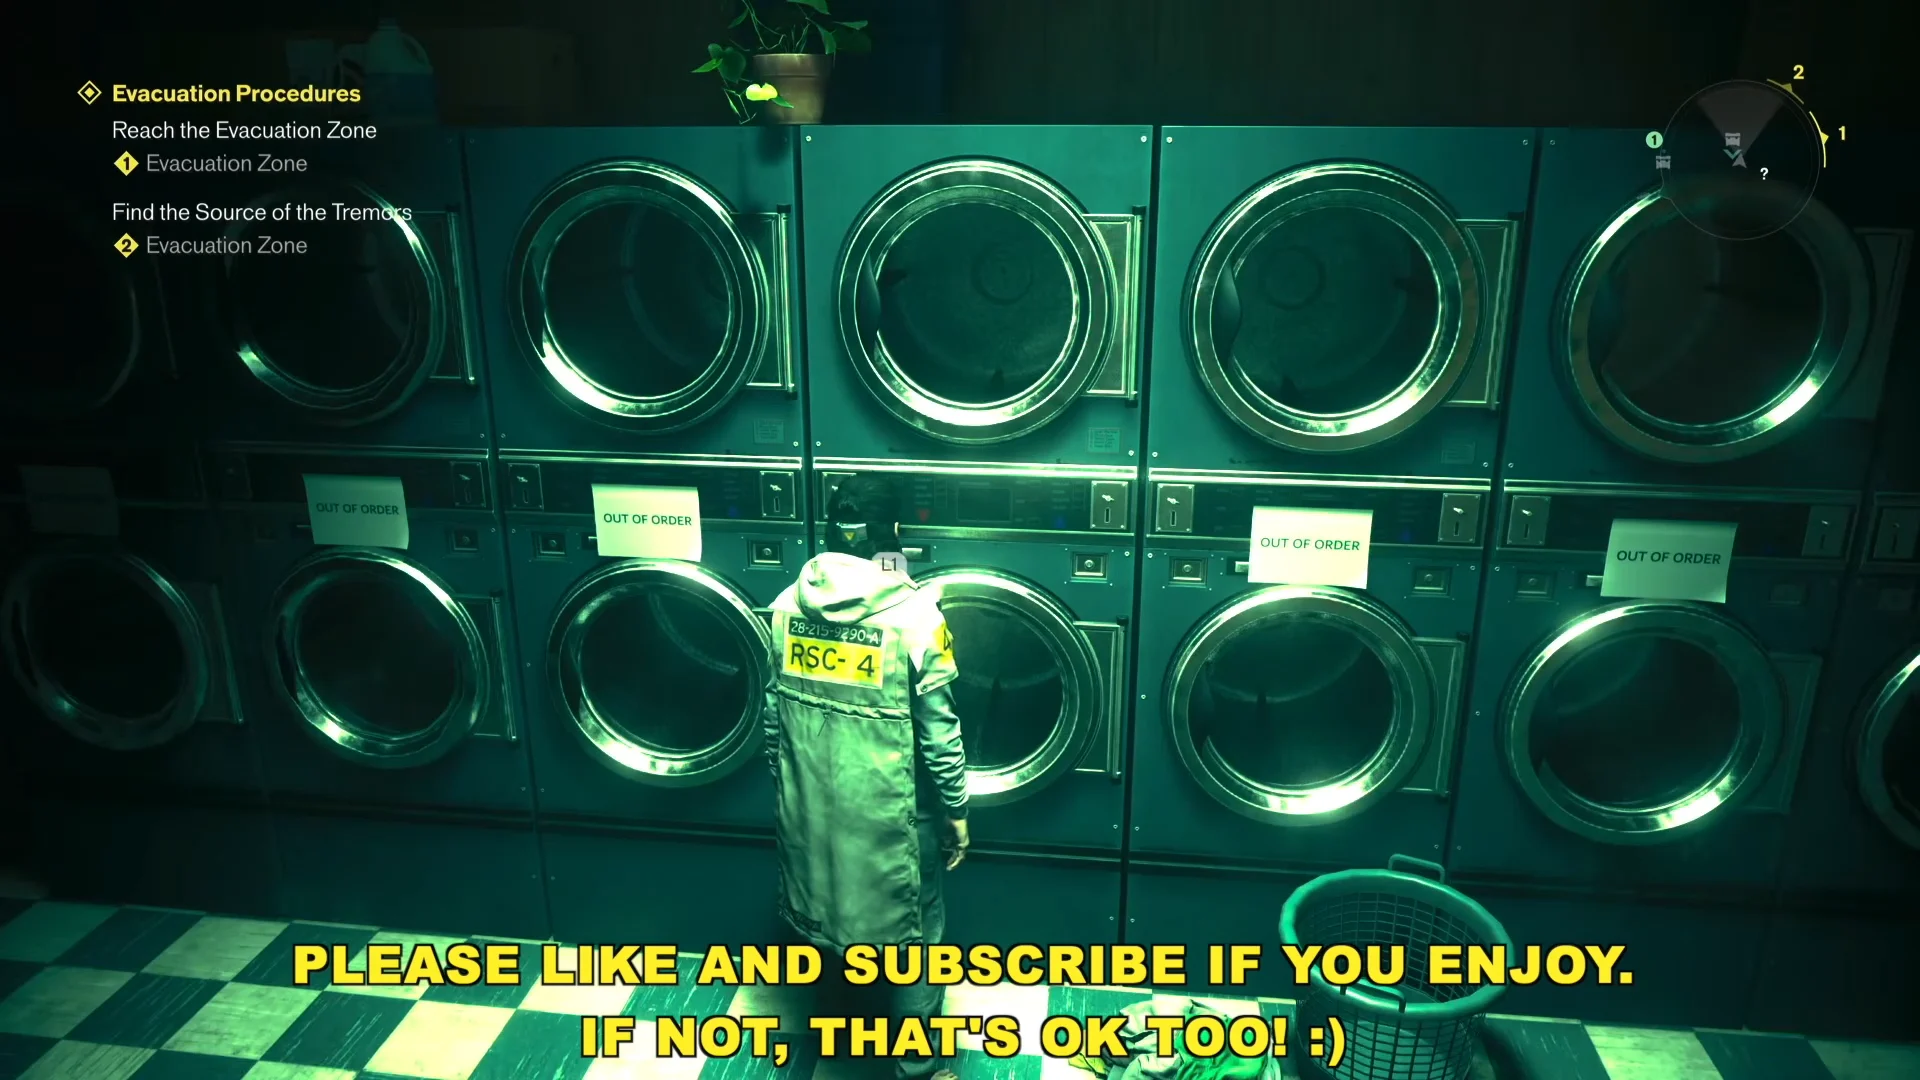
Interpret each line as one row of washing machines. A 1 tells you to turn that machine on; 0 leaves it off. Facing the machines, the first line represents the row farthest left, while the last represents the row closest to the store’s front-right corner. Most units display out-of-order signs and cannot be used, so the code includes only machines that work and can be toggled.
| Row | Code | Machines to turn on |
|---|---|---|
| 1 | 0001000 | 4th (middle) |
| 2 | 001100 | 3rd and 4th |
| 3 | 100001 | 1st and 6th (both ends) |
| 4 | 000000 | None |
| 5 | 000000 | None |
| 6 | 000000 | None |
| 7 | 100000 | 1st only |
Set the washing machines in order
Count from each row’s leftmost position and set the machines from left to right. It is useful to turn off anything currently running first, because the door responds only when all seven rows are correct simultaneously.
Confirm the puzzle is solved and grab the reward
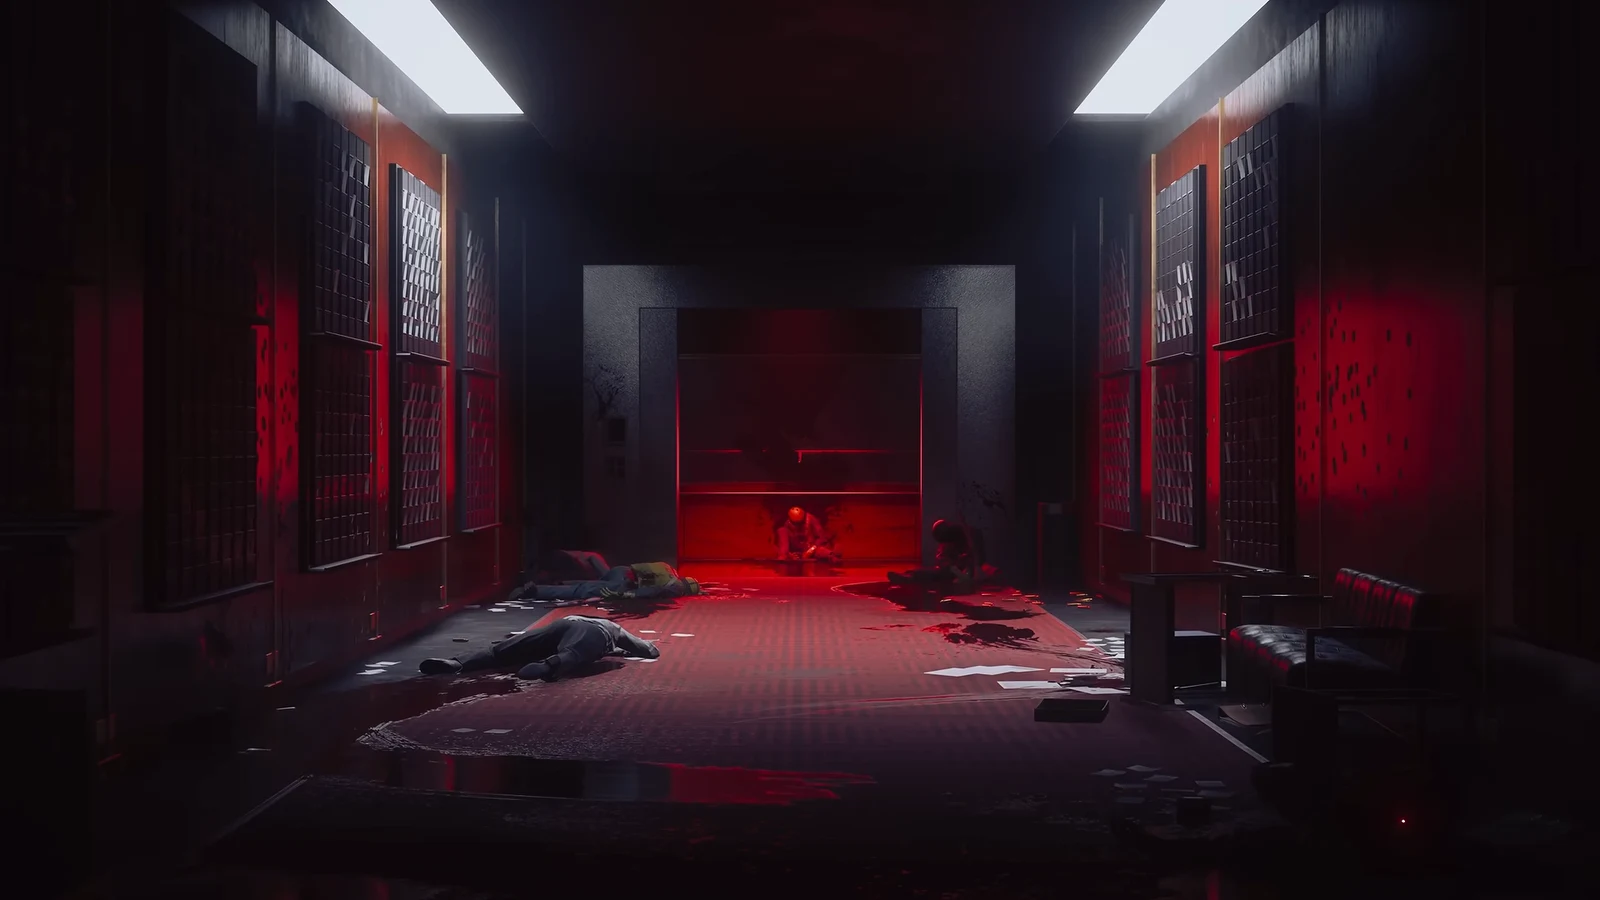
The puzzle has no prompt or countdown. When the final required machine comes on, the rear break-room wall opens automatically, exposing stairs that descend below. If the opening does not occur, either an incorrect machine is active or a usable machine in rows one to three remains off. Recheck the entire floor and match every row with the flyer.
Beyond the staircase is a basement corridor and a bed-filled storage area. A chest inside contains a Health Upgrade Point, which is the puzzle’s primary reward. The corridor’s left side also has two files: Visitation And Stay Protocol and Do Not Leave The Shelter, documents explaining the shelter’s rules.
The lower area contains nothing more, so collect the upgrade and both documents before returning upstairs. It is one of six Secret Hideouts located throughout the game’s zones, and completing every one awards the Backroom Espionage trophy.