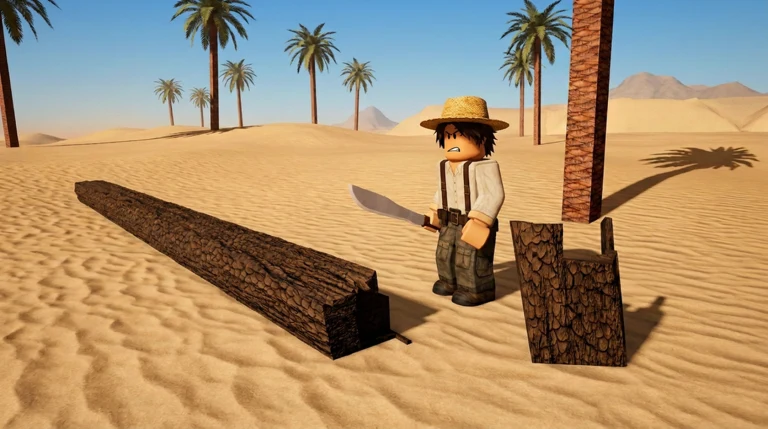
Survive 7 Days In Desert drops you into open sand with a knife, a heat meter that never stops climbing, and a week to stay alive. The loop is narrow on purpose. You chop palm trees, drag logs into blueprints, boil river water over a fire, and retreat into shade before the sun cooks you. Do that cleanly for six days and a camel comes back for you on the seventh.
Quick answer: Build a Palm Hut on Day 1, a campfire and water barrel on Day 2, and a wood cart on Day 3, then keep shade and purified water stocked until the Day 7 camel rescue.
Before the run: lobby rewards and match setup
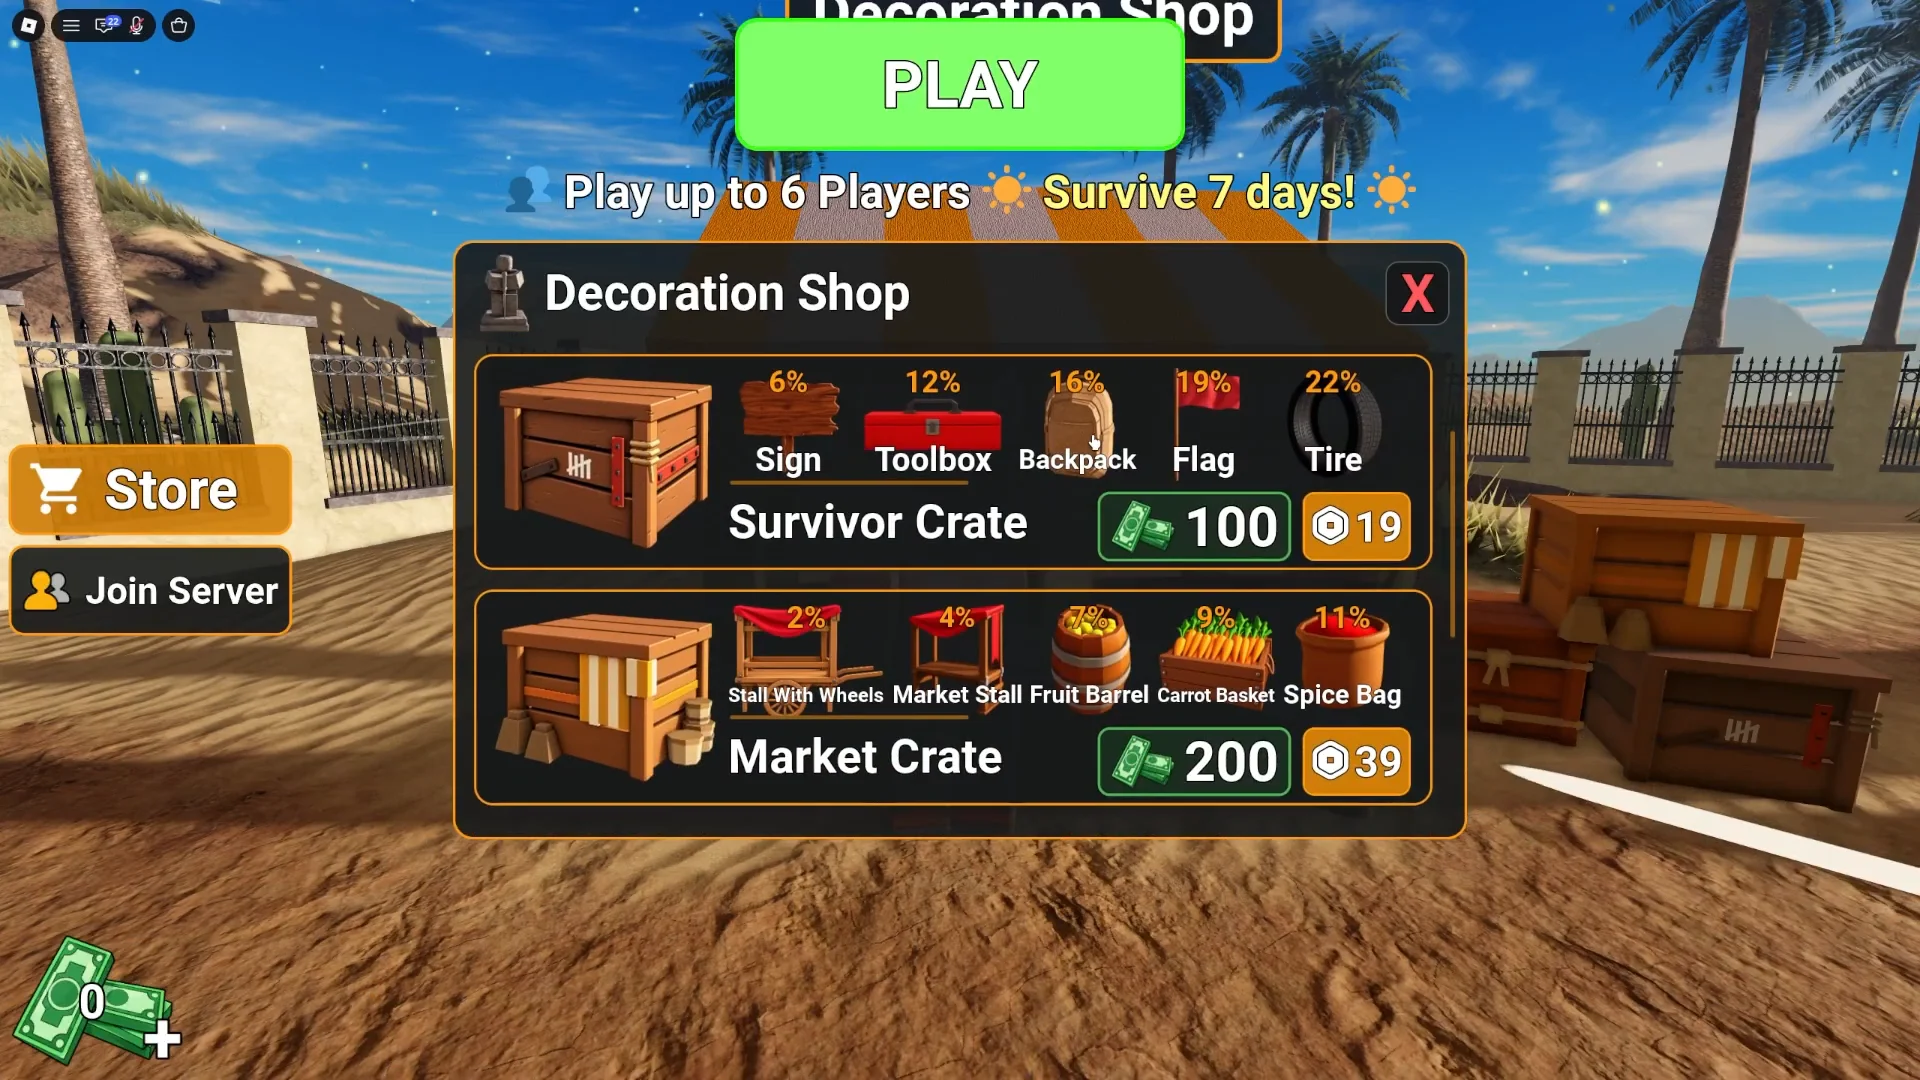
The lobby has two things worth touching before you queue. The Like Reward menu hands over a statue and 250 cash for liking the experience and joining the Christos Studios group. The Decoration Shop sells the Nomad Crate, Survivor Crate, and Market Crate, each listing its own drop chances — cosmetic, and not something you need before a first clear.
To start, set your group size and step onto the camel queue pad. Setting the size to 1 gives you a solo run, which is the cleanest way to learn the timing; servers otherwise hold up to 25 players. You can queue straight from the Roblox game page.
Day 1: Palm Hut, wood stockpile, and the overheating rule
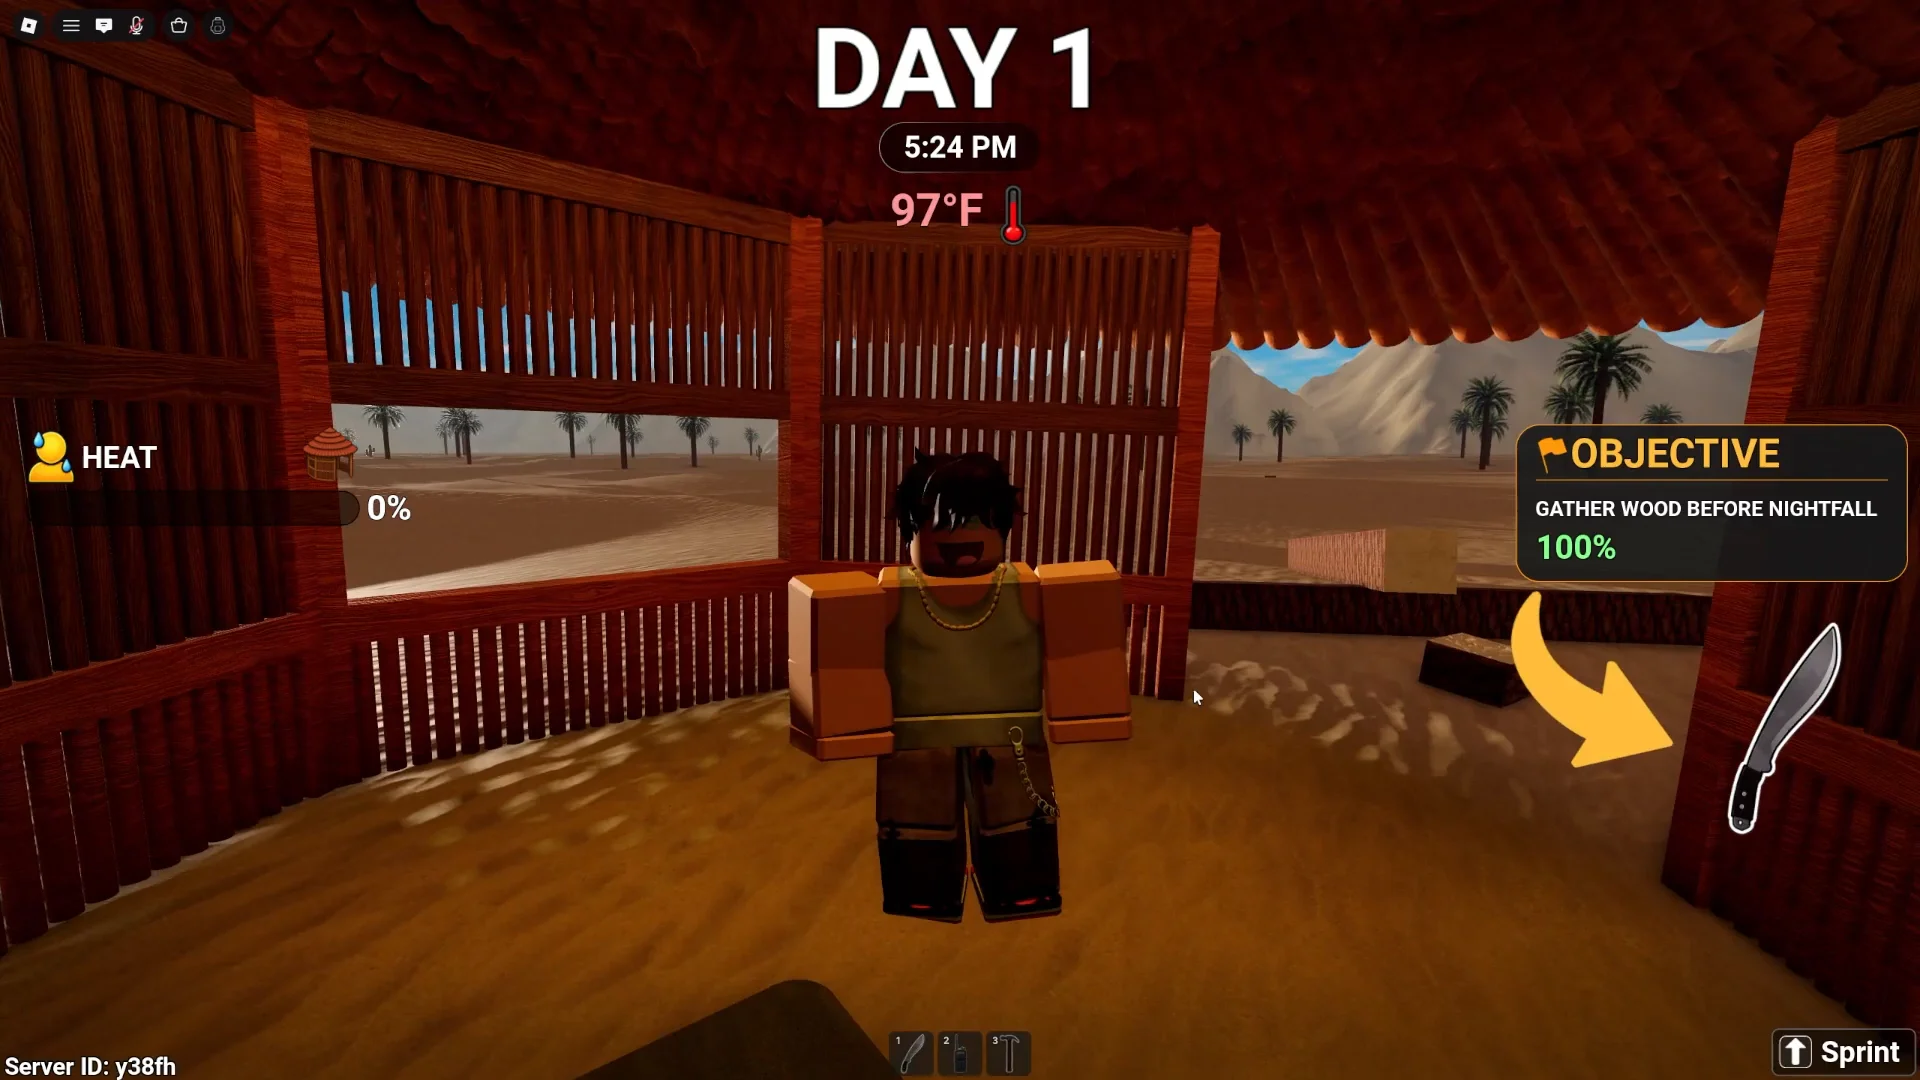
Day 1 opens with three instructions on the loading screen — chop trees, build a shelter, survive seven days. Everything else grows out of that shelter, so get it standing before the afternoon heat peaks.
Day 2: Campfire, jug purification, and the water barrel
Day 2 introduces thirst. The tutorial spells out the chain — fill a jug, purify the water at a campfire, drink. River water straight from the lake is dirty and is not a shortcut.
An empty barrel weighs 40 lbs, but a full one weighs 280 lbs. Carrying it back across open dunes is slow, and your heat meter keeps climbing the whole way.
Build costs worth memorizing
| Build | Wood cost | Purpose |
|---|---|---|
| Campfire | 120 lbs | Boils dirty water clean |
| Water barrel | 160 lbs | Bulk clean water storage |
| Wood cart | 360 lbs | Hauls logs and the barrel |
The Palm Hut and the canopy are also paid for in logs, but they take whatever the blueprint asks for as you feed it, so watch the completion percentage rather than counting pounds.
Day 3: Wood cart runs and the oasis canopy
By Day 3 you wake up around 8:00 AM with a barrel of clean water and a log pile. This is the day the run stops being hand-to-mouth, because the wood cart changes how much timber you can move in a single trip.
The barrel can ride inside the wood cart. Hauling it that way beats carrying 280 lbs on foot and turns refills into a routine errand instead of a gamble.
Days 4 to 7: Holding camp until the camel arrives
The back half of the week has no new mechanic to learn. It is the same rotation, repeated without letting any of the three systems slip:
- Keep the Palm Hut intact and use it every time the overheating alert fires.
- Keep the barrel topped up and boiled, and drink to full before sleeping.
- Run the cart out for logs early in the day, while the sun is lower.
- Be back at the bedroll by nightfall so you sleep through the monster phase.
Get through the end of Day 6 with a stable hut, a clean water supply, and reliable shade, and the ending takes care of itself. The camel returns on Day 7 and carries you out, which is the only successful exit from a run.
How to confirm each stage worked
Every major task in the game reports back with a number or a badge, so you never have to guess whether something registered.
| Stage | Confirmation |
|---|---|
| First tree chopped | Objective completes and a hammer is granted |
| Shelter built | Palm Hut reads 100% complete |
| Water purified | Barrel switches to 100% clean water |
| Shade built | Shady Business badge |
| Cart hauling | Long Haul badge |
| Run finished | Survived the Desert badge |
One more thing to save you a search: the game has no active promo codes. Anything offering free cash or crates outside the Like Reward menu is not coming from Christos Studios.
Other Roblox seven-day survival runs
Survive 7 Days In Arctic
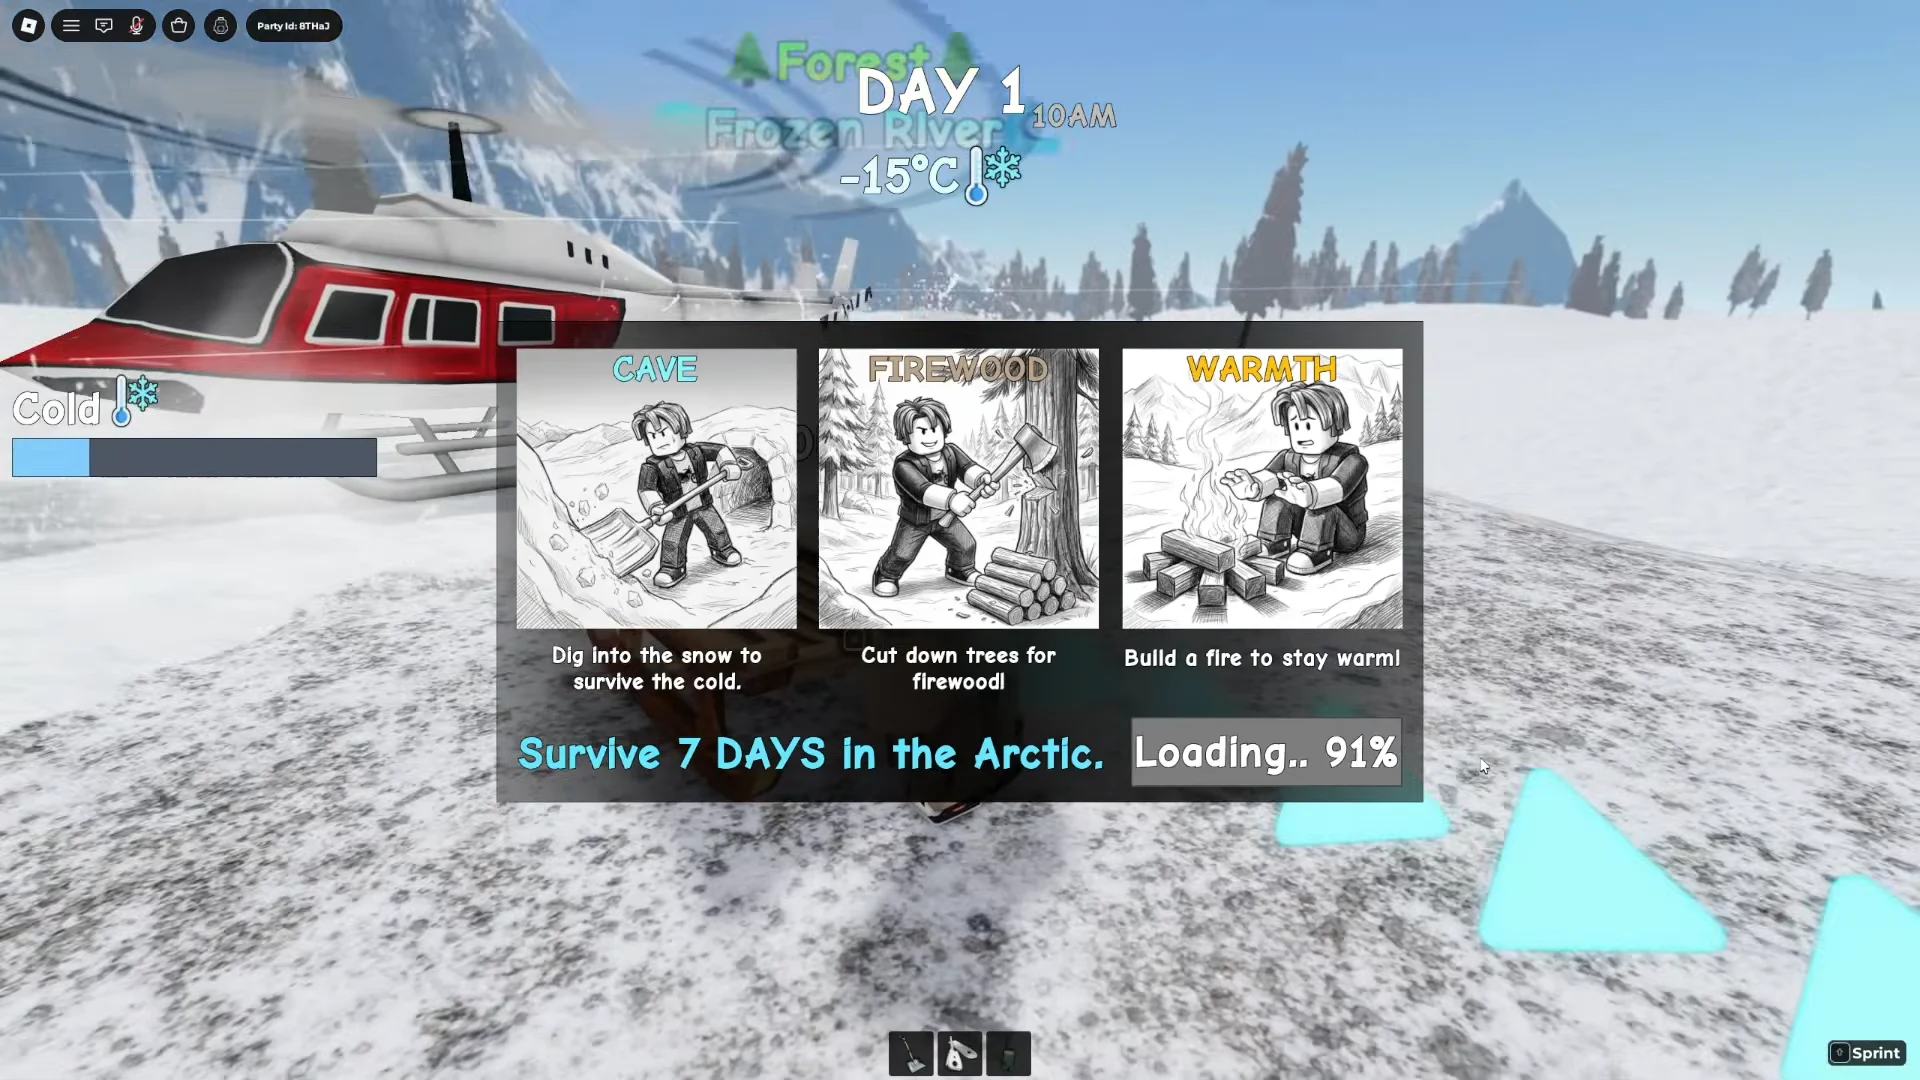
The cold version inverts the threat. Instead of shade you dig a snow cave, and instead of a heat meter you fight temperatures that fall past minus fifty. The opening splash screen names three objectives — Cave, Firewood, and Warmth — and the first day is spent shovelling out the marked snowbank and chopping pine.
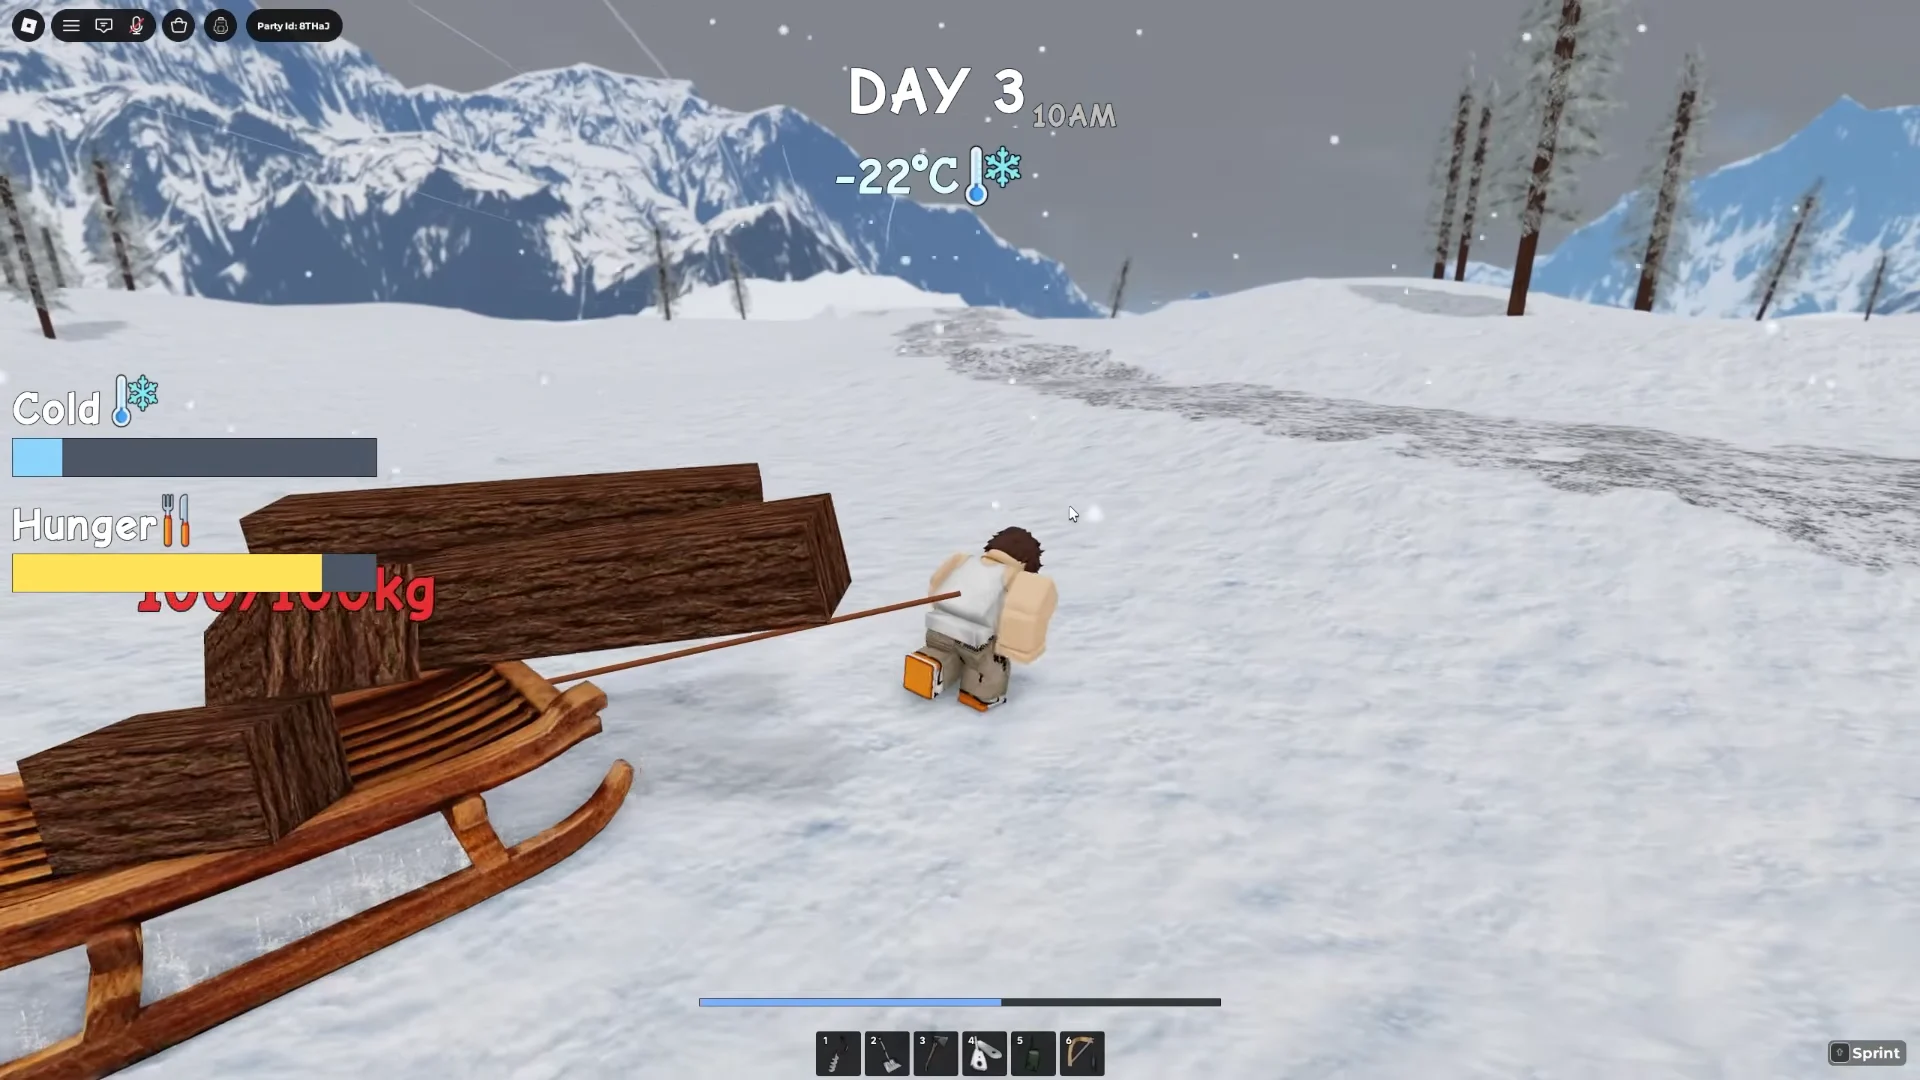
The sled fills the same role the wood cart does in the desert. It carries up to 100kg of cut logs, plus cooked fish caught through a hole drilled in the frozen river with an auger, and hauling it back uphill to the cave before nightfall is the whole rhythm of the middle days.
Dig to Survive The Desert
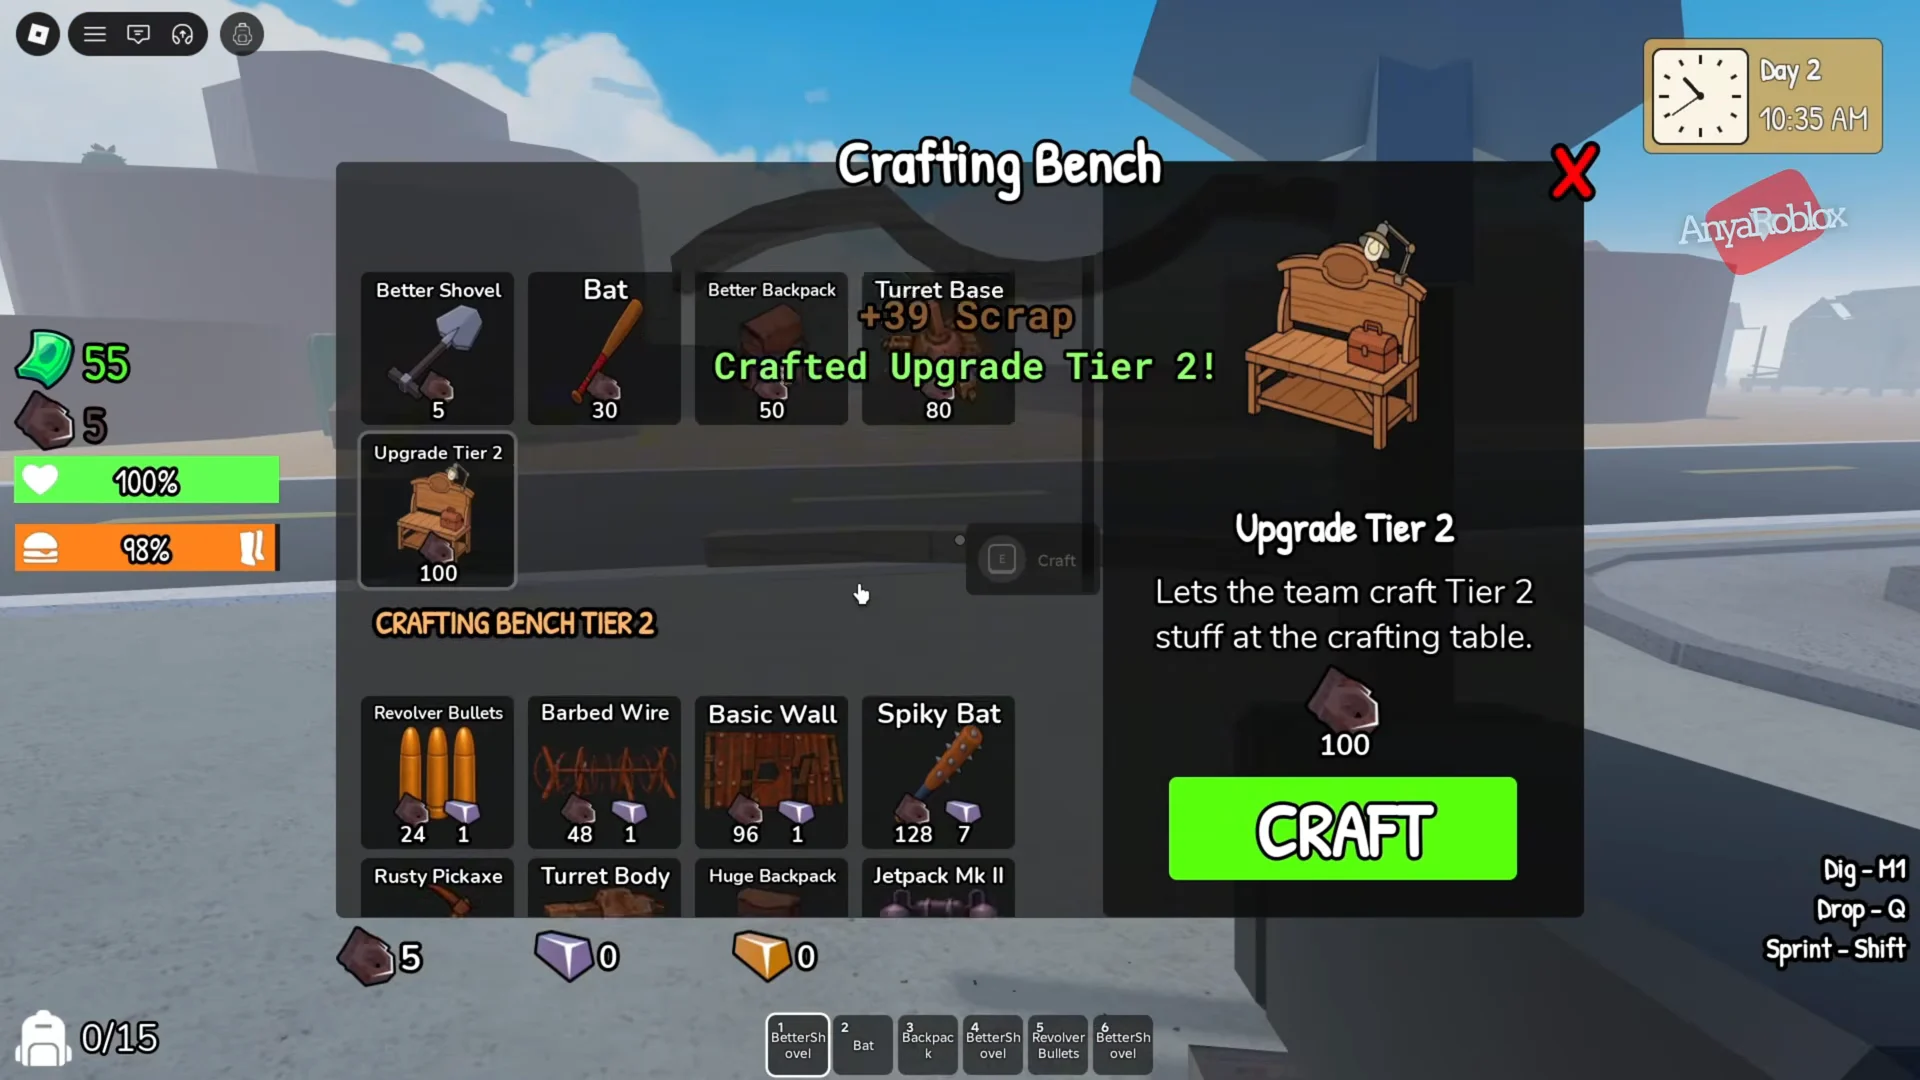
Same setting, completely different loop. You dig scrap out of the sand, feed it into a crusher for currency, and spend it at a crafting bench while defending a radio tower from zombies at night. The first purchase most players make is the Better Shovel, a Tier 1 recipe that costs five scrap.
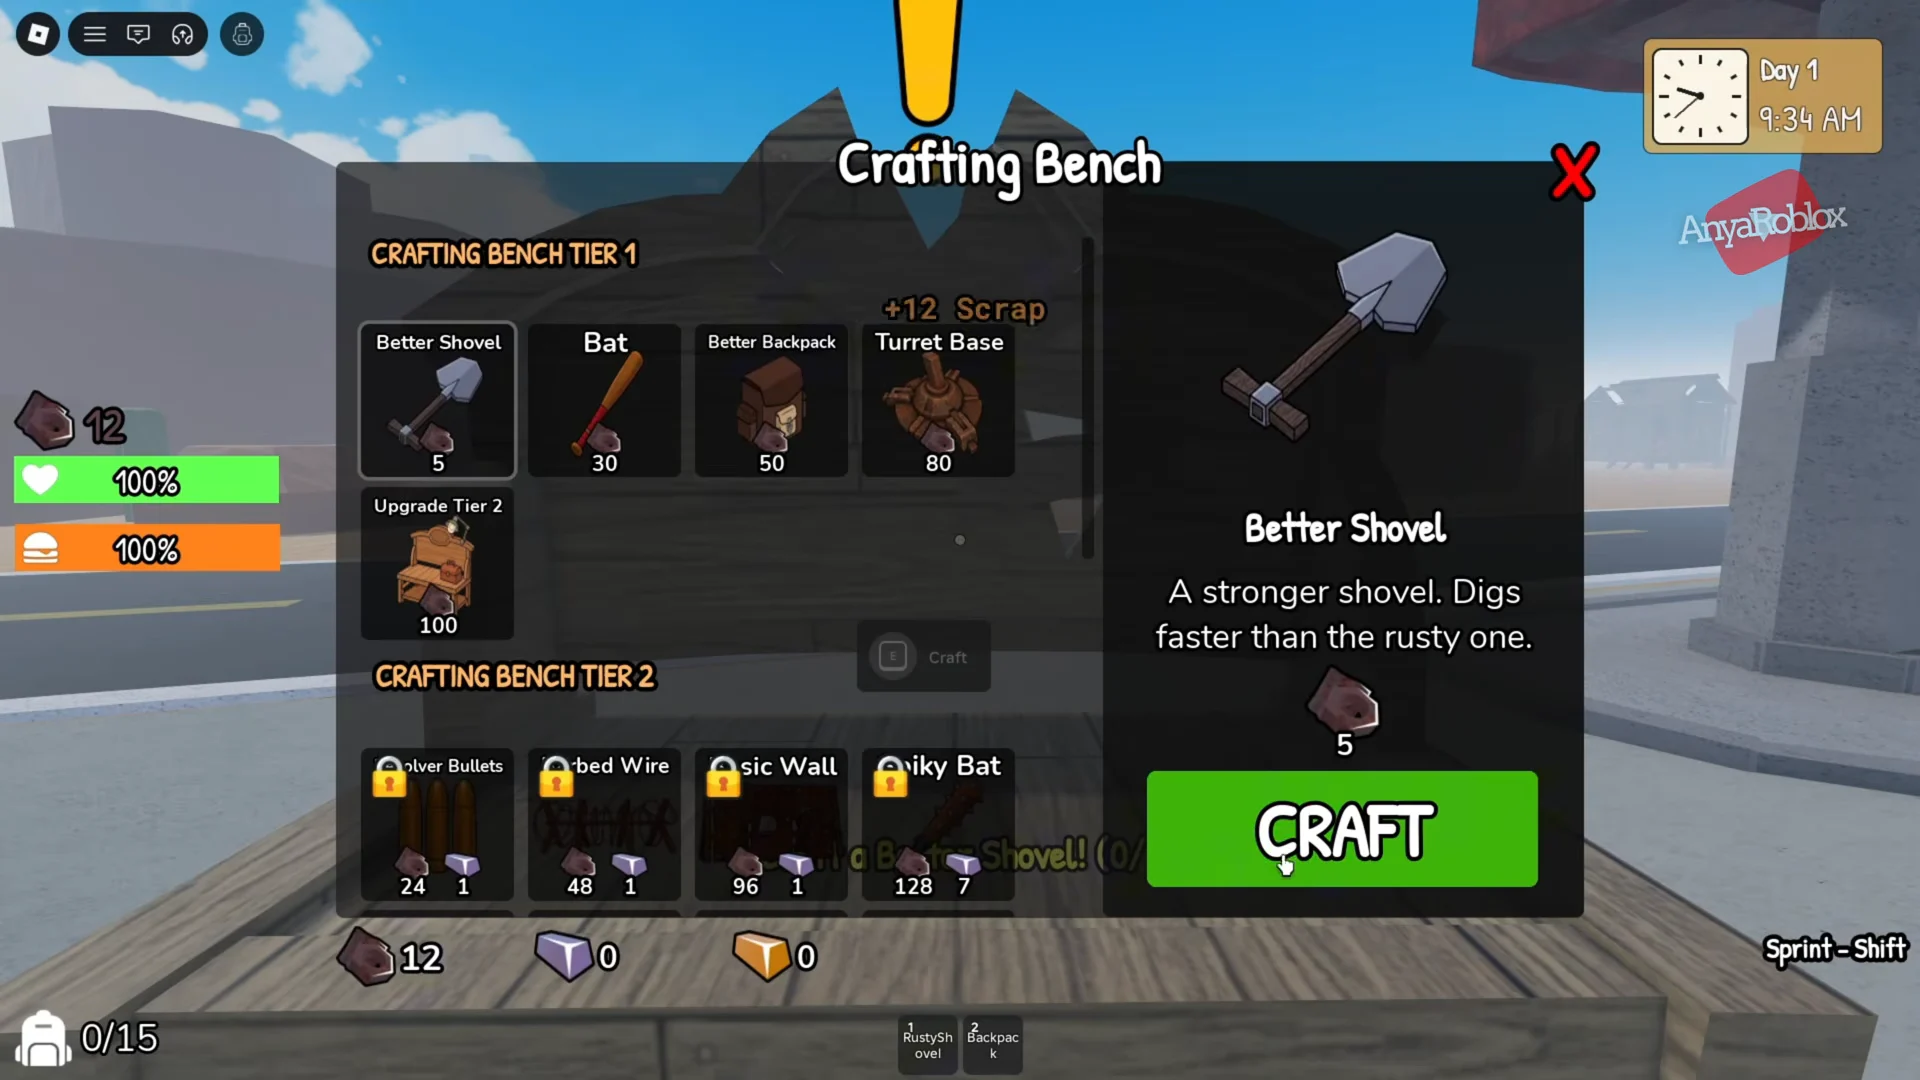
Progression runs through bench tiers rather than blueprints. Upgrading the bench to Tier 2 costs 100 scrap and opens up the Rusty Drill, larger backpacks, and eventually firearms for the later night waves.
Back in the desert, the fastest clears come down to one habit: never let a trip to the river start with a full heat bar. Build the canopy early, park the barrel in the cart, and the last four days turn into a routine you can finish without a single close call.