Silent Hill: Townfall — CEG HQ Case Box Codes and the Elevator Access Card
Every clue and code needed to open box 36, print the Level 10 access card, and unlock the CEG elevator.
Every clue and code needed to open box 36, print the Level 10 access card, and unlock the CEG elevator.
by Reyaan Verma
Image: Screen Burn
The Chapman Energy Group headquarters turns into one long paperwork errand. The elevator in the lobby will not move without a printed access card, and the card only exists after you dig an employee ID out of a locked case box in the conference hall. Everything you need sits on the ground floor, split between a maintenance bin, a security desk, and a podium.
Quick answer: Print an access card at the Security desk database using Richard’s employee ID 00007820518, taken from case box 36 in the conference hall, then use it on the elevator card reader.
All CEG HQ codes and terminal values
Lock or terminal
Where
Code
Security room door
Ground floor
4895
Employee database ID
Security desk computer
00007820518
Finance room
CEG HQ
2709
First floor storeroom
CEG HQ
4512
Second floor storage
CEG HQ
1306
Third floor records
CEG HQ
1607
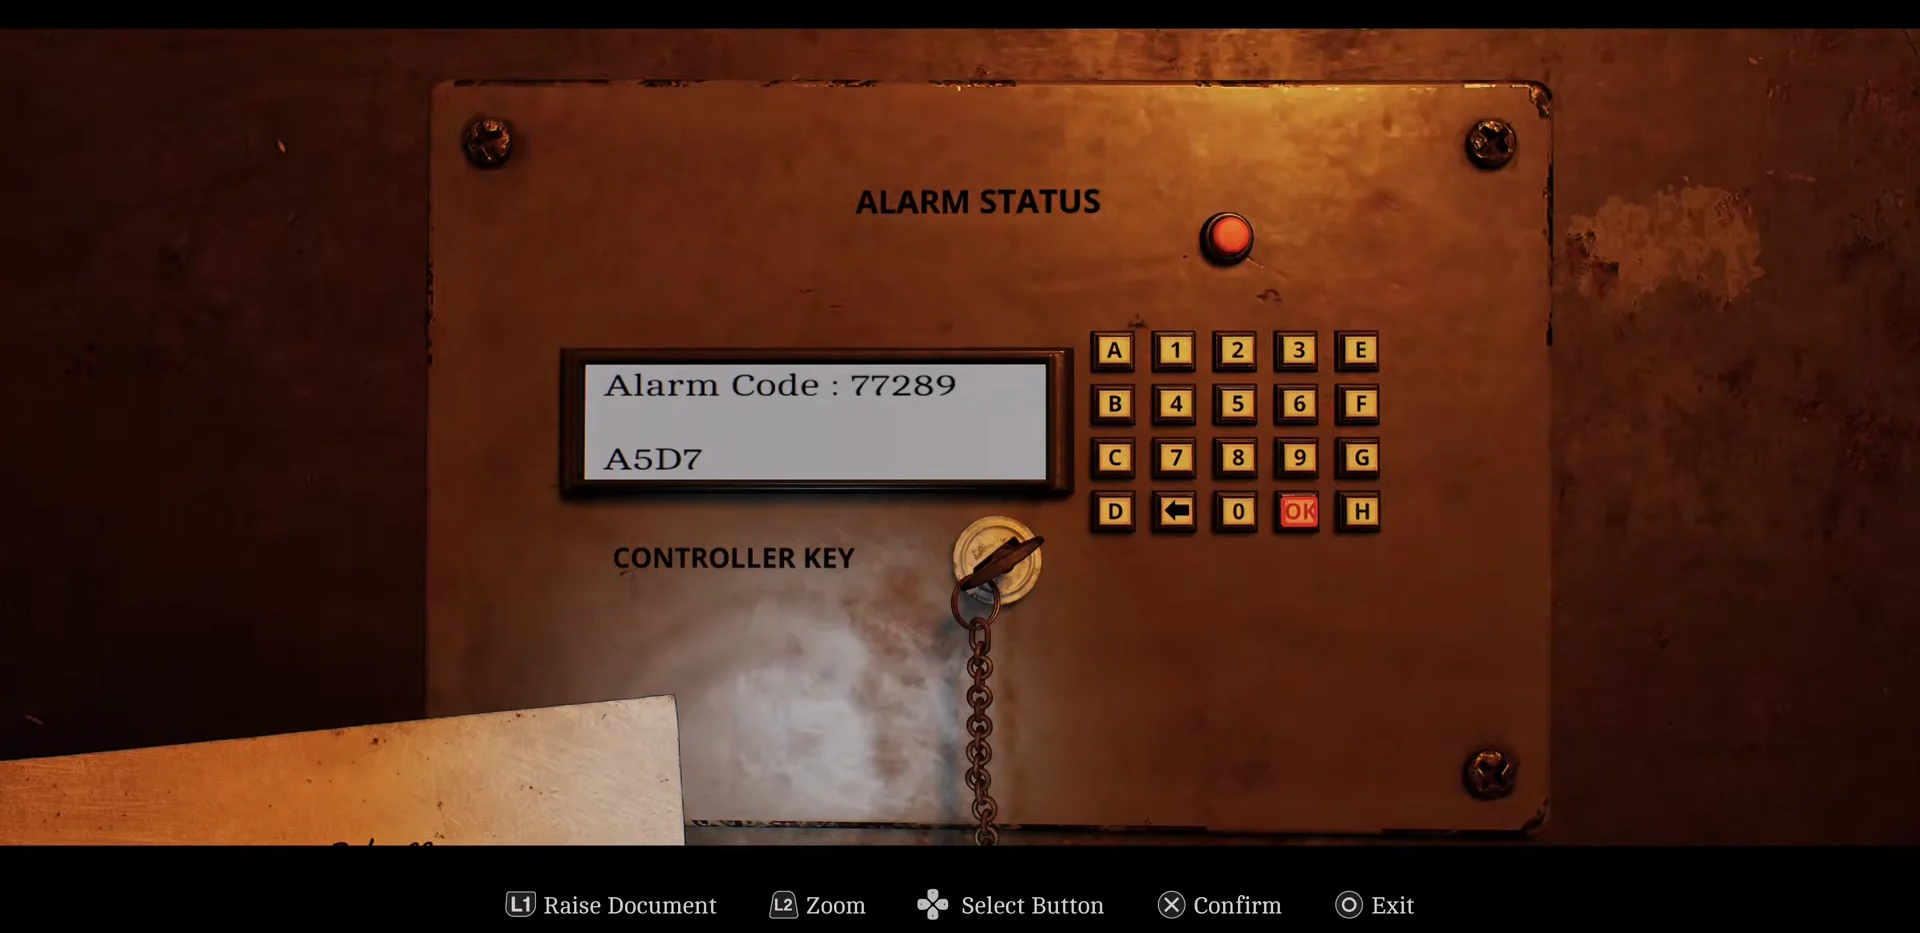
Alarm Status panel
CEG HQ – Different
A5D7
Rotation clamp release
CEG HQ – Different
E3E3
Knowing a number early does not always help. Several of these keypads and terminals stay inert until you are holding the matching clue or key item, so pick up the note first and then type the code.
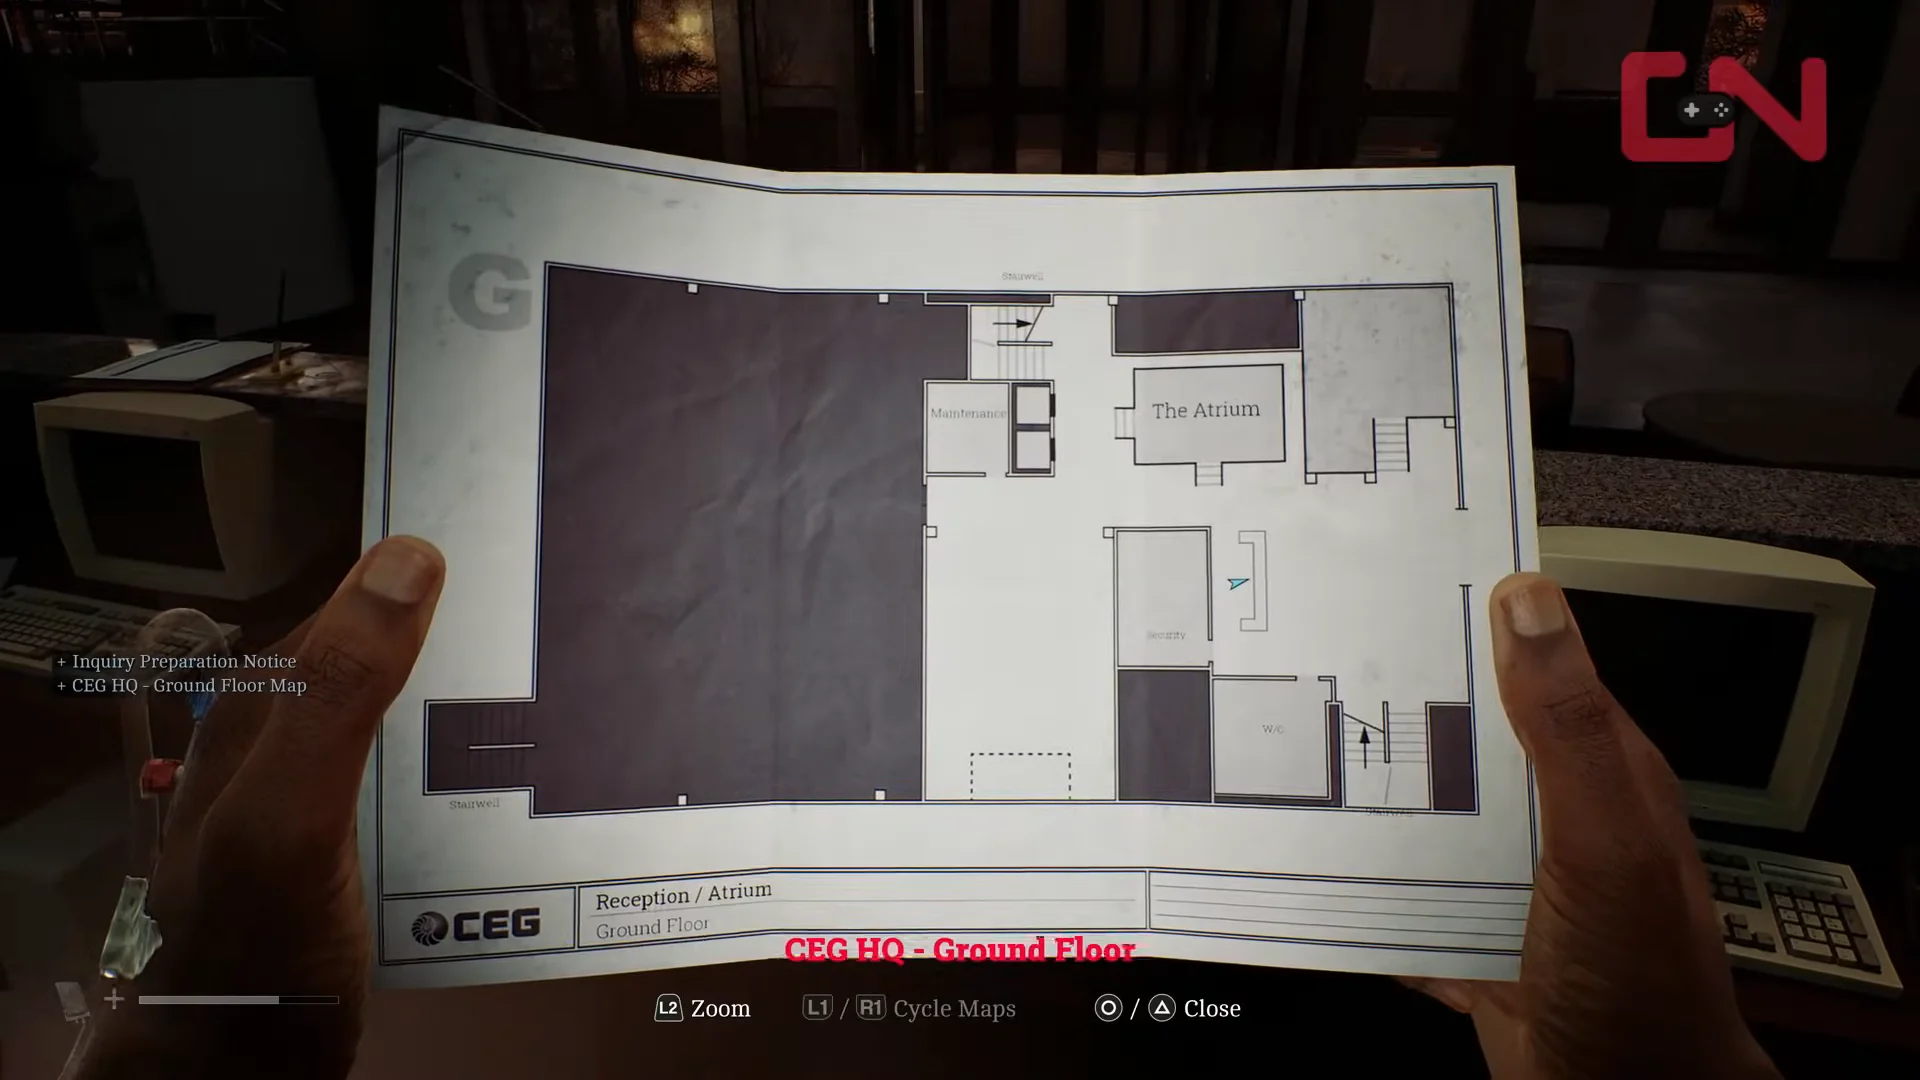
Walk in through the revolving doors and check the reception counter. Take the Inquiry Preparation Notice and the CEG HQ – Ground Floor Map, which marks the auditorium, maintenance room, and Security office for the rest of the sequence.
00:41Finding Map and NoticeThe ground-floor map and Inquiry Preparation Notice sit together on the reception counter. Shown at 00:41 in GosuNoob’s video. Image: Screen Burn
Head into the Maintenance room and search the trash can. You get a torn sheet titled Grid of Codes, which is one of two halves you need before any case box will open.
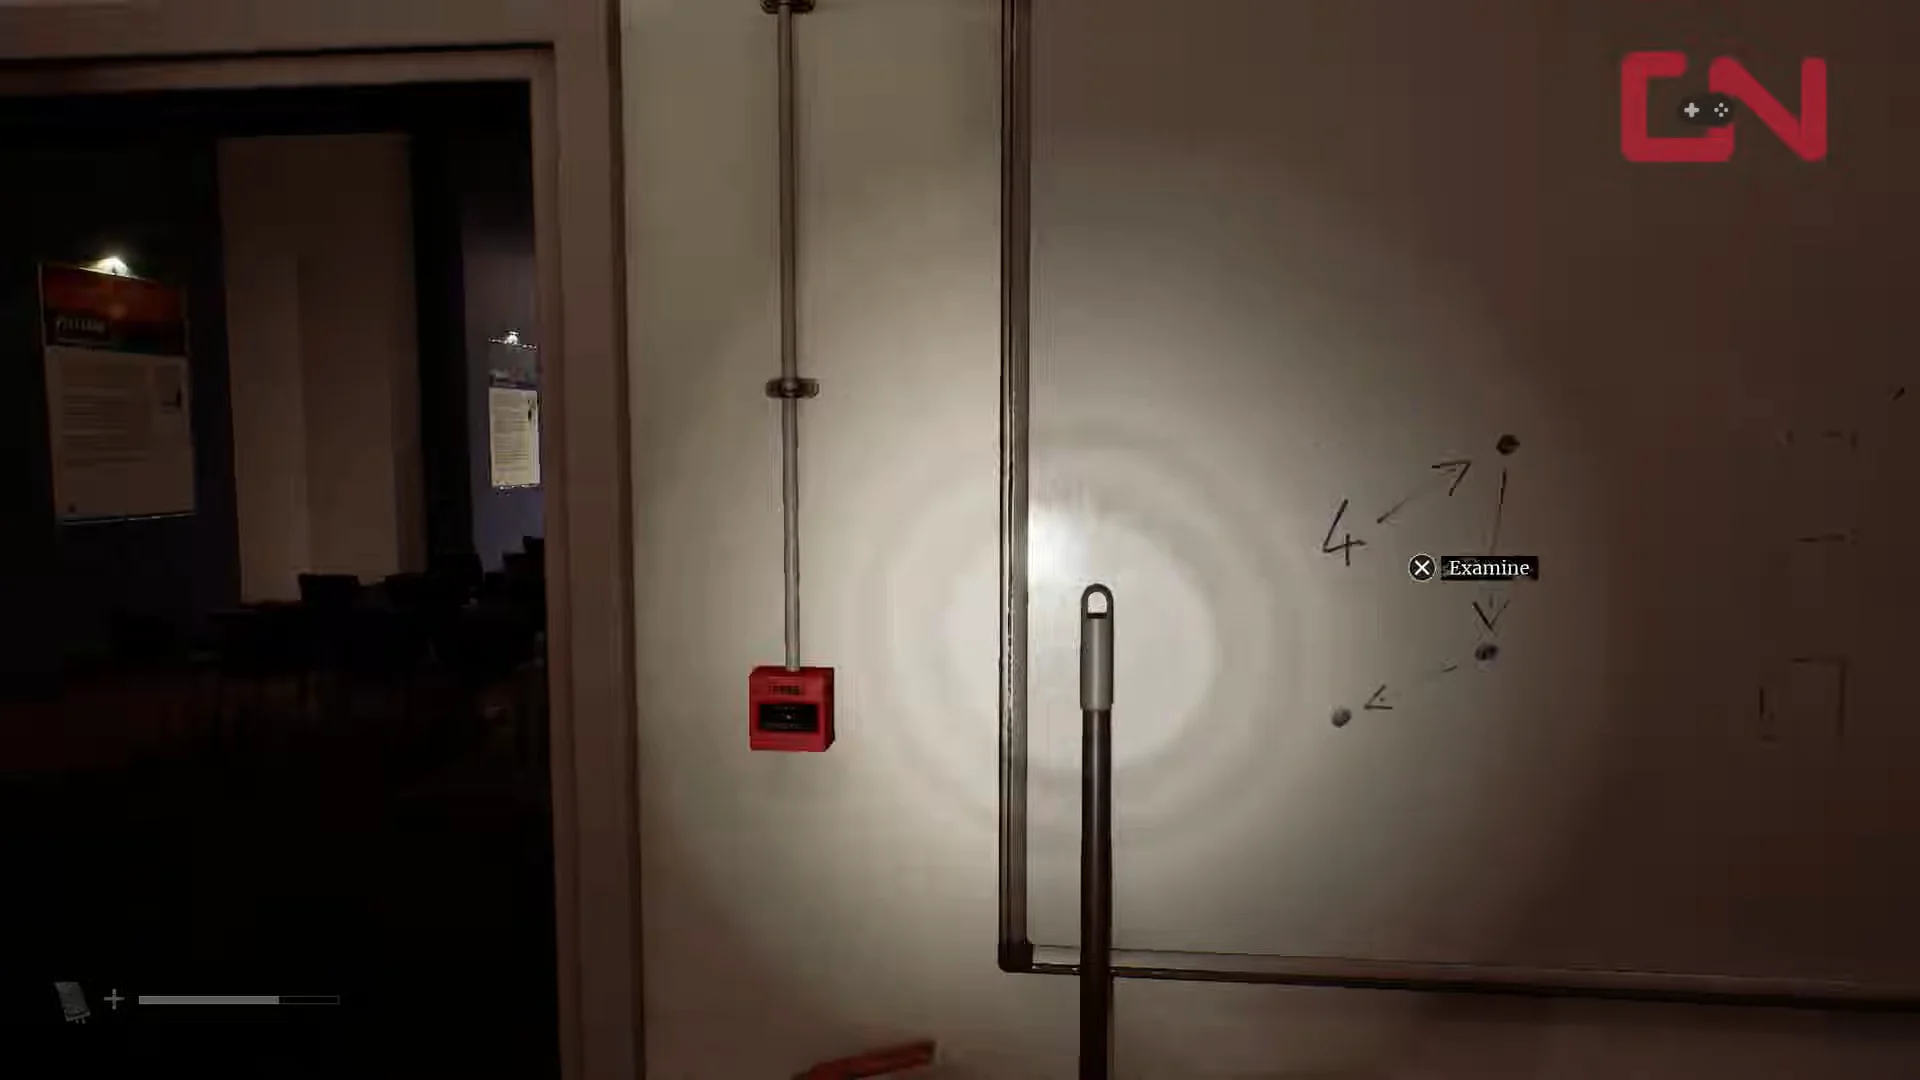
Still in Maintenance, look at the whiteboard. It shows the number 4 with a trail of arrows, and that trail is meant to be retraced across the Security door keypad rather than read as digits.
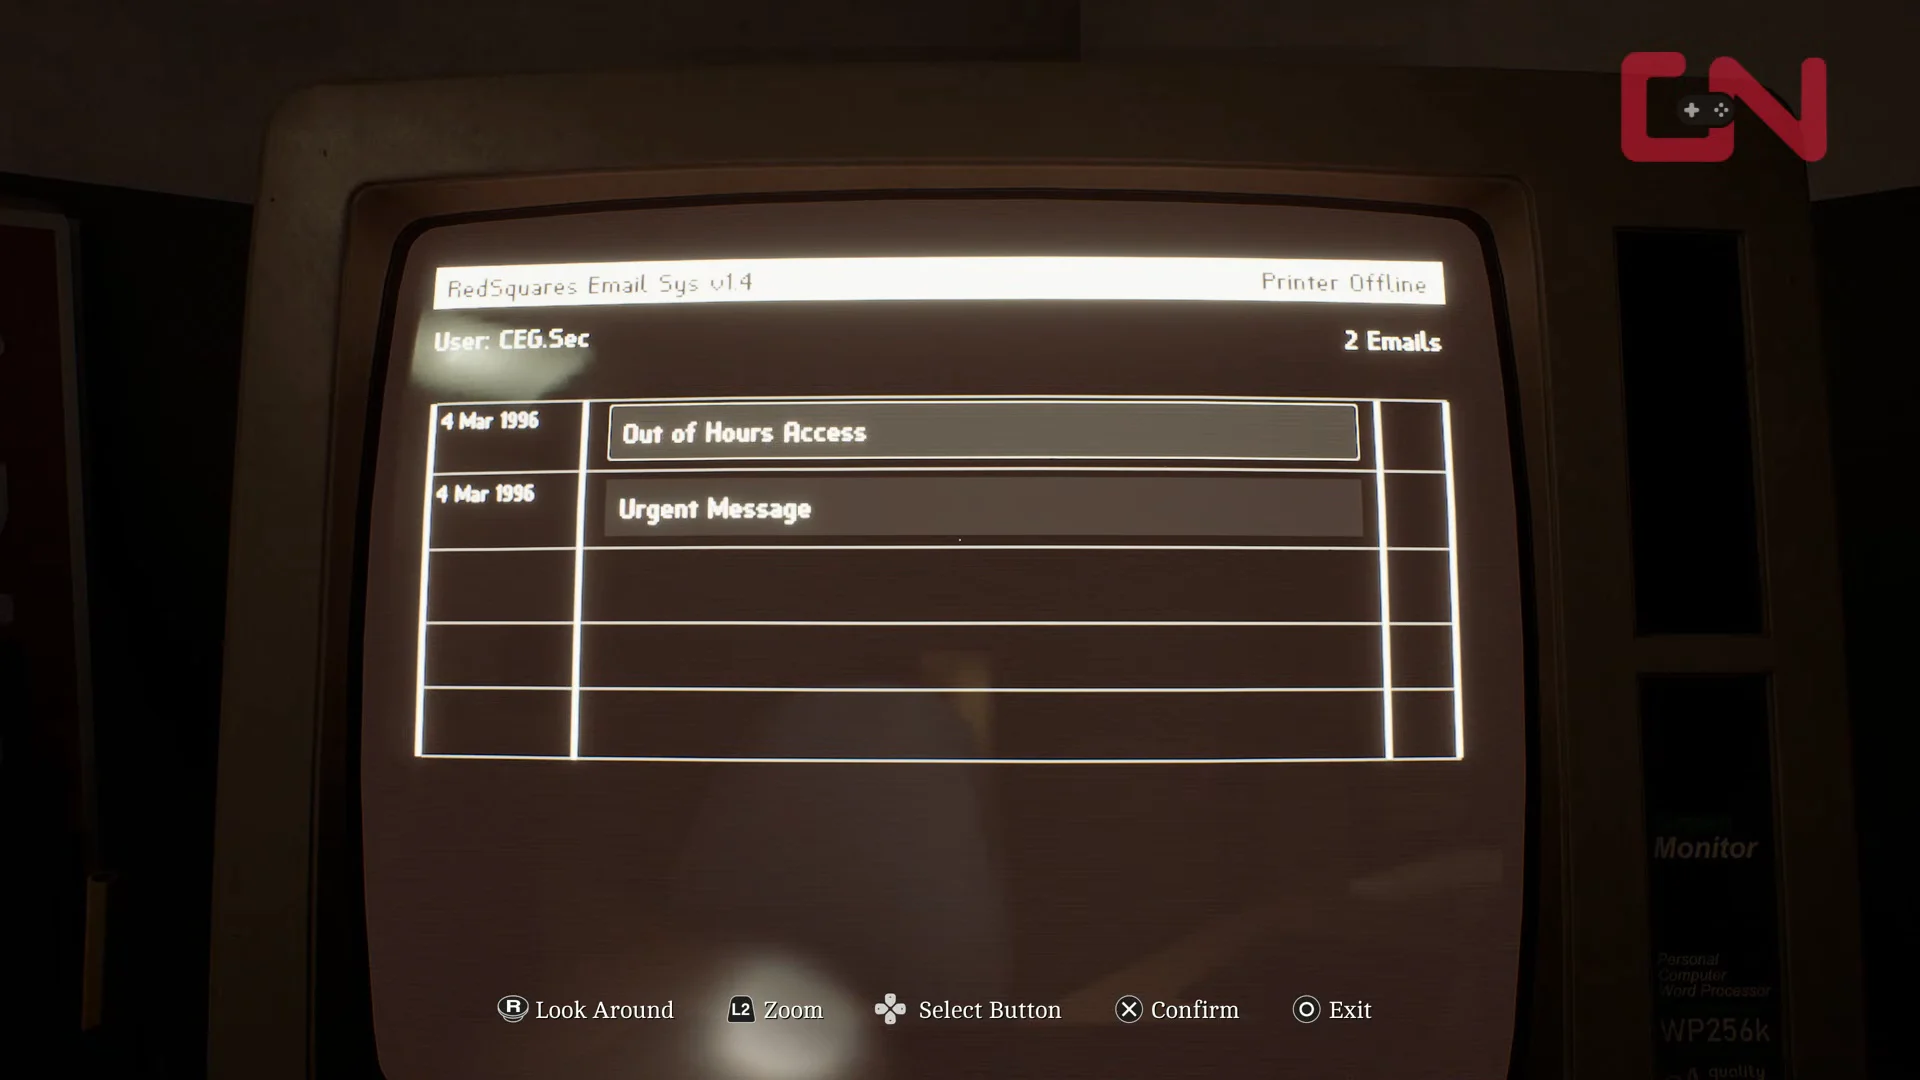
Turn on the desktop monitor and open the two inbox messages about access cards and after-hours building rules. Together, they explain why the elevator requires a printed card.
Cross into the conference hall and check the wooden podium for the Box IDs and Names paper. That sheet is what ties a person’s name to a numbered case in the seating rows.
Open the clues menu, highlight the two torn papers, and choose Combine. They merge into the Complete Grid of Codes, which is the only version the game will let you read combinations from.
Case box 36 and Richard’s employee ID
The correct case is number 36, placed on a chair among the rows facing the stage. Use Richard’s name on the Box IDs and Names sheet to locate the matching entry in the Complete Grid of Codes, then enter that three-digit value on the case’s tumbler lock.
The three-digit combination on box 36 is not the same in every playthrough — 597 and 486 both show up — so read it off your own Complete Grid of Codes instead of typing a number from memory.
Inside is the Employee Information Form for Richard. The line that matters is the ID number, 00007820518, and that figure is fixed.
Printing the access card and unlocking the CEG elevator
Walk out to the lobby elevator and use the Printed Access Card on the wall reader. The reader light flips to green and the doors open, which is your confirmation that the ground-floor chain is finished.
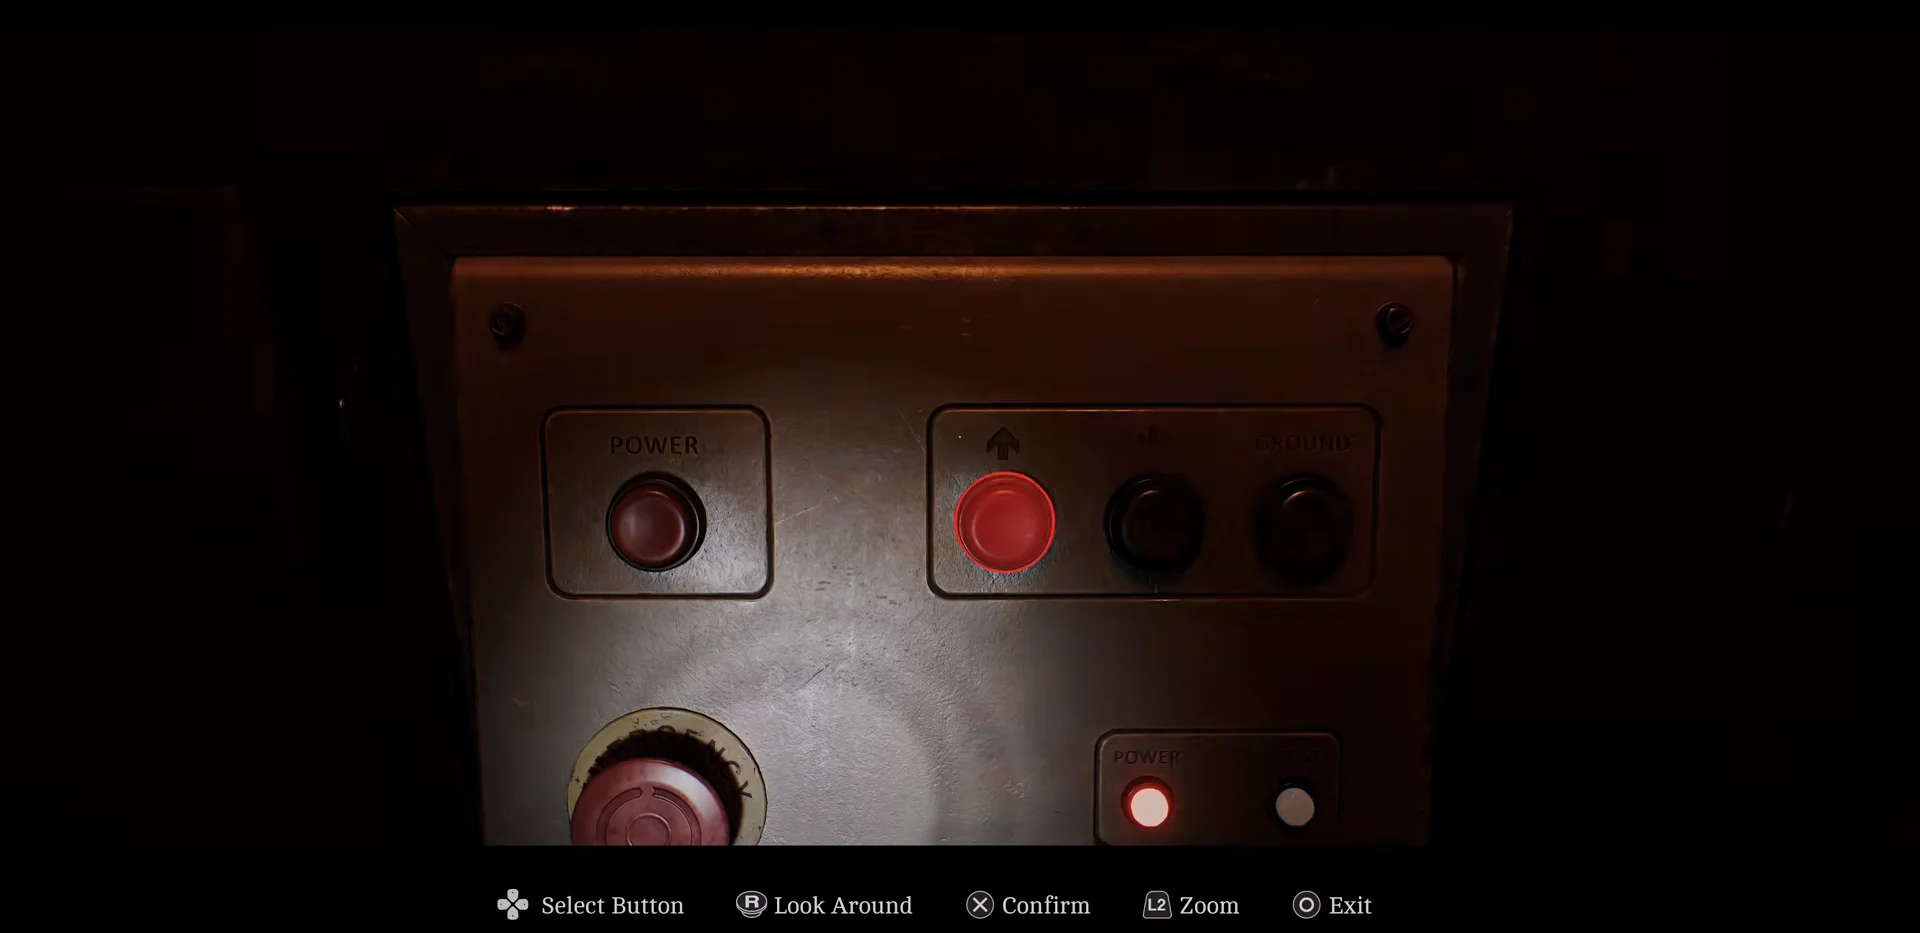
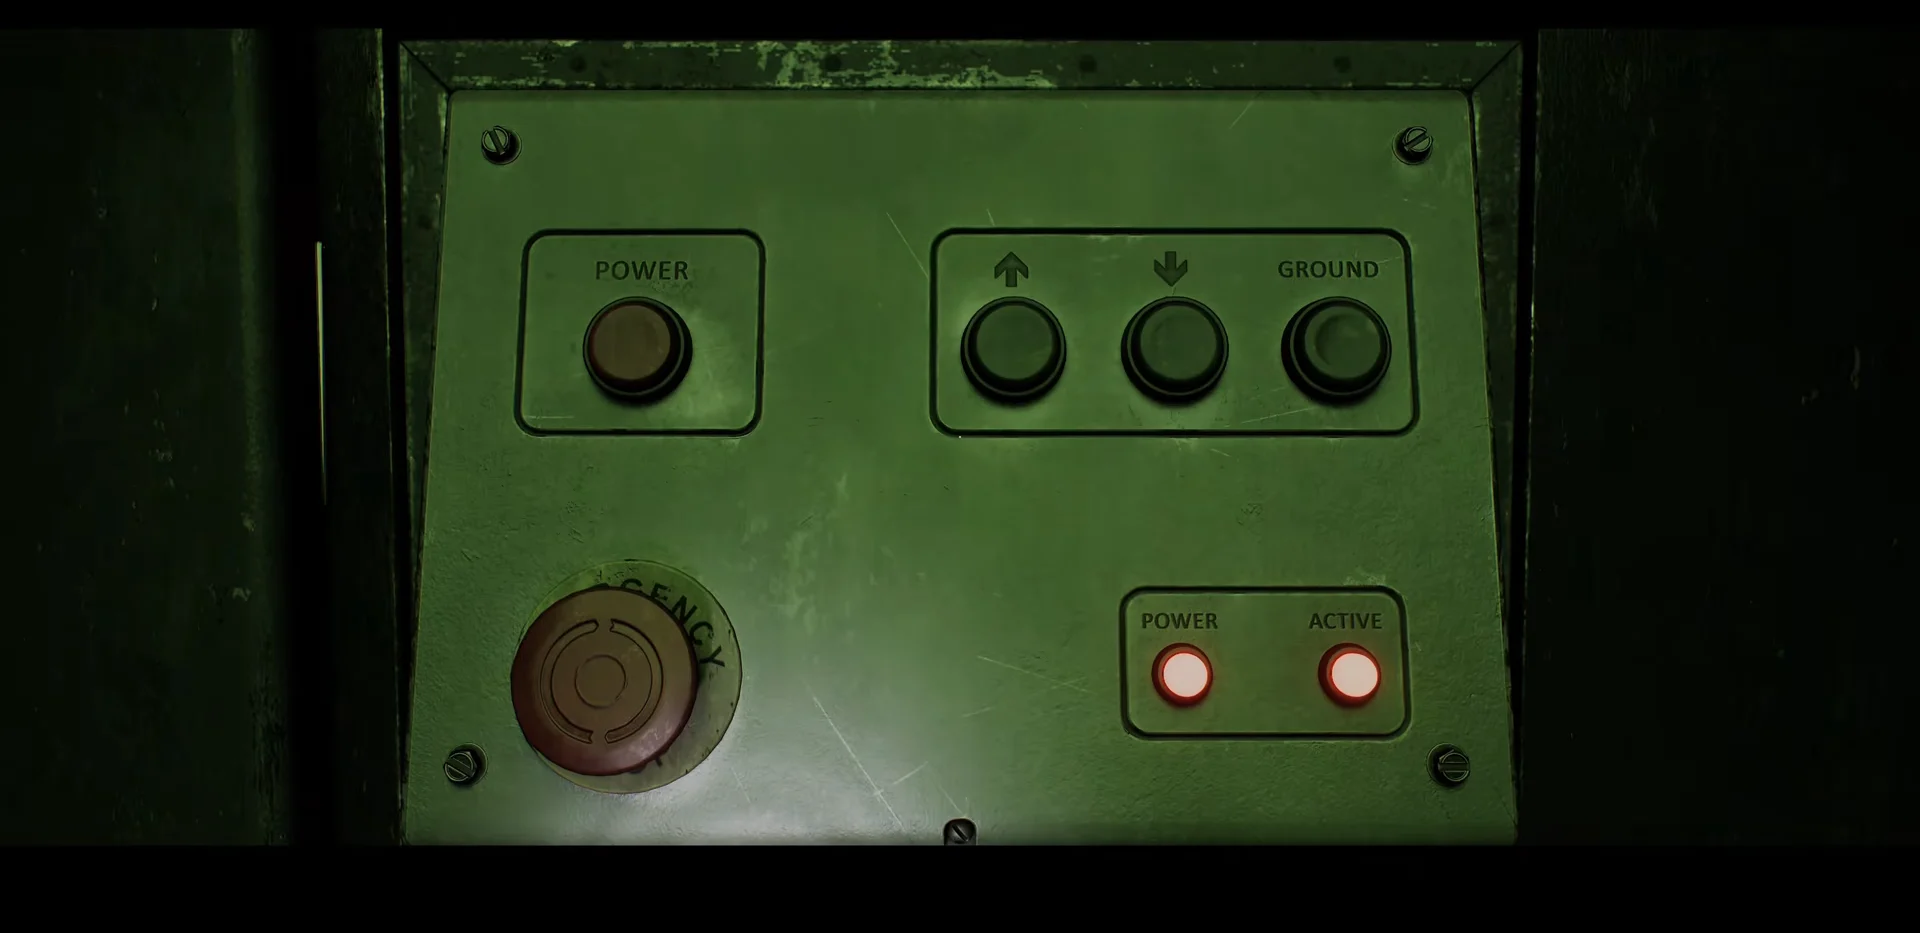
Later in the altered version of the building, the same elevator logic gives way to a lift and a vertical flare stack. You need the Controller Key before either terminal will respond, and then you rotate four pipe sections into alignment one level at a time.
Go back to the lift console and press the down arrow to reach the next section, then repeat the rotation at valve wheels 2, 3, and 4, descending one level between each.
Press GROUND on the lift panel to return to the control deck, then use the Command Console and run Flow Test. You are looking for Test Success with the Section 1–4 and Inlet/Outlet indicators all lit green.
With the test passed, press IGNITE. The stack lights, and the sequence is done.
If a keypad or console refuses a value you know is right, the missing piece is almost always an item rather than a digit. Backtrack for the note, barcode, or key tied to that lock, and the same code will go through on the next attempt.