
Narin is the ice-focused Warframe built around fast, aggressive play, and a decent build makes her strengths obvious. She deals heavy ability damage through her iceblades, generates Overguard for herself, and applies a Cold Vulnerability debuff that scales with power. She also works as a weapons platform if you lean into her Cold ammo drops.
Quick answer: Stack Ability Strength first, then Ability Range, and keep Efficiency reasonable. Cast Neote → Naraemagi → Neote → Naraemagi to fill Arcane Power Ramp, then Hakchum, and keep the Ice meter topped for Nurinarim.
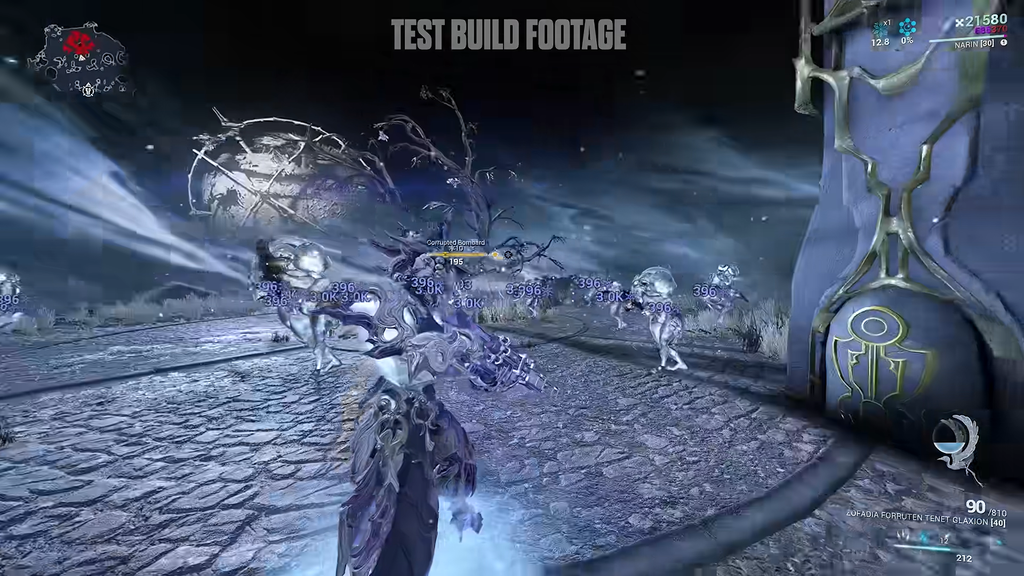
Narin stat priorities
Two stats carry Narin. You want a lot of Ability Strength and a solid amount of Ability Range. Duration and Efficiency matter far less, with the main exception being how comfortably you can keep her ult running.
Strength is easy to reach because a fully stacked Arcane Ice Storm feeds a large chunk of it, so she does not feel starved for mod slots. Range widens Neote, Naraemagi, and Hakchum, which keeps the freezes and debuffs landing on full enemy groups.
The one place negative Duration hurts is Hakchum, so avoid builds that cut Duration too far.
Narin’s abilities and the Ice meter
Like other recent Warframes, Narin has a supercharge gauge in the bottom-right corner called the Ice meter. It fills as you land abilities on targets, and casting Hakchum into large groups fills it quickly. A full Ice meter is what lets you activate her ult.
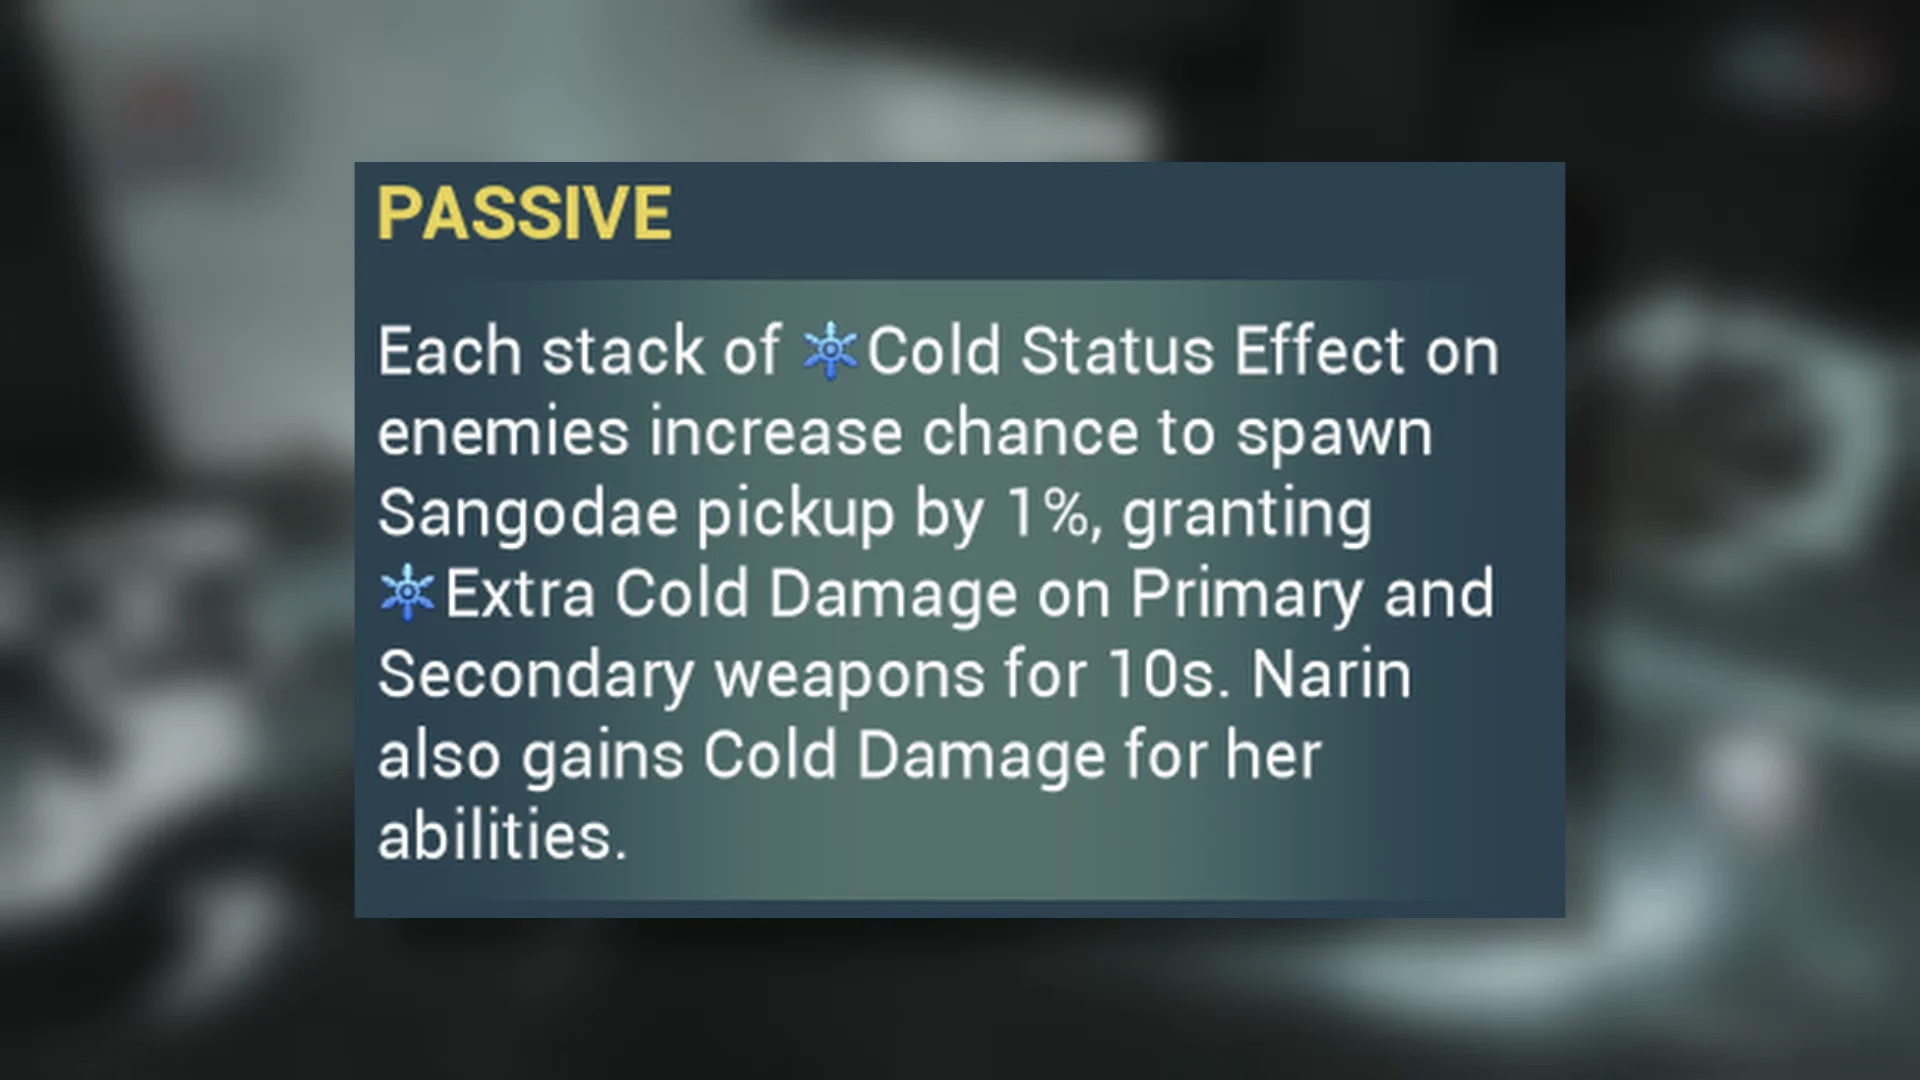
Passive: Sangodae
Enemies affected by Cold status that Narin kills have a chance to drop Cold ammo packs, and each additional Cold stack raises that chance. Picking these up grants additive Cold damage to your weapons for a short window. Most of her kit applies Cold on its own, so this triggers no matter how you play her.
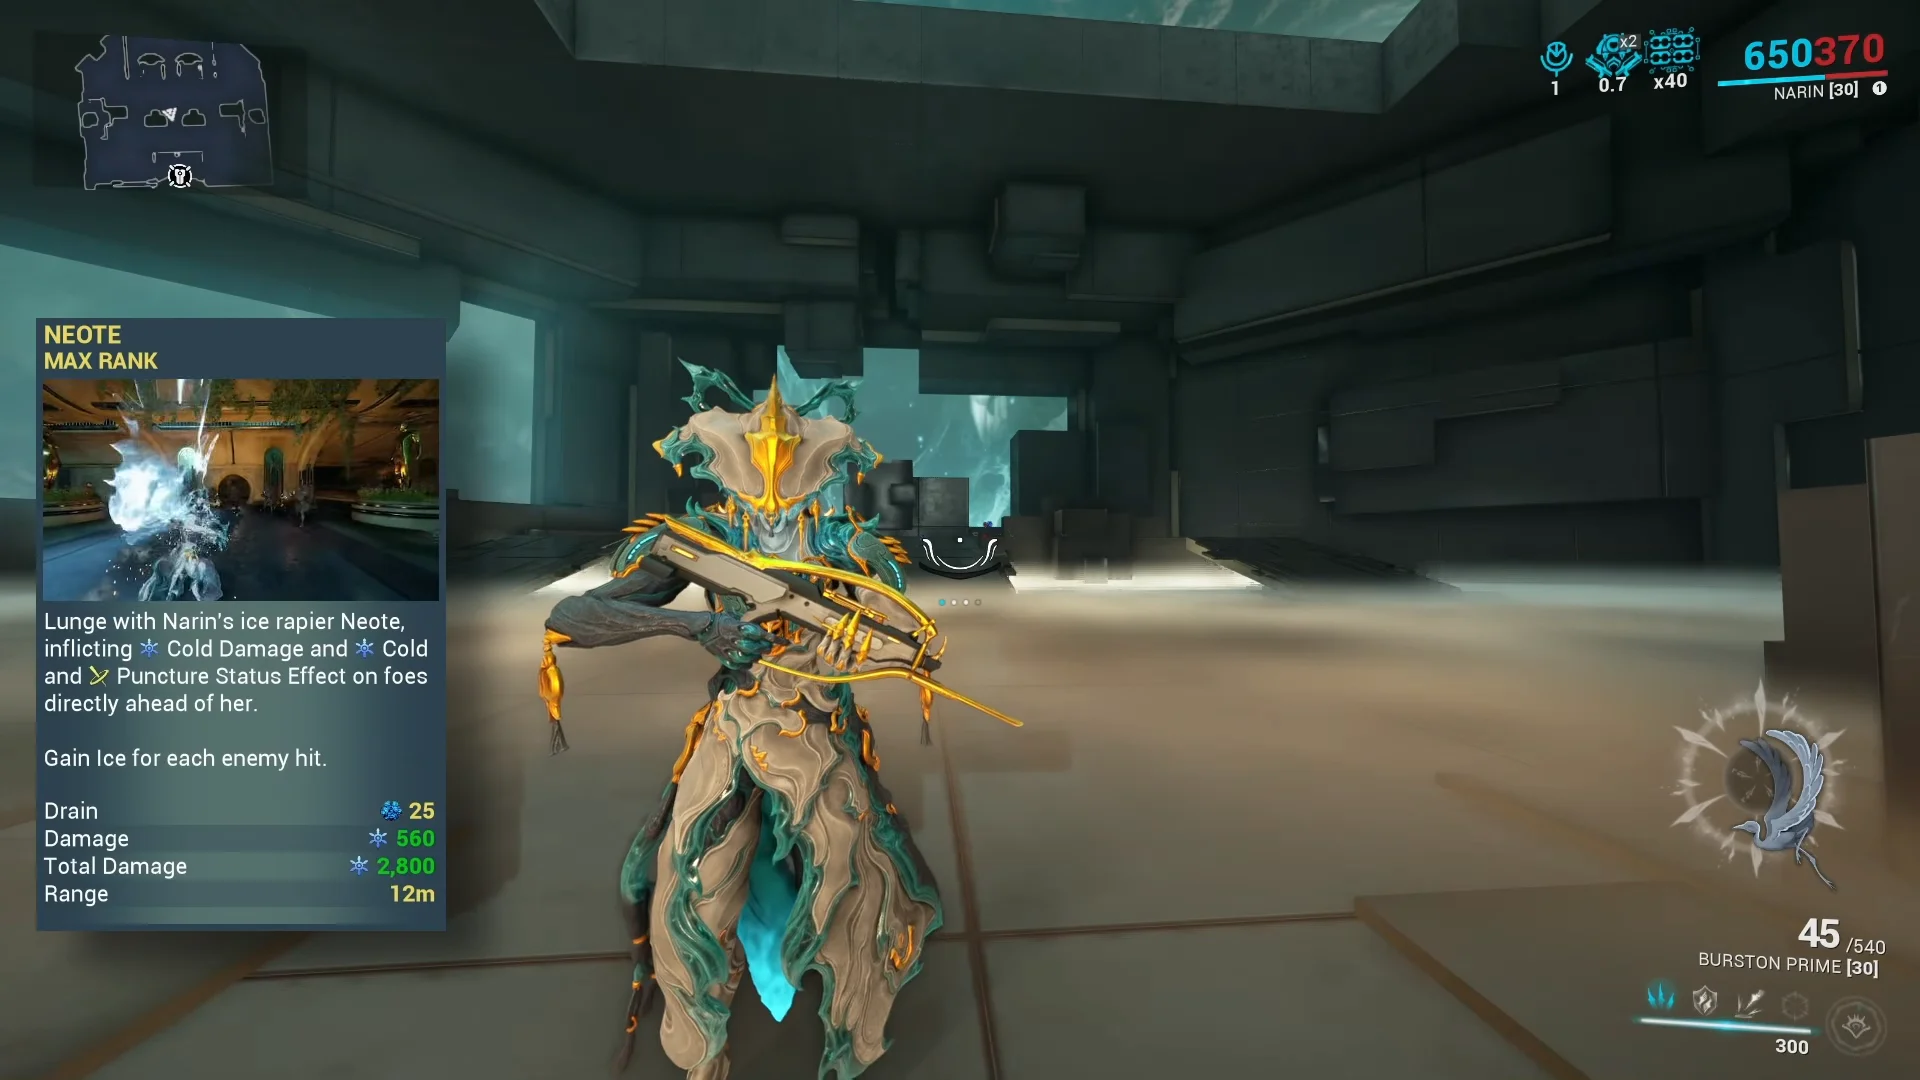
Neote (1st ability)
Narin thrusts forward and releases a barrage of spectral swords that apply Puncture and Cold status. With good Range it instantly stacks a lot of status across an area, freezing targets and setting up your other abilities.
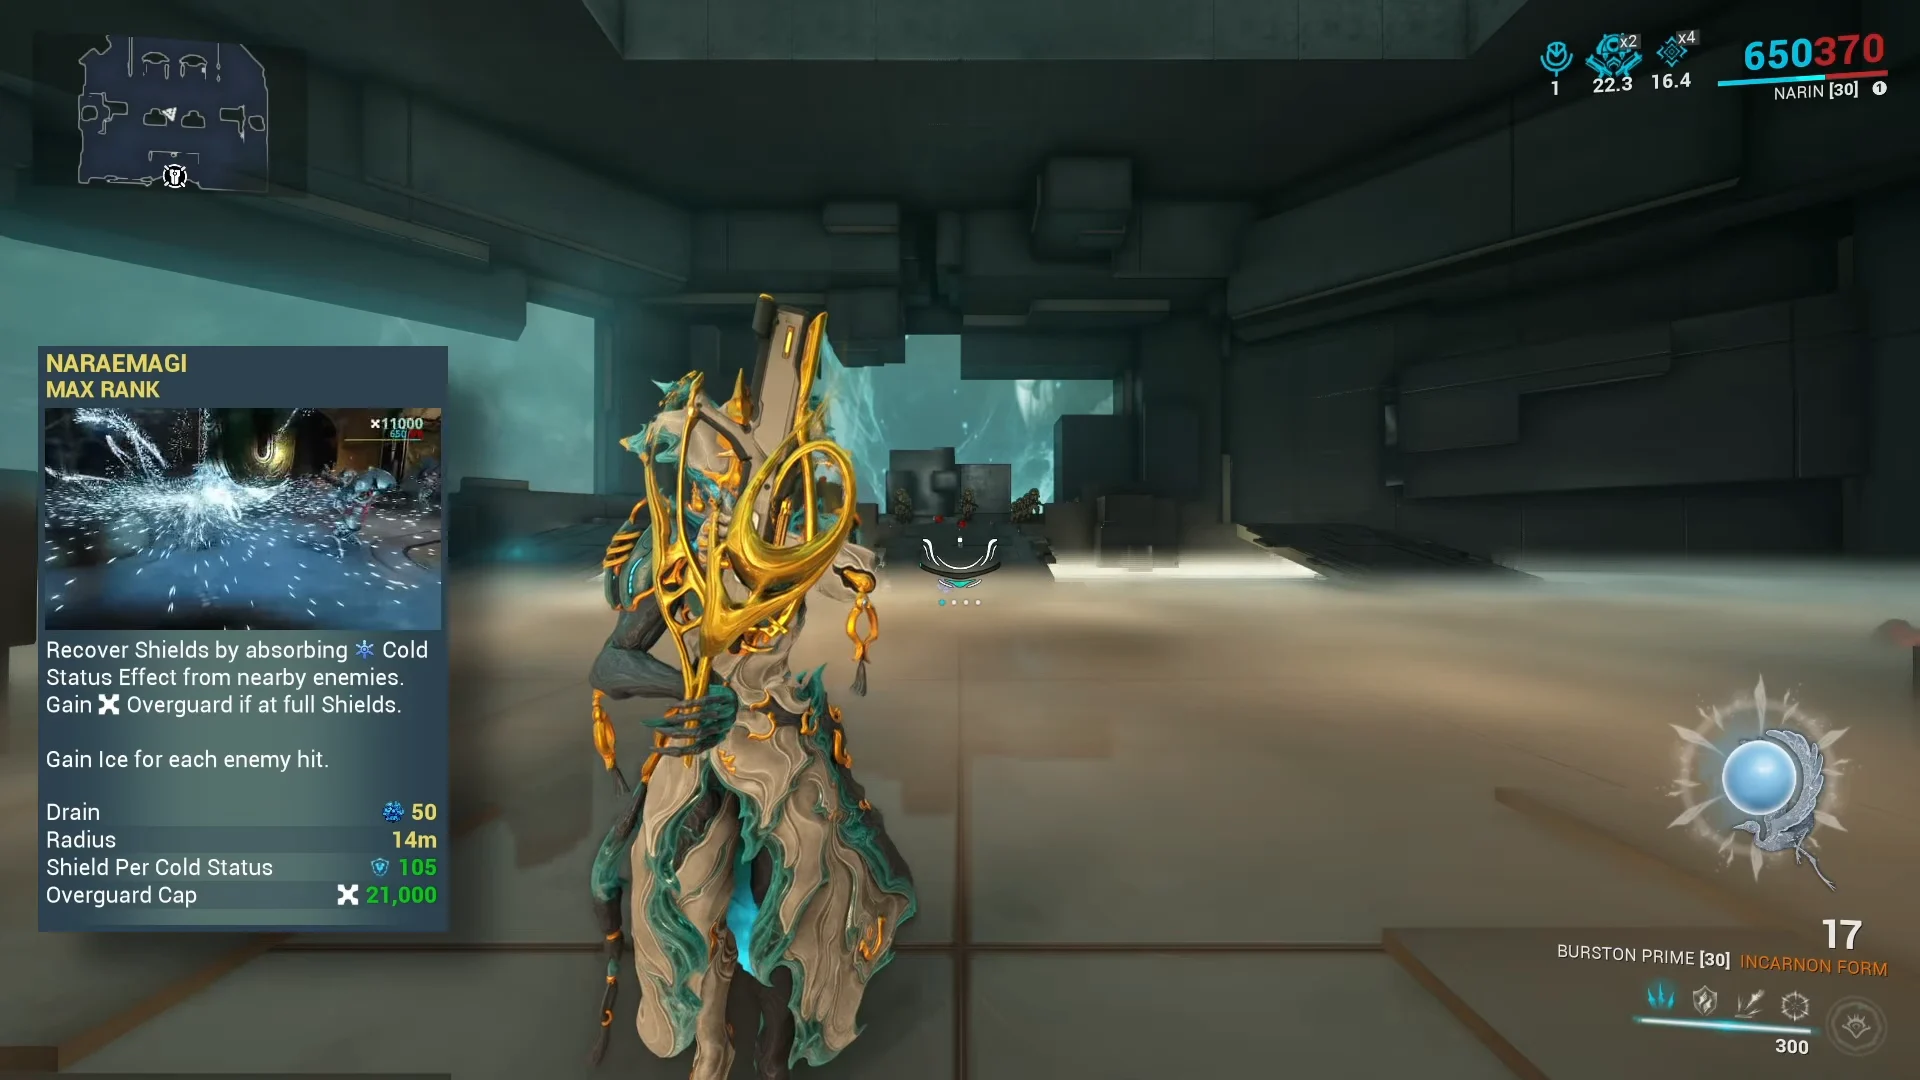
Naraemagi (2nd ability)
Naraemagi pulls Cold statuses off nearby enemies to restore Shields, then converts to Overguard once Shields are full. Both the Overguard cap and how much you gain scale with Ability Strength, while the pull radius scales with Ability Range. This is her main self-durability tool.
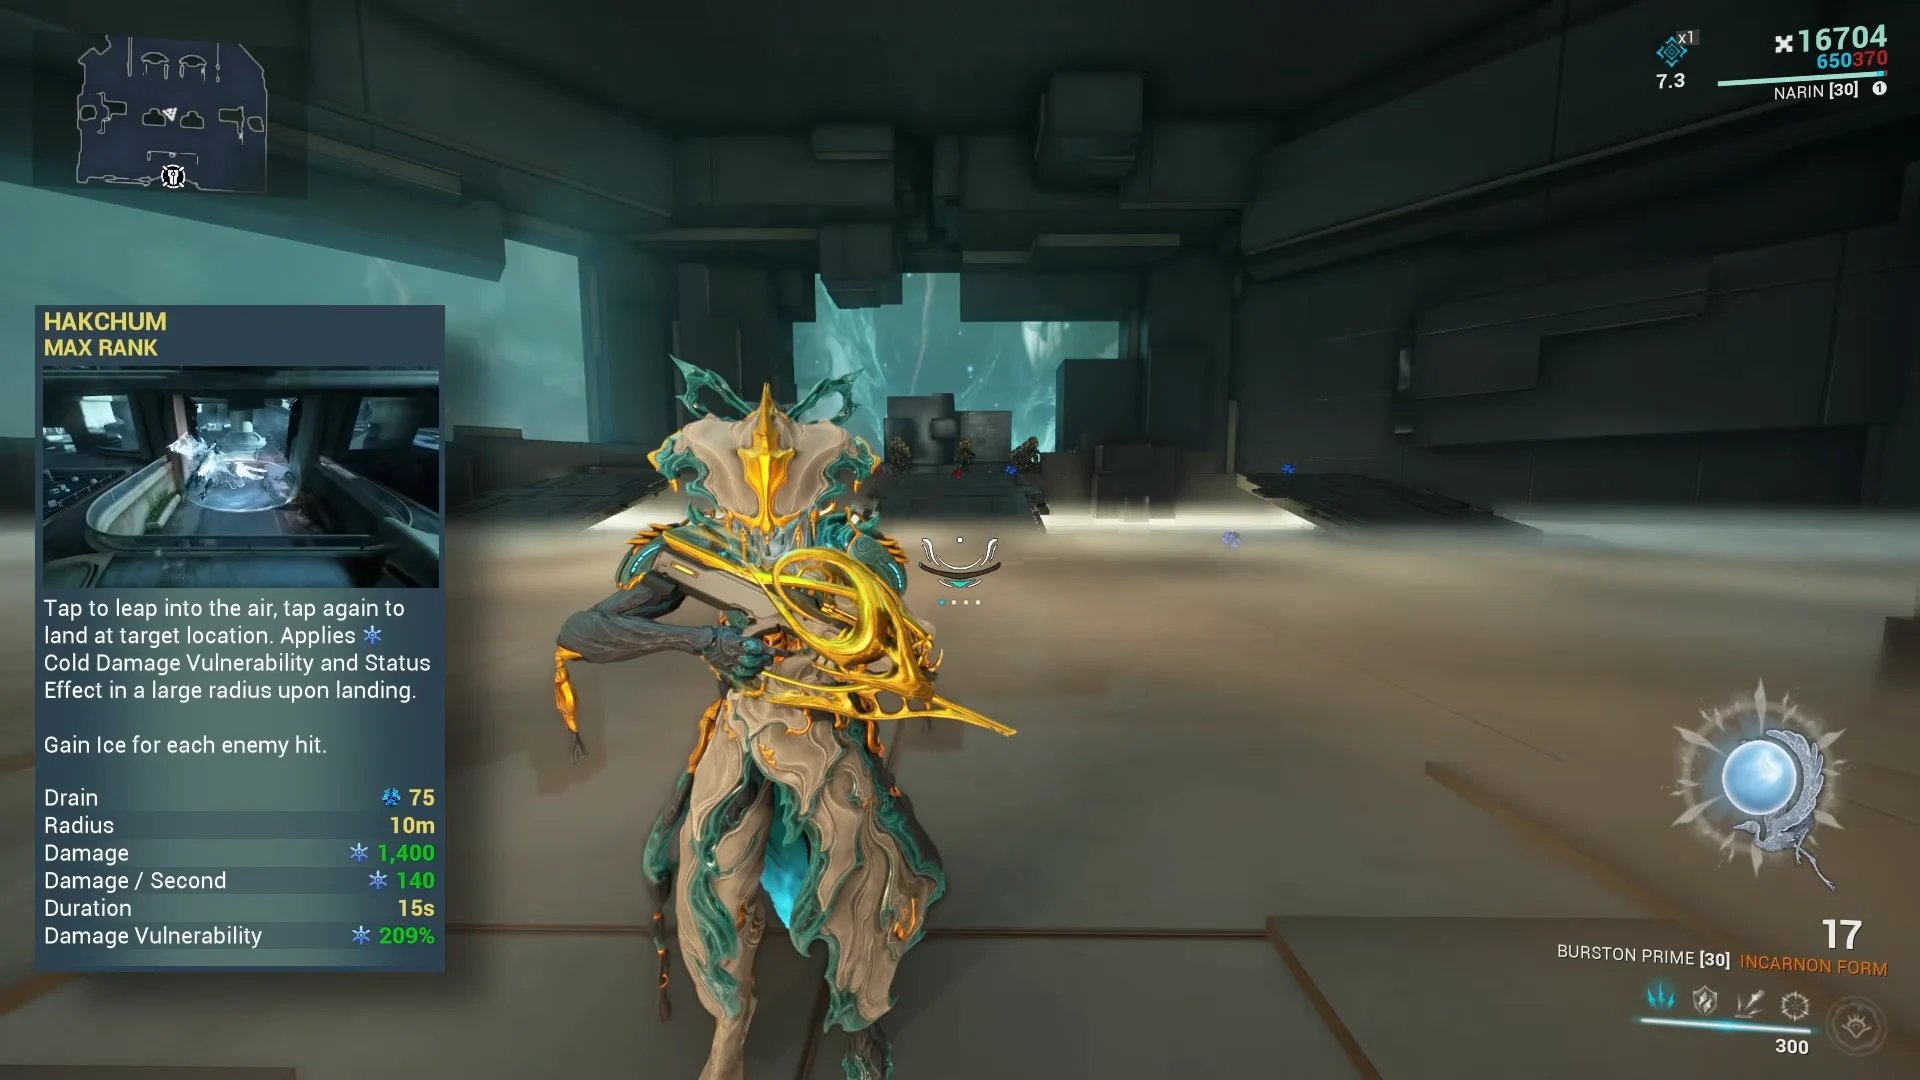
Hakchum (3rd ability)
Hakchum launches a wide-area diving attack that freezes foes and leaves Cold procs behind. You stay airborne and invulnerable for 3 seconds while choosing the ice storm’s landing point. Its key effect is Cold Vulnerability, whose percentage increases with Ability Strength and makes it the strongest part of her kit.
Nurinarim (4th ability)
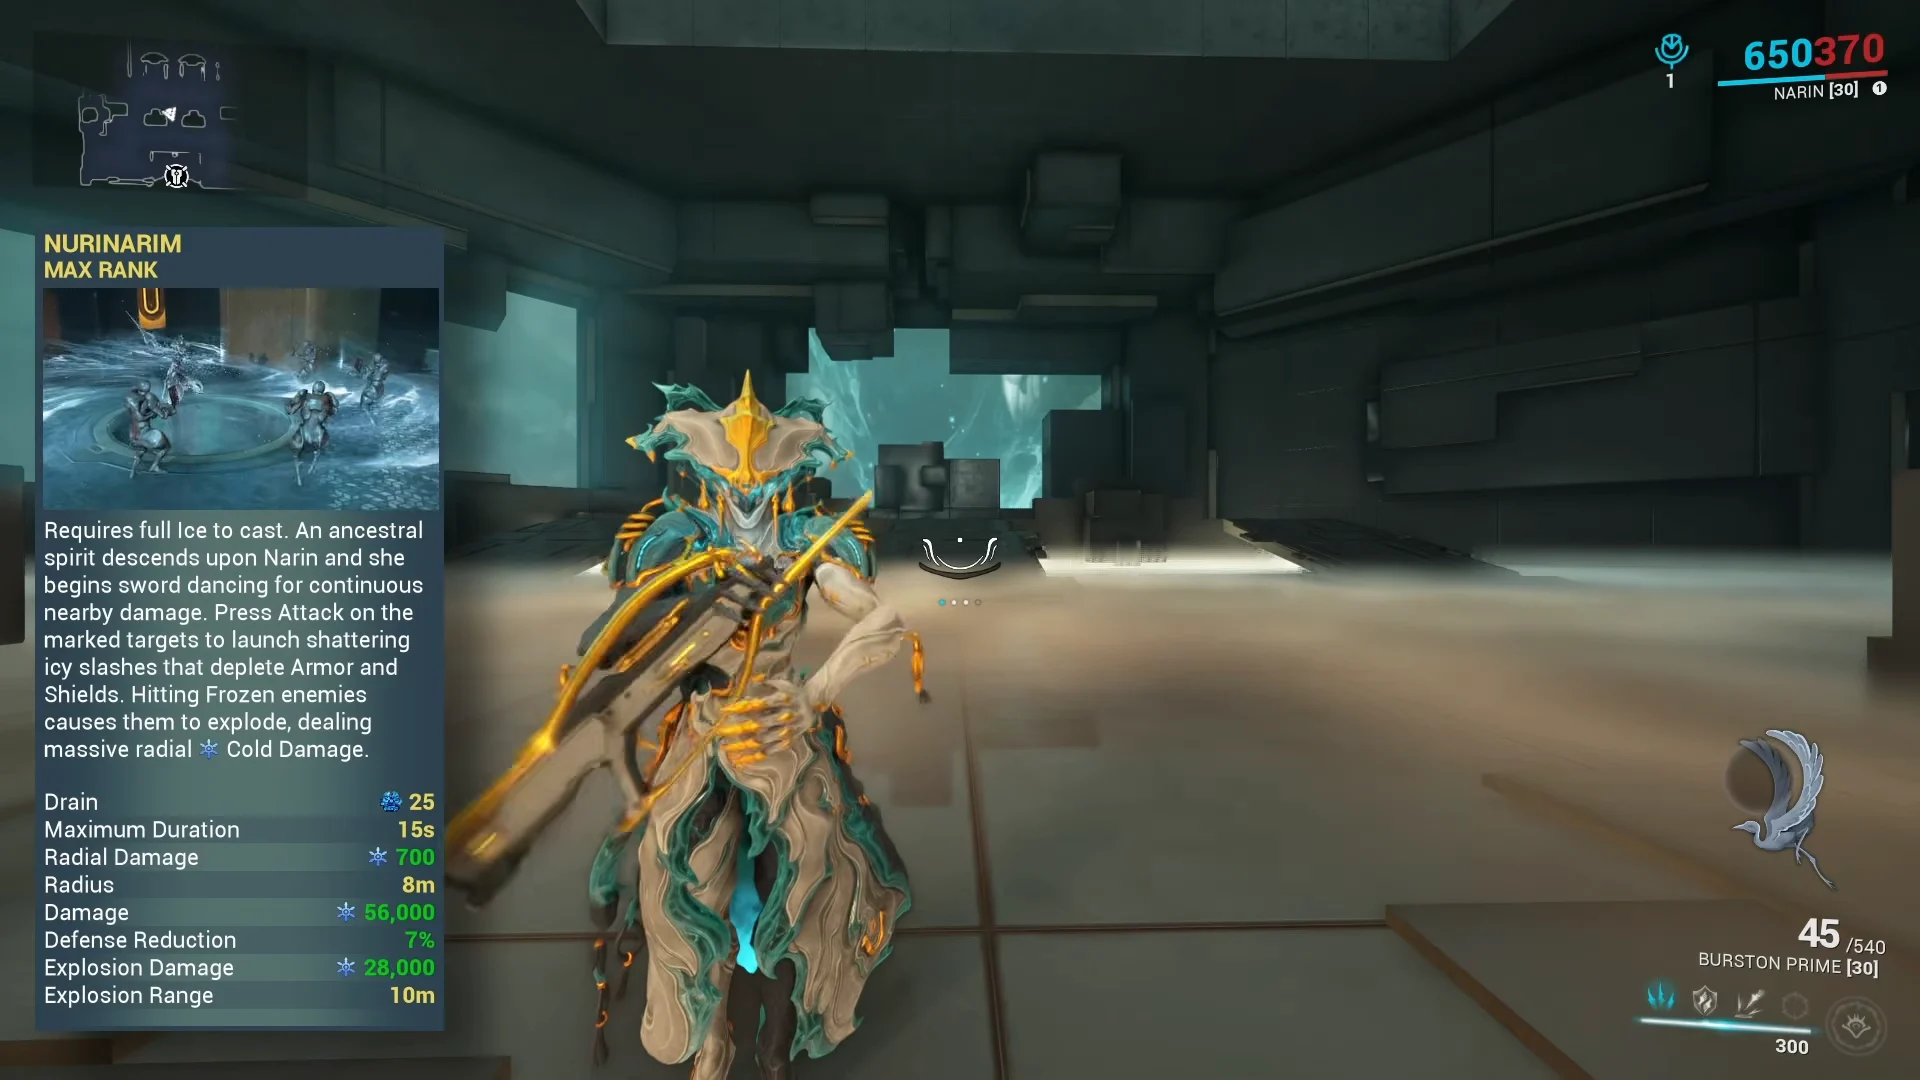
Her ult is a channelled mode that needs a full Ice meter to activate. While active, you can only cast Hakchum and hurl iceblades with primary fire onto marked foes. Each iceblade throw costs a noticeable amount of Energy, so a low-Efficiency build feels the squeeze here. With the setup below, Energy sustain stays manageable.
Narin ability rotation
The rotation exists mainly to feed Arcane Power Ramp before your big Hakchum cast. Run Neote → Naraemagi → Neote → Naraemagi to reach full Power Ramp, then cast Hakchum for the strongest Cold Vulnerability. You can also use the same stack to snapshot Nurinarim with roughly 36% extra Strength, though the ult already carries so much Strength that the boost is small.
If you skip Arcane Power Ramp, there is no strict order to follow. Freeze with Hakchum, top up Overguard with Naraemagi, and use Neote to fill the meter so you can drop into Nurinarim. She is straightforward to pilot once you know the loop.
Balanced Narin build (high Strength, easy sustain)
| Slot | Mod |
|---|---|
| Aura | Growing Power |
| Exilus | Cunning Drift |
| Slot 1 | Energy Nexus |
| Slot 2 | Precision Intensify |
| Slot 3 | Archon Flow |
| Slot 4 | Stretch |
| Slot 5 | Transient Fortitude |
| Slot 6 | Augur Reach |
| Slot 7 | Augur Secrets |
| Slot 8 | Primed Continuity |
| Arcane 1 | Arcane Ice Storm |
| Arcane 2 | Arcane Power Ramp / Arcane Energize |
Arcane Ice Storm is the backbone here for its huge Strength boost. Energy Nexus does not work in ult form but keeps everything else smooth. Precision Intensify supports the Power Ramp routine, and you can swap it for regular or Umbral Intensify if you skip that plan. Archon Flow, usually a weak mod, delivers as well as it can on Narin.
Use a yellow Archon Shard for Cast Speed to improve her flow, then add a purple shard for Health-Energy Orb conversion. Make the remaining slots red Tau shards, reaching +45% Ability Strength.
Want more power without changing your Forma setup? Replace Energy Nexus with Equilibrium, swap Primed Continuity for Blind Rage, and drop Arcane Power Ramp in favor of Arcane Energize. It hits harder, but the Energy economy is less consistent. For a beginner-friendly version, just push Strength and Range as high as you can without cutting Efficiency.
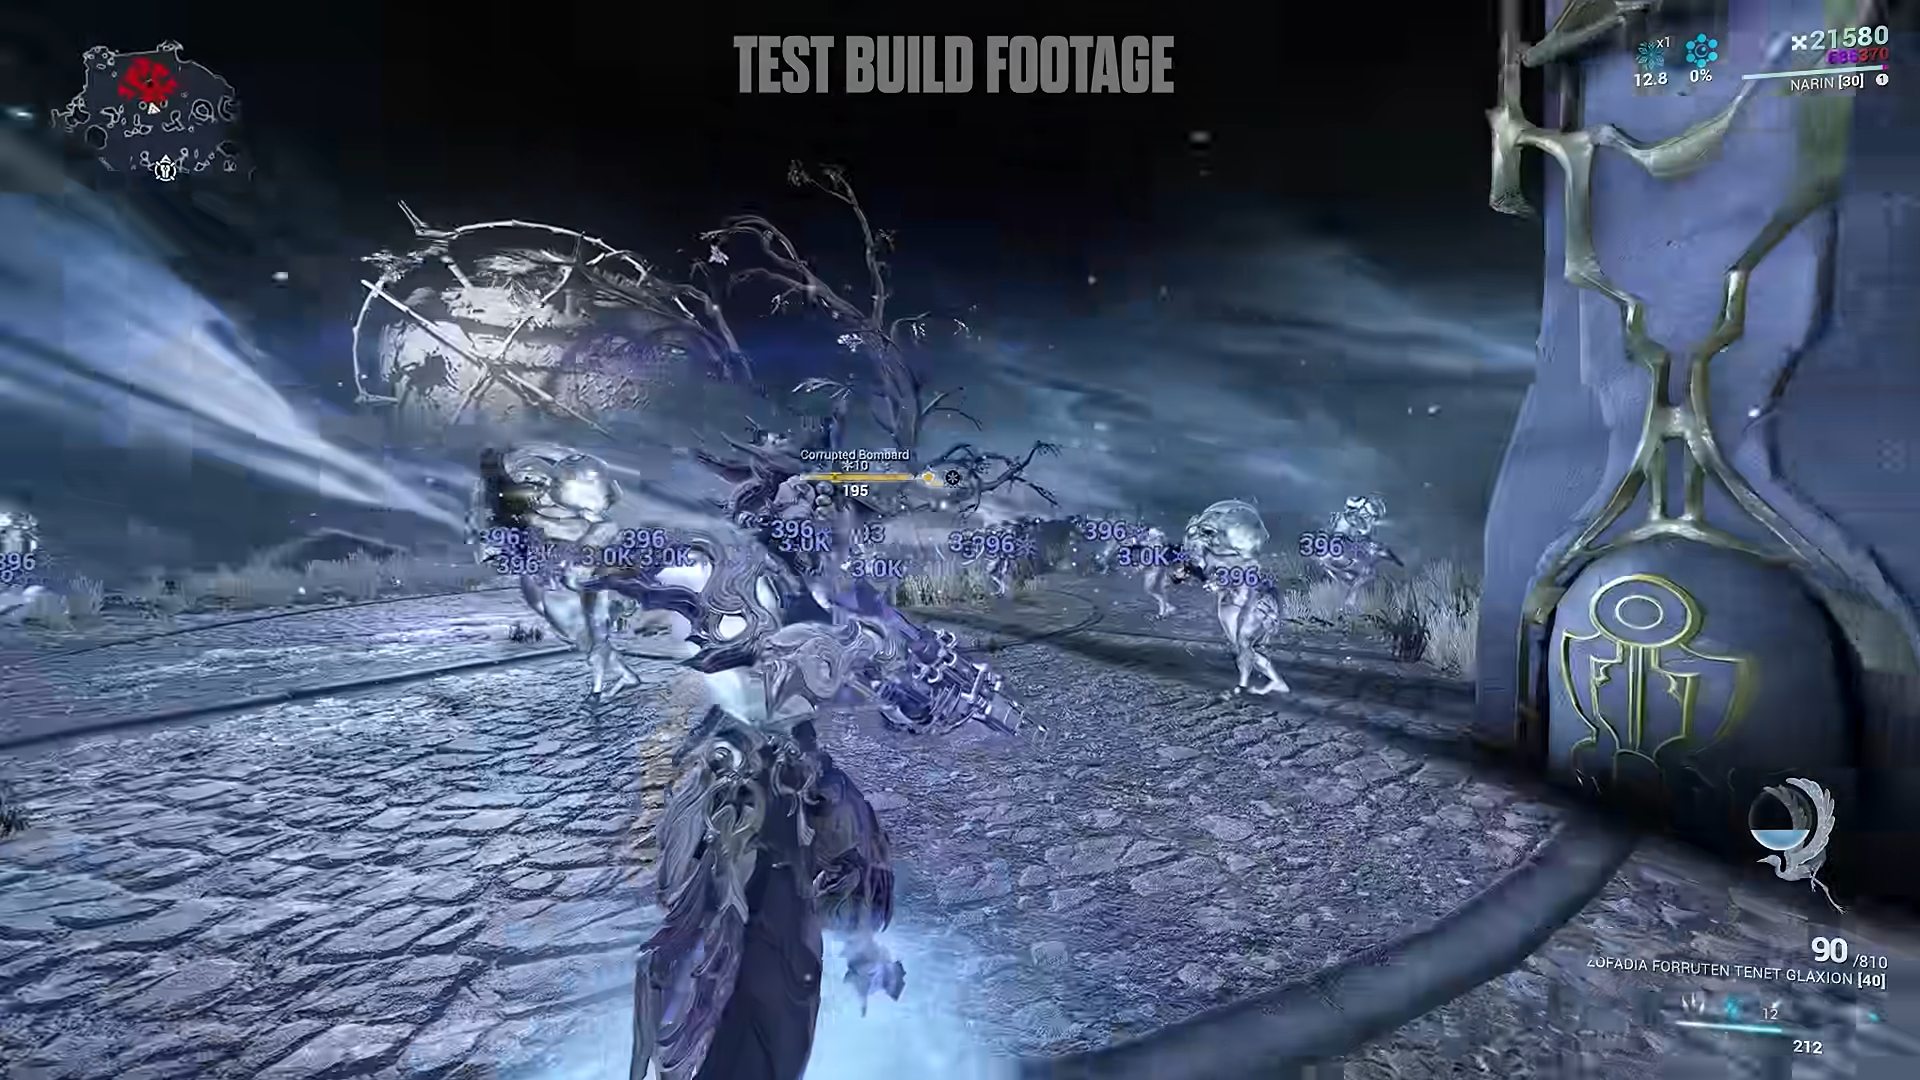
Helminth options for Narin
| Helminth ability | Use case |
|---|---|
| Nourish | Over Neote for the most comfortable playstyle |
| Thermal Sunder | Over Neote for more clear and crowd control |
| Breach Surge | Over Neote for extra chained damage procs |
| Spectrorage + Spectrosiphon | High-Strength Blind Rage builds, though it fights her mobility |
| Coil Horizon / Ensnare / Larvae | Group enemies for squad play |
| Roar | For a weapon platform build, choose Roar instead of Narin’s ult. |
Thermal Sunder’s armor strip is not important here since Narin strips natively on her ult. If you take Roar for a gun-focused build, stack +Cold damage on your weapon and consider Primary Frostbite to cash in on her Cold ammo drops and heavy Cold Vulnerability. Jade Stars is a viable pick too.
Companion picks
- Dethcube for extra Energy Orb generation.
- Panzer Vulpaphyla as a Viral primer.
- A Hound running Synergized Prospectus and Contagion Bond.
Where to unlock Narin
Narin’s main blueprint and her three component blueprints come from Cephalon Melica, found at the Chrysalith or at Yuvan Peak after you complete Angels of the Zariman. You buy them with Entropic Kuva, dropped by Entropic Eximus enemies in the Zariman tileset. Completing Whispers in the Walls is also required before the invitation to Melica arrives in your inbox.
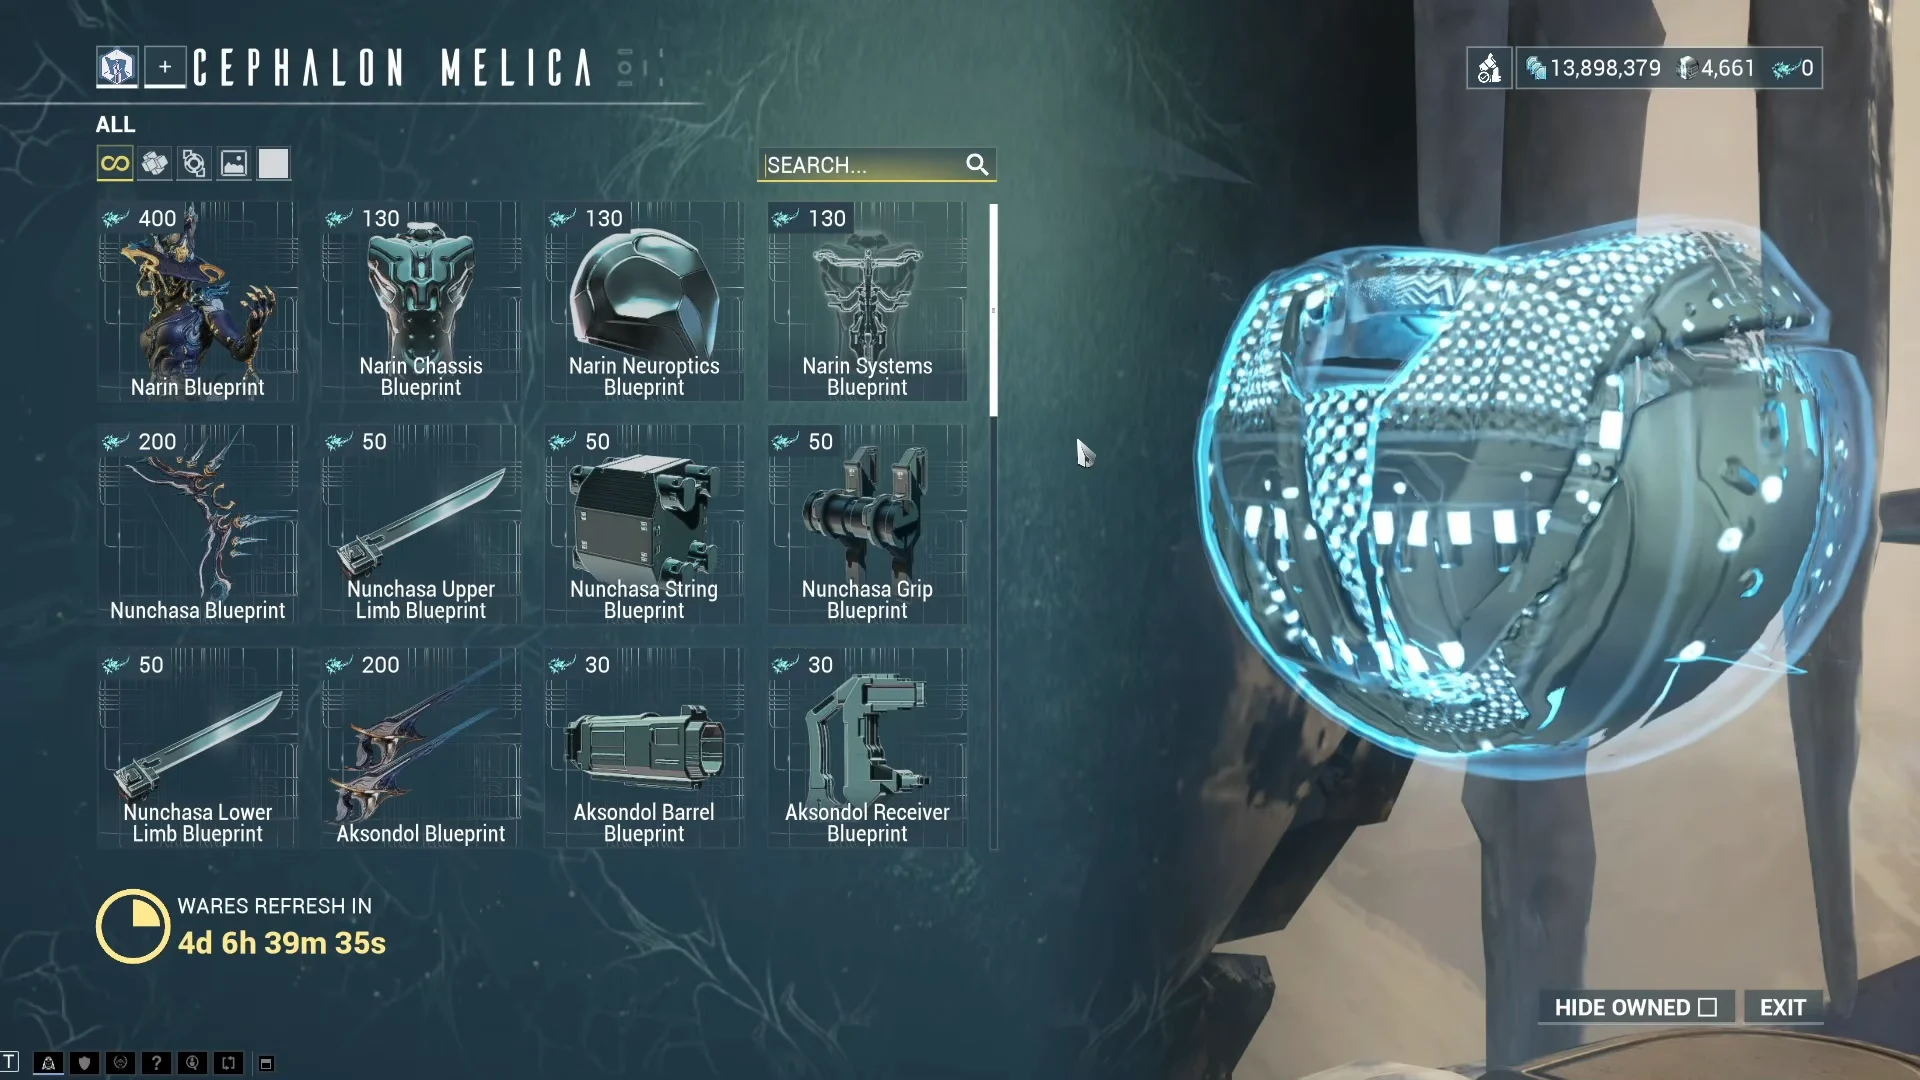
You can also chase the parts through Zariman bounties, with the Chassis from Void Floor, the Systems from Void Armageddon, and the Neuroptics from Void Cascade. Once every part is built, the assembled Narin will finish in your Foundry and appear in your Arsenal, ready to slot the build above.