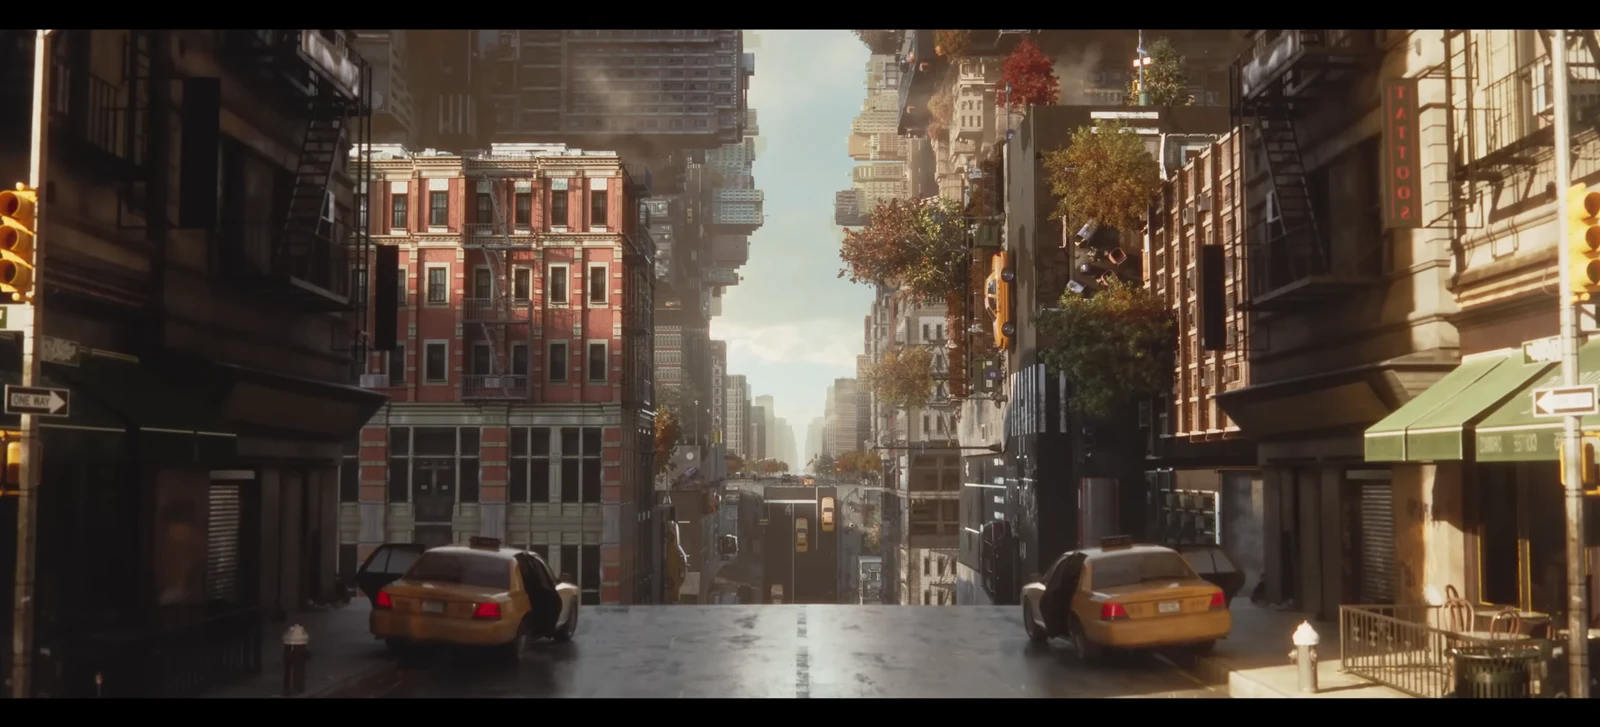
The Last Taxi is a side story in Control Resonant involving seven unusual cabs spread throughout New York. Entering one sends Dylan into a pocket dimension, where escape requires finding the right taxi and identifying, fixing, or otherwise using it correctly. Completing all seven concludes the story involving Mila, a civilian trapped in that same threshold.
Quick answer: Enter each of the seven taxis in the overworld, answer the ringing phone, then make three correct taxi choices per threshold. The puzzle type follows the taxi you enter, so your order may differ from anyone else’s.
How each taxi threshold works
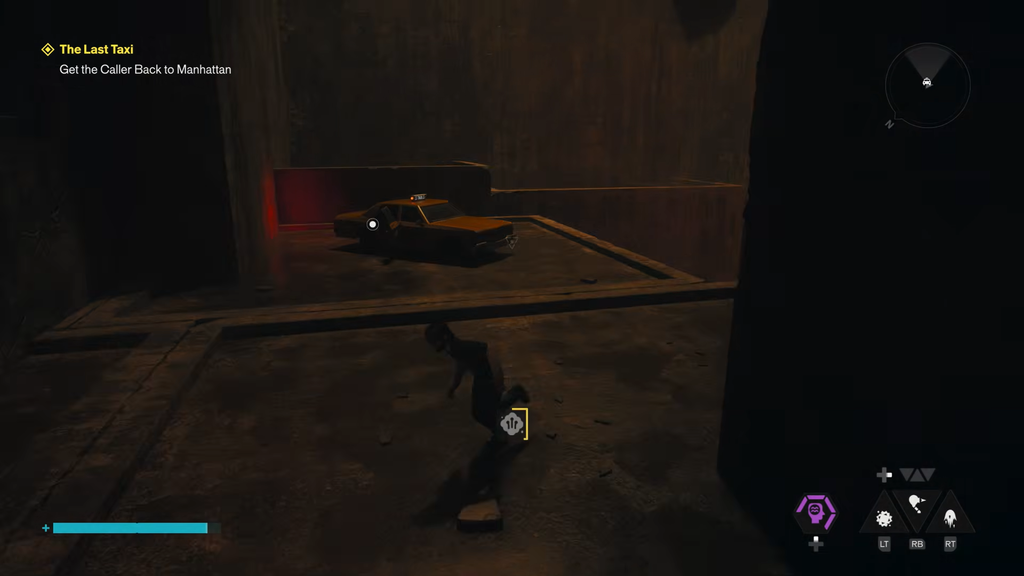
All seven taxis use the same opening sequence. After interacting with one in New York’s overworld, Dylan is drawn into an unmarked Threshold. Go into the alley on the main road’s left, follow the sound of a ringing payphone, and answer it to talk to Mila. Begin each threshold this way.
After the call, you face three rounds of taxis and must pick the correct cab each time. A short cutscene of a traffic light turning green confirms a correct choice. A wrong pick flashes the light red and sends you back to the start of that street. Clearing the third round returns you to the real world.
The seven puzzle types are not locked to fixed zones. The solutions below stay the same no matter which taxi delivers them, so match the behavior you see rather than the location. Completing the whole side story grants no rewards.
Every taxi puzzle solution
Flashing streetlight puzzle
- Go into the cab positioned under the blinking streetlight.
- Enter the taxi under the only streetlight that stays steady while the rest blink.
- Enter the taxi beneath the streetlight that blinks out of sync with the others. It may spawn directly to your right.
Vehicle lights puzzle
- Enter the taxi with its headlights, rear brake lights, and rooftop taxi sign all lit at once.
- Enter the taxi that has only its rooftop taxi sign lit.
- Return to the first rule and enter the taxi with headlights, rear lights, and rooftop sign all on together.
Dark streetlight puzzle
- Wait for the streetlights to switch off, then enter the taxi that keeps all of its lights on in the dark.
- Wait for another blackout and enter the taxi with none of its lights on.
- Choose the cab whose lights are all dark despite the streetlights being on. Wait for those streetlights to flicker; the correct taxi briefly illuminates its own lights as confirmation.
Roof sign puzzle
- Enter the taxi making a distinct ticking noise with its rooftop sign lit.
- Walk up to each cab. The correct one keeps its rooftop sign lit while you stand next to it, while the others switch off.
- Approach any taxi, then pan the camera to spot the one whose rooftop sign stays lit and enter it.
Flashing pattern puzzle
- Watch the cabs blink, then enter the taxi flashing out of sync with the rest.
- Choose the taxi whose lights blink twice; every other cab blinks once.
- Enter the taxi that never turns its lights on at all.
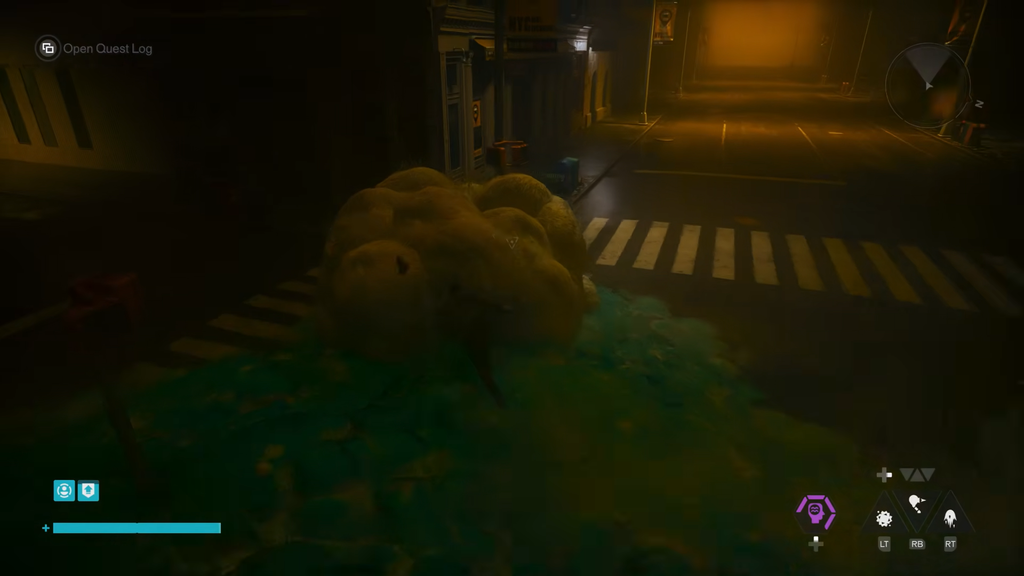
Mold repair puzzle (The Park)
This variation swaps light-reading for cleaning and rebuilding the cab. After each rebuild, you hear a distinct click confirming every part is attached.
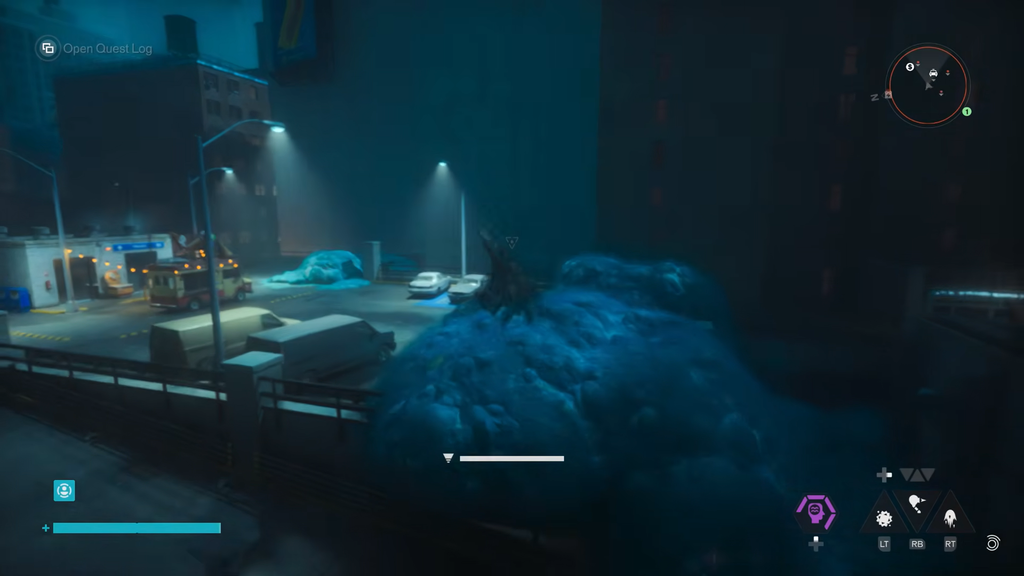
- Destroy the gray mold clumps around the taxi, then attach the hood and the trunk cover before getting in.
- Collect the yellow hood and the two wheels lying in the street, then fit all three parts to the taxi. Do not use the blue hood, because the replacement must be the same color as the cab.
- Destroy the three smaller mold clusters connected to the main growth, along with the growths hidden inside them, then destroy the mass covering the taxi. Install the yellow hood, rooftop taxi light, yellow front-side panel, dark yellow trunk cover, and rear grille. Leave the police lights and the light-yellow hood alone, as both are decoys.
Shadow puzzle
Lift the portable light from the ground and sweep it over the parked cars. Use the shadow cast on the wall as your clue rather than judging the car directly.
- Enter the only vehicle casting a proper taxi-shaped shadow. The rest throw shadows shaped like trucks, vans, or construction vehicles.
- Use the light again on the new set of cars and enter the one with a taxi shadow, making sure the rooftop sign shows in the shadow.
- Repeat the check one more time and enter the taxi with the correct shadow and visible rooftop sign.
Where to find all seven taxis
Each cab sits behind a different traversal or mission gate. Use this reference to check what you need before heading out, then follow the directions below.
| Zone | What you need to reach it |
|---|---|
| West Incursion Zone | Gravity Anomaly ability |
| Central | Standard access to the Patterned Factory area |
| Underpass | Recursions and Iterations mission progress |
| Downtown | Reach ability |
| The Park | Evacuation Zone’s Jesse Sighting completed |
| Evacuation Zone | Elevate ability |
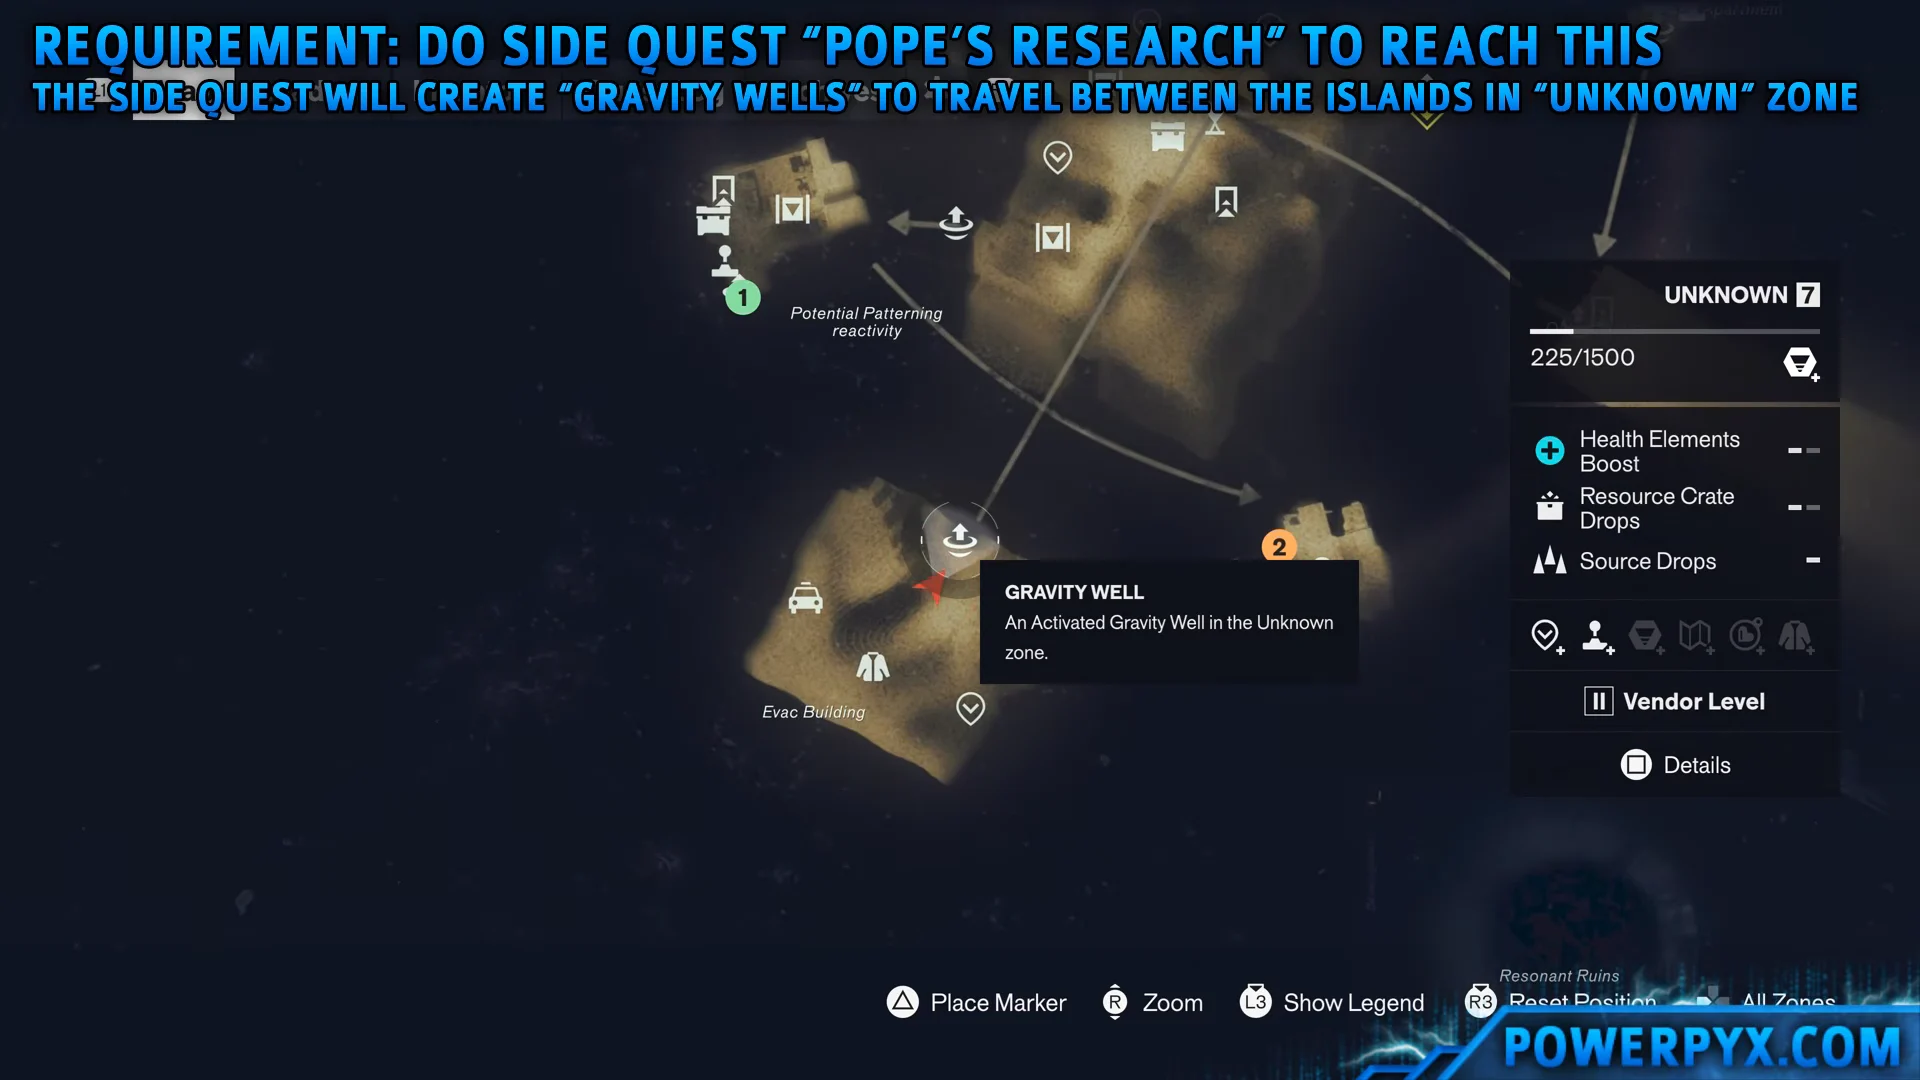
| Unknown | Pope’s Research and Sever the Hedron Links |
West Incursion Zone taxi
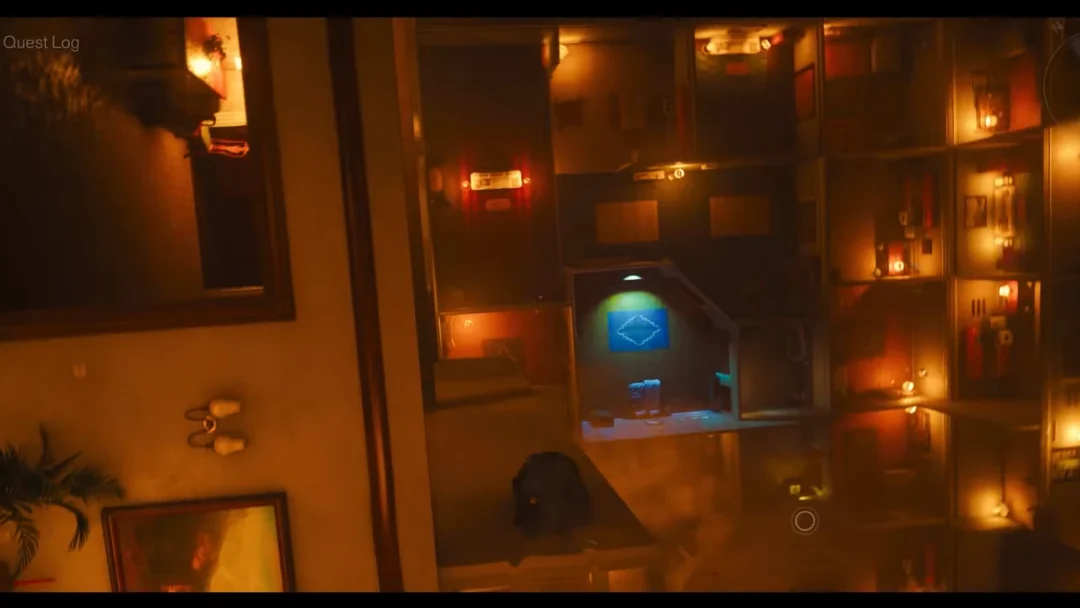
This is usually the first cab you meet, sitting in the vertical car park by Empire Avenue Station, behind the Empire cinema. You need the Gravity Anomaly ability to shift onto the parking level. If you cannot see it, listen for its horn, which may sound like it is coming from above you.
Central taxi
Go through the building east of the FBC Field Office to enter Central’s section with the Patterned Factory. Take the first normal road on your left, follow it to the stationary lorry angled as though it is making a turn, then proceed down that street. The taxi is in an alley beside a chest.
Underpass taxi
This taxi becomes available in the Recursions and Iterations mission, once you have crossed the chasm by cable car. Move through the Deeper Underpass until the research camp comes back into view, then search the camp’s northeastern edge. The cab rests on a ledge, flashing its headlights and honking; walk around the camp’s perimeter if it is hard to see. You can complete it without leaving the mission.
Downtown taxi
The Downtown cab hides in the Deserted Area, on the far side of the wall that seals it off. Use the Reach ability to grapple onto an elevated FBC platform and cross the wall. Follow the main road north to a traffic jam, and the yellow taxi stands out among the stranded cars.
The Park taxi
Look for this cab on a lower level of the parking garage near The Park’s center, north of the FBC Base; a direct route on foot will not reach it. Enter through the main garage entrance by the local Resonant’s pit and drive or walk onward to the road at the opposite side. After passing the structure, turn left, scale the mold wall to the roof, and drop onto the large mold growth in the middle to descend to the level beneath. The zone vendor on the roof indicates that you have reached the correct location.
Evacuation Zone taxi
Follow the road between the Sinkhole and the Evac Building, keeping to the Evac Building side, until you find an alley sealed by Hiss Spikes. Additional spikes and lasers are inside. Use Elevate to float above the spikes while avoiding the beams, or cross over the rooftops and bypass the hazards. The taxi is at the alley’s end.
Unknown taxi
The last cab is on the island where the Evac Building stands in the Unknown. Accessing this area requires advancement in Pope’s Research and the Sever the Hedron Links mission. After reaching the island, look toward the Evac Building, then follow the road on your right to find the taxi. A horde of enemies will appear along the way.
Finishing the side story
After the seventh puzzle, return to the alley and answer the phone one last time. Mila tells Dylan she is going to take a chance and climb into a taxi herself, and her fate is left unresolved. That final call ends The Last Taxi. There is no reward for completing it, so the payoff is the story beat and clearing the quest from your log.