
Dragon Slayer is the first primary quest in RuneScape: Dragonwilds, and its second real hurdle sends you into a goblin-held castle in Bramblemead Valley to track down a missing adventurer named Cathan. He is not there. What is there is a journal on the highest platform of the keep, a stack of loot chests, and a green dragon that shows up at the worst possible moment.
Quick answer: Bring a deer antler to the Wise Old Man so he marks the castle, fight to the top of the battlements, and read Cathan’s Journal [Castle] to complete the objective.
Gear and weaknesses to prep before the siege
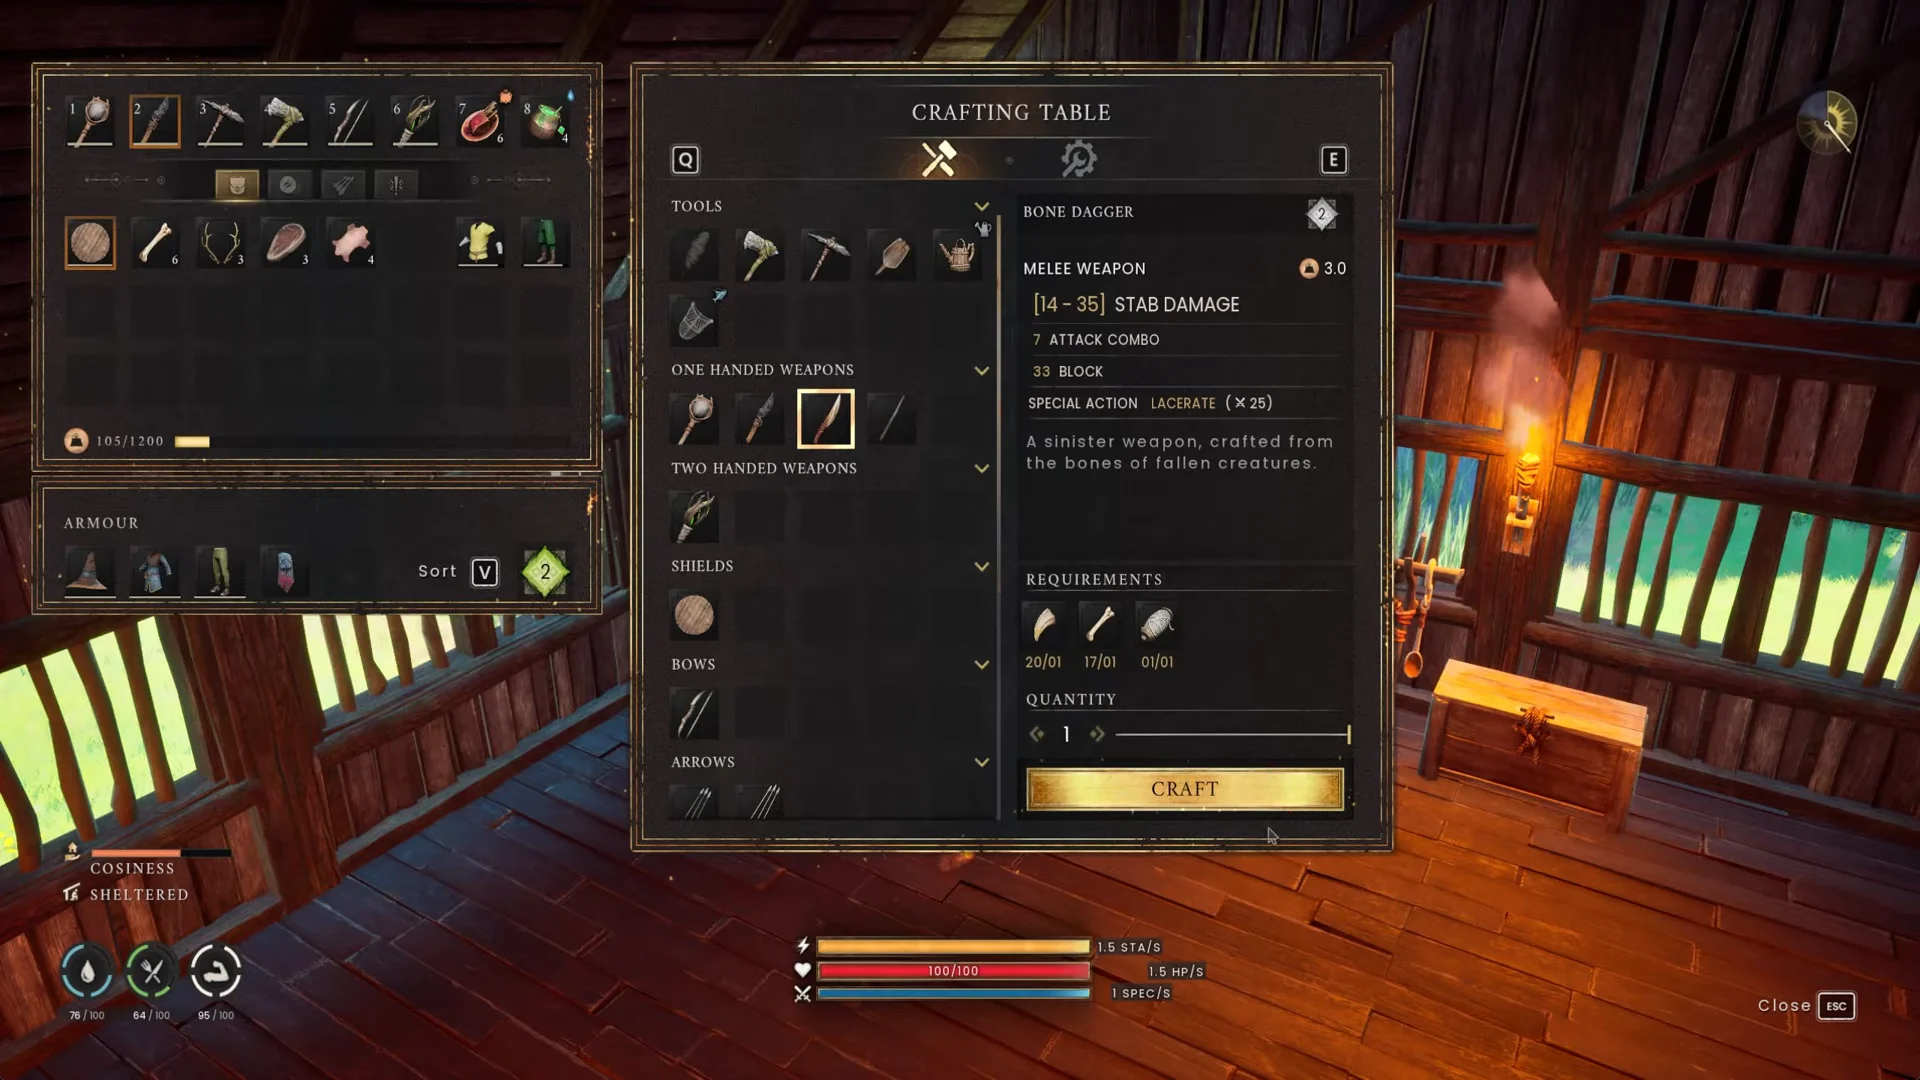
The castle is packed with Goblin Runts, Archers, Warriors and Bruisers, and the Bruisers carry a mace and shield. A bow lets you thin out the ramparts before anything reaches you, and a stab weapon such as the Bone Dagger handles Archers and Giant Rats efficiently.
| Target | Weakness |
|---|---|
| Goblin Runt, Warrior, Bruiser | Fire |
| Goblin Archer | Stab |
| Deer | Ranged |
| Giant Rat | Stab |
Pack healing before you leave. A Leather Shield covers the parry-heavy fights on the narrow walls, and the Ash Battlestaff works well if you have Water Magic unlocked, since water runes slow groups and drop a healing bubble you can stand in. The Enchant Weapon: Fire tutorial that pops up during the fight is worth reading, because it imbues melee weapons with fire damage on critical hits and every goblin in the castle is weak to fire.
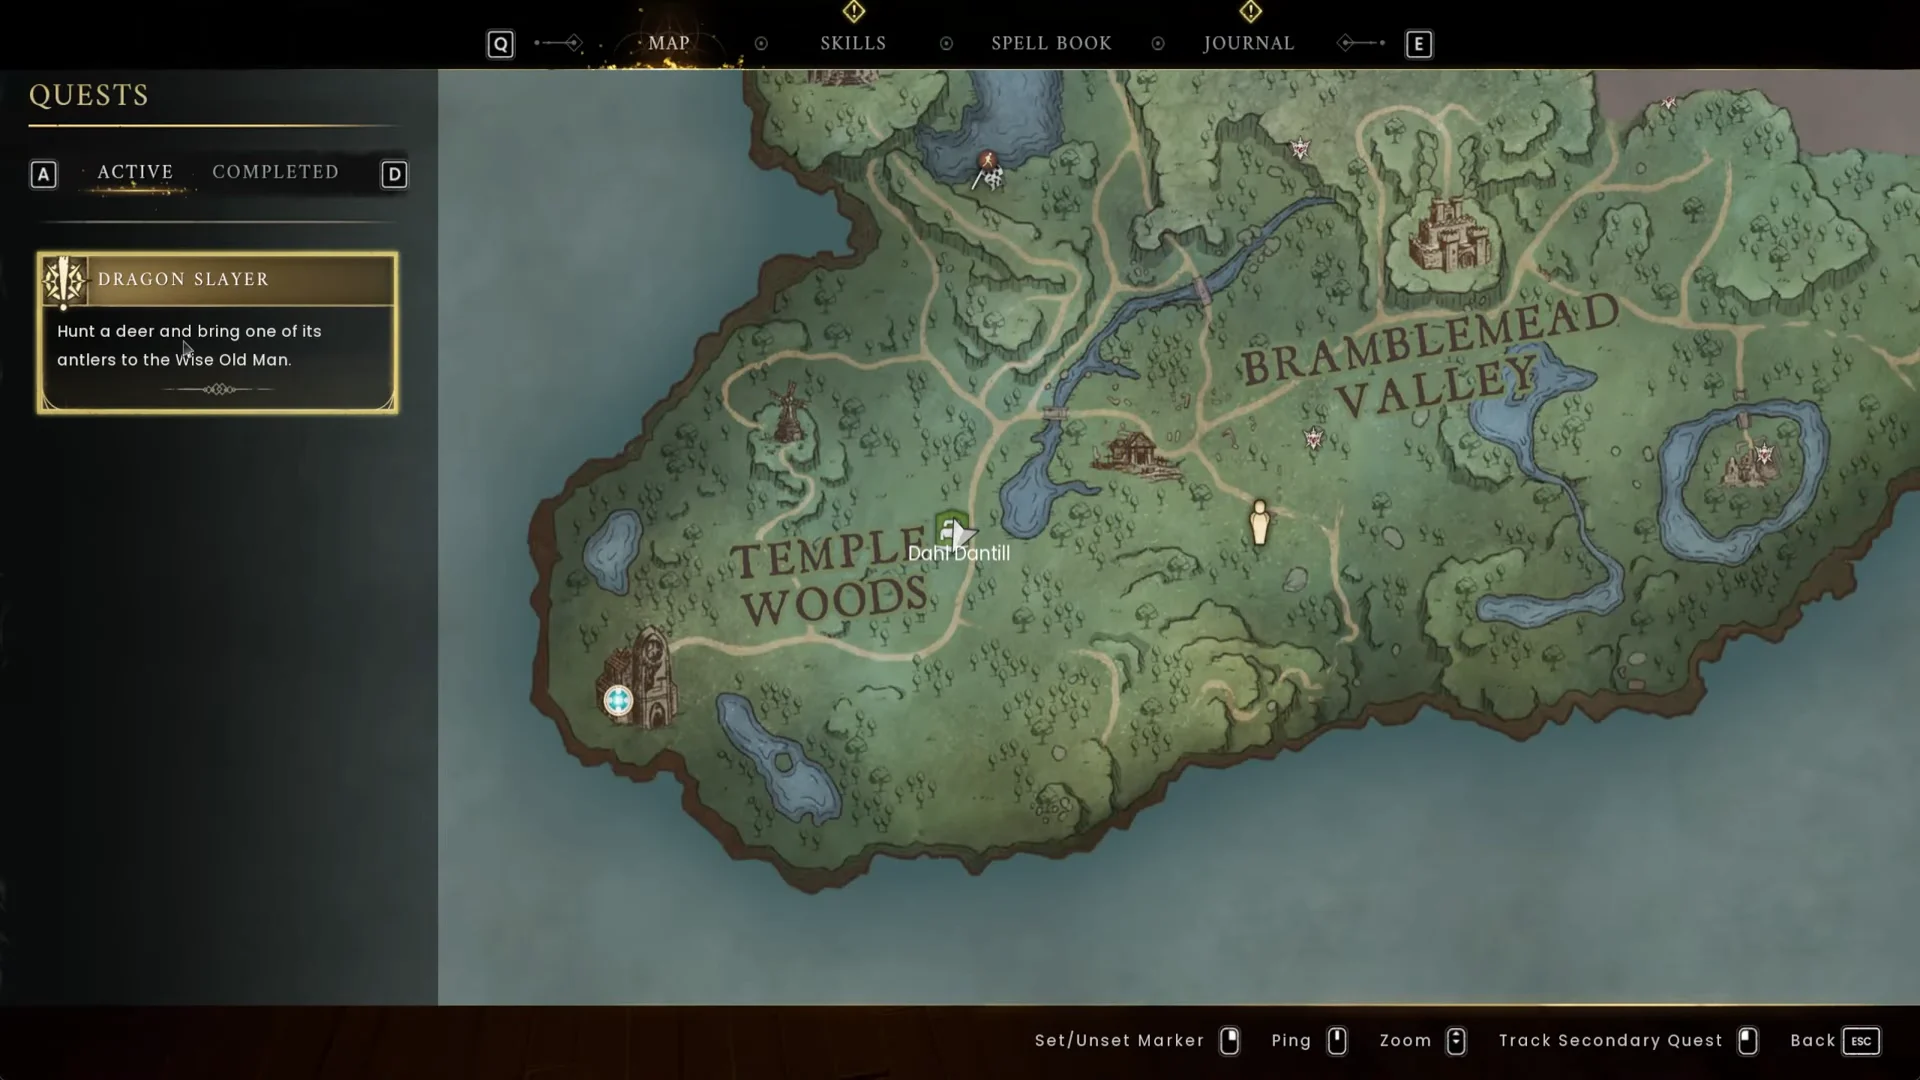
How to get the deer antler and mark the castle
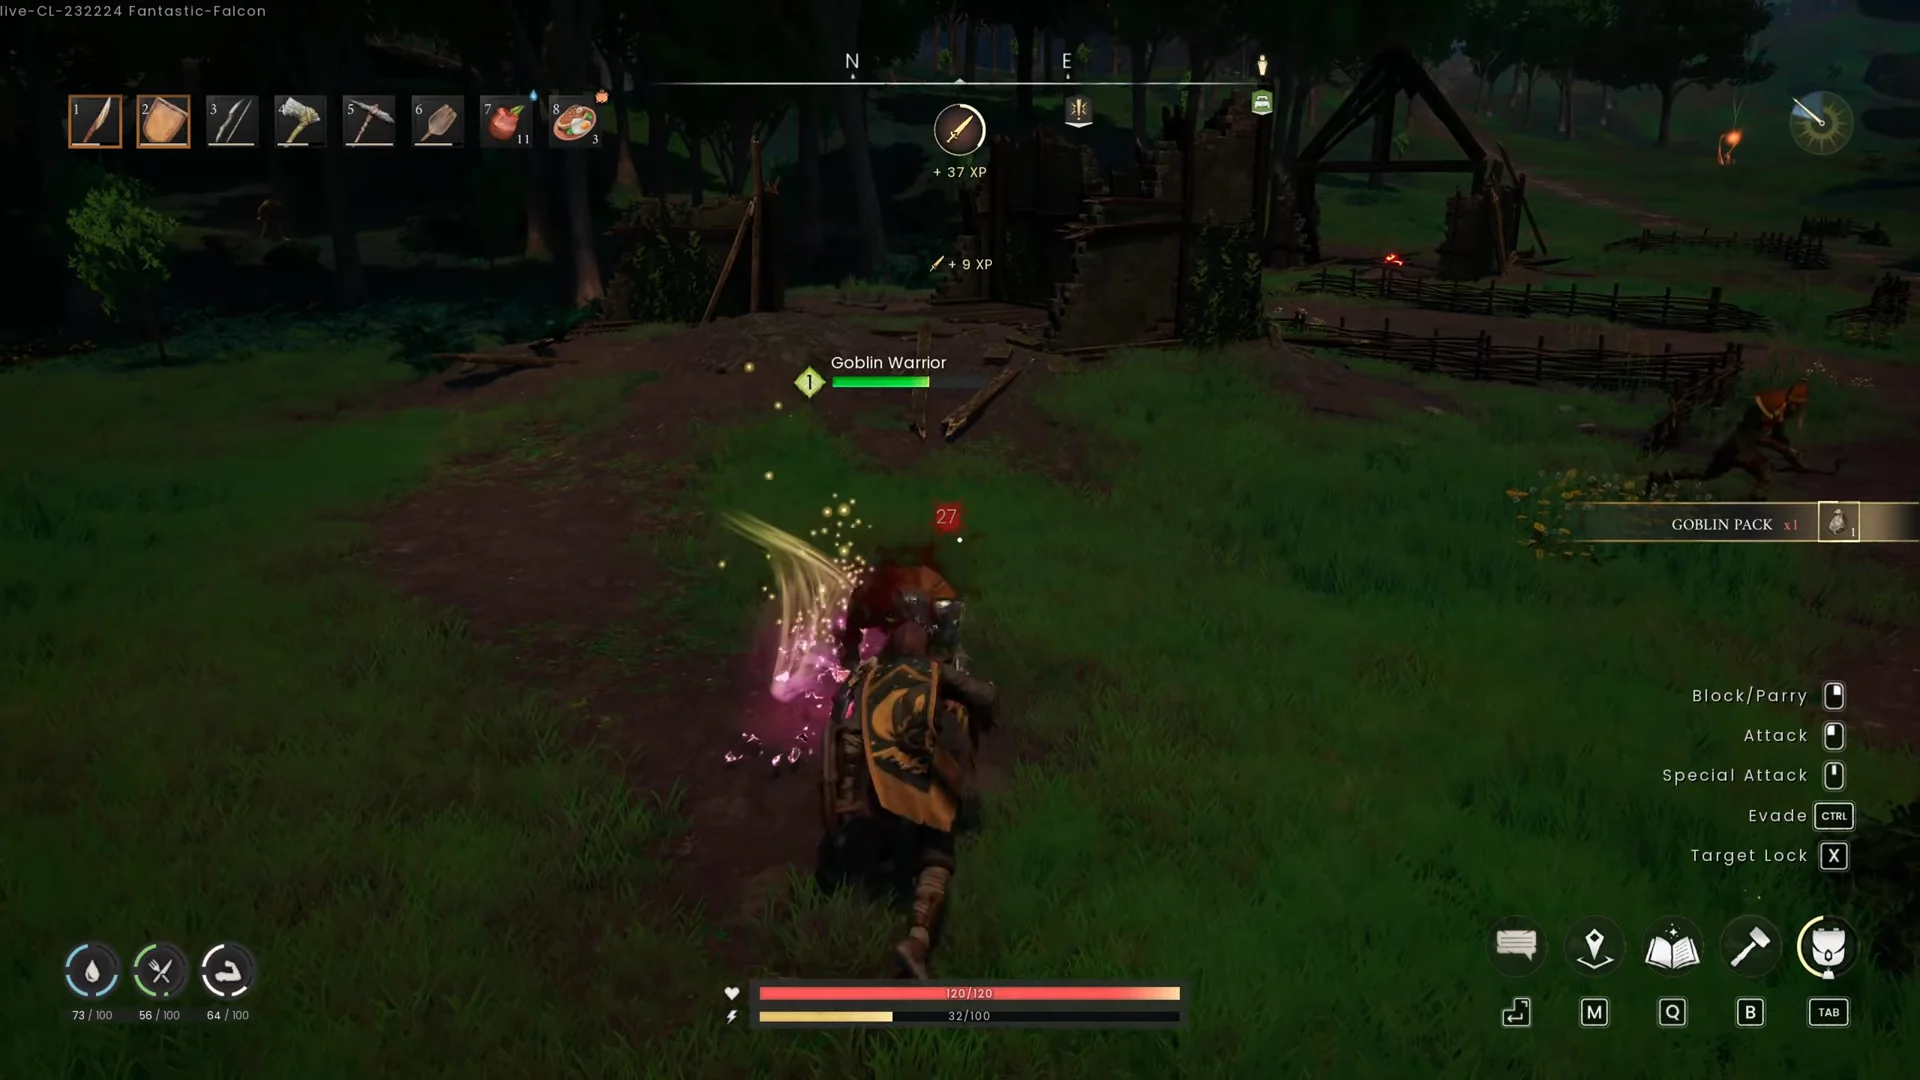
Fighting through the goblin castle
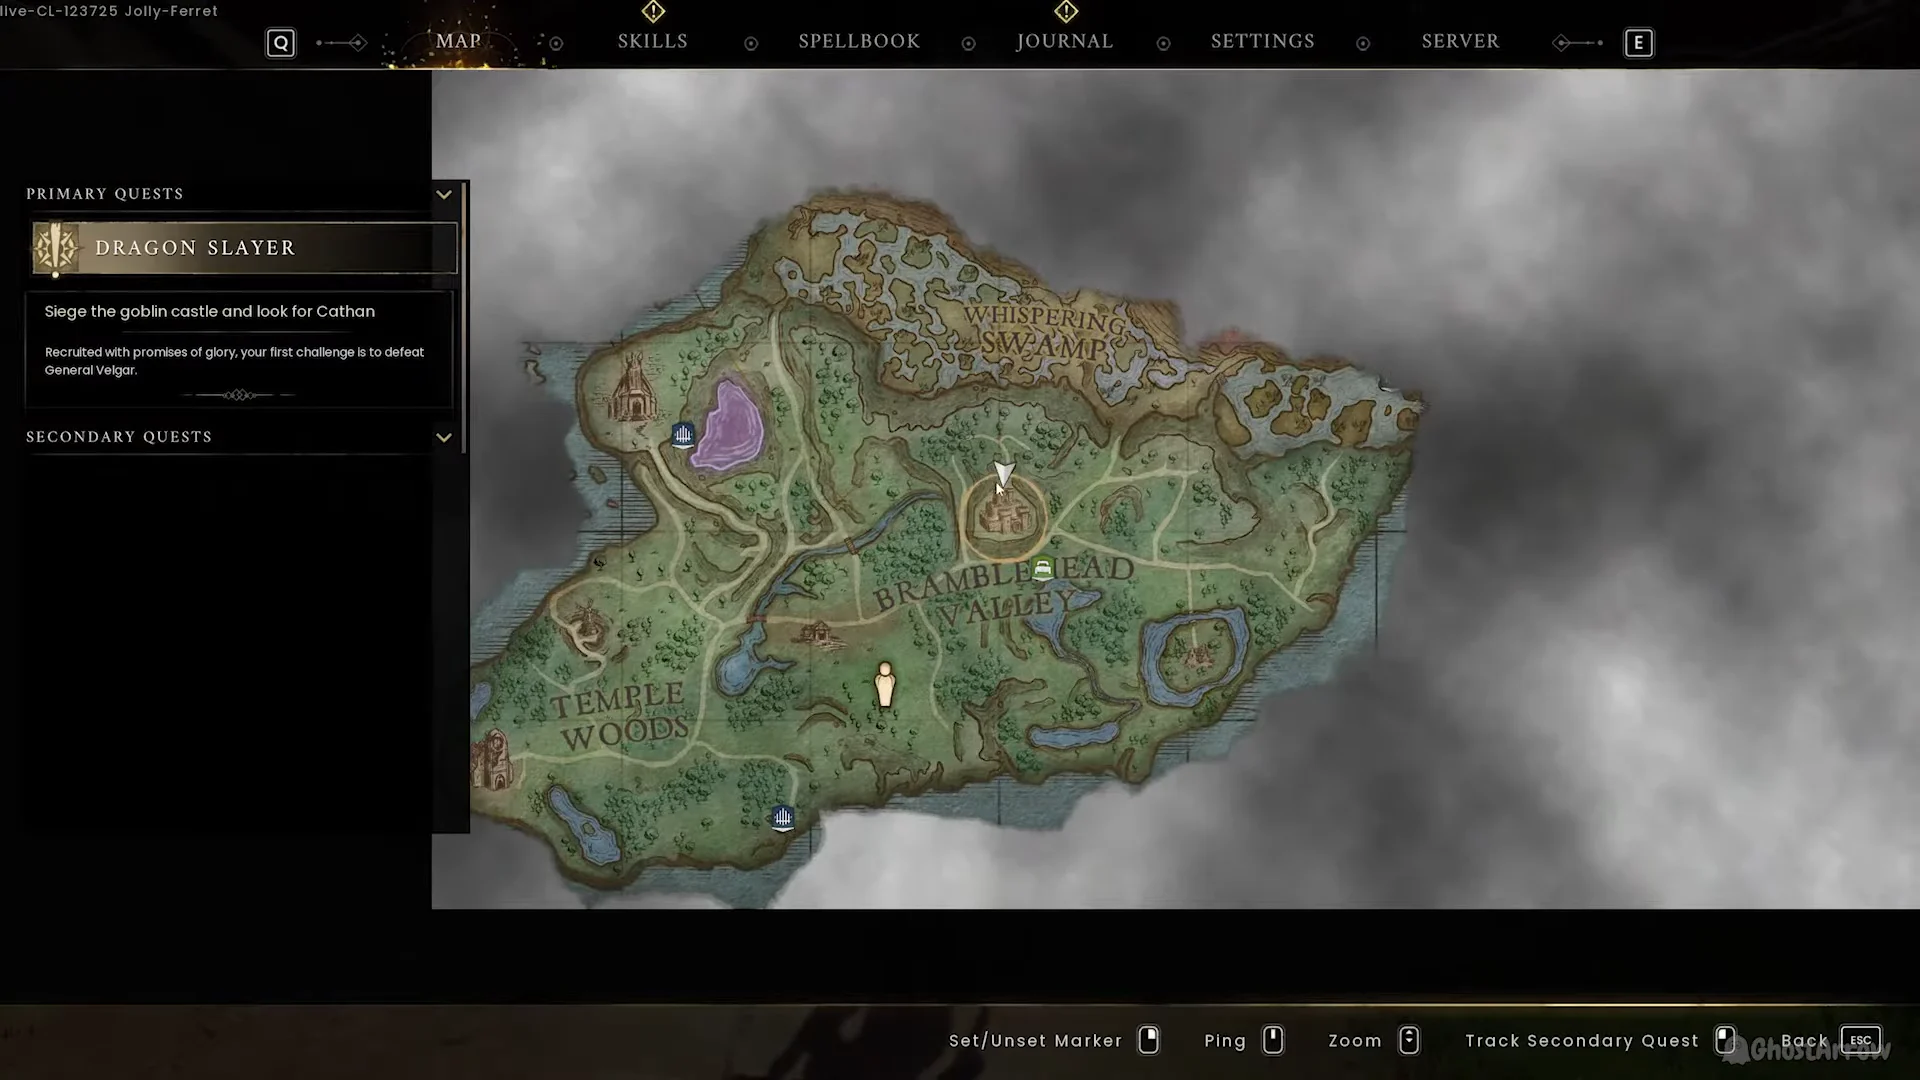
The layout is a compact version of a classic RuneScape keep, draped in Bandosian banners, with a walled courtyard, stairs onto the battlements, and a tower platform at the top. The route is essentially vertical, so every fight pushes you one level higher.
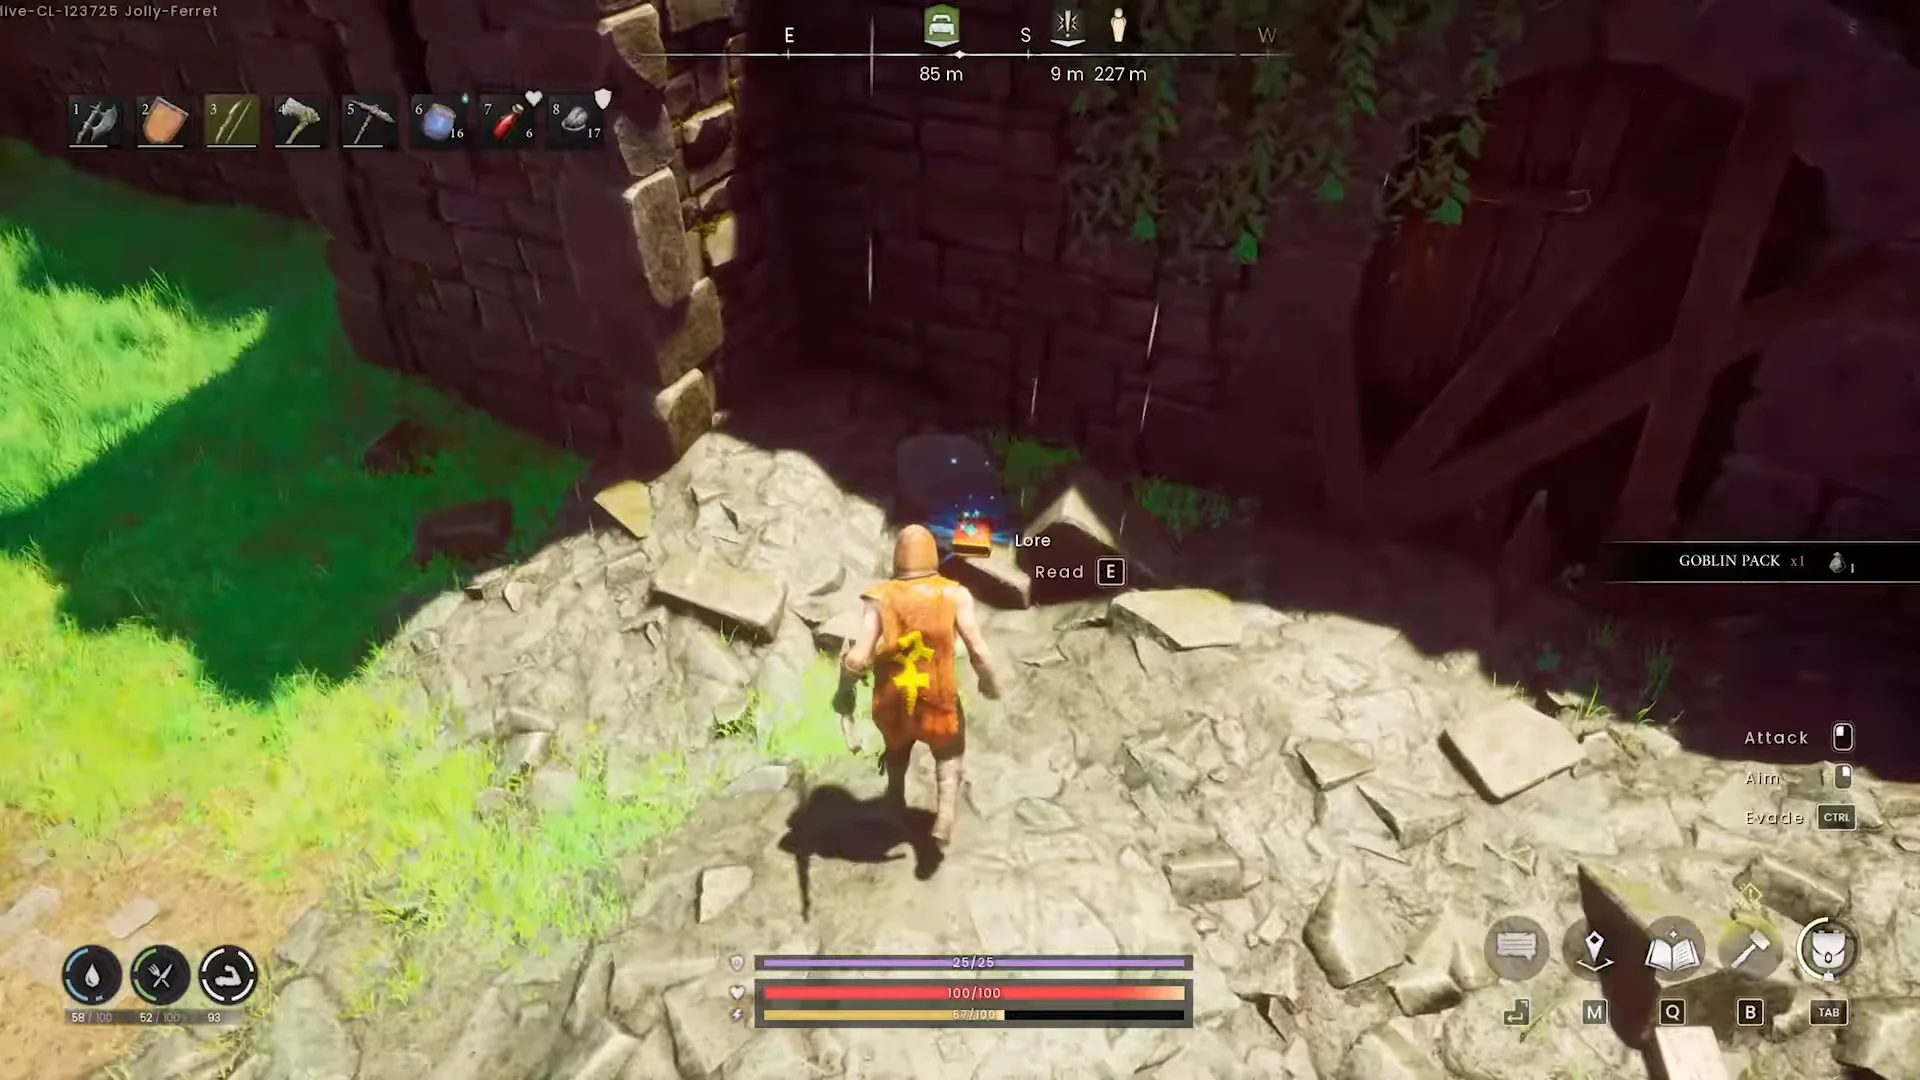
If you die on the walls, your gravestone stays where you fell, at the top of the battlements. The run back is short, but you will have to fight through respawned goblins to reach your gear.
Where Cathan’s Journal is and how to confirm the objective
Keep climbing until you reach the top stone platform of the keep. Cathan’s Journal [Castle] lies there next to a loot chest, and interacting with it is the exact trigger that completes the siege objective.
The journal explains why Cathan is missing rather than dead here. He had been playing at being a goblin prisoner, working the local goblins against Velgar, and he was waiting on a goblin named Spitfoot to deliver keys before heading for a blue-flamed door in the swamps that he believed held the secret to killing the dragon.
You know it worked when the Dragon Slayer quest text changes on screen to “Investigate the blue-flamed door in the swamp. Find out what Cathan is up to.” The castle marker clears and a new quest zone appears on your map.
Surviving Velgar’s attack on the keep
Reading the journal darkens the sky. Velgar, the green dragon the whole quest revolves around, descends on the castle and coats the roof and upper ruins in toxic green fire. The poison lingers in the area it lands on, so standing still on the top platform will kill you.
You can still grab the golden chest beside the journal if you move between breath attacks, then head straight down and out through the courtyard. Fighting the dragon here is not required, and it will not stay put for you either way.
Goblin packs regroup outside the walls once you leave, and travelling at night can trigger a “You are being hunted!” alert with Warriors and Archers converging on you. If you are low after the escape, break line of sight and heal before taking that fight.
Chests, plans, and the Sanguine Urn in the castle
| Where | What you find |
|---|---|
| Courtyard corner chest | Crafting materials, barrel plans |
| Chest behind the Thorny Vine | Rune Essence, Law Rune, crate or barrel plan |
| Upper battlement ruin chest | Runes, Rune Essence, Plan: Keg Barrel |
| Golden chest by the journal | Runes and blueprints |
| Sanguine Urn on the perimeter wall | +10 maximum health, permanent |
Exact chest contents shift between playthroughs, so treat the plans listed here as what the castle pool can hand out rather than a guaranteed drop order. The Sanguine Urn is the one pickup worth going out of your way for, since every urn you interact with raises your health pool permanently.
Sweep the ditches and ruins just outside the walls before you head back. Hidden chests out there hold extra runes, Rune Essence and potions, including a Weak Focused Woodcutting Potion.
Next objective: The blue-flamed door in Whispering Swamp
Once you read the journal, head northeast through the Whispering Swamp to find the blue-flamed door, which opens into a vault. Speak to the Wise Old Man, and he will mark the door’s position; it stands in the quest zone’s northeastern section.
Cathan is not inside that vault either. Past the trapped hallways and the Vault Guardians you find Spitfoot, the goblin from the journal, who explains where Cathan went next. The same run also gives you the Vault Core, which unlocks the Lodestone recipe and with it fast travel, so it is worth finishing the vault properly rather than sprinting for the quest trigger alone.