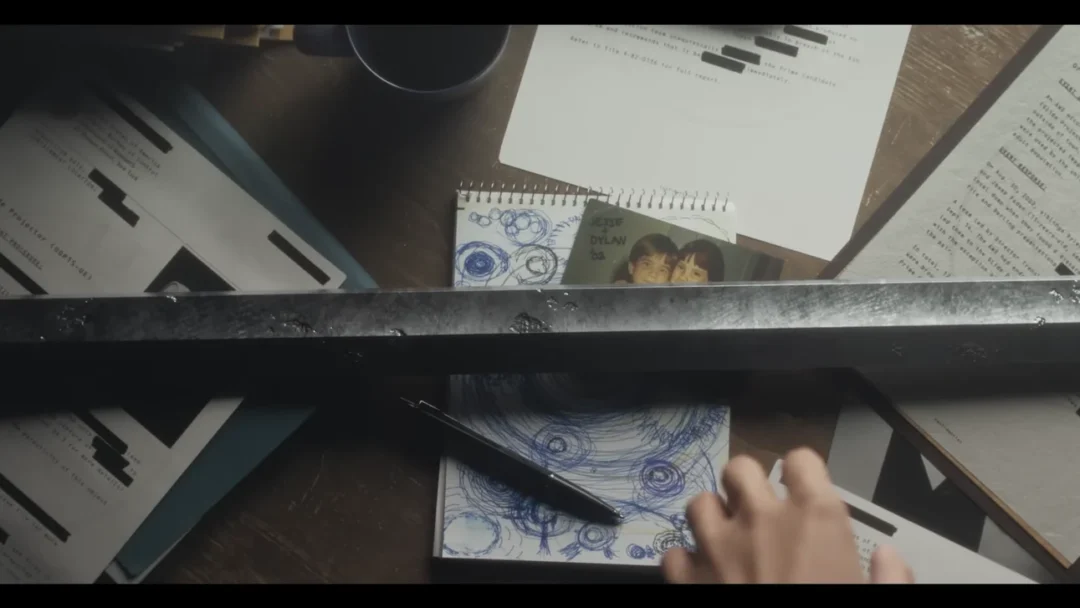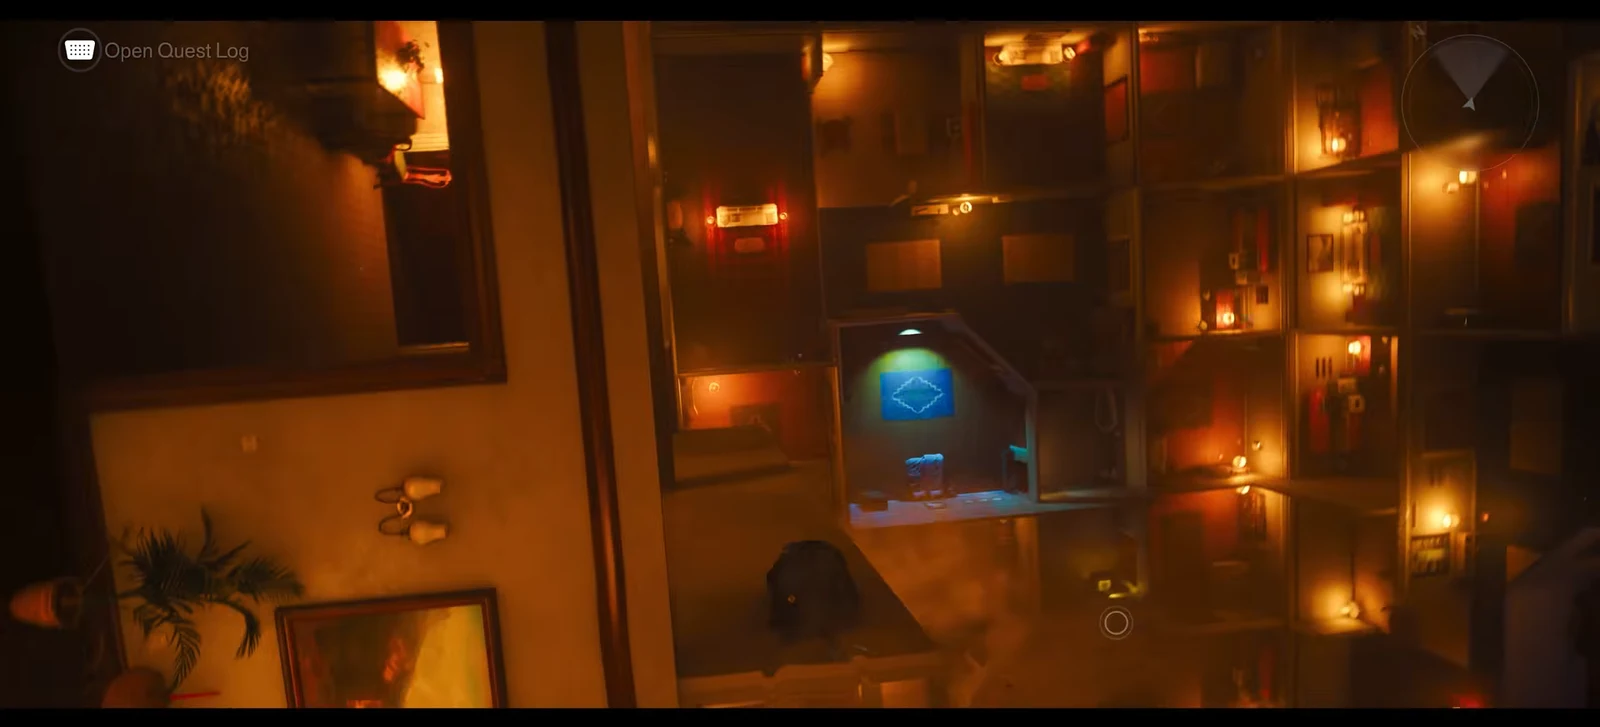
The Evacuation Procedures mission drops Dylan Faden into the fog of Evacuation Zone 3, where the Evac Building has been locked down and swarmed by the Hiss. Completing it means fighting through the exterior, powering the garage, climbing multiple floors, and pulling Chief Arish out of a Hiss resonance void before you can escape into the next zone.
Quick answer: Destroy the two exterior Hiss nodes, install a Power Core battery to open the garage, ride the elevator to Floors 12 and 15, free Chief Arish to receive the Level 2 Keycard, then fight down to the Ground Floor and exit into Evacuation Zone 4.
Enter the Evac Building: clear nodes and install the Power Core
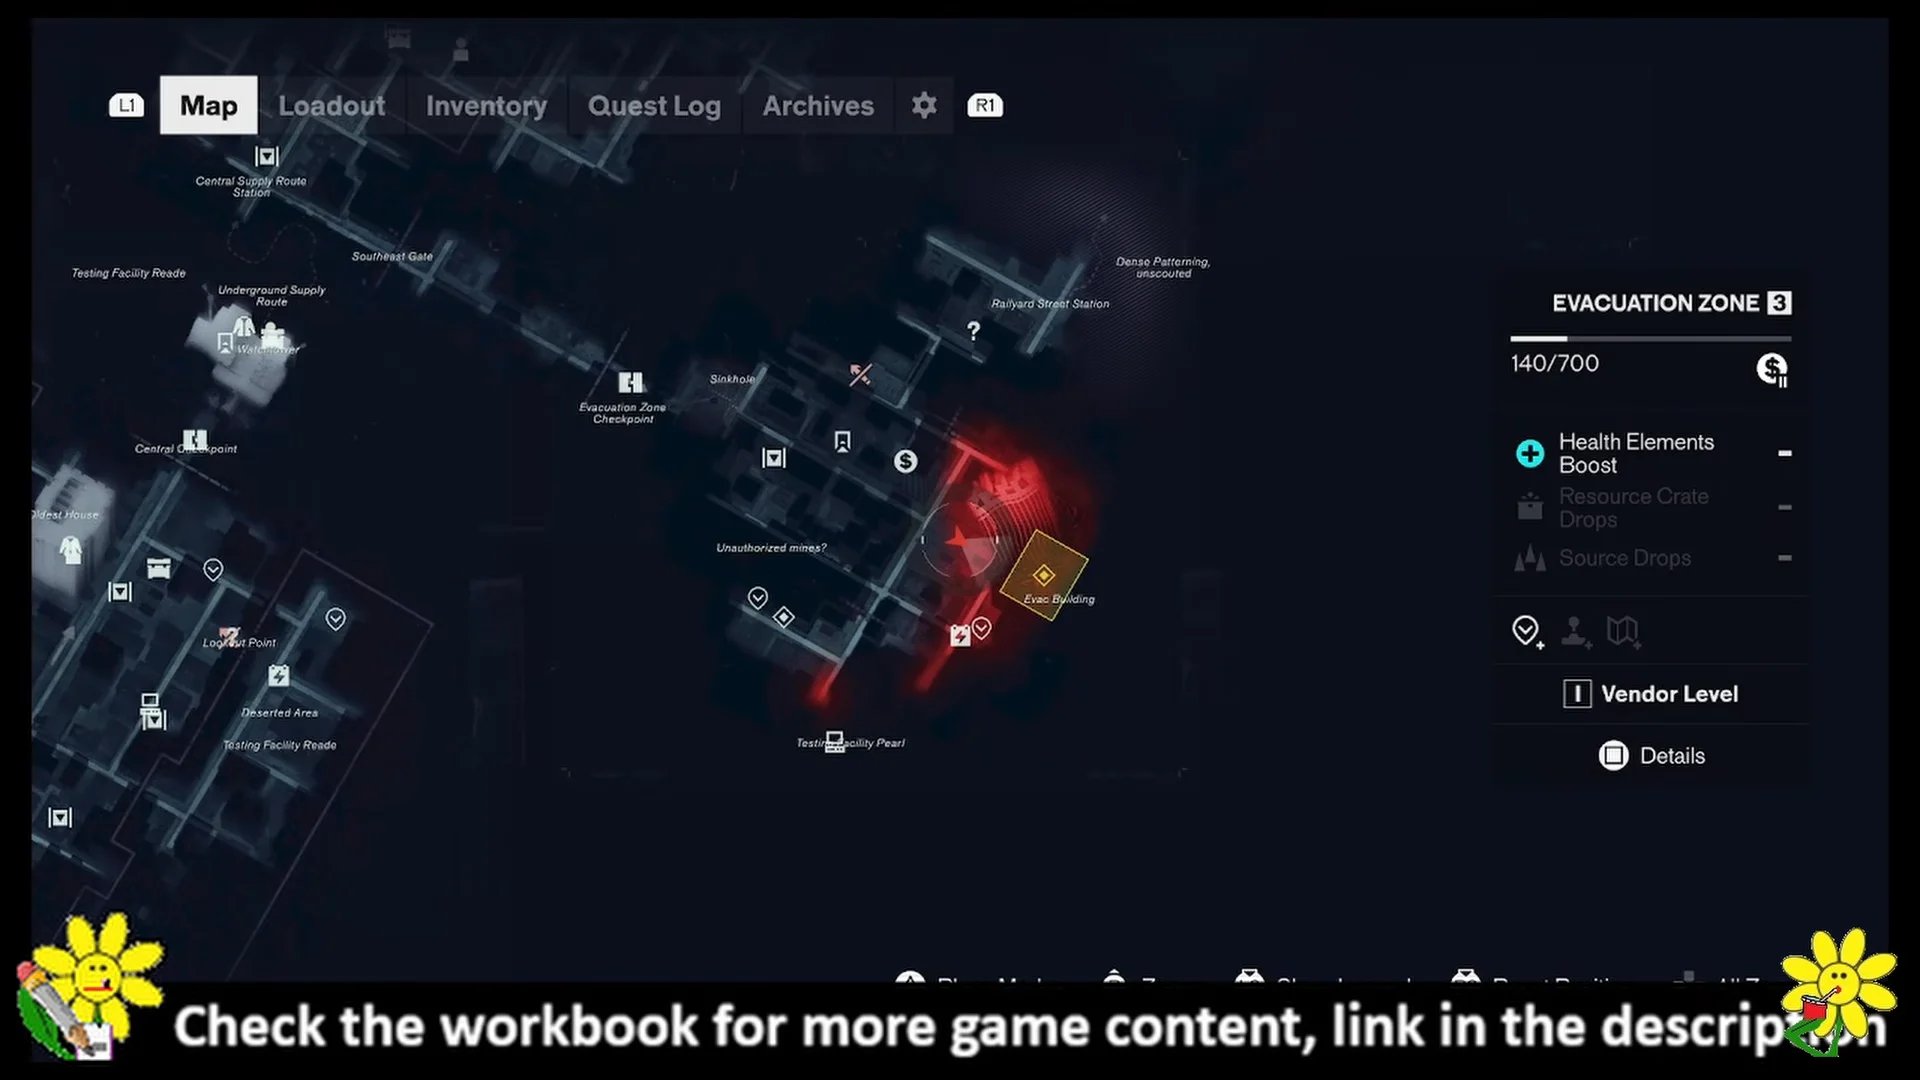
The building stays sealed until you deal with the Hiss infestation outside it. Open the map to spot the Evac Building objective and the Power Core Station marker, then work the exterior in order.
Answer the FBC reception terminal
Past the courtyard tents and the reception lobby, an active FBC computer terminal runs an identity and resonance screening. It puts three questions to Dylan about his past as a Hiss host, his immunity, and his link to Director Jesse Faden.
- Whether he is a former host of the Hiss.
- Whether his immunity comes from his relationship to Director Faden.
- Whether he is truly Dylan Faden and not a “meat puppet” worn by the Hiss.
Each response registers on screen once selected, and answering all three lets you continue deeper into the facility toward the elevator.
Ride the elevator through Floors 12 and 15
The elevator is your main route through the building, and you visit its floors in sequence. Expect a flashback vision each time the corridors shift into a red distortion, showing Dylan’s time as Prime Candidate 6 in the Oldest House.
Floor 12 and the hidden upper office
Select the 12th Floor to reach the bloodied administration offices and cubicles. The centerpiece here is a multi-level atrium ambush, where waves of Hiss melee fighters and sharpshooters attack from the tiers and catwalks. Clear them all before moving on.
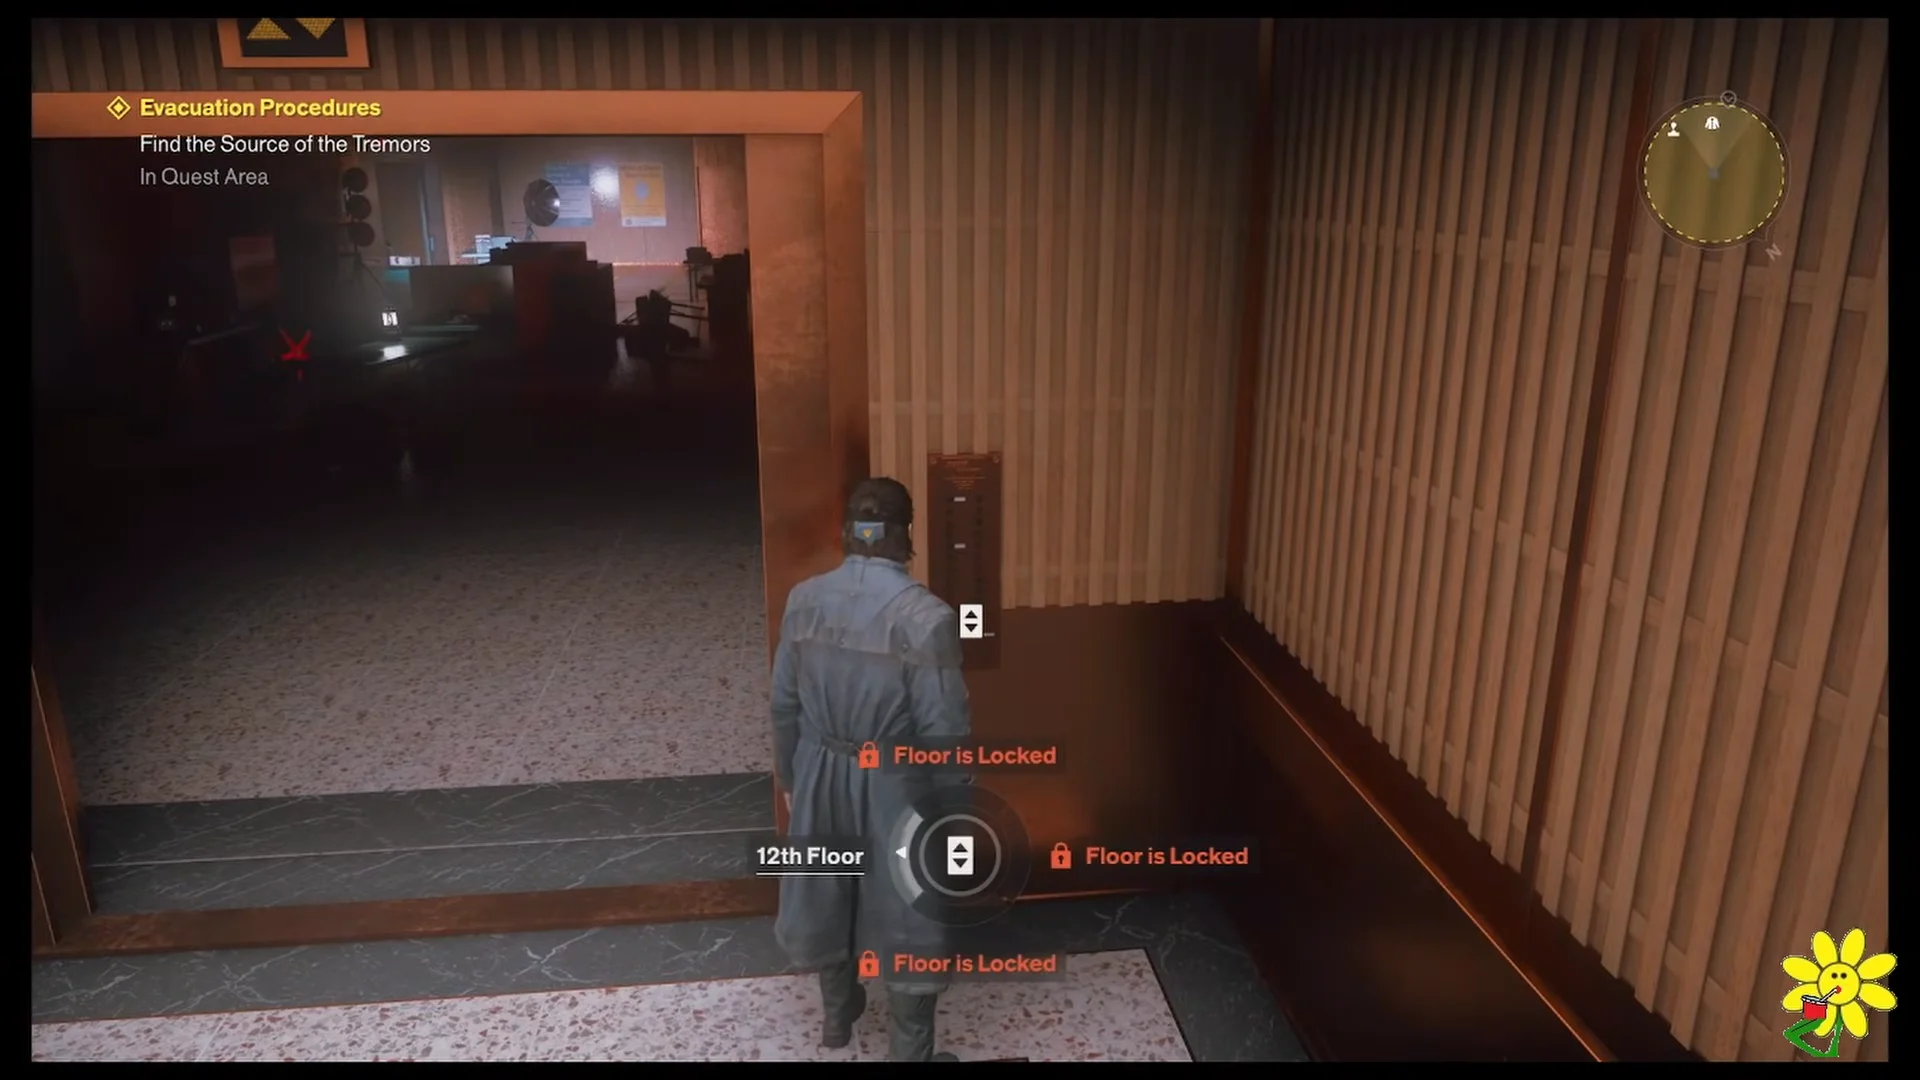
After the atrium, follow the maintenance scaffolding past the locked Level 2 security doors. Jumping across the construction platforms above Floor 12 leads to an enclosed upper room with an altar that grants Health Upgrade Point 1/3. Collect all three across the game to raise your maximum health.
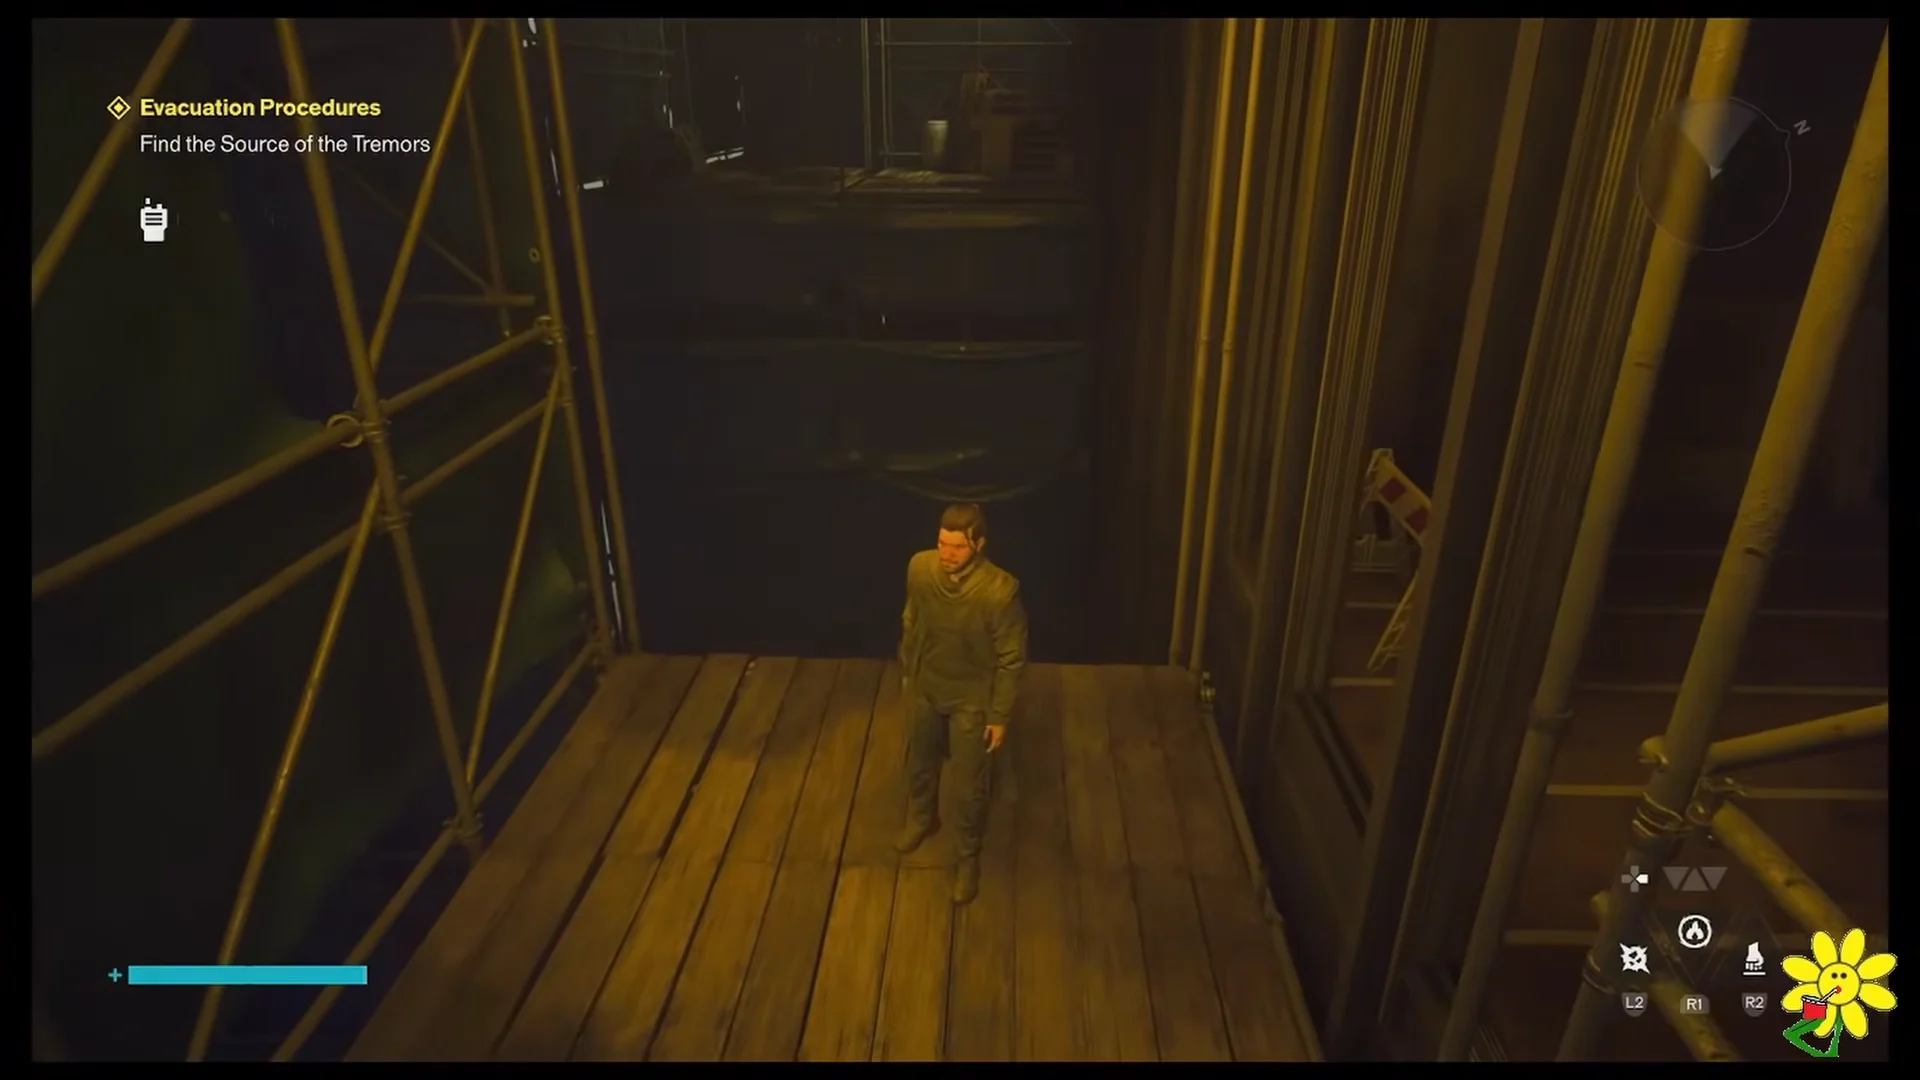
Floor 15 and the Hiss void gateway
Return to the elevator and pick the 15th Floor. This level holds the civilian evacuation cots and rows of suspended, chanting victims. Follow the shouting voices into the deep red distortion at the end of the floor to enter the Hiss resonance space where the survivor is trapped.
Rescue Chief Arish and get the Level 2 Keycard
Inside the crimson void, the objective updates to Locate the Survivor. Navigate the abyss of floating bodies until you reach Chief Arish, who aims an assault rifle at Dylan before collapsing in pain. He is suffering from acute withdrawal because he has run out of injector fluid.
That keycard is the point of the whole rescue. It opens the locked Level 2 security doors across the building so you can bypass the blockages and reach the hidden storage caches.
Escape the building and reach Evacuation Zone 4
Use the Level 2 Keycard to unlock the doors and head downstairs. Destroying the elevator blockage triggers the objective Escape the Building along with another flashback.
The atrium becomes a gauntlet on the way out. Hiss reinforcements pour in with snipers and a healing Hiss sphere, so prioritize the sphere to stop it from restoring the group. While clearing the fight, open the upper and lower Level 2 side rooms to gather crafting materials.
Use the elevator to reach the Ground Floor, then cleanse all rooms still uncleared, security lockers included. Exit through the front lobby to finish the mission. The EVACUATION PROCEDURES Quest Completed banner and the Agent Uniform unlock confirm completion.
Equip the new Agent Uniform in the locker room before you leave. Crossing the gate into Evacuation Zone 4 is what finalizes the mission and grants your Talent Point.
Evacuation Procedures rewards
| Reward | How you get it |
|---|---|
| Level 2 Keycard | Given by Chief Arish after the rescue |
| Health Upgrade Point 1/3 | Altar in the hidden room above Floor 12 |
| Agent Uniform | Completing the mission at the lobby exit |
| “Say What” (Zoe’s Mixtape) | Unlocked on completion |
| Talent Point +1 | Crossing into Evacuation Zone 4 |
Clearing the Level 2 storage rooms and enemies along the way also yields crafting materials, including Aberrant Shard, Aberrant Fragment, Mourning Echo, Corrupted Element, Distorted Form, and Living Shard.
Collectible documents in the Evac Building
Several documents are scattered across the exterior and the floors above. None are required to finish the mission, but they fill out the archive as you clear each area.
- Vending Machine (Hiss Research) — unlocked after beating the corrupted vending machine.
- Volatile Floating Hiss — on an exterior maintenance desk.
- Mission Notes 1 through 4 — Caruso’s logs across the courtyard and upper floors.
- Evacuation Intake Form — George Burton’s form at the reception counter.
- Evacuation Pamphlet — on an office table near the elevator.
- Sound Bath Sterilization Study — in a Floor 12 cubicle.
- An Internal FBC Comms Department Letter — Samantha Patel’s complaint on a desk.
- A Note To Mom — a civilian letter on a stretcher on Floor 15.
With Arish evacuated and the lobby behind you, the gate into Evacuation Zone 4 opens the next stretch of the map, and the Talent Point you pick up there is ready to spend on Dylan’s abilities.