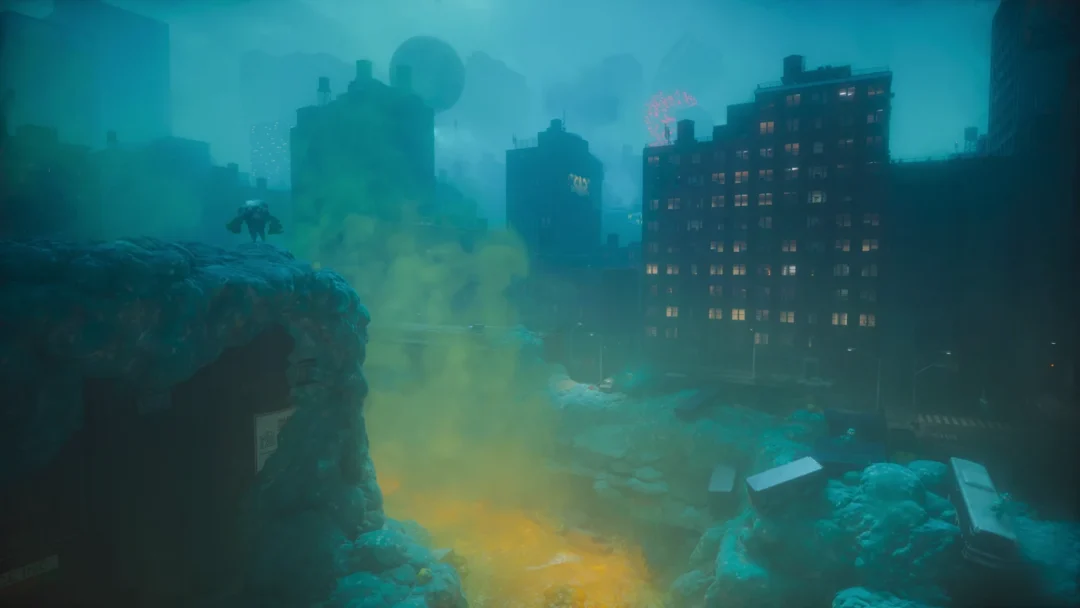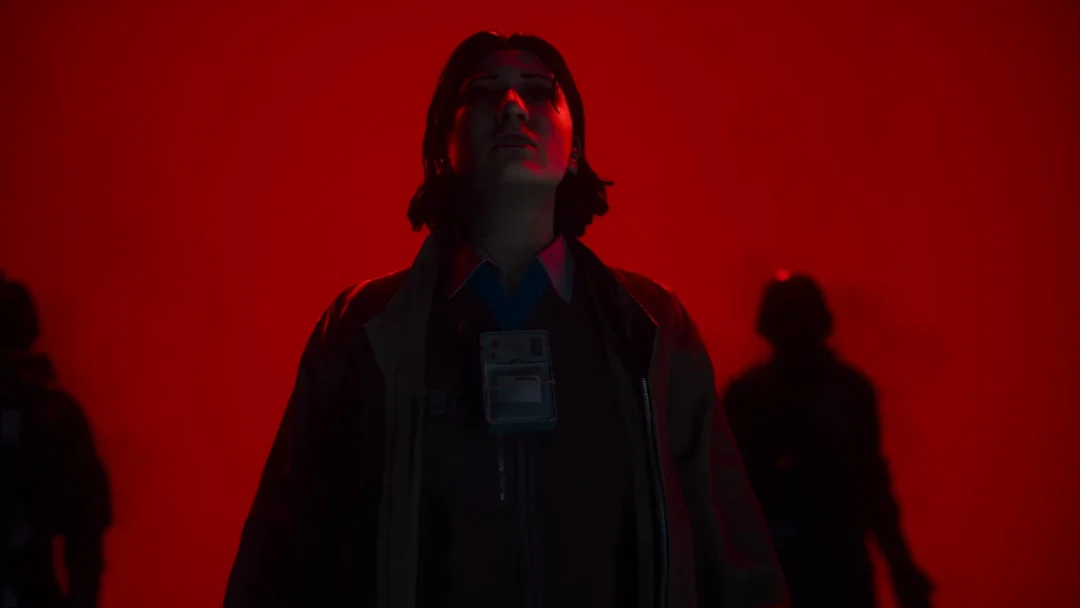
The “Track Down and Defeat the Test Subjects” objective drops during the New Growth side quest in Control Resonant, after Dr. Raya Underhill hands Dylan a device tuned to her escaped Mold experiments. Three specimens have grown from cut-off pieces of her test subjects and scattered across The Park 4, and each one carries a sample she needs back.
Quick answer: Pulse the glowing Mold clumps with Underhill’s device to reveal each trail, then hunt down and kill Specimen A, Specimen B, and Specimen C. Loot the Mold Sample Test Tube from each, and the objective flips to “Return to Underhill.”
How the Mold tracking device works
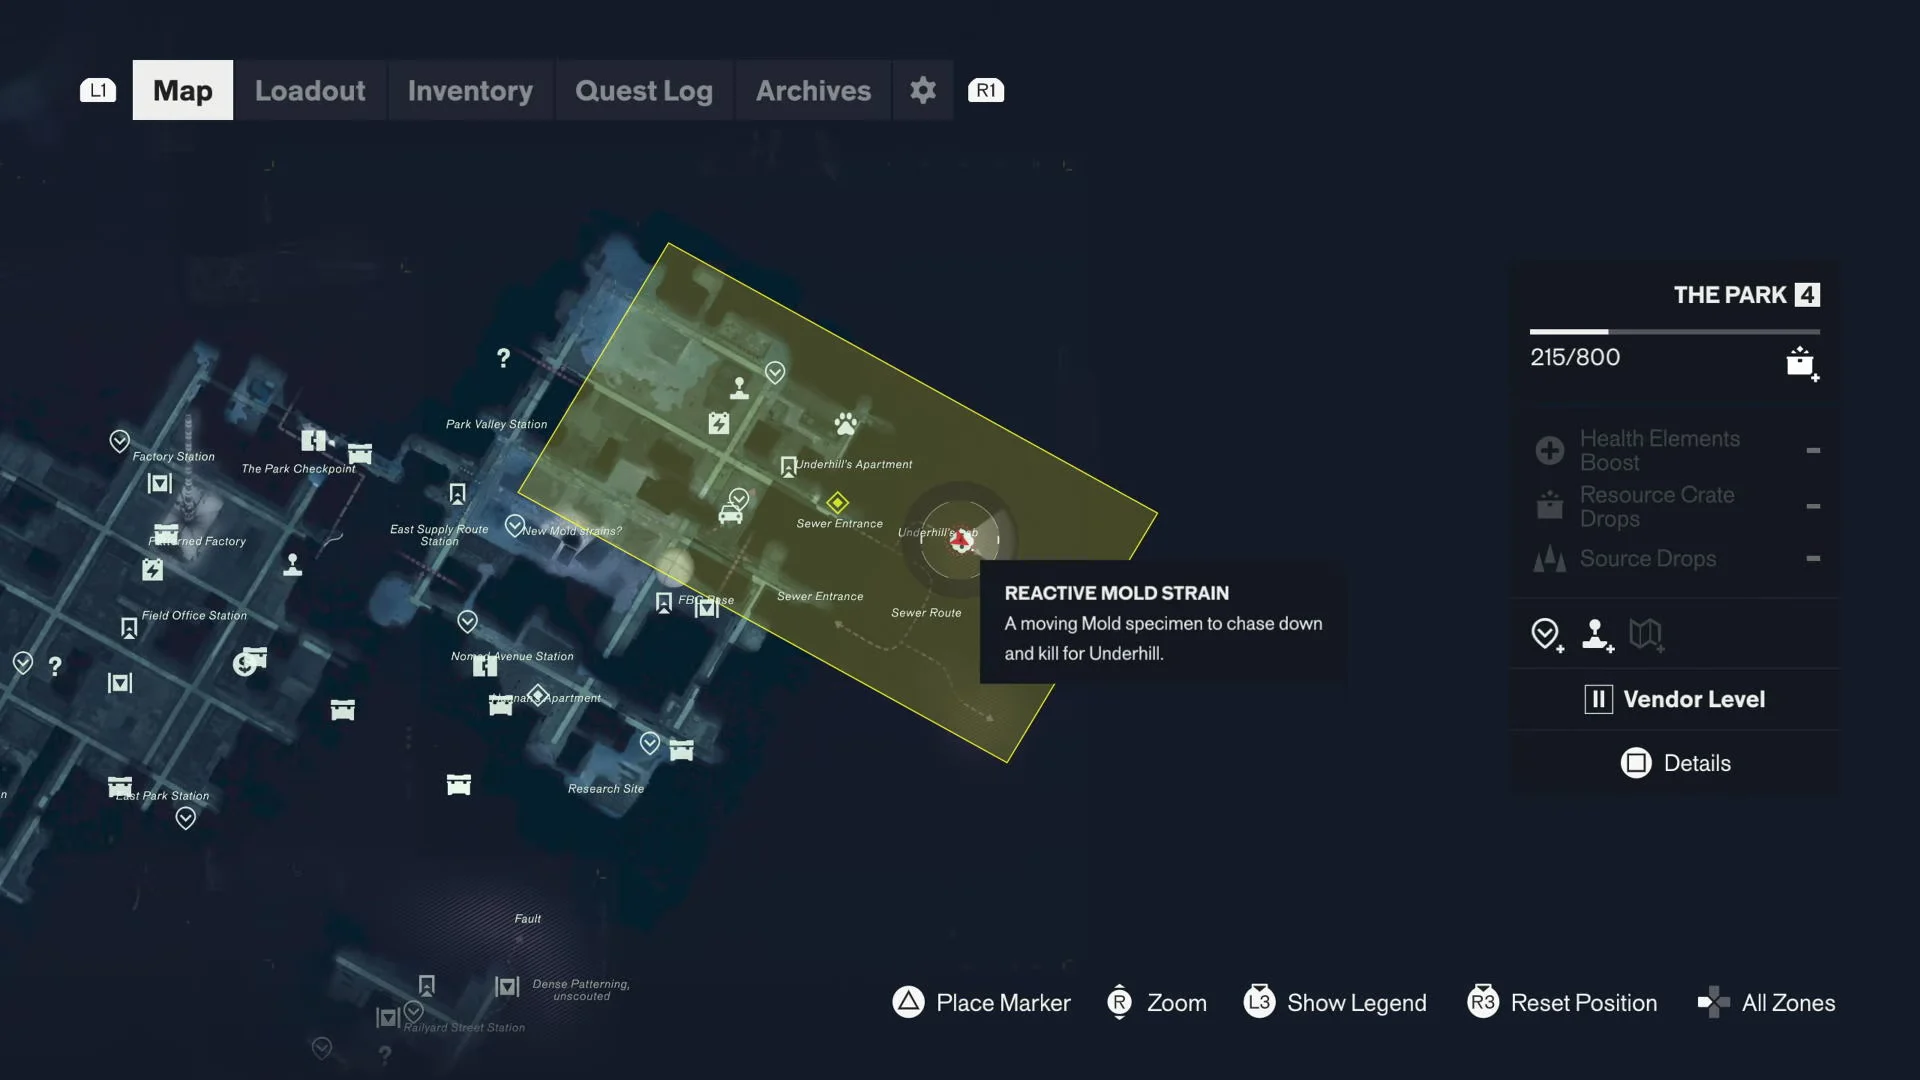
Underhill’s device lets you find the specimens by reacting to Mold in the environment. Green spore clumps sit along walls, floors, and rooftops throughout the search zone. Walk up to one and use the interaction prompt (L1) to pulse it. The clump reacts and points you toward the next stretch of the trail.
The search is centered on the Reactive Mold Strain area marked on The Park 4 map. Keep pulsing clumps as you go, and the trail eventually splits toward the separate specimens. When a trail forks, the order you chase the remaining routes does not matter.
Fire damage tears through these Mold creatures fast, so Inferno is worth slotting if your build has it before you start the hunt.
Where to find all three Test Subjects
| Specimen | Location | Drop |
|---|---|---|
| Specimen A | In the underground sewer reservoir, on top of a yellow office container | Mold Sample Test Tube |
| Specimen B | Street-level alley walled in by graffiti | Mold Sample Test Tube |
| Specimen C | Ground level in the adjoining urban zone past the rooftops | Mold Sample Test Tube |
Specimen A: the sewer reservoir
The first trail runs down into the sewer system. Drop past the railing inside the lab and follow the reacting Mold through the tunnels. The passages are lined with pale growth and lit conduits, so keep pulsing clumps until the path opens into a large chamber.
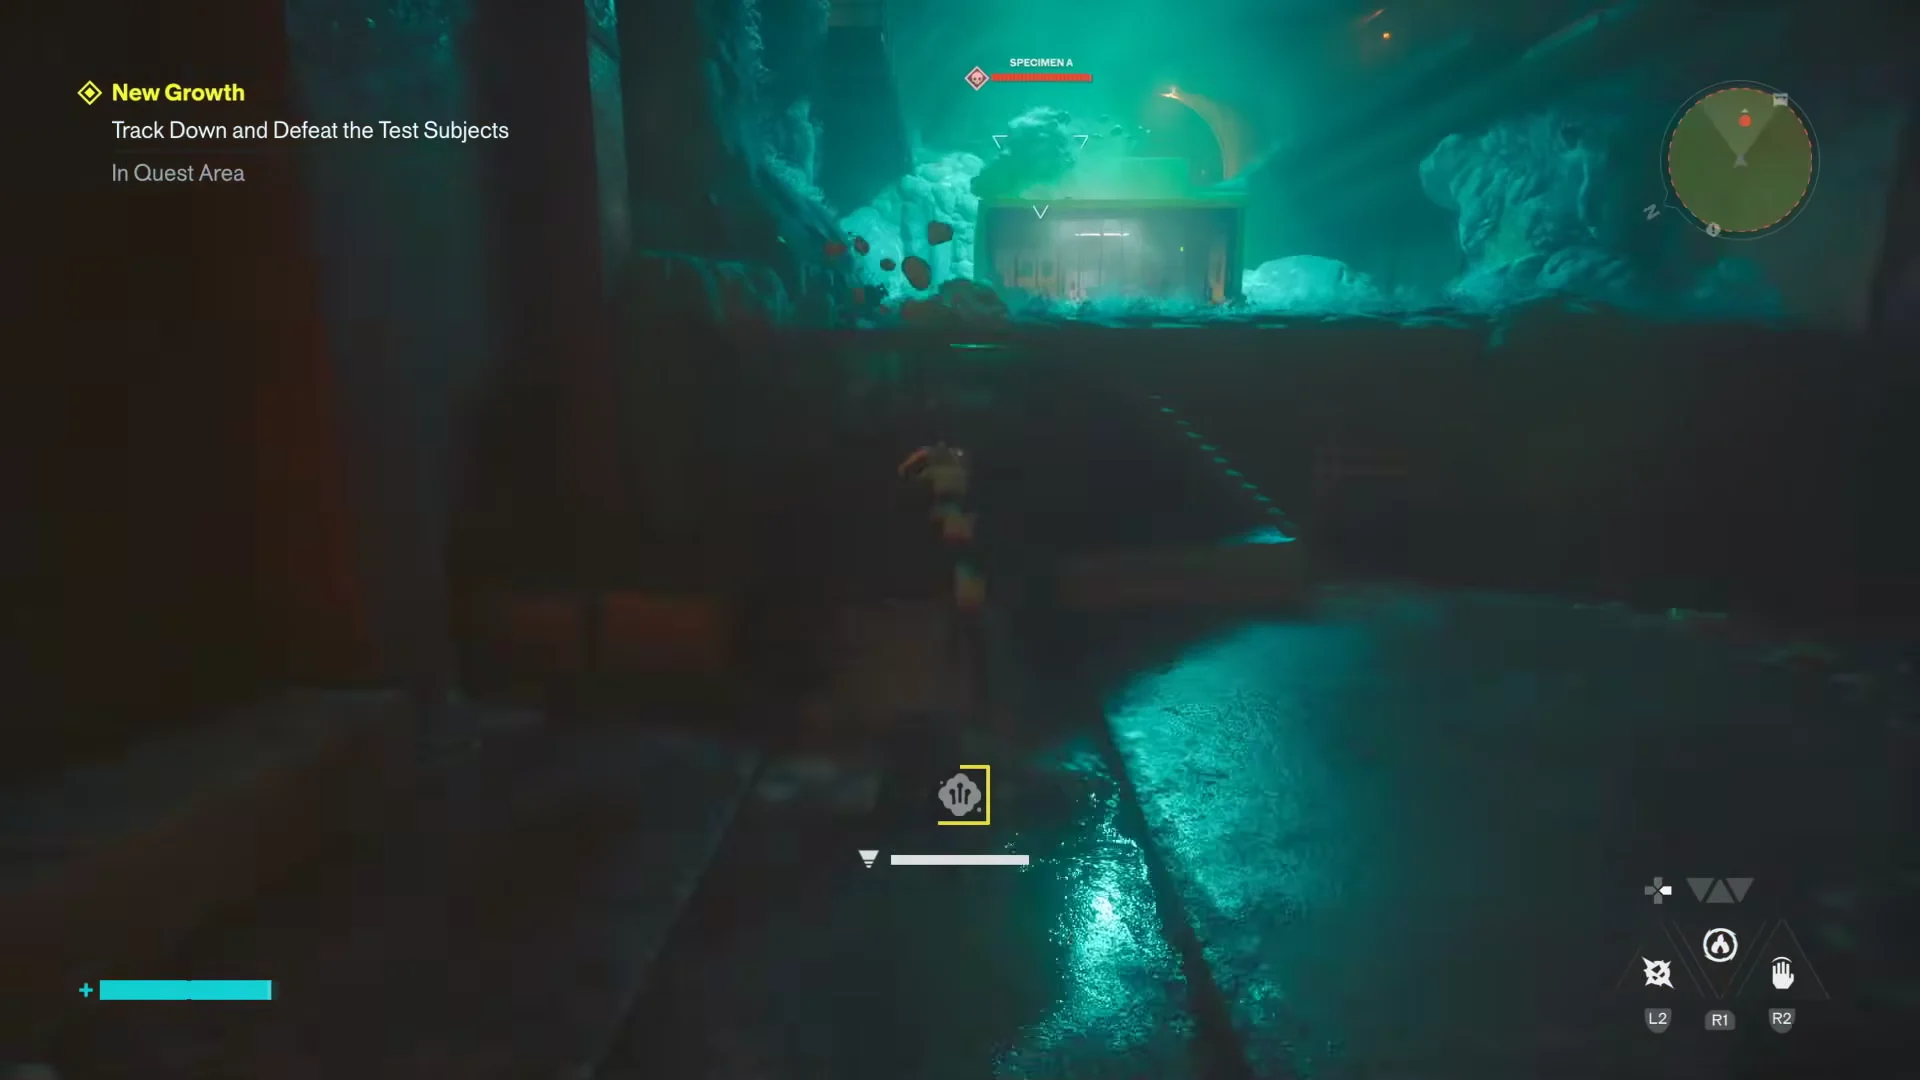
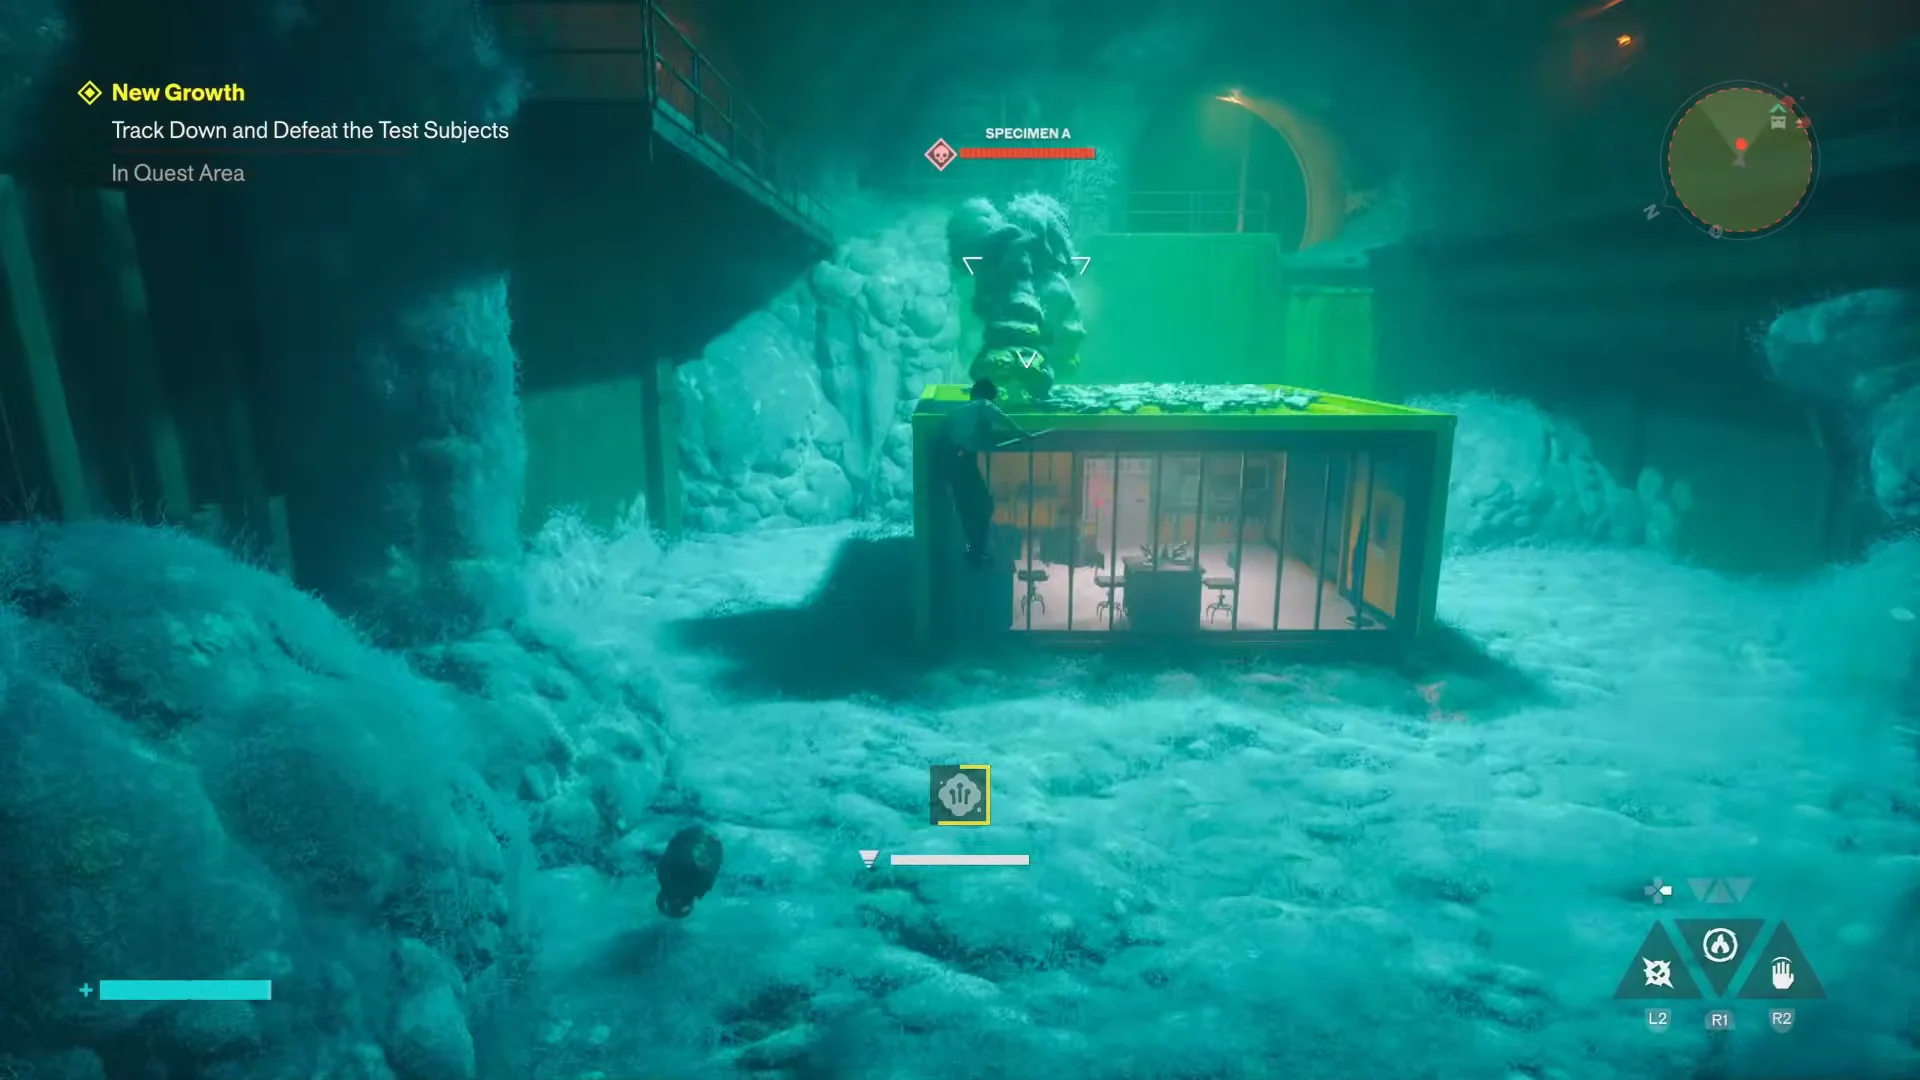
Specimen A waits on top of a yellow office container in the open reservoir chamber. Destroy it and grab the first Mold Sample Test Tube before backtracking through the pipes toward surface access.
Specimen B: the graffiti alley
Exit the sewer through the orange-lit pipes and emerge into the foggy streets of The Park 4. From here the trail climbs. Leap onto the low roofs and check the Mold clumps, including the clusters scaling the brick building marked “Cooperage.”
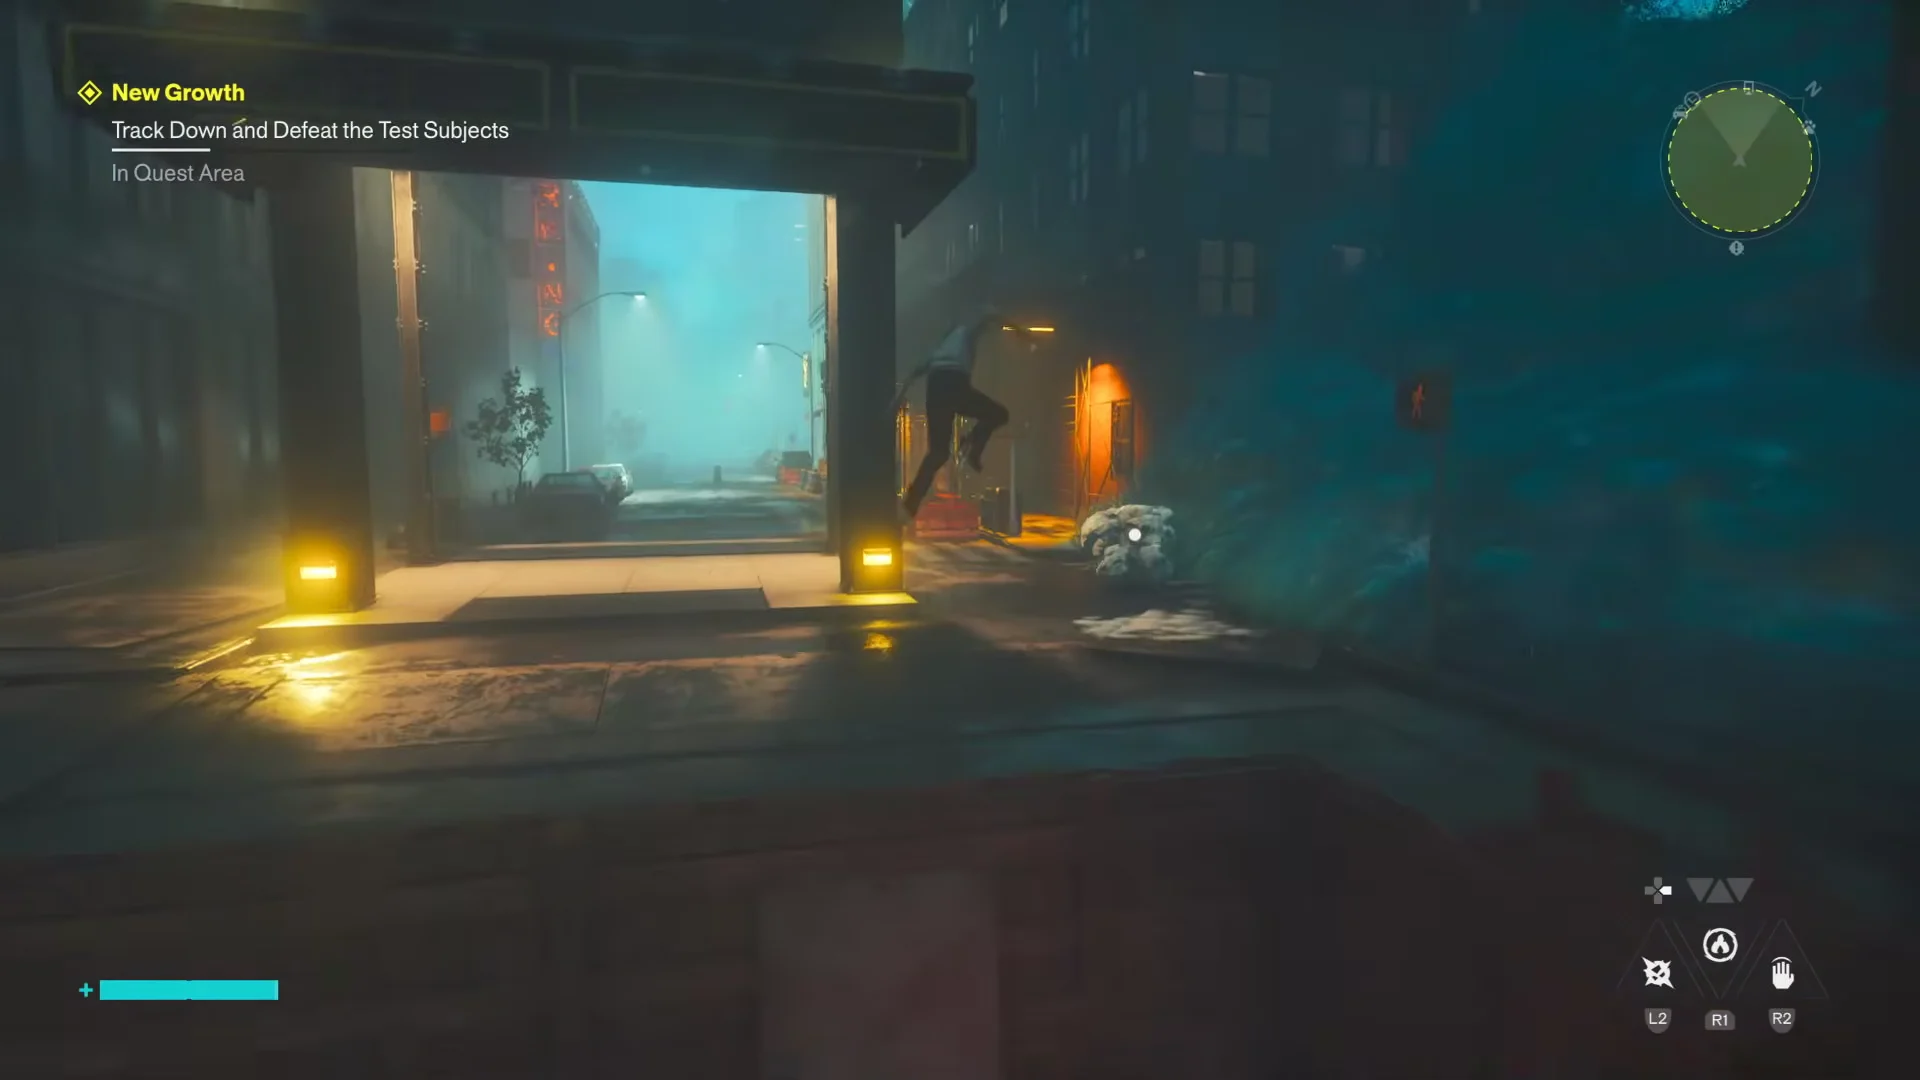
A floating Mold entity hovers over the upper rooftops along the way, so take it out before it harasses you.
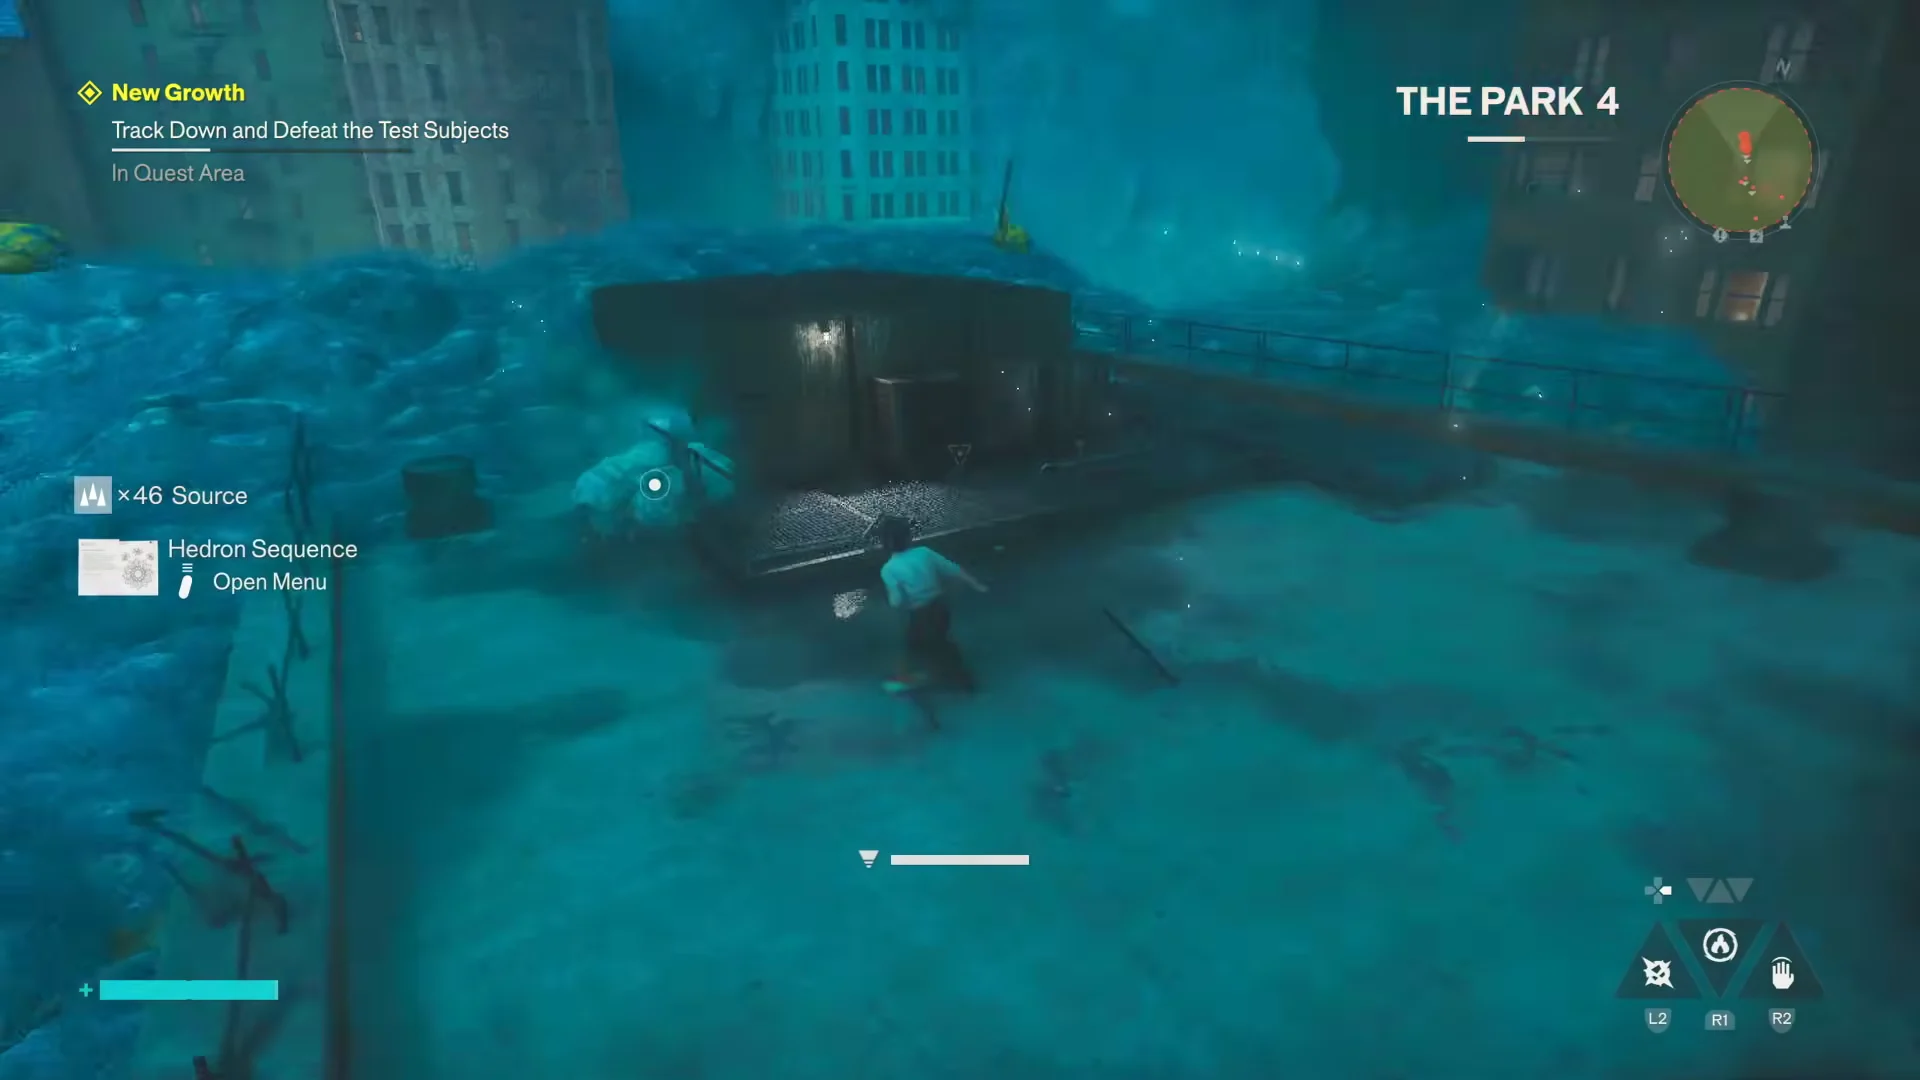
Drop down into the walled alley below to find Specimen B. Kill it and pick up the second sample tube.
Specimen C: the neighboring streets
The last trail carries on over the alley walls and higher building sections, past glowing spore clusters on a rooftop. Follow the residue to its end, then drop back down to ground level in the adjoining urban zone. Destroy Specimen C there and collect the final Mold Sample Test Tube.
Rewards and how to confirm the objective is done
Defeating any specimen yields a Mold Sample Test Tube along with regular materials: Thriving Spore, Source, and Edible Glob. After the third tube enters your inventory, the quest log switches to Return to Underhill, and Dylan says she has the samples she needs.
Head back to Dr. Underhill to finish New Growth. Completing the quest rewards the Untapped Brass Dusters Artifact Recipe and unlocks the Budding Mycologist Trophy/Achievement. The final conversation lets you either report Underhill to the FBC or let her leave, but that choice only decides her fate and does not change the rewards.