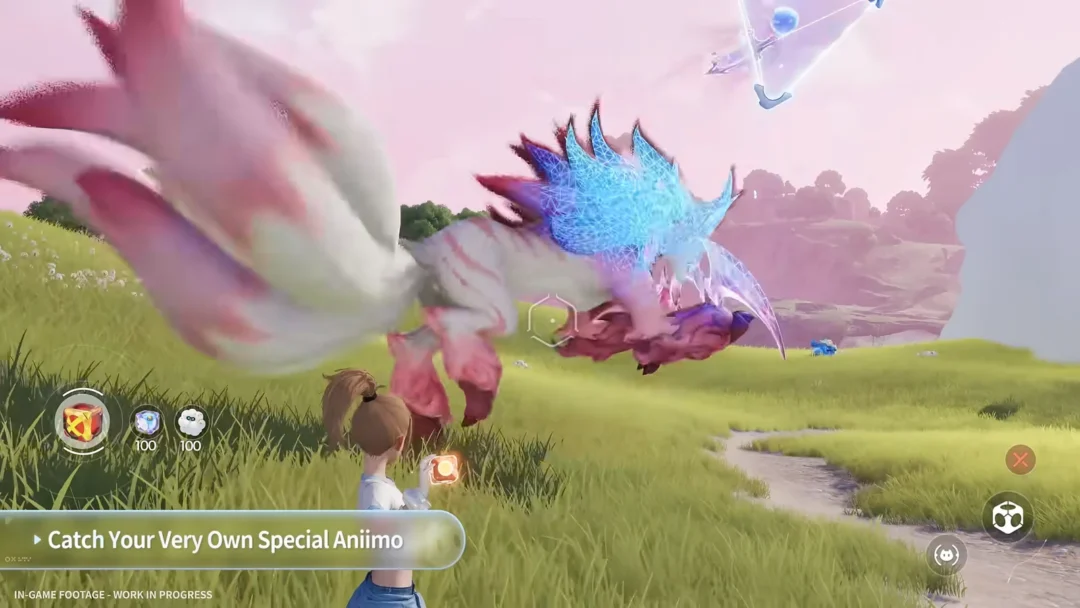
The Aberrant is Dylan Faden’s only weapon in Control Resonant, and it reshapes itself into fast blades, heavy hammers, and long-reaching spears to match whatever the Hiss and other Resonant enemies throw at you. Every one of those shapes lives behind an upgrade system tied to a hidden space called The Gap, and each one costs resources you earn out in Manhattan.
Quick answer: Hold the D-pad down to enter The Gap, walk to the tower structure underground, hold L1/LB to open the Aberrant interface, then spend Living Shards to unlock a form and other materials to buy its upgrade nodes.
Resources you need first
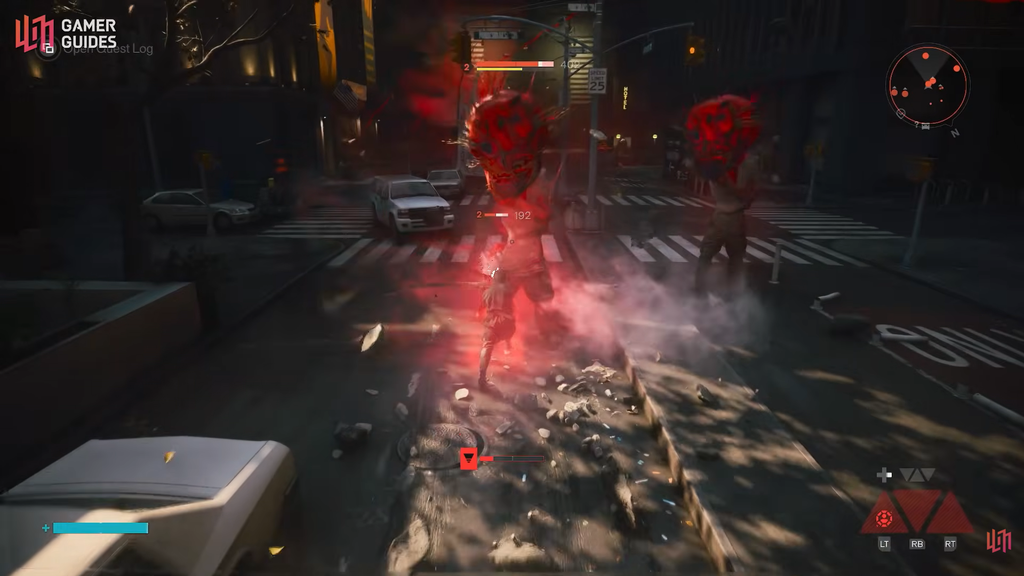
Aberrant progression does not run on Talent Points. It runs on materials you collect as you play. Before you can open a new form, you need a stock of Living Shards, which are the currency for the starting node of each weapon shape.
If your Living Shards are short, keep exploring the city, clearing activities, and pushing through the main quest. Individual upgrade nodes later also ask for other ingredients such as Corrupted Elements and Source, so it helps to gather as you go.
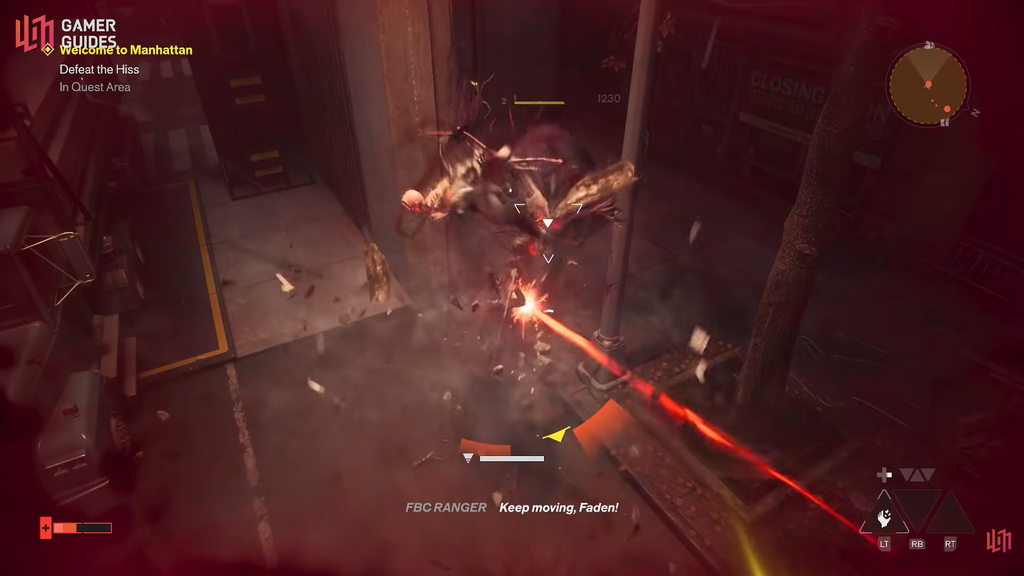
Unlock a new Aberrant form in The Gap
Check your Living Shard count before you commit. If you cannot cover the cost, the form stays locked until you return with enough.
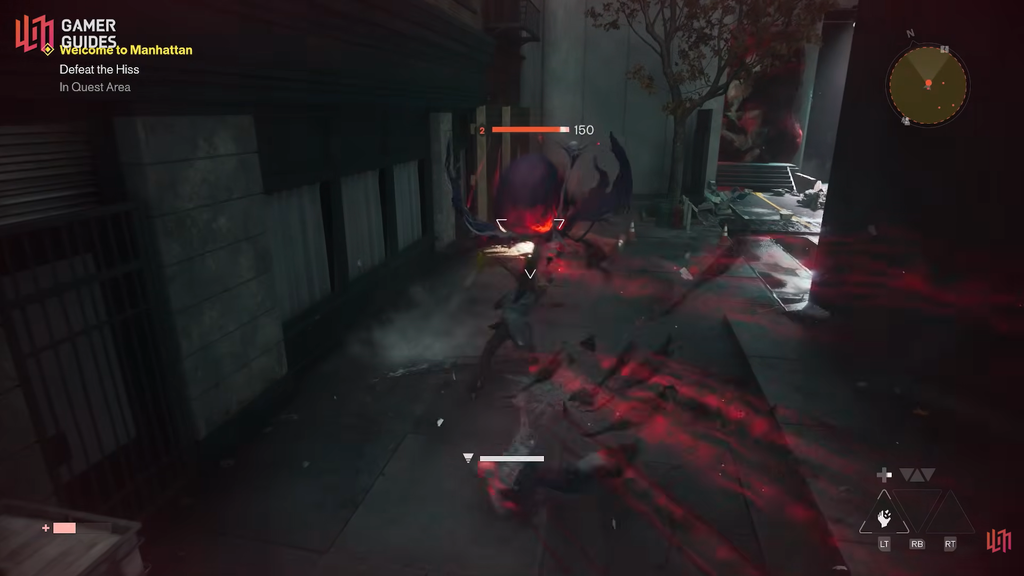
Upgrade a form’s nodes
Once a form is unlocked, you improve it through the same interface by buying individual nodes on its upgrade tree.
Read the requirements on the right-hand side before spending, since different nodes draw on different materials. The upgrade takes effect immediately once the cost is paid, and the node shows as unlocked on the tree.
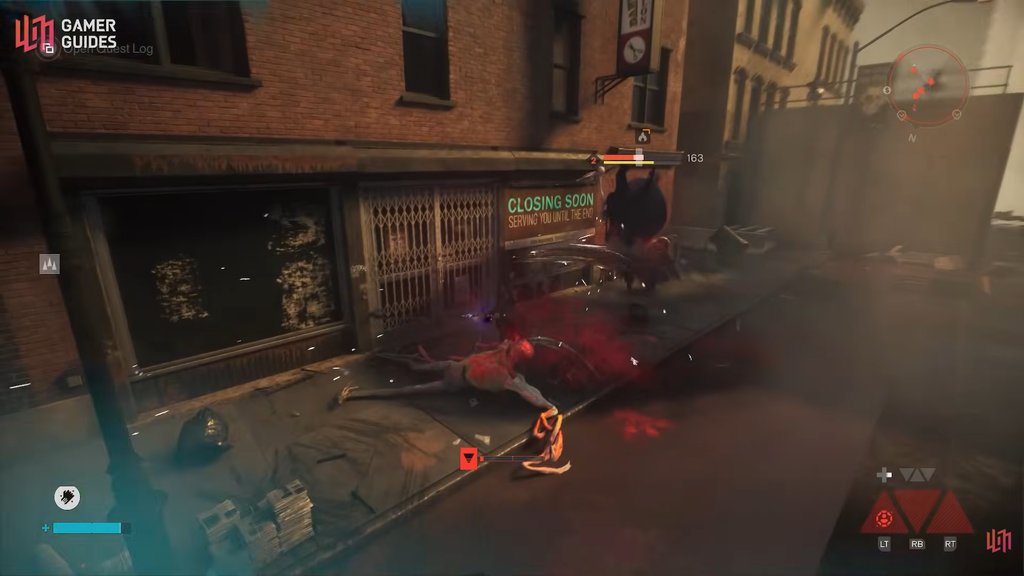
Reset upgrades if you change your build
If you regret a node or want to redirect resources, you can wipe your Aberrant upgrades using a Reset Point. This reverts the nodes you have unlocked so far and lets you reallocate into a different form or path.
Primary forms
Primary forms cover Dylan’s main attack sequence, and you meet the first three during the prologue when you draw the weapon from his chest.
| Form | Damage | Crit chance | Role |
|---|---|---|---|
| Glaive | 70–90 Raw | 0% | Wide crowd control |
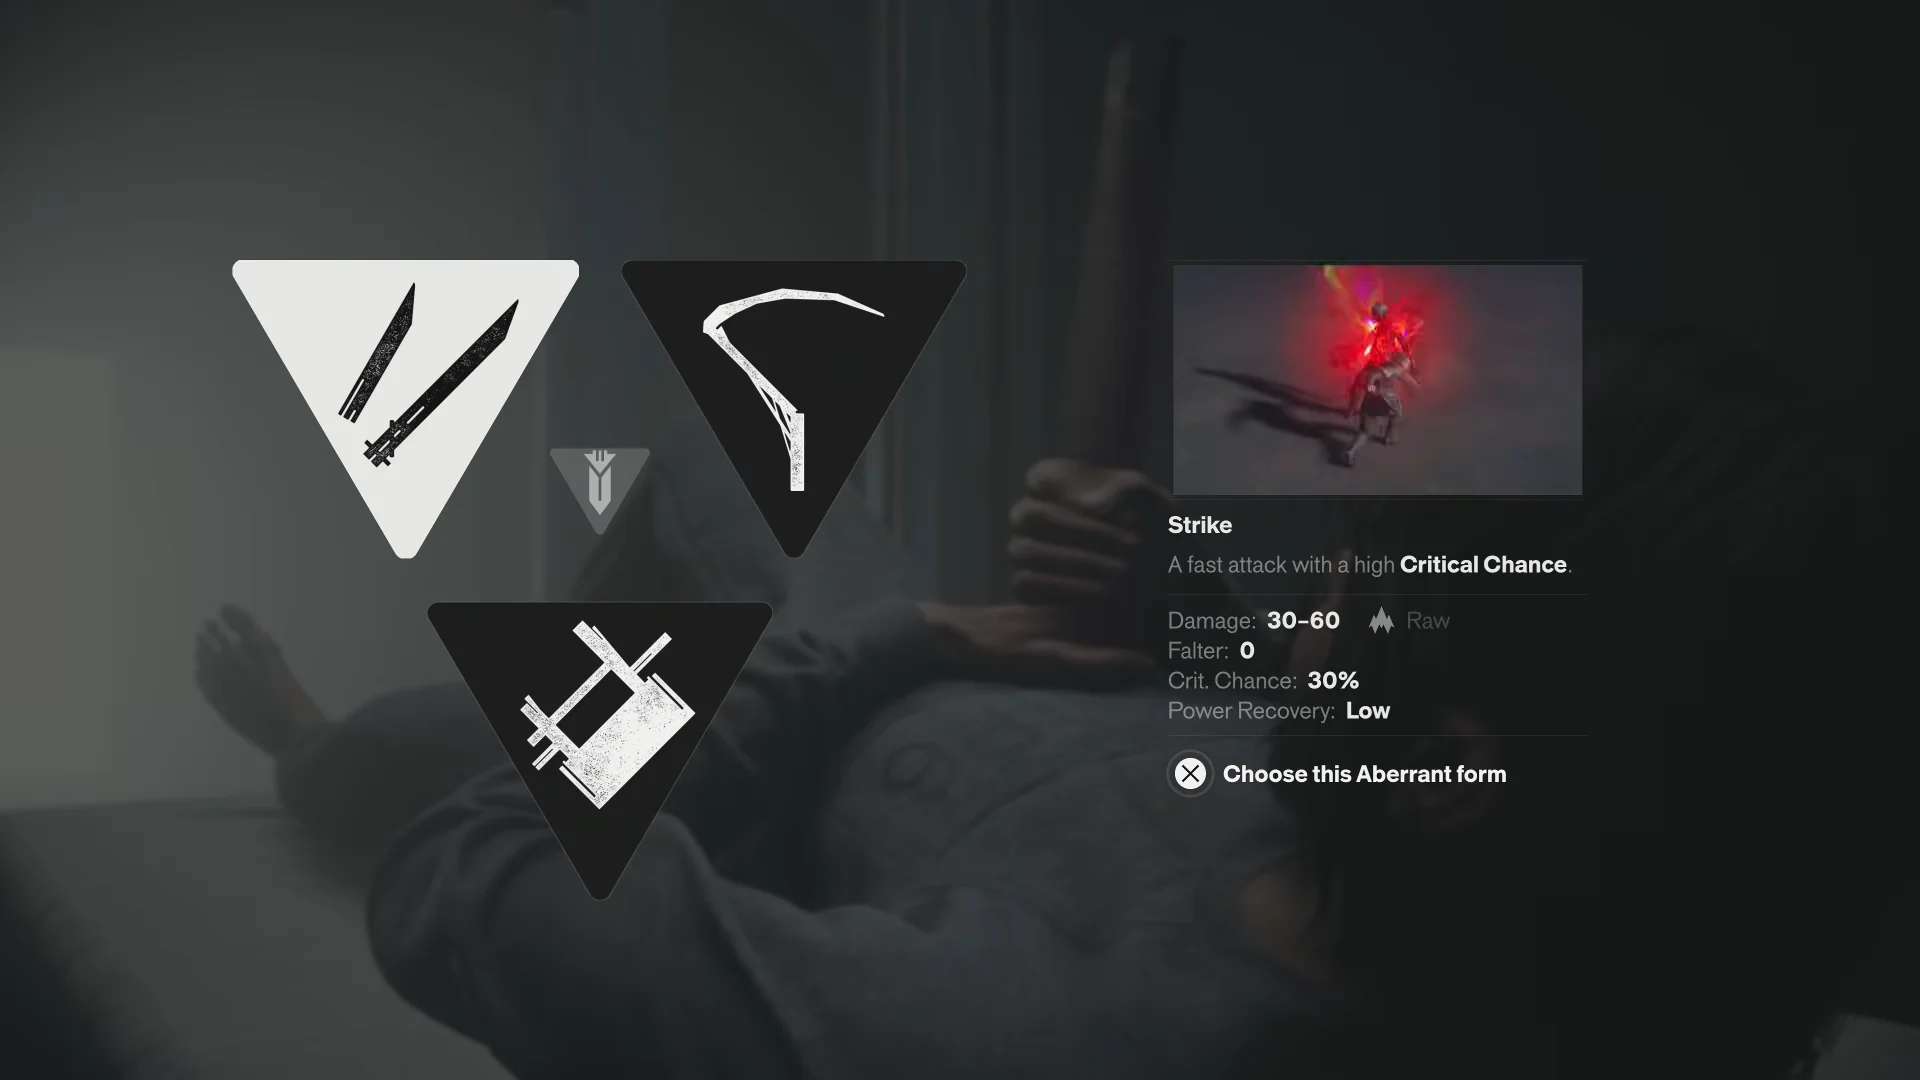
| Strike | 30–60 Raw | 30% | Fast single target |
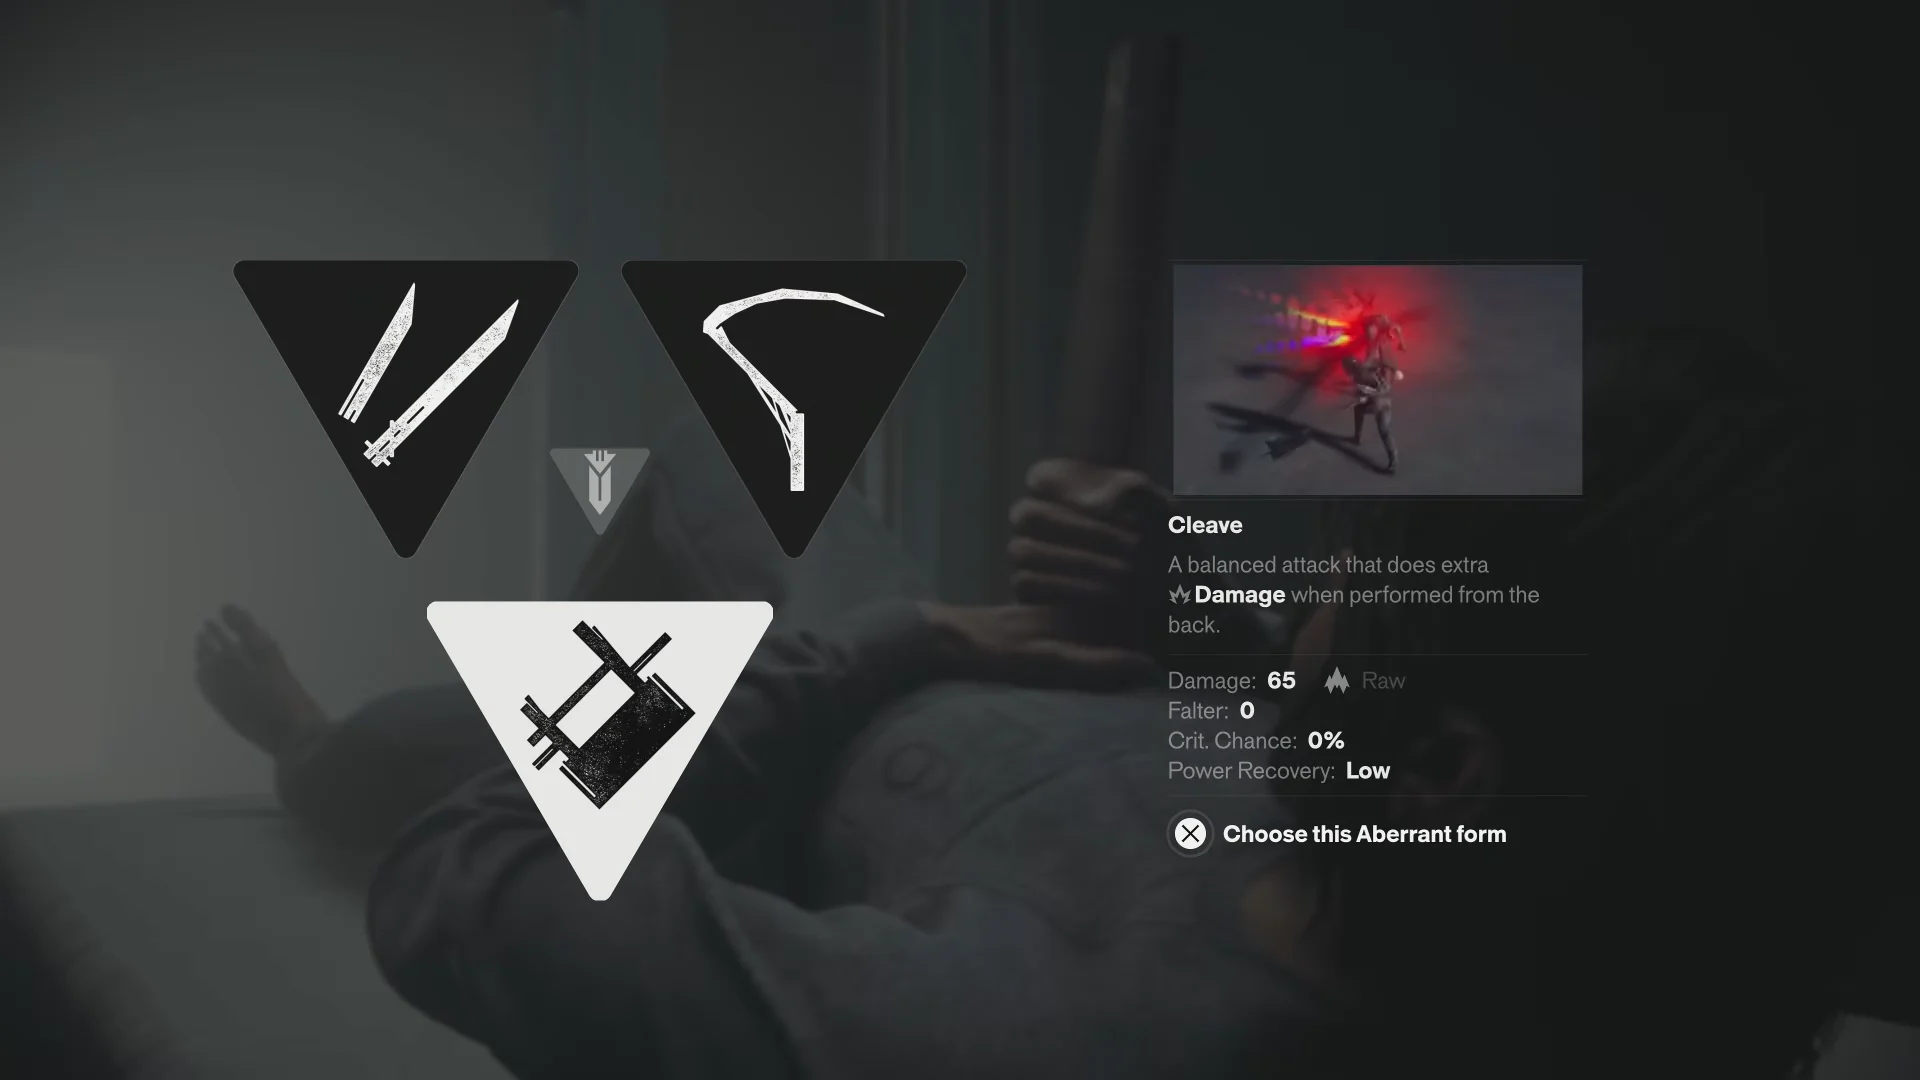
| Cleave | 65 Raw | 0% | Balanced, back attacks |
Glaive takes the shape of a scythe with broad reach. Its wide swings clear groups and push enemies back, which keeps some distance during melee scrums.

Strike splits the Aberrant into dual blades built for quick, aggressive hits. The high critical chance makes it strong against smaller enemies you want to shred fast.
Cleave is the balanced choice and a dependable pick across most fights. It deals extra damage when you strike from behind, so it rewards positioning around enemies.
Secondary forms
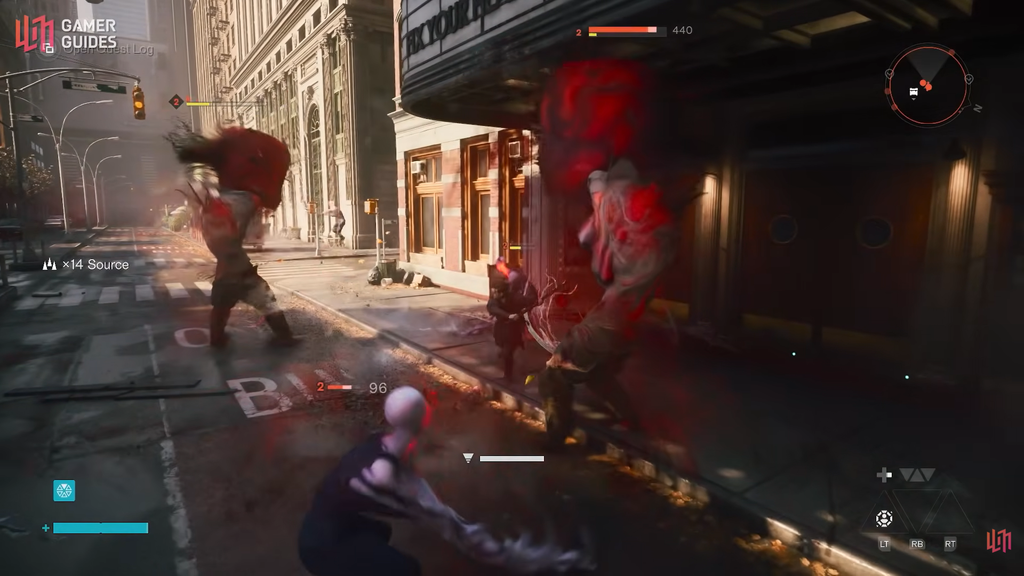
Secondary forms handle a different range or tempo that you switch into during a combo. There are three to unlock.
- Crush — a heavy hammer for knocking enemies down, and it can be charged for more damage.
- Extend — a whip that strikes several targets at long range, with chargeable attacks for extra flexibility.
- Drill — a motorized spear that charges as you hold the attack and applies Falter once charged.
Combo Finishers
Combo Finishers sit in their own slot and cap off an attack string. They add variety to Dylan’s melee and push his damage output higher when paired with his combat abilities.
You confirm a form or node is yours when it shows as unlocked in the tower interface and the shape becomes selectable for Dylan. If you run out of Living Shards or other materials, keep exploring Manhattan and clearing activities to top up, then head back into The Gap to finish the purchase.