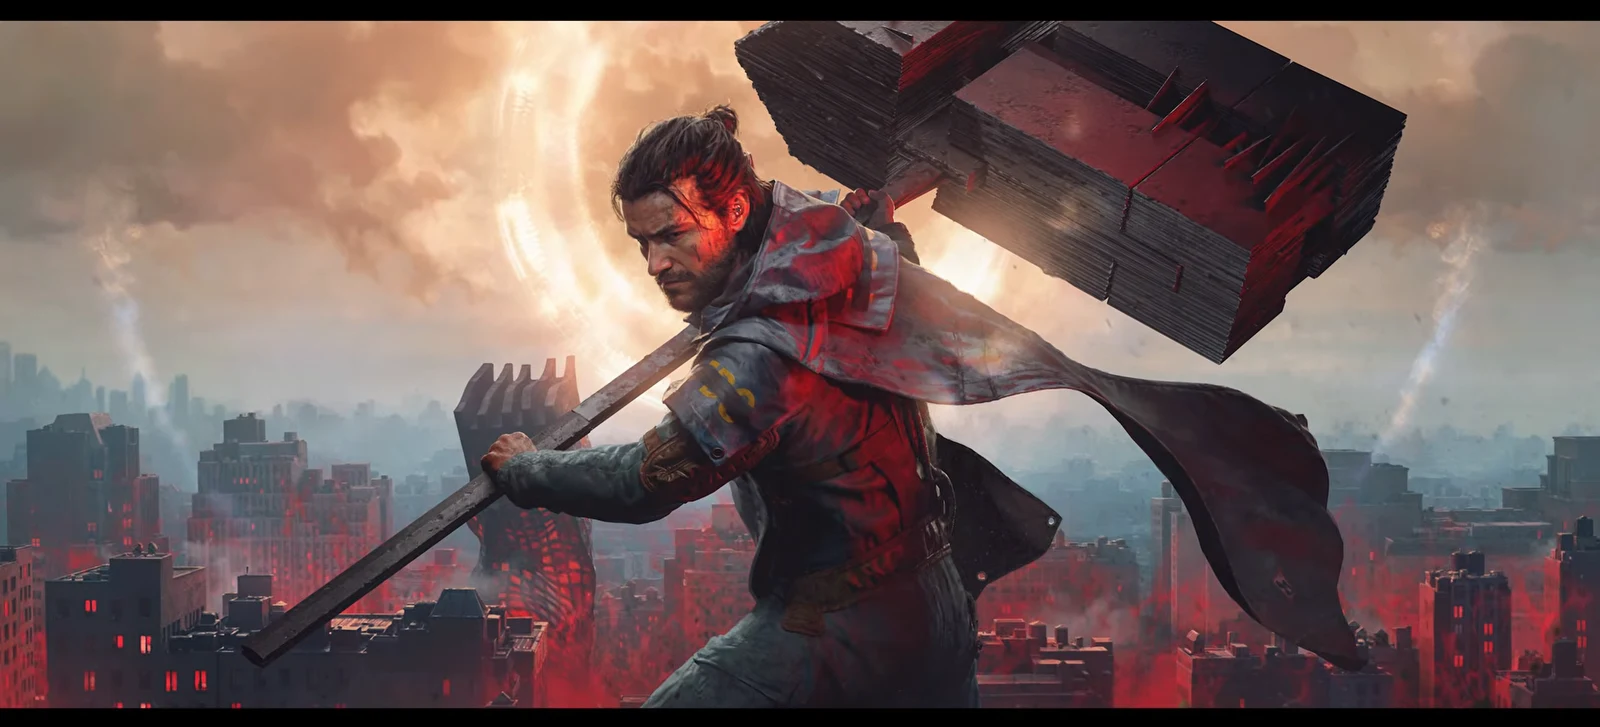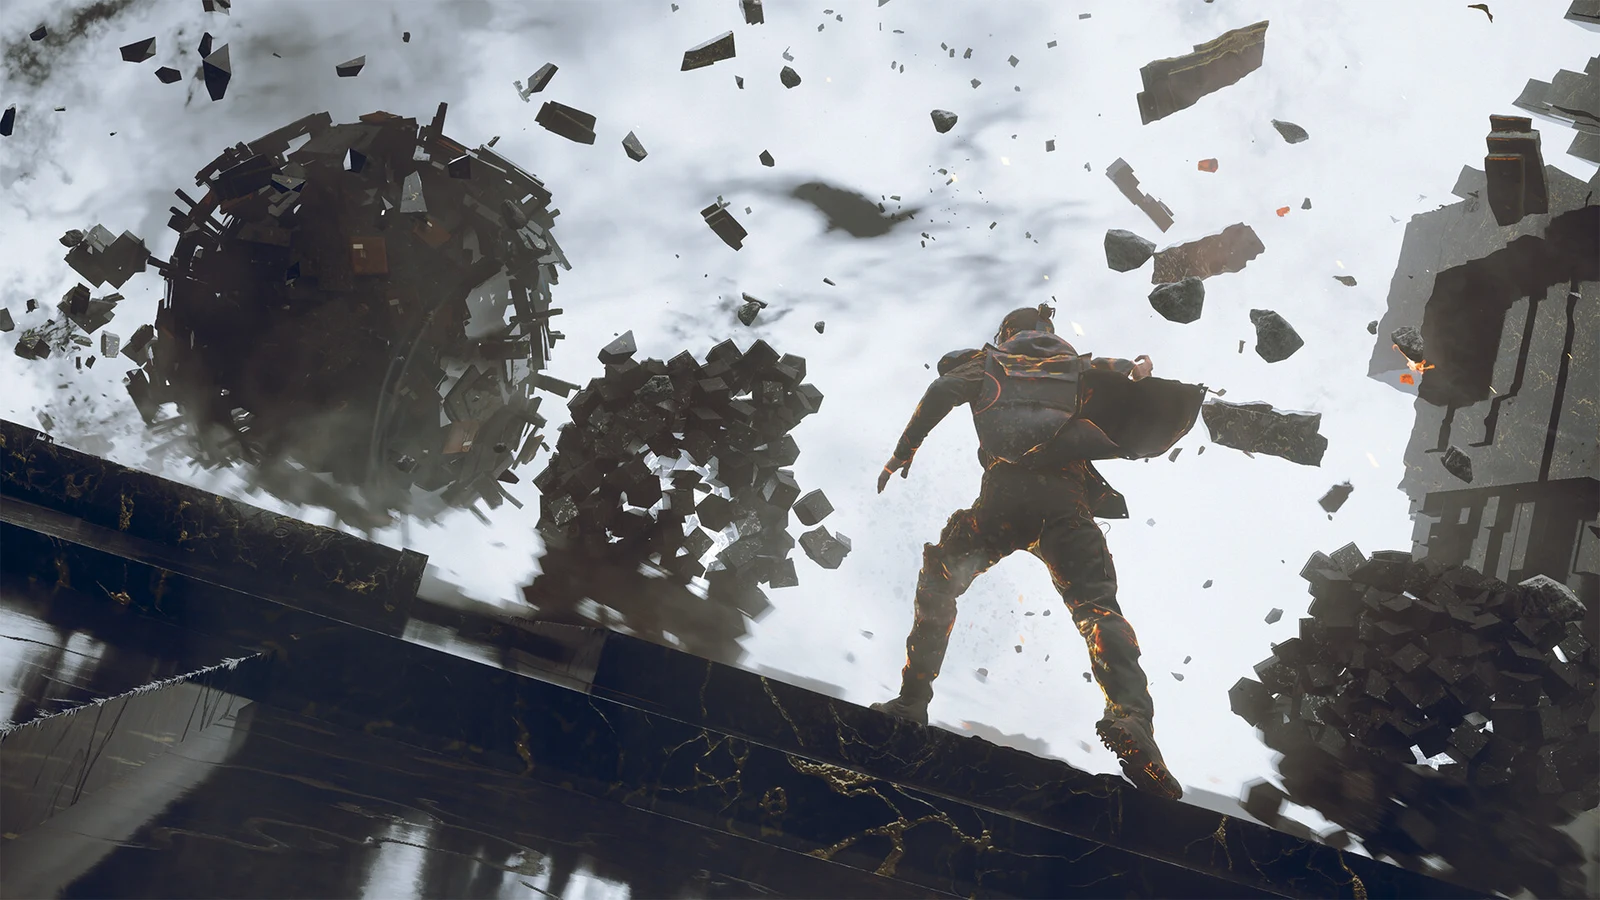
Control Resonant runs on Remedy’s Northlight engine, and its Ultra presets push even strong graphics cards hard, mostly through path-traced lighting, dense atmospheric effects, and heavy physics during combat. You do not need to drop the game to a bare-bones look to hit a stable frame rate. A handful of settings account for most of the load, and turning those down returns the biggest gains while the visuals stay close to maximum.
Quick answer: Set the Ray Tracing Preset to Off, run an upscaler at Balanced with 2x Frame Generation, and drop Global Illumination, Volumetric Lighting, and Screen Space Reflections to Medium. That combination clears the largest frame-rate costs.
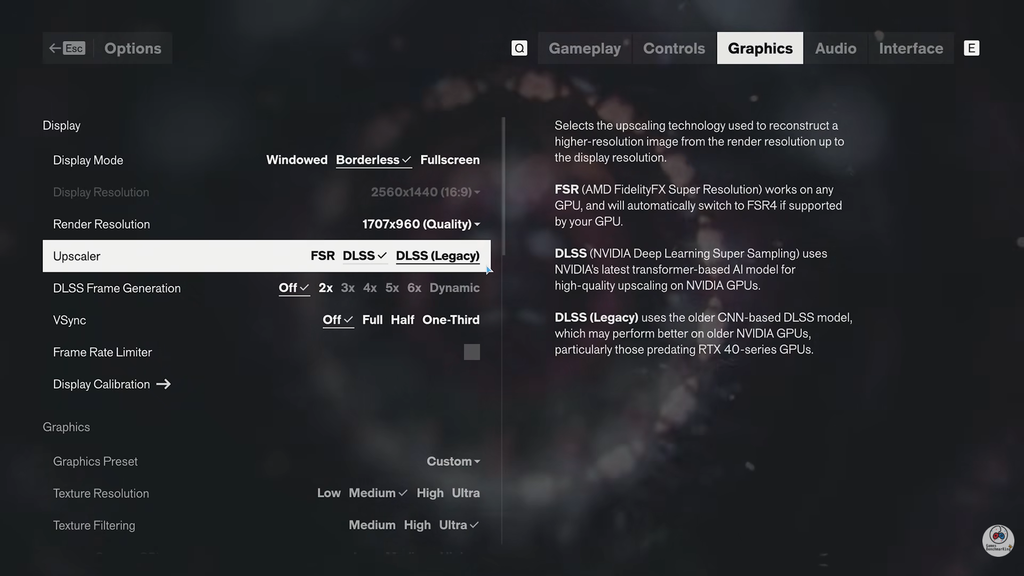
Control Resonant PC system requirements
This game demands substantial hardware: even its minimum setting needs 16 GB of RAM, an 8 GB GTX 1070-class GPU, and a 120 GB SSD. Cards older than the 1070 are likely to struggle on the lowest preset. The GPU matters much more than the CPU when determining which tier you can run. Check the complete requirements on the Control Resonant Steam page.
| Component | Minimum | Recommended |
|---|---|---|
| OS | Windows 10/11 (64-bit) | Windows 10/11 (64-bit) |
| CPU | Intel i5-8500 / Ryzen 5 3500 | Intel i7-10700 / Ryzen 7 3700X |
| RAM | 16 GB | 16 GB |
| GPU | GTX 1070 / RX 5600 XT / Arc A580 | RTX 3060 Ti / RX 6700 XT / Arc B580 |
| Storage | 120 GB SSD | 120 GB SSD |
The minimum target is 1080p at 30 FPS on Low with Quality upscaling and ray tracing off. The recommended target is 1440p at 60 FPS on Medium with Balanced upscaling, again with ray tracing off. None of the official tiers assume Frame Generation, so those numbers reflect fully rendered frames.
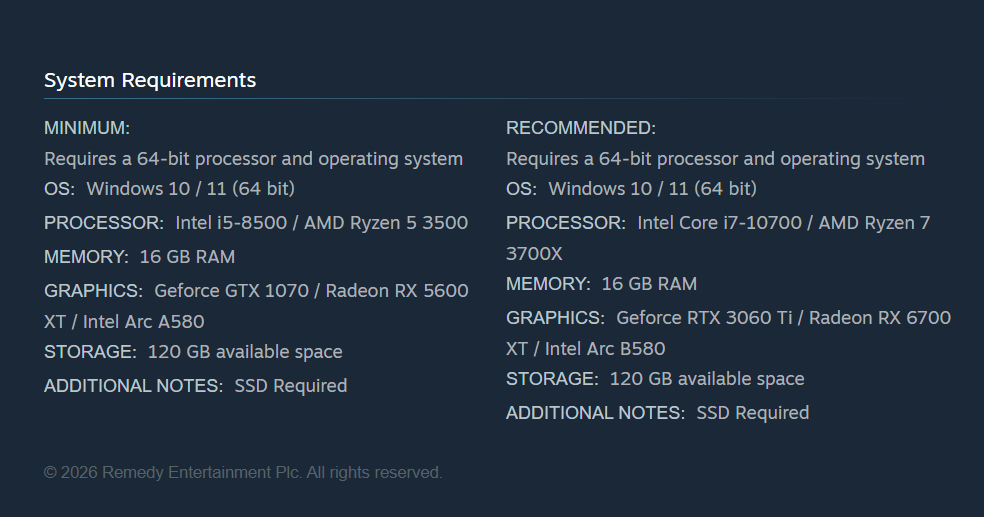
Display, upscaling, and Frame Generation
Match the output resolution to your monitor, then let an upscaler render the internal image. On RTX cards use DLSS; on Radeon, GTX, and Intel Arc cards, use FSR. There is no XeSS option. A render preset of Balanced is a solid start for most cards, and Quality suits 1080p or 1440p if you have headroom. Avoid very low internal resolutions at 1080p, since the picture turns soft.
With FreeSync or G-SYNC enabled, leave VSync disabled. For a fixed-refresh display, VSync can cap the game at a fraction of the screen’s refresh rate. Instead, enable the frame-rate limiter and choose a rate your system can sustain, such as 141 FPS on a 144 Hz panel.
Frame Generation doubles the displayed frame rate at the 2x setting. Higher multipliers add input lag that works against fast melee combat, so 2x is the sweet spot. Enable it only once your base frame rate already sits near 50 to 60 FPS, because Frame Generation smooths a stable rate rather than rescuing a weak one.
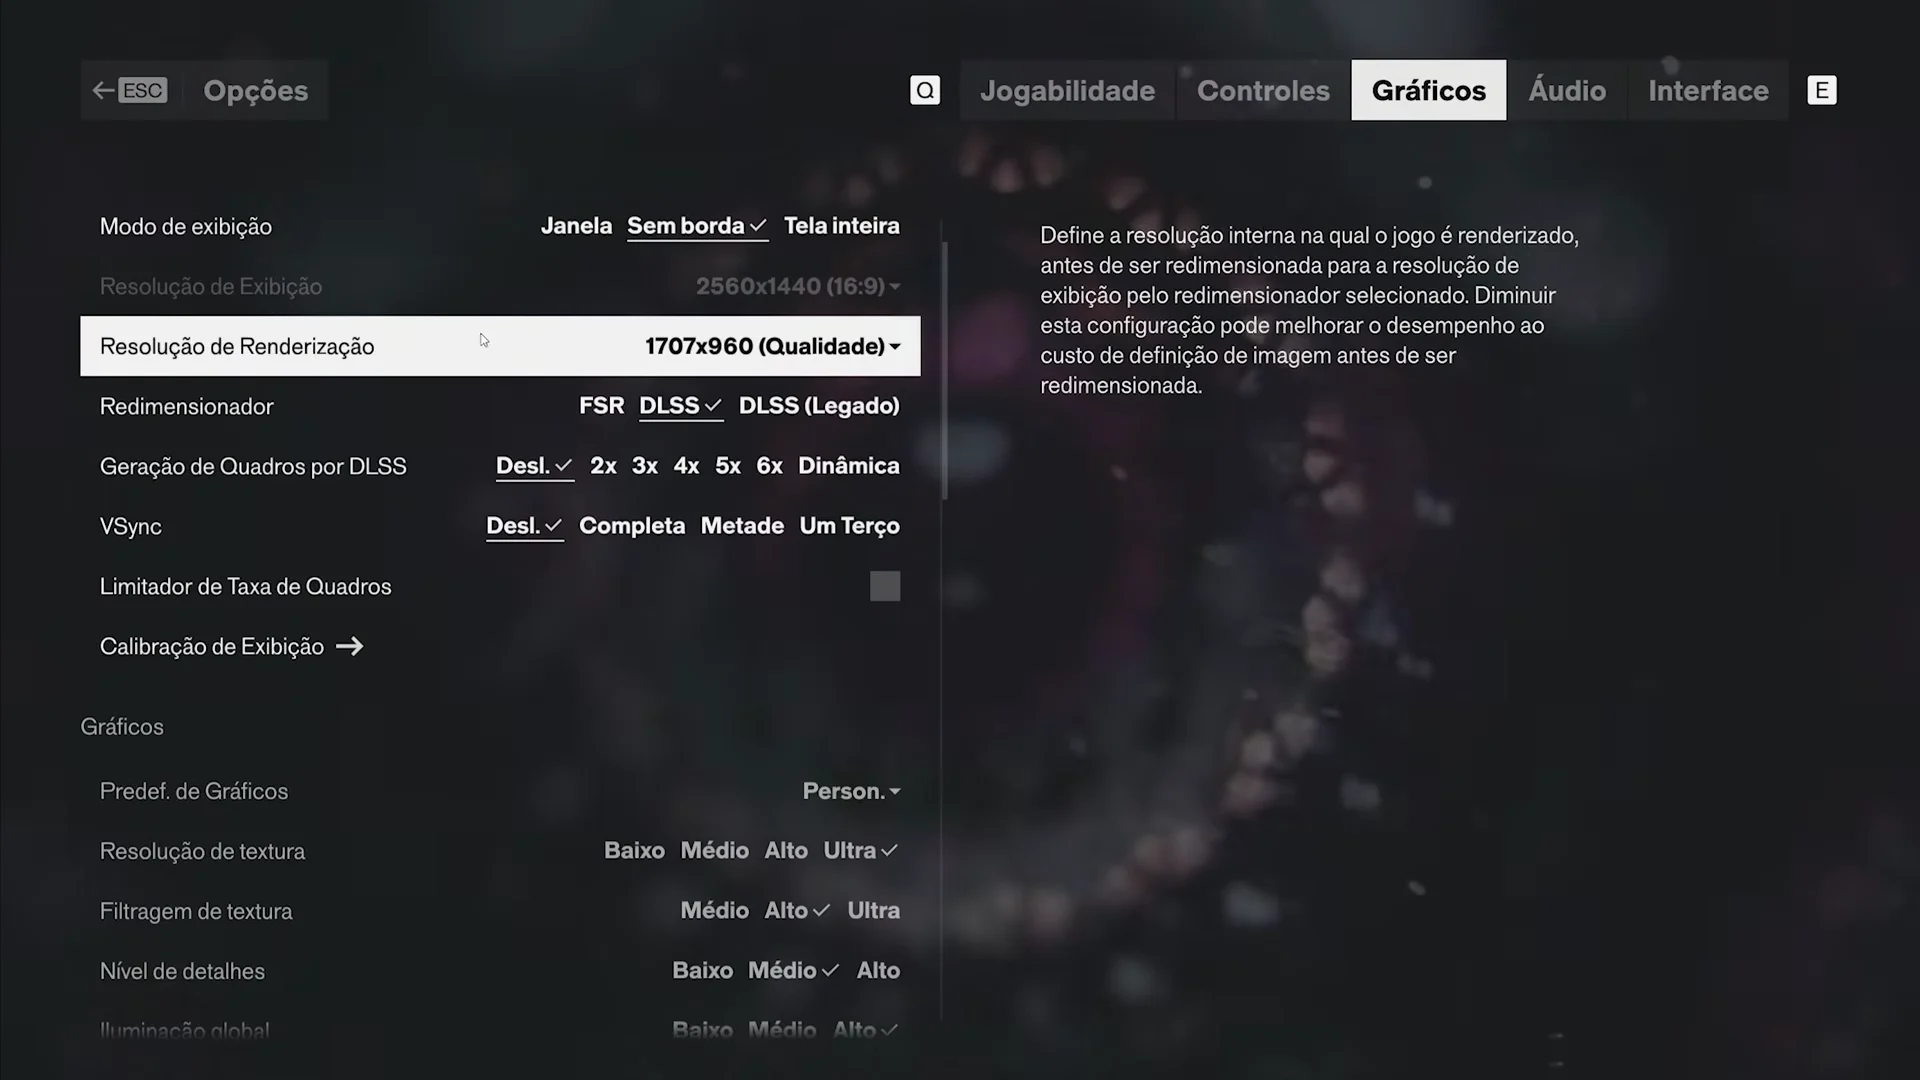
Best general graphics settings
These values keep the environment detailed while trimming the effects that cost the most. Texture Resolution scales with your card’s memory, so set it by VRAM rather than by preset.
| Setting | Recommended |
|---|---|
| Render Resolution | Balanced |
| Upscaler | DLSS (RTX) / FSR (all others) |
| Frame Generation | 2x |
| Texture Resolution | By VRAM (see below) |
| Texture Filtering | High |
| Level of Detail (LOD) | Medium–High |
| Global Illumination | Medium |
| Volumetric Lighting | Medium |
| Volumetric Spotlight | Medium |
| Fog | Medium–High |
| Shadow Map Resolution | Medium |
| Shadow Map Filtering | High |
| Shadow Map Detail | Medium |
| SSAO | On |
| Screen Space Reflections (SSR) | Medium |
| SDF Reflections | Medium |
Set Texture Resolution by VRAM
Textures mainly consume video memory, not raw GPU power, so match this setting to your card and lower it only if the game stutters from running out of memory.
- 6 GB VRAM: Low
- 8 GB VRAM: Medium
- 10 GB VRAM: High
- 12 GB+ VRAM: Ultra
Level of Detail
Level of Detail sets how far objects are culled and how complex their geometry is. At Medium, distant geometry and shadows remain steady while moving; High reduces noticeable pop-in without causing a CPU bottleneck. Use High if your GPU has performance to spare, or Medium for smoother traversal.
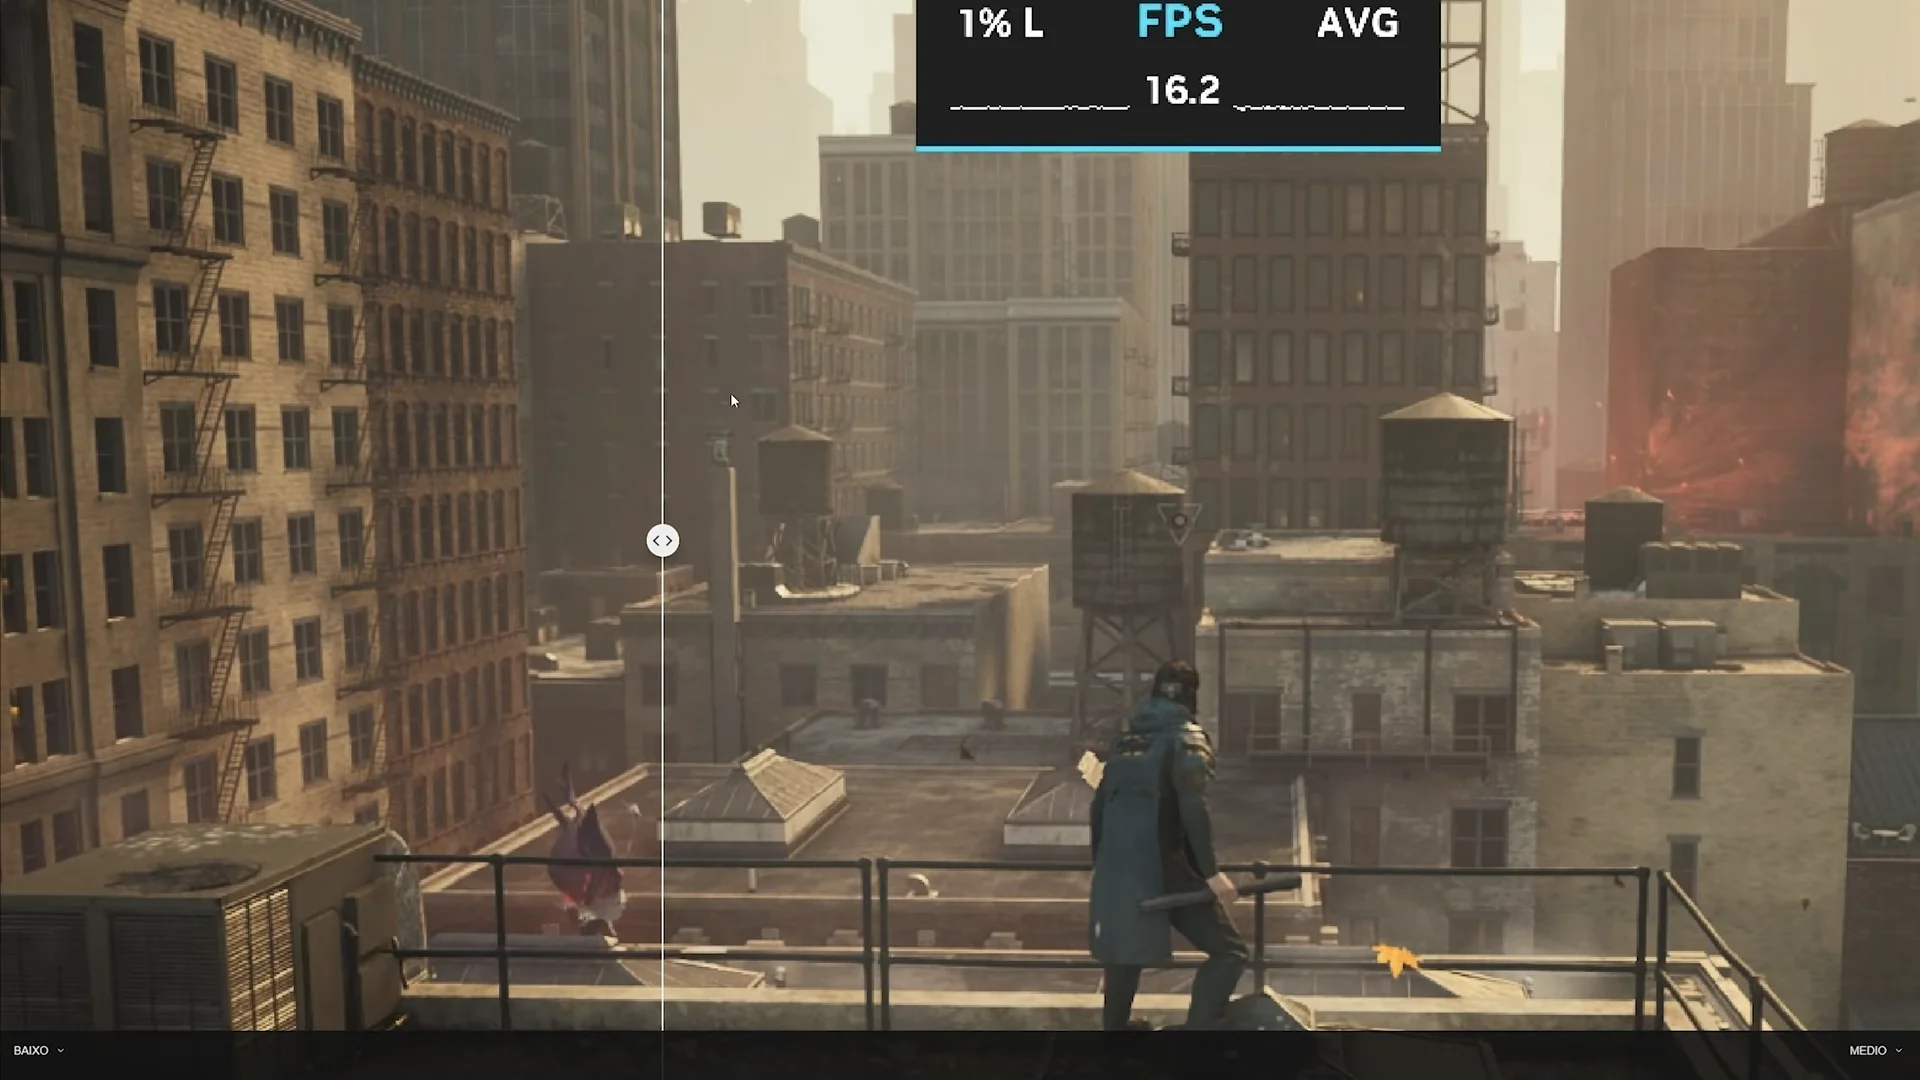
Settings that cost the most frames
A few effects are responsible for most large frame-rate swings. Handle these first when your target drops.
Volumetric Lighting and Spotlights
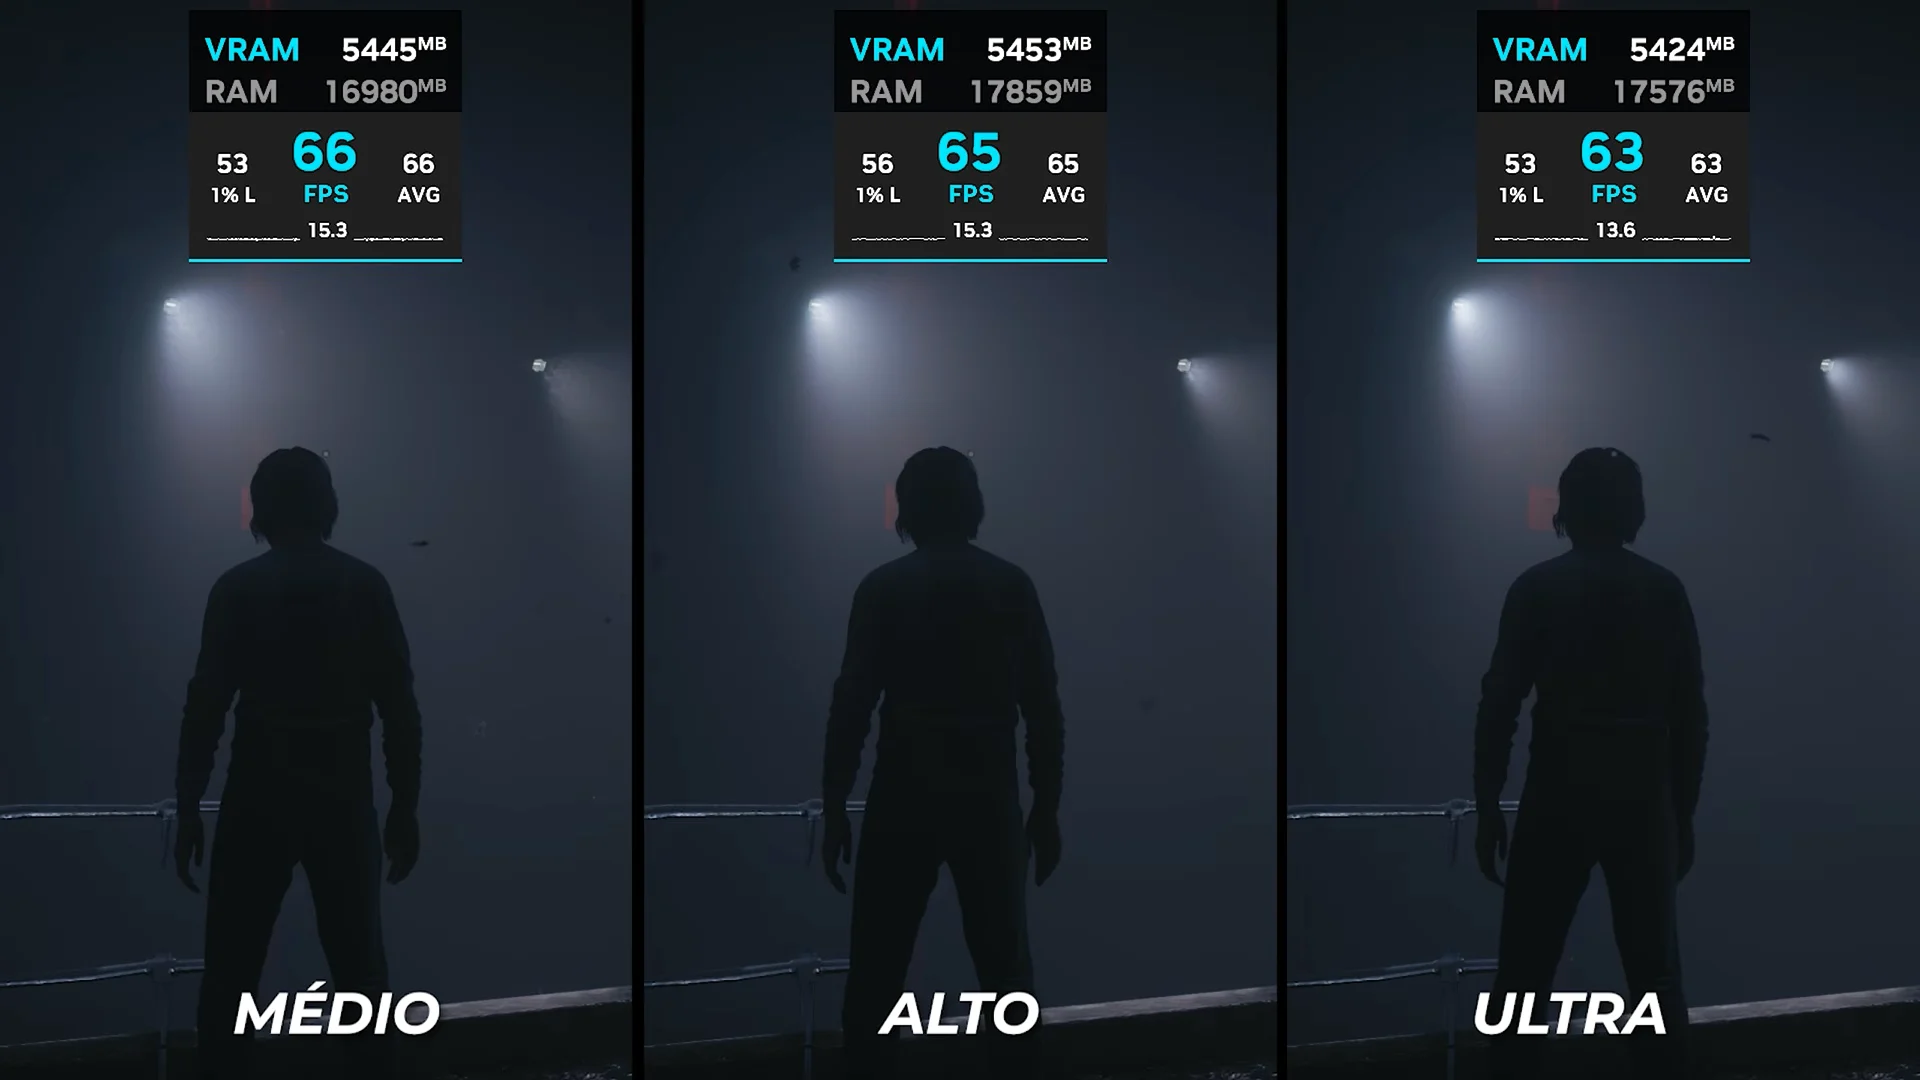
Volumetric Lighting handles light scattering through the air, the god rays and hazy shafts. Its Ultra step is one of the sharpest frame drains in the game, cutting a mid-60s frame rate down toward the high 40s. Medium keeps the atmosphere intact at a fraction of that cost. Volumetric Spotlight controls the cones cast by lamps and spotlights, and Medium there also holds the look while avoiding the Ultra penalty.
Fog and Global Illumination
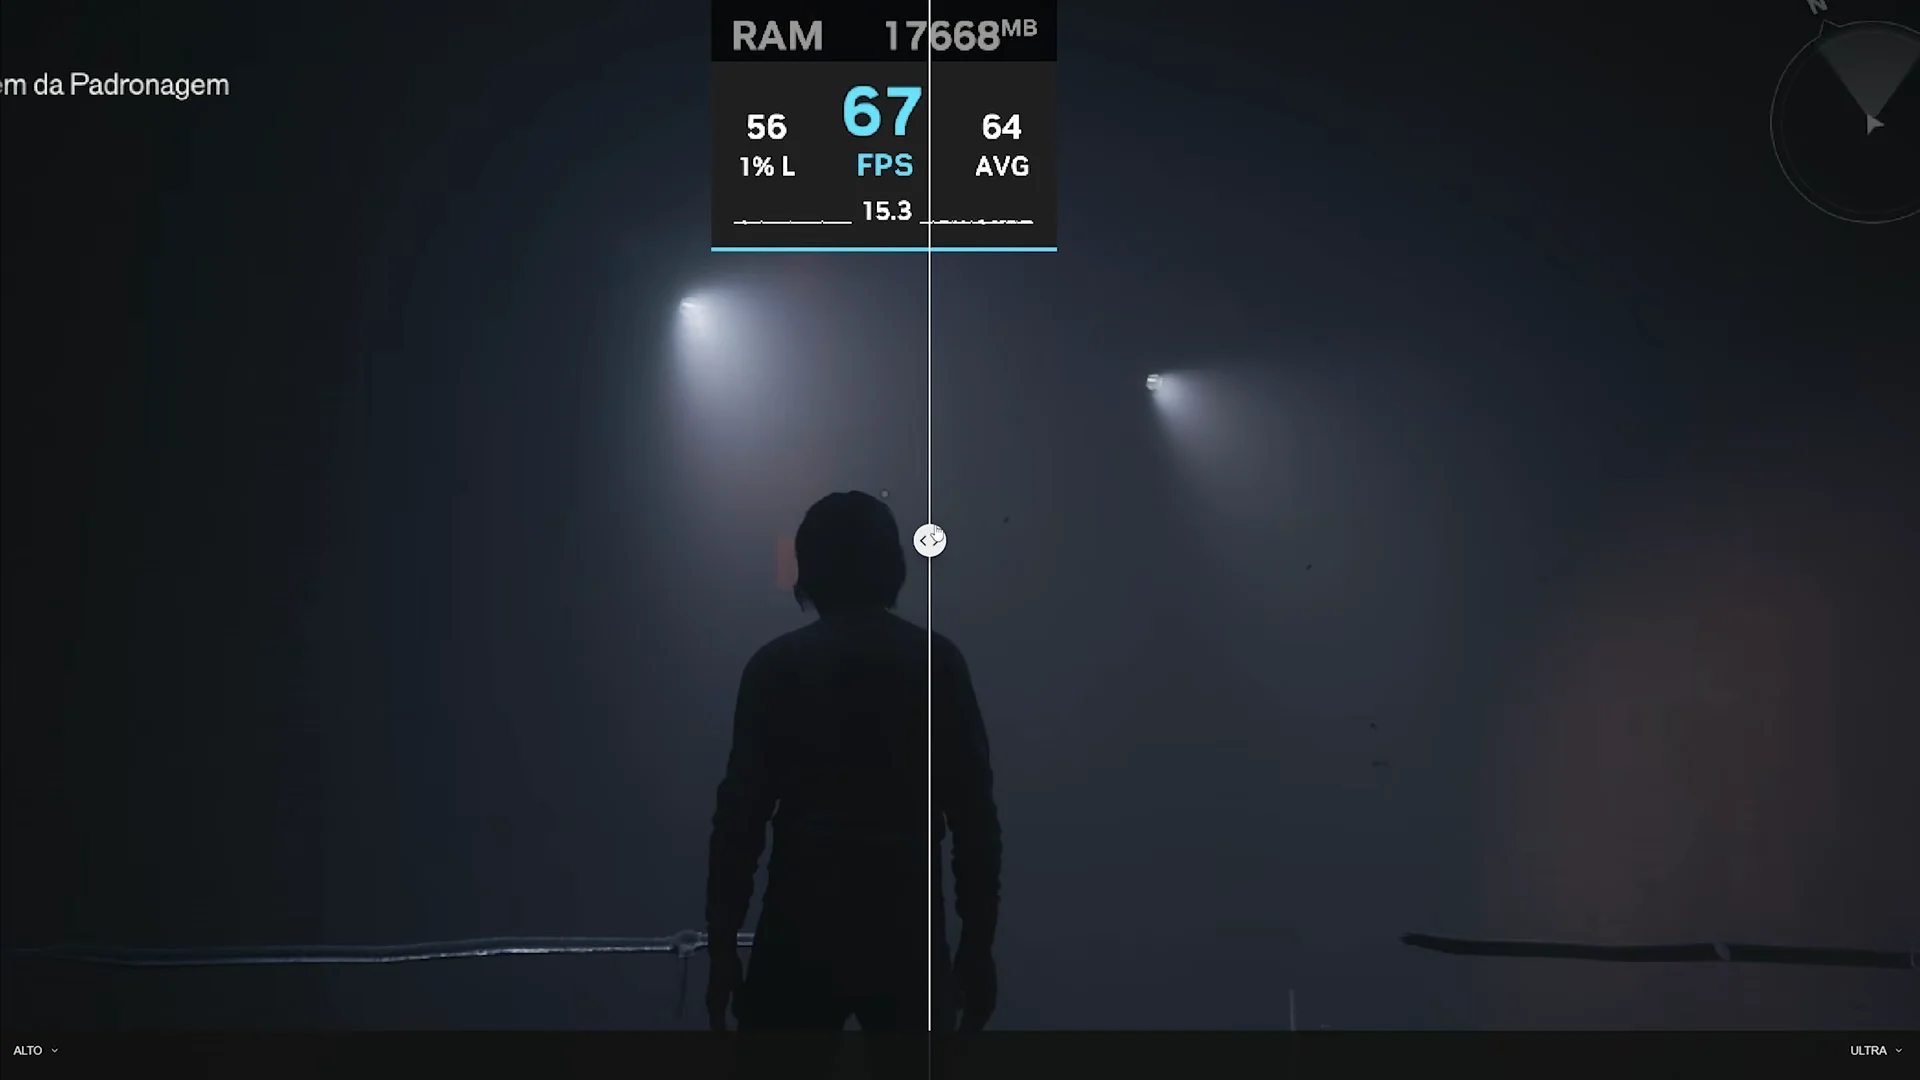
Fog sets the density and resolution of ambient haze across areas like The Park zone. High adds a few extra frames of cost through heavier scattering, so Medium is the safer pick on tighter hardware while High is fine when you have spare performance. Global Illumination governs real-time light bouncing, and Medium recovers a clear chunk of frames while keeping deep, natural ambient lighting.
Shadows and reflections
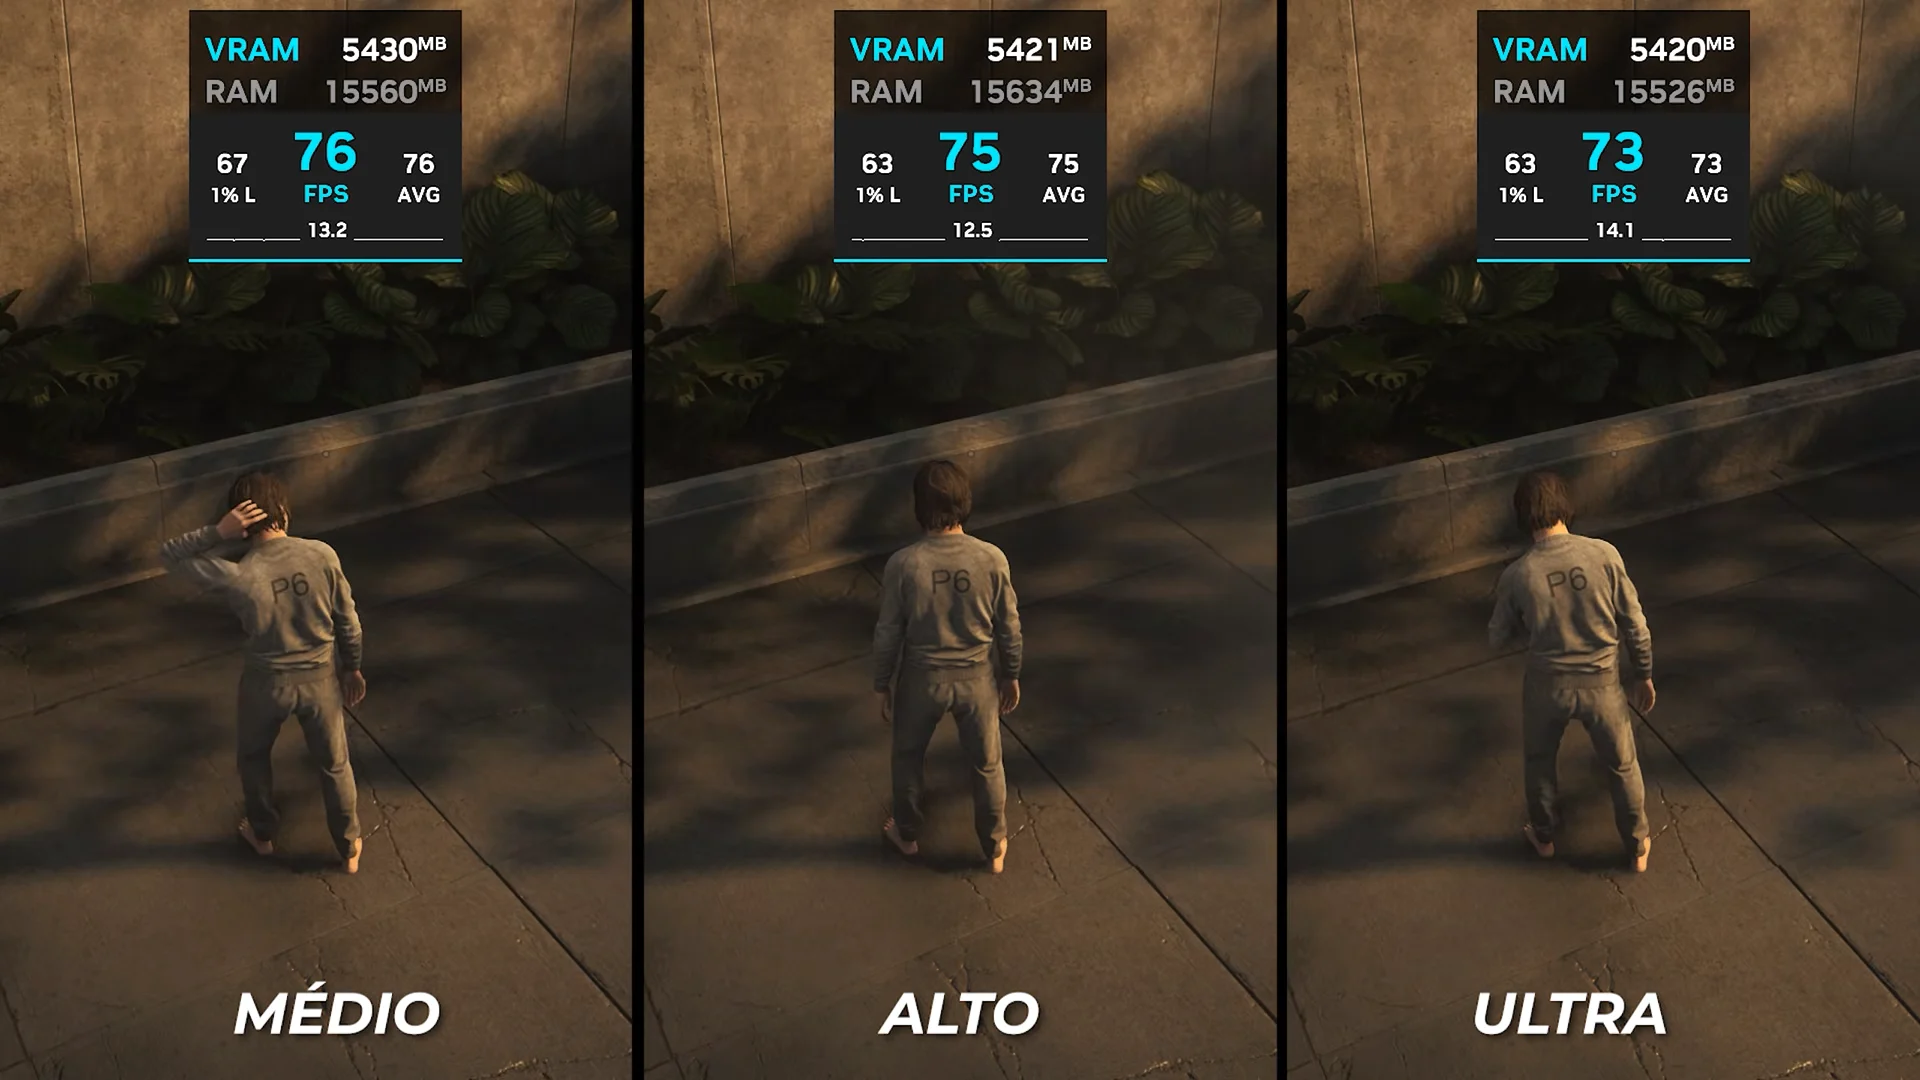
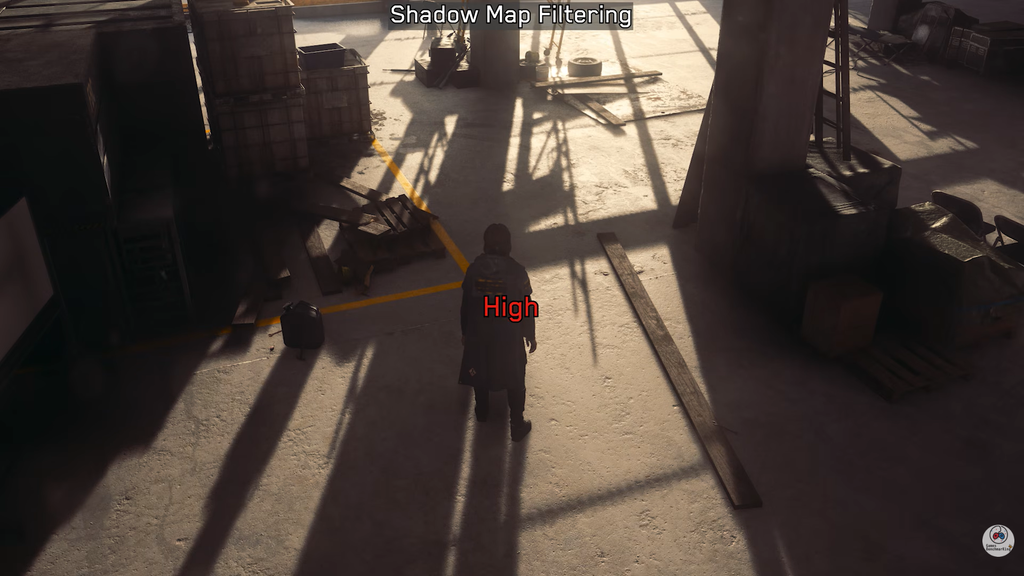
Shadow Map Resolution decides shadow sharpness at a VRAM cost, and Medium avoids the small hit that higher steps add. Shadow Map Filtering can stay at High since it softens edges with almost no performance difference. For reflections, Screen Space Reflections at Medium covers wet streets and glass, and SDF Reflections at Medium fills in off-screen geometry without the extra load of higher steps.
Shadow Map settings, SSR, and SSAO are disabled automatically when ray tracing is active, so they only matter with the Ray Tracing Preset off.
Ray tracing settings for maximum frames
Ray tracing is the single largest performance lever. Moving from off to full ray tracing at 1440p and 60 FPS raises the requirement from an RTX 3060 Ti to an RTX 4070 Ti, and full path tracing at 4K needs an RTX 5080. If high frame rates are the priority, set the Ray Tracing Preset to Off, because the game still looks strong on its raster lighting.
If you keep ray tracing on with a capable card, the heaviest sub-setting is Indirect Lighting, which enables full path-traced multi-bounce global illumination. Turn it off first when frames dip, since it causes the sharpest drop on mid-range RT cards. Transparency and Debris ray tracing add reflection and shadow detail for a cost that rarely pays off in busy Manhattan combat, so both can stay off.
| Ray Tracing setting | Value for high FPS |
|---|---|
| Ray Tracing Preset | Off |
| Direct Lighting | High (if RT on) |
| Indirect Lighting | Off |
| Indirect Lighting Denoising | Medium |
| Transparency | Off |
| Debris | Off |
| DLSS Ray Reconstruction | On |
DLSS Ray Reconstruction replaces the standard denoisers with AI reconstruction. It improves ray-traced clarity and can raise performance, so keep it on when ray tracing is enabled. When it is active, the separate Direct Lighting Denoising option is disabled.
Post-processing settings
Set Post-Processing Resolution to Render Resolution for high frames, since choosing Display Resolution can cost roughly 7 to 10 FPS. Turn Motion Blur off to keep the camera clear during traversal and combat. Depth of Field is down to taste, while Lens Distortion, Film Grain, and Vignetting are best left off for the sharpest image. These camera effects carry little to no performance cost, so they come down to preference and clarity.
What these settings deliver
On a system with an Intel i9-14900HX, an RTX 4080, and 32 GB of RAM, this configuration holds an average of 85 to 90 FPS with 1% lows around 65 FPS. You will know the tuning worked when the frame-rate overlay stays near your target through busy street fights instead of collapsing during heavy lighting or physics moments.
If frames still fall short, lower settings in this order: turn Indirect Lighting off, set the Ray Tracing Preset to off, drop Render Resolution one step, move the graphics preset down, and only reduce Texture Resolution last when your card runs out of memory. For very low-power devices, the built-in Handheld preset trades most visual quality for a smooth frame rate.