
Sanctum: Lightning Gale is a two-player puzzle dungeon in Berylline Vale, part of the Breezy Plains region. It runs on a simple split: one player twines with the lightning fox Bolty to charge batteries, fans, lifts and wires, while the other twines with the wind Animo Wisptis to ride updrafts and glide across gaps. Almost every room is one player holding a mechanism active while the partner moves.
Quick answer: Bring two players, twine one with Bolty and one with Wisptis, open all four chests as you pass them, then interact with the Terminus together to restore the Vein and clear the run.
Location, requirements and rewards
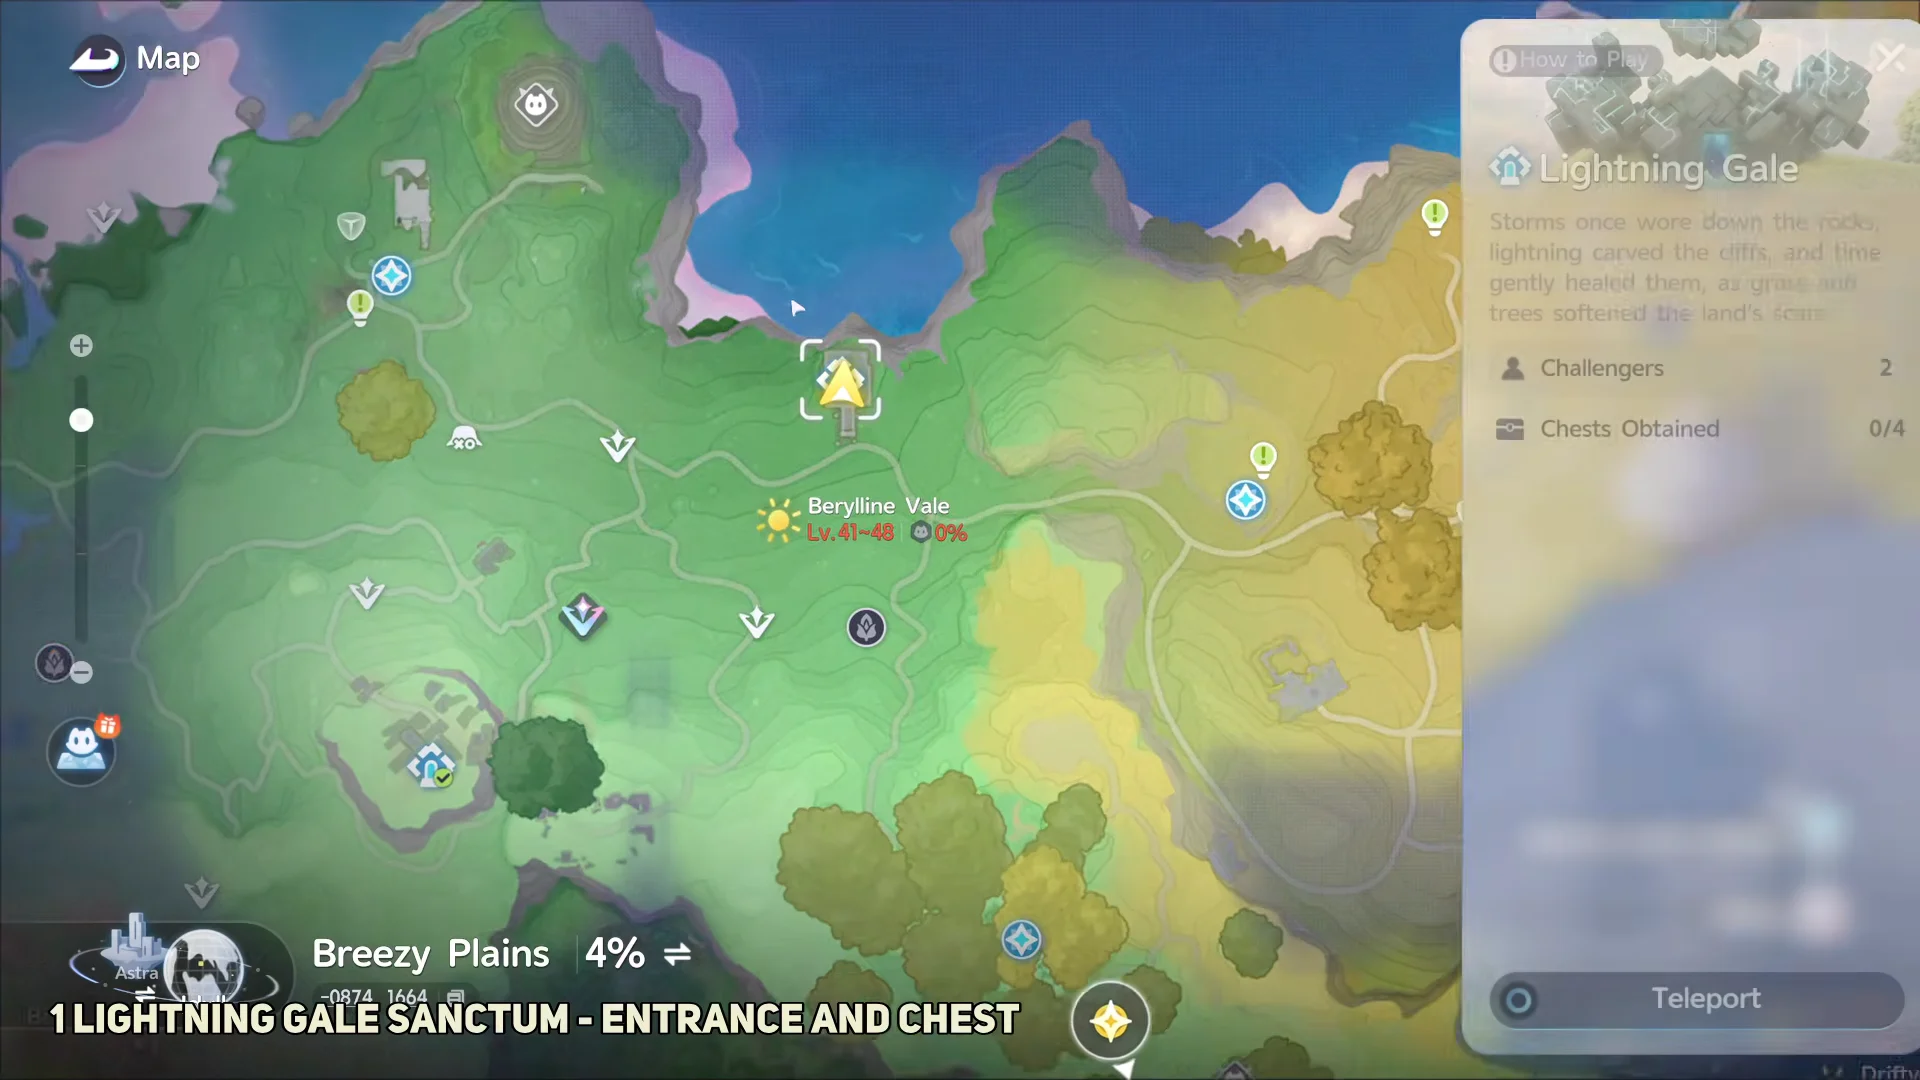
The entrance sits in the northern part of Berylline Vale. Open the world map, find the Lightning Gale marker and teleport in. The atlas pin is at 1640, 596.
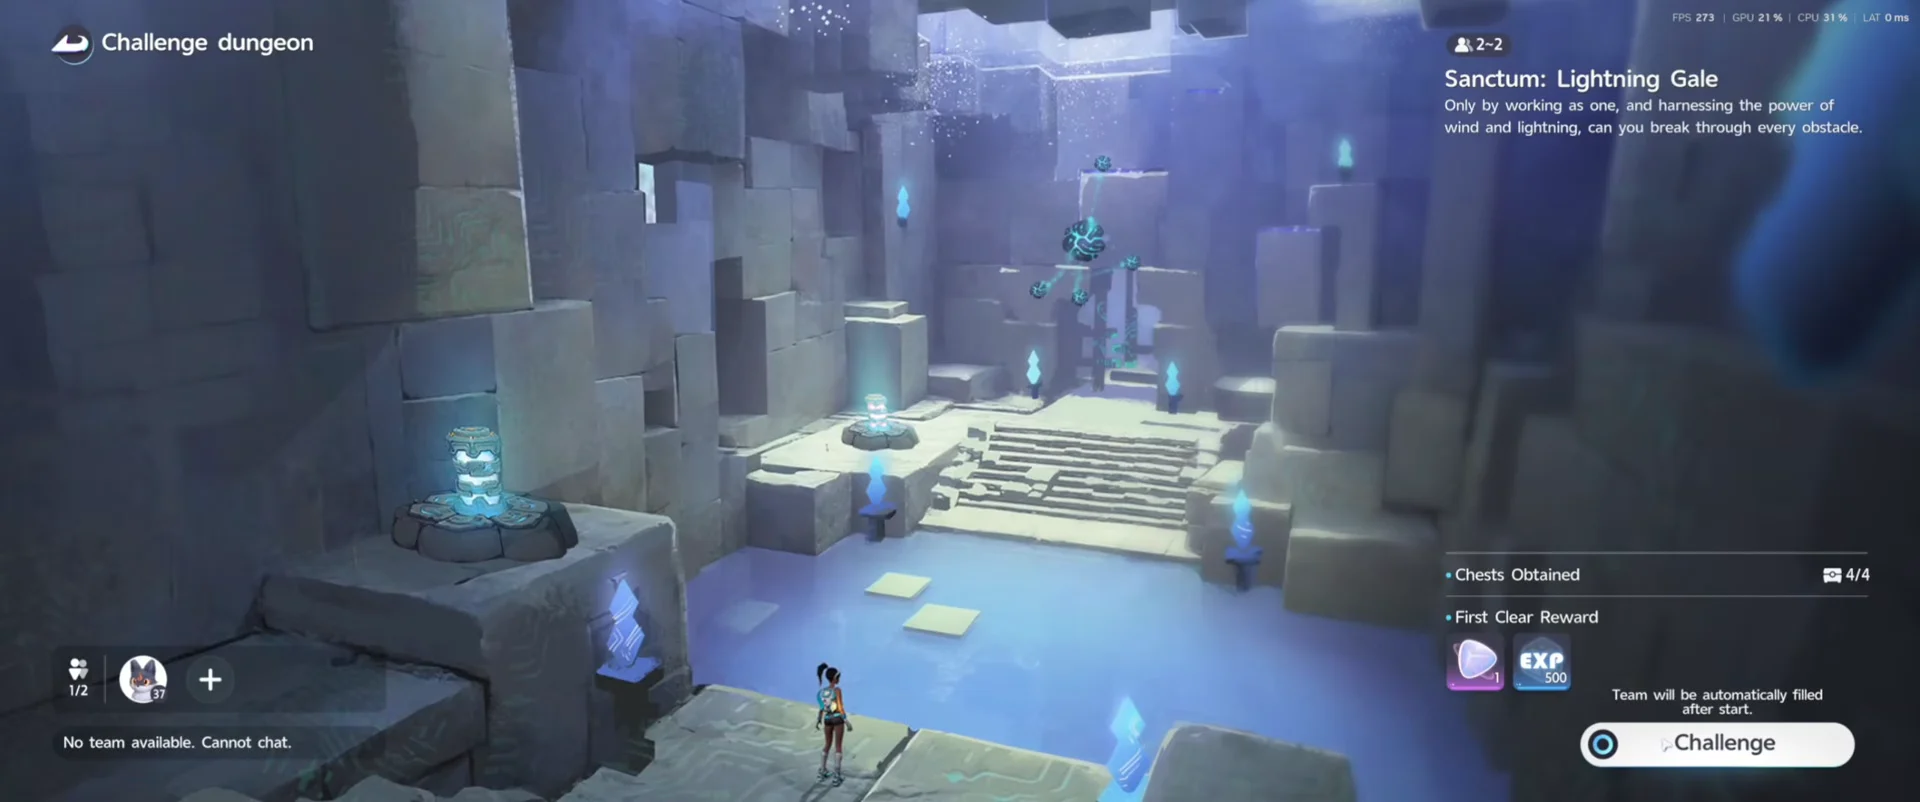
The dungeon needs exactly two challengers and cannot be cleared solo. The room supplies both trial Animo, so neither player has to own Bolty or Wisptis beforehand.
| Detail | Value |
|---|---|
| Region |  Berylline Vale (Breezy Plains) Berylline Vale (Breezy Plains) |
| Players | 2 (no solo option) |
| Hidden chests | 4 |
| Trial Animo | Bolty and Wisptis |
| First clear reward | Lumin Amber: Breezy Plains x1 and 500 EXP |
Select Challenge from the entrance card to begin. If you are not already in a party, the game fills the second slot by matchmaking with another player.
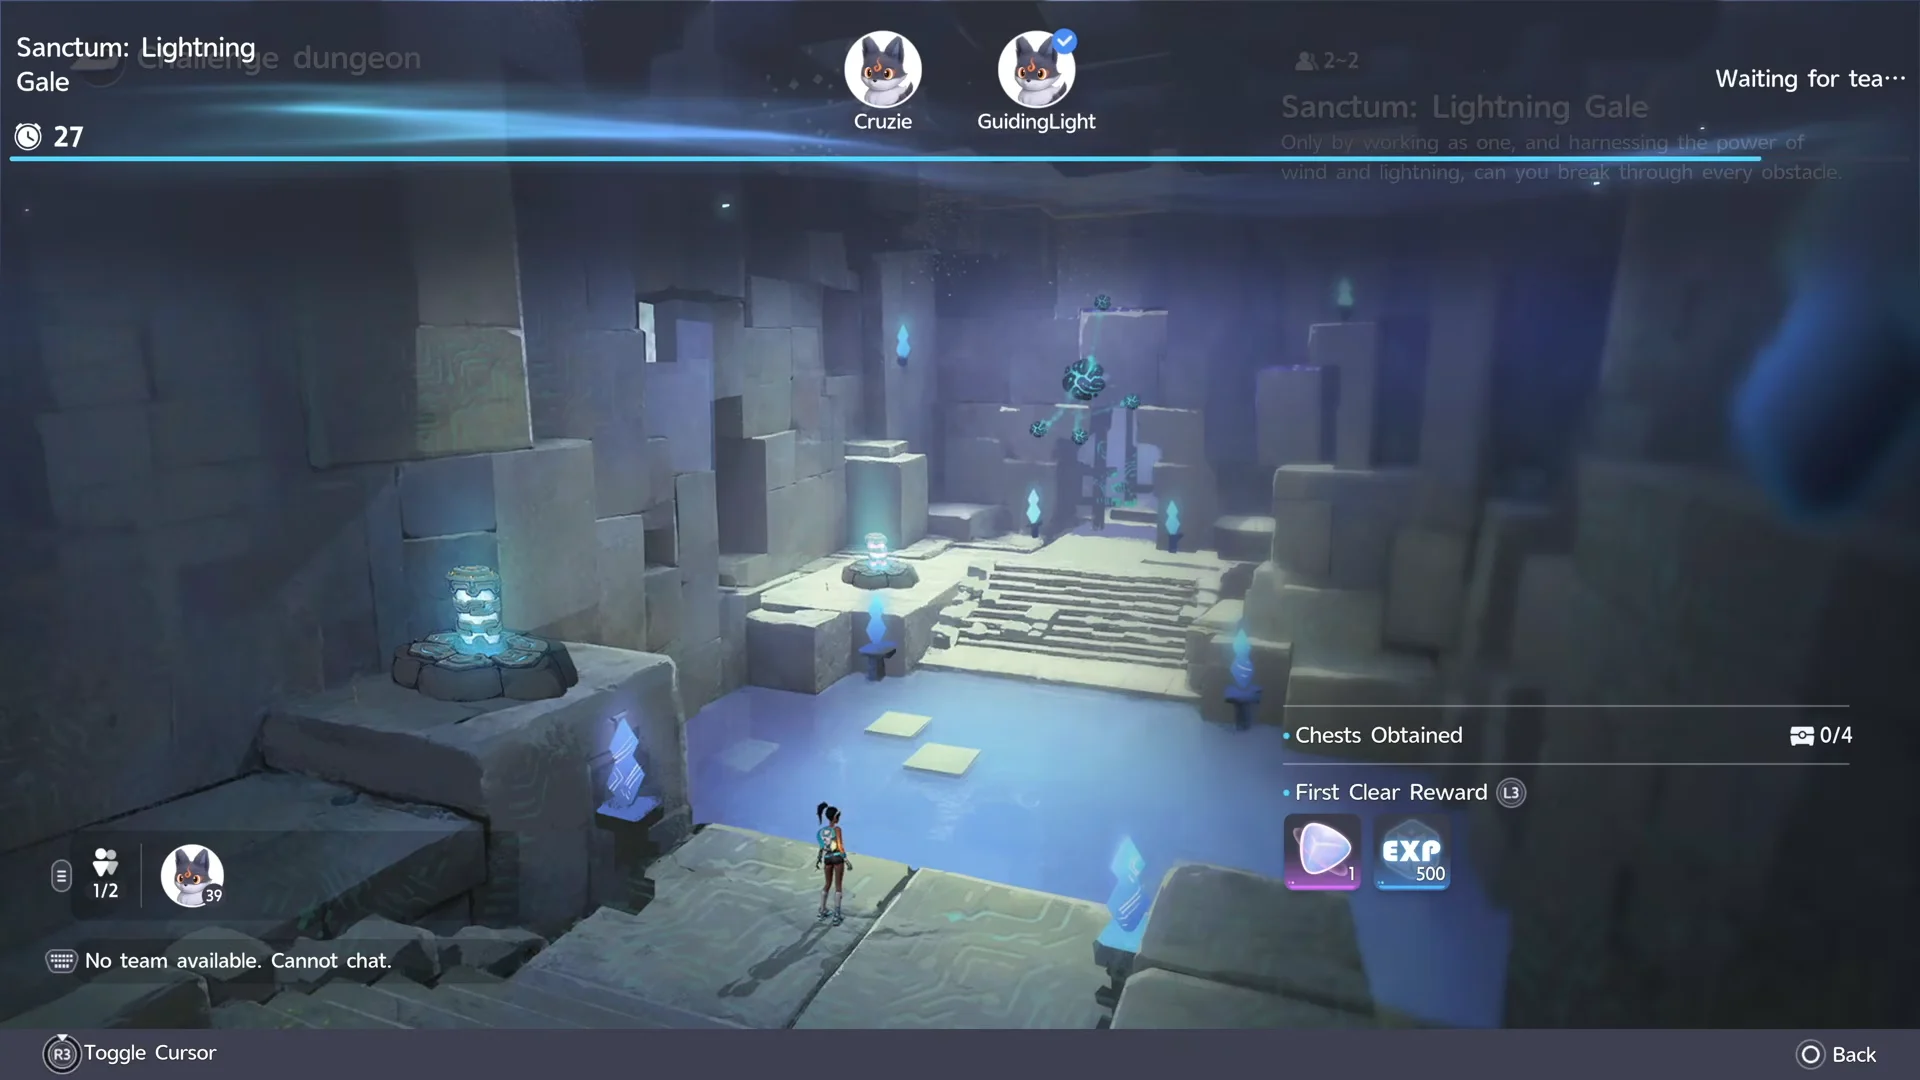
Once matchmaking finishes, confirm with the check icon to enter. Inviting your own partner gives you more control over the paired handoffs, since much of this dungeon depends on one player calling when a pad or circuit is live.
Bolty and Wisptis roles
At the outset, each Animo is trapped inside a statue. Each player twines with one and stays with it for the entire run. A second touch puts that Animo back in its statue, so take one apiece and don’t touch the statues again.

| Role | Animo | Job |
|---|---|---|
| Charger |  Bolty Bolty | Power batteries, fans, lifts and the fault wire; wet surfaces and metal conduct current |
| Mover |  Wisptis Wisptis | Ride fans and updrafts, glide gaps, and hold floor pads to send platforms |
Object handling is separate from either Animo. Untwine and use the Pathfinder Grab action to carry the metal crates, the wooden crate and the battery orbs. The tutorial calls it Grab, while the on-screen prompt reads Manipulate, then Drop with [E] or Throw with [R]. Use the mouse wheel to adjust how far the held object sits.
A glow in your hands shows only that you’re holding the object. Check that the fixed line switches to its powered appearance and that the linked gate, fan or lift responds; that confirms the circuit is complete.
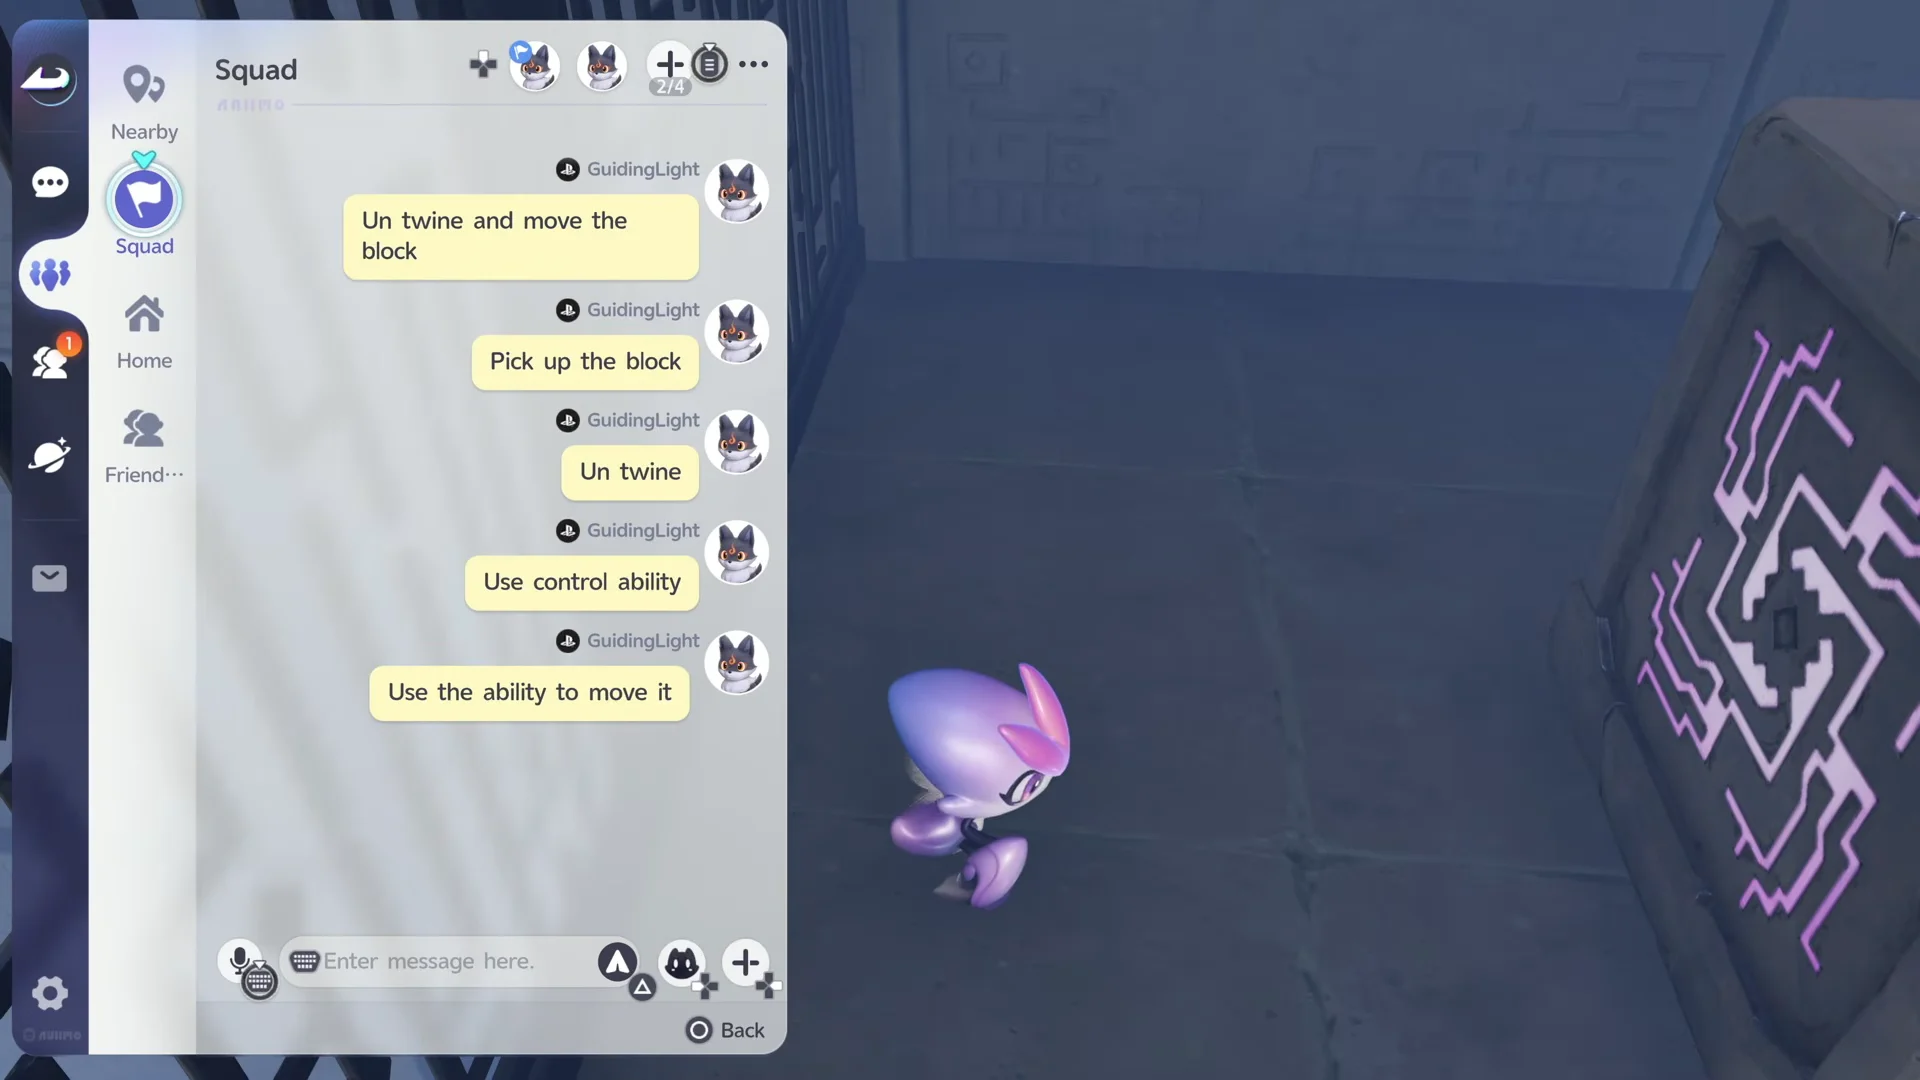
Announce each handoff verbally or in Squad chat: one player must establish the active state, then the other must use it before either player lets go of a pad.
Route through the sanctum
The layout folds back on itself: the outbound half runs along the high gallery, turns at the far end and returns above the Maharba Fault to the Terminus. In the steps below, Player A carries Bolty and Player B carries Wisptis.
All 4 chest locations
Collect all four chests before interacting with the Terminus at the end; your combined total appears on the counter at the top of the screen. Chest rewards aren’t fixed, but one may contain Glimmer x10, Sparkling Crystal x10, Credits x10000 and Heritage Amulet x1.
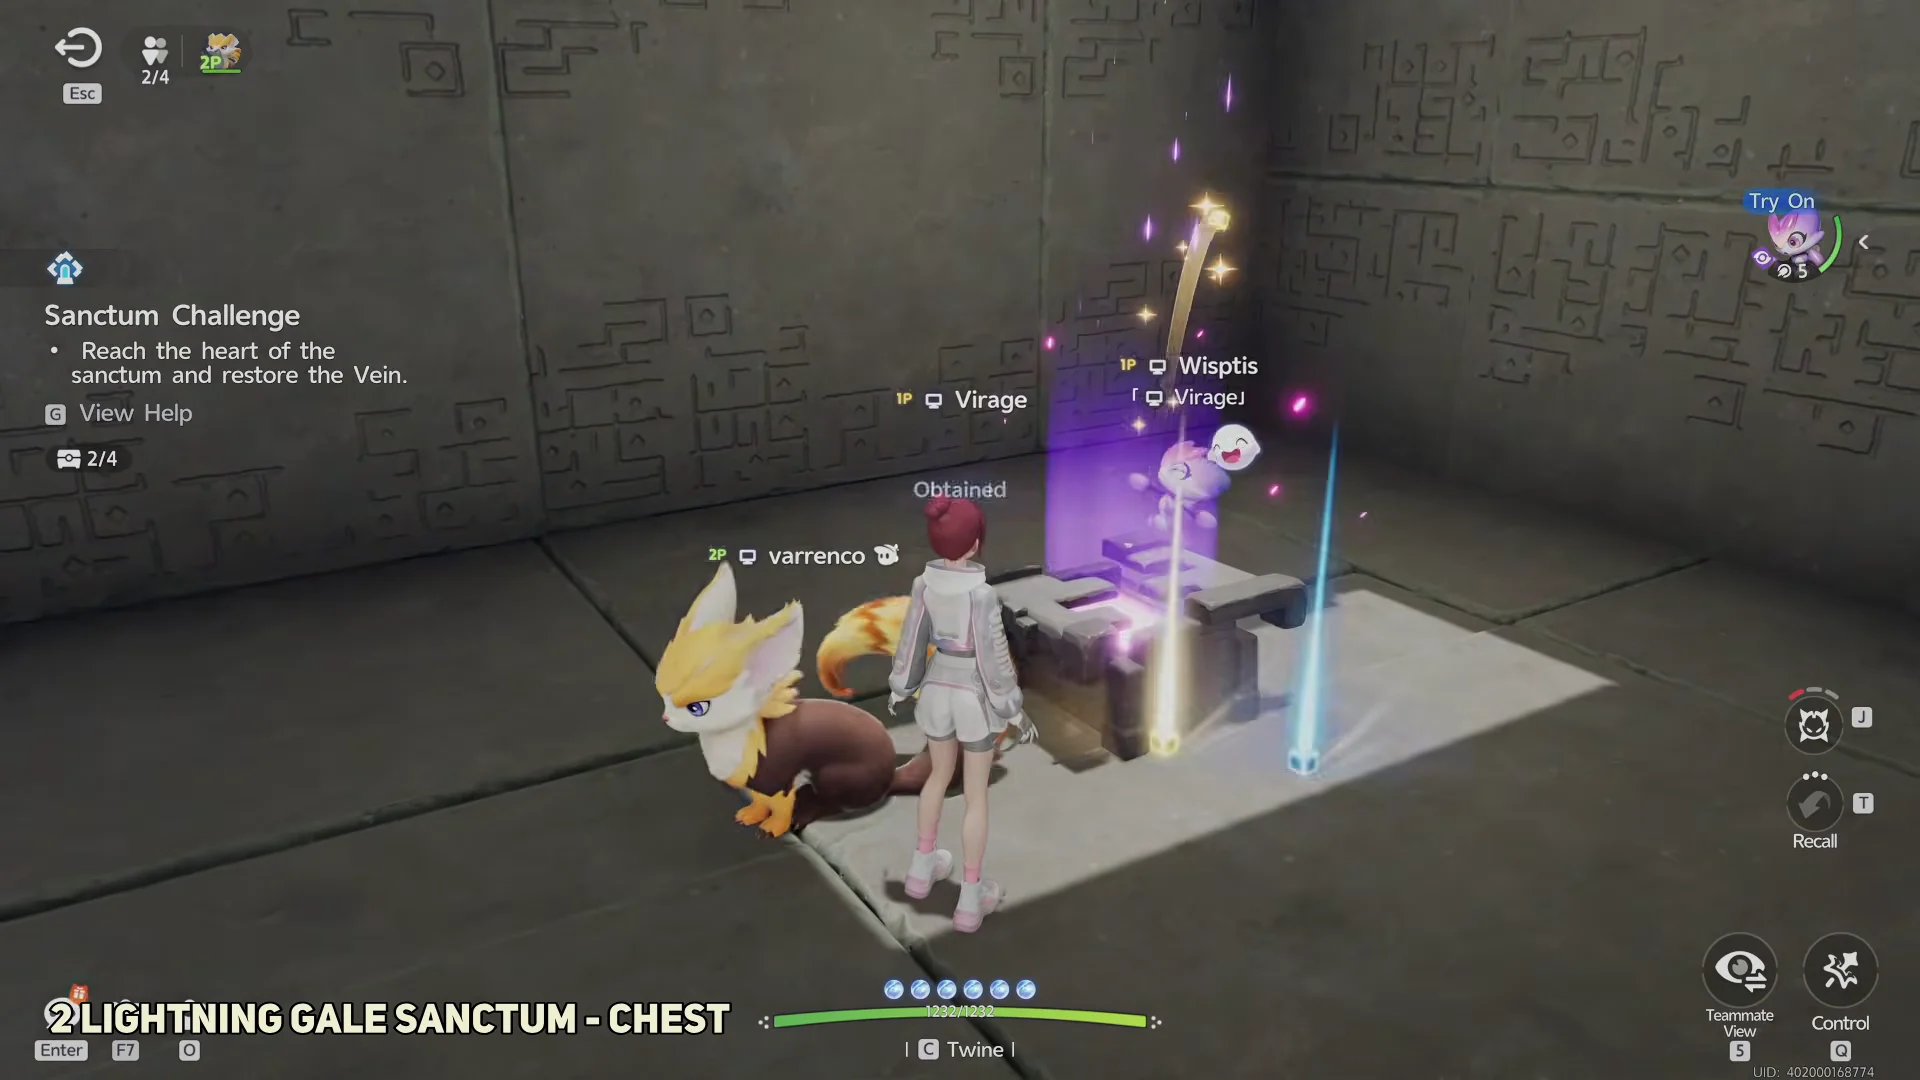
| Chest | Location | How to reach it |
|---|---|---|
| Chest 1 | Raised alcove beside the upper battery shelf | Ride the electric lift and take it before leaving the shelf |
| Chest 2 | Barred alcove on the high route | Power the mezzanine bulb to drop the barrier |
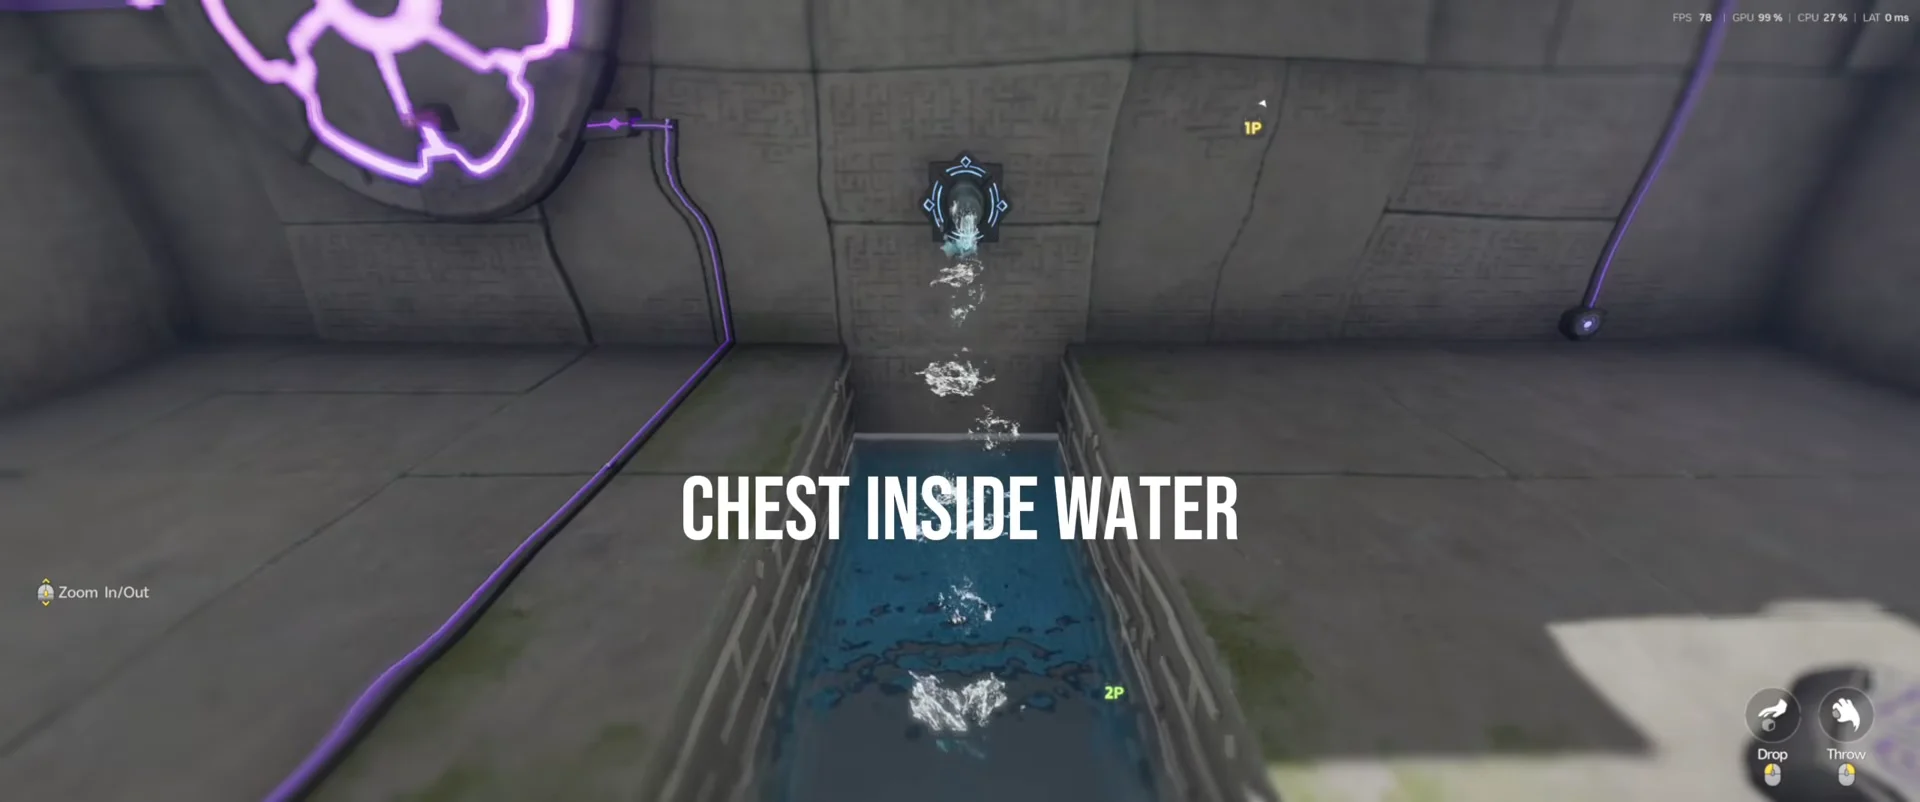
| Chest 3 | Water-channel bed | Have one player keep the pad held as their partner descends into the channel. |
| Chest 4 | West-bank vault past the Maharba Fault | Charge the vault battery until the barrier opens |
The water-channel chest is the one most players lose, because the partner holding the pad cannot grab it. The west-bank vault is easy to rush past, since it appears right after the longest crossing. If you finish at 3/4, check those two spots first.
There is no run timer and progress banks generously. Ten checkpoint portals arm as you cross them, so a fall returns you to the last one rather than the door. You can also rerun the sanctum, so a missed chest can be collected on a later attempt.
Restore the Vein and confirm the clear
Both players hold the high landing pad in turn to ferry each other up, then walk to the Terminus on the western spur. Before touching it, confirm the chest counter reads 4/4, because opening chests after the clear means another run.
Both challengers interact at the Terminus at the same time. A Success banner appears, the Vein restoration cutscene plays on its own, and you are teleported back outside the entrance in Berylline Vale. Your first clear pays out Lumin Amber: Breezy Plains x1 and 500 EXP, on top of the loot from the four chests collected during the run.