Artifacts are Dylan’s passive modifiers in Control Resonant, and they do most of the heavy lifting when you tune a build. Some hand you a clean bonus, while others pair a large power spike with a real drawback. Because you can only wear a few at once, the useful question is not which artifact is strongest, but which combination survives the fight you are walking into.
Quick answer: There are over 30 artifacts. You craft them from Untapped Artifacts at the Artifact Formation station in The Gap, and you can equip three at once, rising to four in New Game Plus.
How to get and craft artifacts
Most artifacts arrive as Untapped Artifacts, which are recipes rather than finished gear. You collect an Untapped Artifact, gather its materials and Source, then build the real item. The Untapped version is consumed when the finished artifact is made.
Untapped Artifacts come from a handful of reliable places:
- Pre-order and Deluxe Edition bonuses
- Main and side missions
- Vendor purchases in each zone
- Leveling up zones
- Defeating Resonant main bosses
Crafting happens at the Artifact Formation station inside The Gap, the build space tied to Dylan’s psyche. Walk up to the station and interact with it, then select the artifact you want to see its materials and effect before you build.
- PC: approach the station and press F.
- Controller: approach the station and press L1 at the prompt.
A first playthrough gives you three Artifact slots; reaching New Game Plus unlocks a fourth. Your artifacts remain available in the new run. You can’t equip two artifacts from the same family at once, so you may need to choose between similar effects. Recycle unwanted artifacts at the station to recover materials.

You will know a craft succeeded when the finished artifact appears in your Loadout menu, ready to slot.
Artifact categories
Artifacts are grouped by the kind of effect they apply, which makes it easier to plan a role for each slot.
- Survival: health totals and HP recovery.
- Combat: damage and Falter output.
- Exploration: helpers such as marking nearby crates.
- Special: wildcards that trade a large buff for a large debuff.
All artifacts, effects, and locations
The table below lists every catalogued artifact, what it does, and where its recipe comes from. A couple of end-game artifacts tied to late zone upgrades, along with the Brass Dusters and Scrunchie sources, are still being pinned down and are marked TBA.
| Artifact | Effect | Location |
|---|---|---|
| Pickpocket’s Tool | After a perfect dodge, your next combat ability uses no Power. | Pre-order bonus |
| Wallet | Abilities use Health when out of Power; stops at 5% Health | Deluxe Edition |
| Stellar Bracelet | Restores small Health when Shield breaks | Vendor, Central Zone |
| Bug Spray | +30% Damage and Falter vs mold; double Infected buildup | Vendor, Central Zone |
| Molding Bar | Infected immunity and Mold buffs; Health capped at 50% | Vendor, The Park Zone |
| Medical Alert Bands | +25% Falter when Health below 25% | Carbon Copy Part 3 |
| Brass Dusters | +50% ability damage, no Falter | TBA |
| Lighter | Increases Burn resistance | Central Resonant boss |
| Ornate Buckle | Executions recover large Power; +30% damage taken | Vendor, Evacuation Zone |
| Shiny Pebbles | Restores health up to 50% while using Shift | Freeze Frame |
| Trusted Spanner | +15% Raw damage | Every Dog Has Her Day |
| Whetstone | +20% Damage, -20% Falter | A New Directive |
| Golden Earrings | +20% Falter, -30% Damage | Underpass Resonant boss |
| Scrunchie | +10% Damage with Primary Aberrant forms | TBA |
| 1996 Commemorative Coin | Health elements restore more HP | Unknown Resonant boss |
| Worn Eraser | Resistance to all negative effects | Final story boss |
| Bout Guard | +50% Power recovery; +20% damage taken | The Complete Set |
| Lost Prescription | +30% chance to restore health on Perfect Dodge | Vendor, Downtown Zone |
| Coffee Cup | Slow health regen outside combat | Last Taxi / Atlantis Cafe puzzle |
| Wad of Cash | Command costs 1 fewer charge | Vendor, Unknown Zone |
| Fork | +15% Sharp damage | Mapping the New York |
| Catnip Toy | Reduces void fall damage | Into the Valley of Death |
| Framing Hammer | +30% Falter, no damage | Vendor, Underpass Zone |
| Bar Blade | Slow health regen near a summoned ally | The Party Won’t Stop |
| Spray Paint | +15% Blunt damage | Vendor, West Incursion Zone |
| Amulet | +5% melee Critical Chance | West Incursion Zone Resonant boss |
| Face Mask | Slower Infected buildup | The Park Resonant boss |
| Mother’s Locket | +25% Damage when Health below 25% | Carbon Copy Part 1 |
| Heart Monitor | Revives once at 20% HP, then breaks | Urban Survival |
| Practice Knot | +15% Falter vs Heavy enemies | Crossing the Threshold |
| Feeding Bottle | +30% Power recovery while Infected or Burned | Panopticon Service Request |
| Novelty Magnet | Marks nearby small crates on the radar | Shum III arcade high score |
| Paper Plane | Builds Power on airborne attacks | Vendor, Unknown Zone |
| Fingerboard | While using Shift, gain +25% Damage and Falter. | Vendor, Downtown Zone |
| Badge 11-60 | Much less damage from environmental hazards | Crafted at The Gap |

Artifacts from Resonant bosses
Five Resonant main bosses each hand over an Untapped artifact and a new combat ability when they fall. Each kill also starts a Resonant Cycle, which respawns tougher enemy variants and refreshes World Feats across a zone.
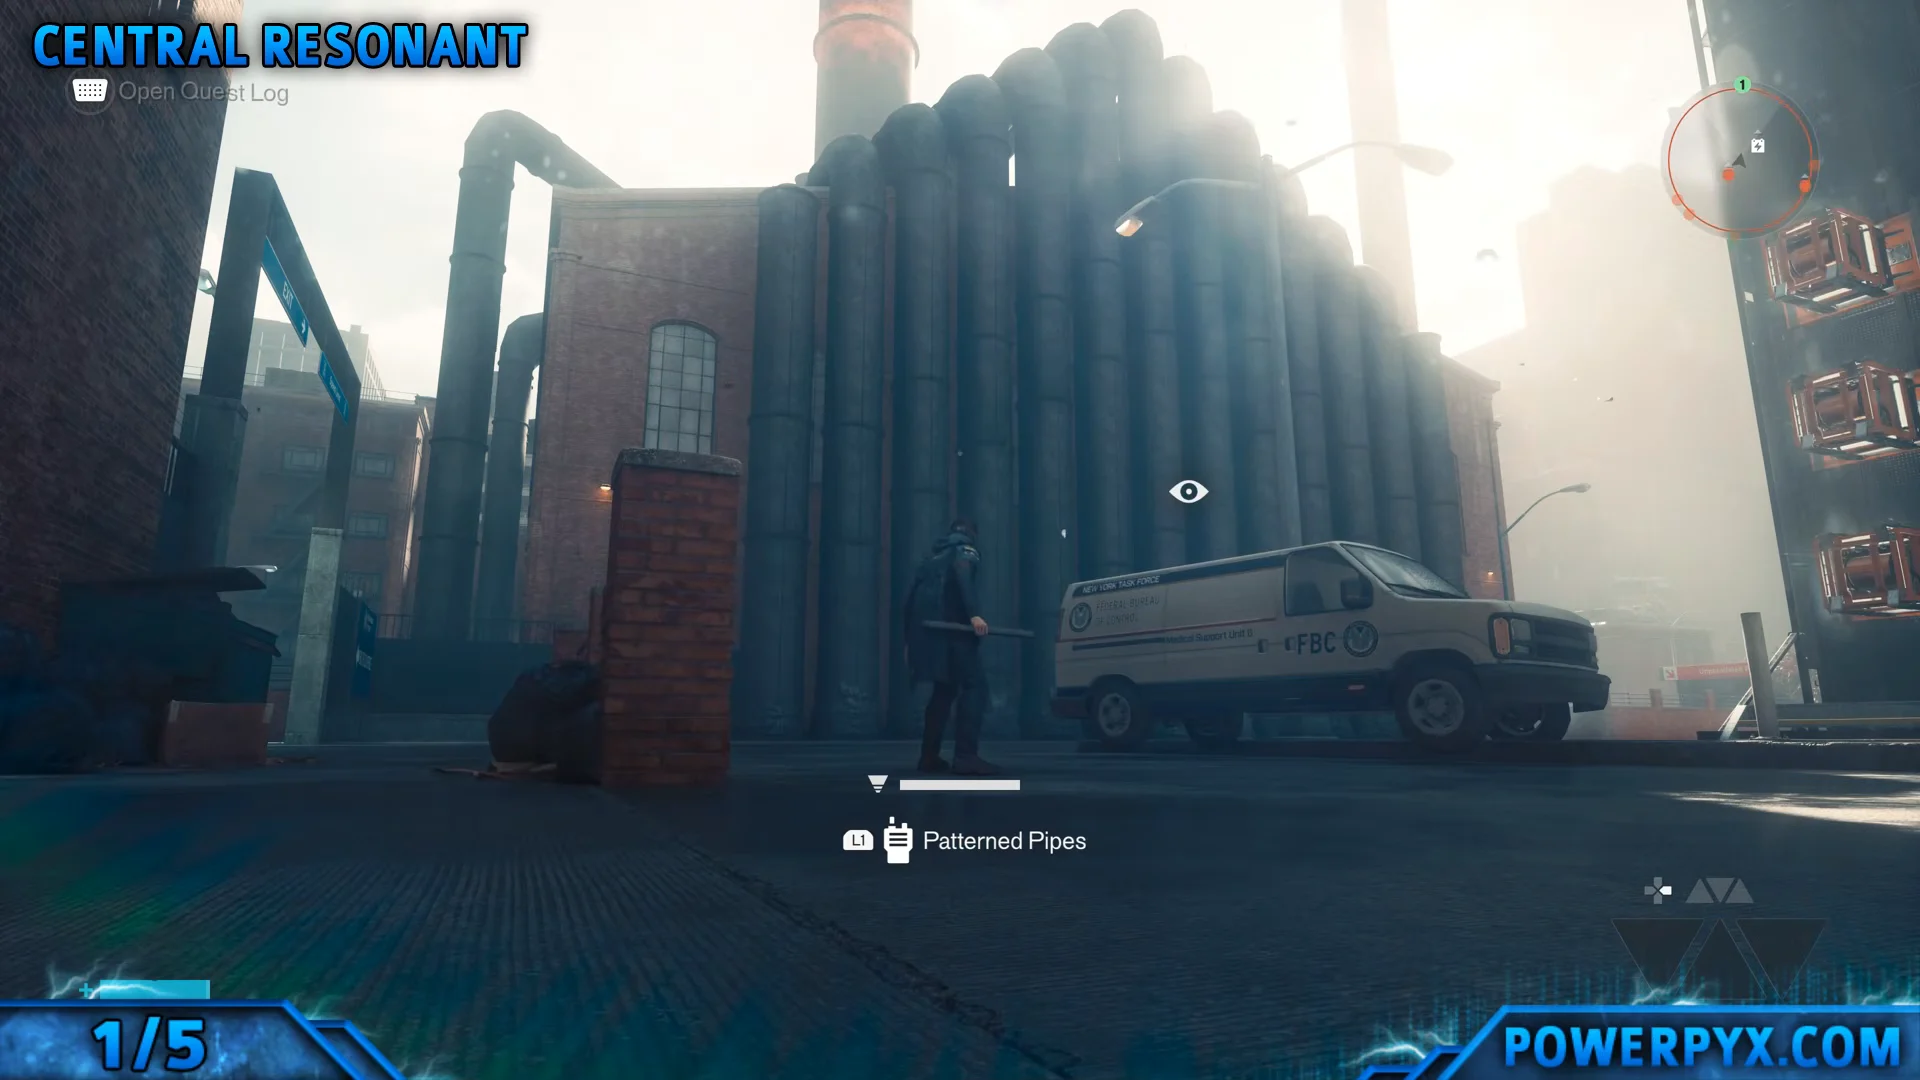
Central Resonant (The Deserter)
Head to the Patterned Factory in Central and interact with the Patterned Pipes to start the quest. Climb the rooftop pipes into the factory, take the furnace elevator down, and follow the scorch marks to The Deserter. The kill grants the Untapped Lighter and a choice between the Ignite and Inferno abilities.
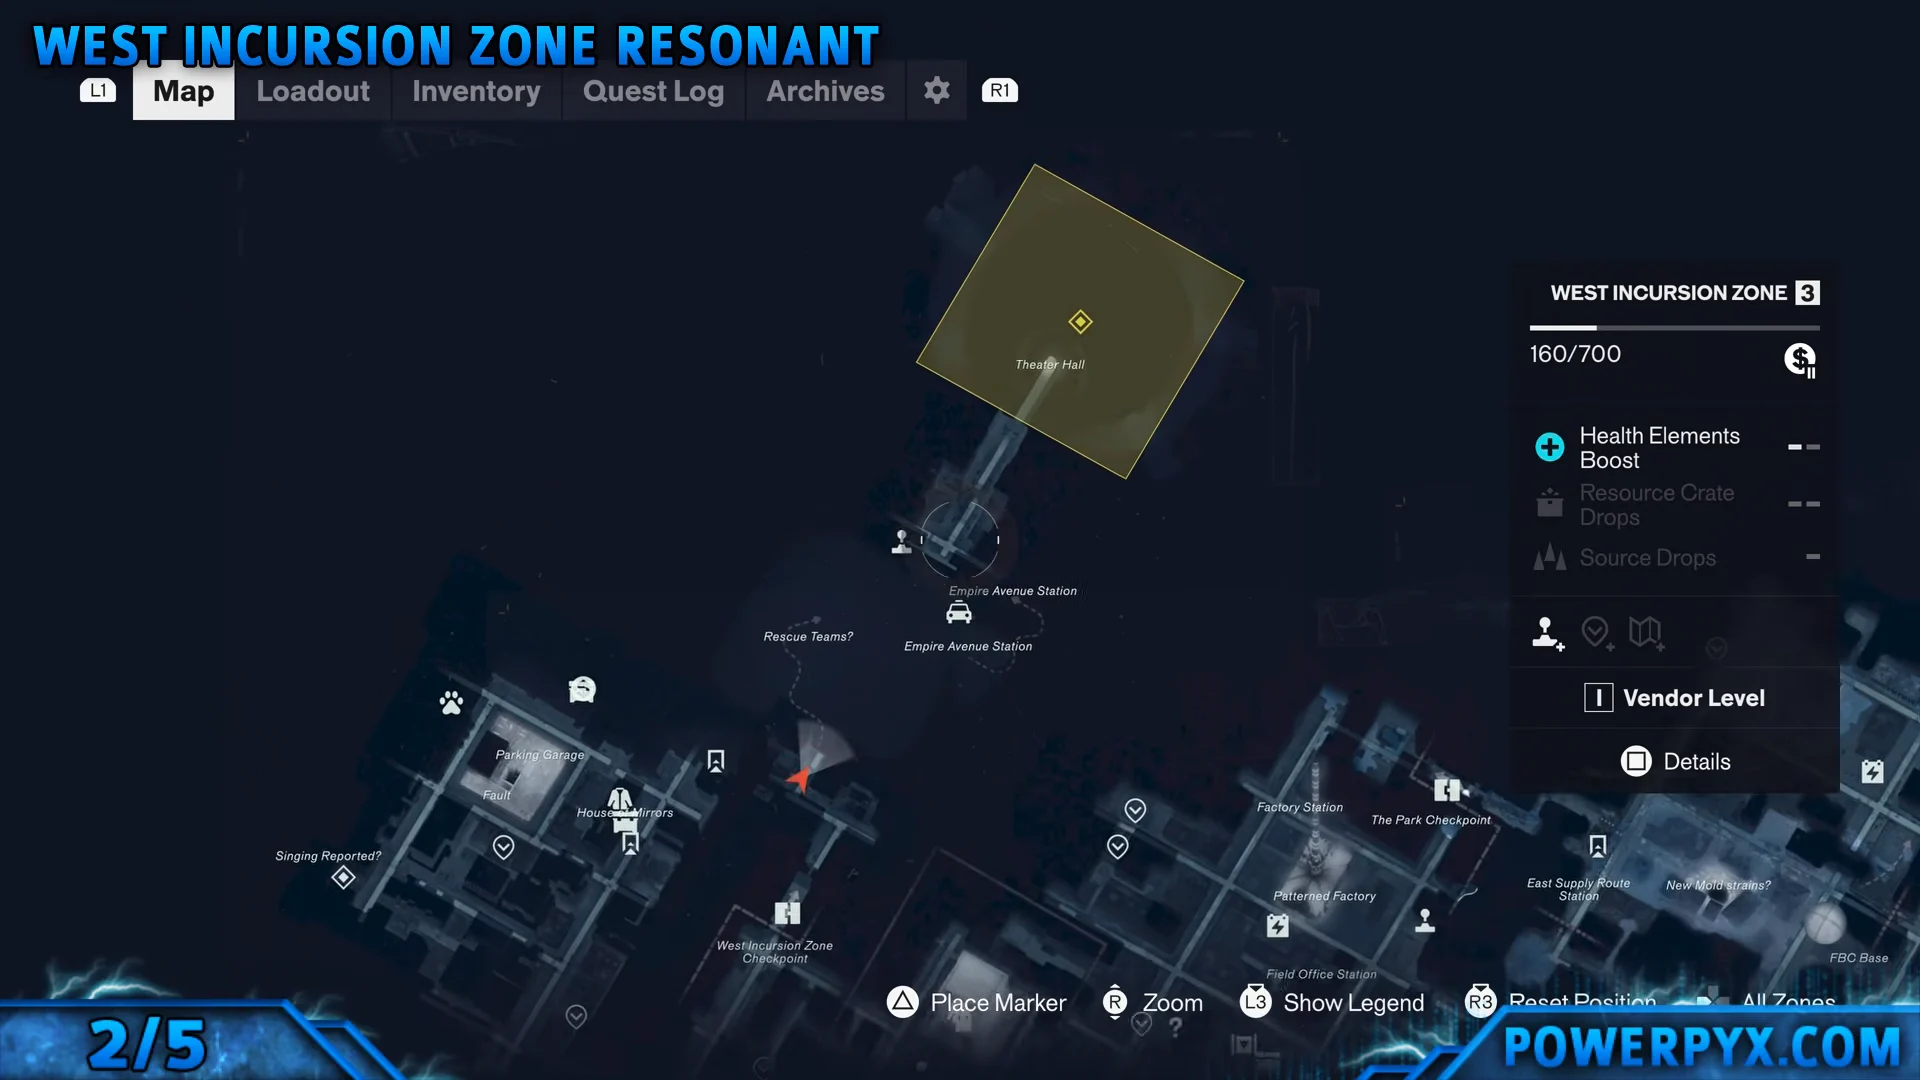
West Incursion Zone Resonant (The Dancer)
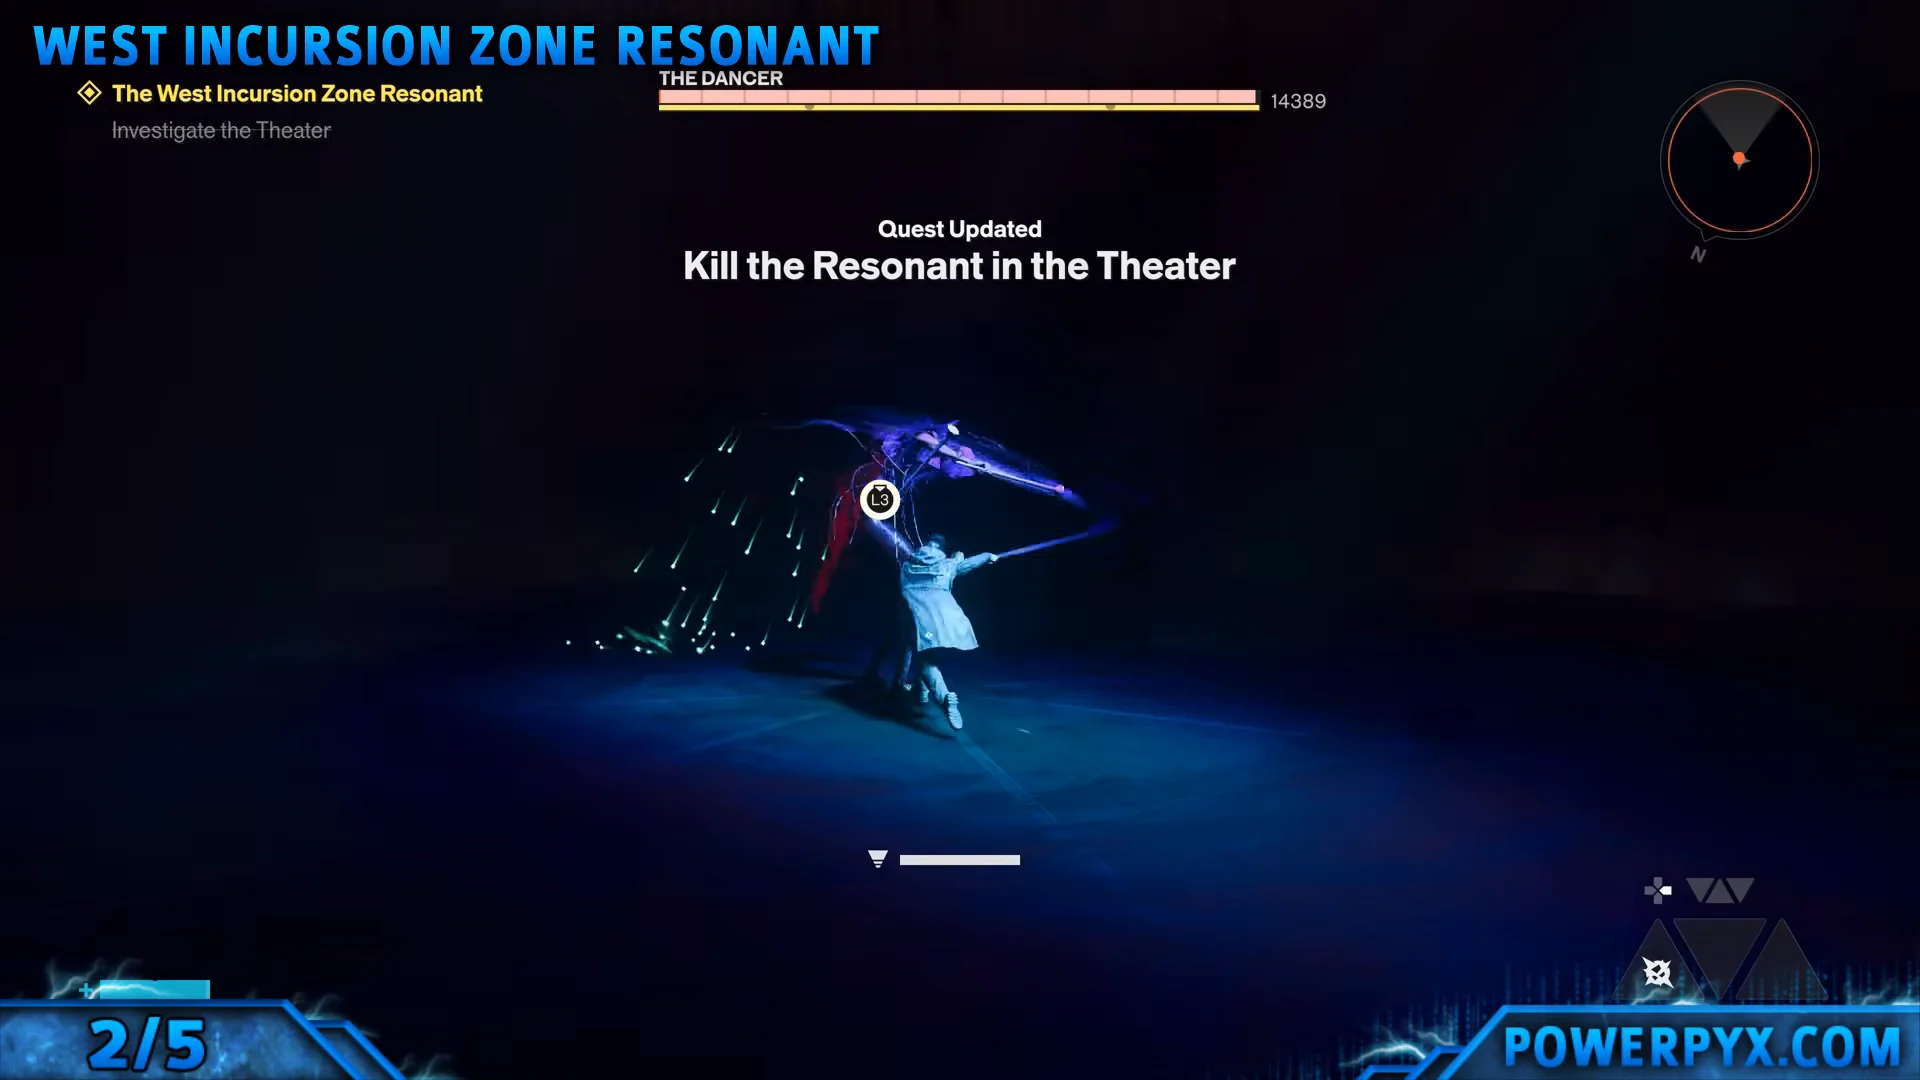
Track the quest to the Empire Theater in the West Incursion Zone, using the subway station to work your way across streets and rooftops. Inside the dance hall you fight The Dancer, which awards the Untapped Amulet and a choice between Push and Ground Slam.
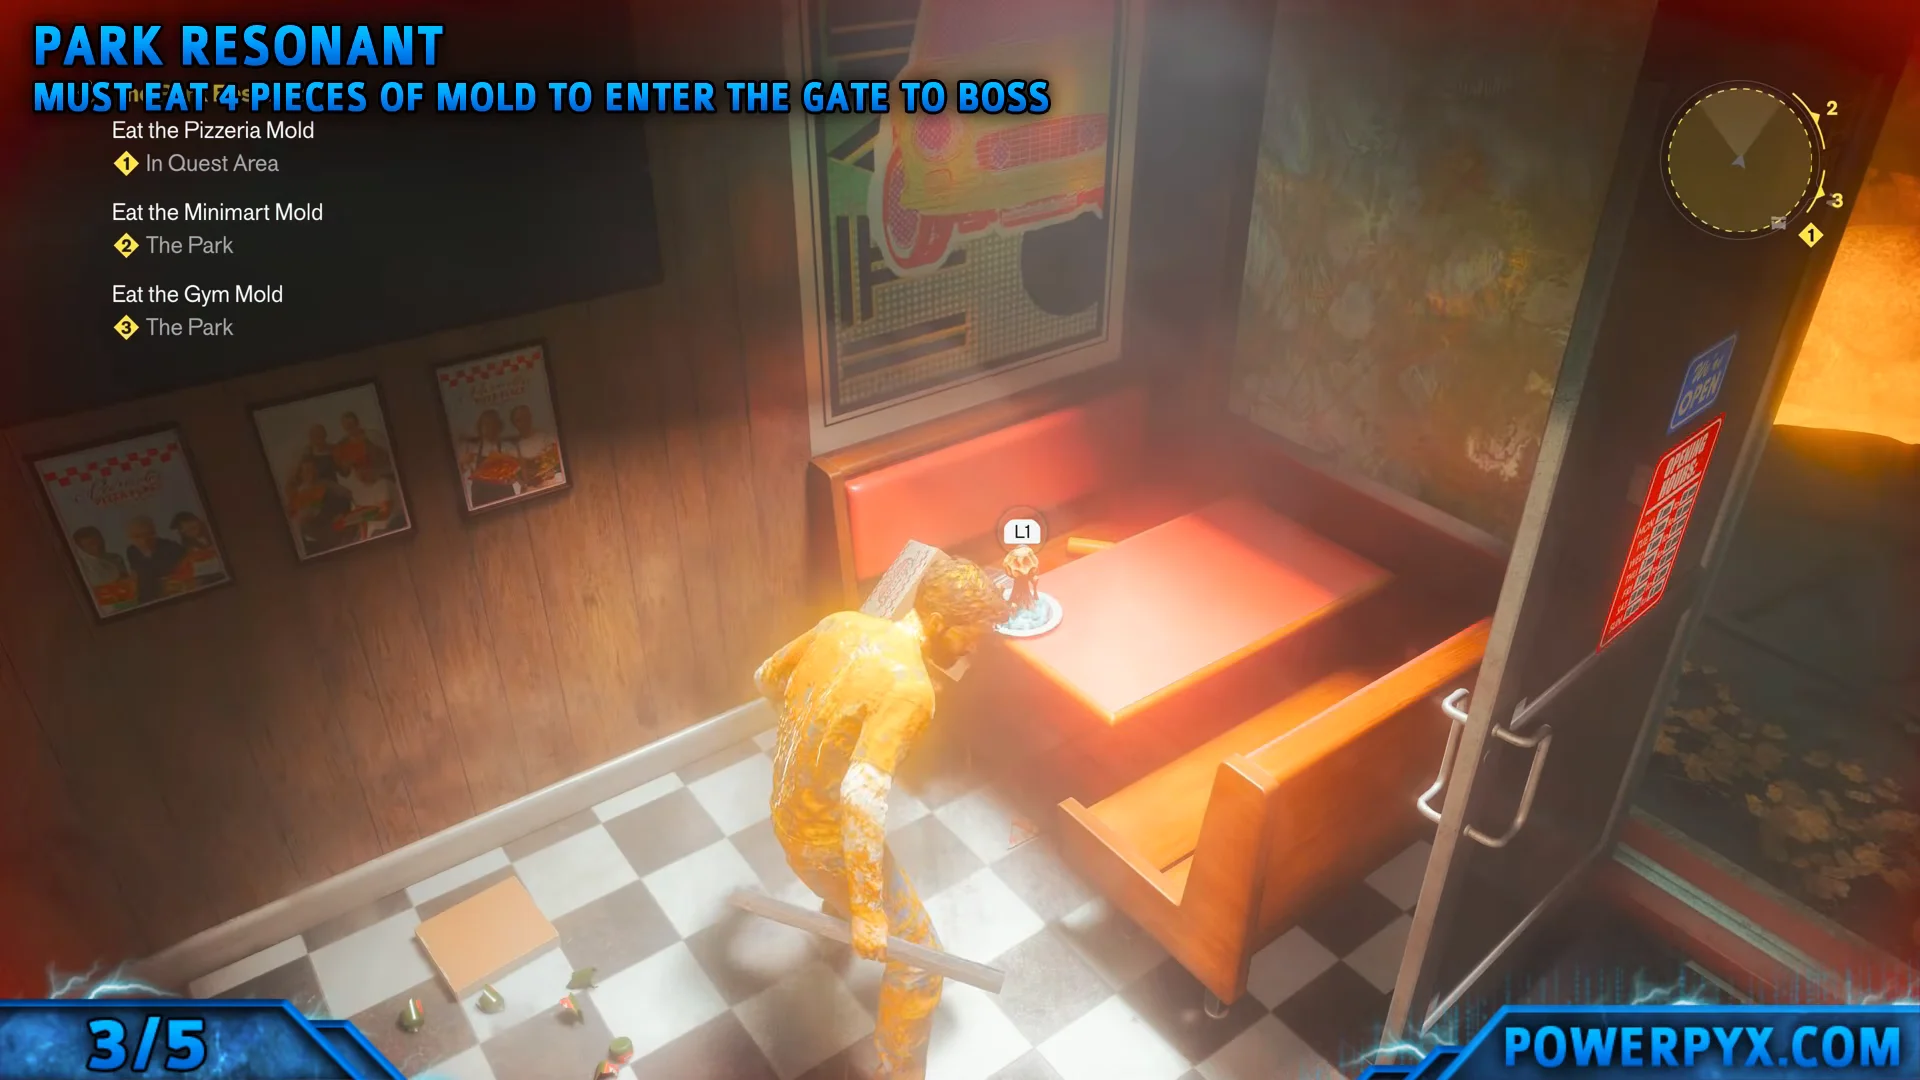
The Park Resonant (The Collective)
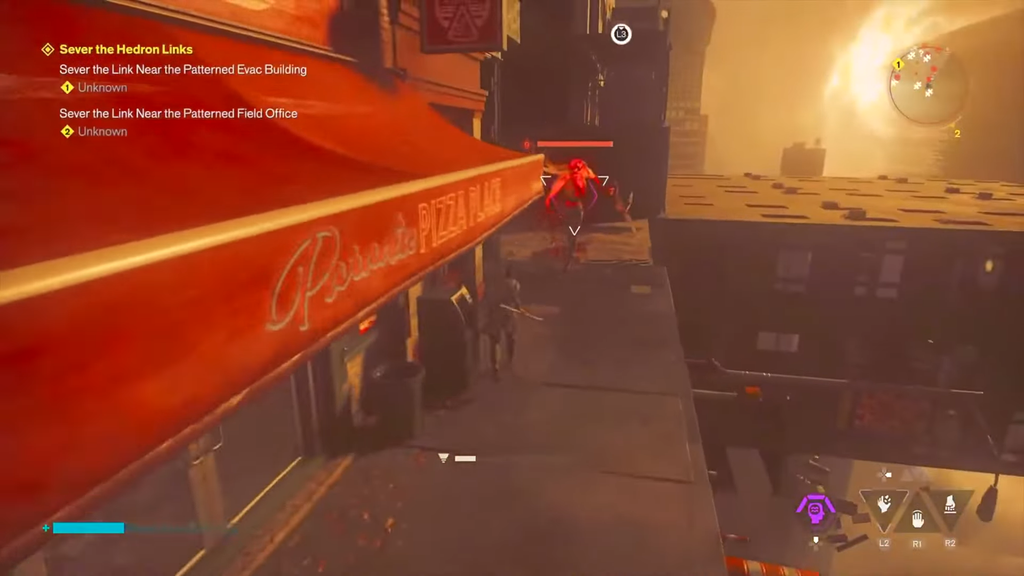
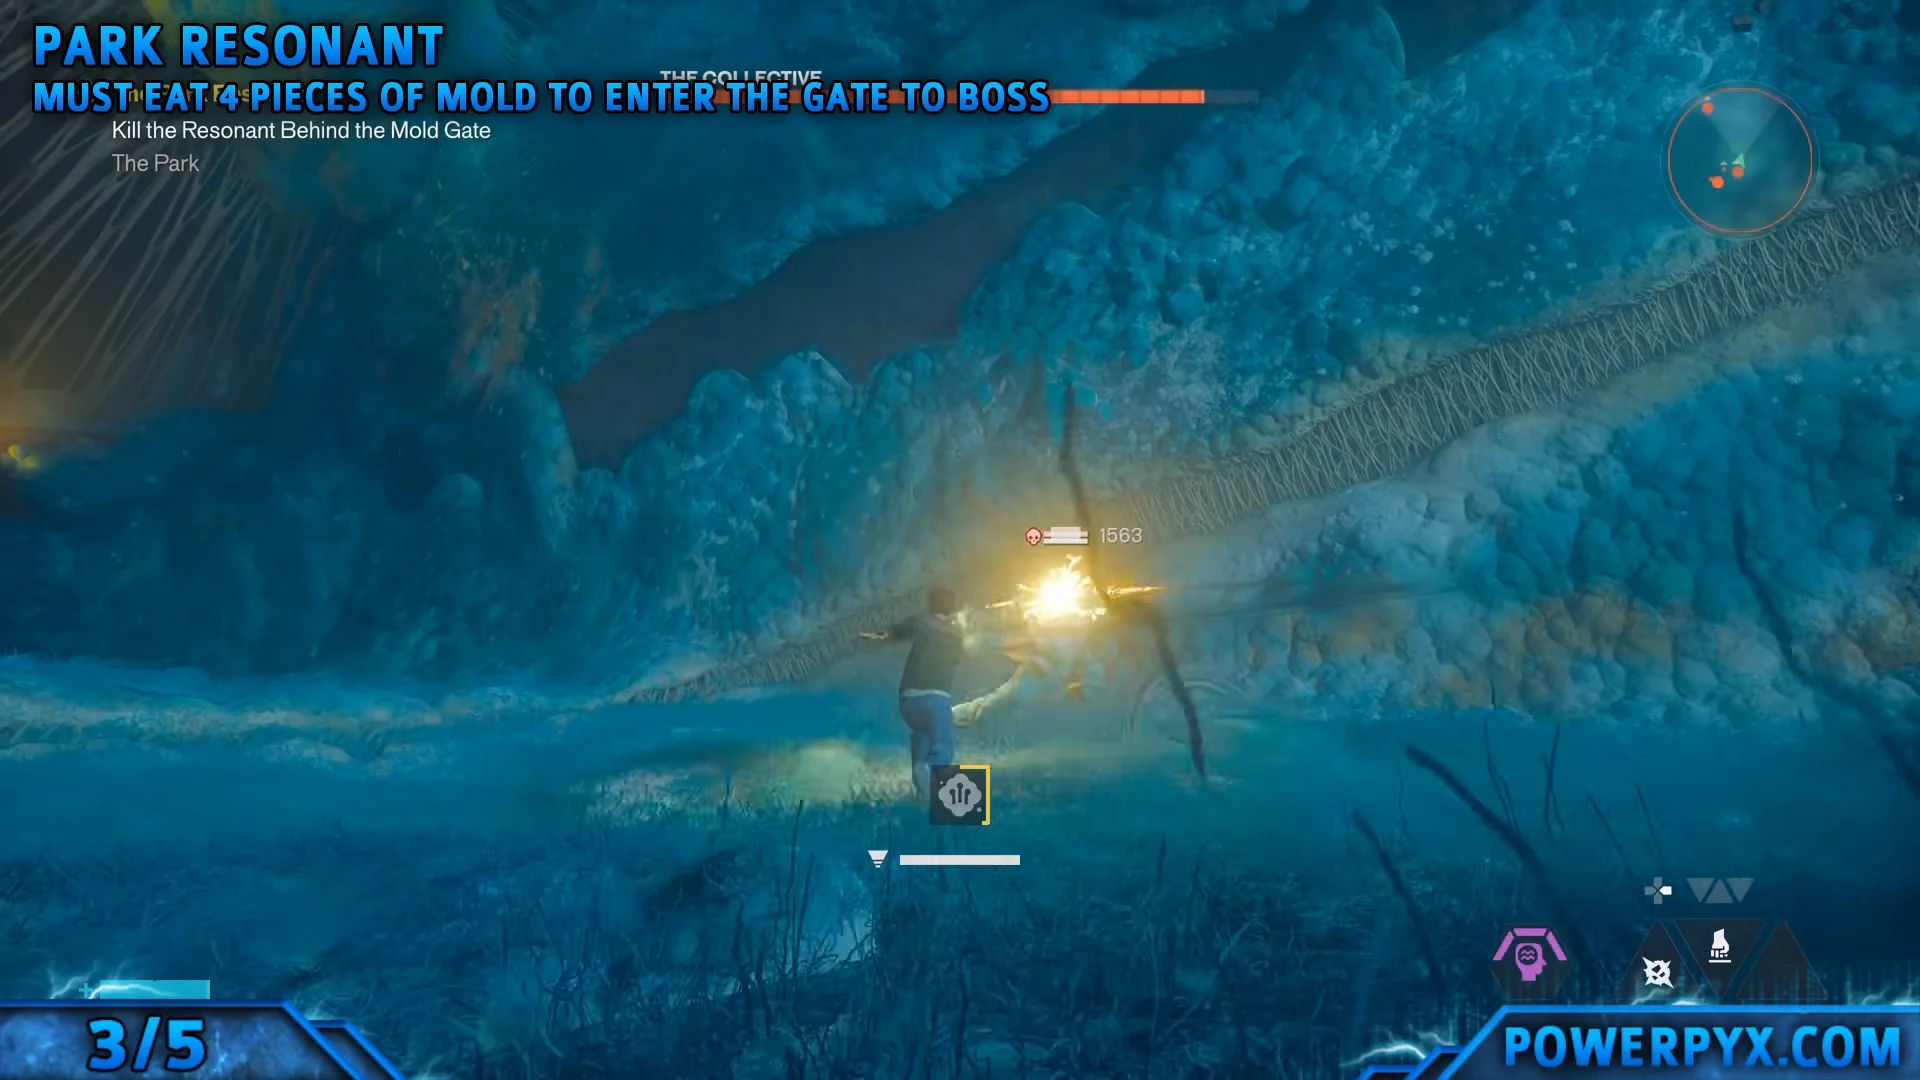
The gate to this boss only opens after Dylan eats four pieces of mold across the zone: one at the cafe counter, one in a booth at Paradise Pizza Place, one on the counter at Urban Fresh Mart, and one on the office desk in the gym. With all four eaten, the deep mold tunnel opens up to The Collective, which grants the Untapped Face Mask, the Casual Outfit: Resonants, and a choice between Spore Burst and Growth.
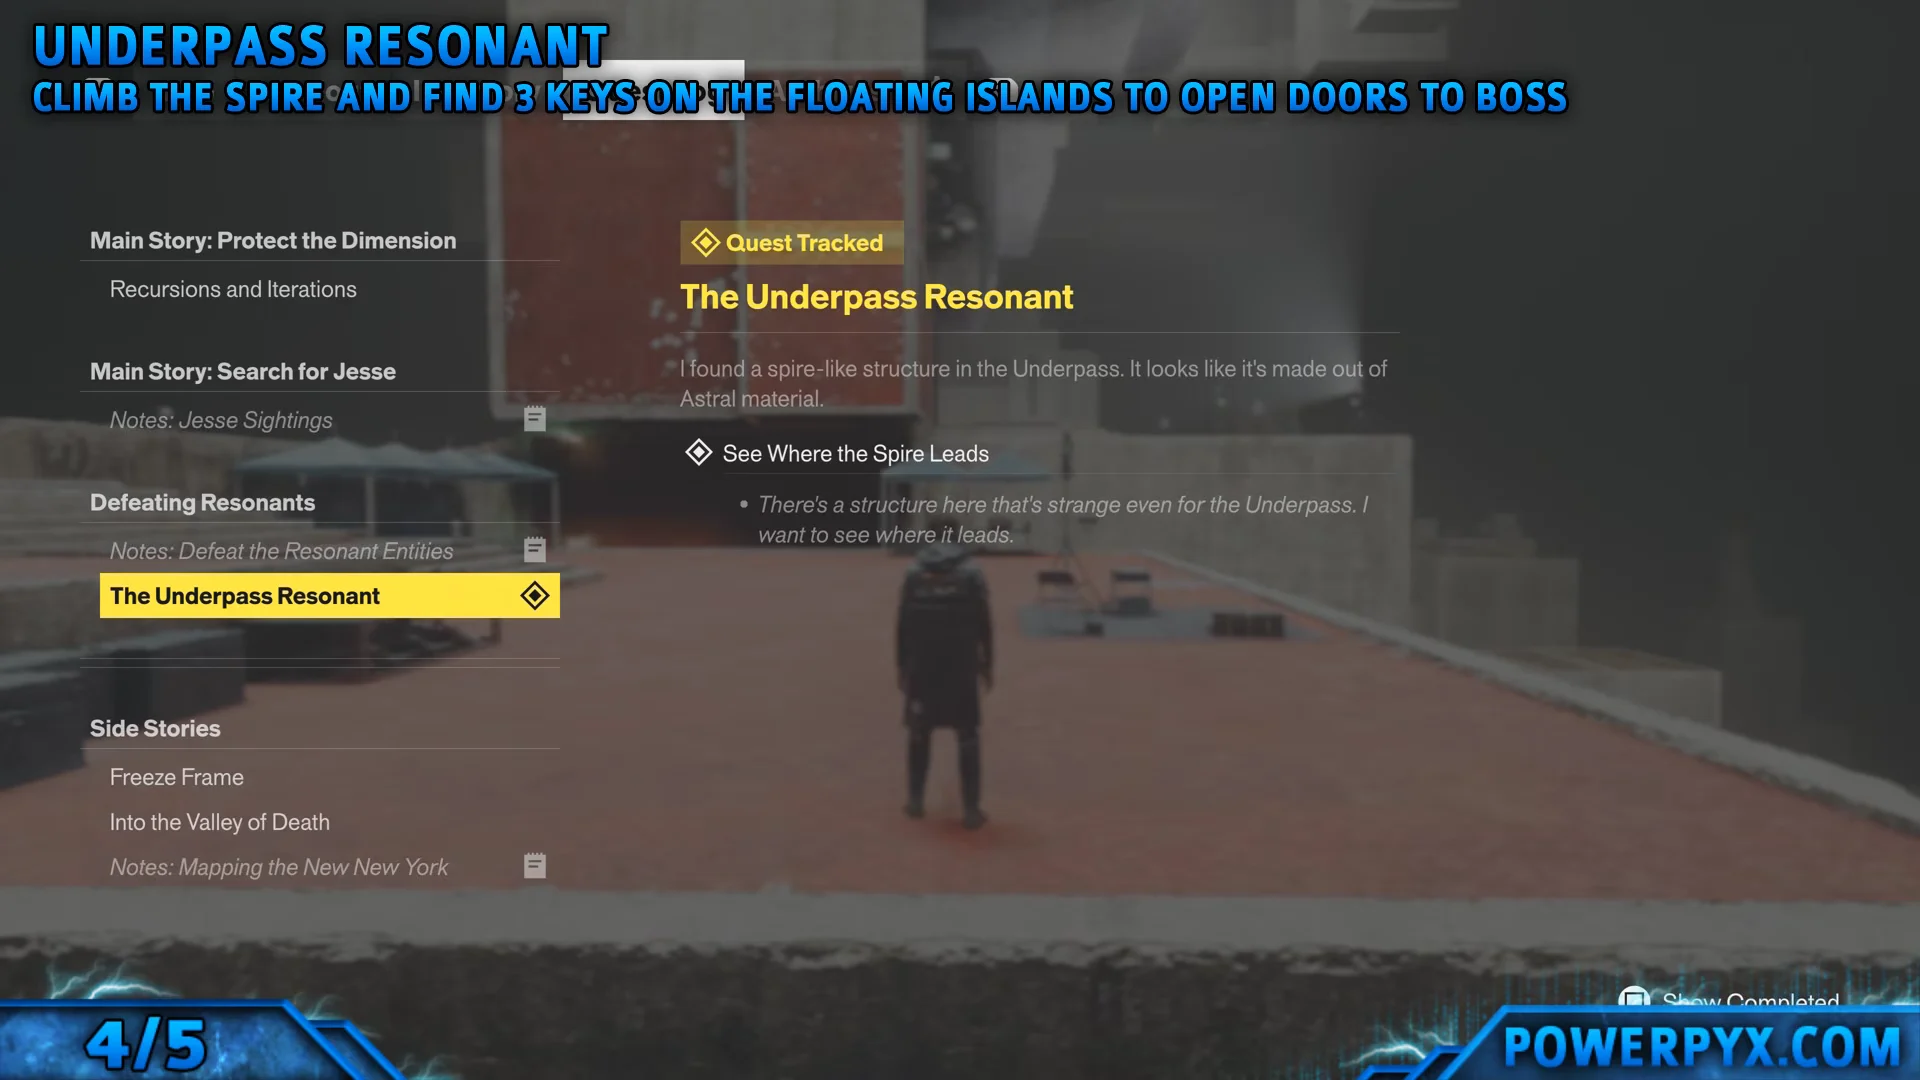
Underpass Resonant (Astral Plane)
Enter the Spire in the Underpass and fight through to the floating Astral Plane islands. Collect three Astral Keys spread across the platforms, then return to the central golden doors and unlock them to reach the flying Astral Plane Resonant. The fight yields the Golden Earrings and the Astral Reconfiguration achievement.
Unknown Resonant (The Corruptor)
Answer the distress call in the Unknown, link up with Arish and the FBC Rangers, and push through the corrupted city to the Patterned Field Office elevator. Beating The Corruptor in the golden Astral chamber grants the Untapped 1996 Commemorative Coin and the Command ability.
Artifact crafting recipes
Once you have an Untapped Artifact, these are the confirmed material costs at the Artifact Formation station. Every recipe also consumes the matching Untapped Artifact.
| Artifact | Materials (plus the Untapped Artifact) |
|---|---|
| Brass Dusters | 8 Edible Glob, 750 Source, 5 Violent Echo |
| 1996 Commemorative Coin | 10 Ordered Image, 1,000 Source, 7 Panicked Echo |
| Worn Eraser | 8 Ordered Image, 750 Source, 5 Odd Echo |
| Golden Earrings | 10 Patterned Thought, 1,000 Source, 7 Odd Echo |
| Pickpocket’s Tool | 350 Source, 7 Violent Echo |
| Amulet | 150 Source, 3 Odd Echo |
| Face Mask | 150 Source, 3 Mourning Echo |
| Lighter | 150 Source, 3 Quiet Echo |
| Heart Monitor | 350 Source, 7 Mourning Echo |
| Wallet | 250 Source, 5 Nostalgic Echo |
| Badge 11-60 | 250 Source, 5 Quiet Echo |
With the recipes in hand, the practical play is to match slots to the fight rather than chasing raw numbers. Survival artifacts cover a fragile damage setup, resource artifacts feed an ability-heavy build, and the Special wildcards like the Wallet or Bout Guard reward you only when you can manage their downside. Craft what you need, equip it from the Loadout menu, and recycle anything you have outgrown to fund the next build.