Every step to defend the CFD, chase it through the void, and finish the Contain the Crisis mission.
Every step to defend the CFD, chase it through the void, and finish the Contain the Crisis mission.
by AllThingsHow Staff · Edited by Pallav Pathak
Image: Remedy Entertainment
Enemy of My Enemy lands about halfway through Control Resonant and closes out the Contain the Crisis objective. It opens once the Power Lines and Into the Sinkhole routes are done, then sends Dylan to defend the Cancellation Field Device before the plan falls apart and things get personal.
Quick answer: Meet Pope at the Field Office, report to Arish at the CFD Platform in the Sinkhole, survive the Hiss waves, activate the CFD, then follow it through the void and destroy it with the Aberrant to complete the mission.
Requirements before Enemy of My Enemy will start
The mission is the final beat of the Contain the Crisis chain, so a few earlier tasks have to be cleared first. If the quest refuses to move forward at the Field Office, one of these is usually the reason.
Complete the Power Lines route across the subway stations.
Complete Into the Sinkhole to finish the Plan of Attack tracker.
Defeat the Deserter, the Central Resonant in the Patterned Factory.
Take down the Dancer, the Theater’s West Incursion Zone Resonant.
The Central and West Incursion Resonants both gate this quest. If nothing useful happens at the Field Office, handle those two bosses before clearing anything else.
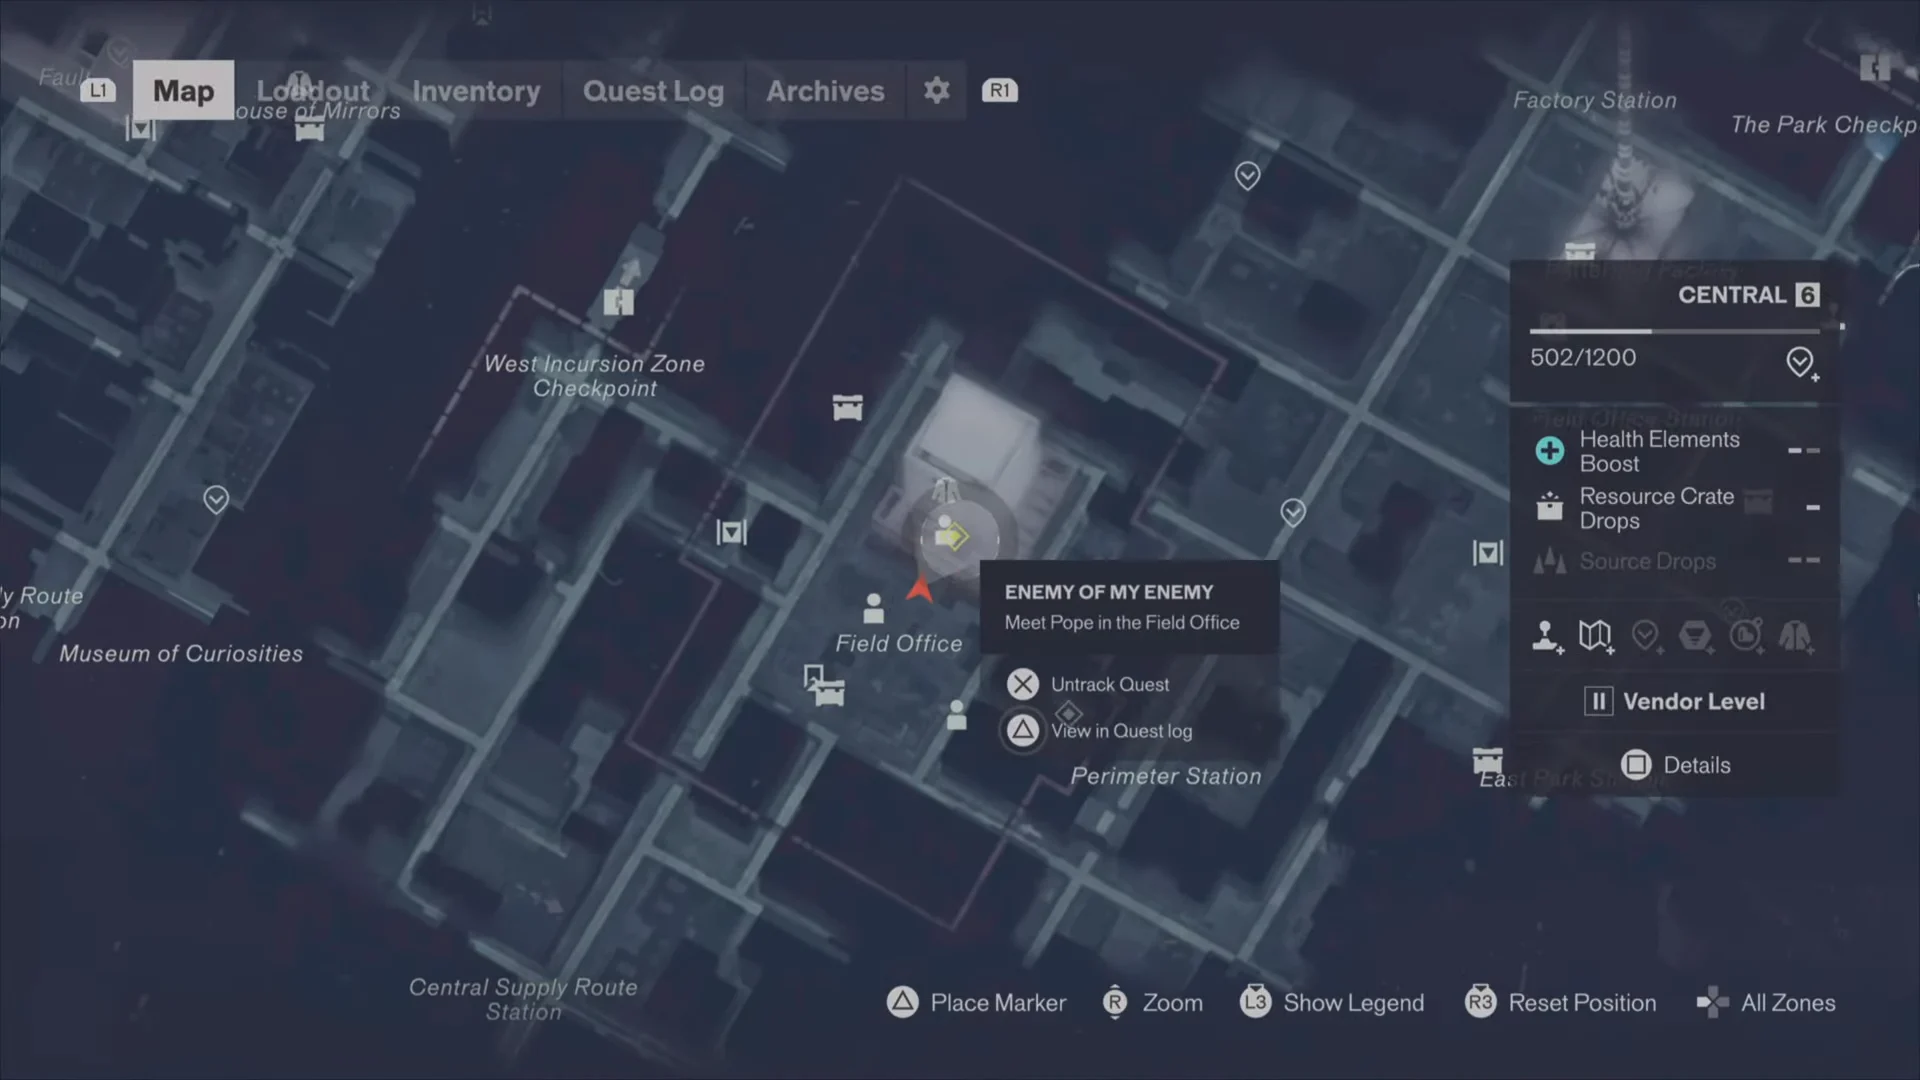
Go to Field Command in Central and ask Pope, near the room entrance, about the CFD. This updates your objective and directs you to Arish at the CFD Platform in the Sinkhole, within the Evacuation Zone.
00:04Map CheckThe map showing Central and the first objective to meet Pope in the Field Office. Shown at 00:04 in MetaGuide’s video. Image: Remedy Entertainment
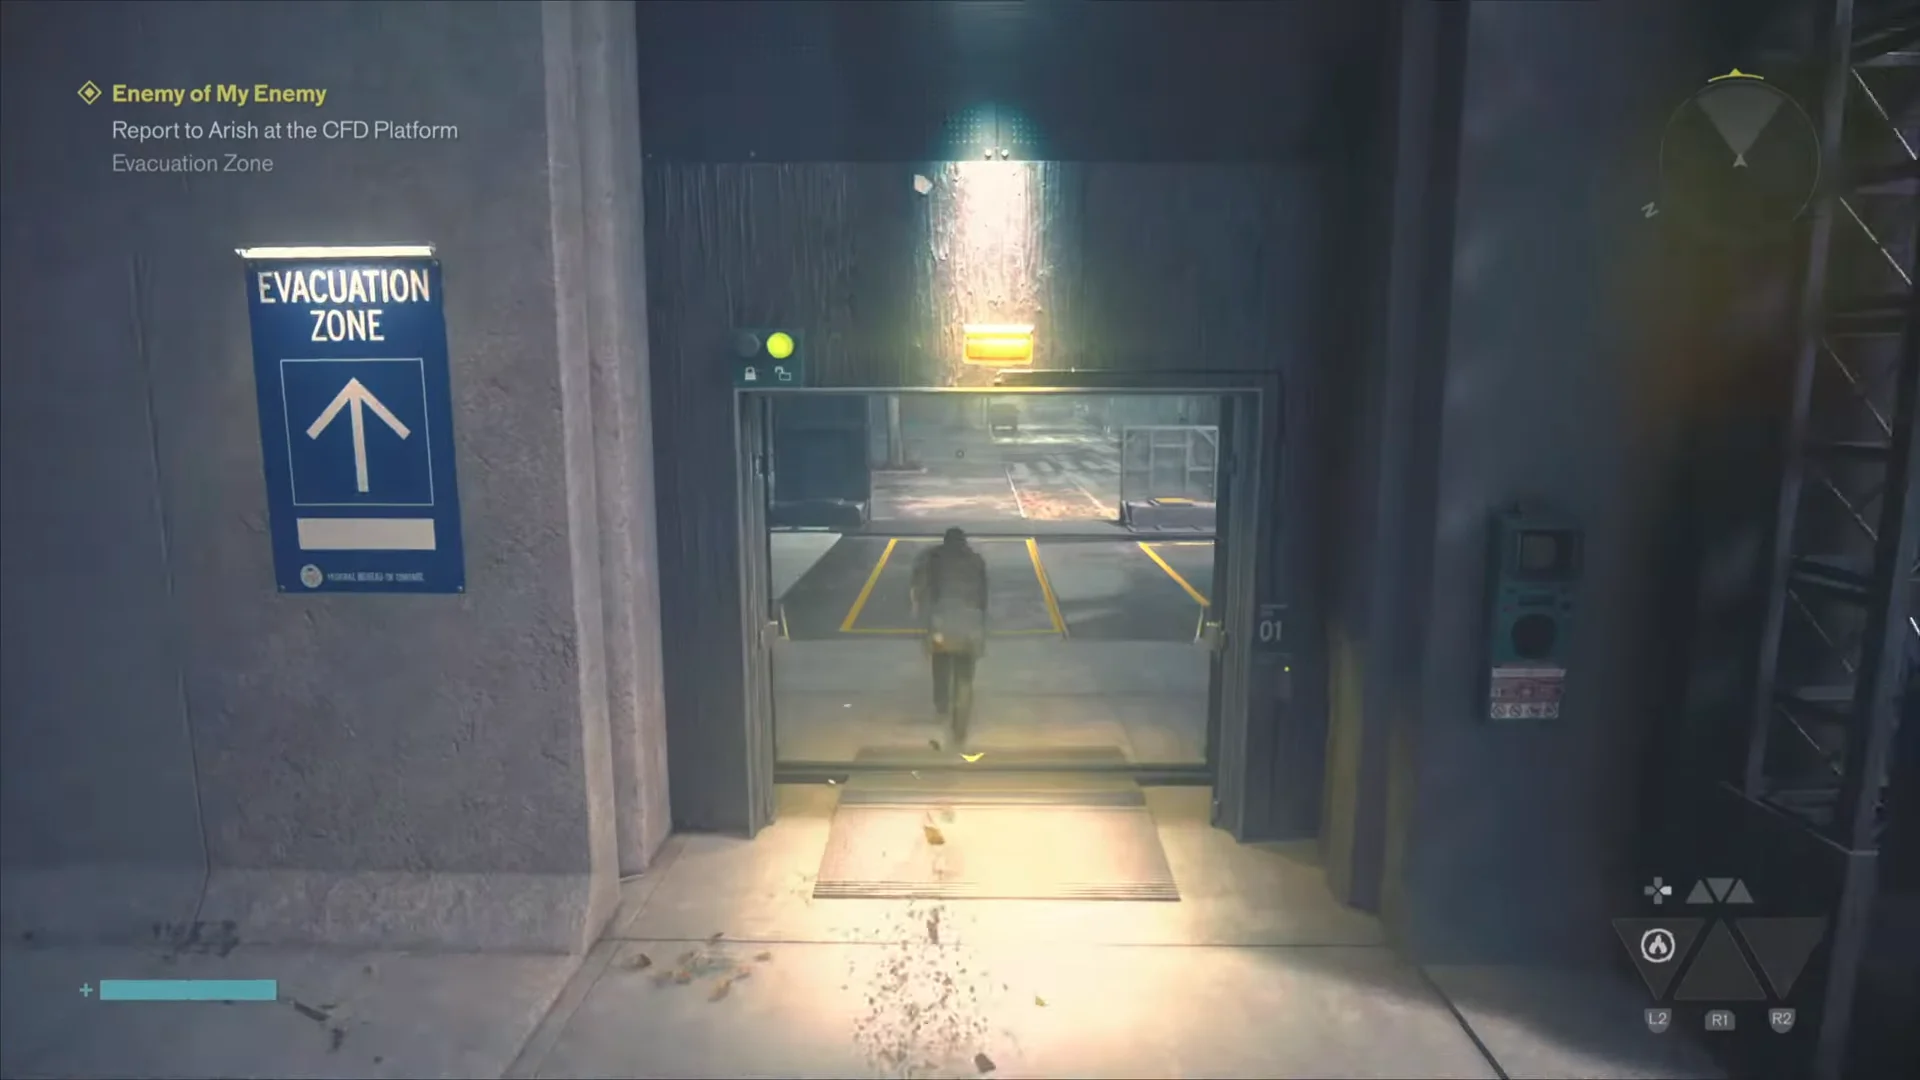
Fast travel to Main Street in the Evacuation Zone using a teleporter door. Move down the street ahead and pass through the Evacuation Zone gate to reach the transit tunnel.
01:17Evacuation Zone GateThe Evacuation Zone gate that leads into the transit tunnel toward the CFD Platform. Shown at 01:17 in MetaGuide’s video. Image: Remedy Entertainment
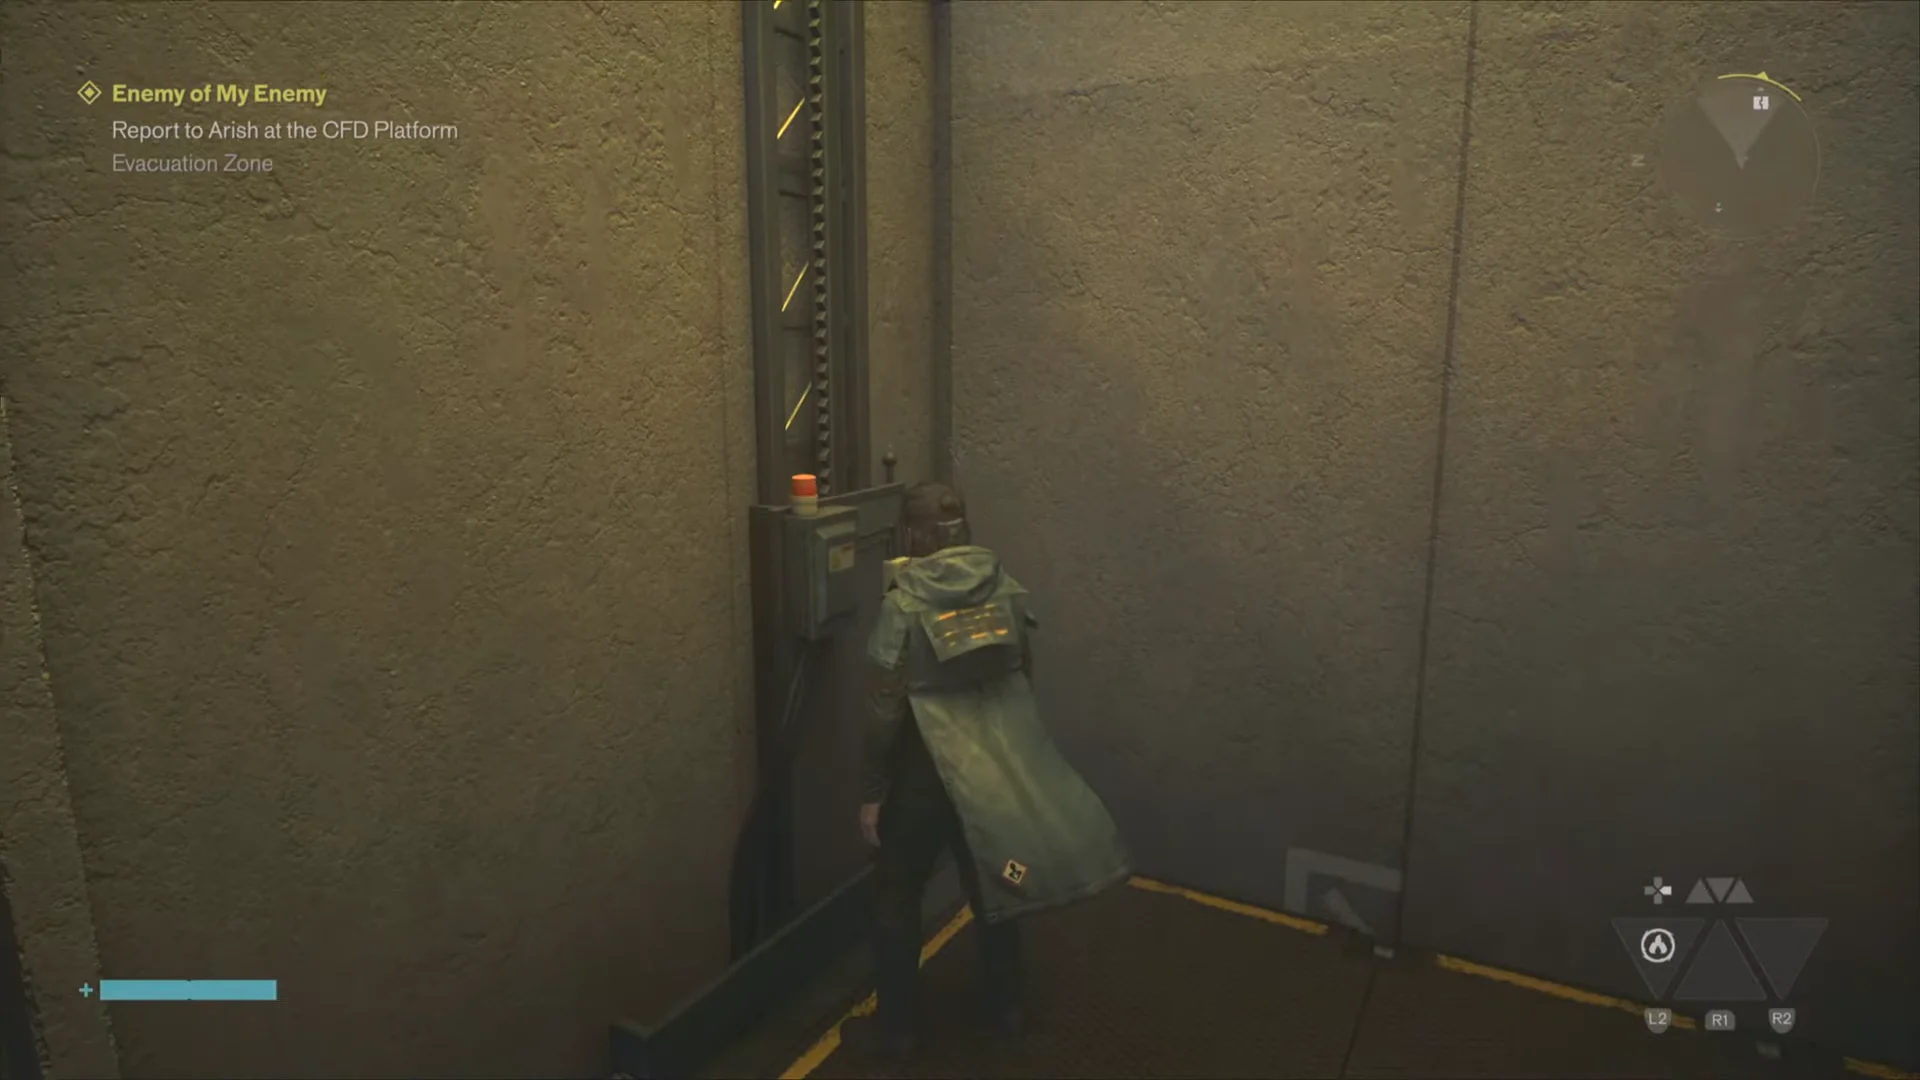
Board the yellow Zone Access freight elevator, pull the lever, and ride it up to reach Evacuation Zone 4. From there, exit through the decontamination doors into the open industrial area.
01:46Zone Access LiftThe Zone Access lift control panel. Pull the lever here to ride up to Evacuation Zone 4. Shown at 01:46 in MetaGuide’s video. Image: Remedy Entertainment
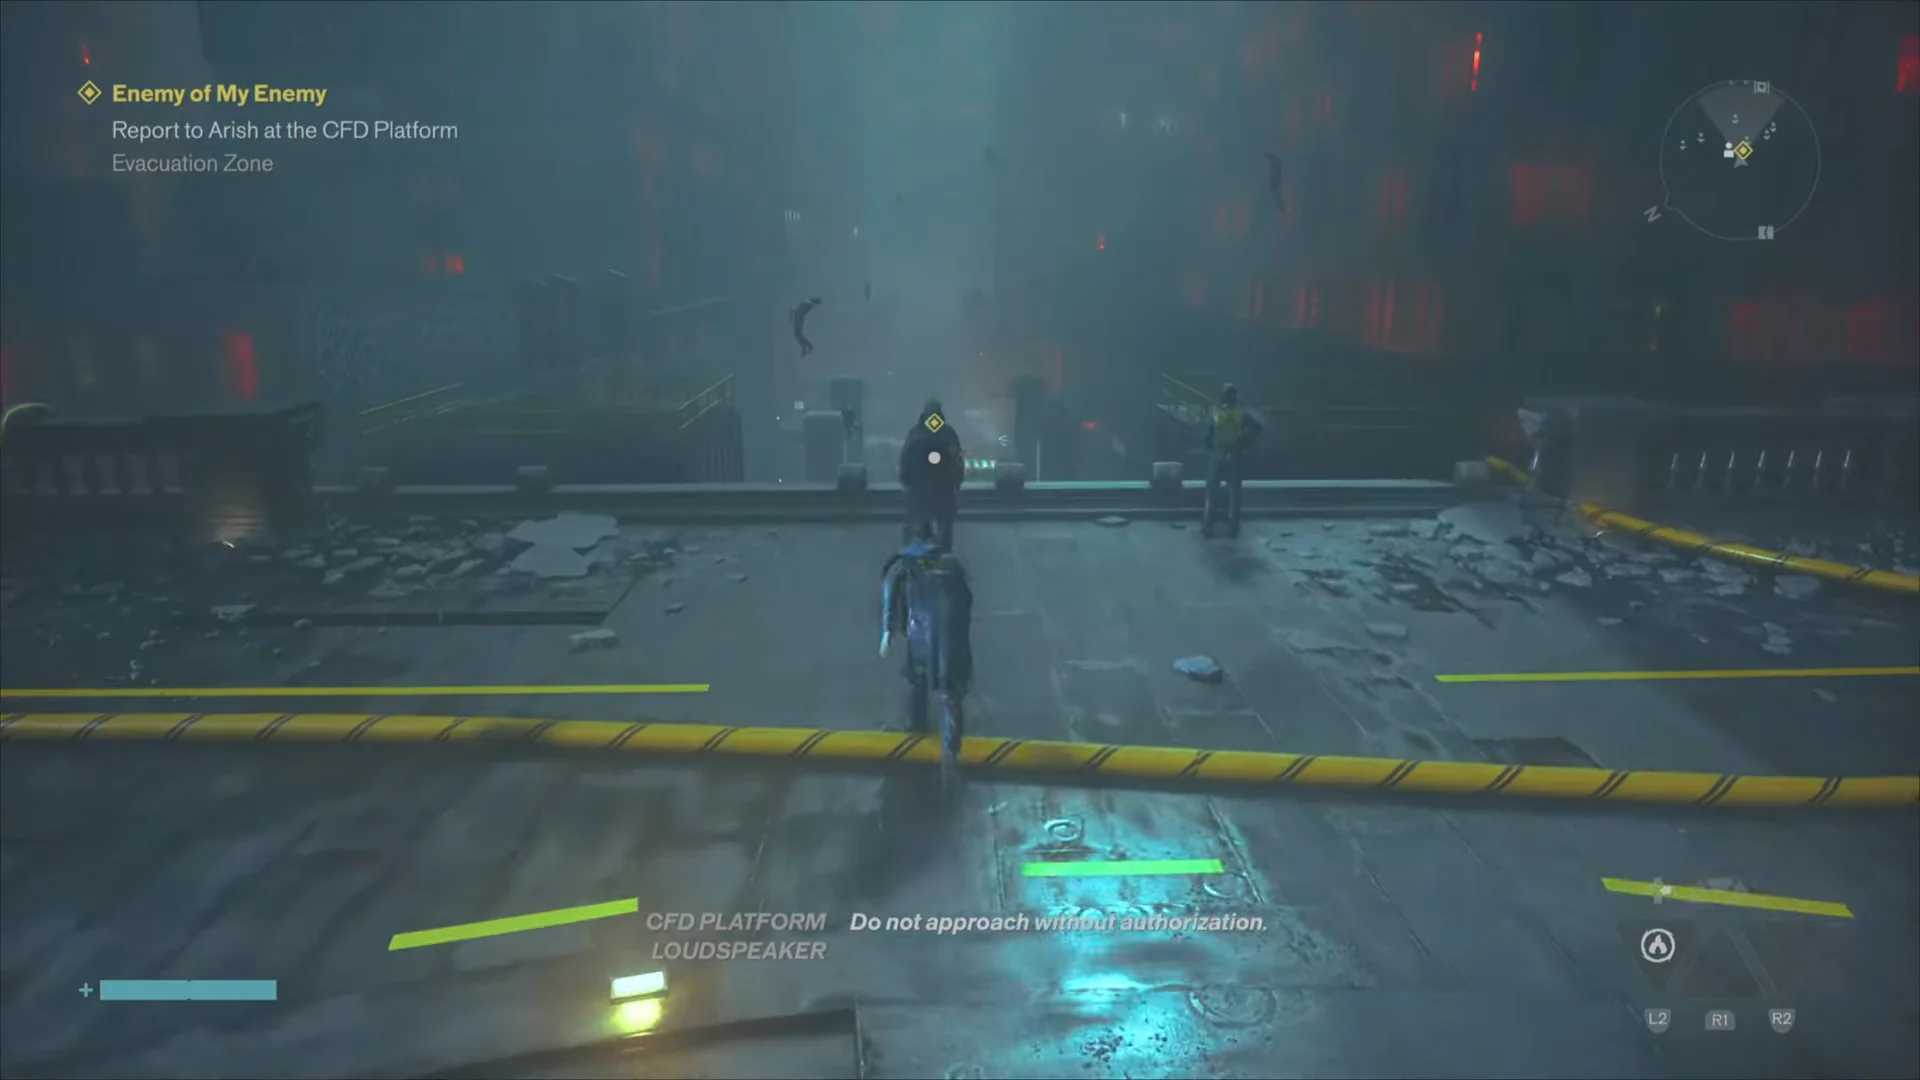
Climb the ledges on the left until you reach the round CFD Platform; Arish is there. Talk to him and select any reply—he attacks regardless. Hiss forces then spawn on the street in front of the CFD.
Drop down from the platform to reach the enemies on the street below. They arrive in waves, so clear them one at a time. Some FBC forces pitch in, but you handle most of the fight yourself, so watch enemy positions around you.
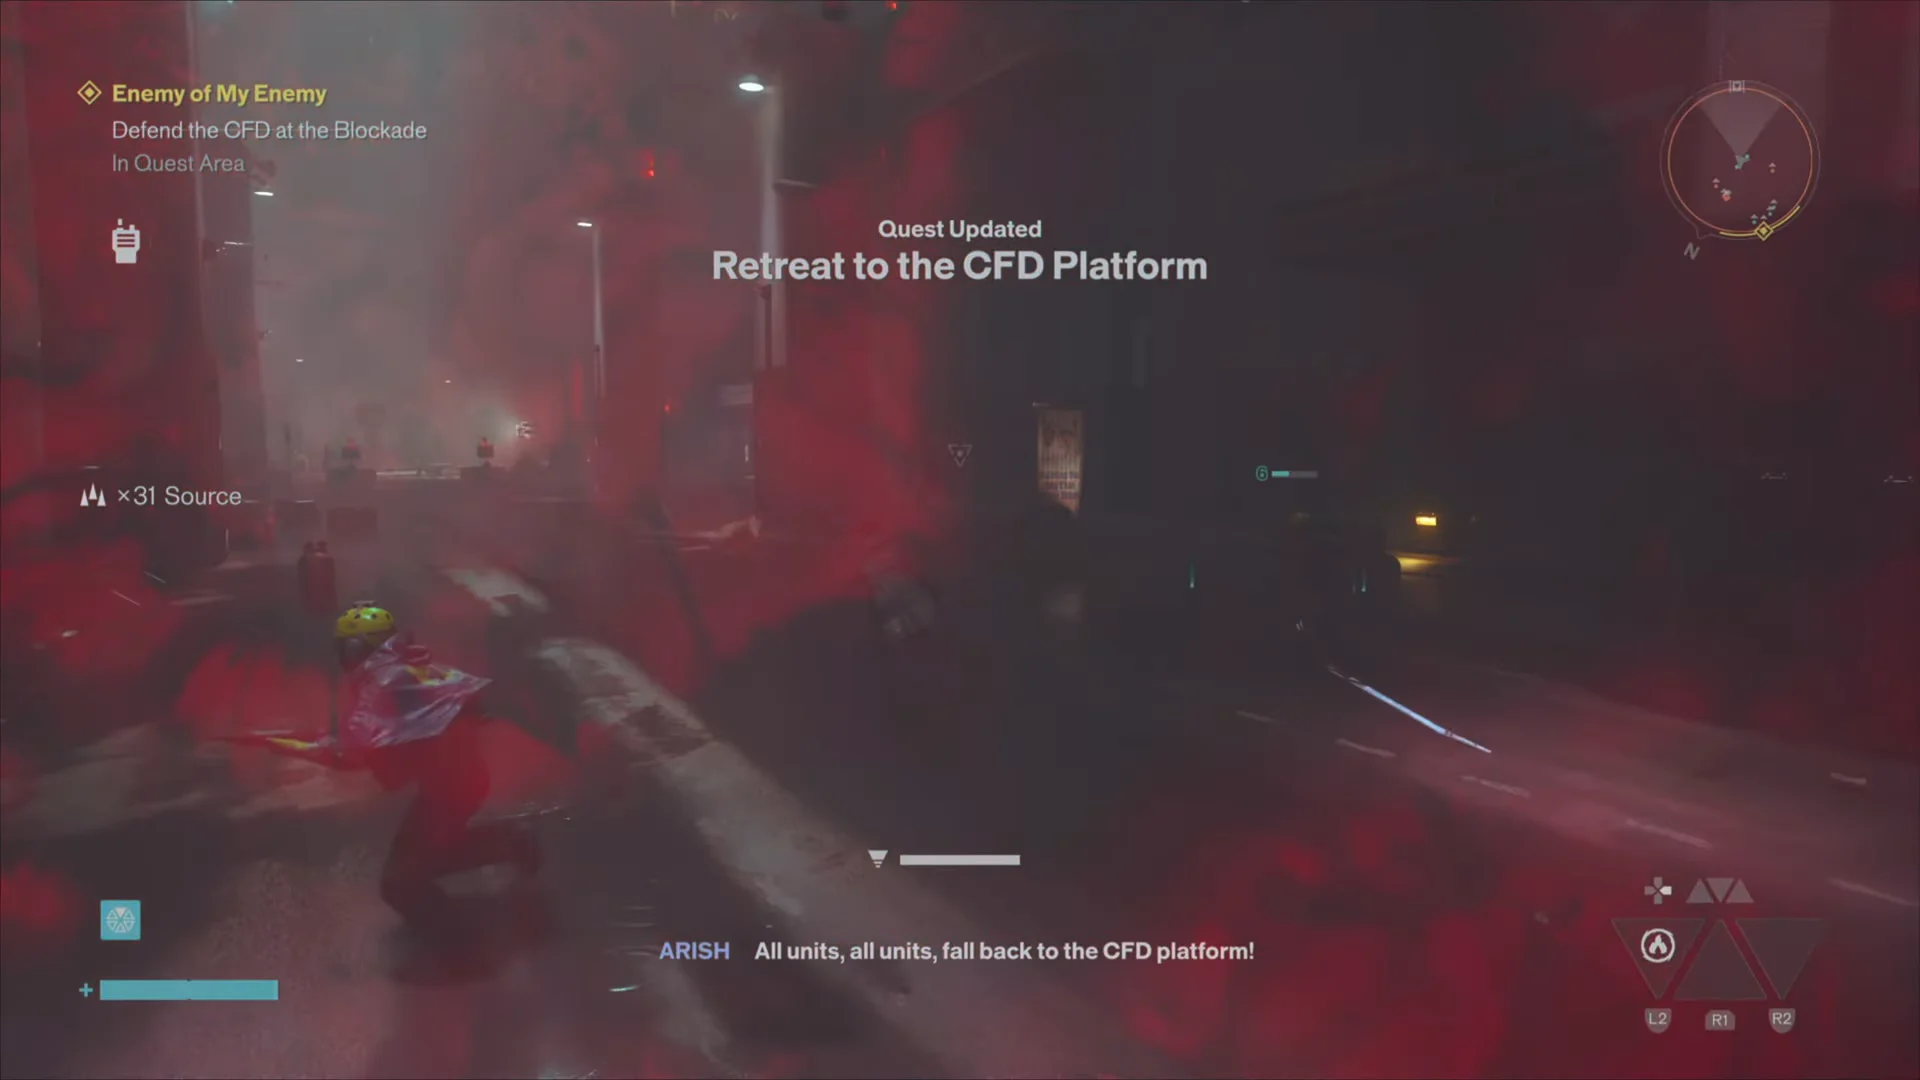
After the first wave, you are teleported further down the road, away from the CFD. The objective changes to defend the blockade. Retreat back toward the CFD before the flying and shielded Hiss forces reach it, dispatching them quickly along the way.
After Arish tells you to fall back, return to the platform. Hiss arrive overhead; climb onto the nearest building and retrace your route to your first meeting point with Arish.
Leave the newly appearing enemies alone and make directly for the activation control. At the platform’s rear on the right sits a device topped by a red bulb; pull its large yellow lever. This sets off a cutscene.
Follow the CFD through the void
After the cutscene, Dylan lands in a shifting, distorted space where the CFD keeps drifting away. This stretch is mostly traversal, and you do not need to fight the enemies that appear, which saves time.
Stay on the narrow trail, drop down, and move toward the glowing light. Tilt gravity with Shift, then climb the wall on the left. At the far end, approach the gap; two platforms will materialize in midair.
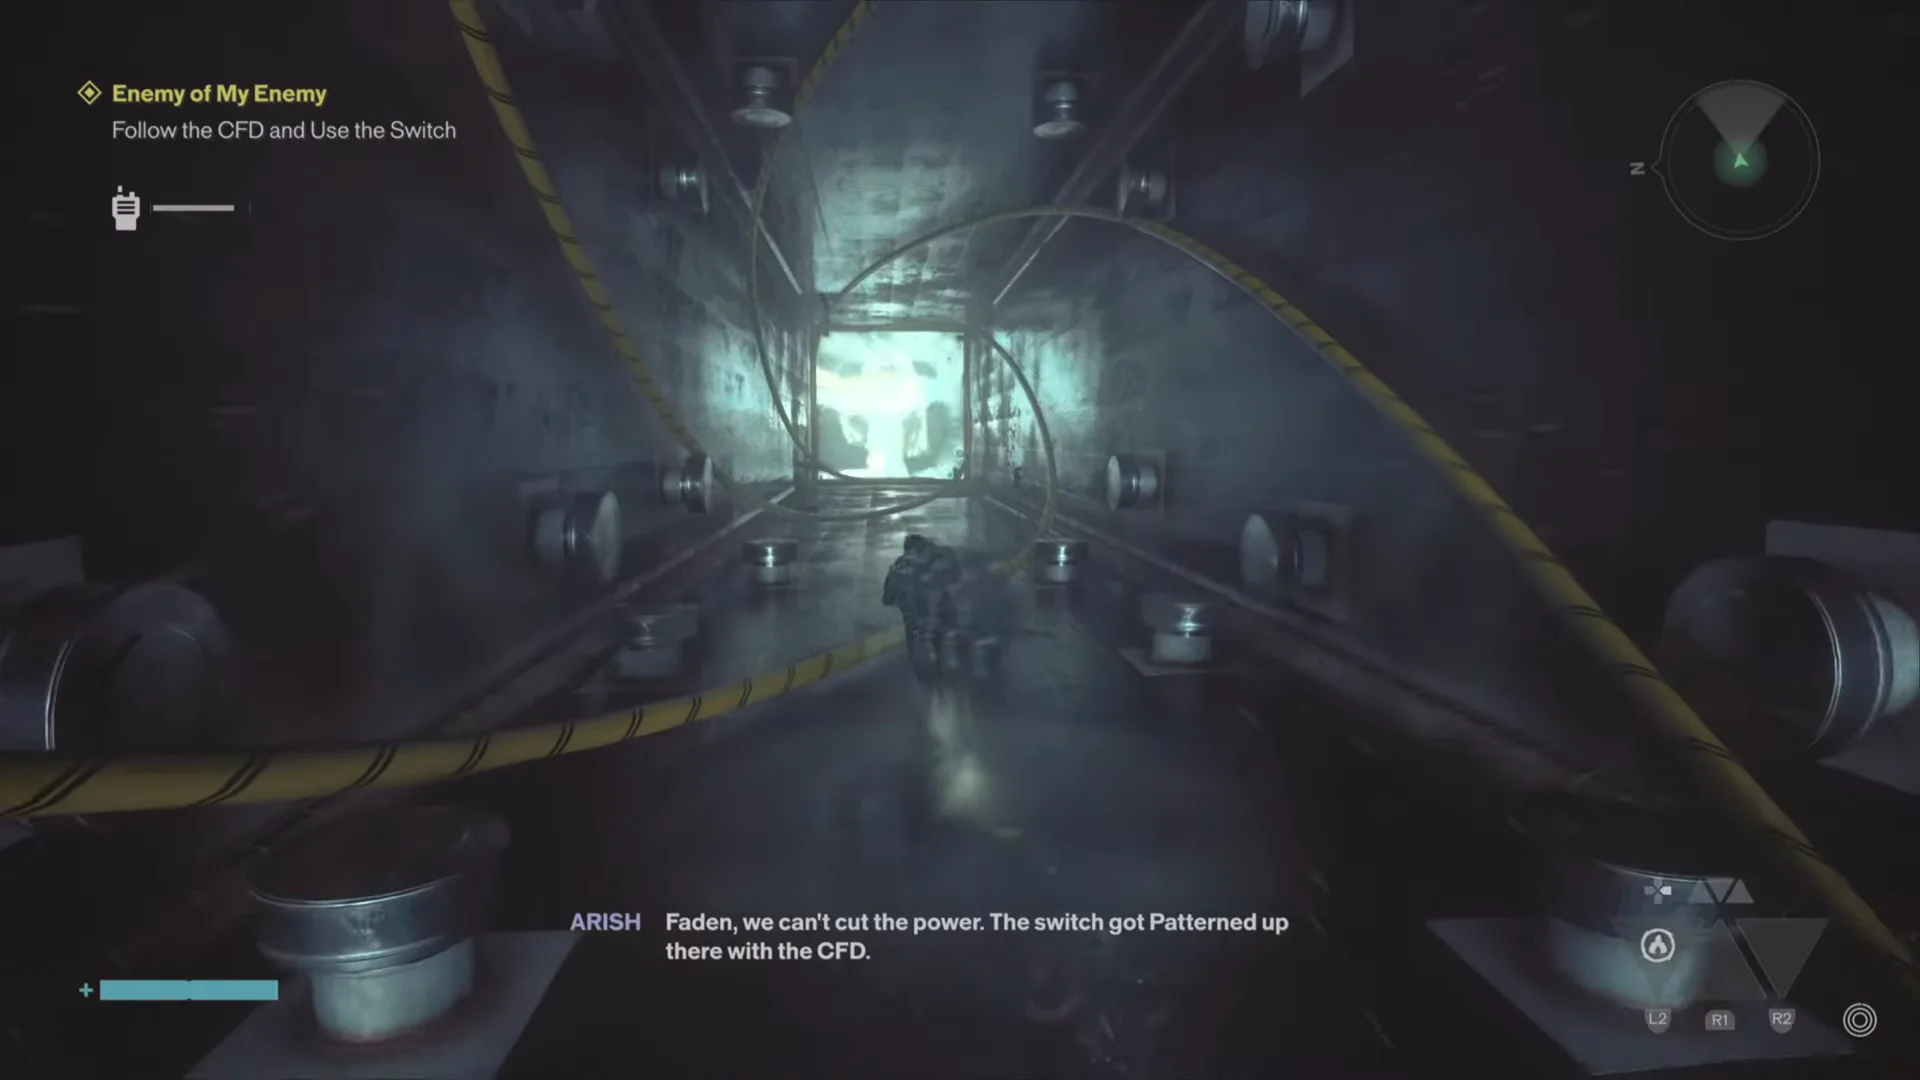
03:29Chasing the CFDThe twisting corridor at the start of the chase, when the Follow the CFD and Use the Switch objective appears. Shown at 03:29 in MetaGuide’s video. Image: Remedy Entertainment
As you jump off the second platform, a blockage spawns in front of you. Dash left or right to go around it and keep moving. If you get turned around, follow the large cables that lead deeper in.
Once you reach the room’s far end, press Shift to stand on the boards and jump between them. Pass through the circle to reach solid ground, then cross the crane platforms and street pieces ahead.
After the last platform, drop to the street below. Three stationary Hiss formations, each with a link or tendril coming off them, block your path here. Destroy all three, then move forward.
Follow the narrow hallway, jump to the platform at its end, and cross to reach the CFD. Press the switch. It does not work, so continue down the next linear path.
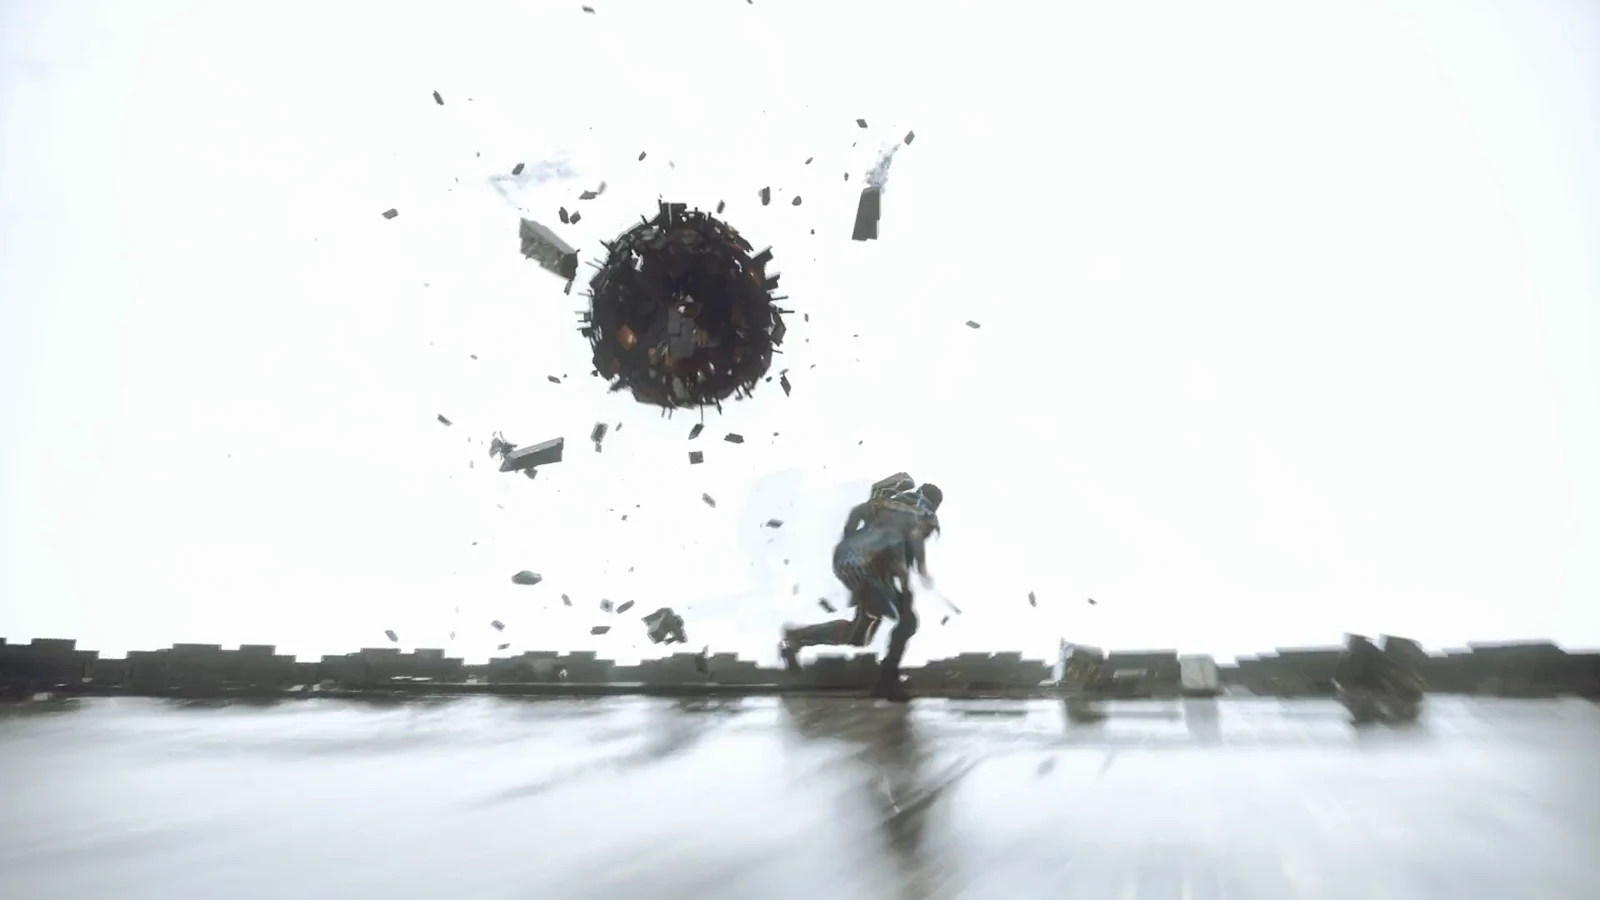
Make your final approach to the CFD, then use the Aberrant to destroy it yourself despite Arish’s protests. A cutscene follows, sending you back to the Oldest House.
How to confirm the mission is complete
In Evacuation Zone 5, Dylan comes to in a glass containment chamber as Zoe addresses him over the intercom. This concludes Enemy of My Enemy and grants Talent Point +1. After control returns, Contain the Crisis is closed, and the campaign proceeds toward the Underpass.
Players can get Control Resonant for PC, PS5, and Xbox Series X|S.