A pair of maxed-out four-character teams tears through Spiral Abyss Floor 12 in a custom 7.1 setup, scoring 9 out of 9 stars across all three chambers before moving on to a controlled damage test. The first team pairs the Hydro support Vodyanitsa with Kamisato Ayato, Durin, and Nicole. The second fields Alyosha, Diona, Odette, and Sandrone. Both are built for speed, and both finish each chamber with enormous time to spare.
Quick answer: Team 1 (Vodyanitsa, Ayato, Durin, Nicole) handles every first half, Team 2 (Alyosha, Diona, Odette, Sandrone) handles every second half, and together they clear Floor 12 for a full 9/9 stars.
This runs in a custom Spiral Abyss environment with private-server character builds and modified kits, so the numbers reflect an idealized test rather than standard live-server play.
The two Floor 12 teams
Each chamber in Spiral Abyss splits into a first half and a second half, and the run assigns one team to each side. That division lets both squads specialize instead of trying to cover every enemy type.
| Team | Role in each chamber | Members |
|---|---|---|
| Team 1 | First half | Vodyanitsa, Kamisato Ayato, Durin, Nicole |
| Team 2 | Second half | Alyosha, Diona, Odette, Sandrone |
Team 1 leans on Vodyanitsa’s Hydro and Cryo resistance shred to amplify Ayato’s on-field Hydro damage, with Durin and Nicole rounding out support. Team 2 combines Alyosha, Diona, Odette, and Sandrone for the multi-wave second halves, where crowd damage matters more than single-target burst.
Floor 12 chamber-by-chamber clear
Chamber 1
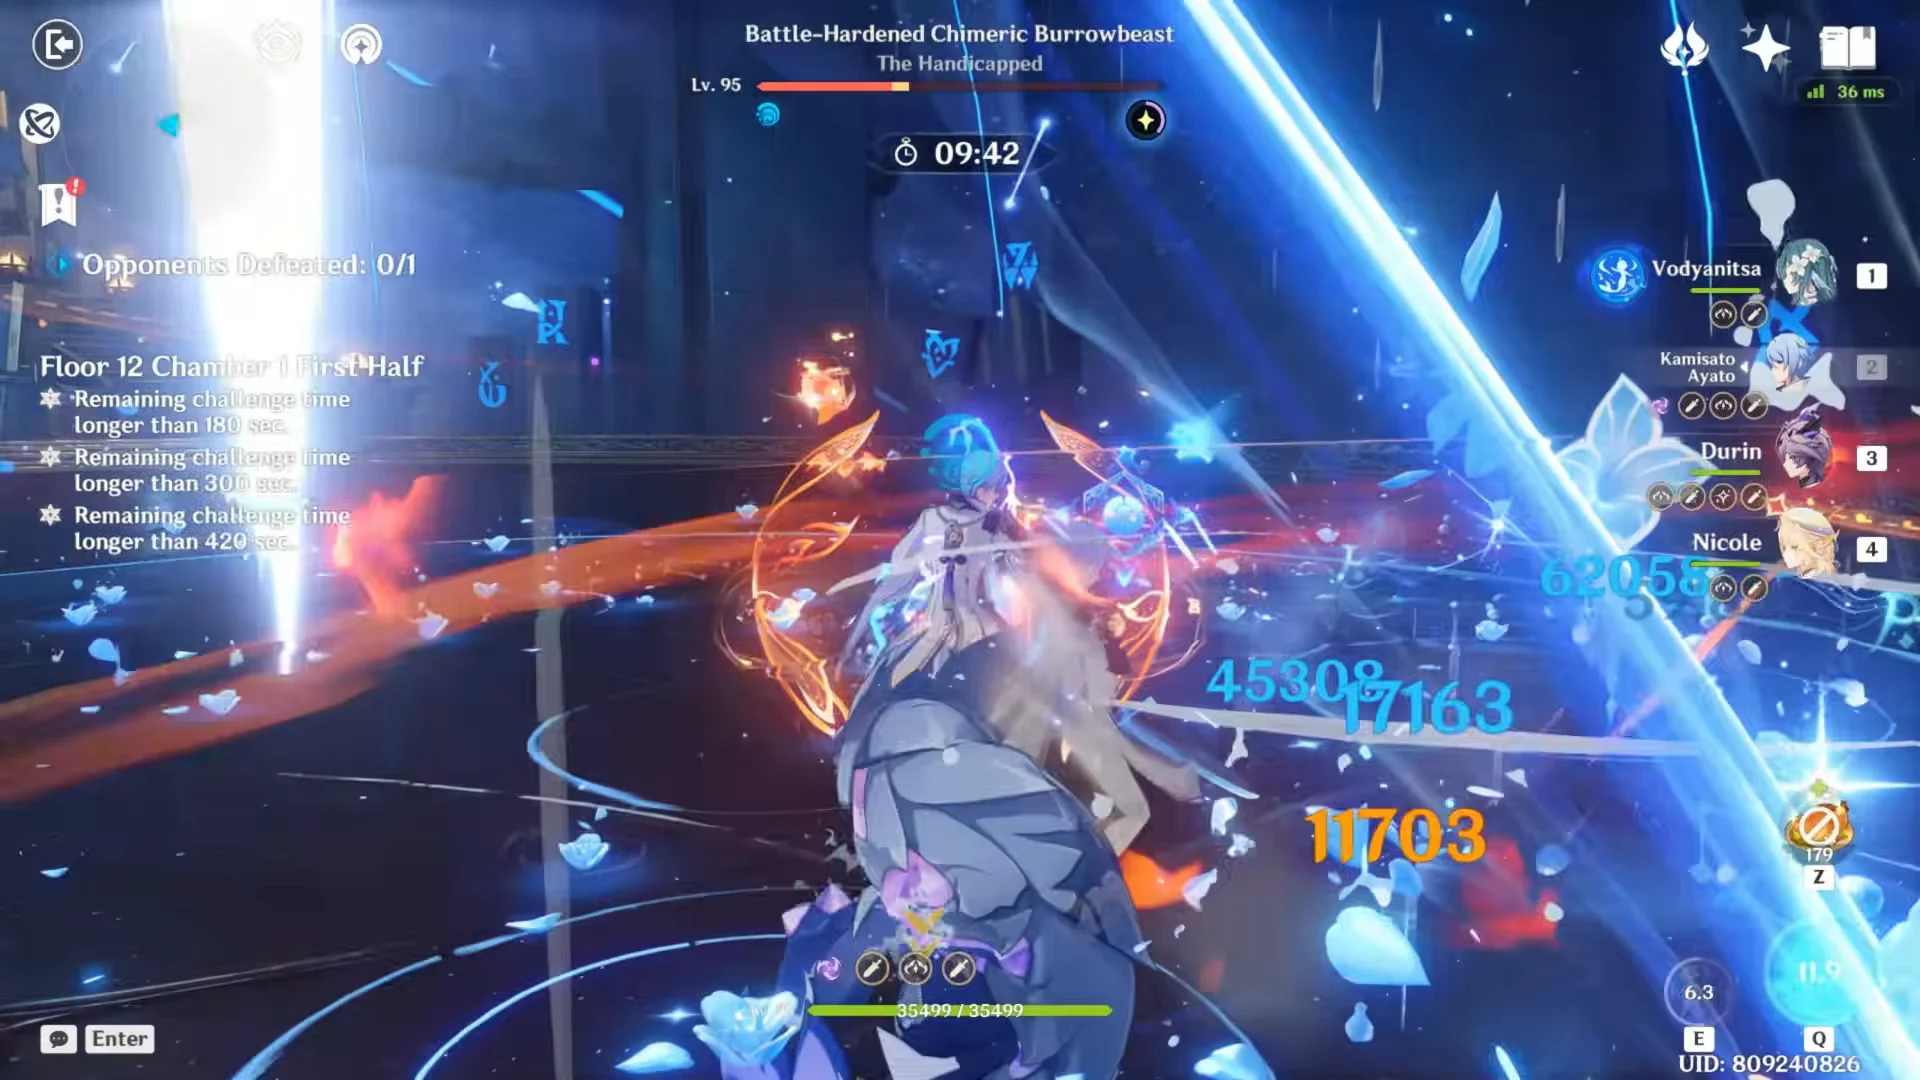
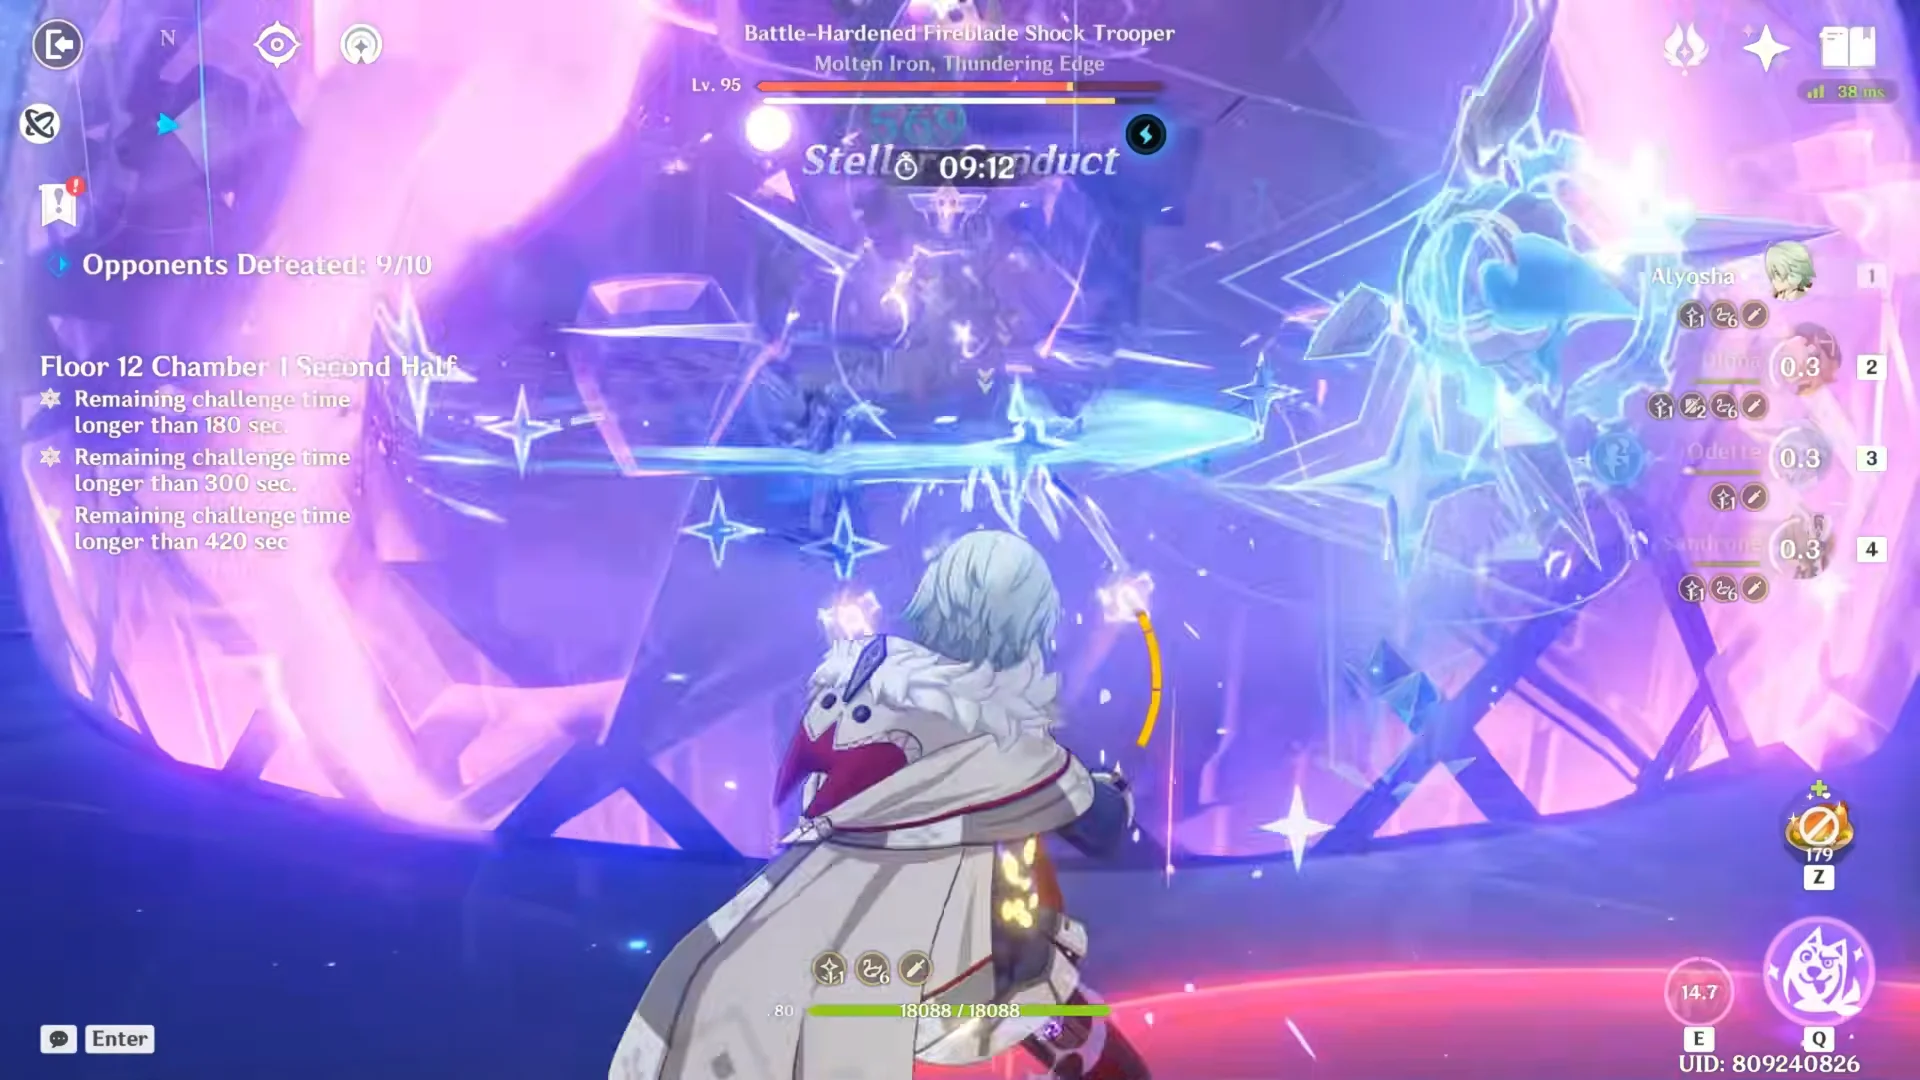
The first half opens with a Benediction of the Abyss card, then Vodyanitsa, Ayato, Durin, and Nicole take down the Battle-Hardened Chimeric Burrowbeast in roughly 25 seconds. The second half sends Alyosha, Diona, Odette, and Sandrone against a group of 10 enemies, including a Battle-Hardened Fireblade Shock Trooper, finishing with more than 8 minutes and 58 seconds left on the clock.
Chamber 2
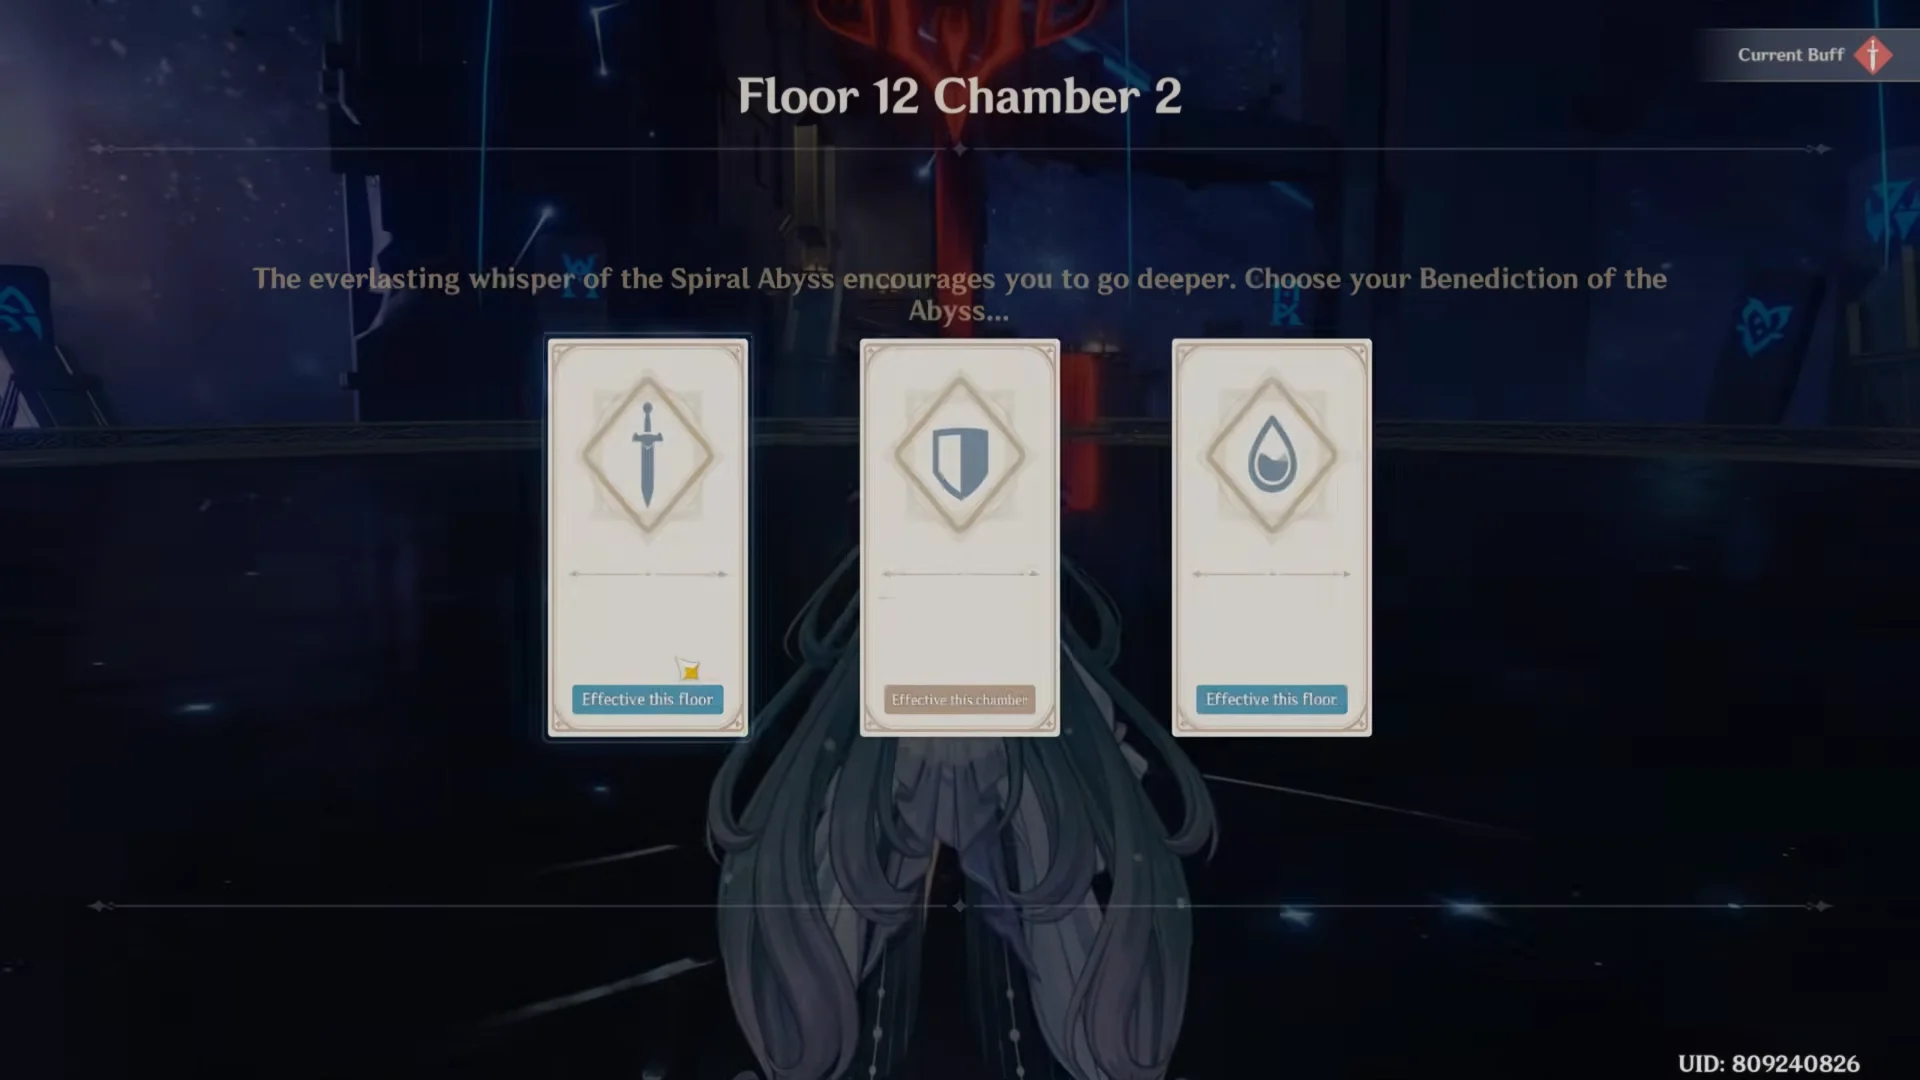
In Chamber 2, the selected card grants characters 8% CRIT Rate and 15% CRIT DMG. Team 1 uses the buff to defeat the Immortal Construct in under 15 seconds. Team 2 takes out five foes, including the Lord of the Hidden Depths: Whisperer of Nightmares, with about 9 minutes and 25 seconds remaining.
Chamber 3
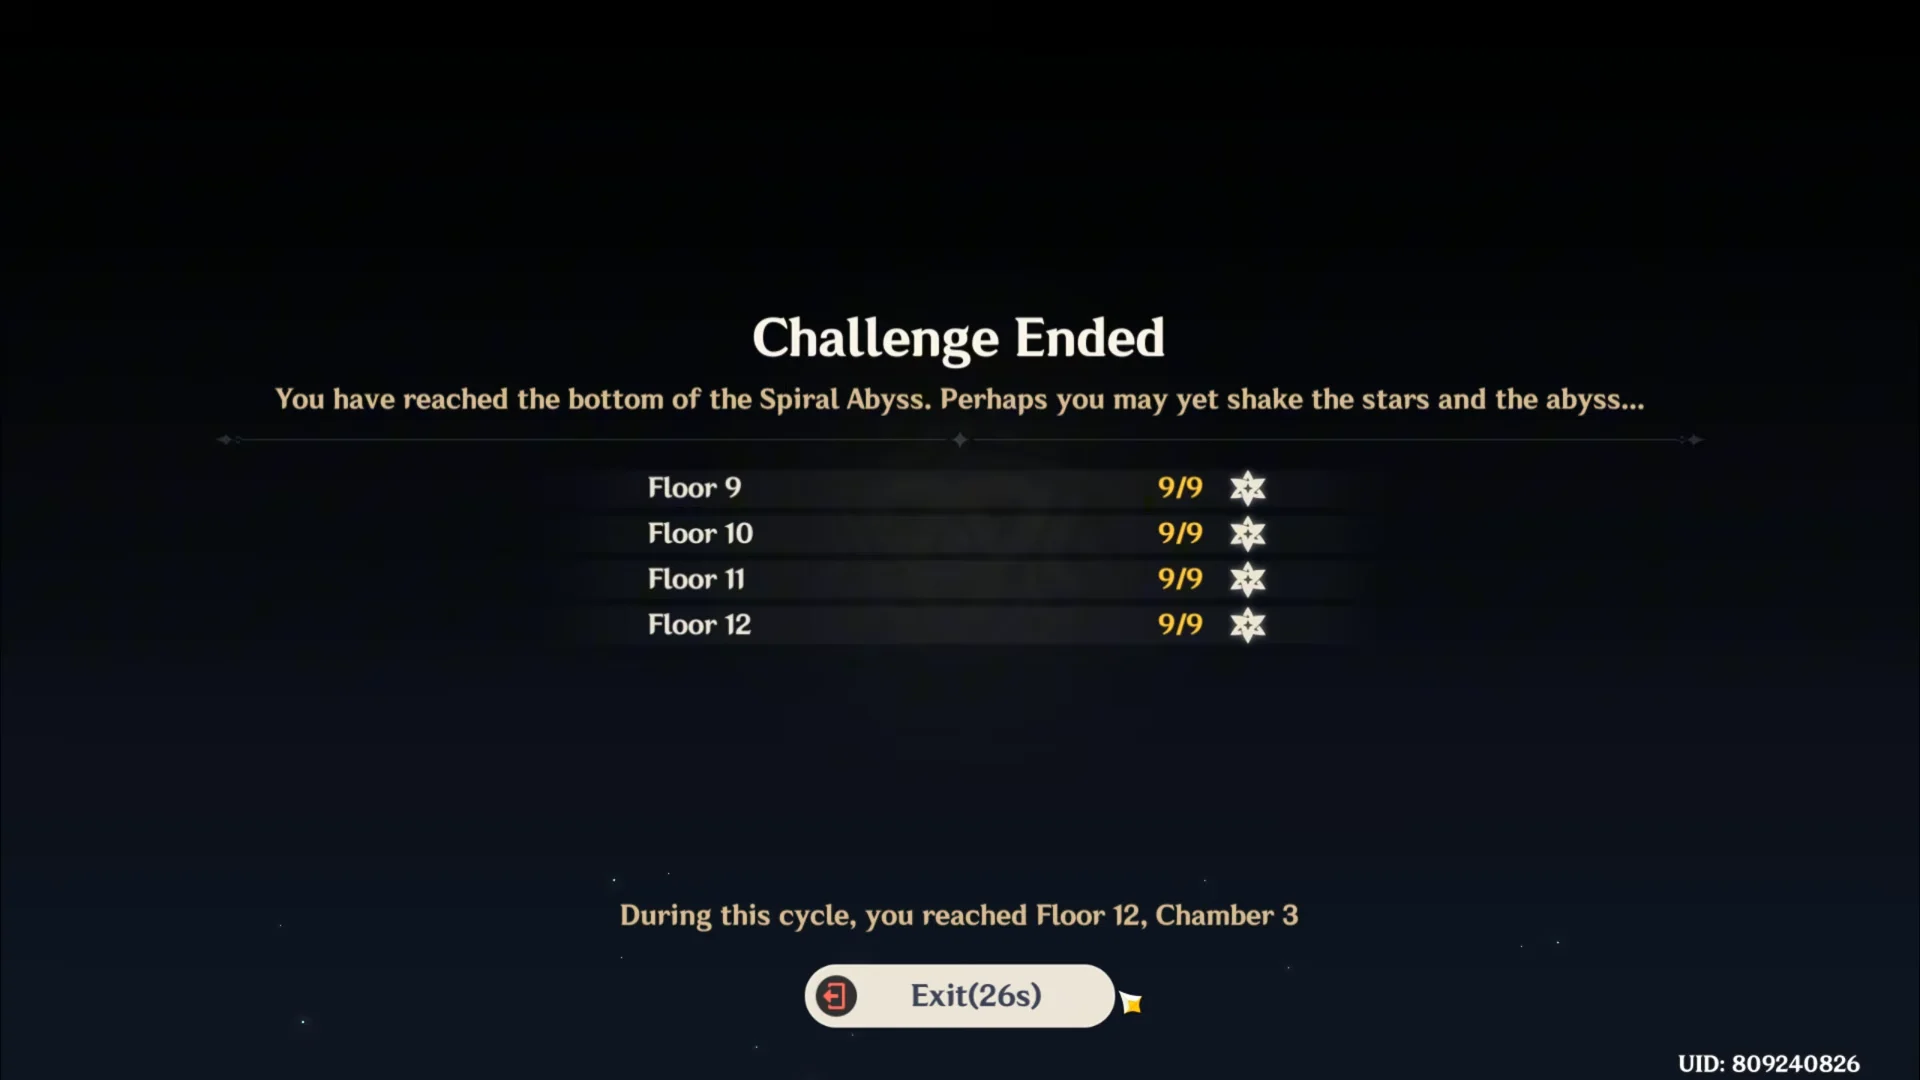
In the final chamber, Team 1 eliminates the Battle-Hardened Domovoy Sculptor with about 9 minutes and 49 seconds left. Team 2 closes out the run by defeating the Battle-Hardened Lightkeeper with roughly 9 minutes and 30 seconds remaining, locking in the clean three-star finish.
The result screen confirms the outcome, showing 9/9 stars on Floors 9, 10, 11, and 12. That full-star tally on the summary is how you verify a complete clear.
Ruin Guard damage benchmarks
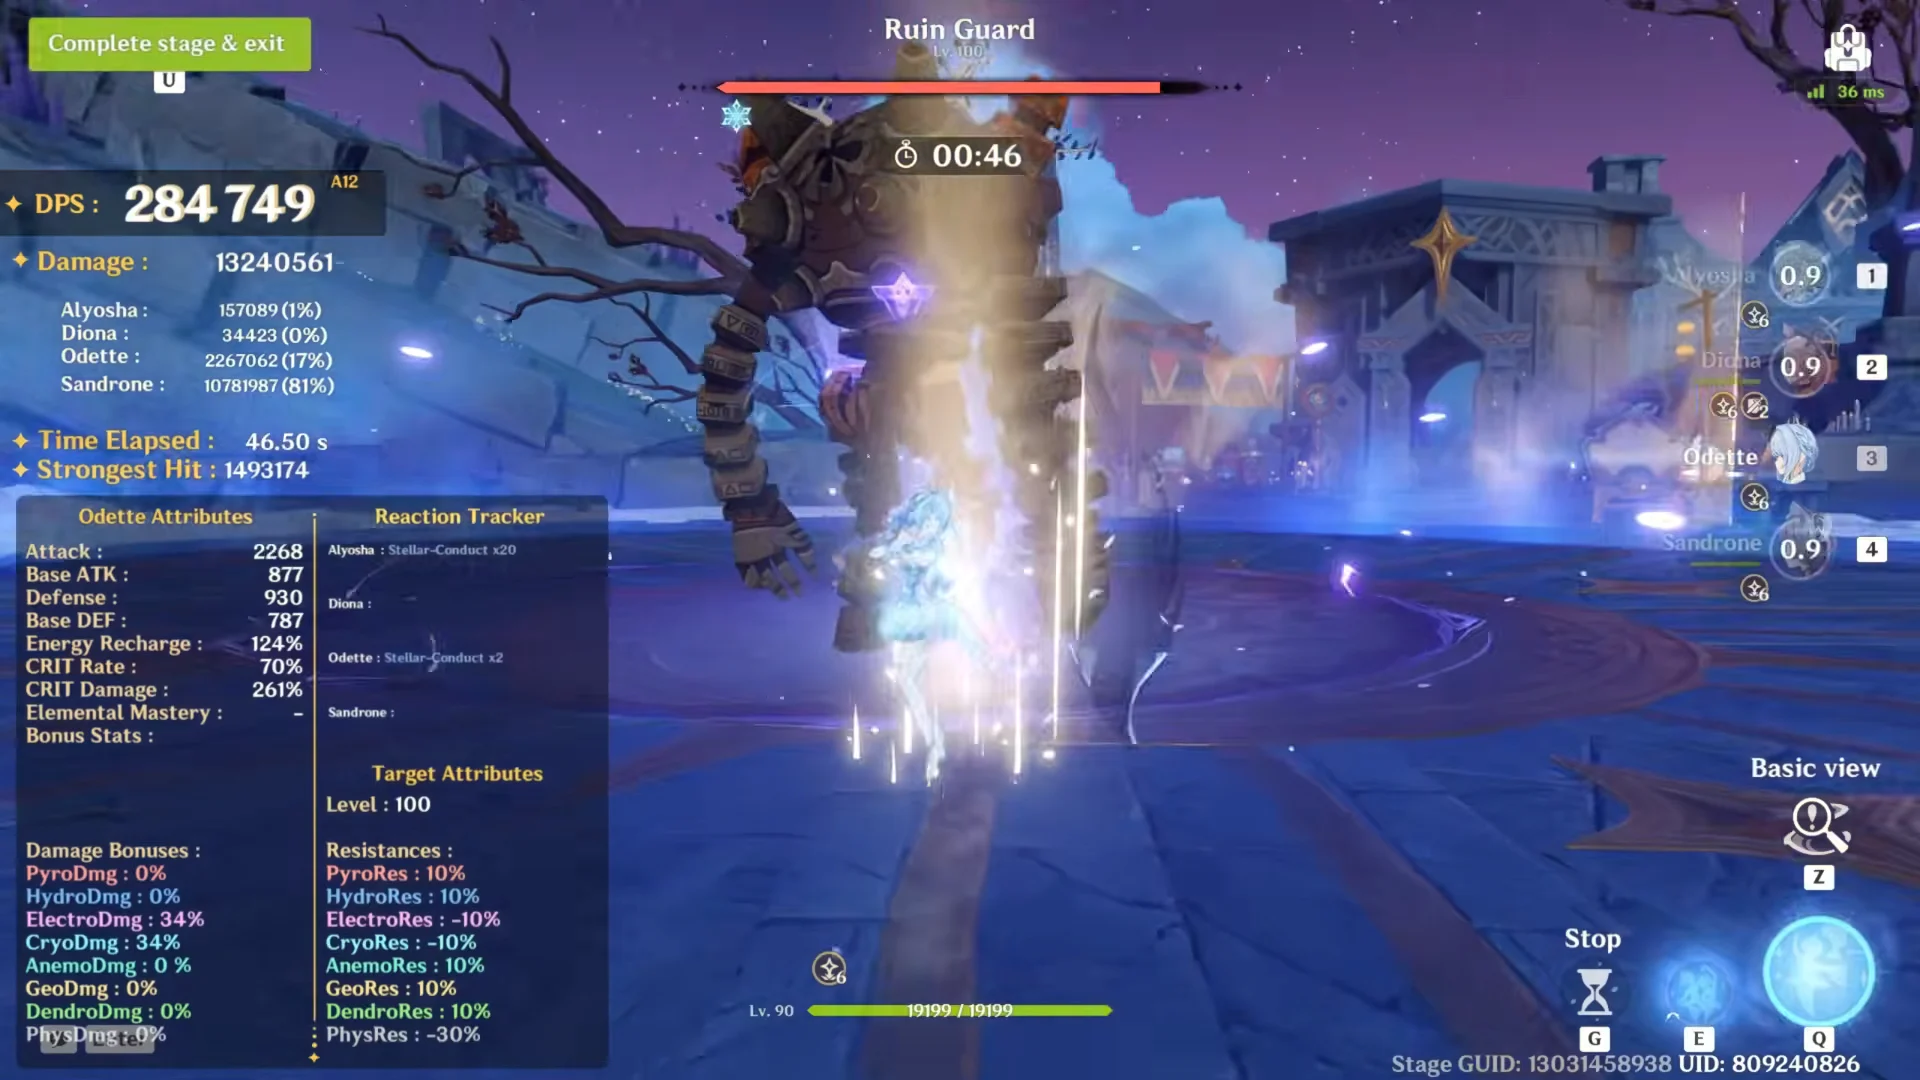
After the Abyss clear, both teams run continuous rotations against a Level 100 Ruin Guard in a custom training arena with a live DPS and reaction tracker. The gap between the two lineups is wide, which reflects Team 1’s single-target focus versus Team 2’s broader kit.
| Team | Sustained DPS | Total damage | Duration |
|---|---|---|---|
| Team 1 | 617,000+ | 35,397,000+ | 57.3s |
| Team 2 | 304,000+ | 20,313,000+ | 66.7s |
Character builds behind the run
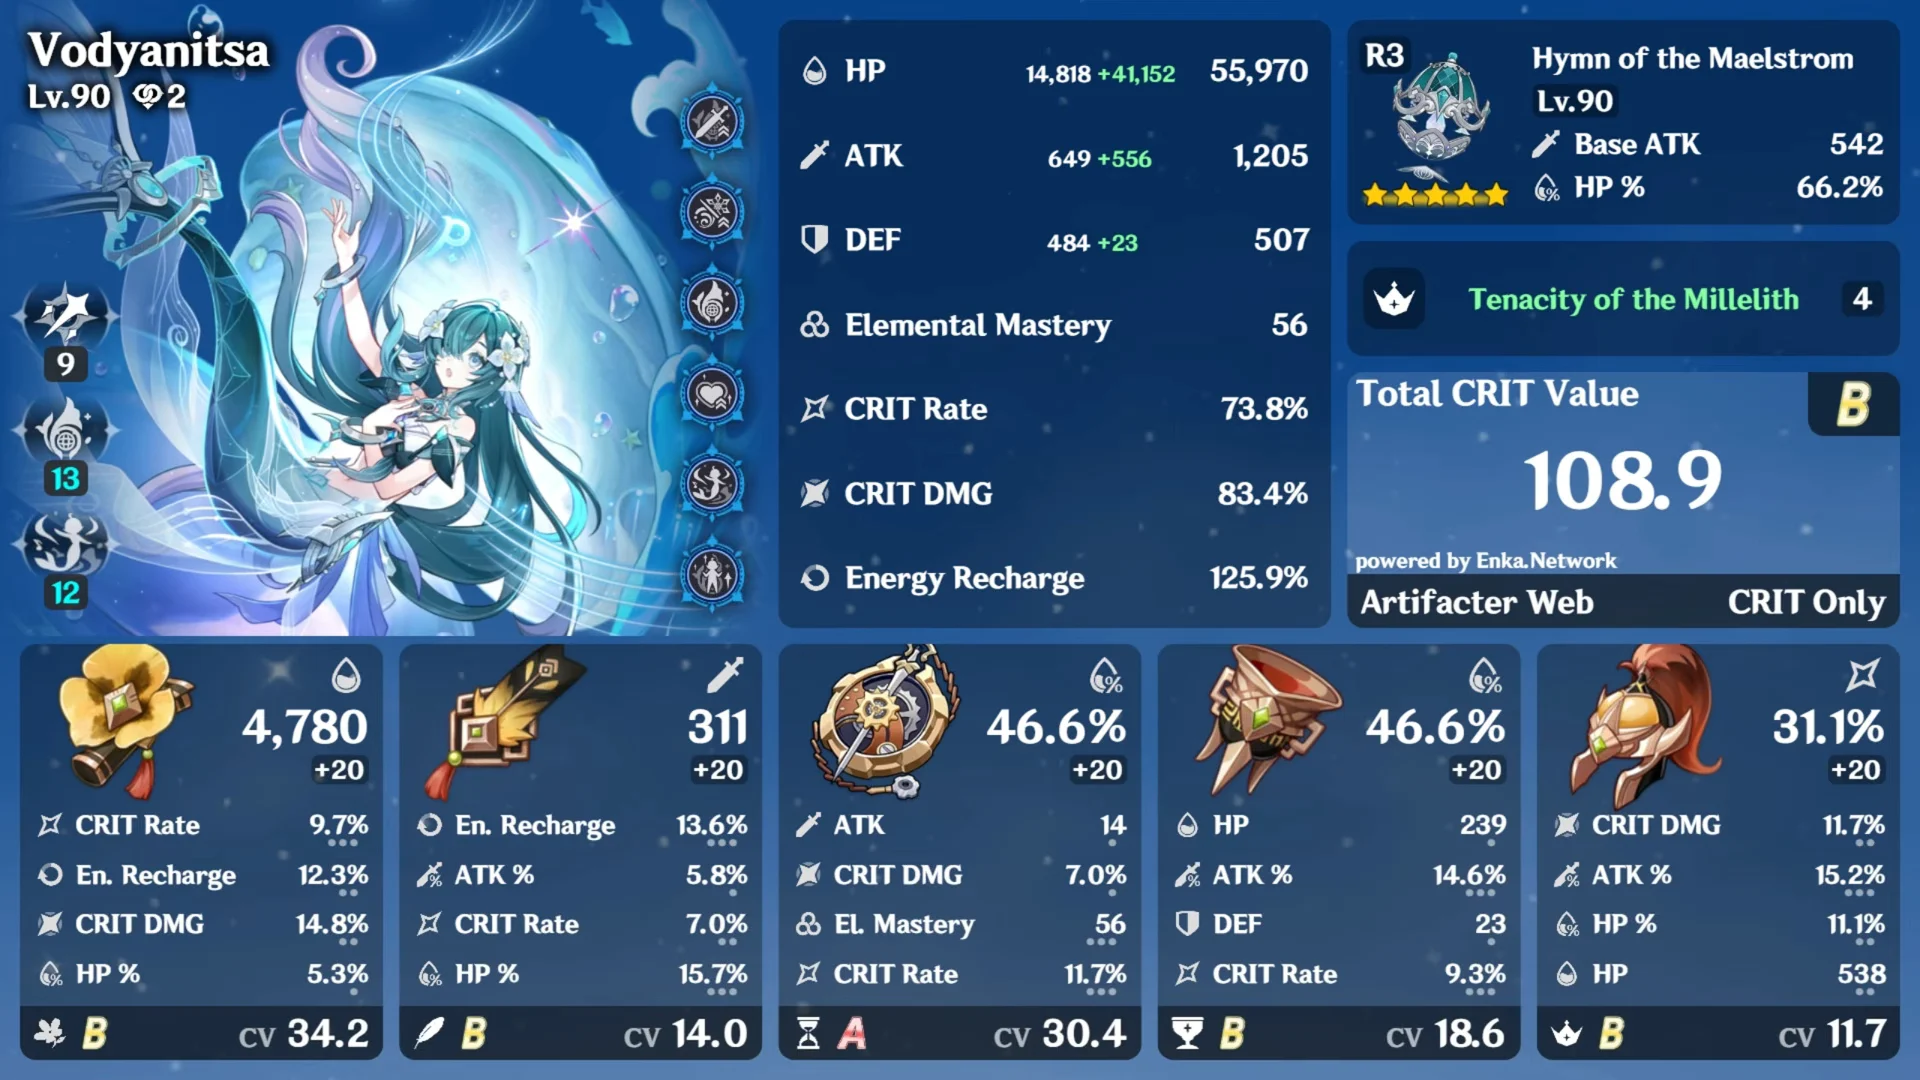
The build cards spell out why the clears are so fast. Vodyanitsa runs her signature catalyst Hymn of the Maelstrom at R3 with a four-piece Tenacity of the Millelith set, level 90, and about 125.9% Energy Recharge, sitting at 73.8% CRIT Rate and 83.4% CRIT DMG. As a Hydro support who wants stacked HP, she leans on the healing and resistance shred rather than personal damage.
Team 1 loadouts
| Character | Weapon | Artifacts | CRIT (Rate / DMG) |
|---|---|---|---|
| Vodyanitsa (Lv90) | Hymn of the Maelstrom R3 | Tenacity of the Millelith | 73.8% / 83.4% |
| Kamisato Ayato (Lv95) | Primordial Jade Cutter R3 | Heart of Depth | 91.9% / 228.3% |
| Durin (Lv100) | Athame Artis R2 | Noblesse Oblige | 96.4% / 131.1% |
| Nicole (Lv100) | Angelos’ Heptades R5 | Celestial Gift | 18.2% / 57.8% |
Ayato carries the team’s damage with 2,274 ATK, 61.6% Hydro DMG Bonus, and a huge 228.3% CRIT DMG. Durin sits at 2,582 ATK with 171.9% Energy Recharge, and Nicole functions as a high-ATK, high-recharge support at 4,405 ATK and 178.3% ER.
Team 2 loadouts
| Character | Weapon | Artifacts | CRIT (Rate / DMG) |
|---|---|---|---|
| Alyosha (Lv80) | Favonius Lance R5 | Heart of the Furnace | 67.6% / 50.0% |
| Diona (Lv80) | Breezeborne Refrain R5 | Noblesse Oblige | 30.1% / 74.9% |
| Odette (Lv90) | Light of Foliar Incision R1 | Disenchantment in Deep Shadow | 70.4% / 261.3% |
| Sandrone (Lv90) | A Thousand Blazing Suns R2 | Disenchantment in Deep Shadow | 72.9% / 196.9% |
The second squad tilts toward recharge and reaction support on Alyosha (257.7% ER) and Diona, who is built on HP at 24,148 with 279.9% ER. Odette and Sandrone provide the damage, both on the Disenchantment in Deep Shadow set with heavy CRIT DMG at 261.3% and 196.9% respectively.
Taken together, the run is less about a repeatable meta strategy and more a demonstration of what fully invested versions of these units can do when the resistance shred, healing, and CRIT stats all line up. The Floor 12 clears are quick, and the Ruin Guard test makes the damage difference between an Ayato-led first-half team and a wider second-half team plain to see.