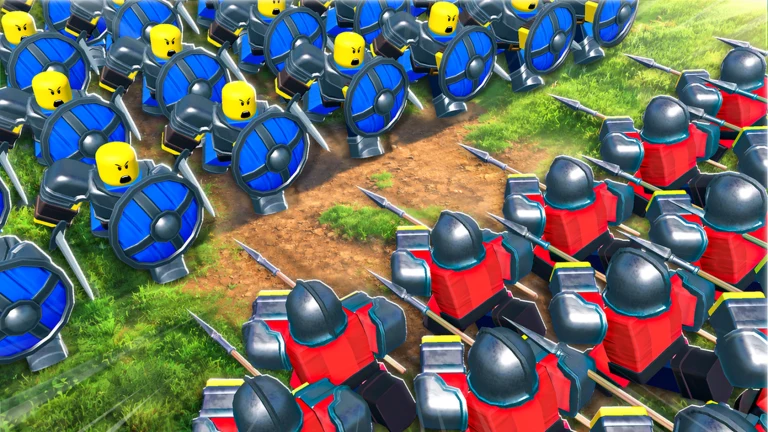
Every troop type in Command an Army beats one class and loses to another, so wins come from matchups more than from owning the highest-star unit. The combat runs on a fixed loop, like rock-paper-scissors with five options instead of three. Once you know which way the loop turns, you stop sending units into fights they are built to lose.
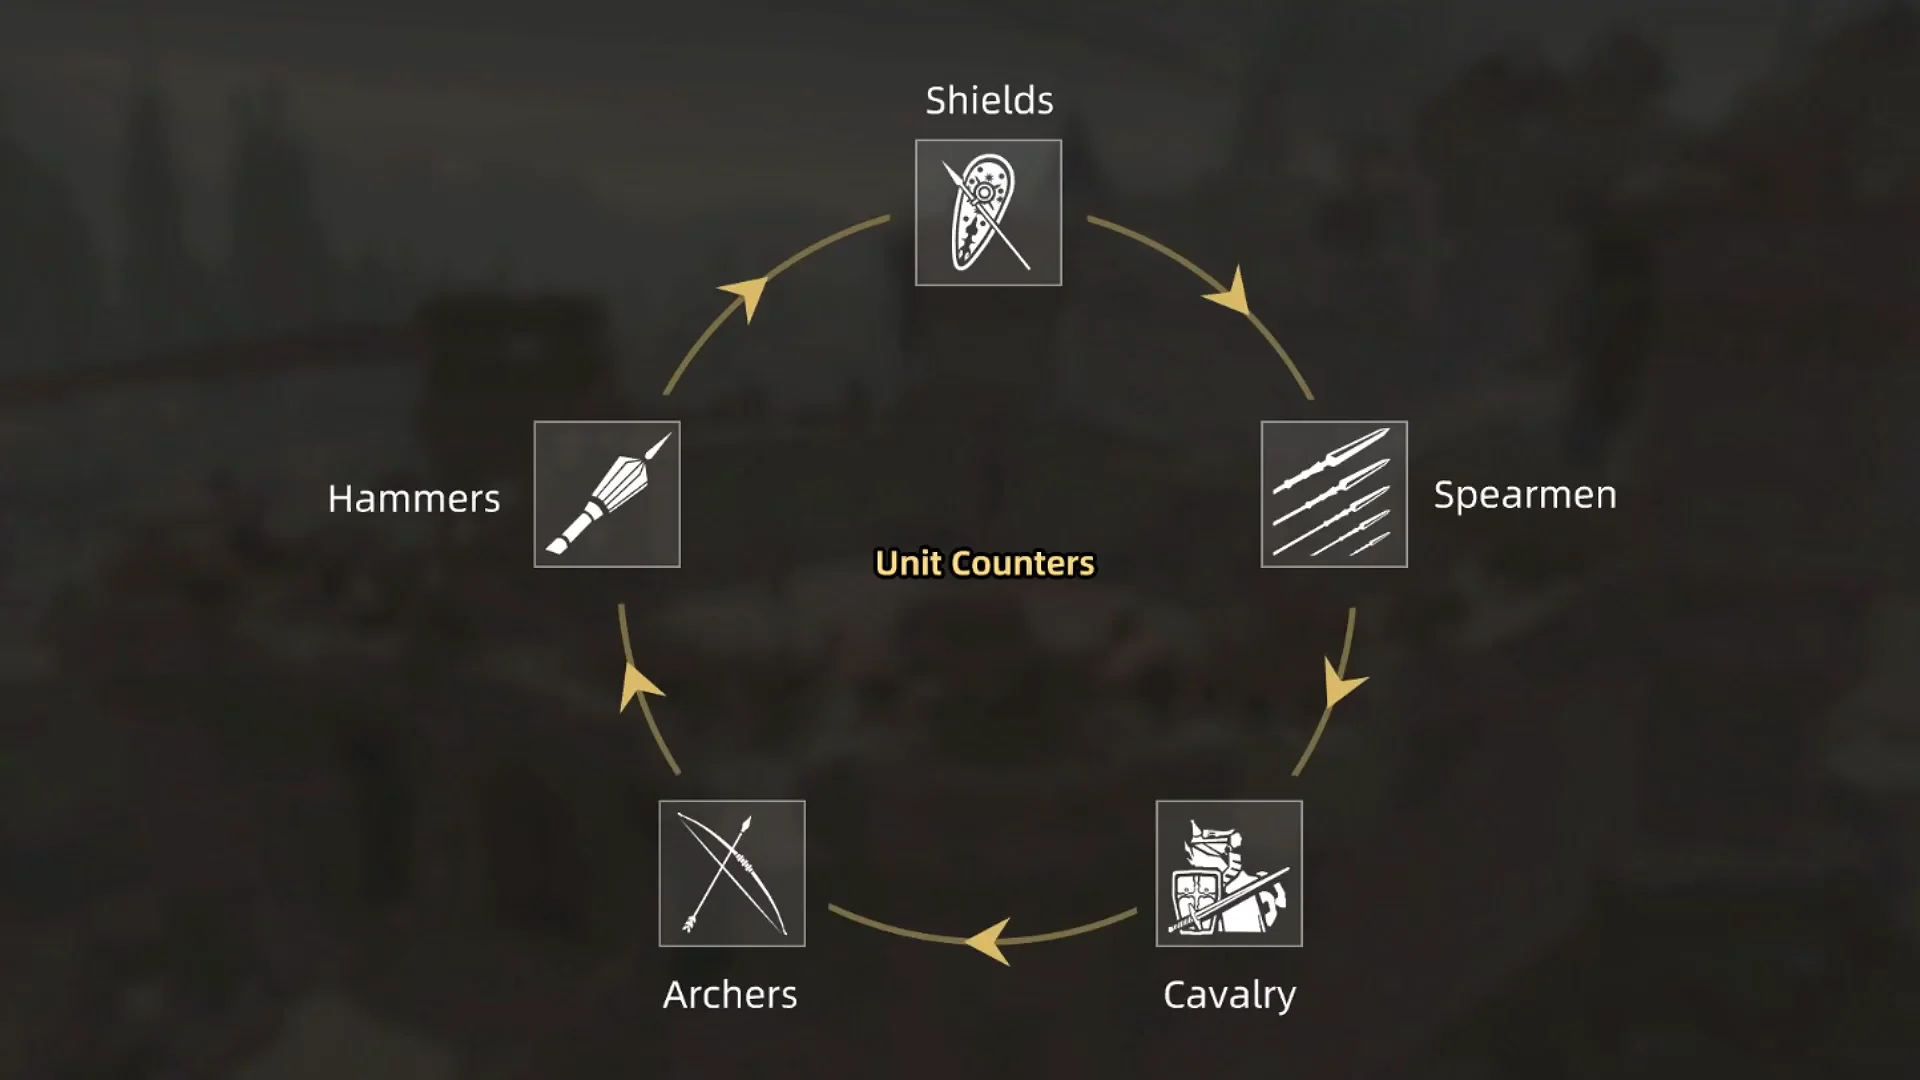
Quick answer: The counter cycle runs Shields beat Spearmen, Spearmen beat Cavalry, Cavalry beat Archers, Archers beat Hammers, and Hammers beat Shields. Each class has exactly one it punishes and one that punishes it.
The unit counter cycle
The five unit classes form a single loop. Reading it in order tells you both what a class crushes and what crushes it, so you never have to memorize ten separate matchups.
| Unit type | Counters | Countered by |
|---|---|---|
| Shields | Spearmen | Hammers |
| Spearmen | Cavalry | Shields |
| Cavalry | Archers | Spearmen |
| Archers | Hammers | Cavalry |
| Hammers | Shields | Archers |
Turn the cycle into matchups you win
The practical reads are short. Steer cavalry into archers and other ranged troops, never into a wall of spears. Cavalry burst damage peaks when a charge lands from behind, so swing your riders around the side of a line and slam into the backline rather than the front.

Spearmen exist to stop those charges. Place them in front of any lane a rider can rush down, and the cavalry loses its edge on contact. Halberd-type units serve the same anti-cavalry role, bracing the line so riders cannot punch through to your softer troops.
Archers are the flip side of that read. They shred slow-moving hammer units from range, but a fast cavalry charge closes the gap and wipes an exposed ranged line before it fires. Keep archers behind cover and away from open flanks where riders can reach them.

Break shield formations with Hammers and Maces
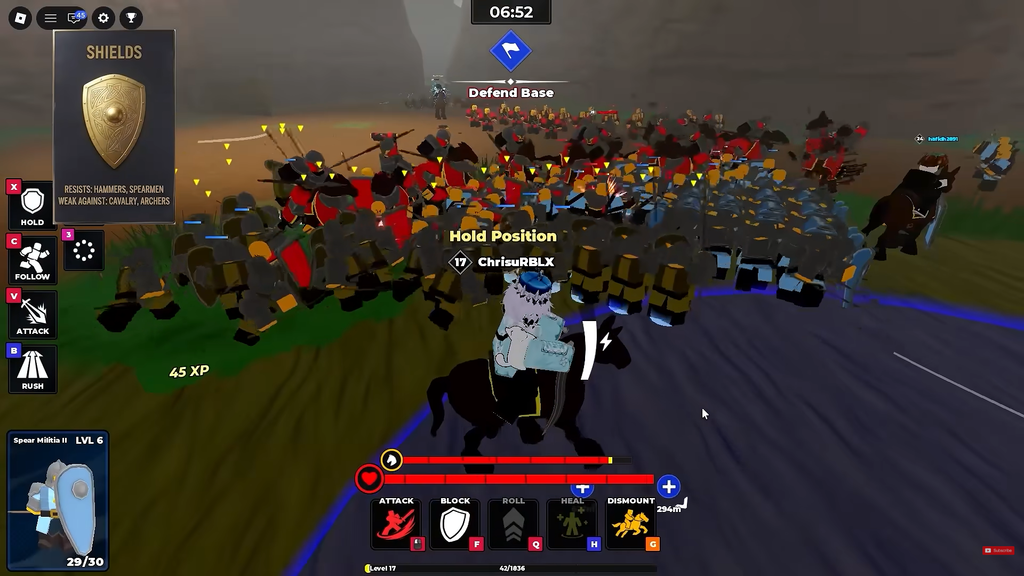
Shields absorb projectile damage and hold capture points well, which is why defenders love stacking them into tight circles. That block wall is exactly what hammer units are built to smash. Mace units deal bonus damage against shields, chewing through the block gauge and shattering a defensive turtle that archers and regular infantry cannot crack.
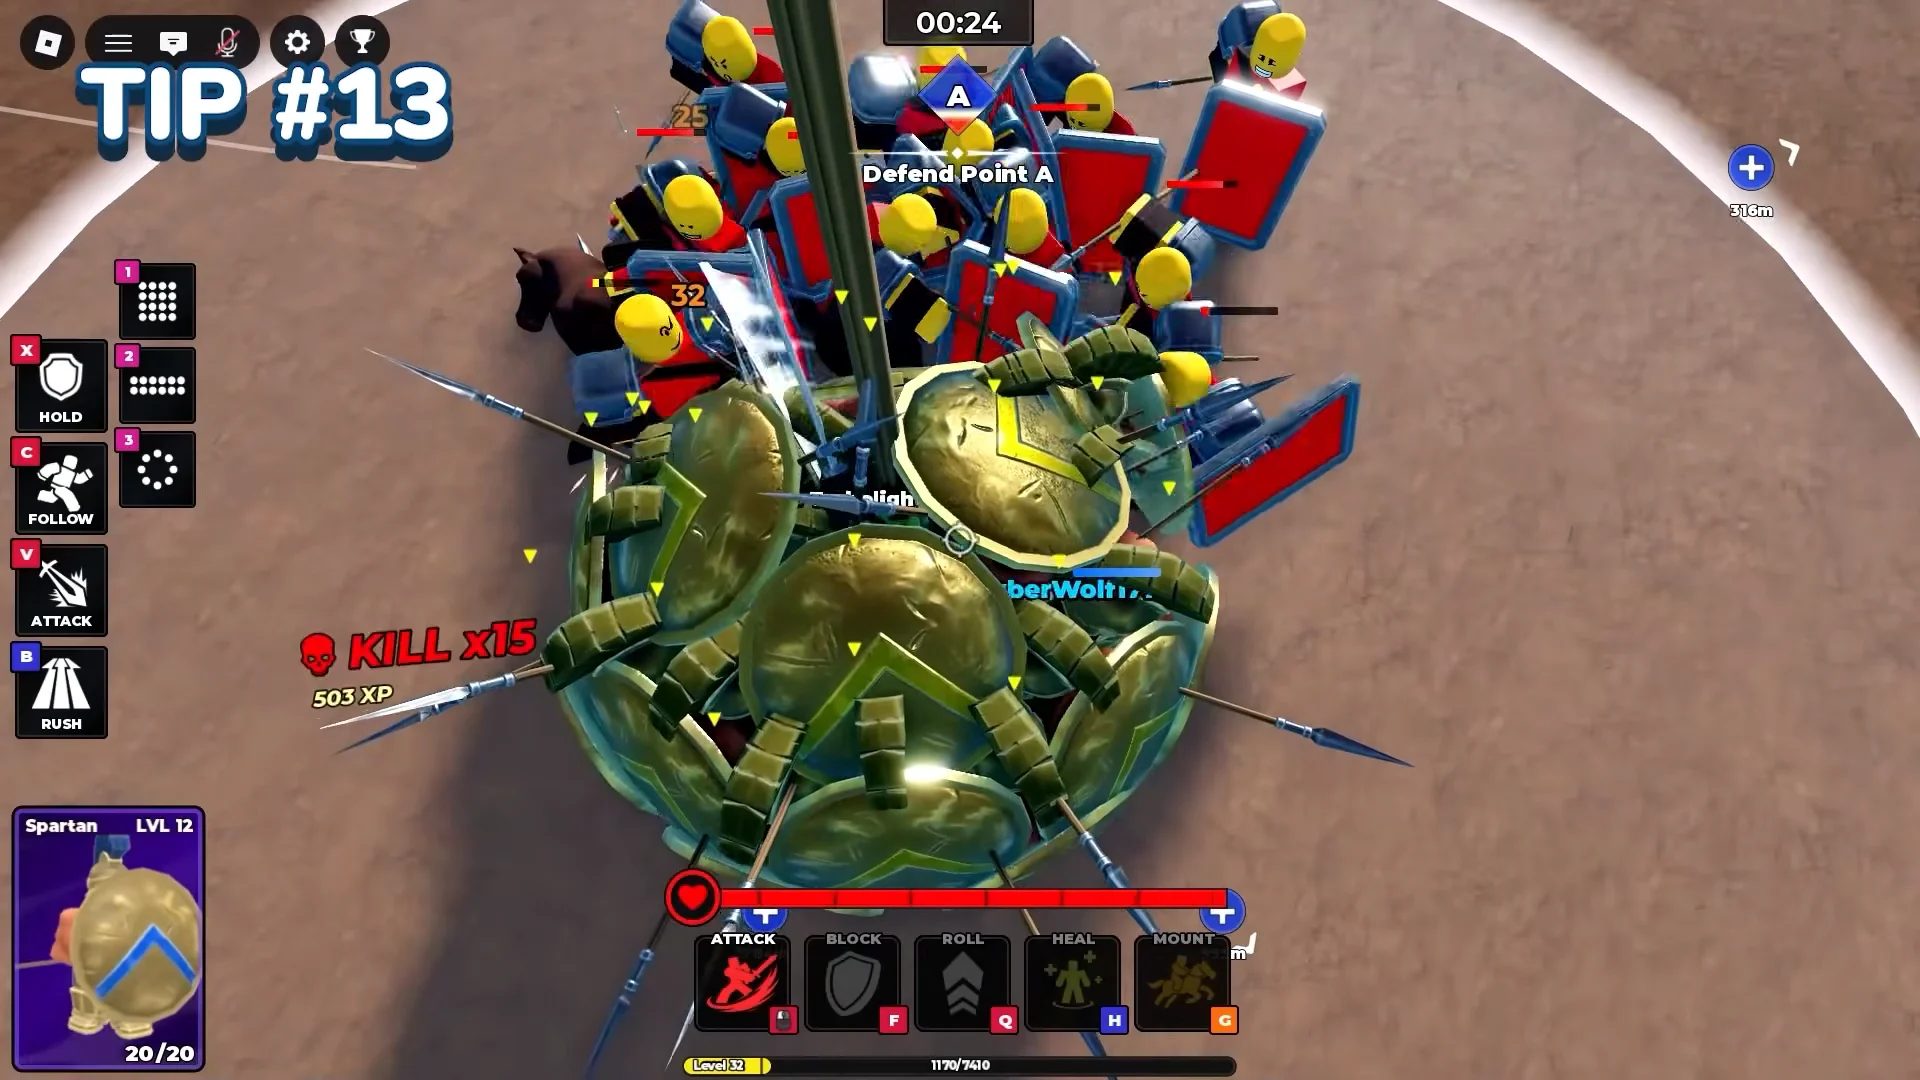
To tell whether a unit can crack shields, open its card and look for the Block Damage stat. Any unit with that value can push through a shielded enemy, which makes it your go-to pick for clearing an objective that a defensive line is holding.

The Samurai is a strong all-round shield-breaker for the same reason. Its high DPS and fast one-second attack interval tear through block health while it stays useful against ordinary infantry, so it clears stacked shields without leaving you helpless in the next fight.

Check the enemy lineup before you deploy
The counter cycle only helps if you build for what the other side actually fields. Review the enemy composition on the pre-match screen and set your loadout to answer it. If they lean on shields, bring hammers or a high block-damage unit; if they run cavalry, put spears out front; if they field archers, flank with riders. A balanced squad that covers each of the five classes lets you swap the right counter into every fight instead of feeding units into a matchup you were always going to lose.