The No. 2 Wildlife Sanctuary is one of the most punishing areas in Palworld, and Part 10 of the Forever World 100% completion run leans right into it. After a long stretch of base building, the session crosses the open ocean into the sanctuary dome and immediately runs into extreme heat, lava, and armed drones. It ends in two deaths before the player claws back the loot and a long list of new captures.
Quick answer: The No. 2 Wildlife Sanctuary is a volcanic restricted zone where trespassing summons Level 80 Patrol Drones that can one-shot mid-level players, alongside blue lava that rapidly drains health.
What the No. 2 Wildlife Sanctuary is
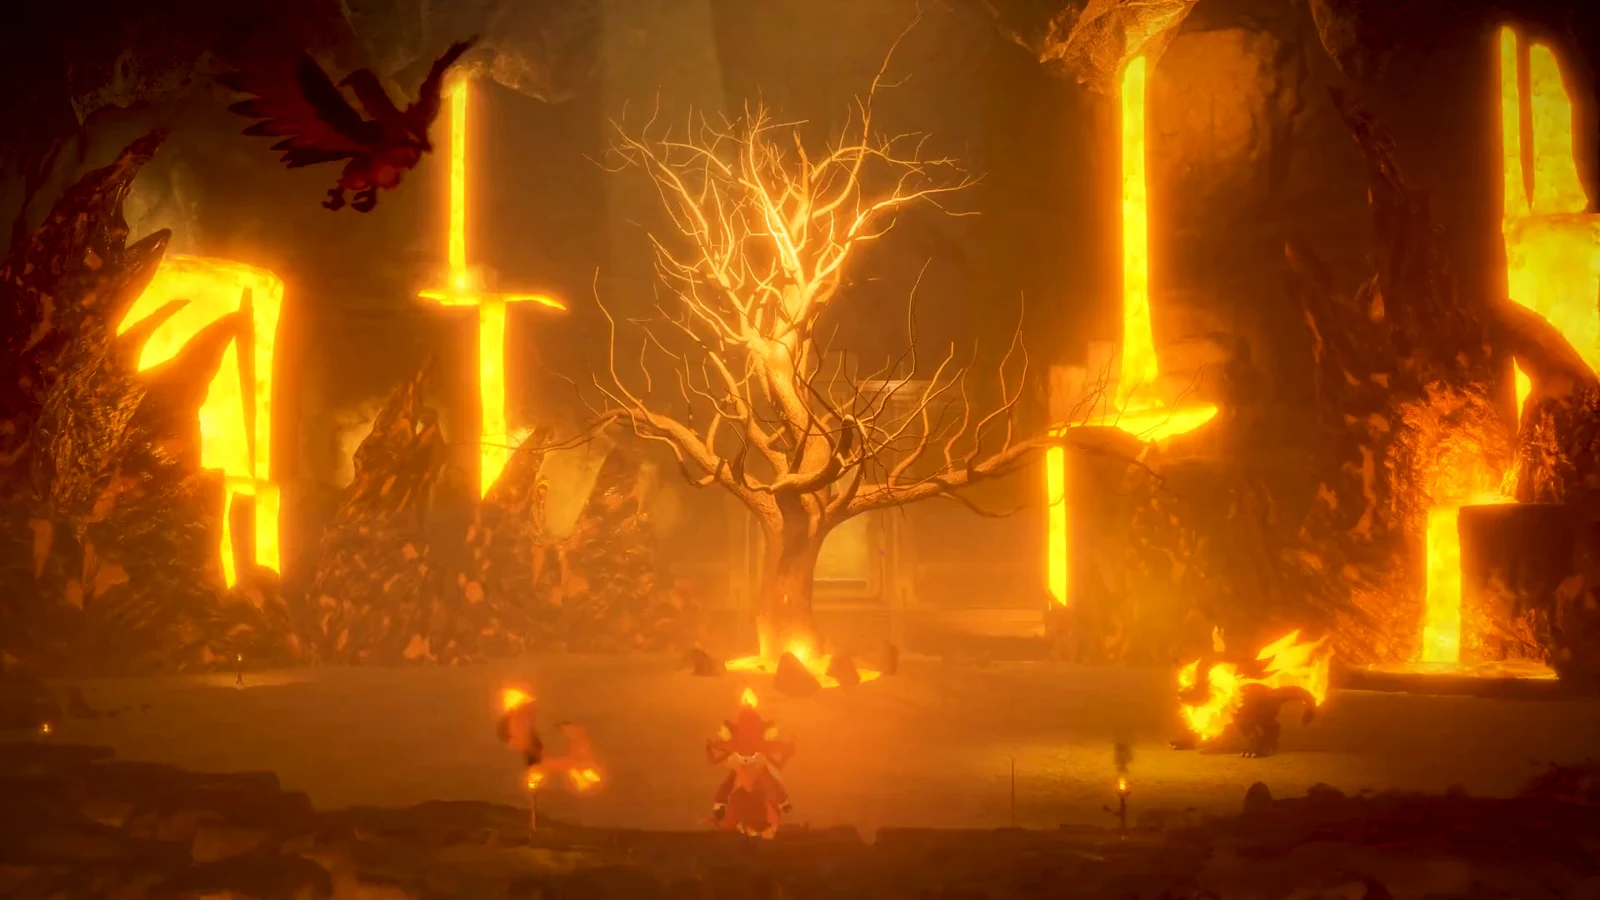
The sanctuary is a protected zone sealed inside a blue boundary dome, reached by gliding across open water. The interior is volcanic, built from obsidian slopes and pools of glowing blue lava. Entering counts as trespassing, which flips the player into a “Criminal activity underway…” state and puts the zone’s automated security on alert.
That criminal status is the whole reason the area is so dangerous. It is not a place you clear once and settle. It is a hostile pocket you slip in and out of, grabbing captures and loot between patrols.
Level 80 Patrol Drones and the criminal alert
Trespassing summons Level 80 Patrol Drones that hunt the player on sight. They fire high-damage laser beams, and against a mid-level character those shots can be an instant kill. In the footage the drones lock on with red targeting beams and open fire twice, forcing panicked escapes across the water on the Hangyu glider both times.
The practical effect is that the sanctuary plays like a stealth zone. Captures happen along the outer rocks and water channels, with the player sneaking to retrieve gear and backing off whenever a drone aggros. Getting spotted is what turns a routine capture run into a death.
Blue lava and heat damage
The environment is another persistent danger. In the volcanic area, blue lava inflicts rapid damage and can drain health quickly if you fall into it without stamina or mount protection. The run’s first death occurs in just this way: while escaping a drone on the Hangyu glider, the player runs out of stamina above the lava, falls in, and dies.
The Hangyu glider lets you cross long water gaps between islands without spending mount stamina, which is what makes repeated approaches to the sanctuary possible in the first place.
Pals found in the No. 2 Wildlife Sanctuary
The reward for braving the zone is a dense cluster of fire and dark variants, many of them Noct forms, that push the run’s capture and “perfected” counters forward. Several species appear in enough numbers to complete their five-capture bonuses.
| Pal | Approx. level |
|---|---|
| Majex | 35 |
| Kitsun | 36–37 |
| Incineram Noct | 37 |
| Pyrin Noct | 38 |
| Blazehowl Noct | 41–44 |
| Sootseer | 47 |
Ragnahawk’s fire attacks do the heavy lifting on the tougher targets, weakening Majex and Blazehowl Noct so they can be sphered. The captures nudge the totals from 118/287 Pals captured up to 123/287, and from 71/287 perfected to 76/287, by the end of the session.
Schematics and Bellanoir slab fragments
Hidden chests tucked into the sanctuary rocks hold the zone’s best drops. Opening them yields a Cold Resistant Metal Armor Schematic, plus Bellanoir’s Slab Fragments and Ancient Technical Manuals used for raid and technology progression.
The route to the sanctuary adds more gear too. Solving tile and puzzle seals on Isle of Silence hands over a Heat-Resistant Undershirt Schematic and a Thermal Undershirt Schematic, both aimed at surviving hot and cold zones like this one.
Dying and recovering loot
Both deaths in the sanctuary follow the same pattern. The player respawns at a nearby Great Eagle Statue, flies back on Ragnahawk or glides in on Hangyu, and sneaks along the outer rocks to reach the death marker. Interacting with the Death Chest restores every dropped inventory item, so nothing is permanently lost as long as you can reach the marker again.
That safety net is what makes repeated runs into a Level 80 zone worth the risk. Each death costs time, not gear, so the sanctuary becomes a war of attrition rather than a hard wall.
Building the Isle of Murmurs mining base
Before the sanctuary run, most of the session goes into standing up a dedicated secondary base on a flat sand beach at Isle of Murmurs. The plan is to automate lumbering, mining, and food production away from the main camp. Setting that up means placing a Palbox, adding a Feed Box stocked with basic food such as Baked Berries, laying down one Pal bed per worker, and building the resource facilities.
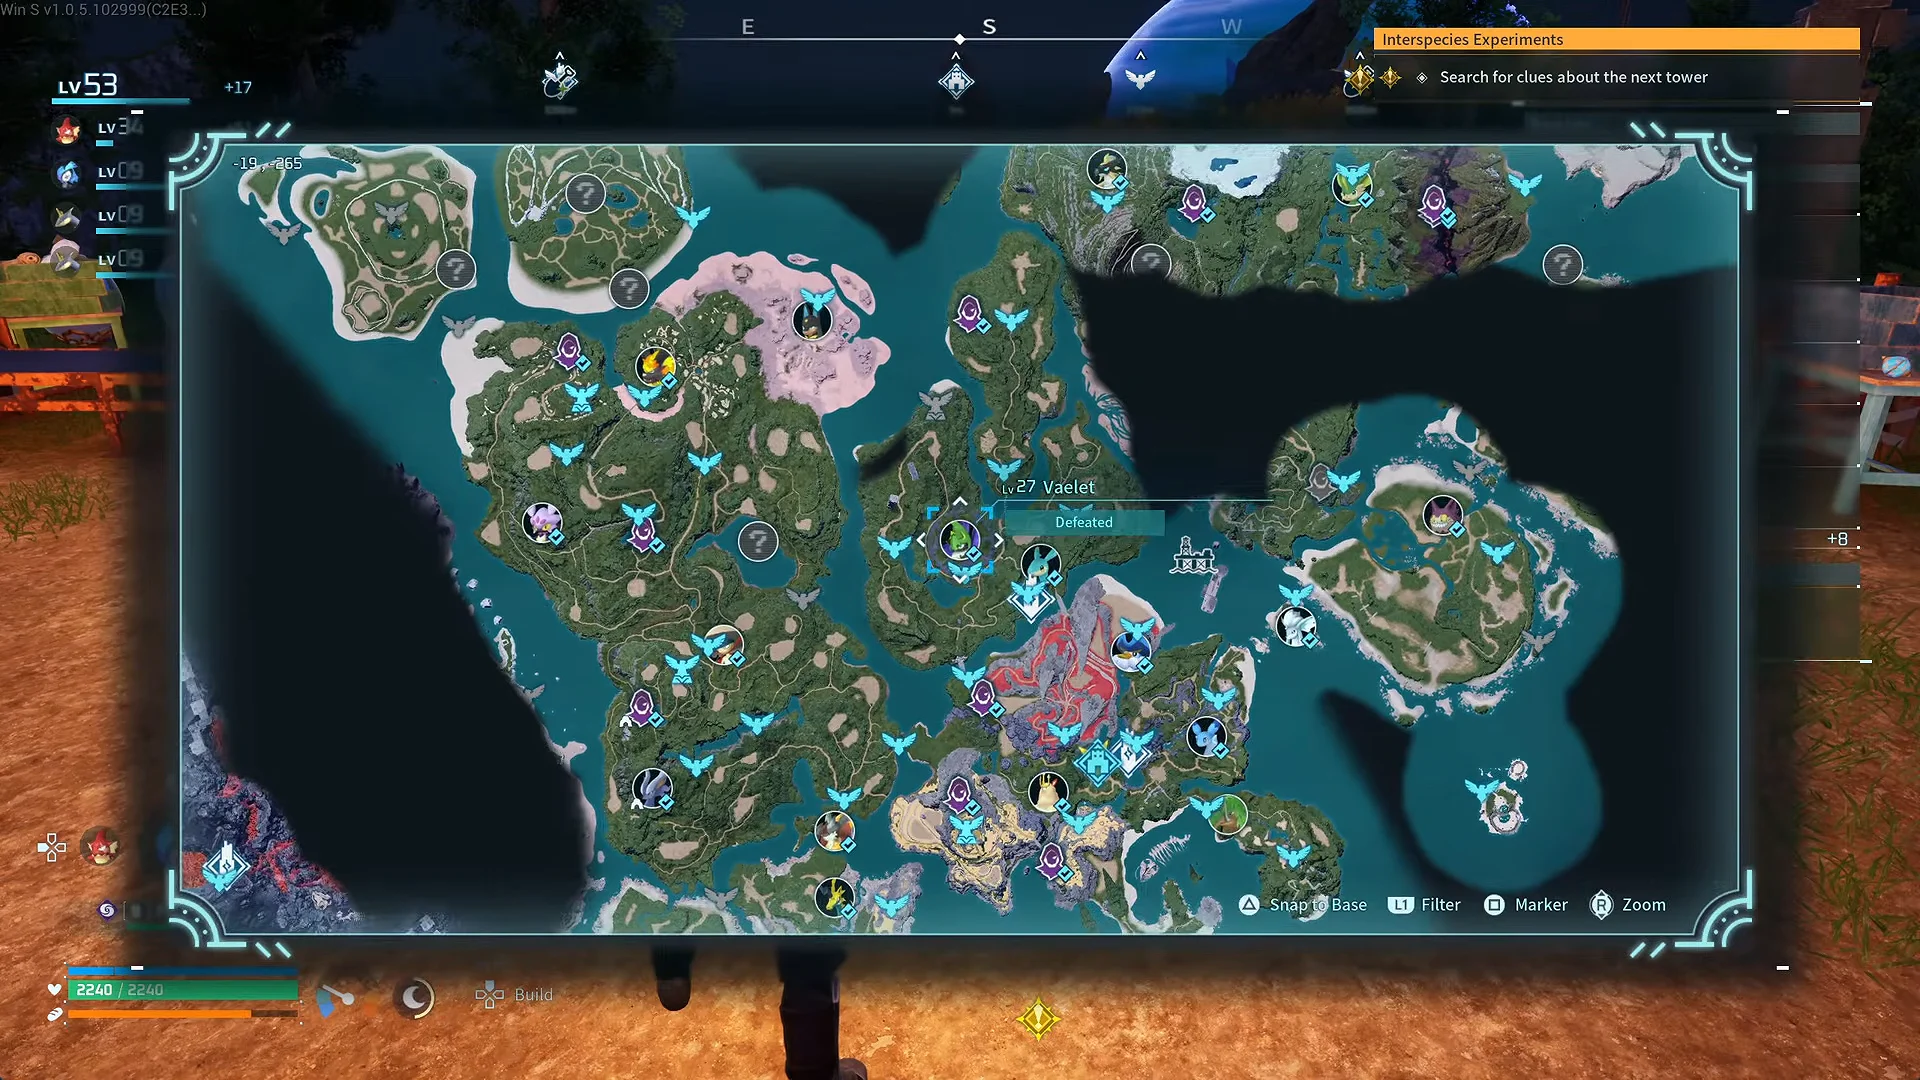
The same map view is also used to scout resource-rich spots for coal, quartz, and sulfur before committing to a location, reading off exact coordinates to compare candidate areas.
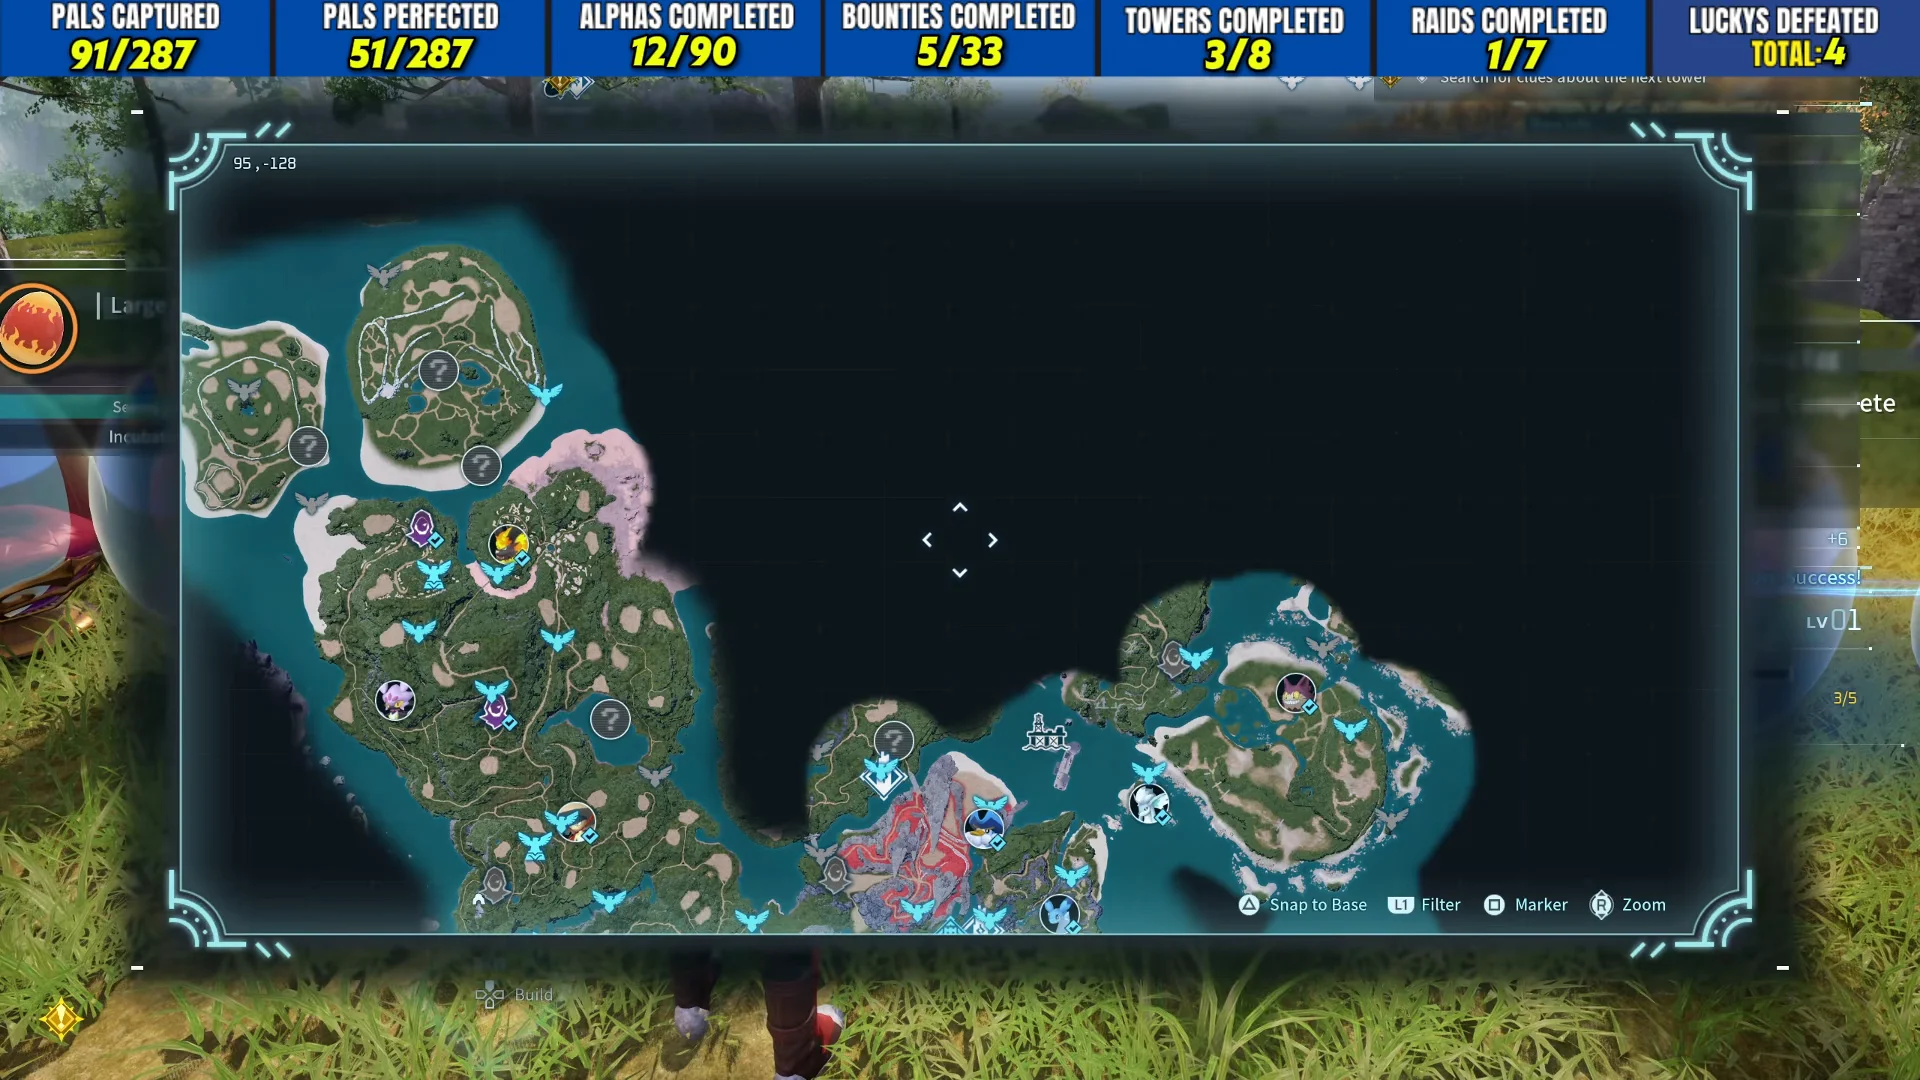
Once the beach base is placed, the Stone Pit, Ore Mining Site, and Coal Quarry go down alongside a Logging Site. Dedicated mining Pals such as Menasting, Mammorest, and Digtoise are assigned there and work the extraction structures automatically. To keep those outputs from idling, a high-level transport Pal like Helzephyr is added to haul deposited materials into storage overnight.
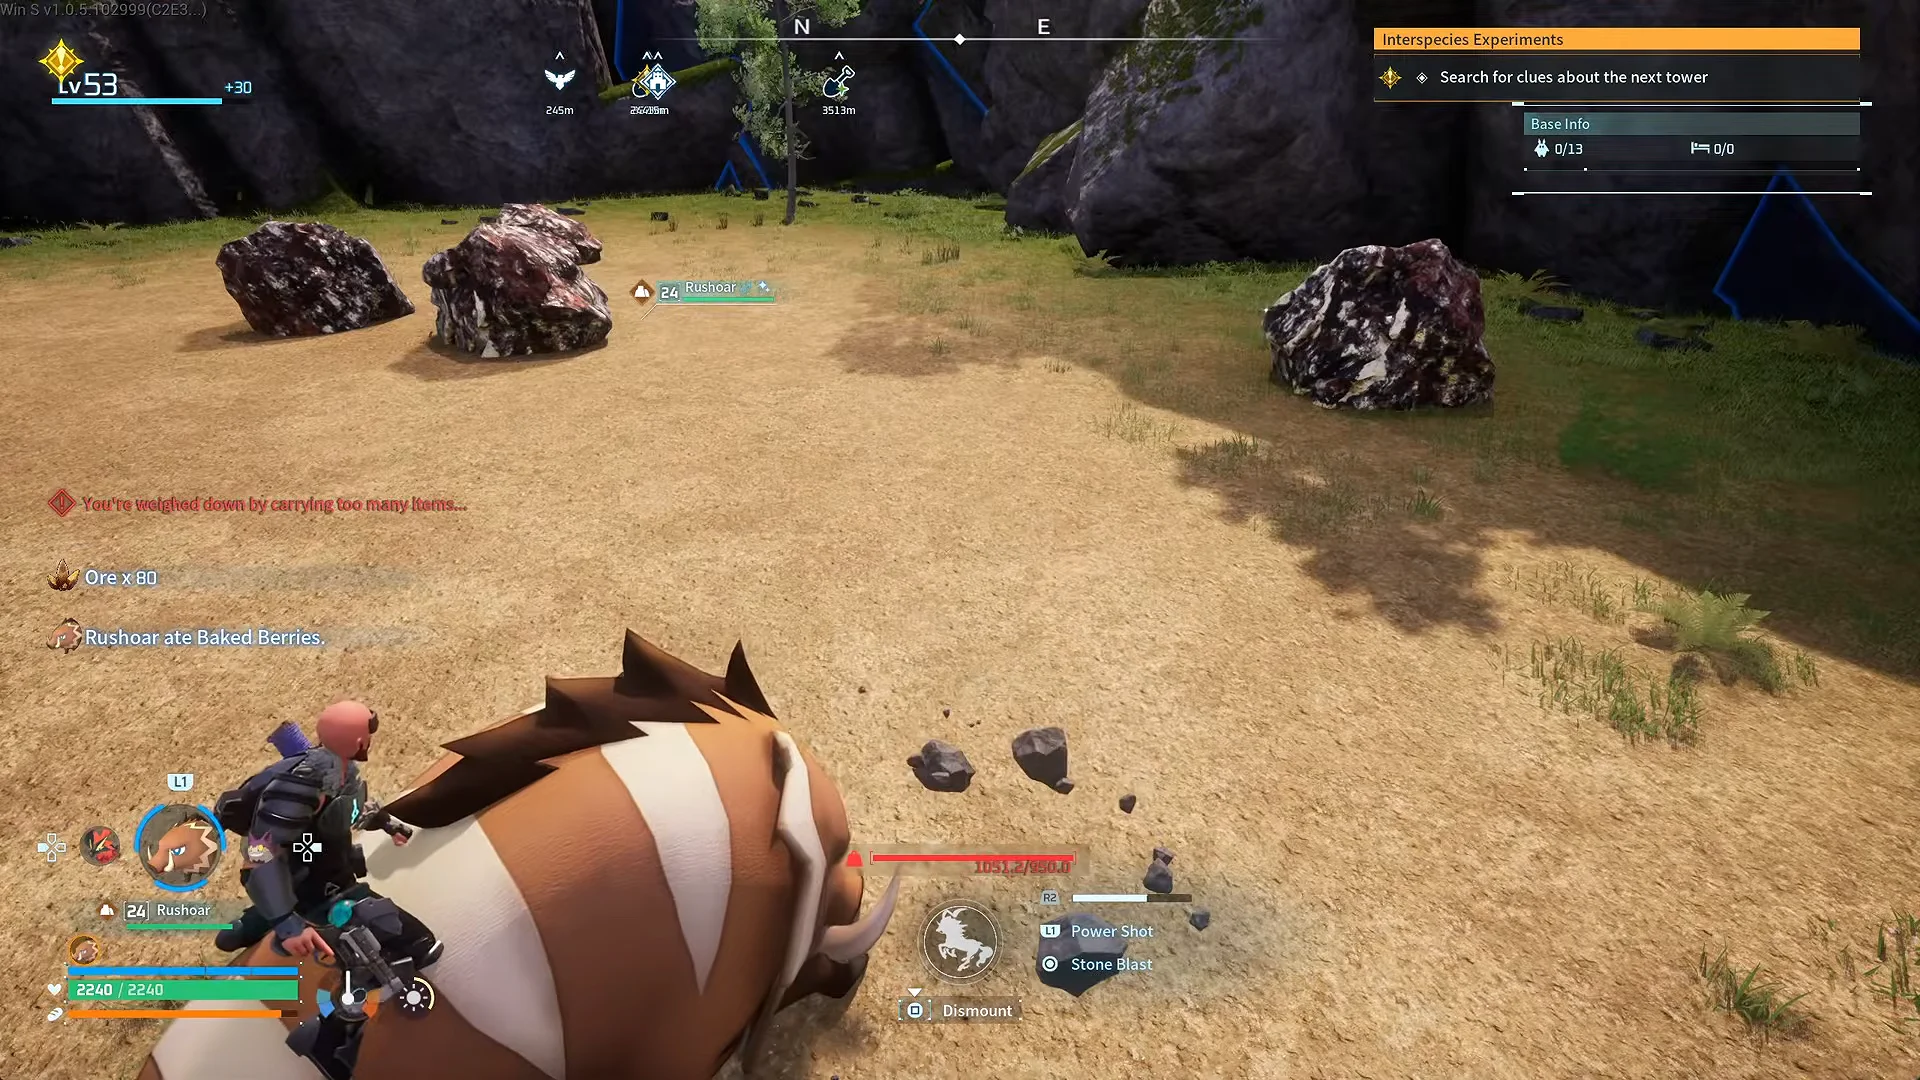
Manual gathering runs supplement the automation, with Rushoar’s charge skill used to smash through ore and coal nodes quickly before hauling the load back to the furnace for Refined Ingots.
Research and technology upgrades
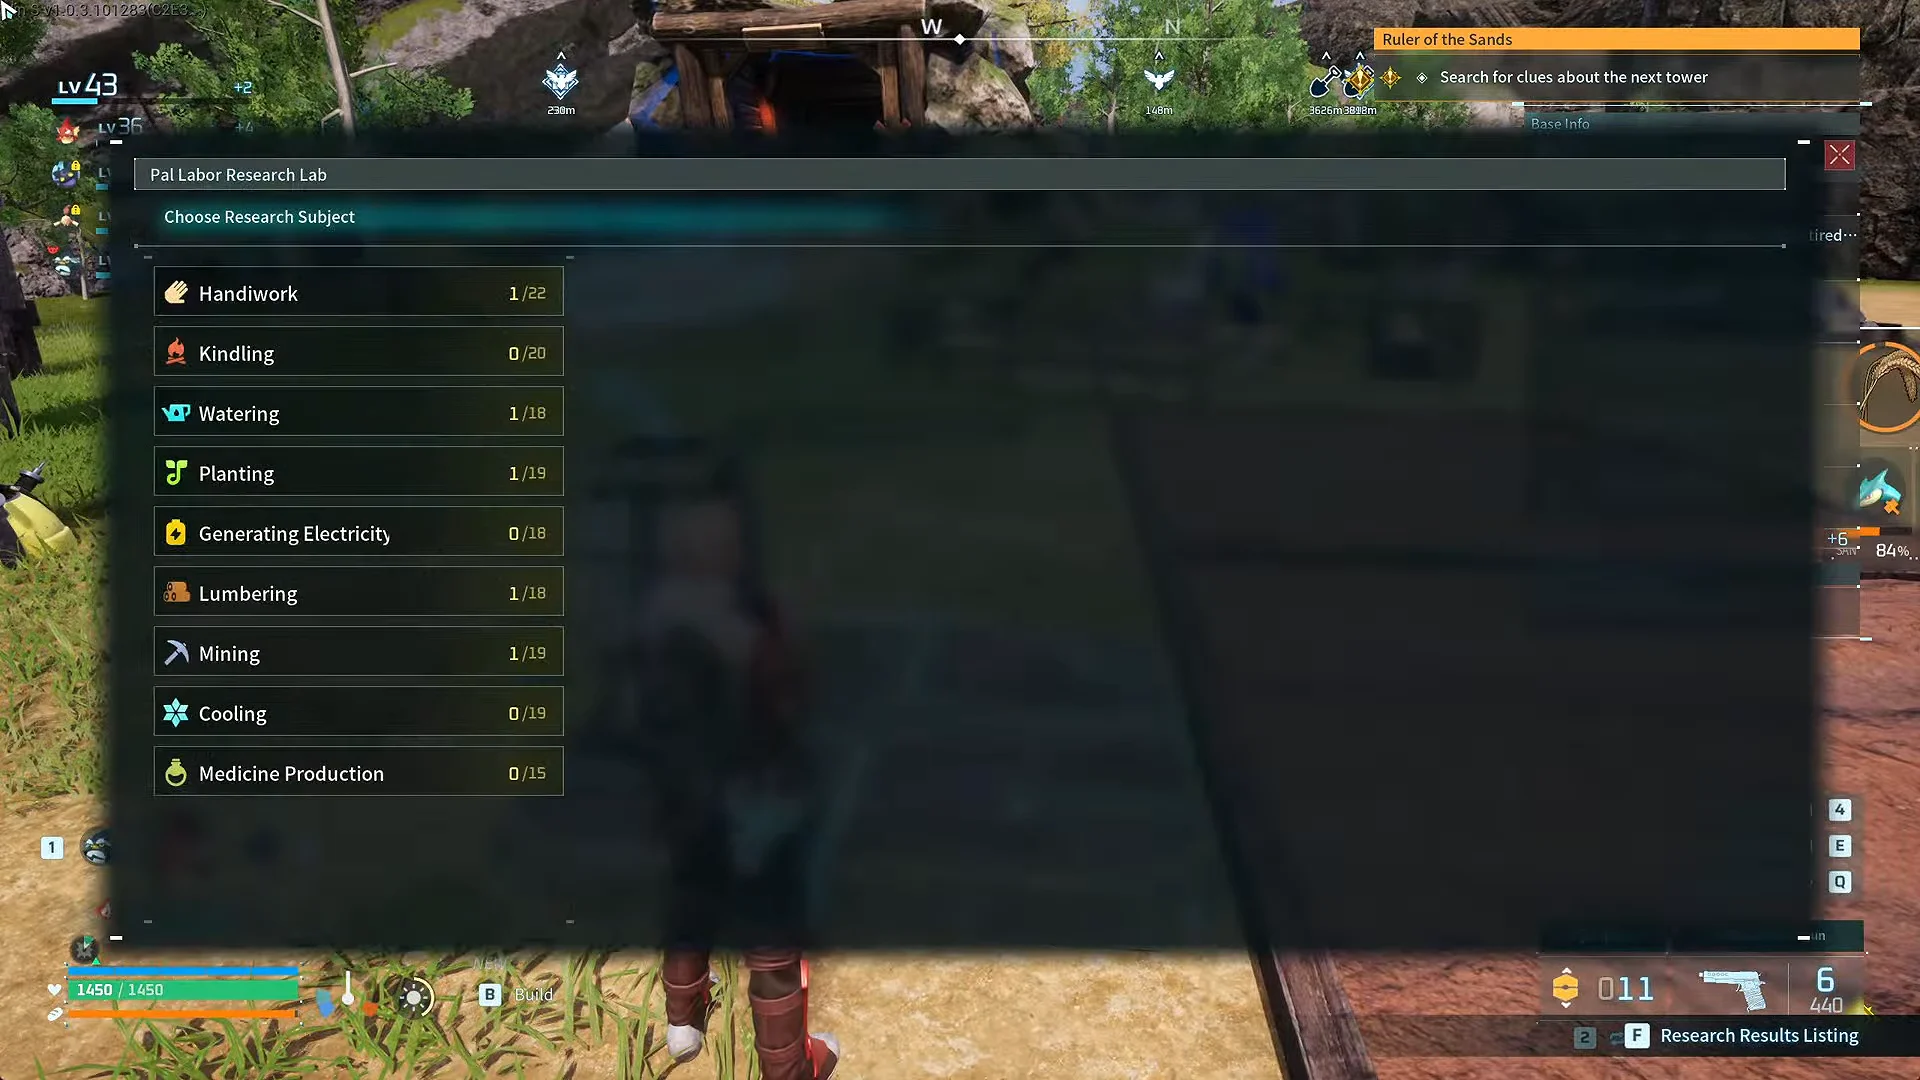
The base work is backed by research at the Pal Labor Research Lab, where Handwork Speed 2 is completed to raise how fast base Pals craft and build.
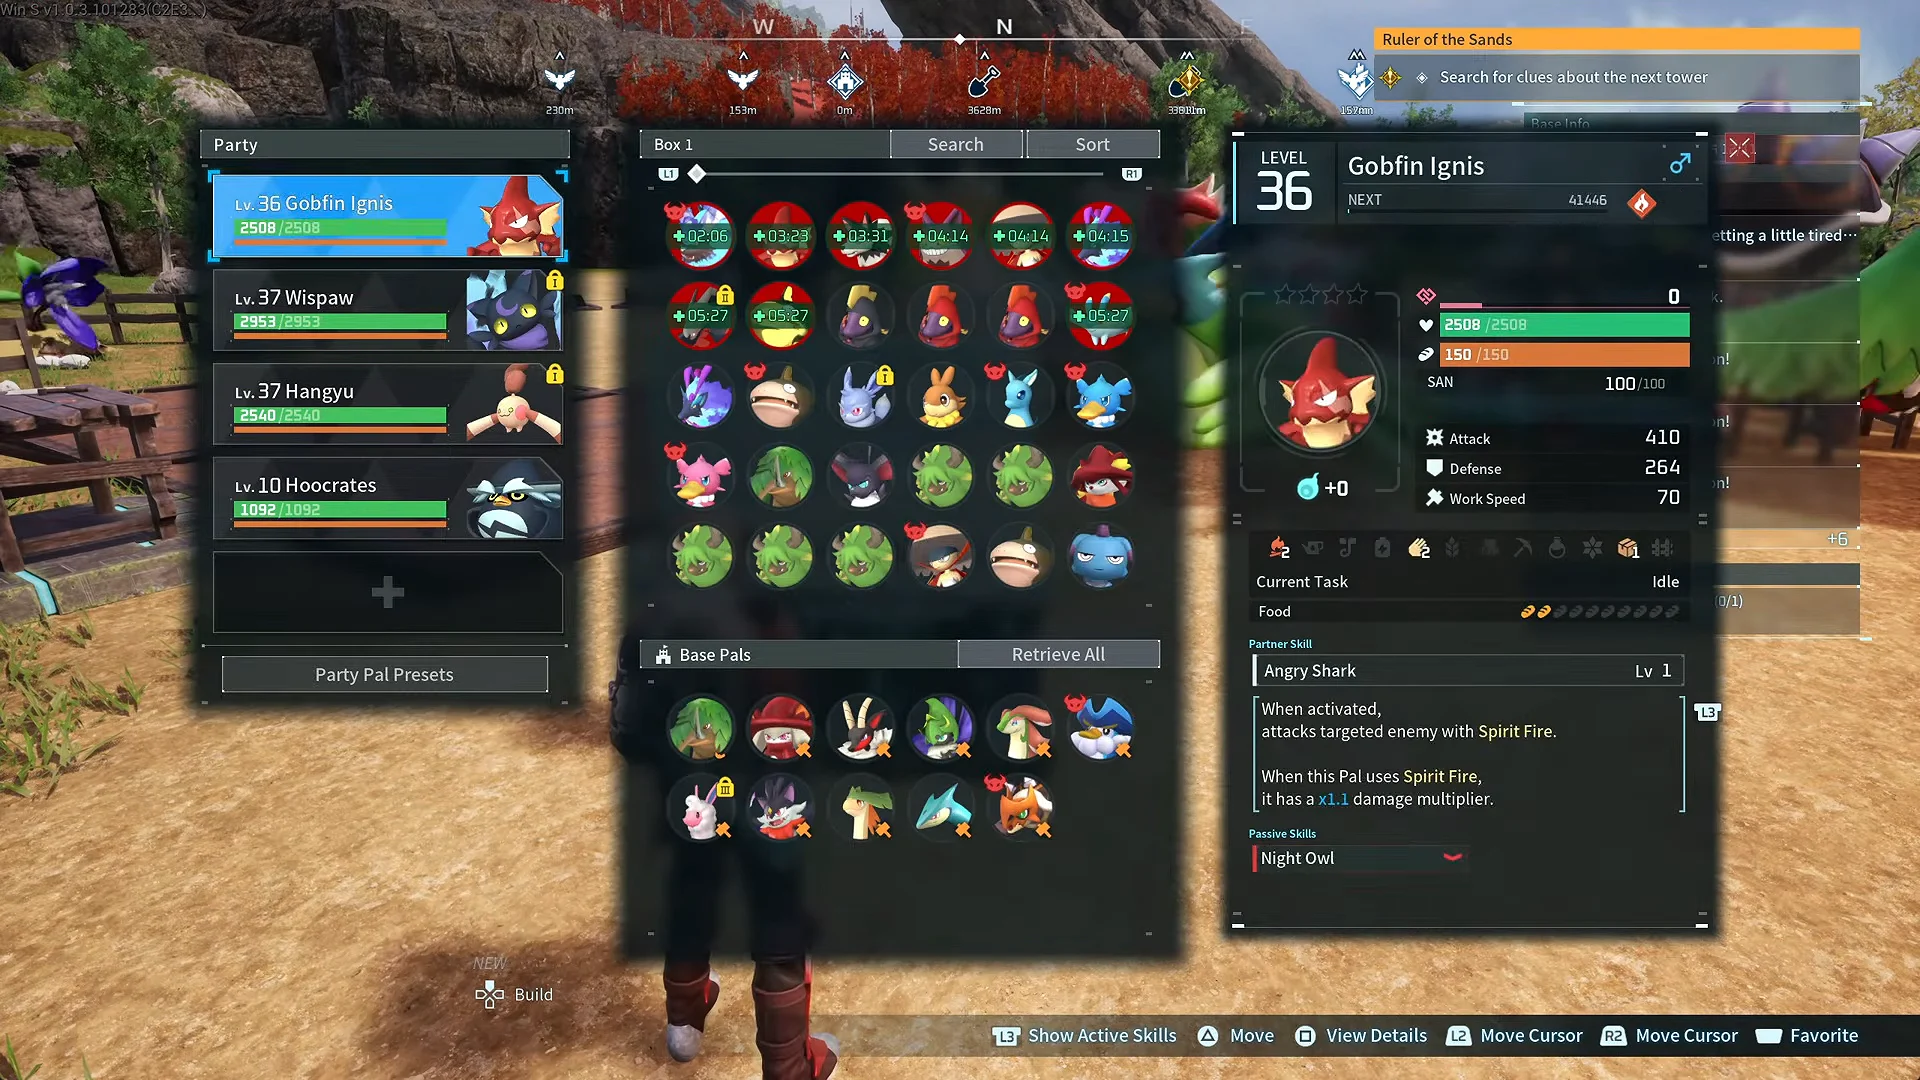
Assigning workers is handled through the Palbox management menu, where Pals are sorted by their suitability so mining and handiwork specialists land on the right tasks. Re-sorting and re-assigning also nudges idle base Pals back into automated mining and wood chopping.
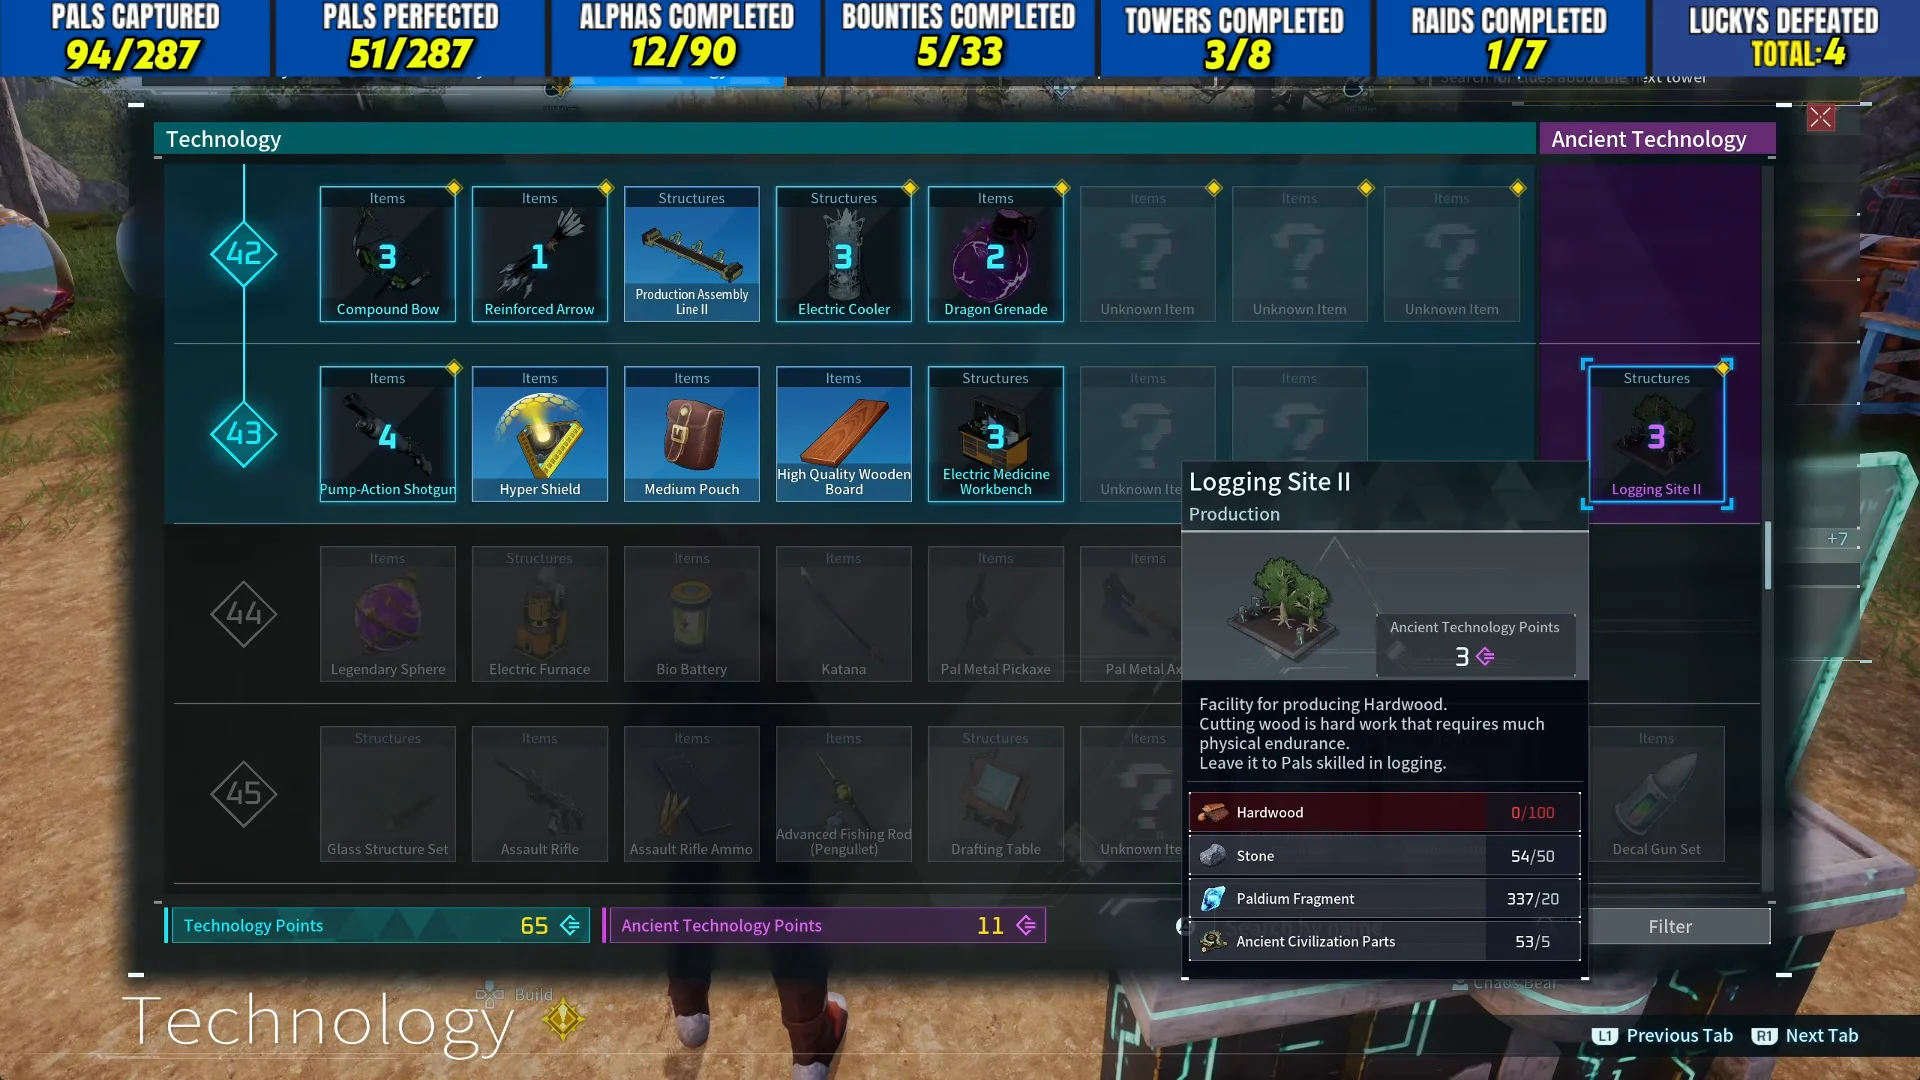
The technology tree covers the rest of the infrastructure. Higher tiers unlock the Production Assembly Line II, High Quality Wooden Board, and Logging Site II, along with the Large Incubator and Sphere Assembly Line II checked earlier in the session.
By the time the run wraps, the payoff shows up across the board: two more Alphas cleared to 22/90, a full mining base humming on Isle of Murmurs, several fast travel statues activated, and the No. 2 Wildlife Sanctuary picked clean of its Noct Pals despite everything it throws at intruders.