The grand finale of The Hunt: Roblox 20 is a single large sliding picture puzzle waiting at the giant golden trophy in the hub. It shows a classic Roblox noob on green ground against a blue sky, and it only opens after you have cleared every quest in the event. The trick to finishing quickly is to stop clicking at random and solve the board in a fixed order that never disturbs the parts you already fixed.
Quick answer: Solve the board row by row from the top, always placing the last two tiles of a row as a pair, then switch to columns for the bottom two rows and rotate the final 2×2 corner until the image locks.
Unlock the Final Puzzle in The Hunt: Roblox 20
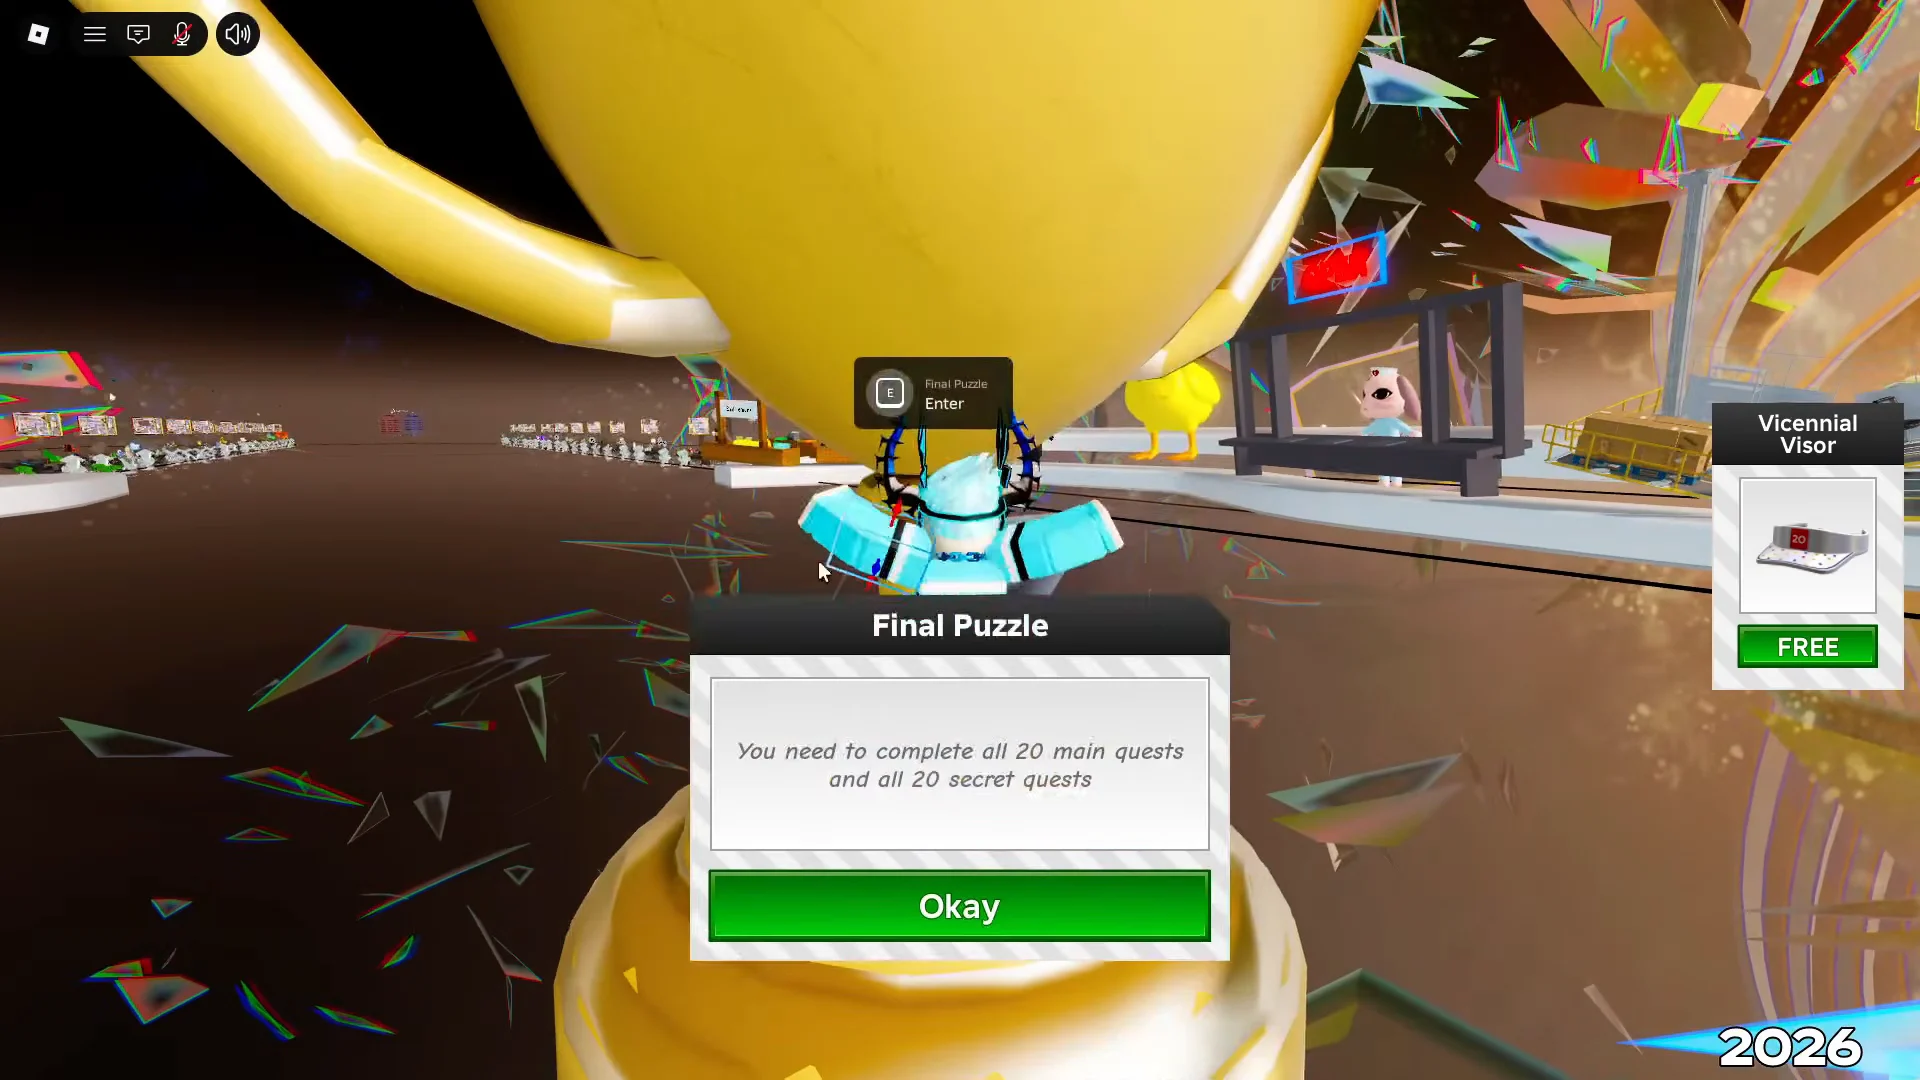
The Final Puzzle window stays locked until you have finished the entire event. That means all 20 Main Quests and all 20 Secret Quests. Completing the main set unlocks Year Infinity in the hub, and the secret set collects the fragments tied to the finale.
Once both sets are complete, return to the Infinity Hub and walk up to the giant golden trophy. A prompt reading [E] Final Puzzle Enter appears at its base, with a “Final Puzzle” header floating above it. Interact with it to enter the sliding board. The finale went live on September 27 at 8:00 AM PT.
How the sliding-tile board works
The finale is an 8×8 grid of image tiles with exactly one empty space. Only a tile directly touching that empty space can move, sliding into it. Your goal is to rebuild the full noob picture by shifting tiles one at a time into the blank.
Because the starting scramble differs from player to player, there is no single move sequence that works for everyone. What stays constant is the method. Move the blank space toward the tile you want, push that tile into place, and route the empty space only through the parts of the board you have not solved yet.
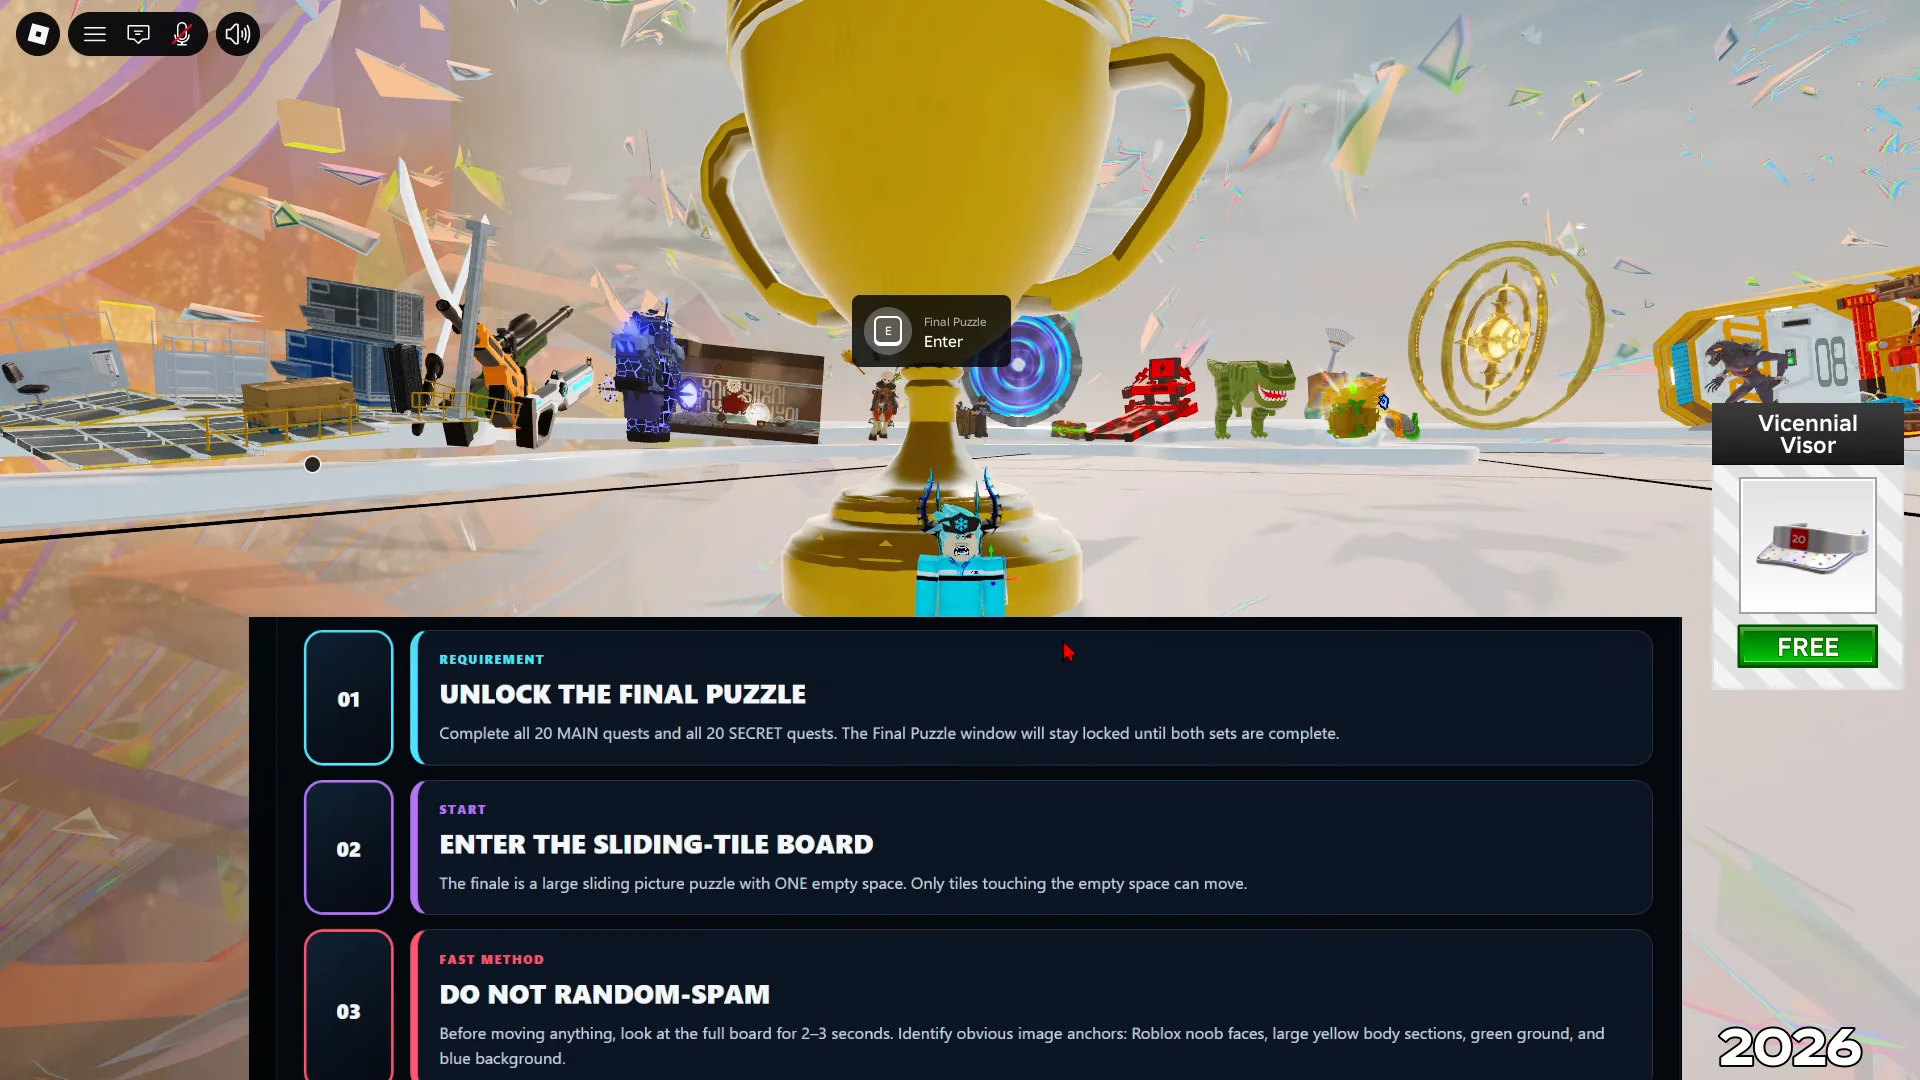
Fast method to solve the Final Puzzle
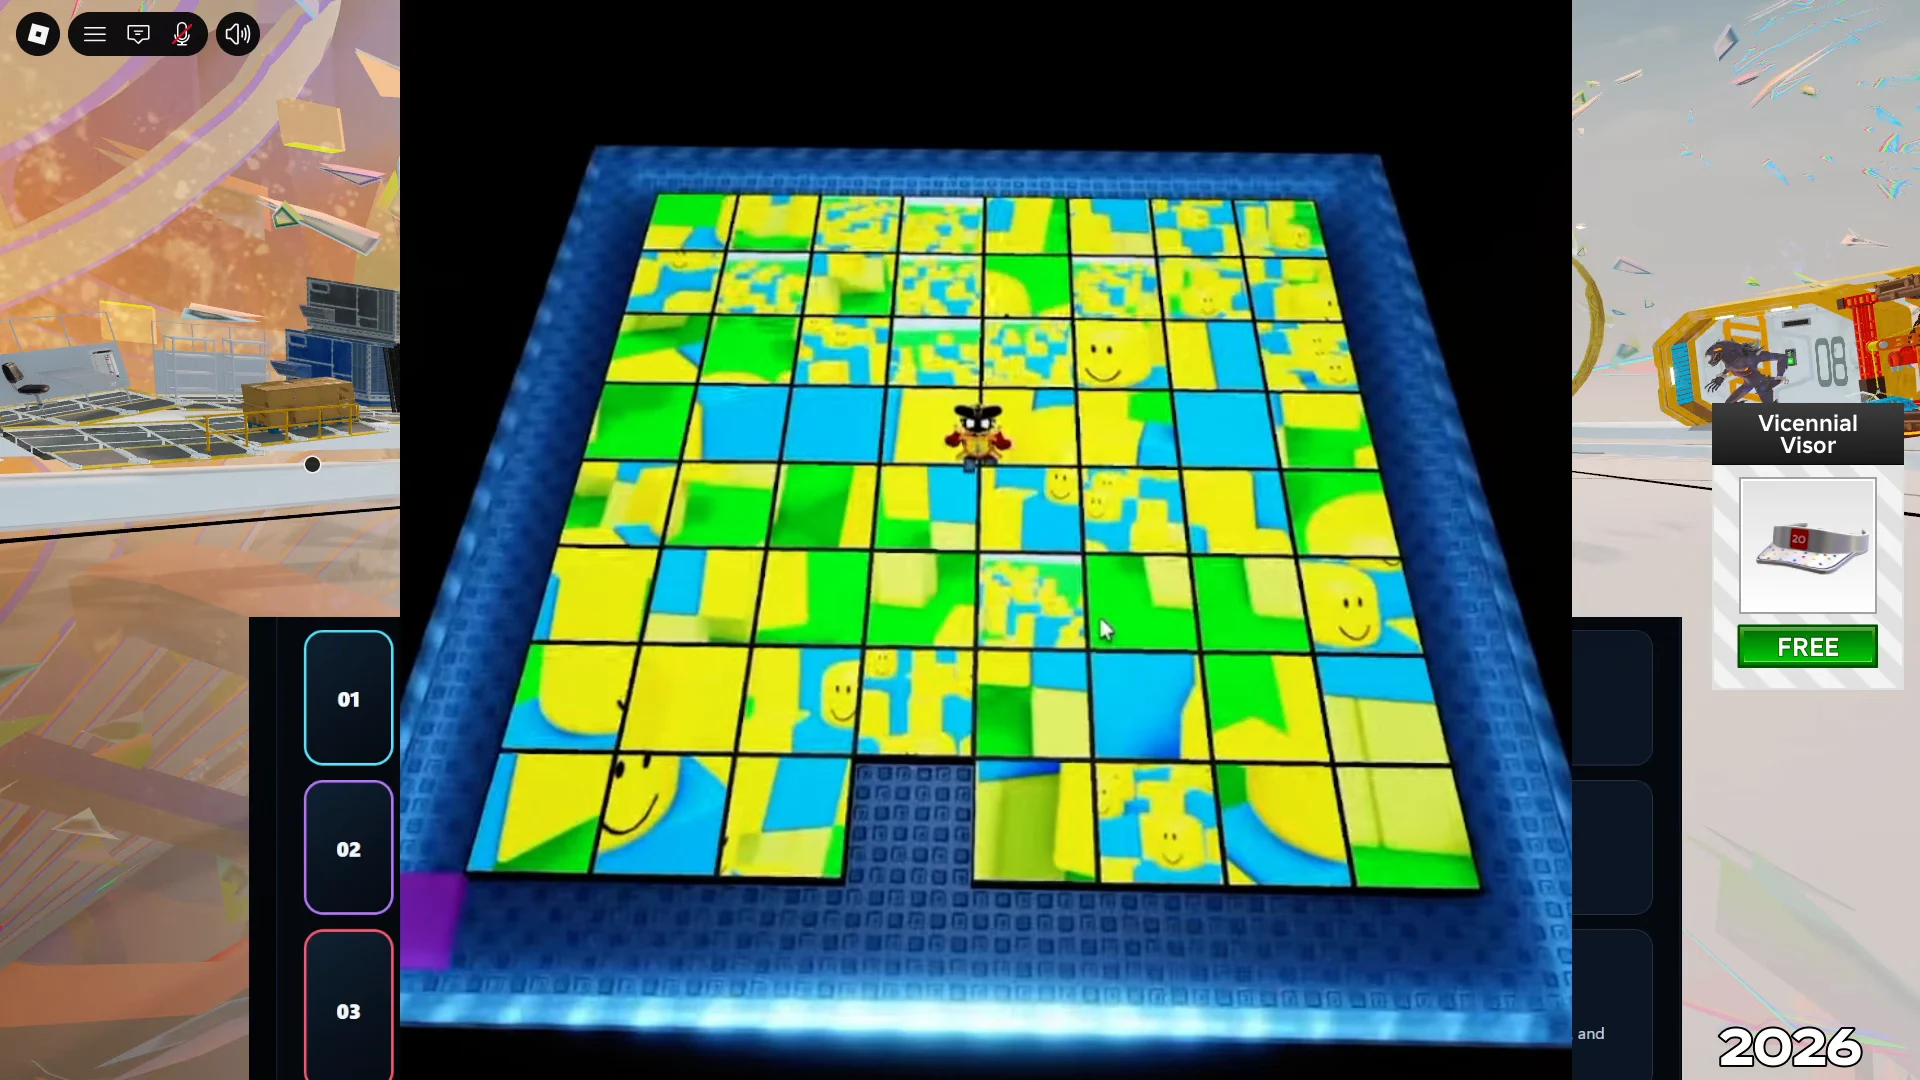
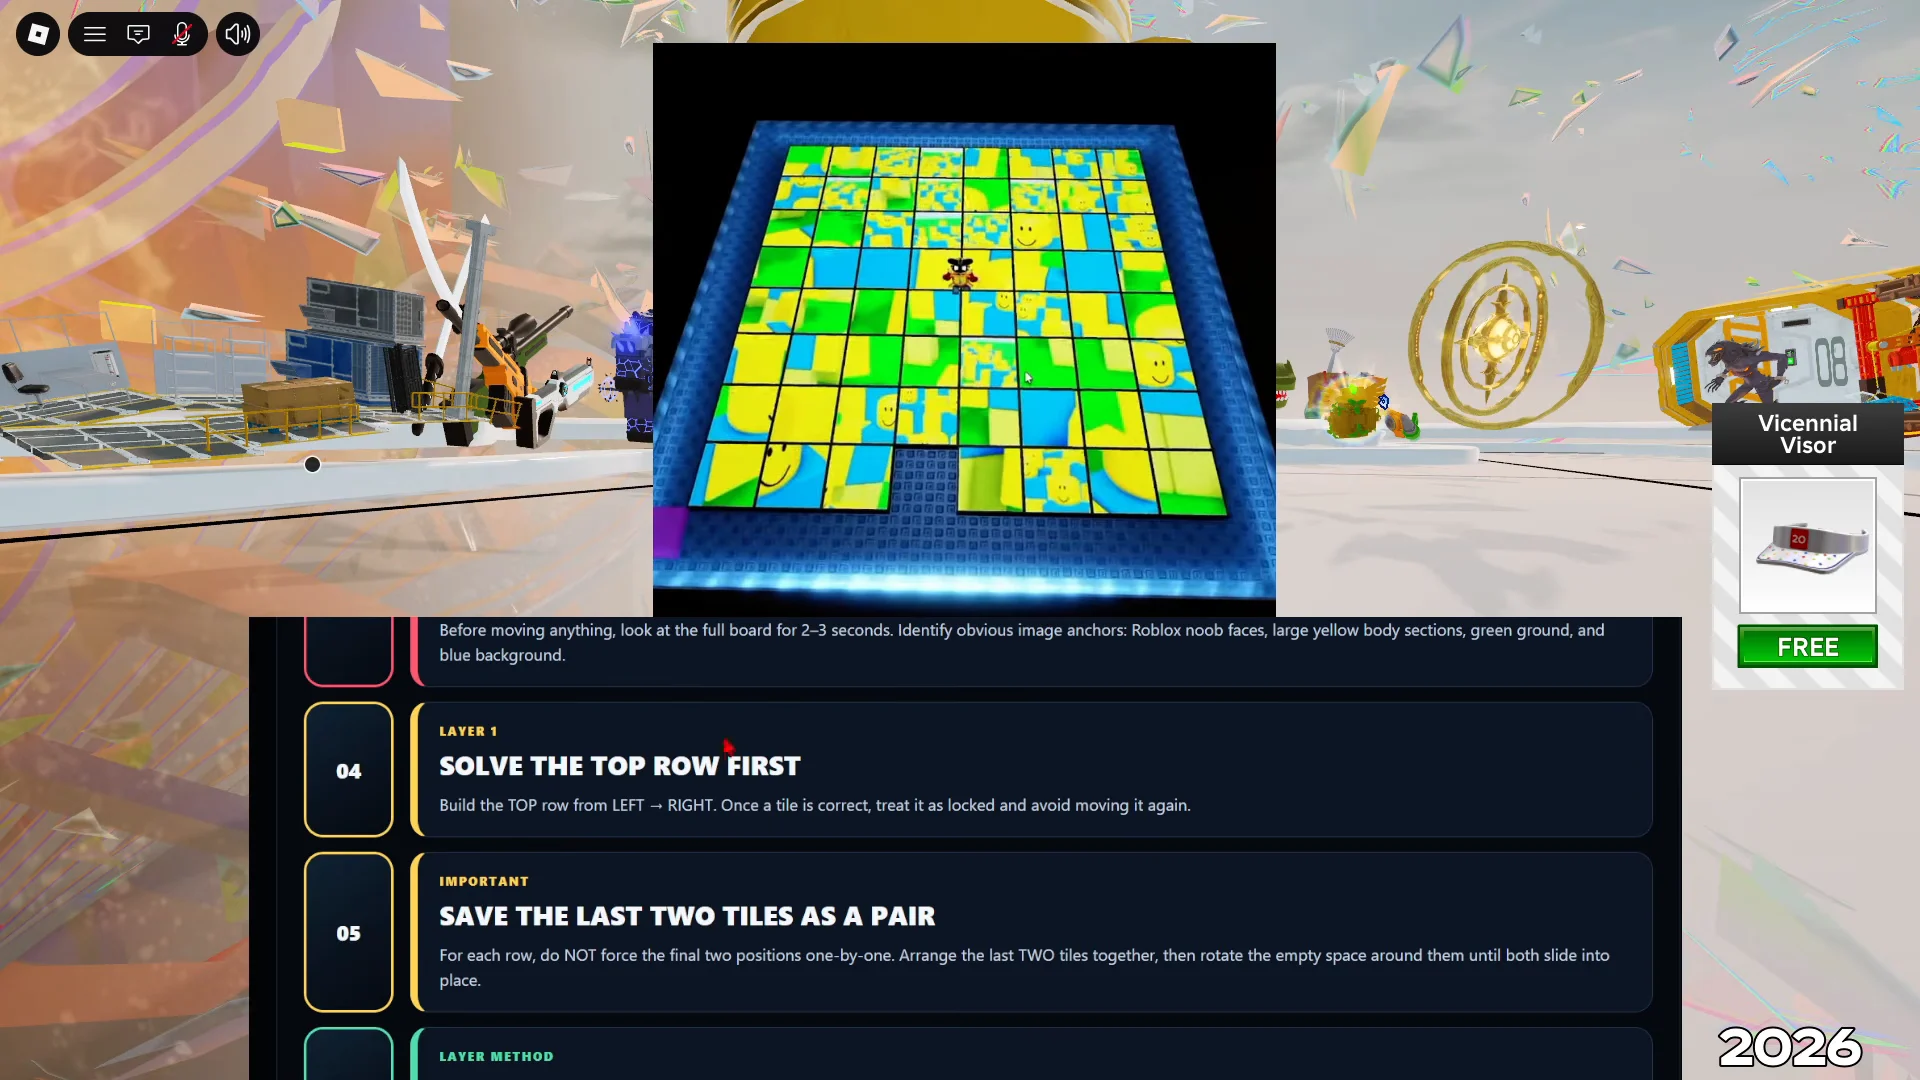
Judge a tile from its image details rather than color by itself. Broad yellow, green, and blue patches appear repeatedly, so check face boundaries, body contours, and whether shapes continue across neighboring pieces before deciding its location.
Core rules to keep in mind
- Rows first, top to bottom, then columns for the last two rows.
- Never force the final two tiles of a row or column separately.
- Let the blank do the work by cycling it around your target tile.
- Once a row is correct, mark it as untouchable in your head.
- Finish on a simple 2×2 corner rotation.
If you slip and only one to three tiles land wrong, do not reset the whole puzzle. Work the small area with local blank-space cycles and fix it in place. A full reset is only worth it if you have destroyed several solved rows or made the board harder than starting fresh. Because the arrangement is random, expect some trial and error, and the puzzle can take a while if you are new to sliding tiles.
Rewards for completing the Final Puzzle
Finishing the board recreates the classic Roblox noob image, a nod to the platform’s early avatars and its twenty years of history from 2006 to 2026. Once the tiles lock in, you can claim the finale rewards.
| Requirement | Reward |
|---|---|
| Complete the Final Puzzle | Amictus Infinitum |
| Be one of the first 20 players to complete it | Dominus Infinitum |
The Amictus Infinitum goes to everyone who solves the puzzle, while only the first 20 finishers receive the Dominus Infinitum, which is why preparation and speed matter for that race. The Twentieth Teapot is a separate Roblox Plus reward for completing all 20 main and secret quests, and it is not tied to solving the board itself.
How to confirm the puzzle is complete
You know the puzzle is done when every tile is in place and the scrambled board resolves into the full noob picture with no empty gaps left in the image. At that point the reward panel becomes available at the trophy, and you can claim your finale item. If a tile refuses to settle, slide the surrounding pieces back to how they were and rework that local area rather than restarting the whole board.