Early in Control Resonant, the Welcome to Manhattan mission drops you into a warped version of Downtown Manhattan and asks you to restore power to the Central Checkpoint. The catch is that you cannot carry the charge straight there. It behaves like a relay that you have to run through a fixed chain of power core stations before a timer empties.
Quick answer: Strike each power core with your melee weapon to grab the charge, then move it through all five cores in order (alley start, garage cables, rooftop watchtower, FBC checkpoint, Central Checkpoint) before the roughly 20‑second timer runs out.
How the charge relay works
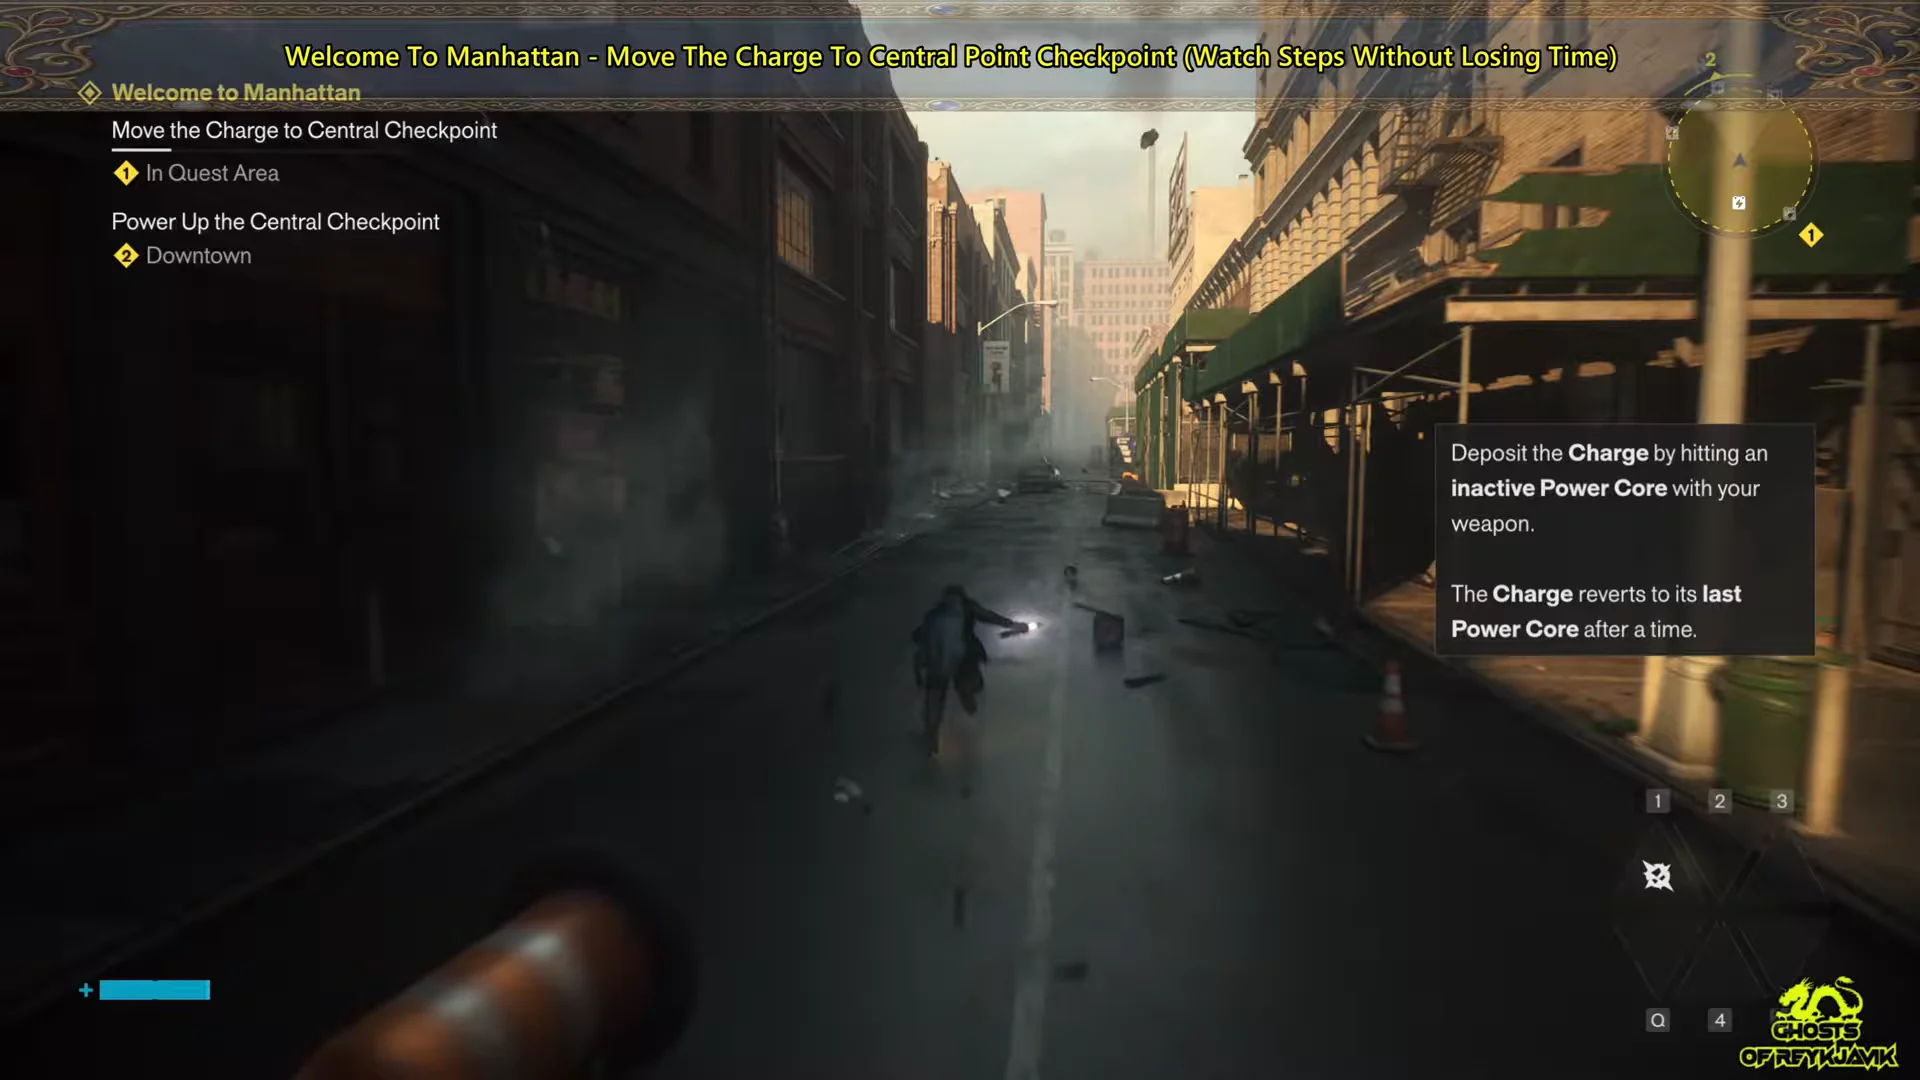
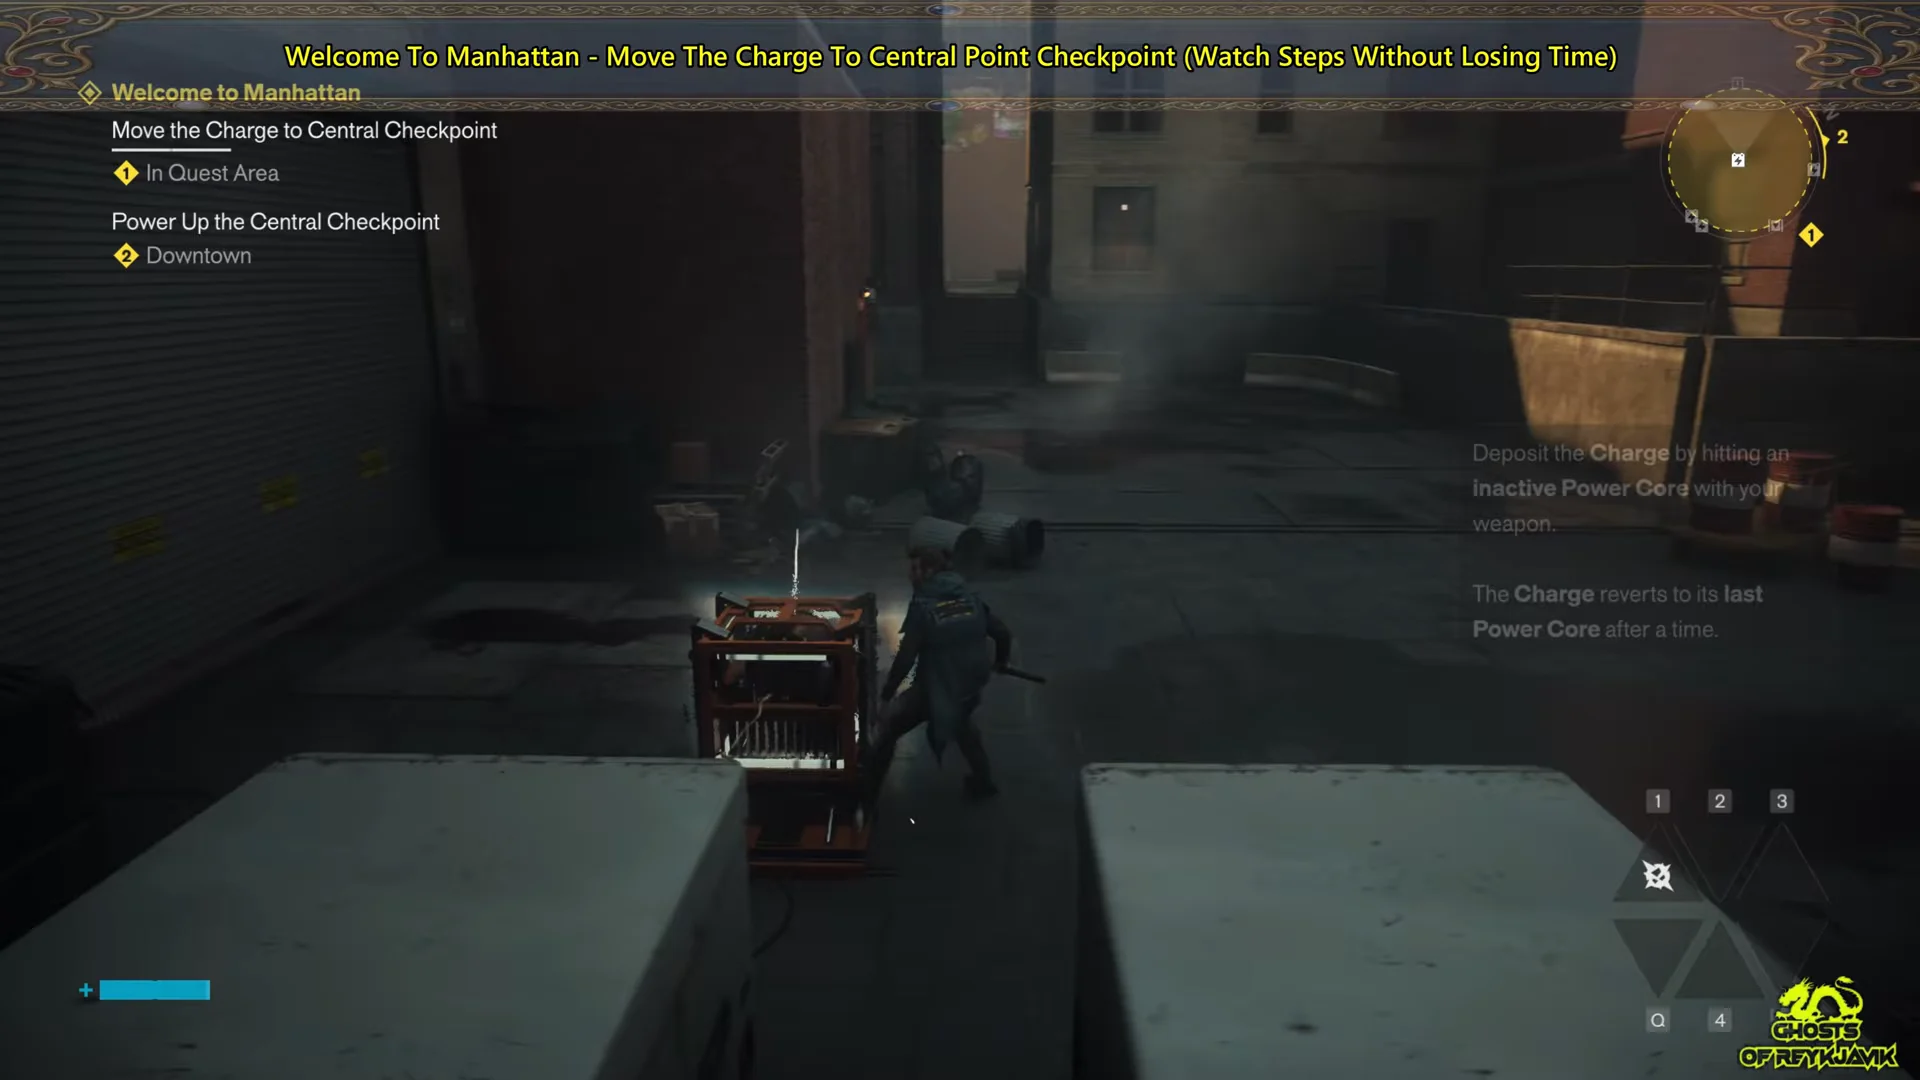
The charge is tied to Dylan’s Aberrant technique. To pick it up or drop it off, you hit the sparking power core unit with a melee attack. Doing this transfers the electricity to your weapon and starts a countdown of around 20 seconds.
If you take too long between cores, the timer expires and the charge snaps back to the last power core you activated. That means you never lose all your progress, but you do have to re-run the failed leg. Each core sits inside a yellow square outline on the ground, so aim for those markers as you move.
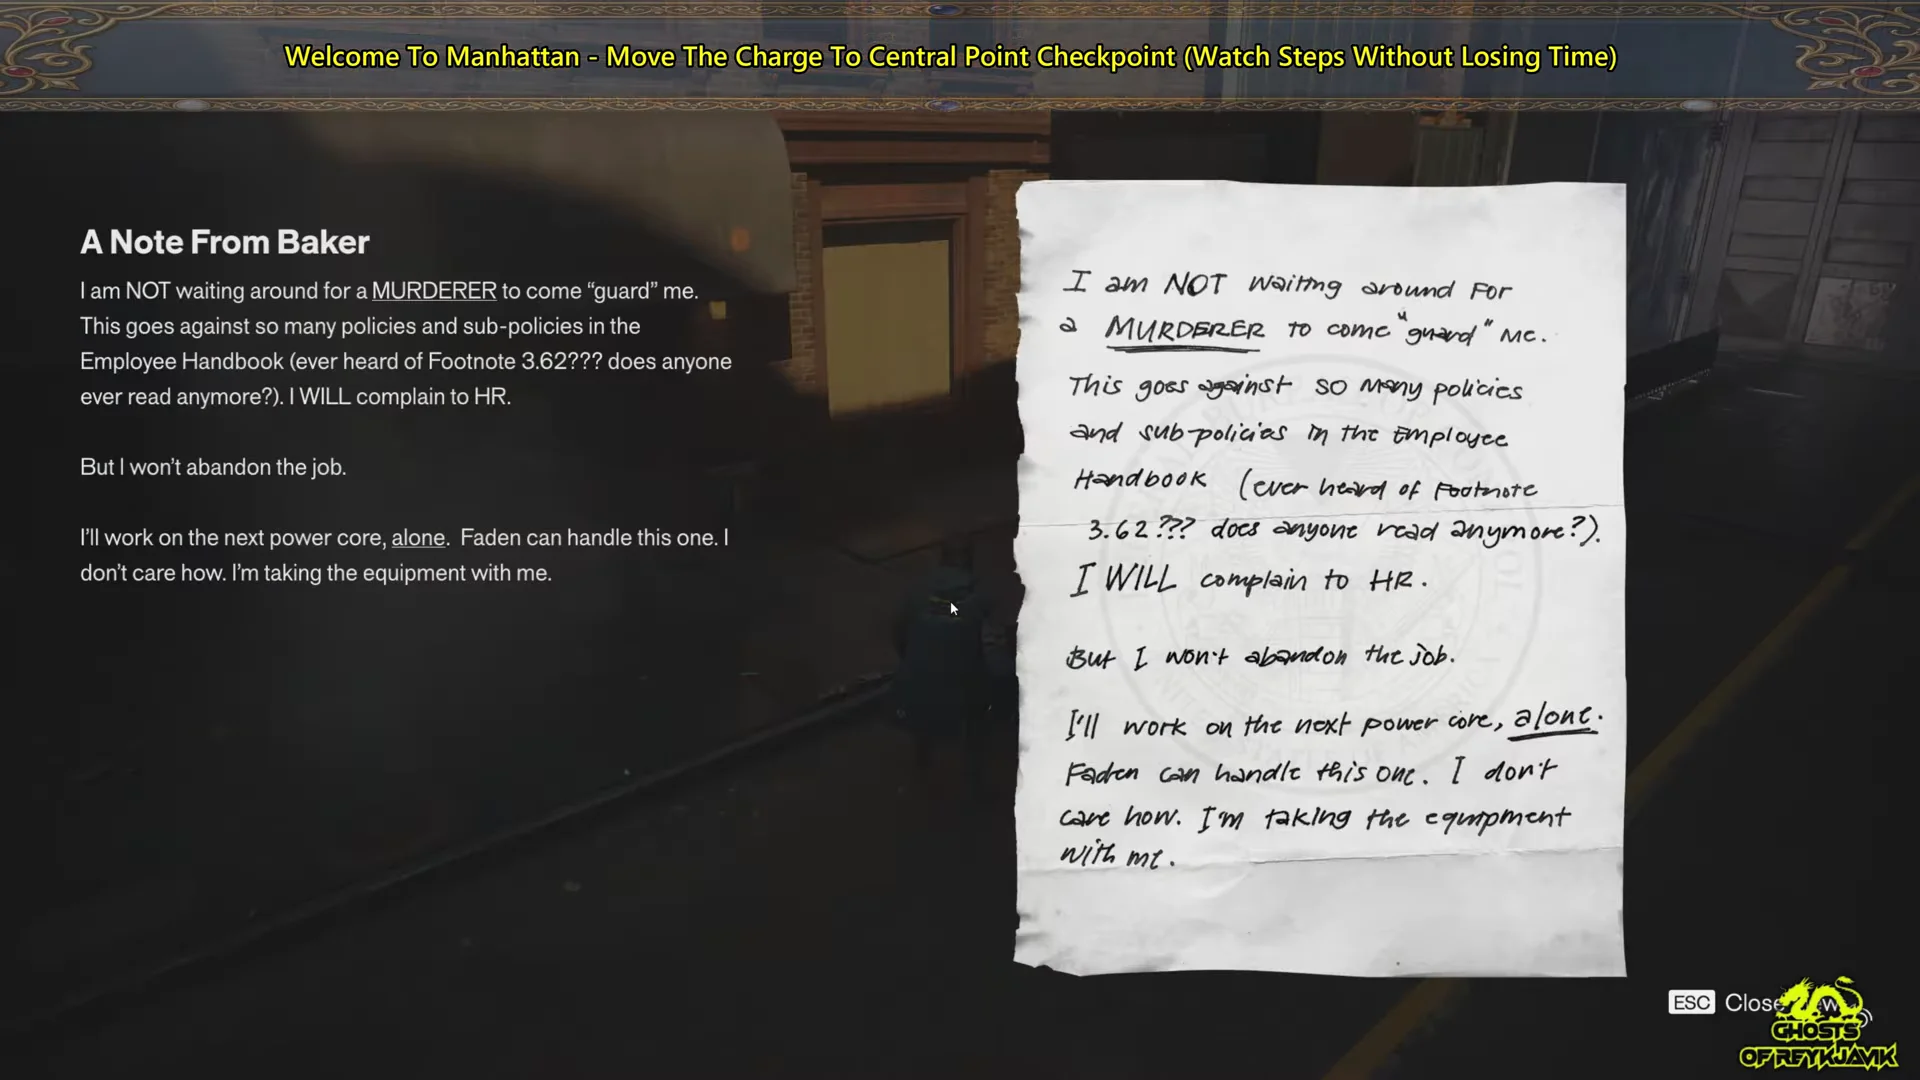
Before you start, read the note and diagram left behind by Baker, the maintenance worker who abandoned the job. The “Power Core Servicing Diagram” lays out the exact order you need to follow, from “Baker, start here” through to “Critical: checkpoint power out.”
The full power core route
There are five power cores to activate in numerical order. Work through them without stopping to fight unless you have to, since the timer keeps running the whole time.
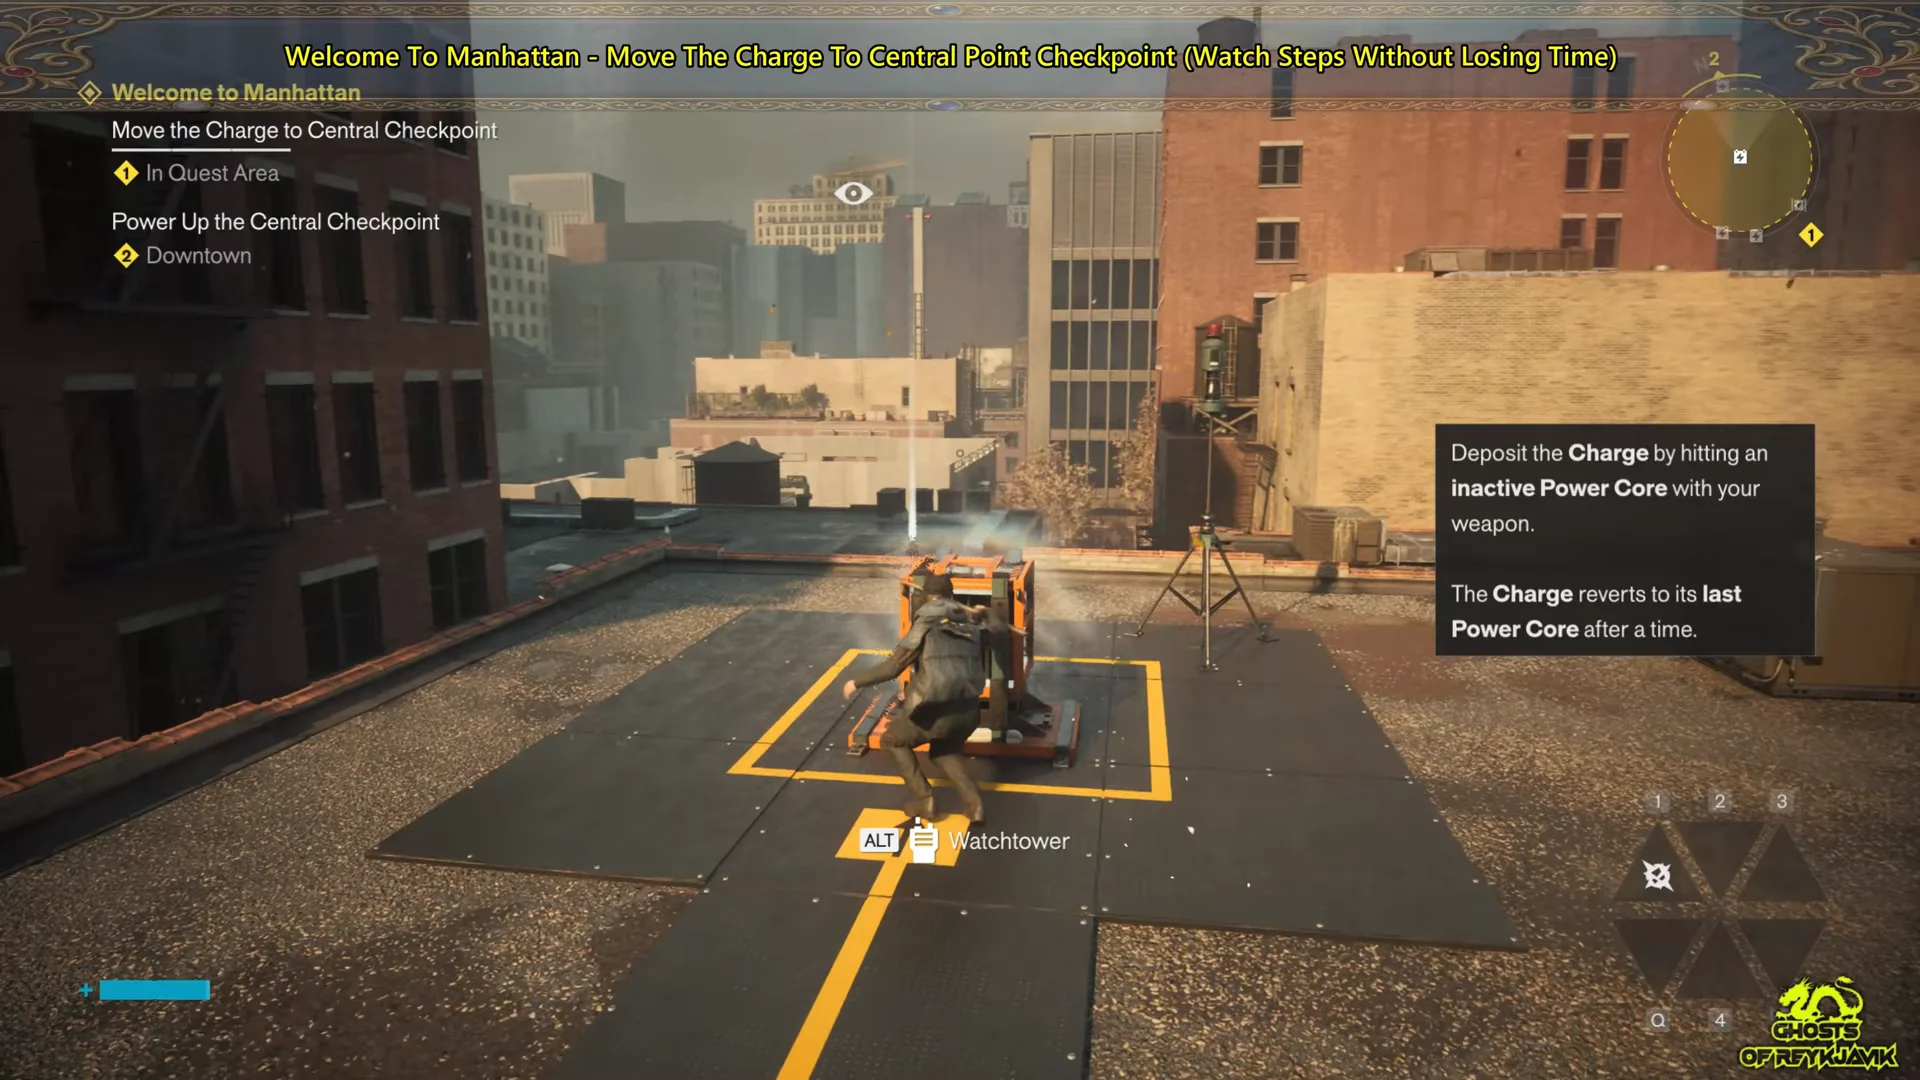
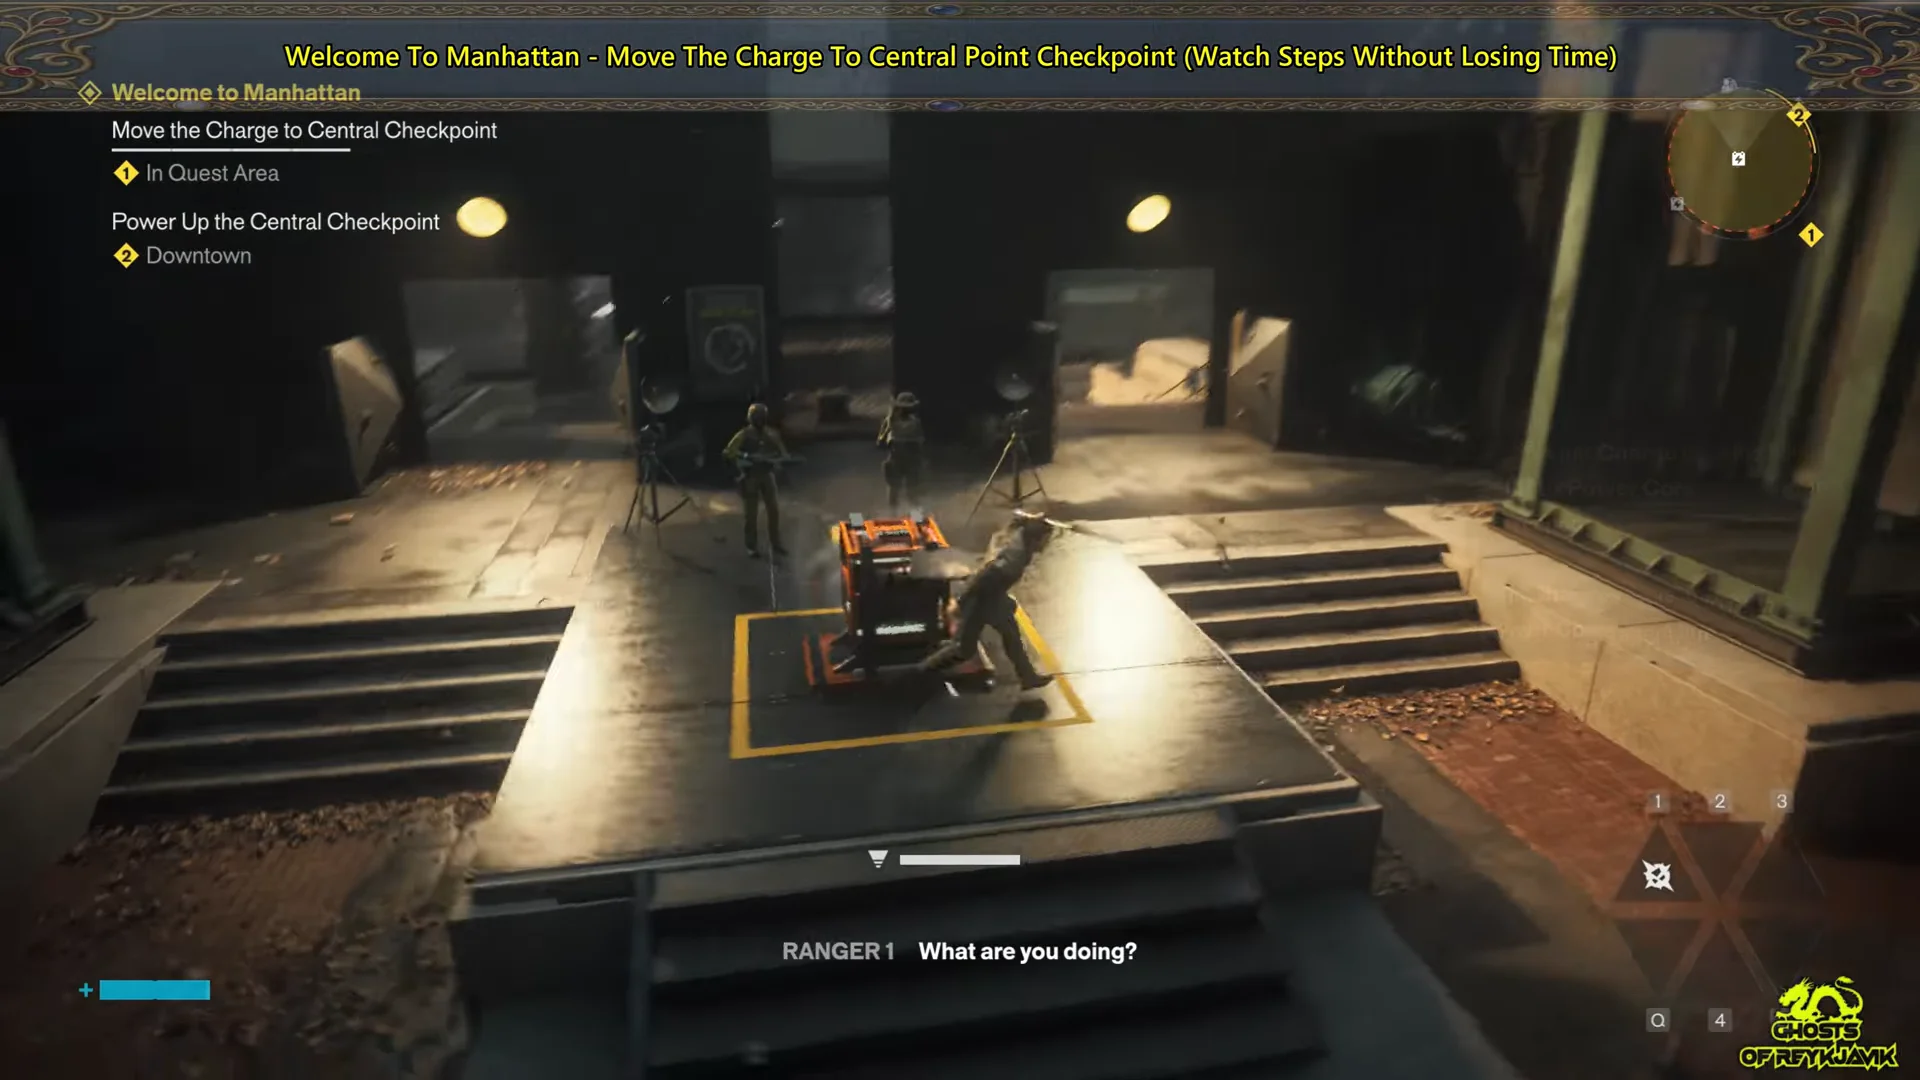
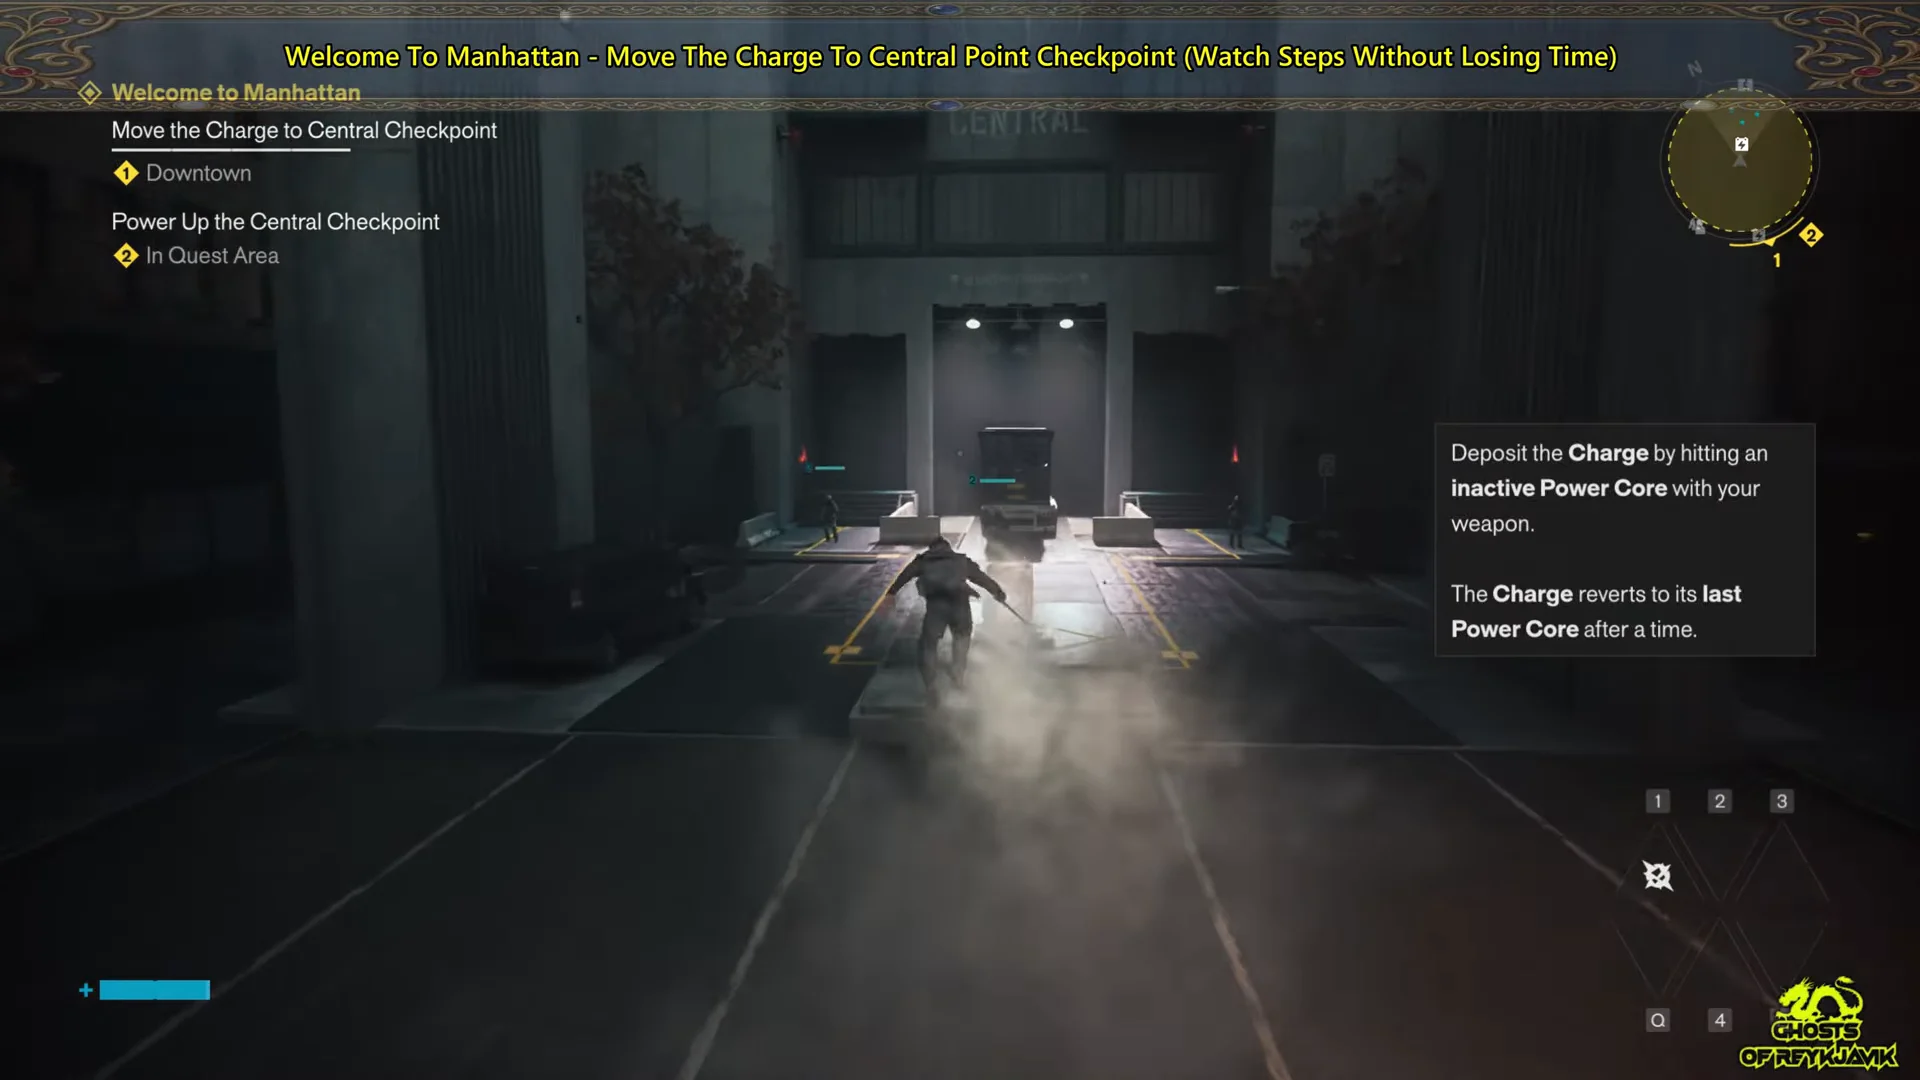
The rooftop stretch around core 3 often has Hiss floating nearby. If they keep interrupting your run, go up ahead of time and clear them out before you carry the charge through.
Confirming the checkpoint is powered
You know the puzzle worked when power returns to the Central Checkpoint and the objective updates to Defeat the Hiss. Activating the fifth core instantly spawns hostile forces in red distortion, so be ready for a fight the moment the charge lands.
The battle runs across three waves. Focus the Hiss Colliders first, since the smaller grunts keep respawning until the two heavy enemies are down. Their attacks are slow but hit hard, so lean on your dodge. After that, two ranged Hiss Focused appear and fire a continuous beam. Use the large concrete slabs on either side of the road as cover to block the beam and separate enemies.
Building the Falter meter with your Secondary Aberrant opens an Execution prompt, which restores health and grants a temporary damage boost. Chaining Executions is the fastest way through this fight. Once every enemy is cleared, interact with one of the glowing green control panels on the left or right to lower the elevator and reach the Watchtower, completing the objective.